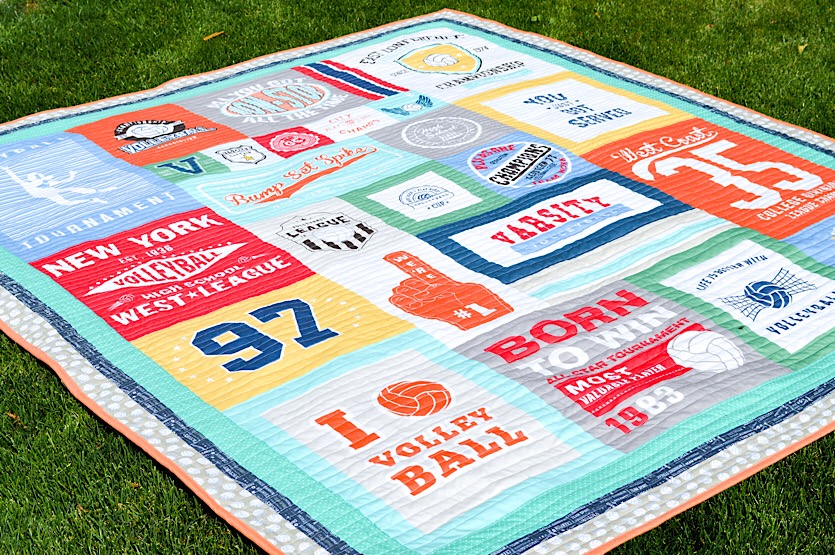
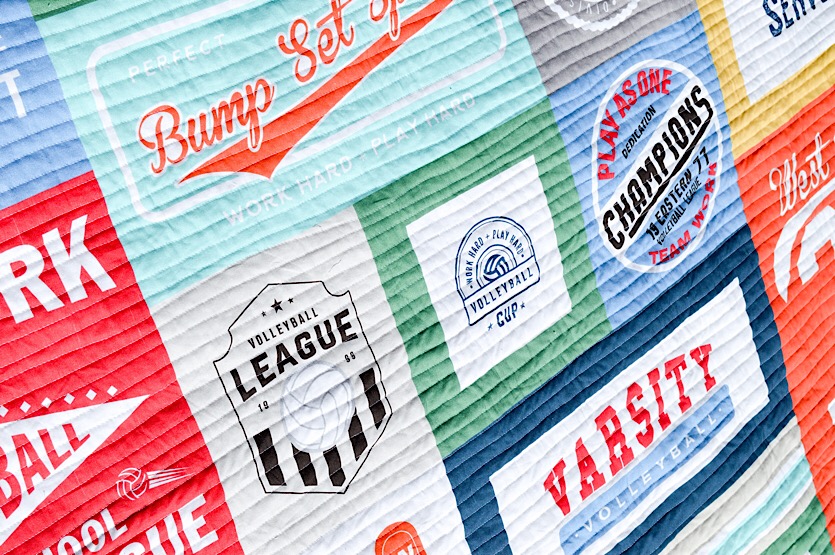
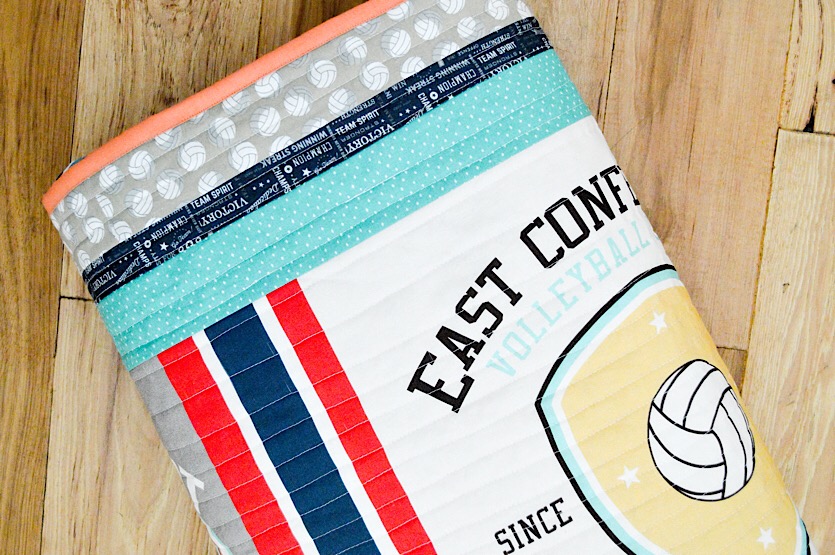
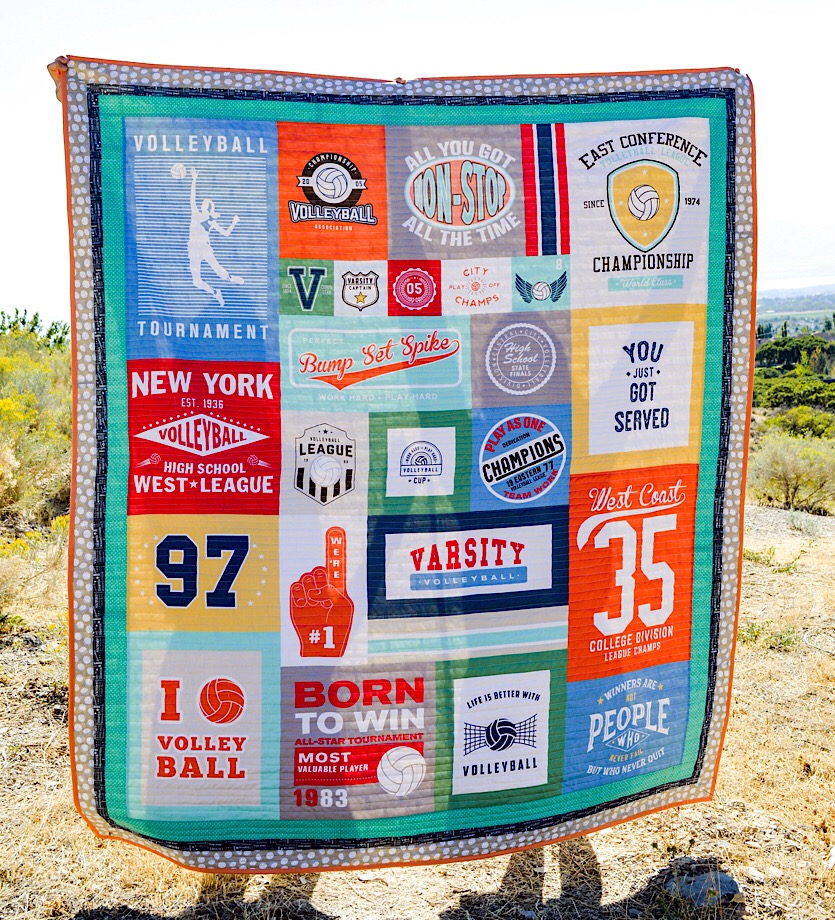
I am super excited today to share this fun Varsity Panel Quilt Tutorial with you today because it is so easy and this panel is AWESOME! Deena Rutter designed a series of sports-themed 56″ x 64″ panels that look a lot like a classic t-shirt quilt. The currently available panels feauture Basketball, Football, Hockey and Volleyball, with Baseball, LaCrosse, Soccer, and Softball coming to stores in February.
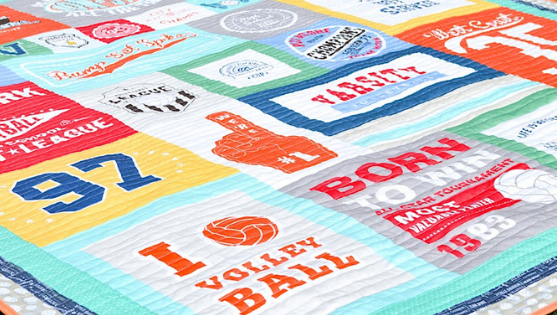
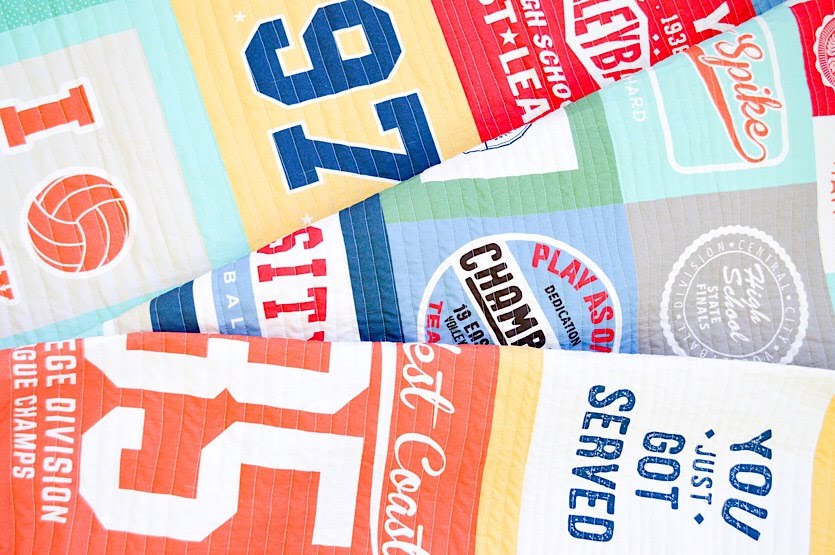
The volleyball panel is loaded with fun sayings and bright colors that work well for volleyball players of all ages. If you have a player that doesn’t appreciate pastels, border it with navy, medium blue, gray, black or red. If your player enjoys the lighter colors, you can frame it with yellow, sea green, aqua, orange and white.
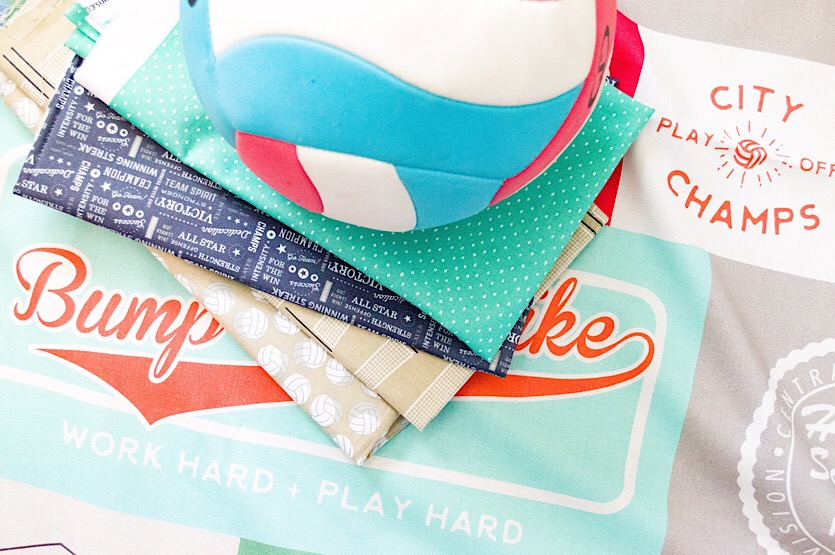
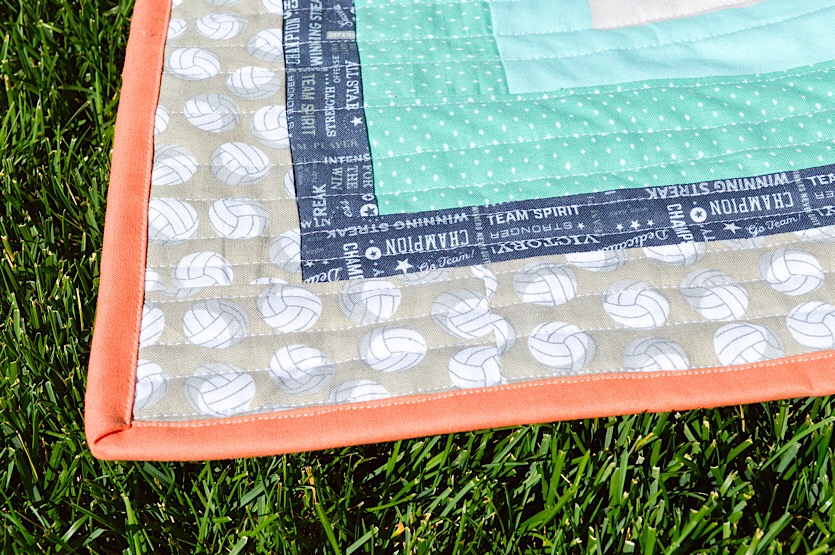
I love the coordinates that come with the collection, so I decided to use the Aqua Diamonds, Navy Text, and Tan Volleyball prints for the borders.
Look at those yummy colors!
To make this quilt top, you will need:
- One Varsity quilt panel
- 8 – 2 1/2″ x WOF strips Aqua Diamonds
- 8 – 1 1/2″ x WOF strips Navy Text
- 8 – 2 1/2″ x WOF strips Tan Volleyball
- 8 – 2 1/2″ x WOF strips binding fabric. I used Apricot Blush Confetti Cotton
- Quilt batting
- Fabric for quilt back
Begin by trimming your quilt panel, removing selvage edges. Press any creases out of the panel and set it aside.
Next, sew your Aqua Diamond strips together at the short ends. I sew mine all into one very long row. Press the seams open. Repeat this step for the Navy Text Strips and the Tan Volleyball Strips.
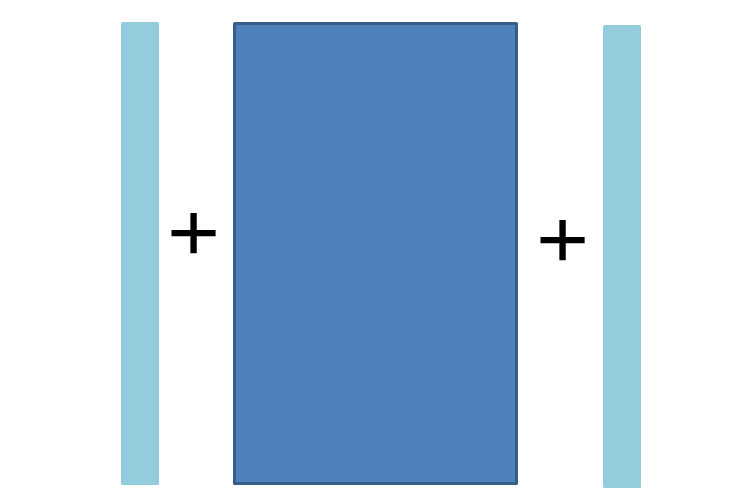
Take the Aqua Diamond strip and sew it along either side of the panel as shown in the above image, trimming off the strip at each end. Press the seams toward the darker fabric.
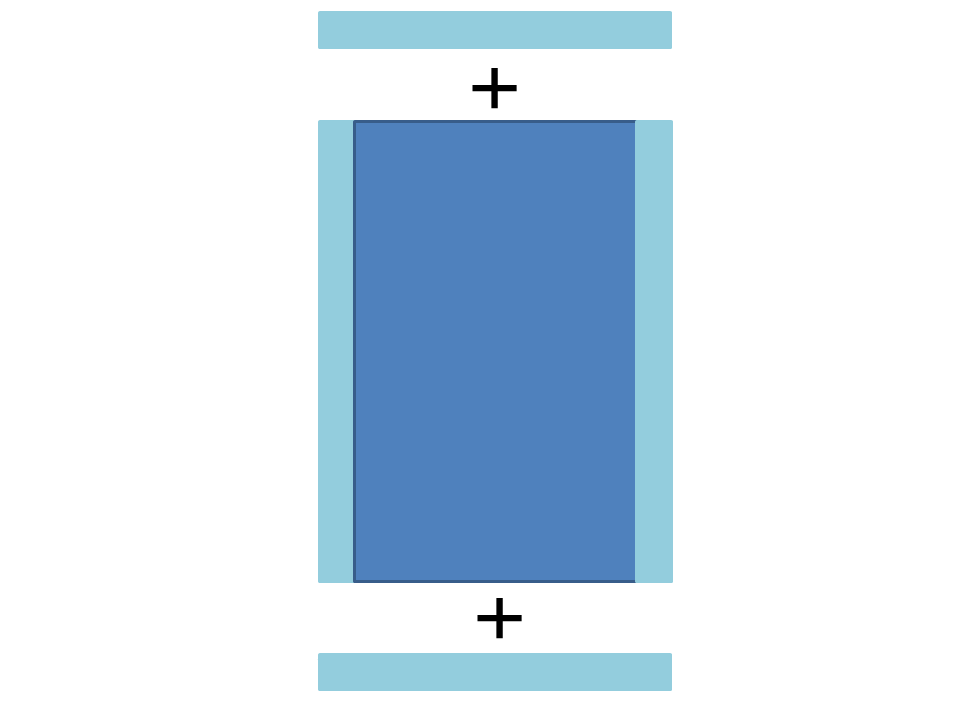
Next, sew the Aqua Diamond Strip along the top and bottom edges of the panel, as shown above. Trim the strip at the end so it is flush with the edges and press the seams toward the Aqua Diamond border. (I press toward the border at this point to reduce bulk.)
Repeat these steps to attach the Navy Text border and again for the Tan Volleyball border.
Now that your quilt top is finished, it is time to start quilting! Prepare your quilt back. I used the Tan Volleyball Net fabric from the Varsity collection. Make your quilt sandwich, layering the quilt back, quilt batting, and quilt top. Baste. I go back and forth between spray basting and using quilters safety pins. For this quilt, I opted to use the quilters safety pins.
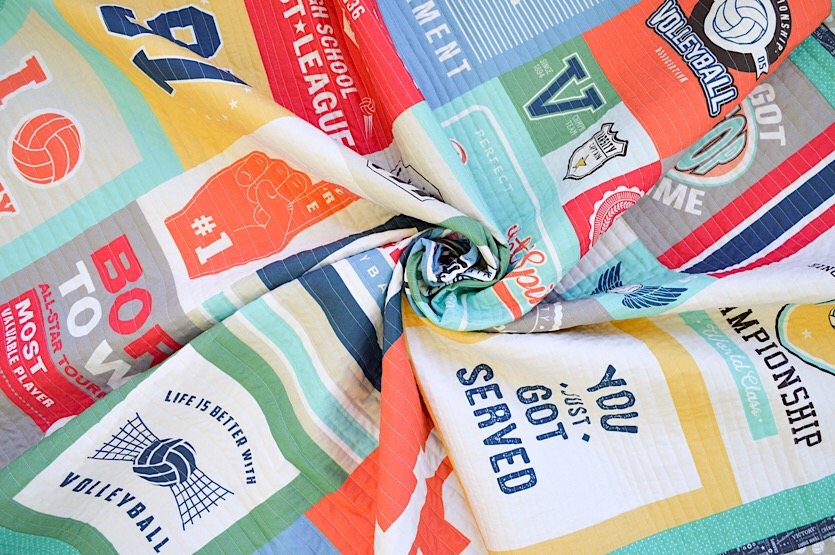
I did basic “straight line” quilting (my lines were anything but straight as you can see). I love this technique because it is easy and looks great. I find it really doesn’t matter if the lines are straight. I make no effort to draw or mark lines ahead of time. I just go for it and let the lines flow organically. Some are crooked and some are really straight because I have a straight edge on the border or panel design to keep me in check. Anything goes here. You could quilt circle shapes to mimic the shape of the volleyball, or you could do a freeform design — whatever strikes your fancy!
When you are done quilting, trim the edges and add the binding.
I always end up machine binding, but have complete respect for those of you who have the patience to hand bind. You can use whatever method you prefer. I really like this binding tutorial by Amy Smart. I used Riley Blake Apricot Blush for my binding. I absolutely love this color – not too pink, not too orange.
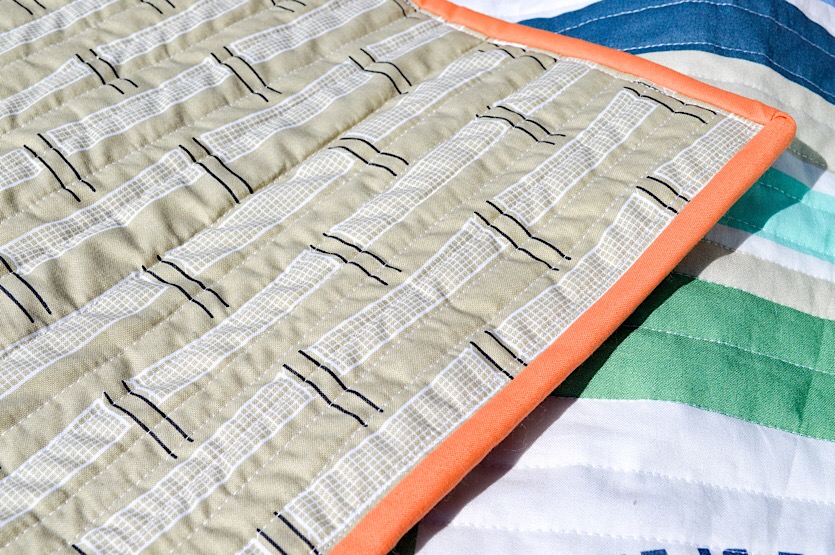
Here is a look at the quilt back. Aren’t those volleyball nets so fun?!
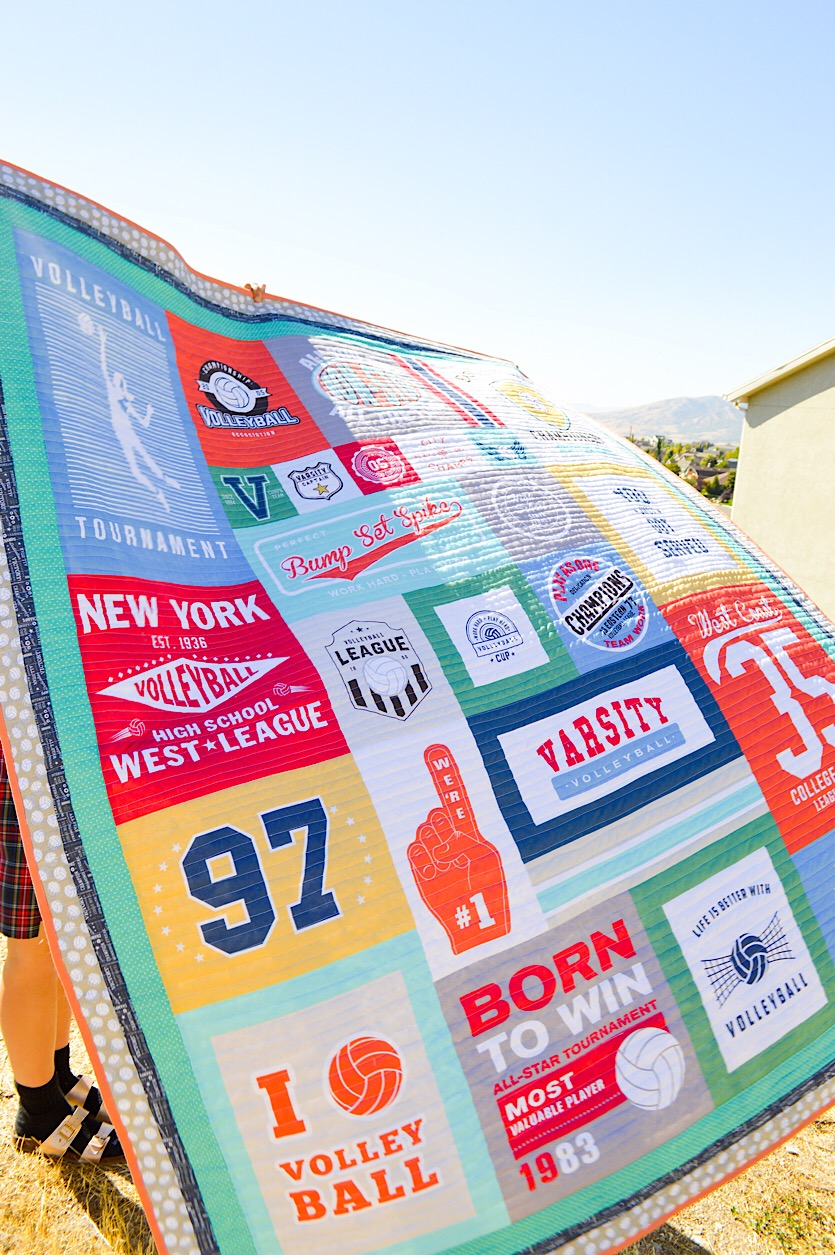
These quick and easy quilts would make fabulous gifts to teammates, grandkids, coaches, best friends, or any sports fan!

And they are large enough to wrap around yourself while watching a game from the stands or from the sofa.
Cut up the panel and make pillowcases, giant floor pillows, pajama pants, tote bags and more! The options are endless.
Varsity, by Deena Rutter, is available now at your favorite local and online quilt shops, so pick up yours today and share your Varsity projects with us on Instagram using #rileyblakedesigns #iloverileyblake #fabricismyfun.
Happy Quilting!