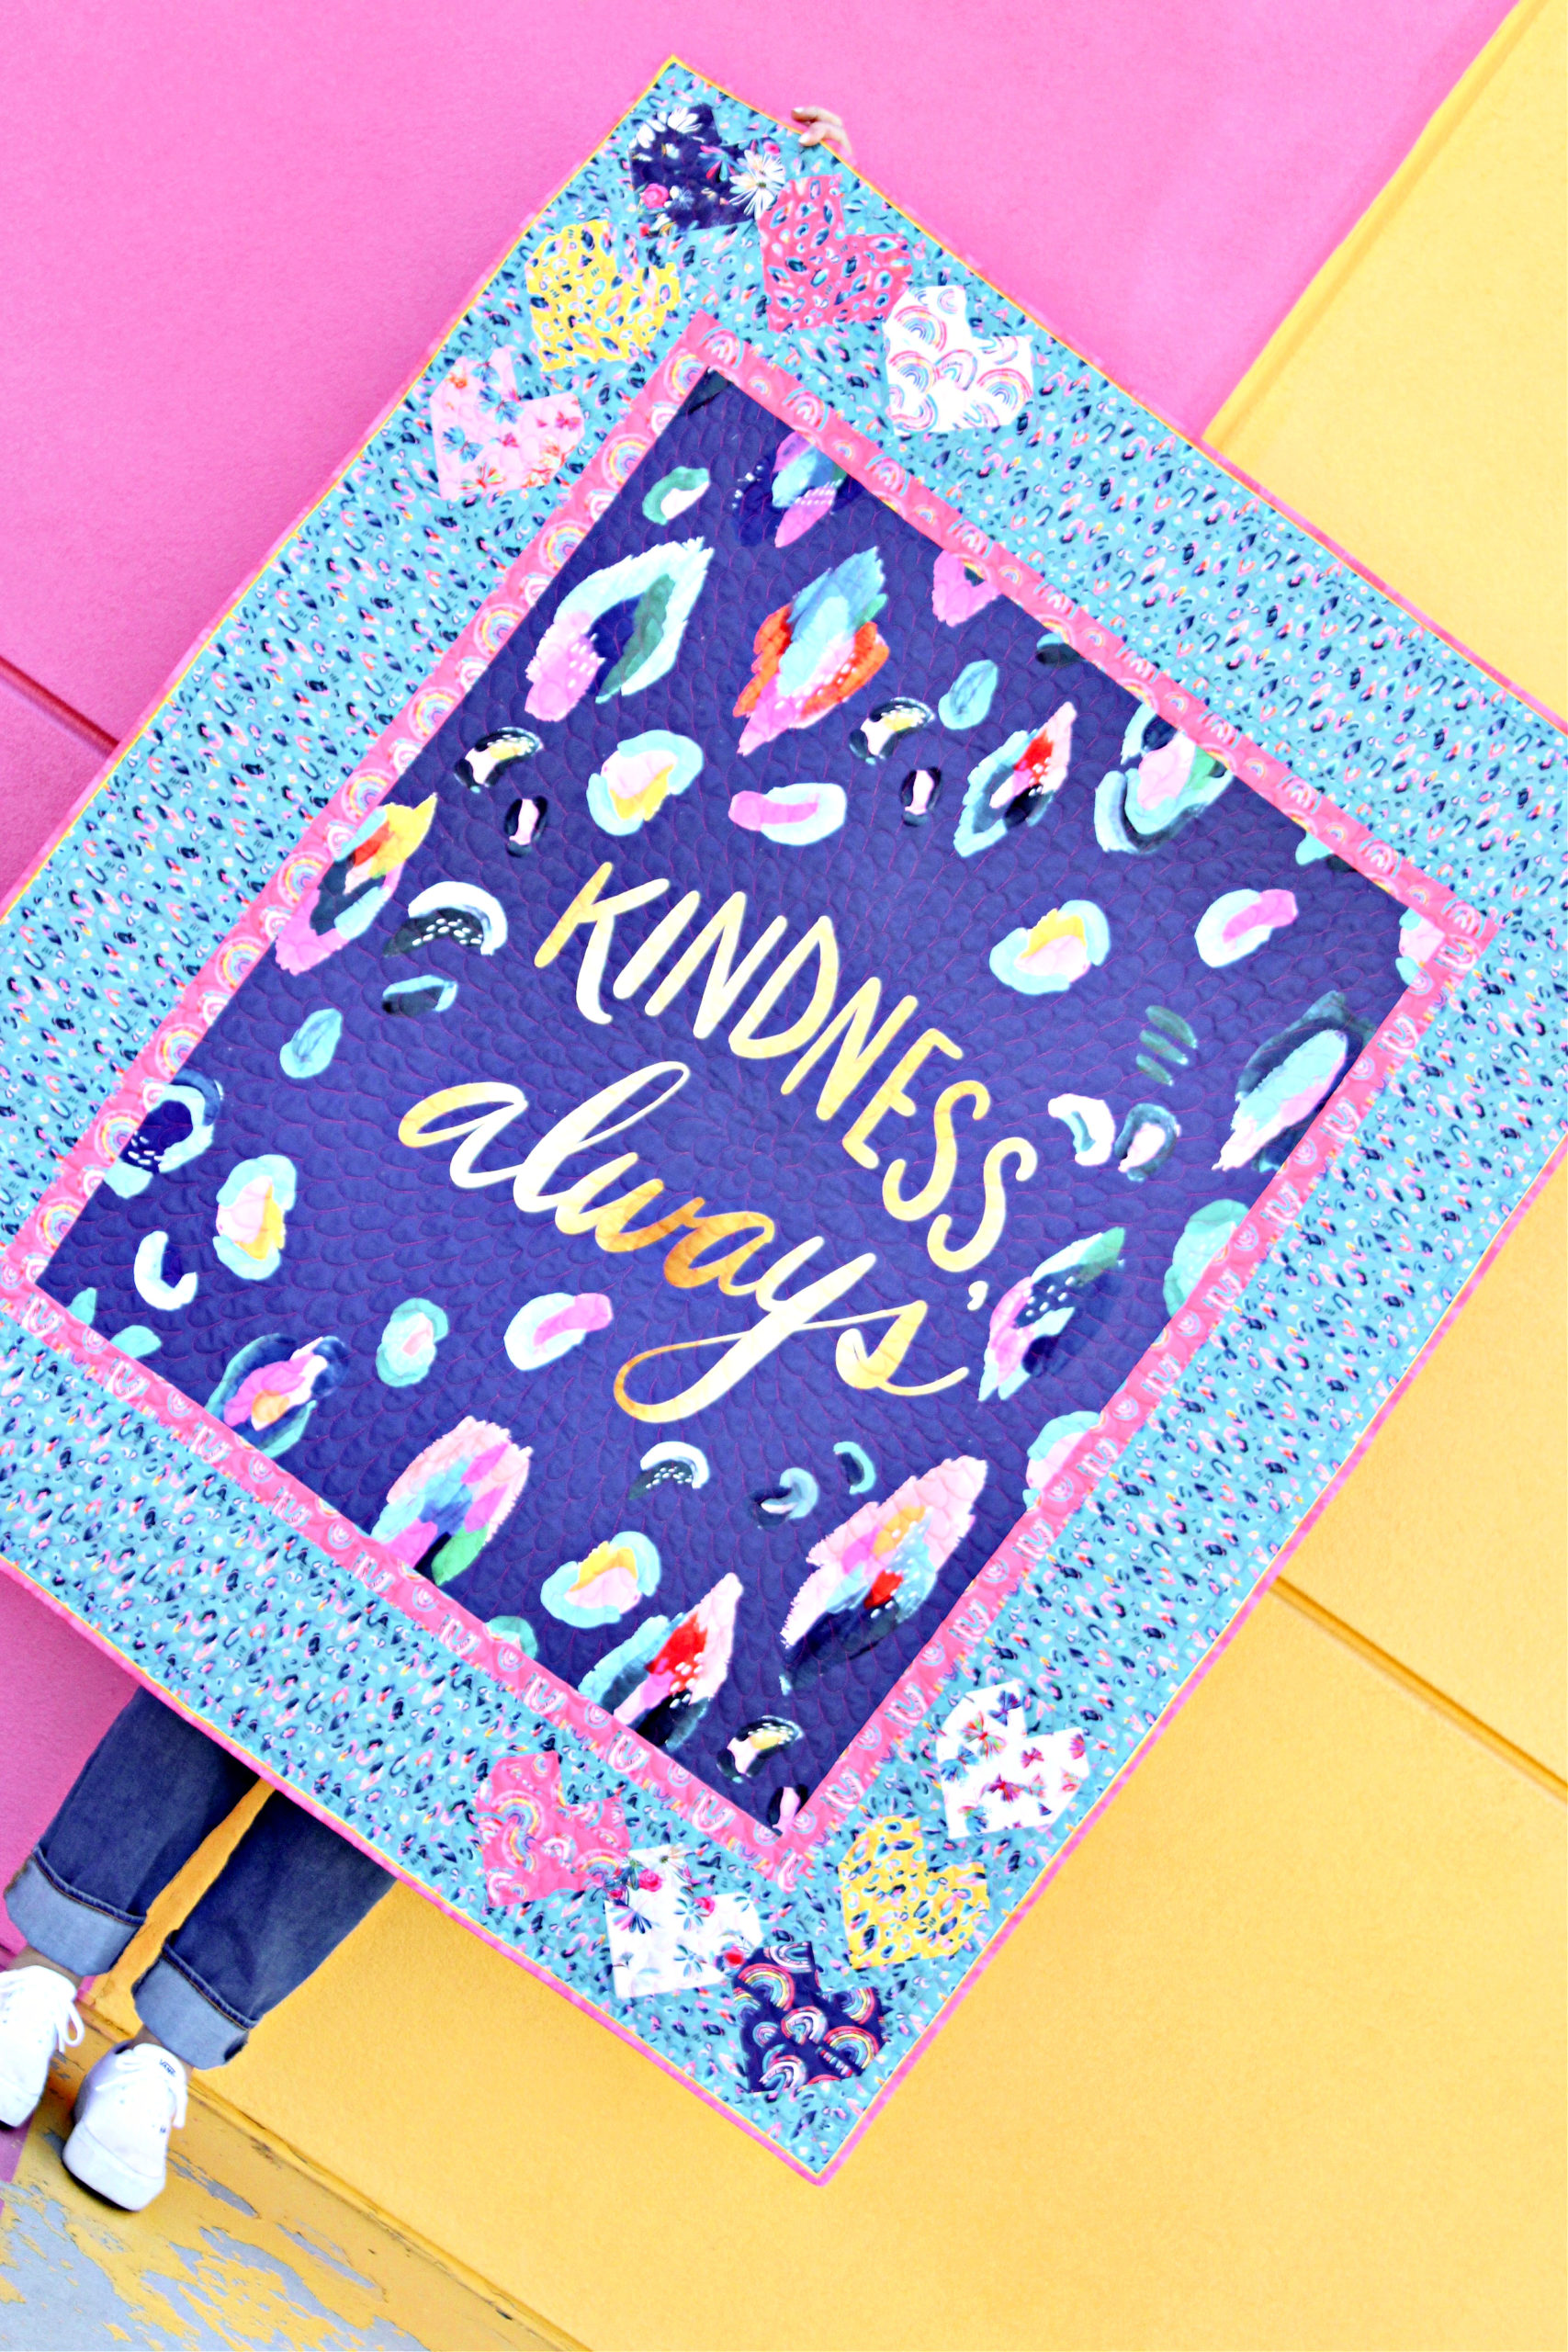
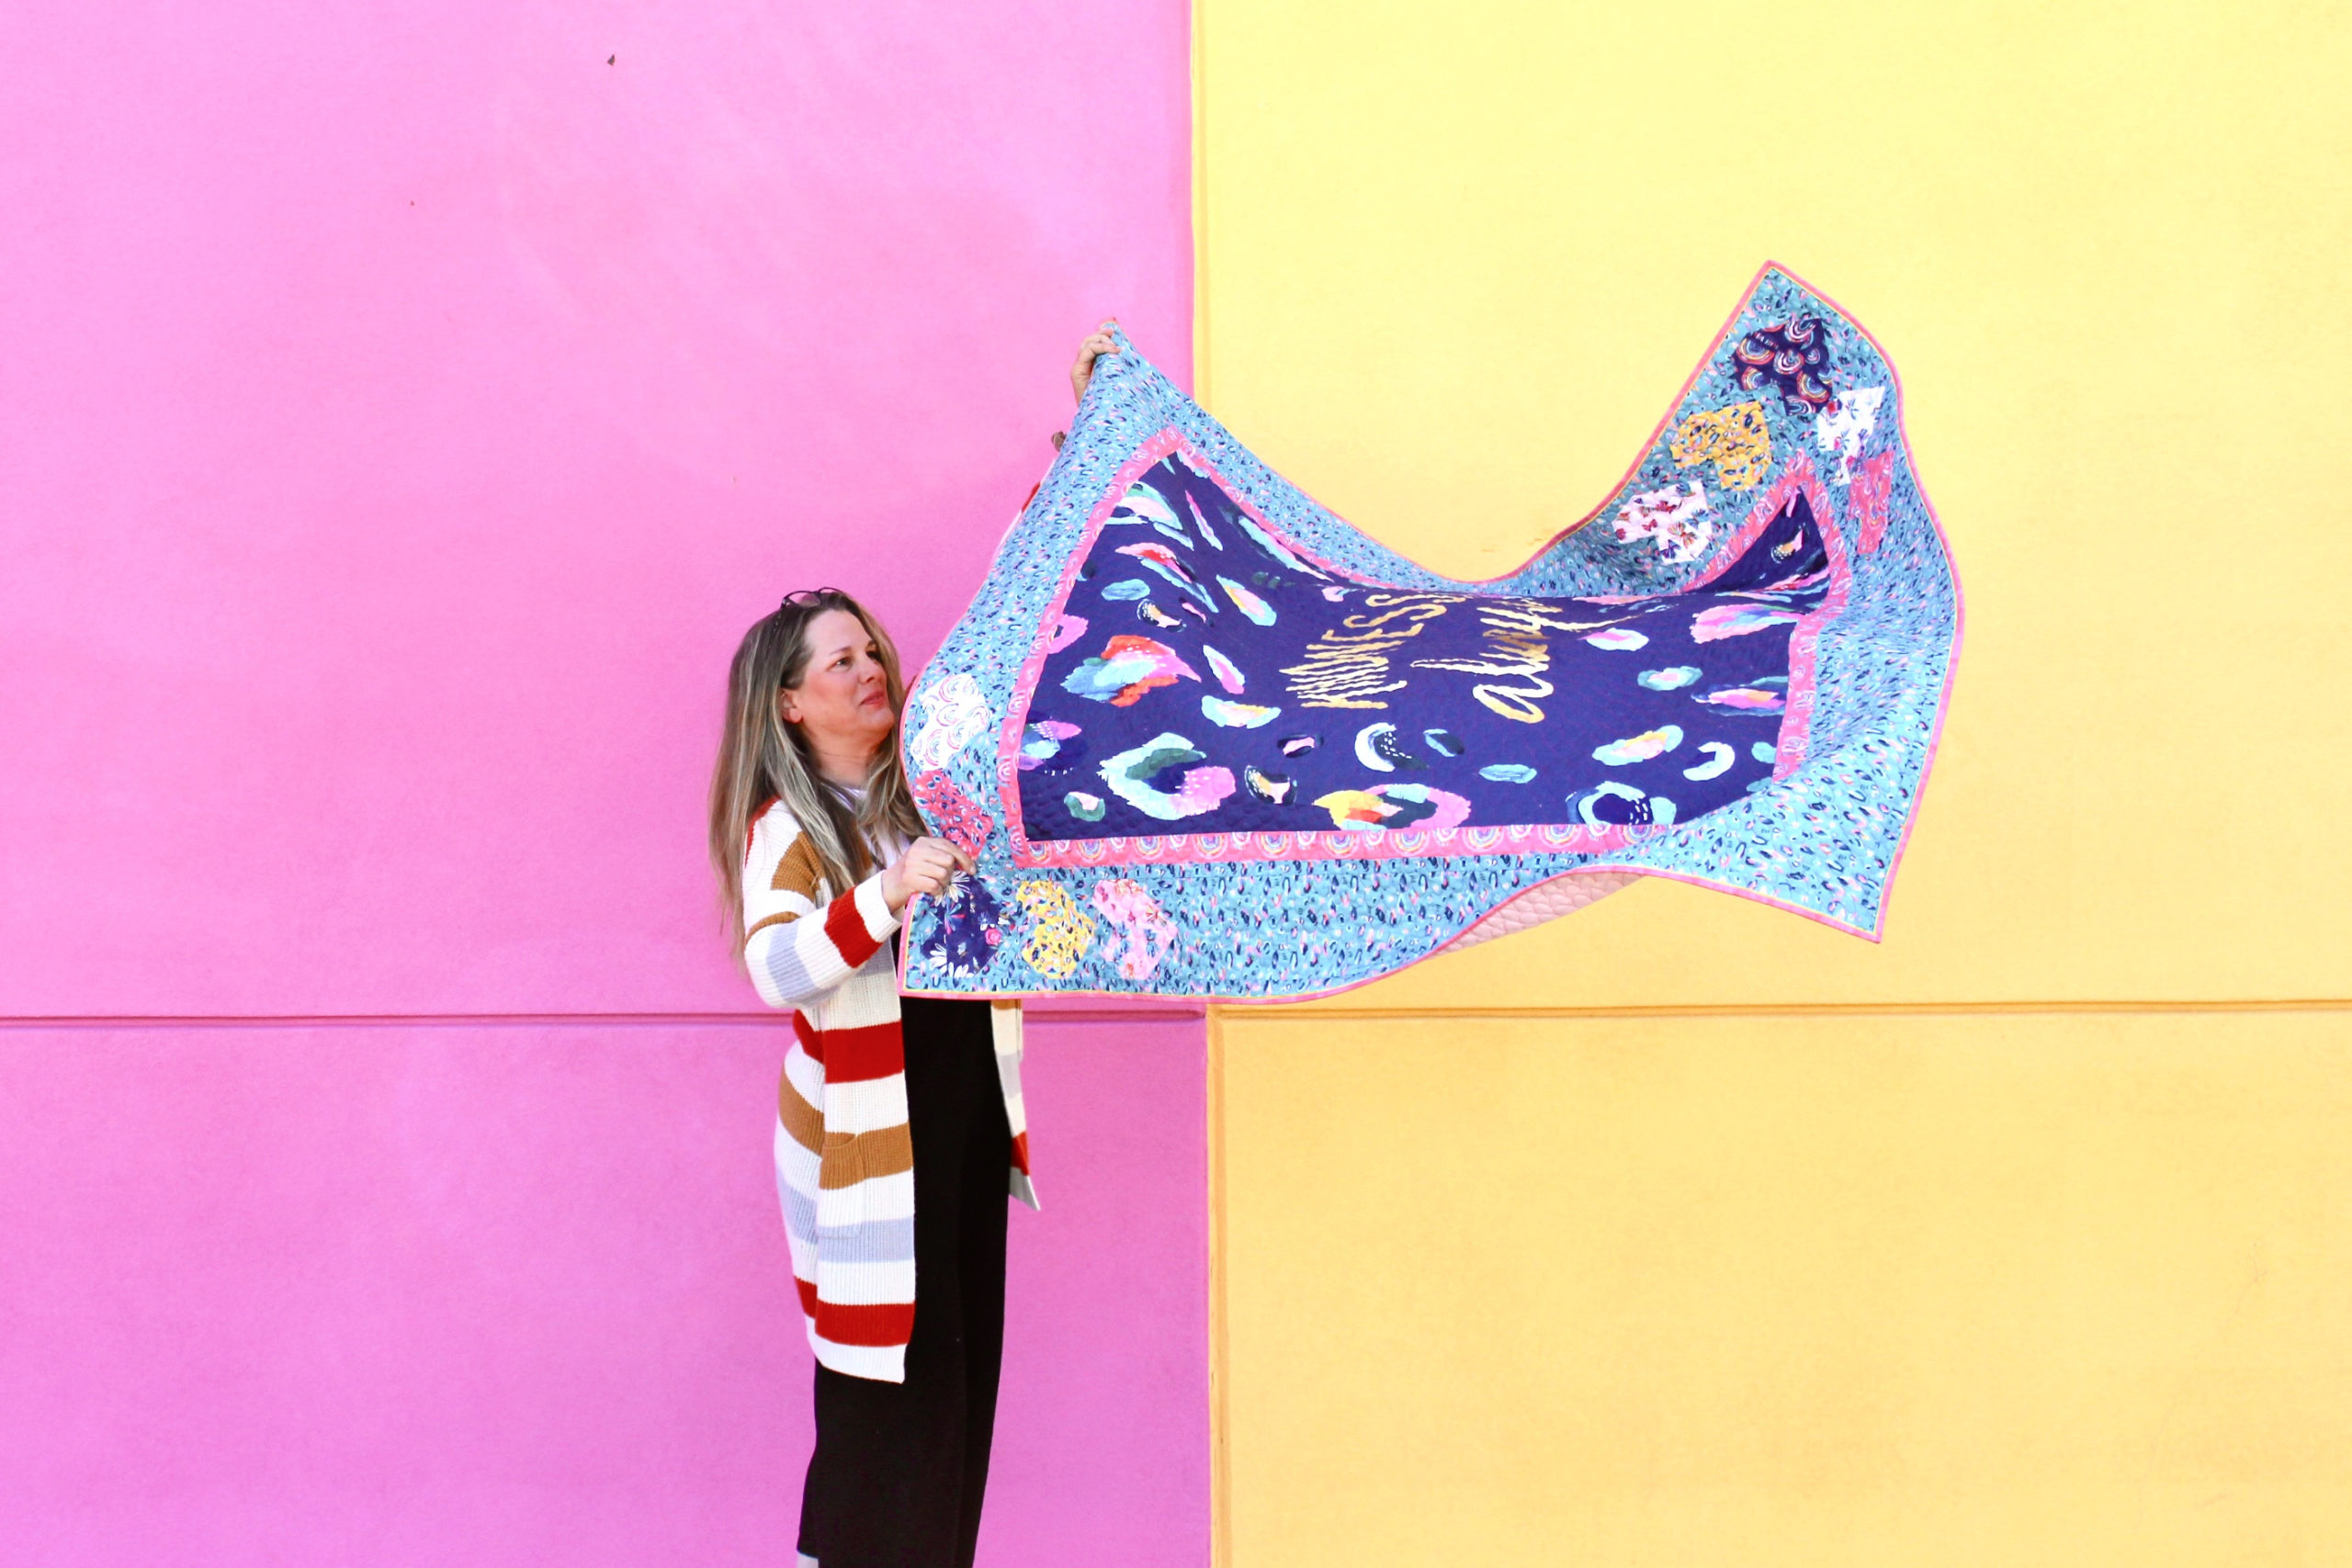
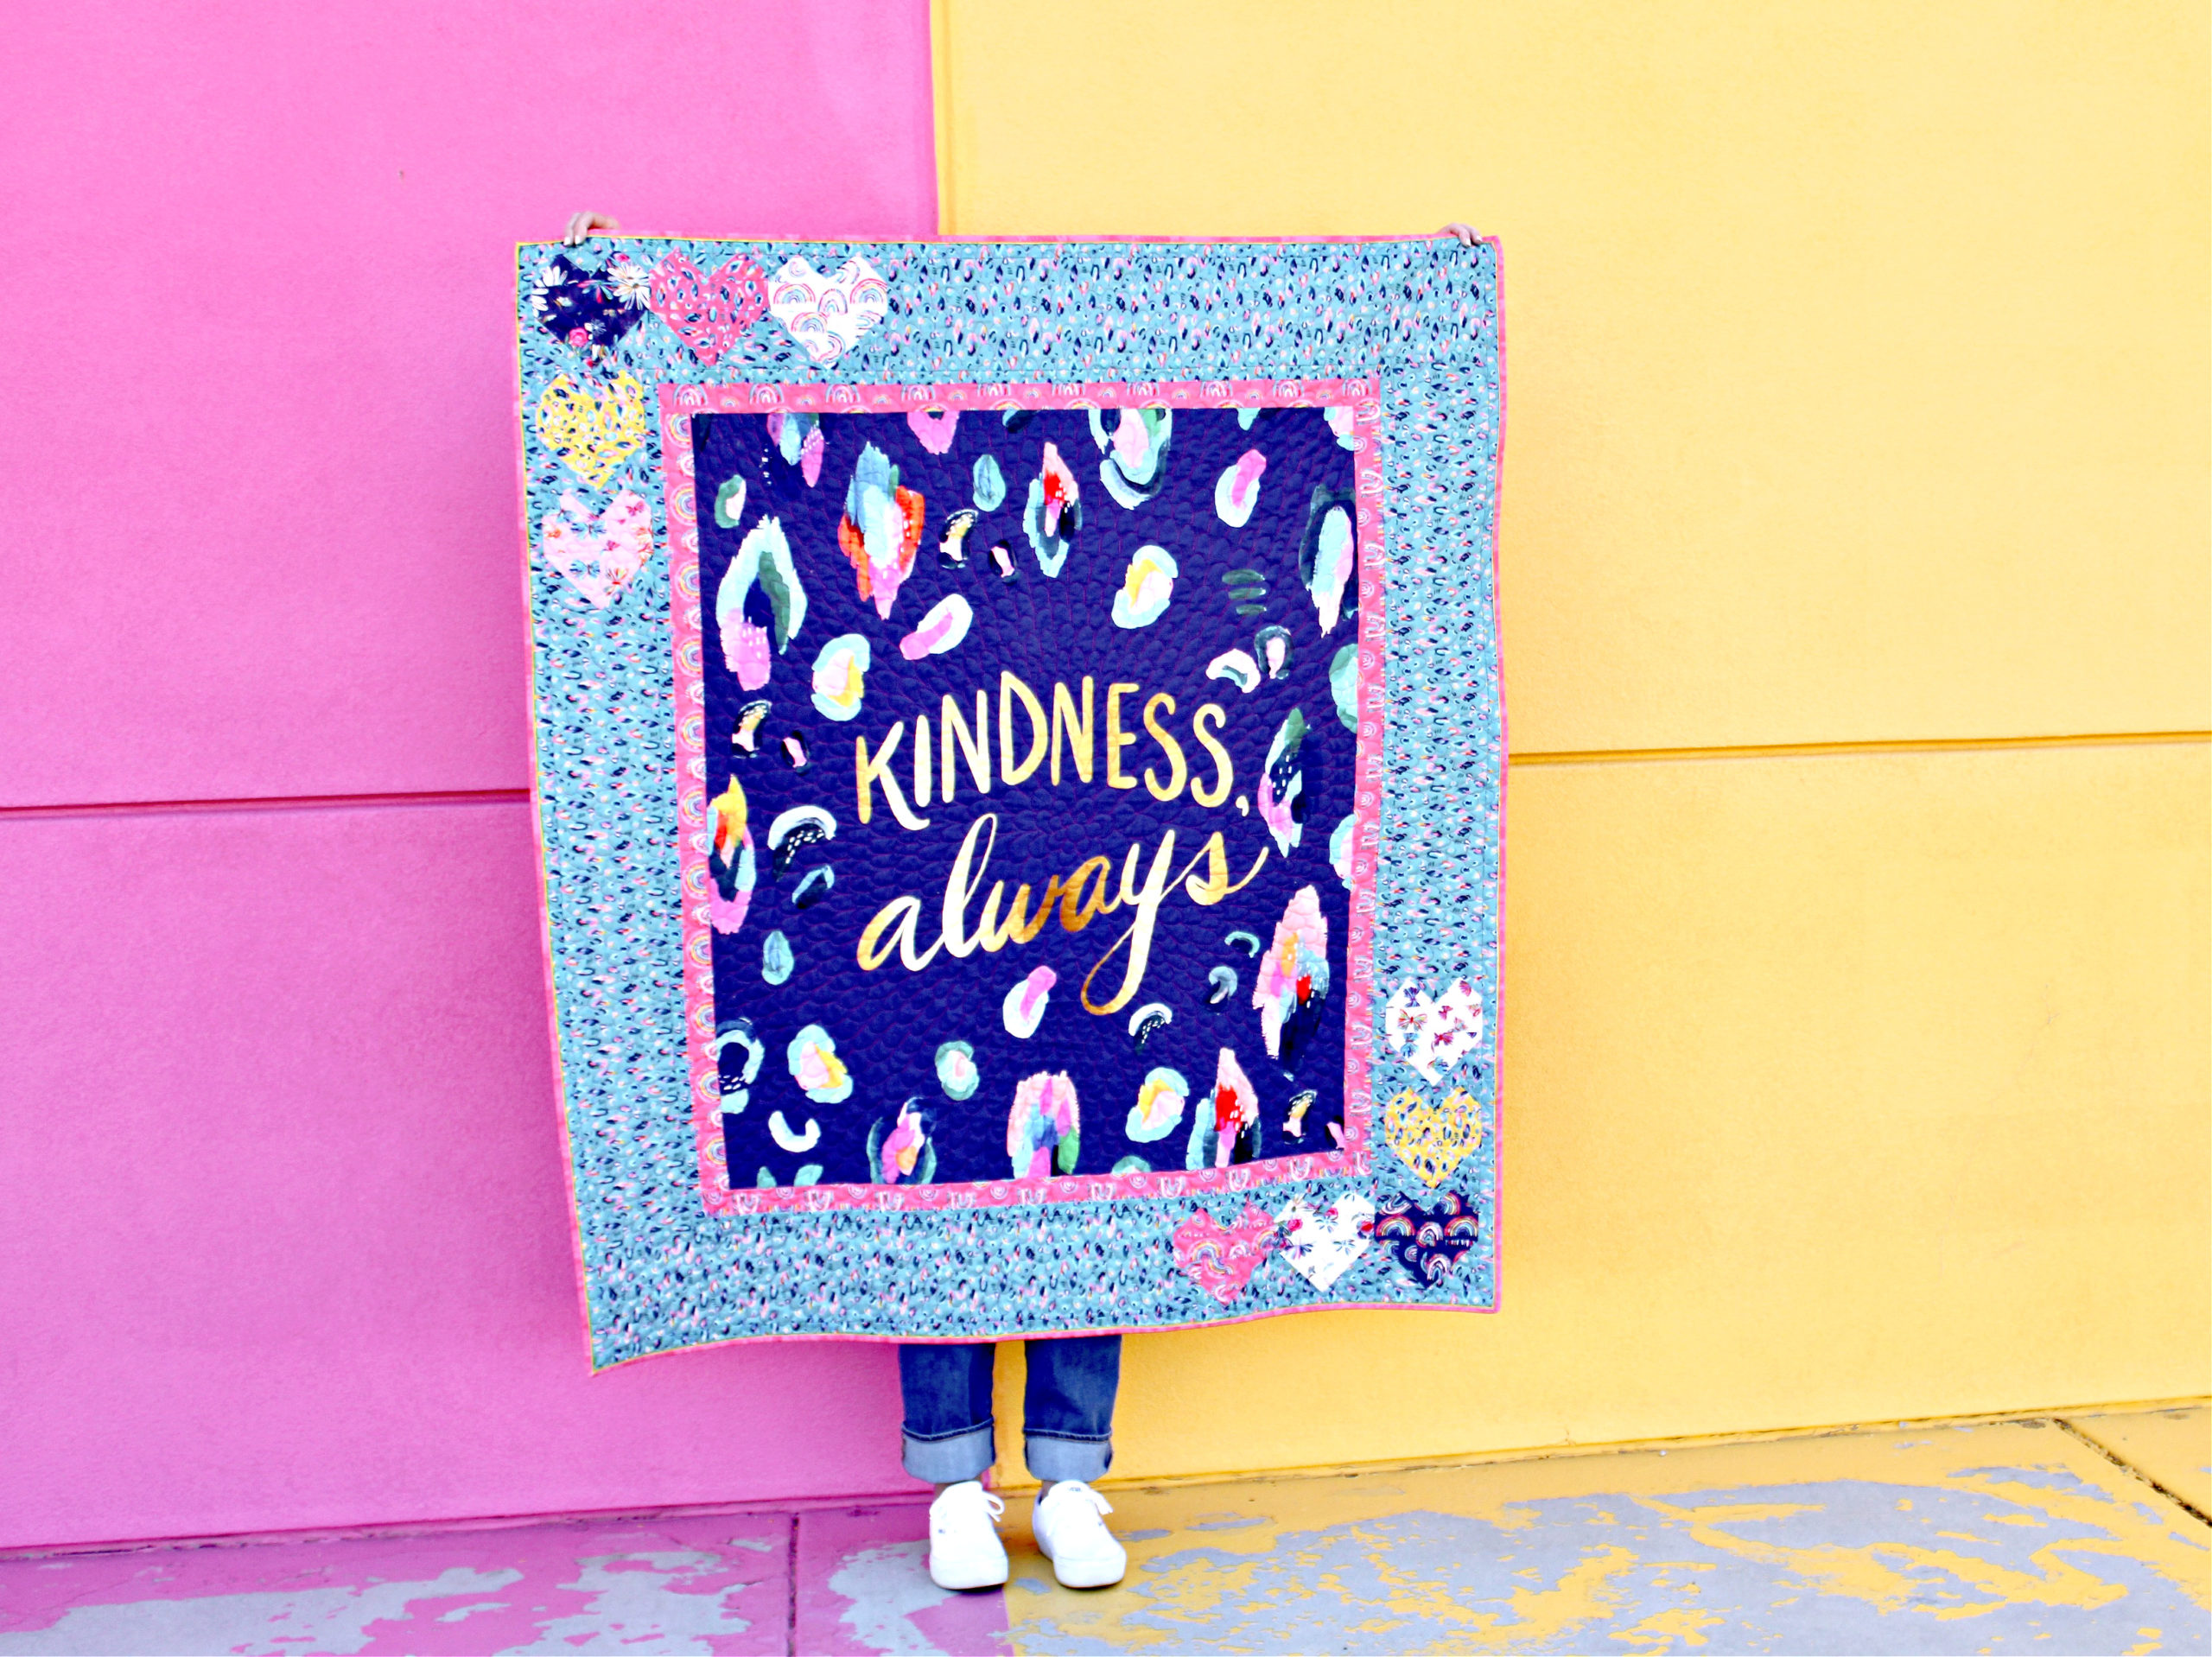
Hello, friends! It’s Julia from Bayhill Studio. I’m thrilled to be sharing a fun throw sized panel quilt with you today featuring some of the gorgeous fabric from the Kindness, Always collection designed by EttaVee.

You know I love to sew with fabric panels, and this stunning panel immediately caught my eye.
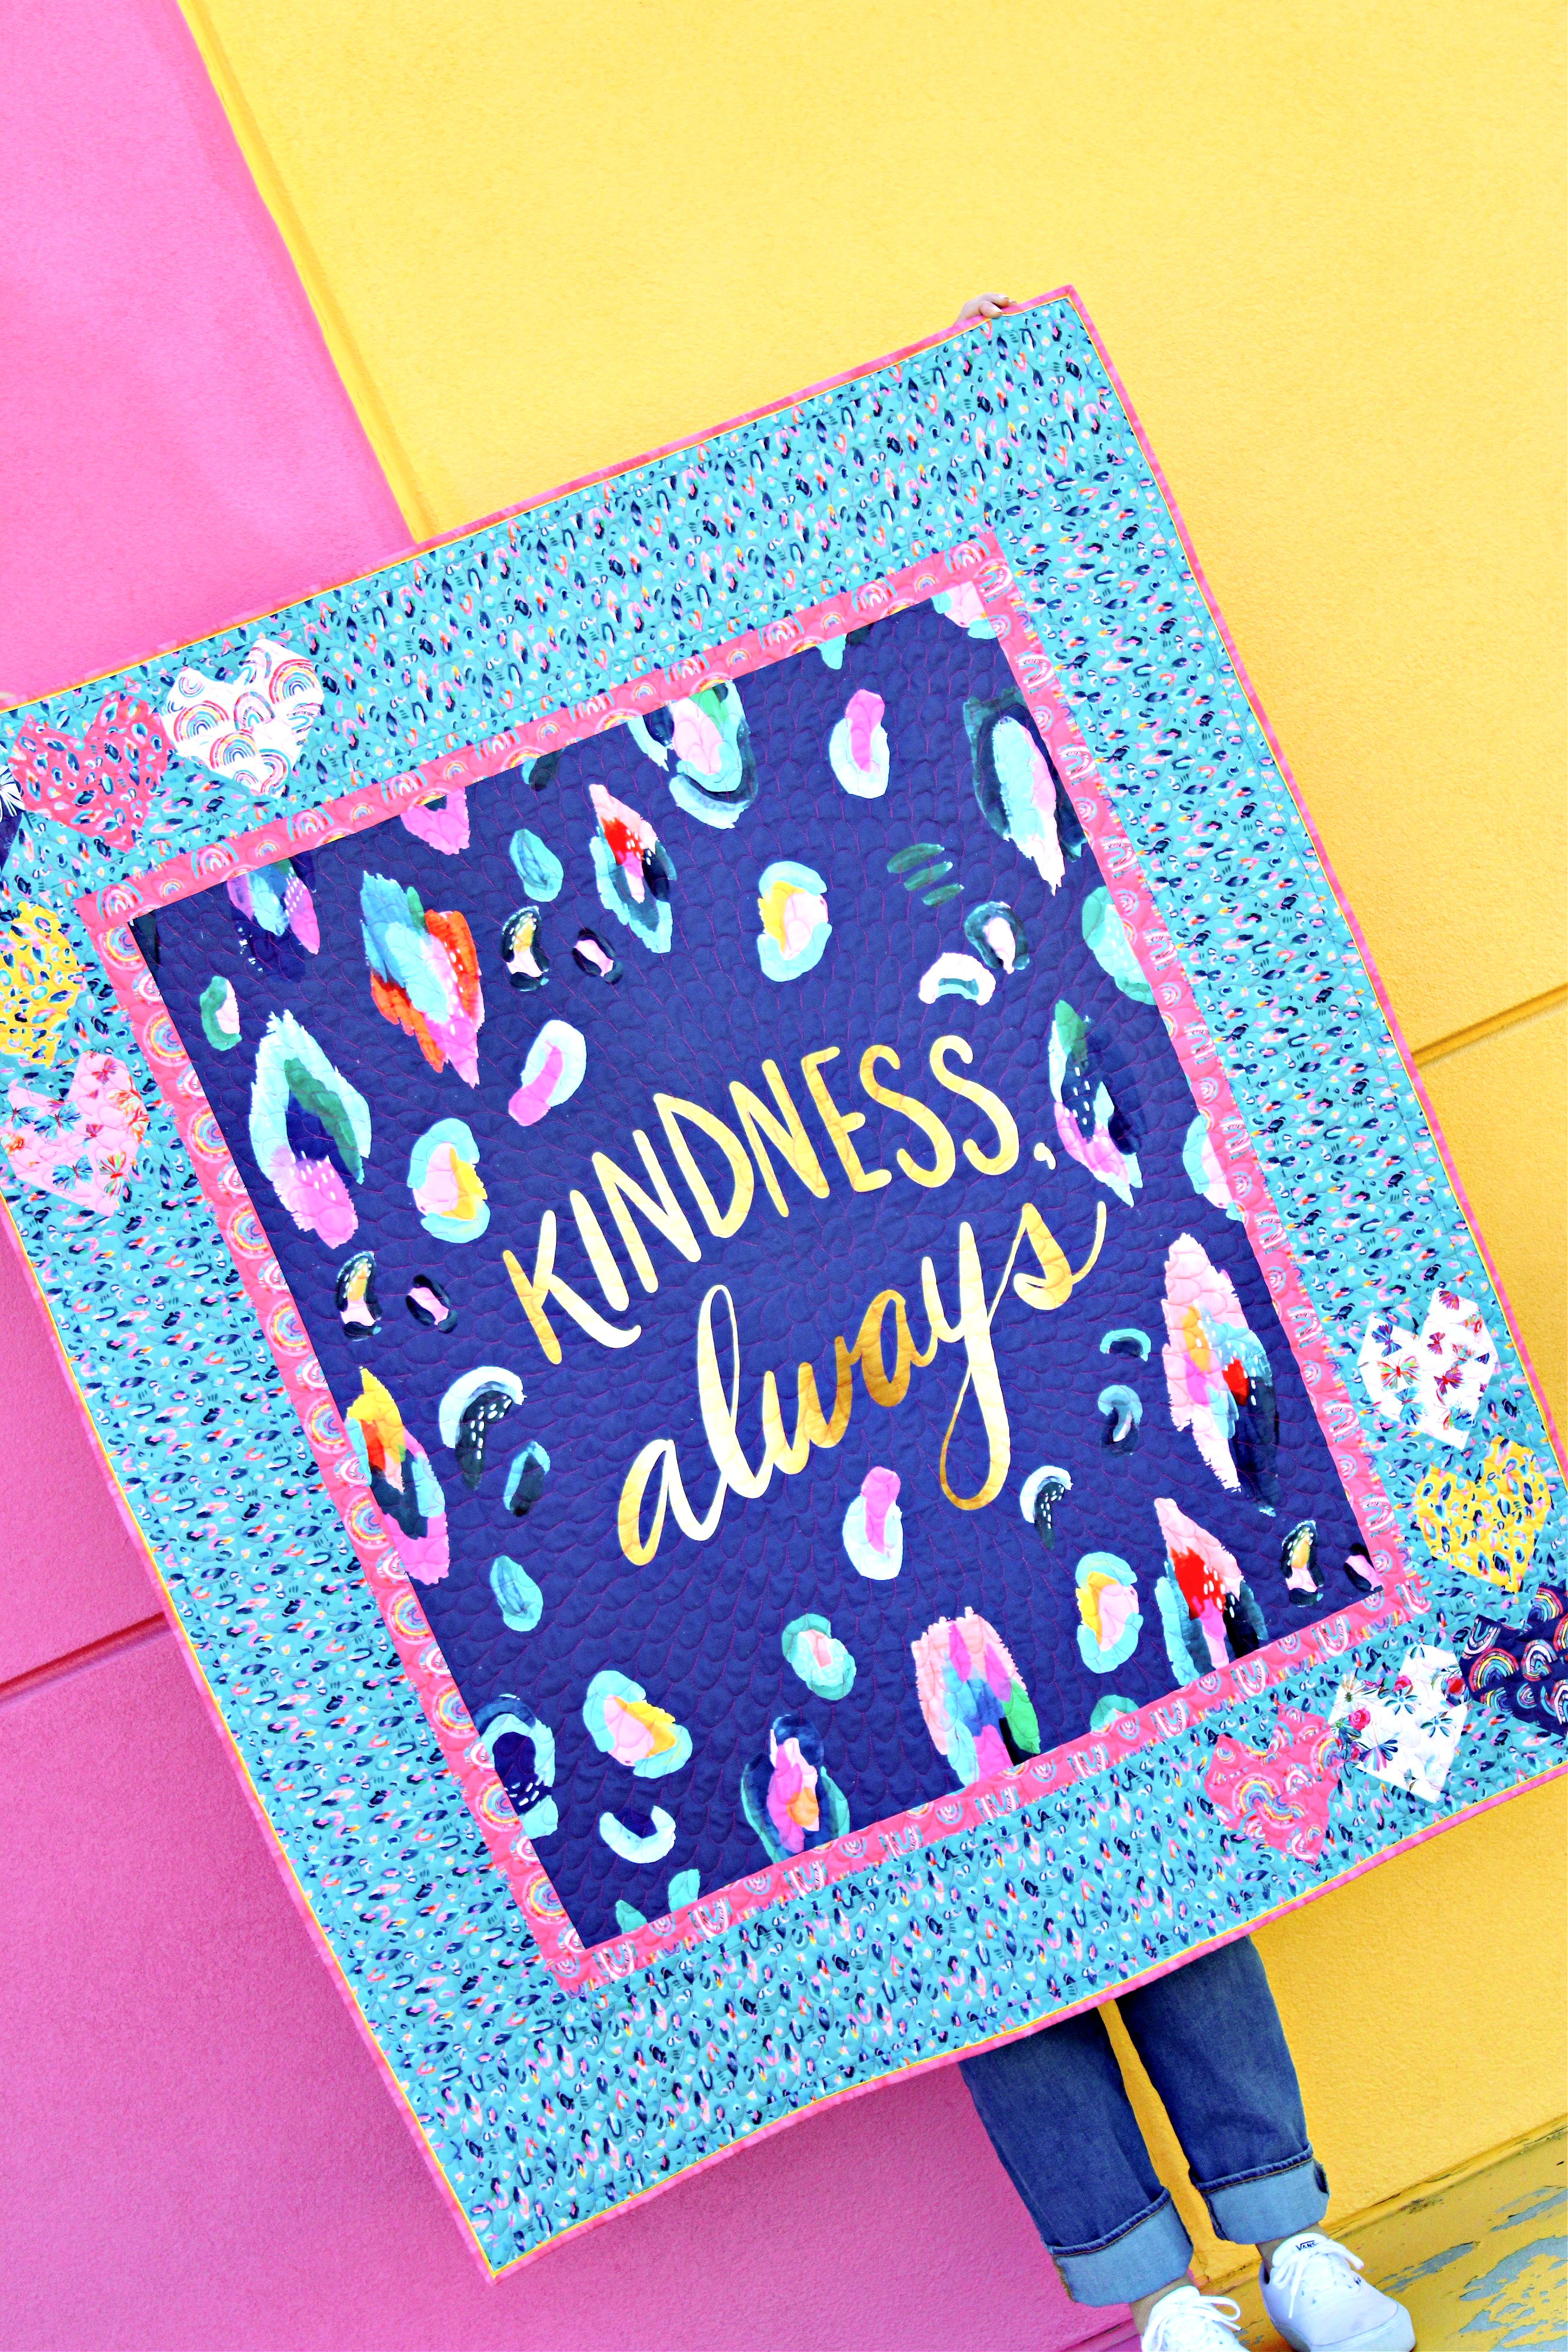
For me, the brilliant colors, the fun abstract design, and the lovely message made this one an absolute winner.
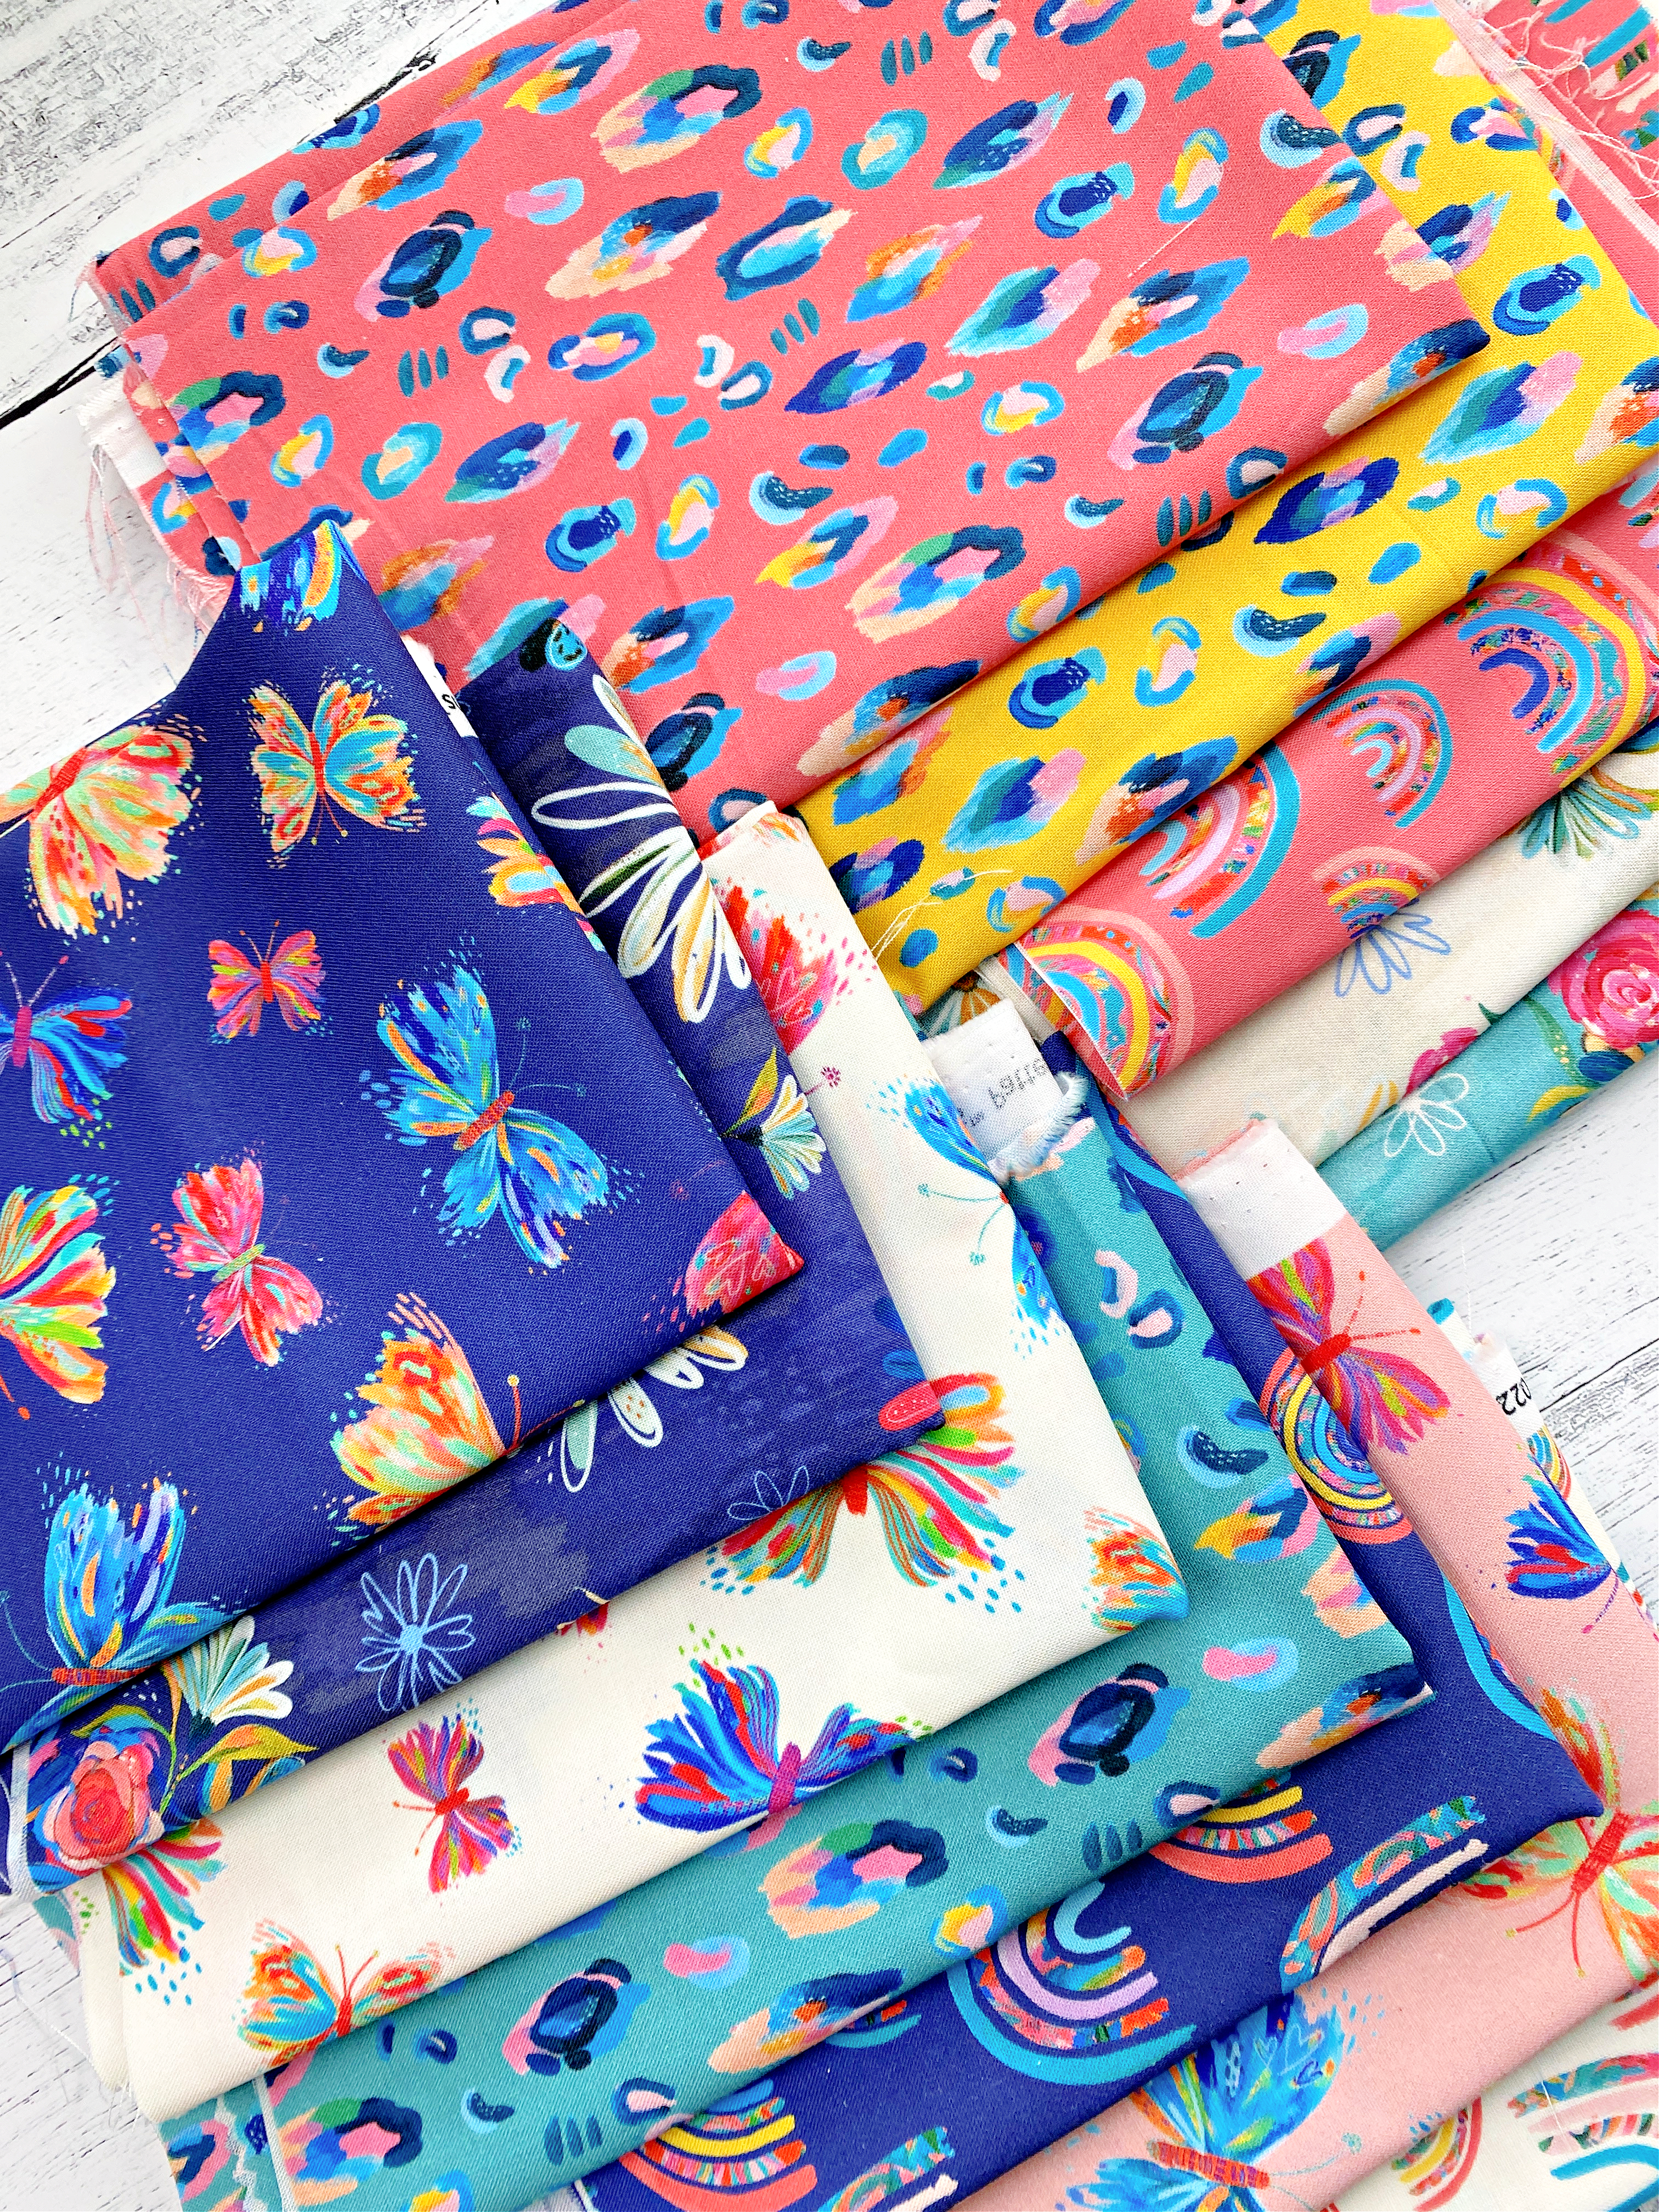
Of course, a beautiful panel needs a beautiful border to complement it, so I pulled together this little stack of fabrics from the collection, and they are pure eye candy, don’t you think?
This quilt is a throw size, measuring approximately 49″ x 59″.
For the border strips (without the heart blocks) you will need:
- 10 – 1-1/2″ x WOF Kindness Always Teal Leopard strips of fabric
- 4 – 2″ x WOF Kindness Always Pink Rainbow strips of fabric
- 5 – 6-1/2″ x WOF Kindness Always Teal Leopard strips of fabric
- 10 – Heart Blocks (directions below)
To create the border, first add 2″ strips of the Pink Rainbows fabric to the sides, followed by the top and bottom. Press toward the border strips.
Next, add a 1-1/2″ strip of the Teal Leopard fabric to the sides, followed by the top and bottom. Press. *I added this strip to either side of the heart strip to make it appear as if the hearts were “floating.”
The heart strips are really just a fun combination of 6-1/2″ heart blocks at the end of a 6-1/2″ strip of Teal Leopard fabric. Easy peasy.
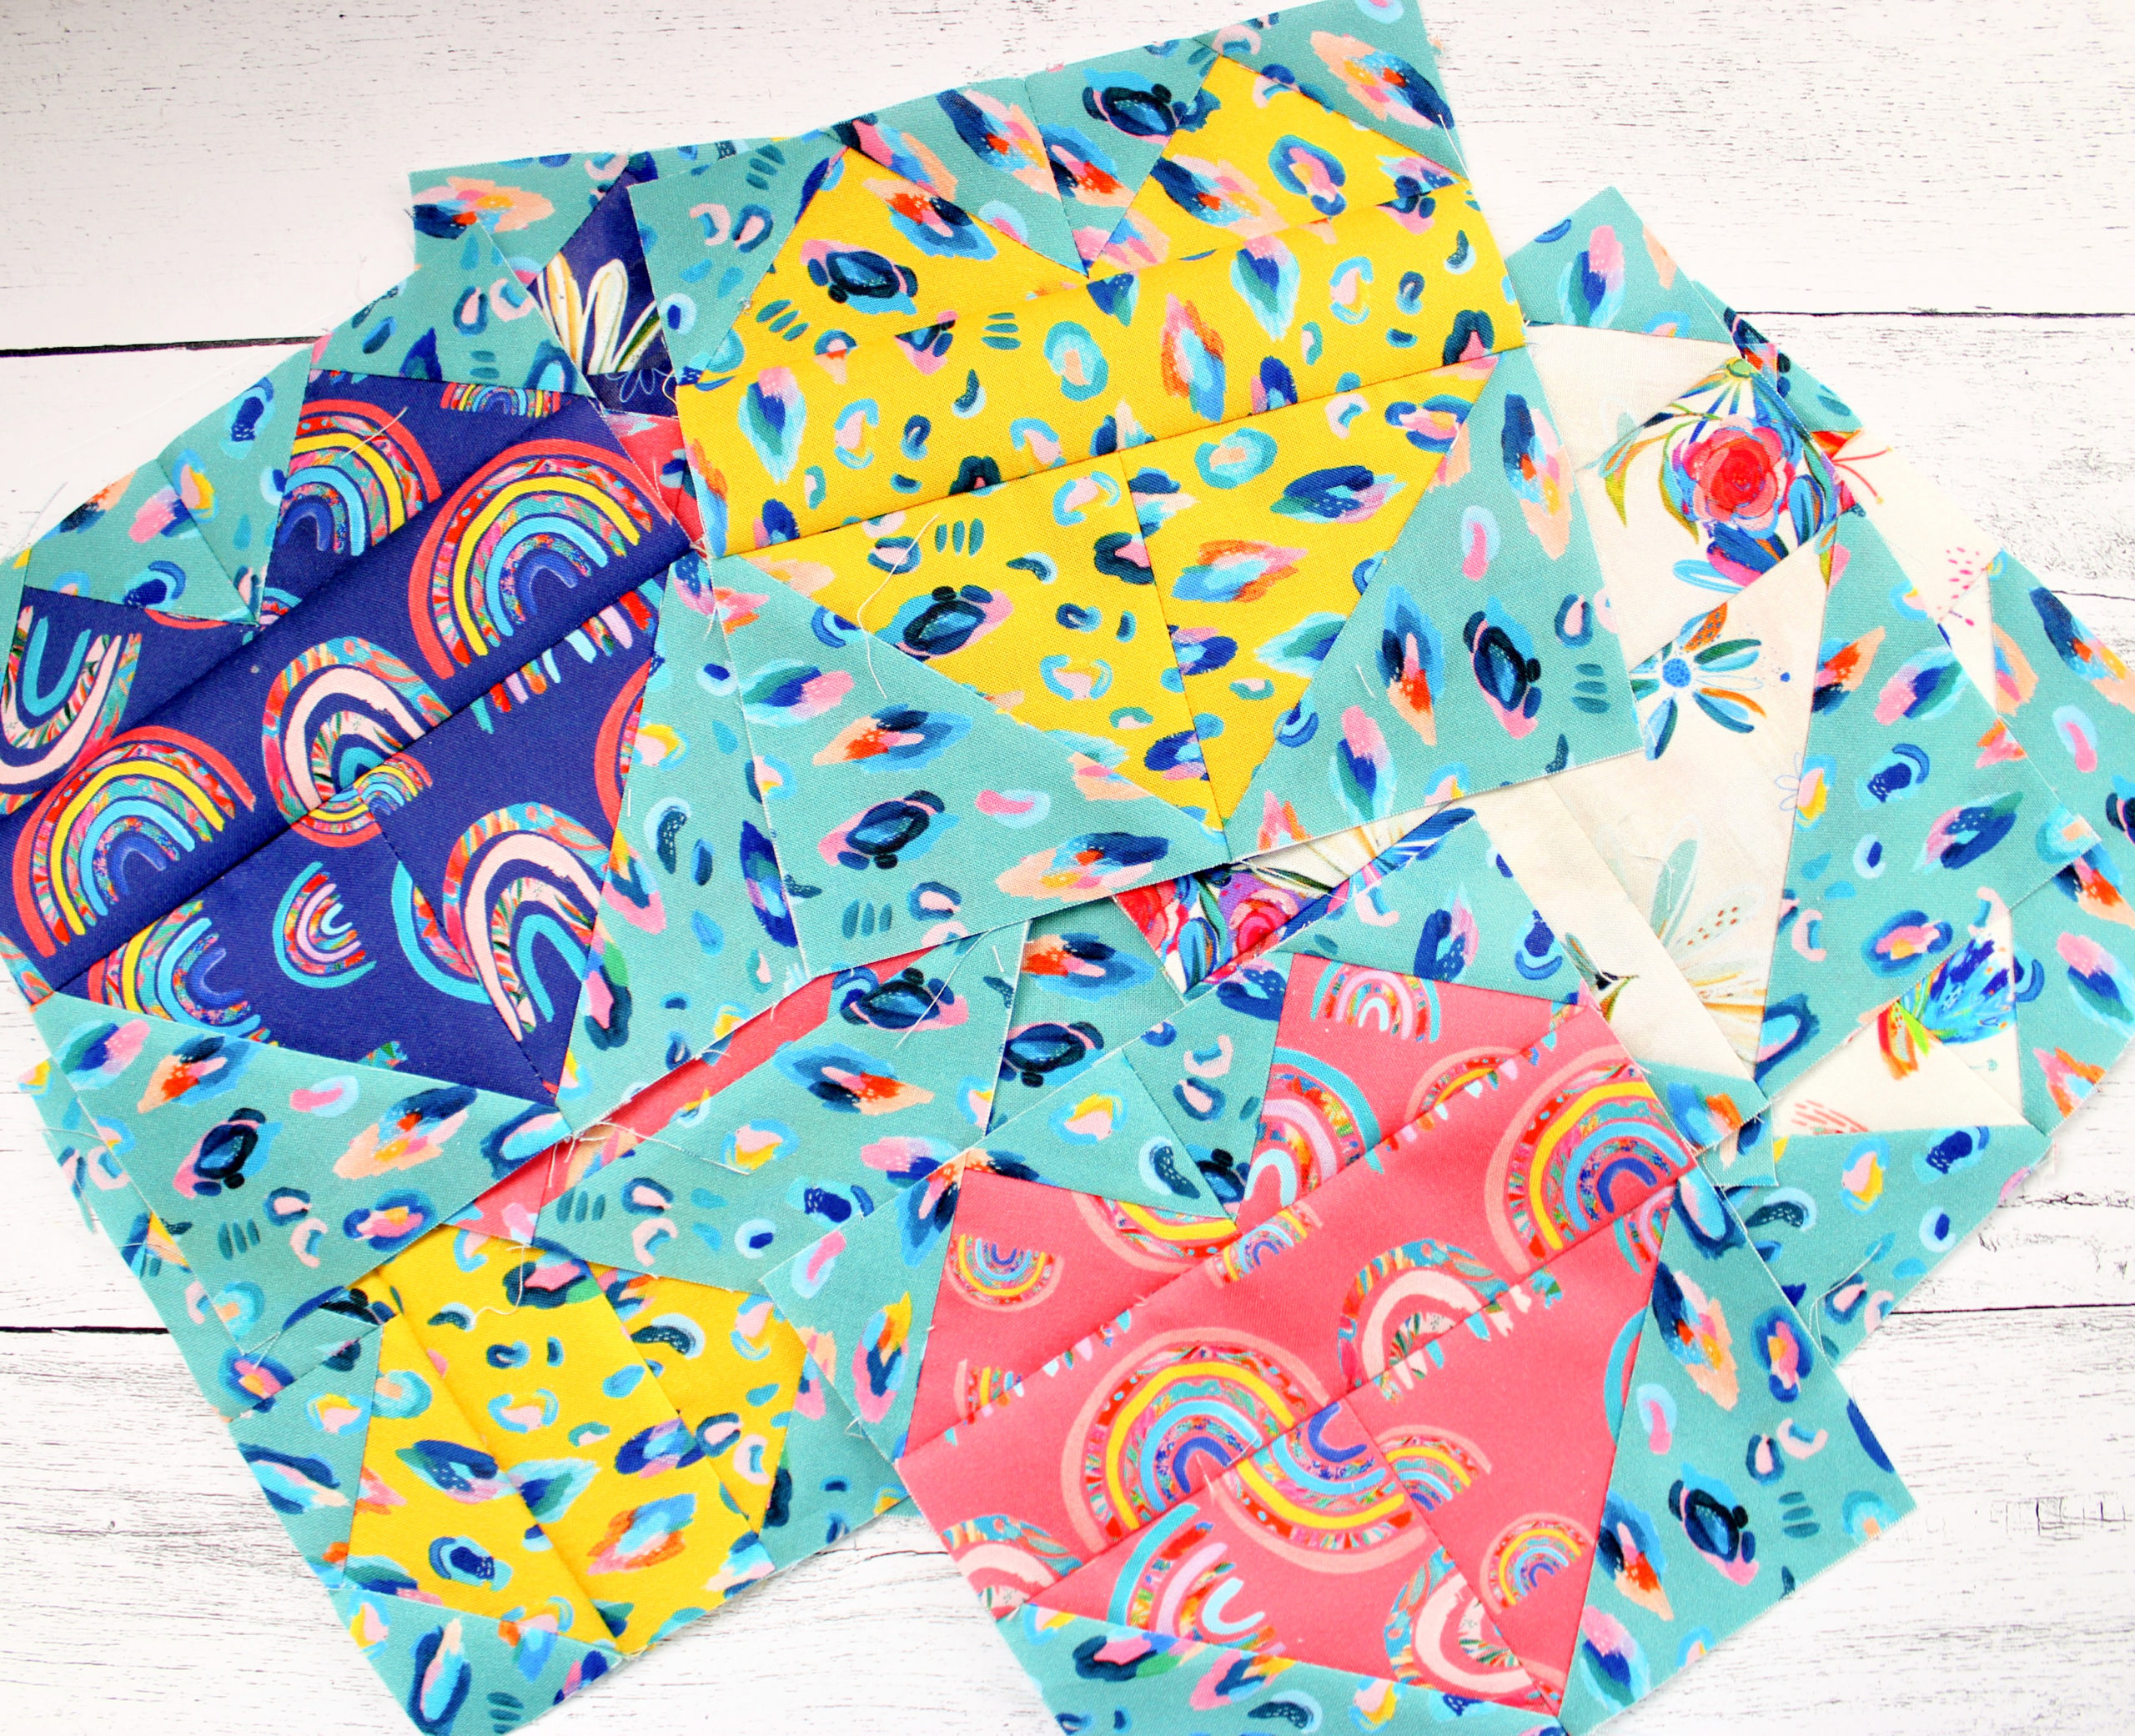
To make the heart blocks, you will need:
- 3-1/2″ square of Teal Leopard fabric
- 3″ square heart fabric (whatever fabric you are using for the heart)
- 2″ x 6-1/2″ rectangle heart fabric
- 3-7/8″ square heart fabric
- 3-7/8″ square Teal Leopard fabric
Cut the 3-1/2″ square of teal Leopard fabric on the diagonal, then on the opposite diagonal, giving you four triangles.
Cut the 3″ heart fabric along one of the diagonals, giving you two triangles.
With all of these triangles, we will be making a flying geese unit. Sew one of the teal fabric triangles to a short side of the heart fabric. Press. Sew another teal triangle to the opposite short side of the heart triangle. Press. This is your flying geese unit. Trim to 2-1/2″ x 3-1/2″. Repeat to create one more identical flying geese unit.
Sew the two flying geese units together along one of the short ends. Press. This long rectangle is the top of the heart.
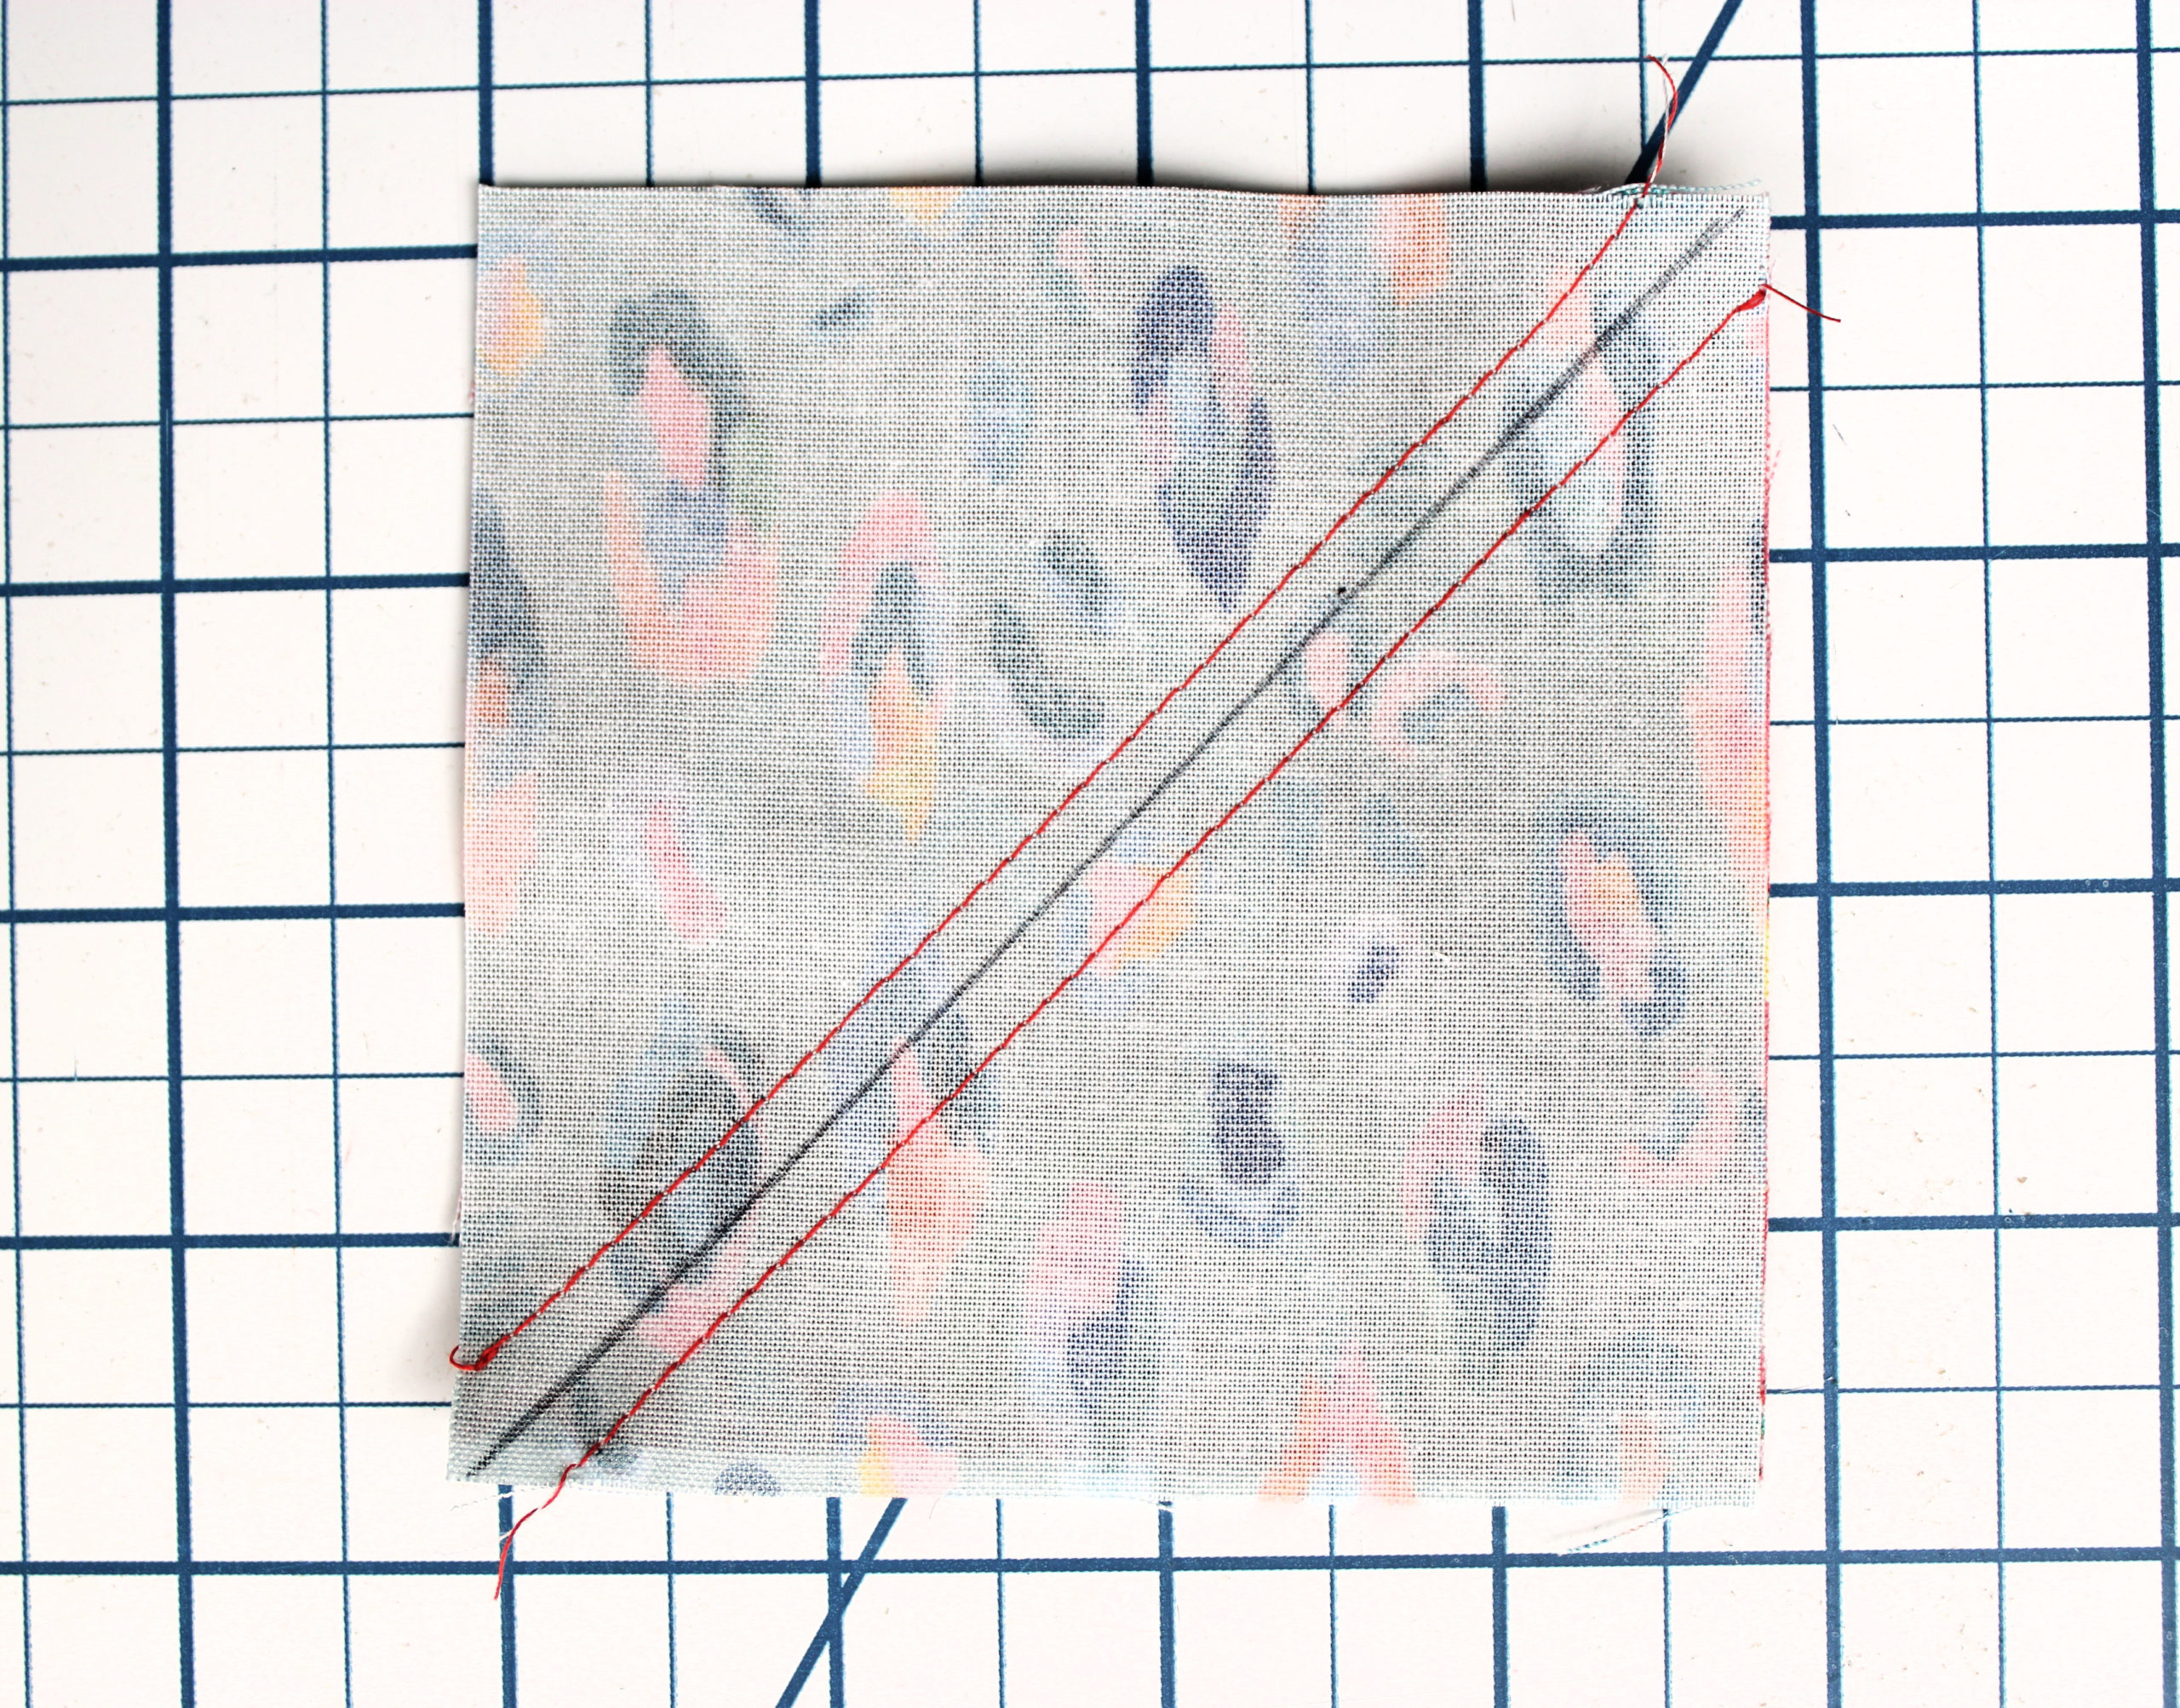
Now let’s make the half square triangle units at the base of the heart. Place a 3-7/8″ heart square with a 3-7/8″ teal Leopard square, right sides facing. Draw a line on the diagonal of the back of the teal Leopard print. Stitch 1/4″ on either side of the line.
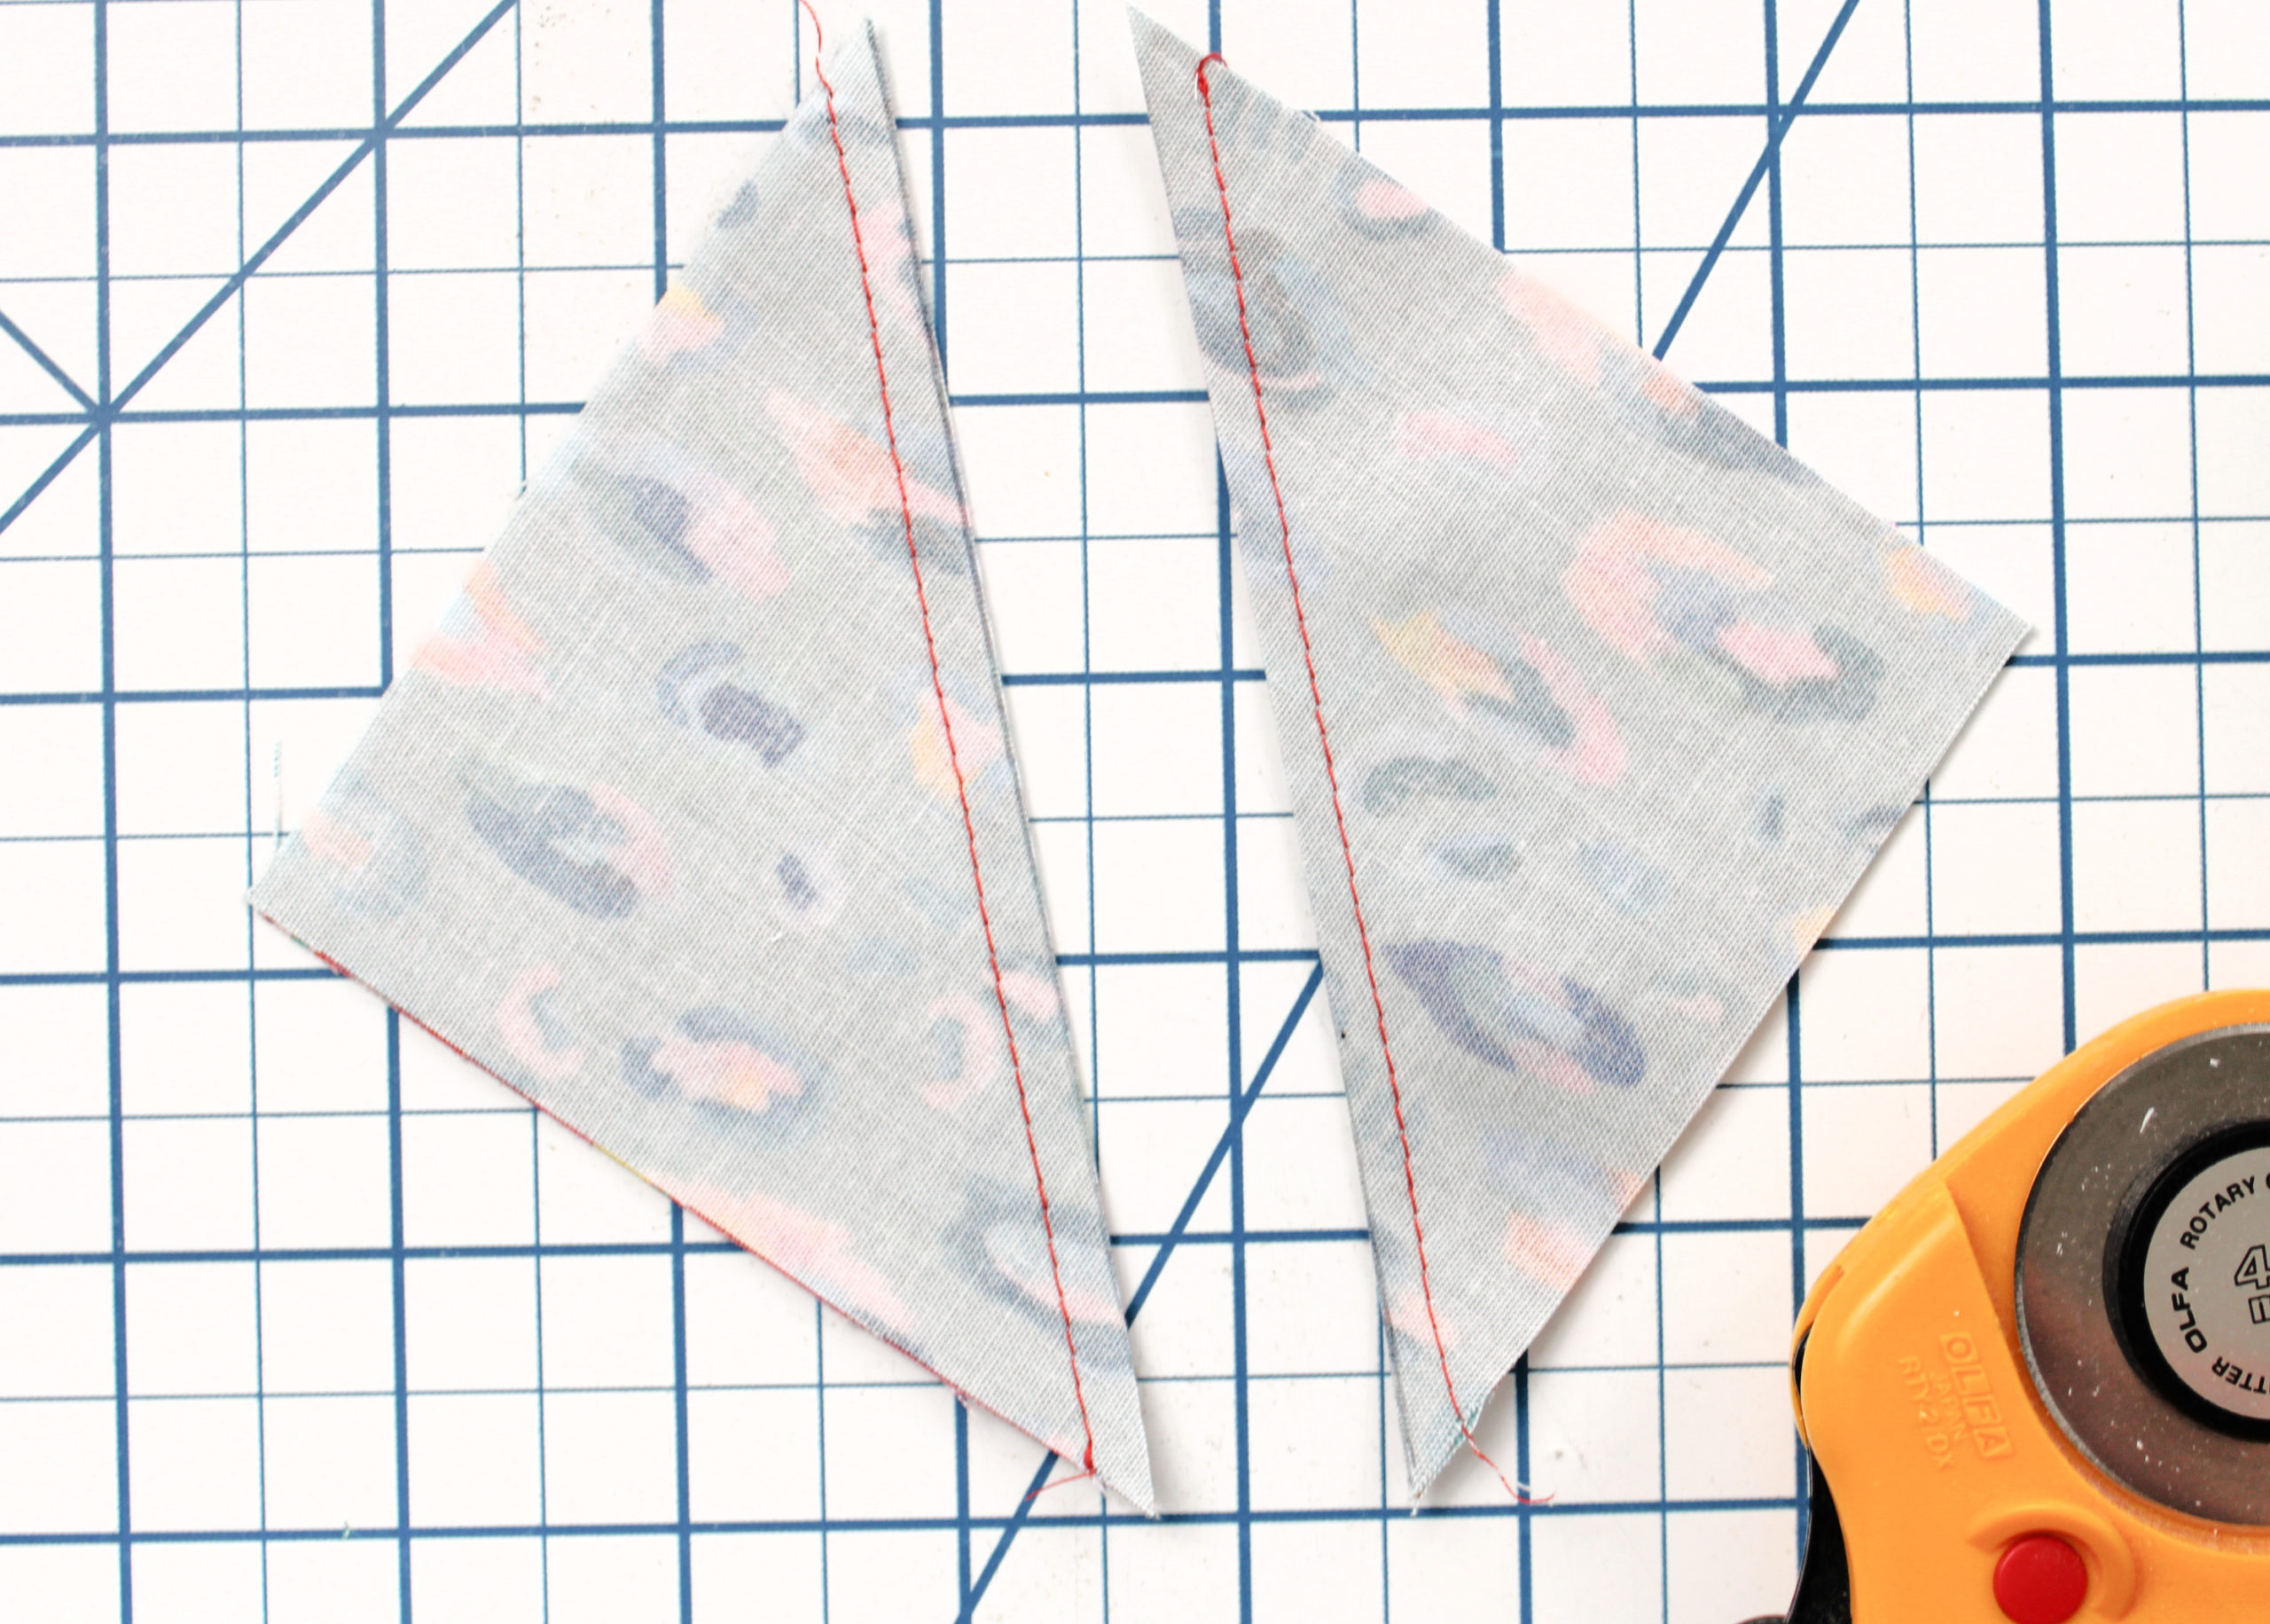
Cut along the diagonal line. Open. Press.

Sew the two squares together so the angles form a point, as shown above. This is the bottom of the heart.

To assemble the heart, sew the top and bottom sections to the center section. Press. Trim block to 6-1/2″ square.

To create the left side strip, sew two heart blocks so they line up vertically. Add a 6-1/2″ strip of teal Leopard fabric to the bottom of the bottom heart. Press seam. Sew entire strip to the left side of the panel, starting with the top of the heart grouping. Make sure top of the heart lines up with the top of the panel and stitch. Trim off any excess leopard fabric.
For the right hand strip, repeat the previous step, but this time, you will sew the 6-1/2″ strip of teal Leopard fabric to the top of the heart grouping.
To sew the strips to the top of the quilt, sew three heart blocks together, sew three hearts in a row along the sides. Press seams. Add a 6-1/2″ strip of teal Leopard fabric to the right side of the heart grouping. Press seam. Sew entire strip to the top of the quilt, starting with the heart grouping and sewing to the other side. Trim off any excess leopard fabric.
Repeat for the bottom strip, but add leopard fabric to the LEFT side of the heart grouping. Press Seams.
Finally, add another 1-1/2″ strip of teal Leopard fabric to the sides, then to the top and bottom.
Make a quilt sandwich (quilt backing + batting + quilt top). Quilt on your home machine using your favorite design, or send off to be professionally quilted.
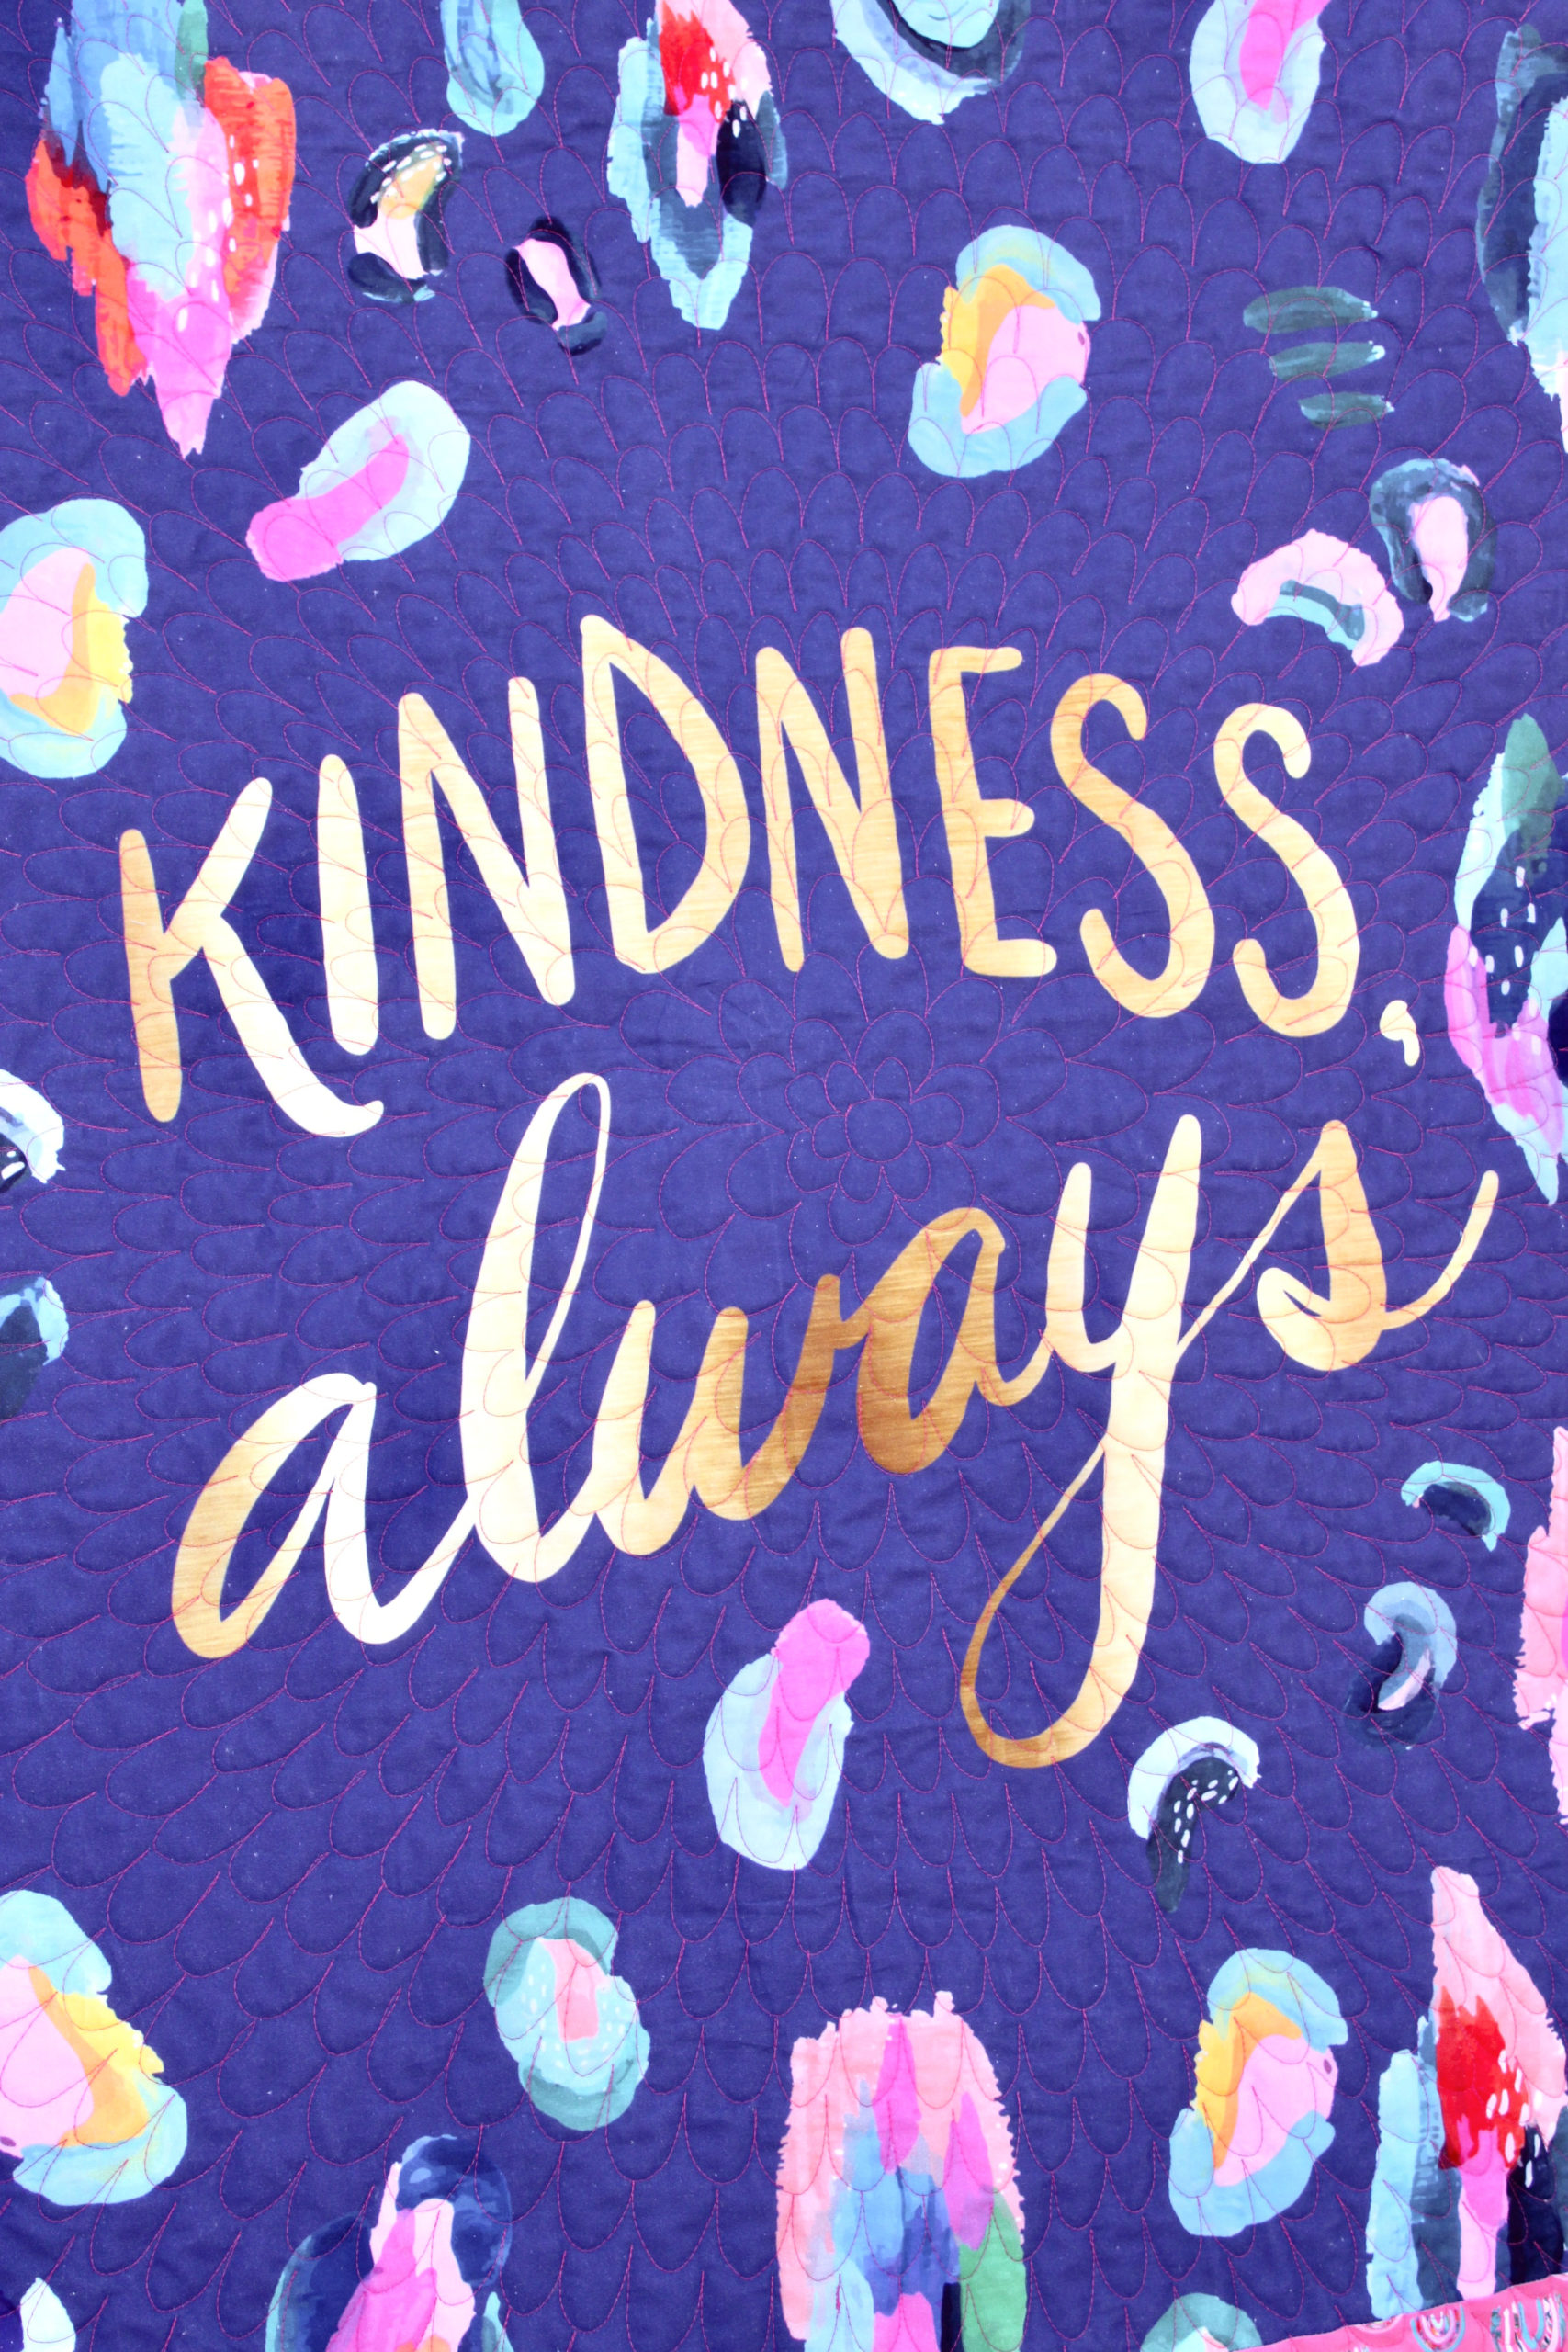
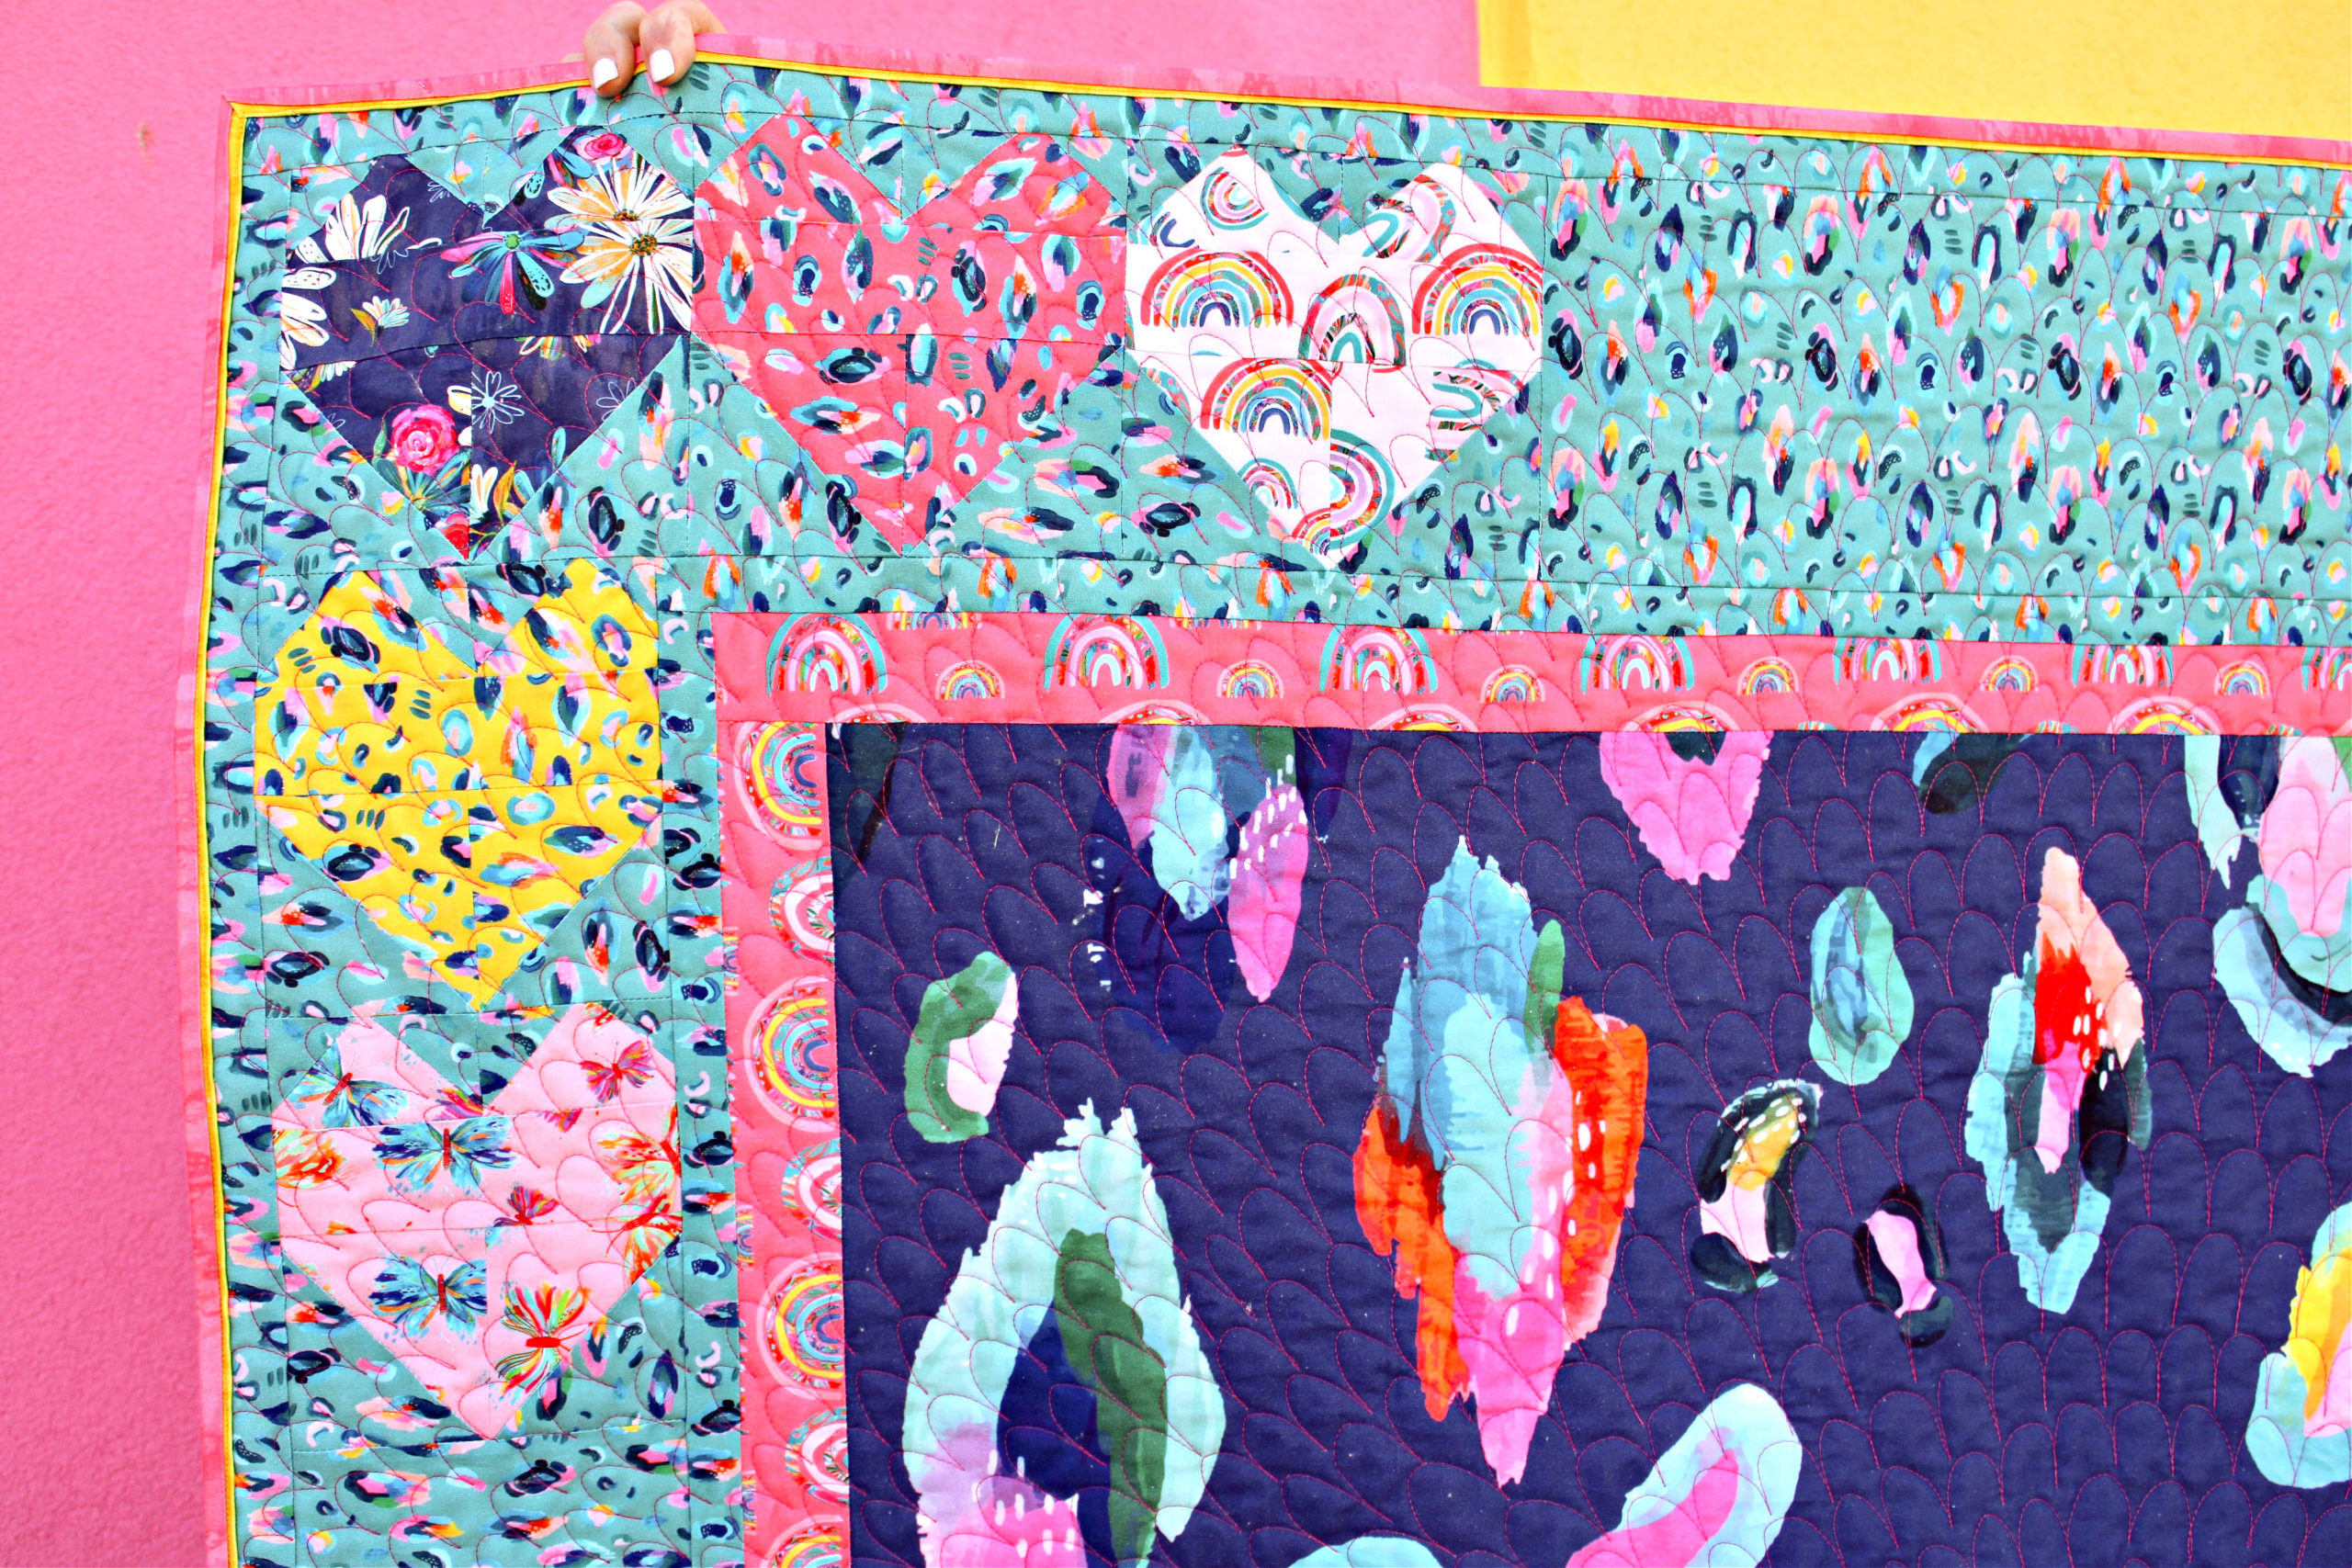
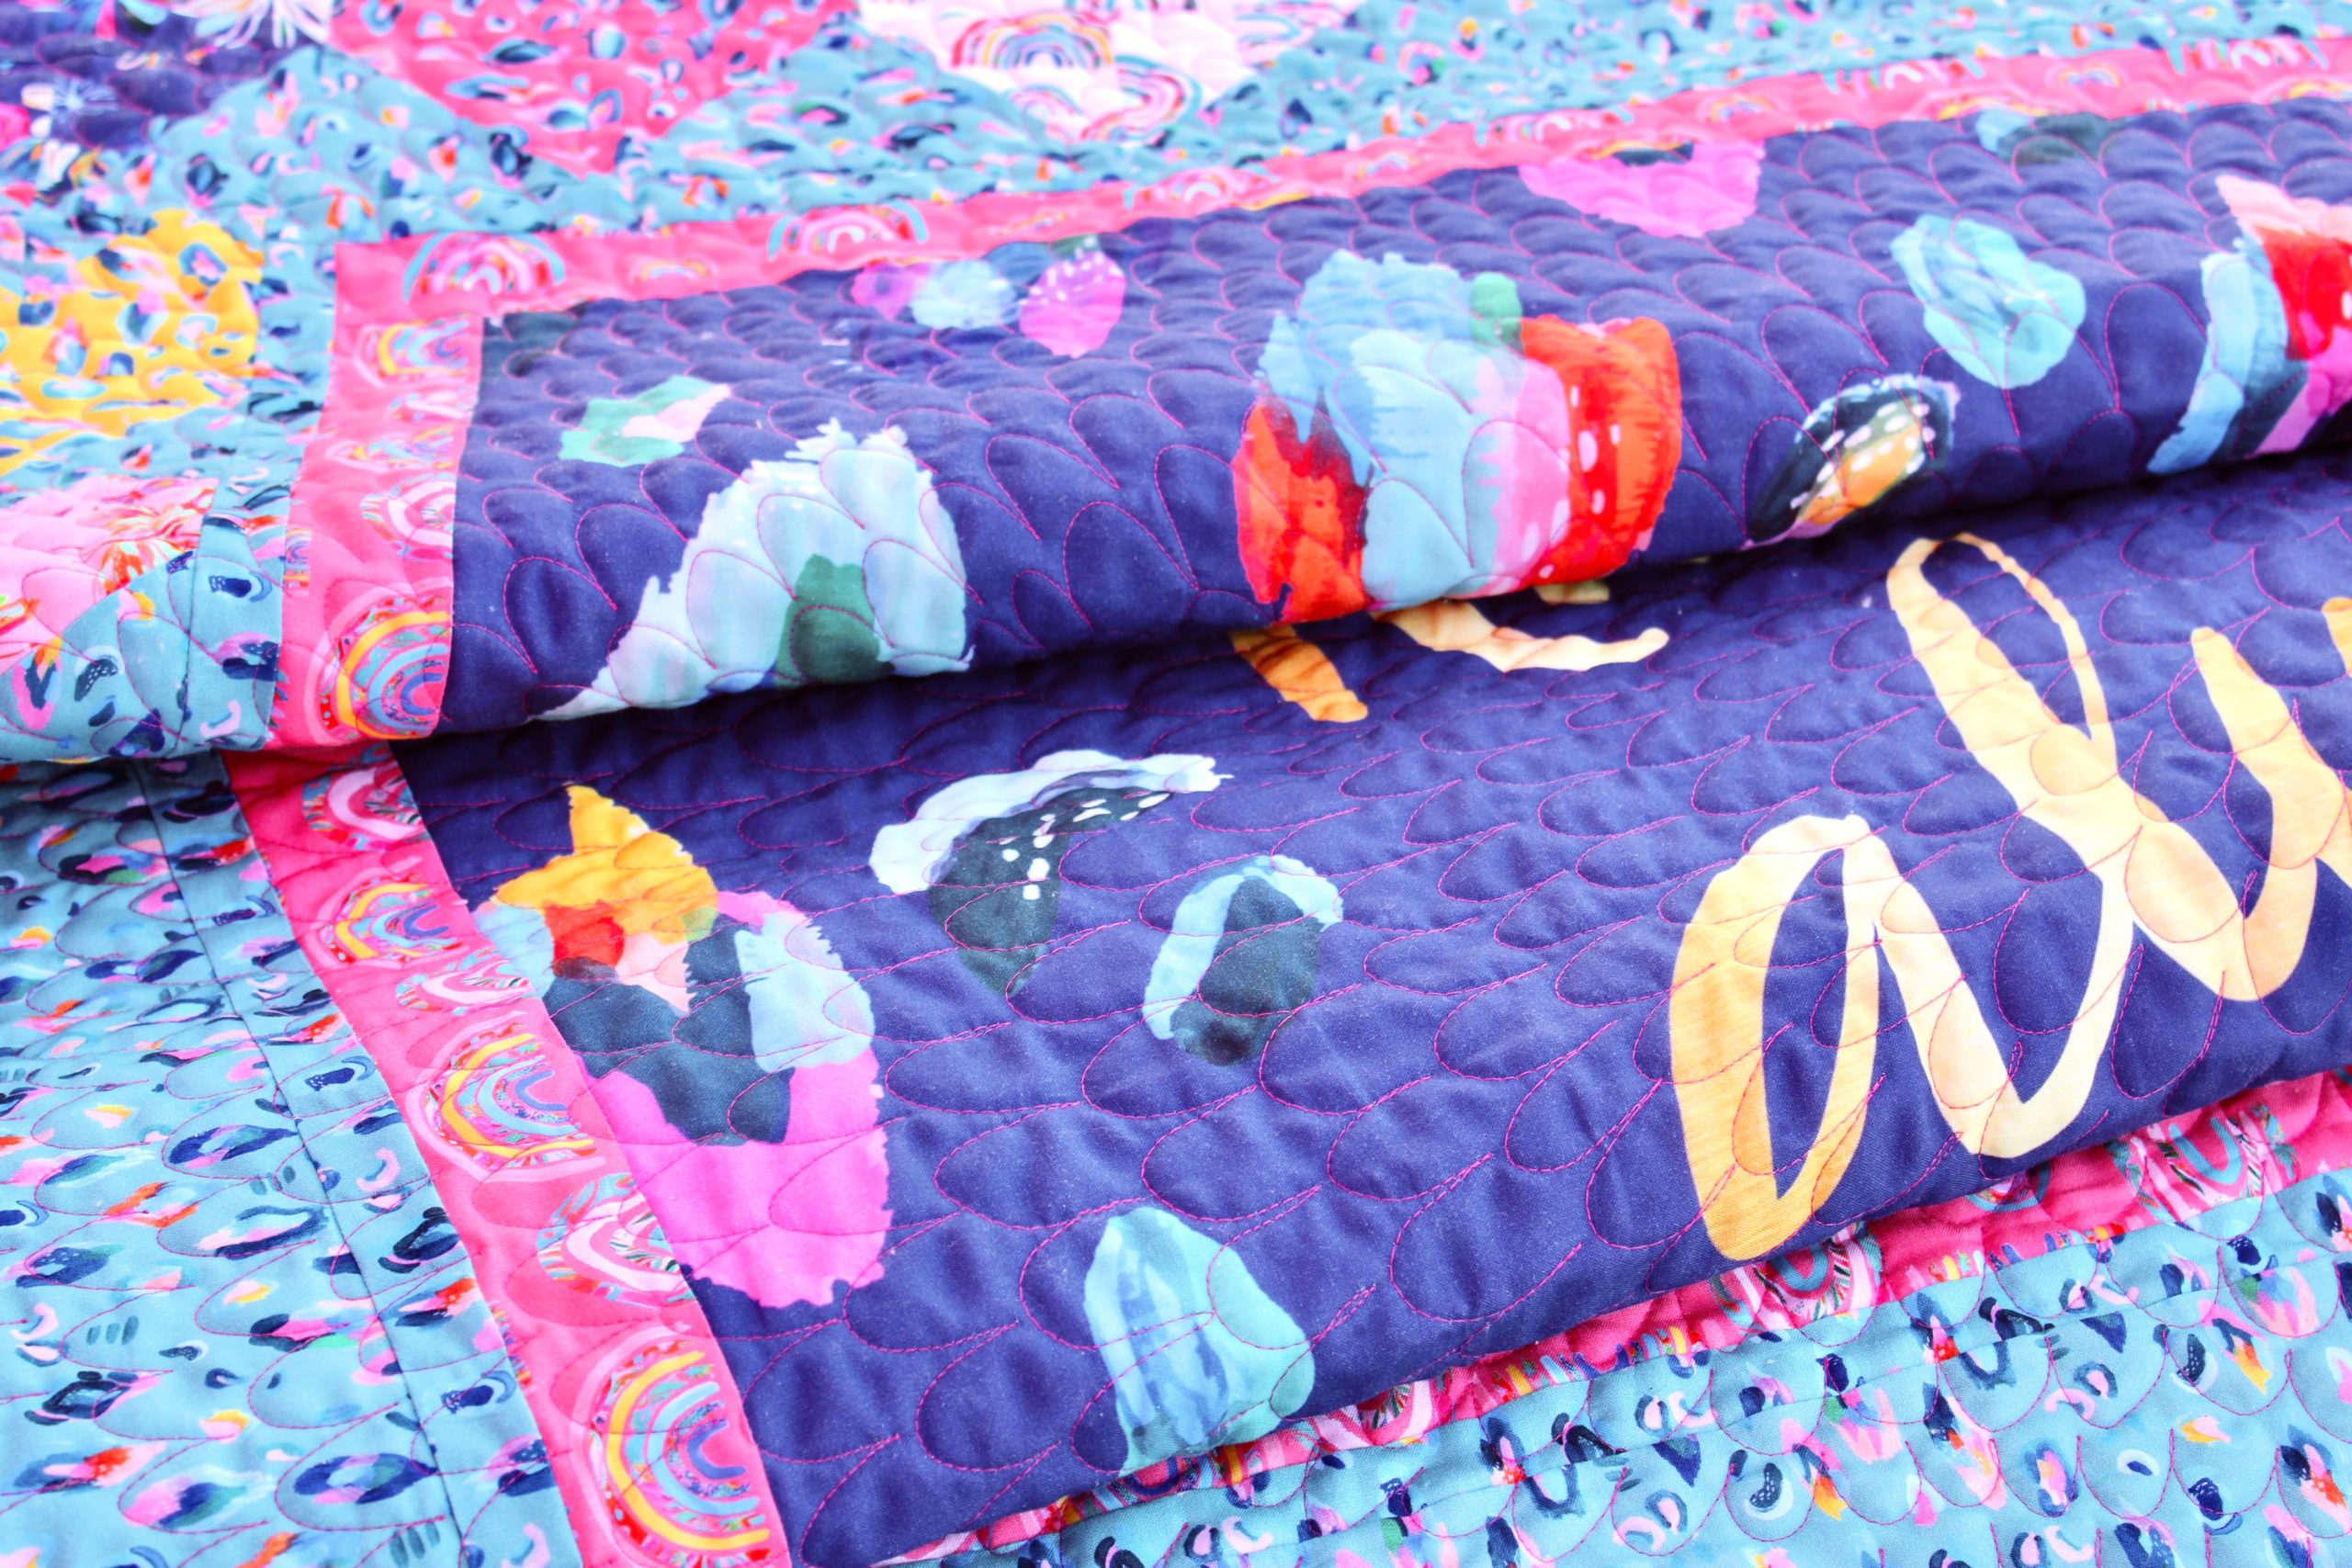
I quilted mine on my home machine using my favorite Petal Echo design. It is super easy to do, although it does take some patience. You’ll see at the center of the quilt, I started with a small circle, and free motion quilted simple petals around and around the entire surface of the quilt top. This design looks fabulous with contrasting thread. I used a hot pink thread, and I love how it pops.

What I absolutely LOVE about this design is how it looks on the back of the quilt. It’s like you get two quilts in one!

For the backing fabric I used Riley Blake’s Dapple Dot in Frosting. The hot pink thread contrasts beautifully with the lighter fabric, creating a stunning texture.
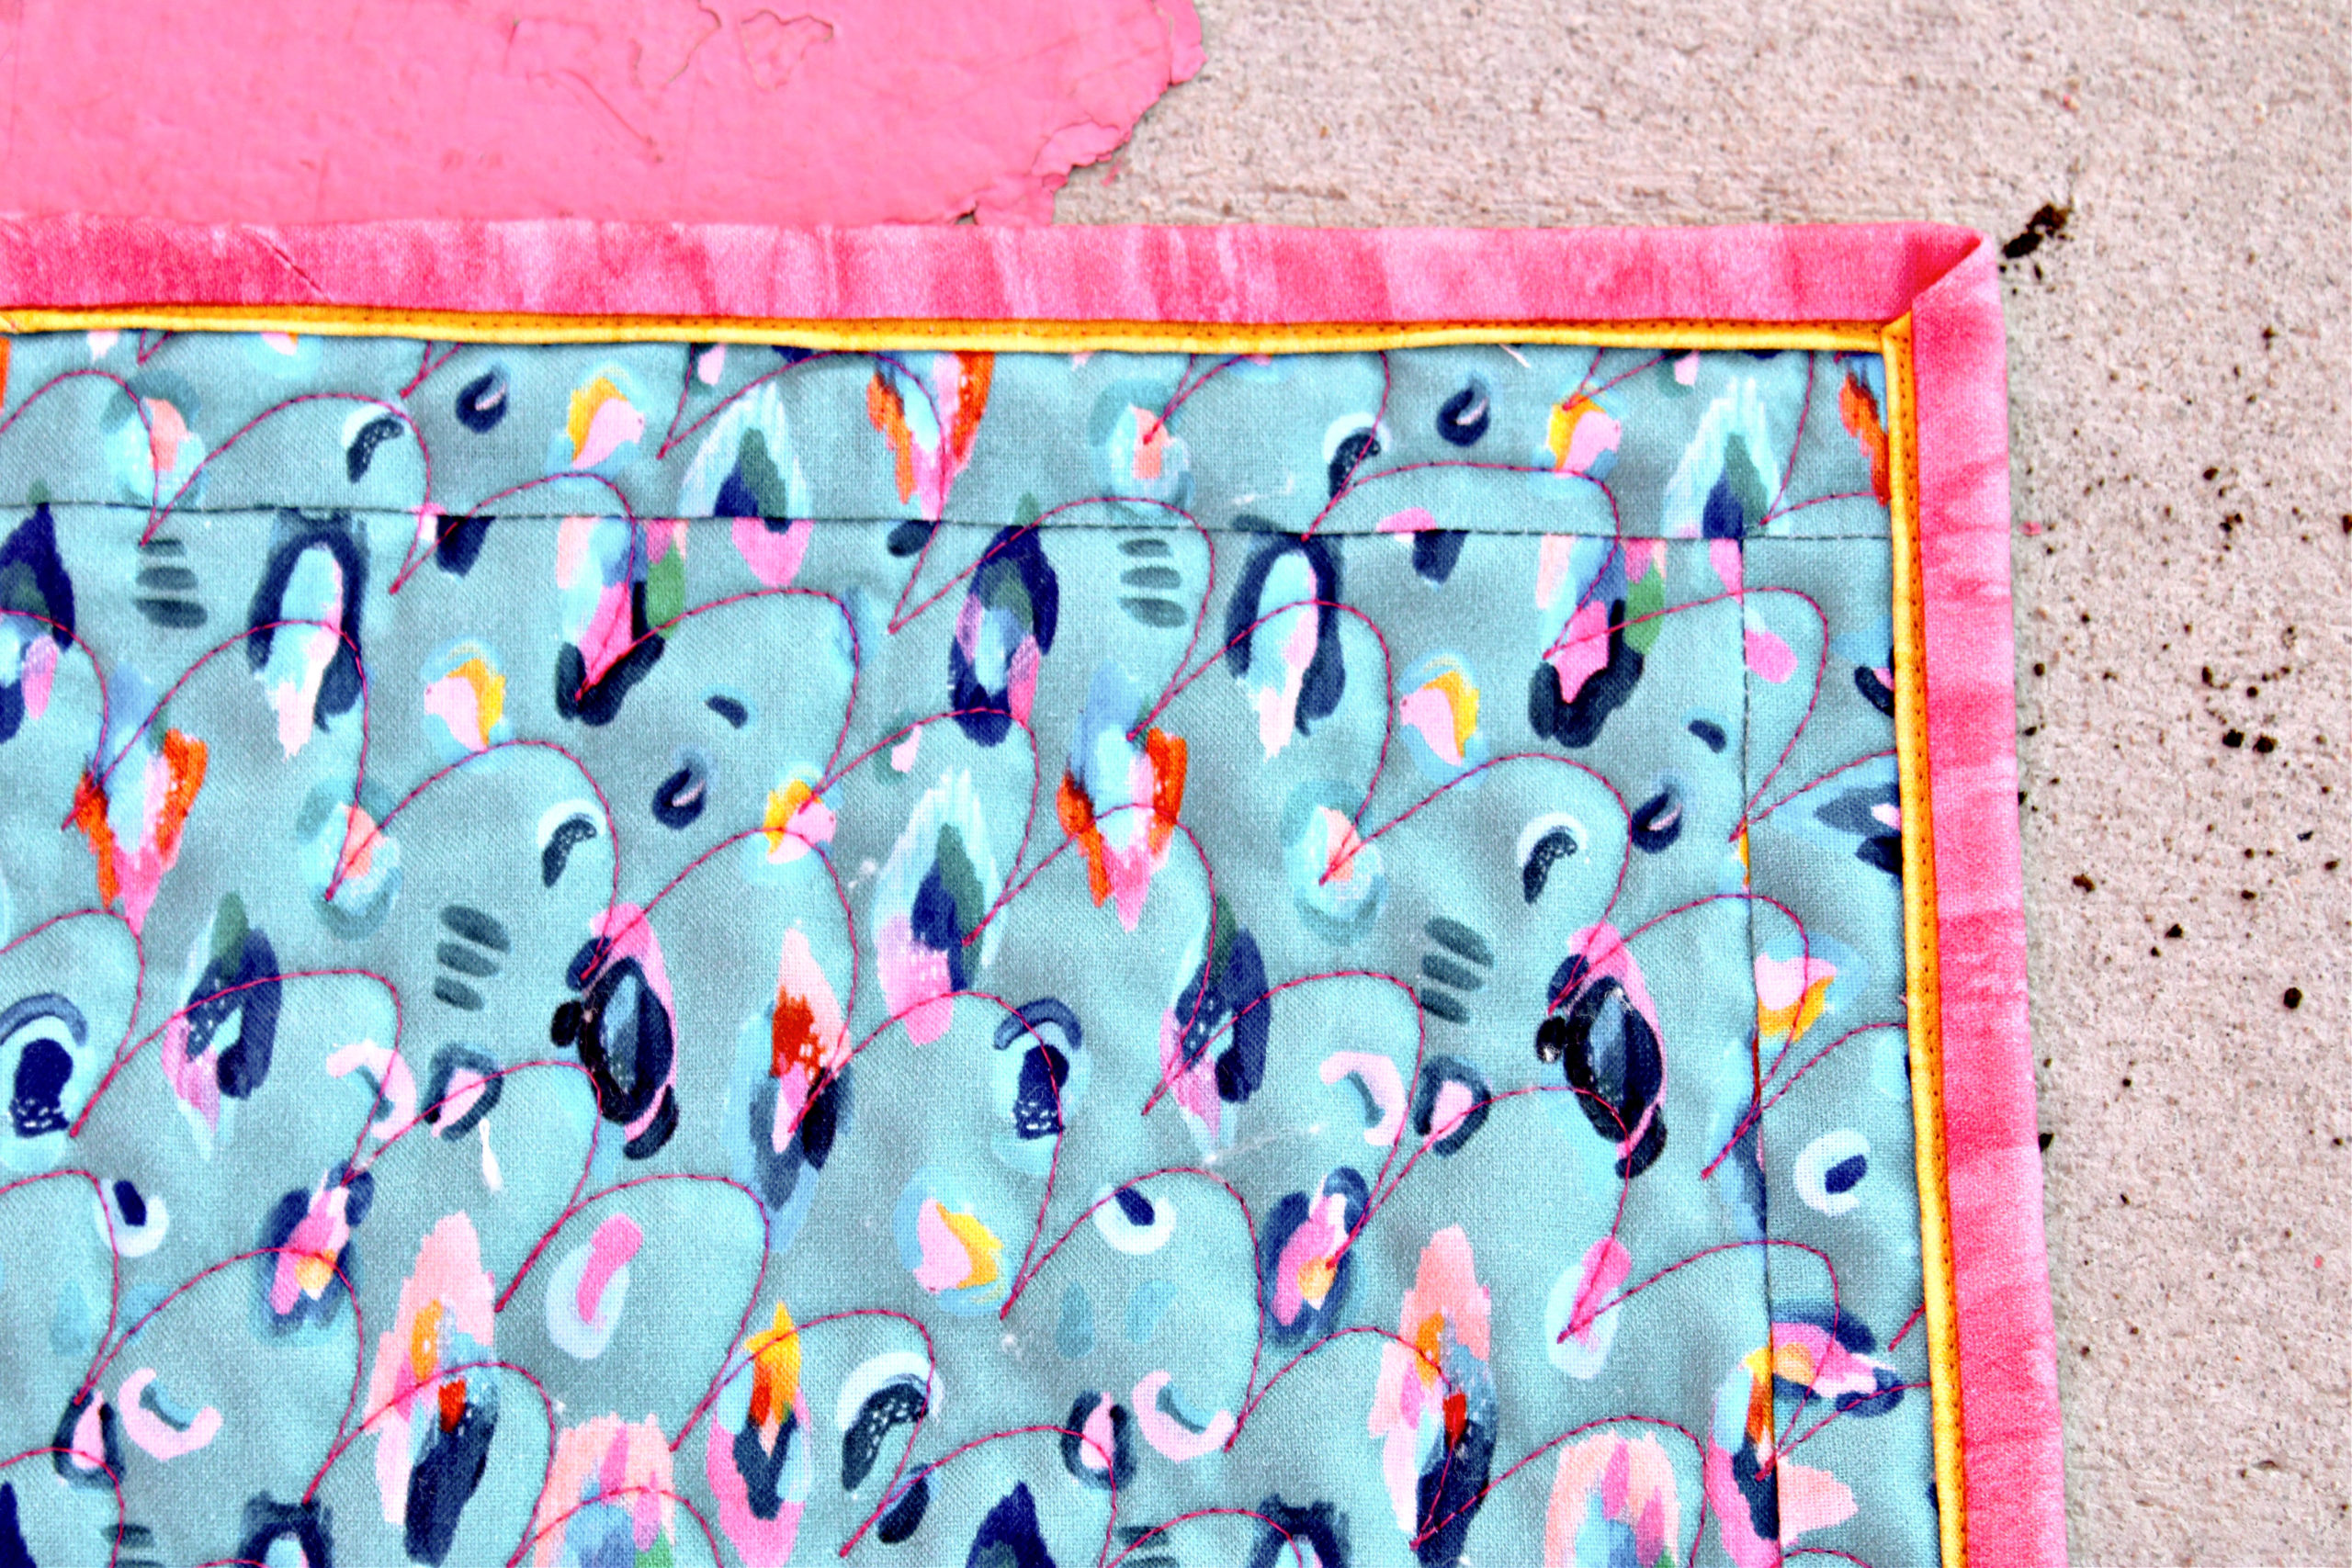
For the binding, I used the Kindness Always tonal pink and yellow prints. I used what is called a “Faux Piping” technique. Again, very easy to do, and it adds just a hint of additional color, which I think frames this quilt perfectly.
Sometimes fabric panels can feel intimidating to work with, but they can be so freeing once you learn to emphasize the corners with interesting blocks, and simply add fabric to fill in the rest. This way, measurements don’t have to be precise and you can put together a really interesting quilt top in a small amount of time.
If you haven’t tried sewing with fabric panels, I encourage you to dive in and give it a go!
This was a very brief, superficial tutorial for this quilt. For those of you who would like additional help as you go, I have created a video demonstrating each step. The video is an overview, with no words, but serves as a visual guide.
Thank you for stopping by. Be sure to follow me on Instagram and subscribe to my YouTube Channel for more creative content and project ideas, and most of all, have a blessed day!