Yeehaw! I’m gonna to say it right now – I LOVE the Boots & Spurs fabric collection! Designed by Samantha Walker, this fabric line combines sparkle and glam with little horseshoes and boots and gorgeous paisleys for some serious cowgirl cuteness!

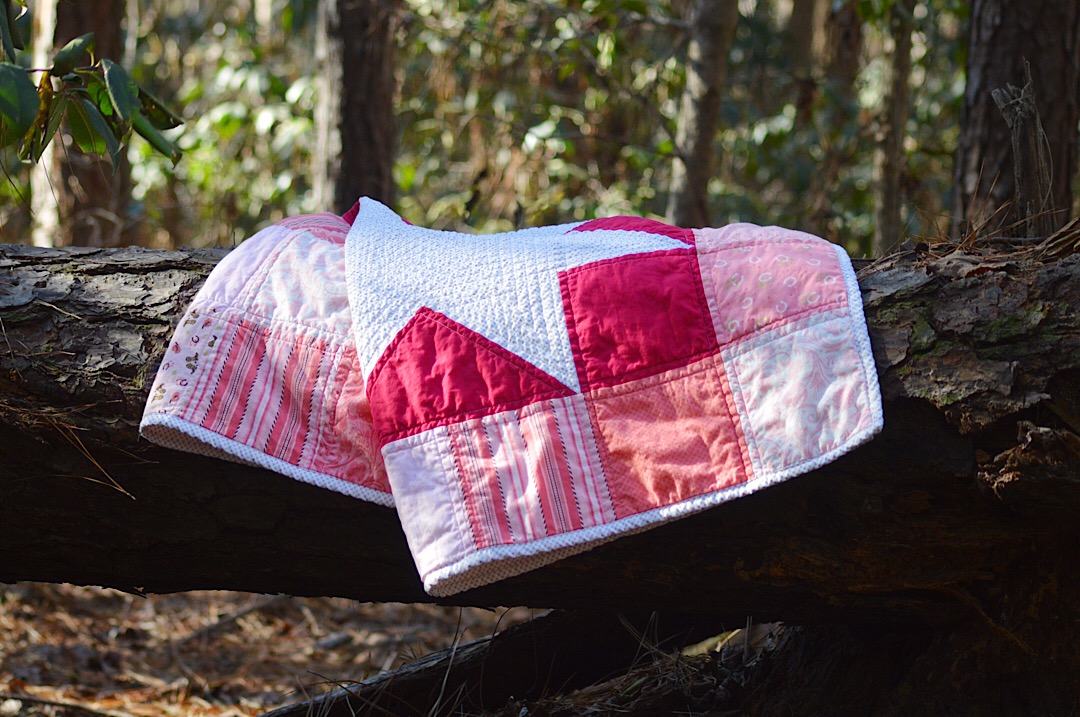
This sweet little sawtooth star baby quilt is inspired by similar quilts I have seen floating around the internet, so I won’t take credit for the idea, but am simply sharing how I put this one together. The size of the quilt can easily be adapted to your needs, by either adding more squares around the star, or even enlarging the star and squares proportionally. This finished quilt measures 40” x 45”.
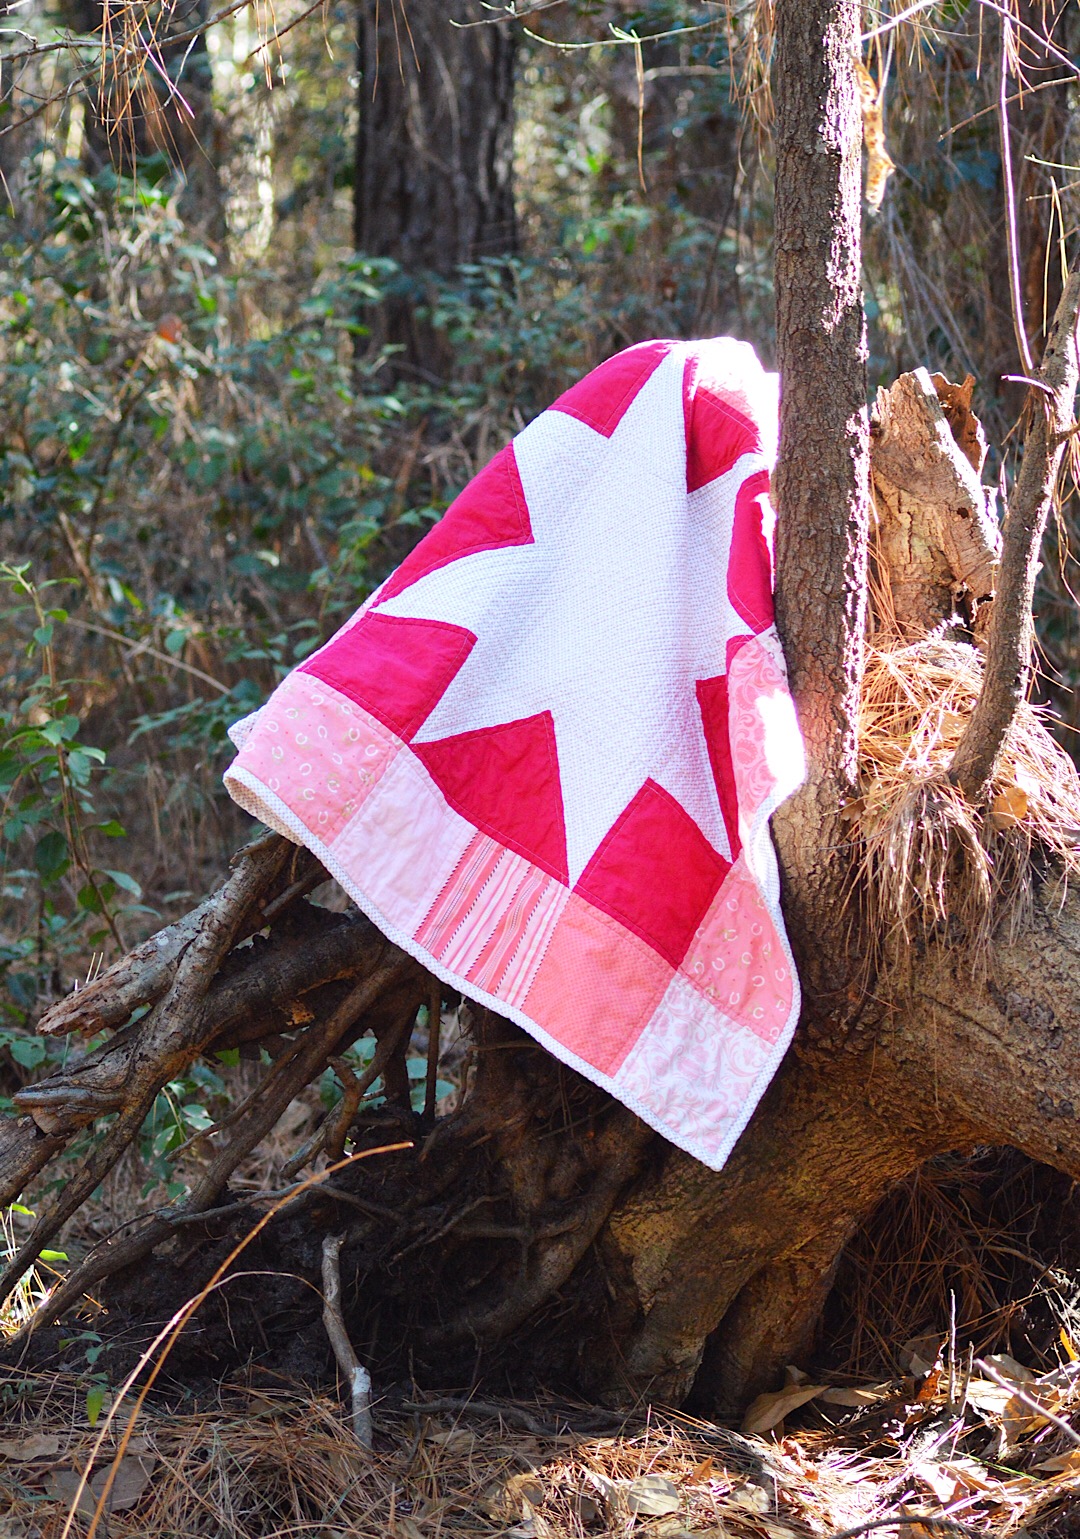
I surrounded the sawtooth star with Riley Blake “Cranberry” fabric from the Confetti Cotton collection of solid fabrics. The star on this quilt features Riley Blake Designs’ gold sparkle Kisses fabric, which seriously may be my new “go-to” fabric for backings, bindings and anywhere I need a gorgeous low-volume print.
Here is a close-up of those Kisses. Aren’t they fabulous? They tie in perfectly with the tiny little gold sparkle design on the boots print.
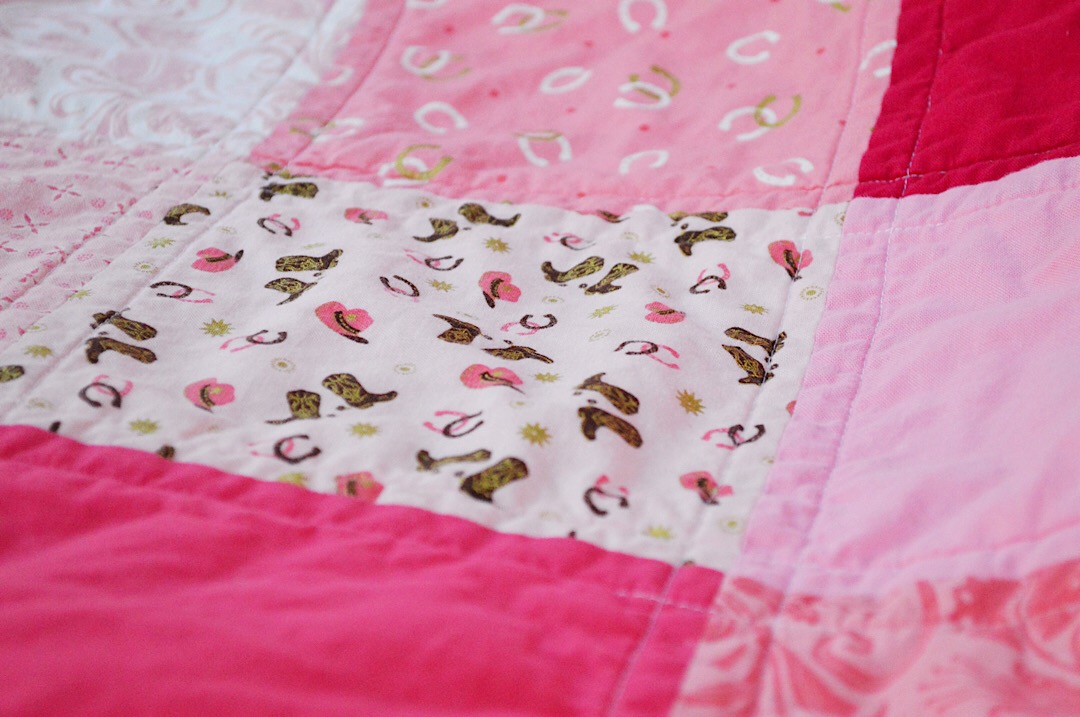
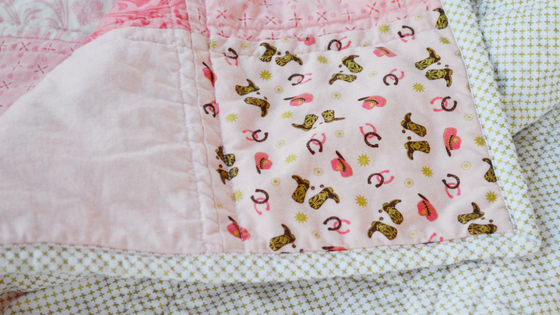
Here is another look at those boots. A-dor-a-ble!
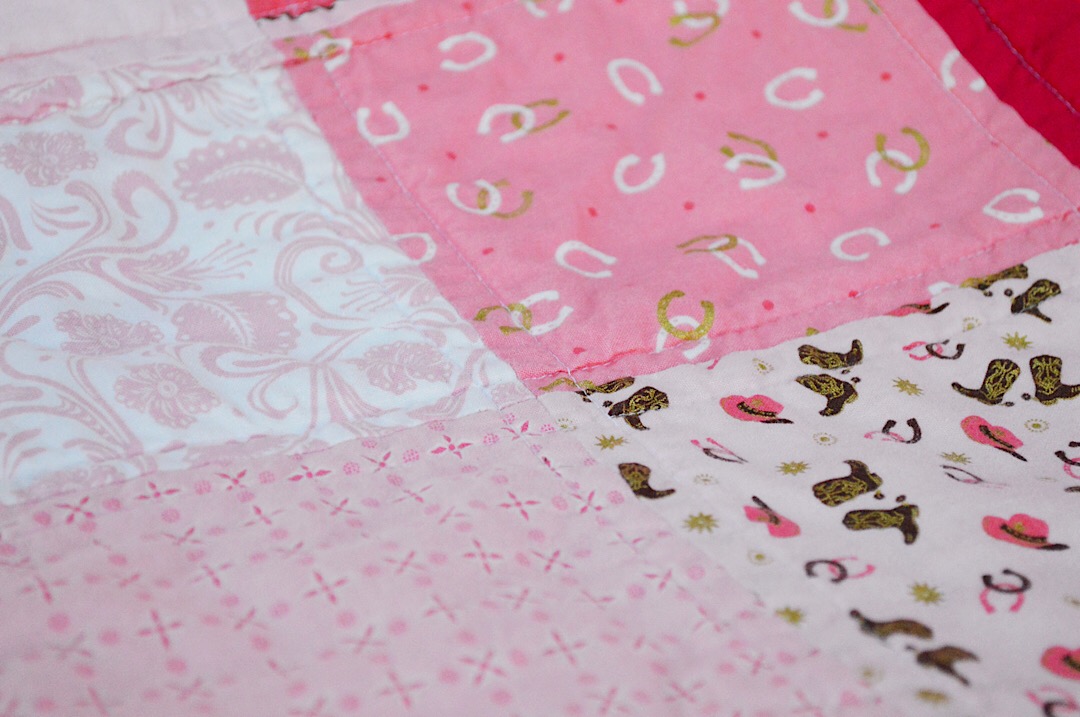
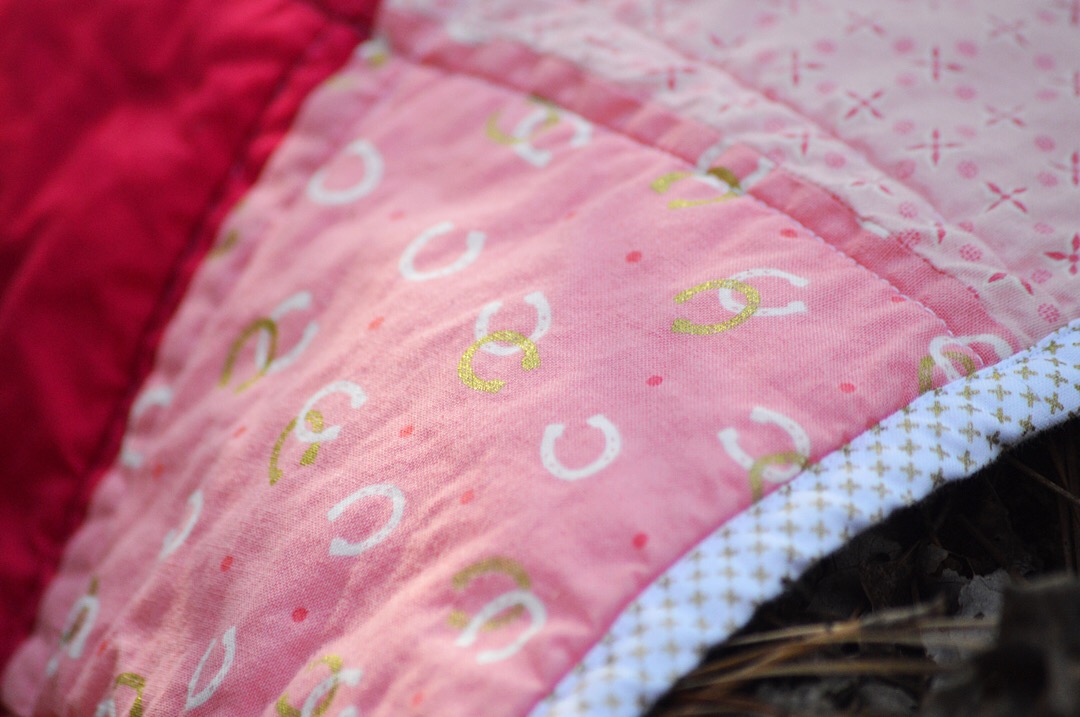
The horseshoe print also features gold sparkle. This seriously makes me soooo happy! When my daughter was younger, around 8 years old, she LOVED horses. She took horseback riding lessons, knew how to groom and care for horses, and took pride in owning her very own pair of ropers. I remember how badly she wanted to decorate her room with a cowgirl theme, but look as we might, there was absolutely nothing age appropriate, or “cute” available. She didn’t want lifelike horse murals, or rustic barn decor; she wanted pink and pretty! Samantha Walker’s Boots & Spurs collection really is every little cowgirl’s dream come true. Honestly, it had me at gold sparkle!

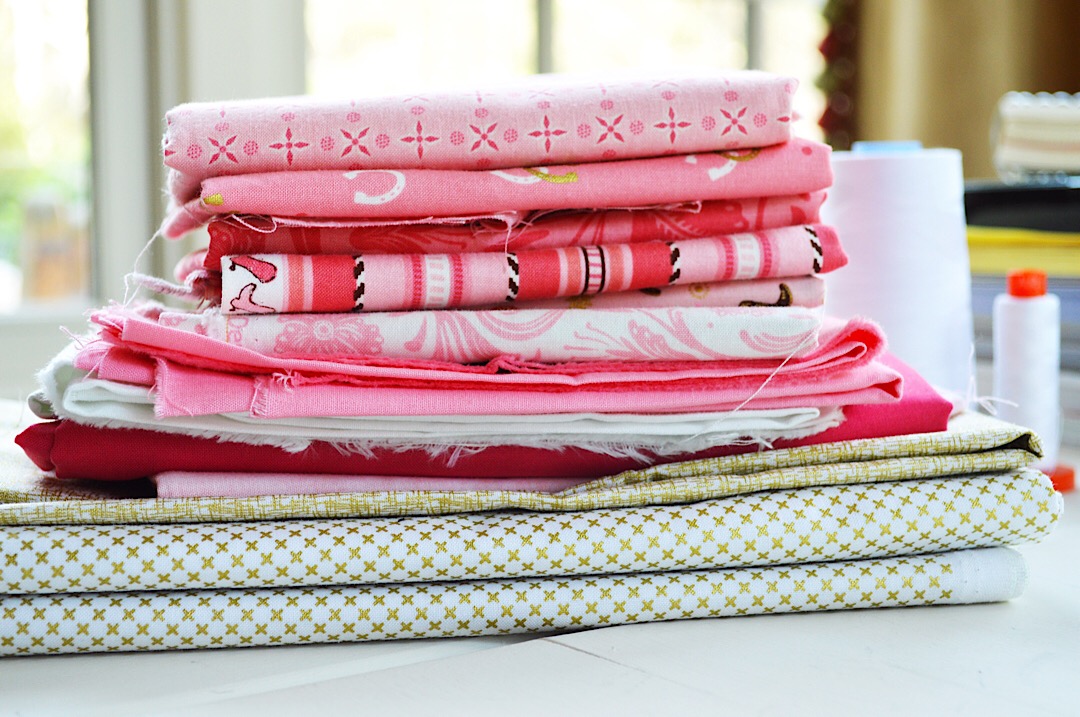
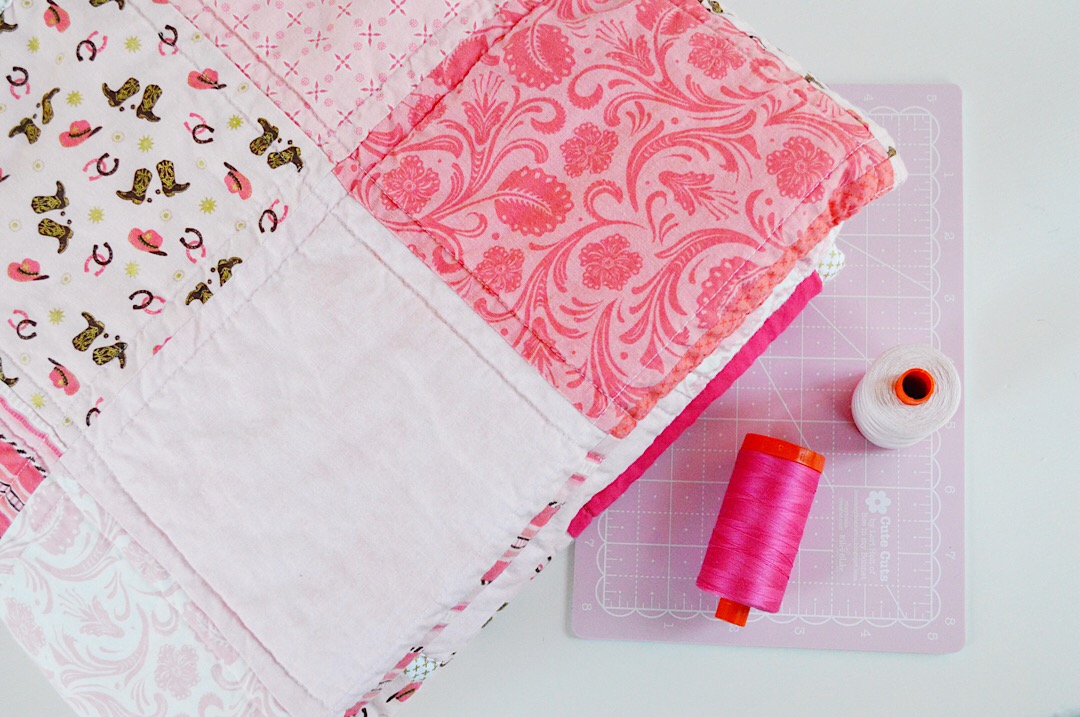
Along with the Boots & Spurs fabrics, I decided to pull in some coordinating Riley Blake solid and shades basics. Swoon!
So let’s get started! Here is what you will need to make this 40” x 45” baby quilt:
*44 – 6 1/2” squares from Samantha Walker’s Boots & Spurs fabric collection and coordinating Riley Blake Designs basics
*1 – 12 1/2” square Riley Blake Designs gold Kisses fabric
*4 – 6 1/2” squares Riley Blake Designs “Cranberry” Confetti Cotton solid fabric
*1 – 13 1/4” square Riley Blake Designs “Cranberry” Confetti Cotton solid fabric
*4 – 6 7/8” squares Riley Blake Designs gold Kisses
*5 – 2 1/2” x WOF strips Riley Blake Designs Gold Sparkle Kisses for binding
*About 1 1/3 yard Riley Blake Designs Gold Sparkle Kisses for quilt back

Let’s begin by making the giant sawtooth star. Using the 13 1/4” square of Cranberry solid and the 6 7/8” squares of gold Kisses, follow this easy TUTORIAL, which is my absolute favorite, for no waste flying geese blocks. Fabric A=Cranberry, Fabric B=Gold Kisses. With this tutorial, you will end up with 4 flying geese blocks.
Once the flying geese blocks are completed, you can assemble the large center star.
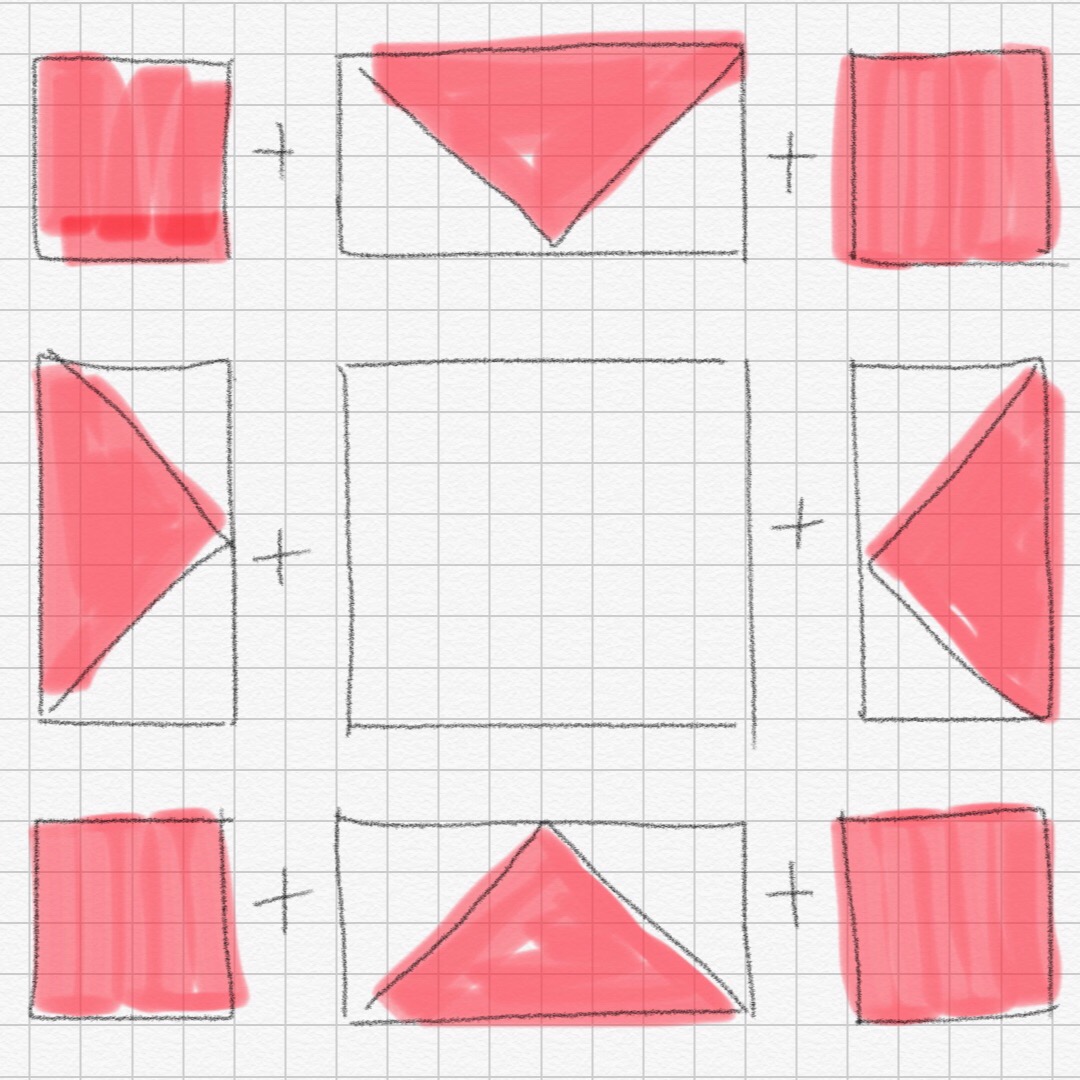
Lay out your blocks and assemble in sections as shown above.
Assemble as follows:
Top row: Cranberry solid square + flying geese block + cranberry solid square
Middle row: Flying geese block + 12 1/2” gold Kisses square + flying geese block
Bottom row: Cranberry solid square + flying geese block + cranberry solid square
Press.
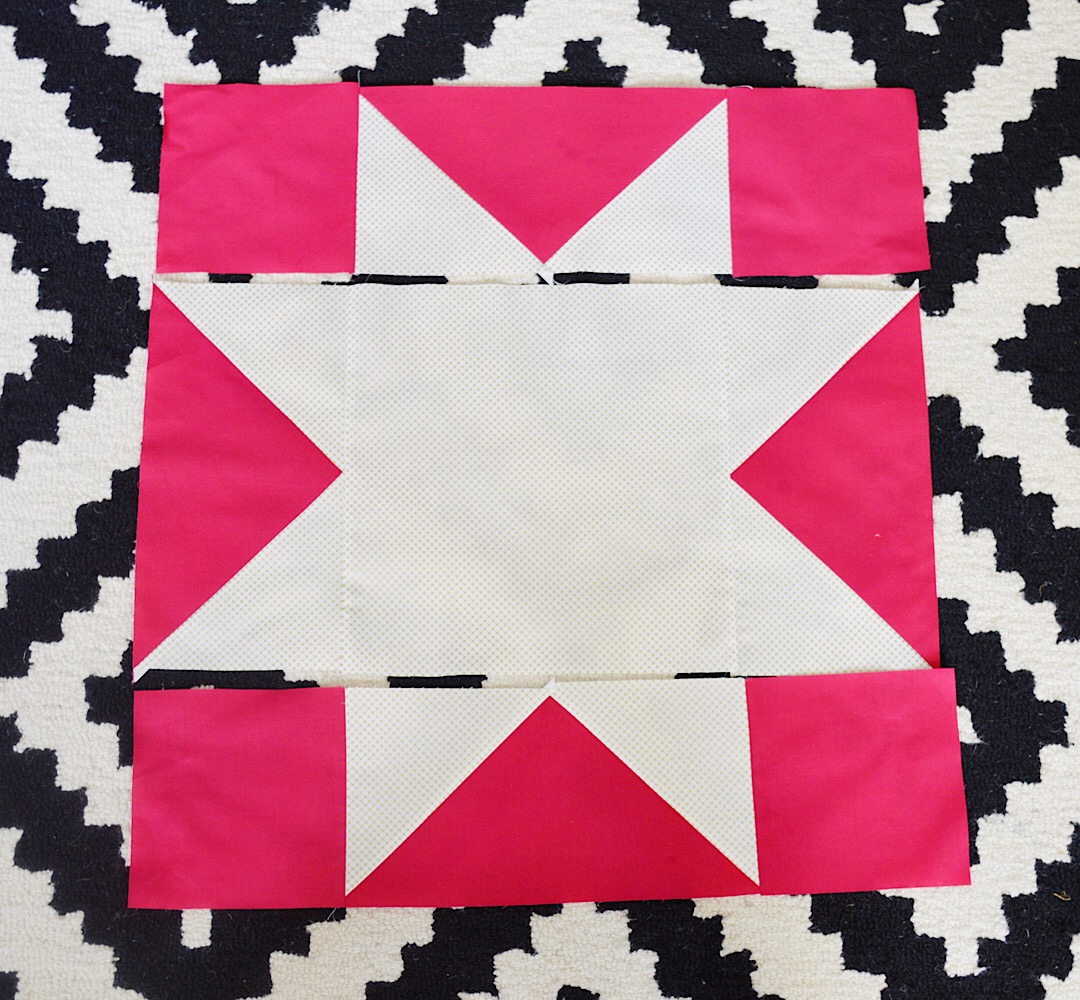
Here is what your sections will look like.
Next, sew the three sections together, aligning seams. Press.
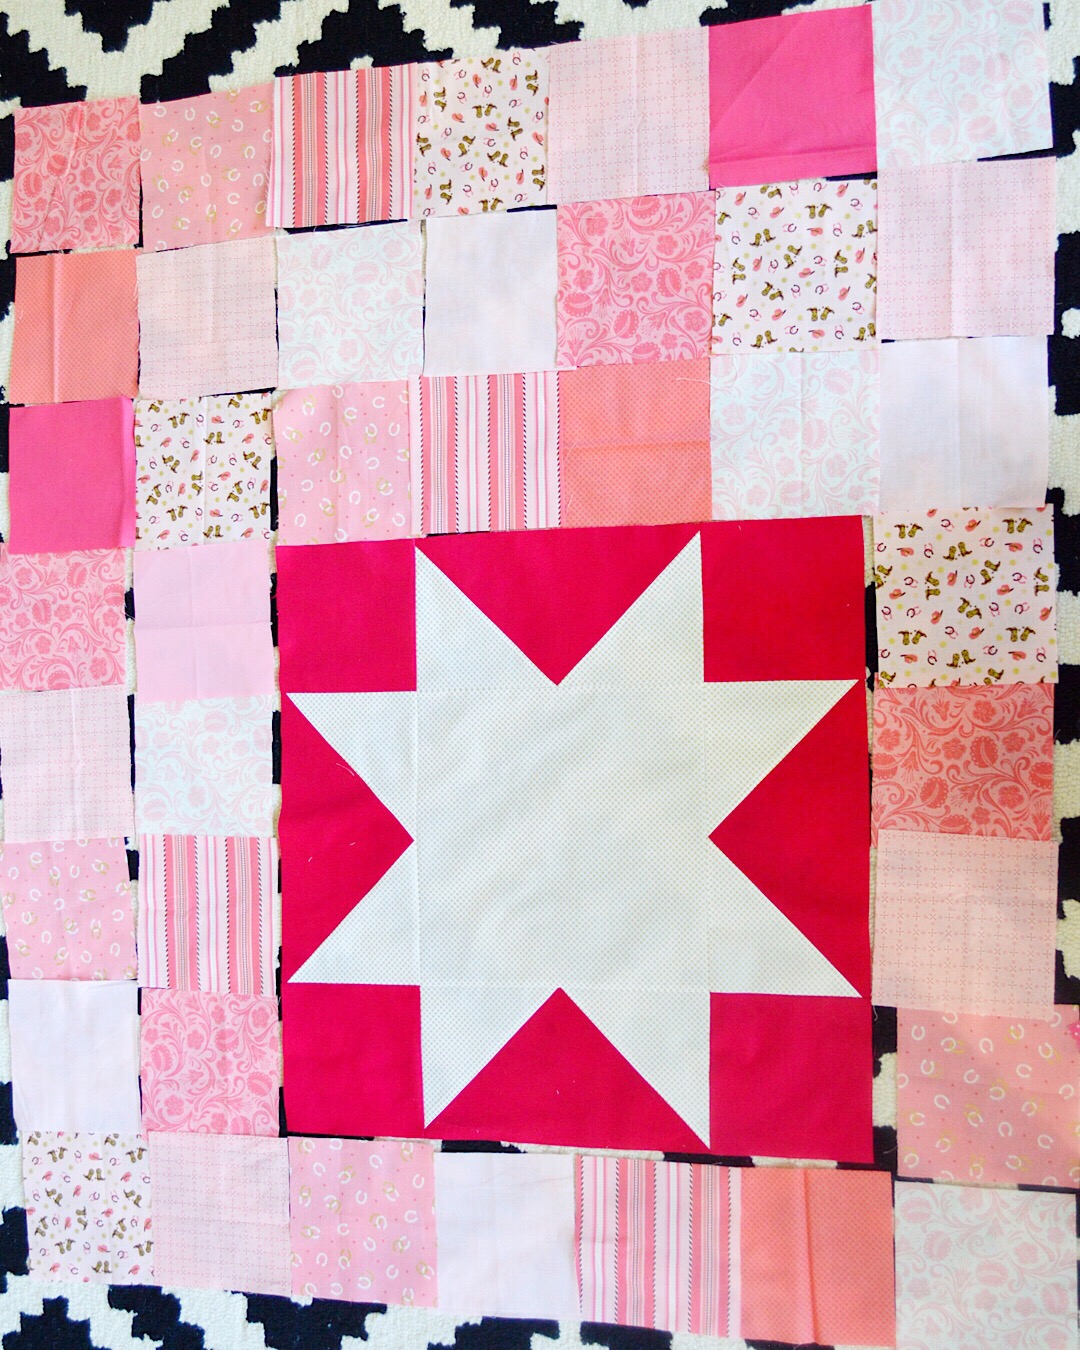
Now that your giant sawtooth star is assembled and pressed, it’s time to assemble the rest of the quilt! This part comes together super quick. I like to lay out all of my blocks so that they are arranged exactly how I want them. I try to make sure identical blocks aren’t placed right next to each other, and that the light and dark shades are evenly dispersed throughout.
Notice for this layout, I have three full rows of blocks above the sawtooth star, and one full row below. I have two rows of 4 blocks to the left of the sawtooth star, and one row of 4 blocks to the right.
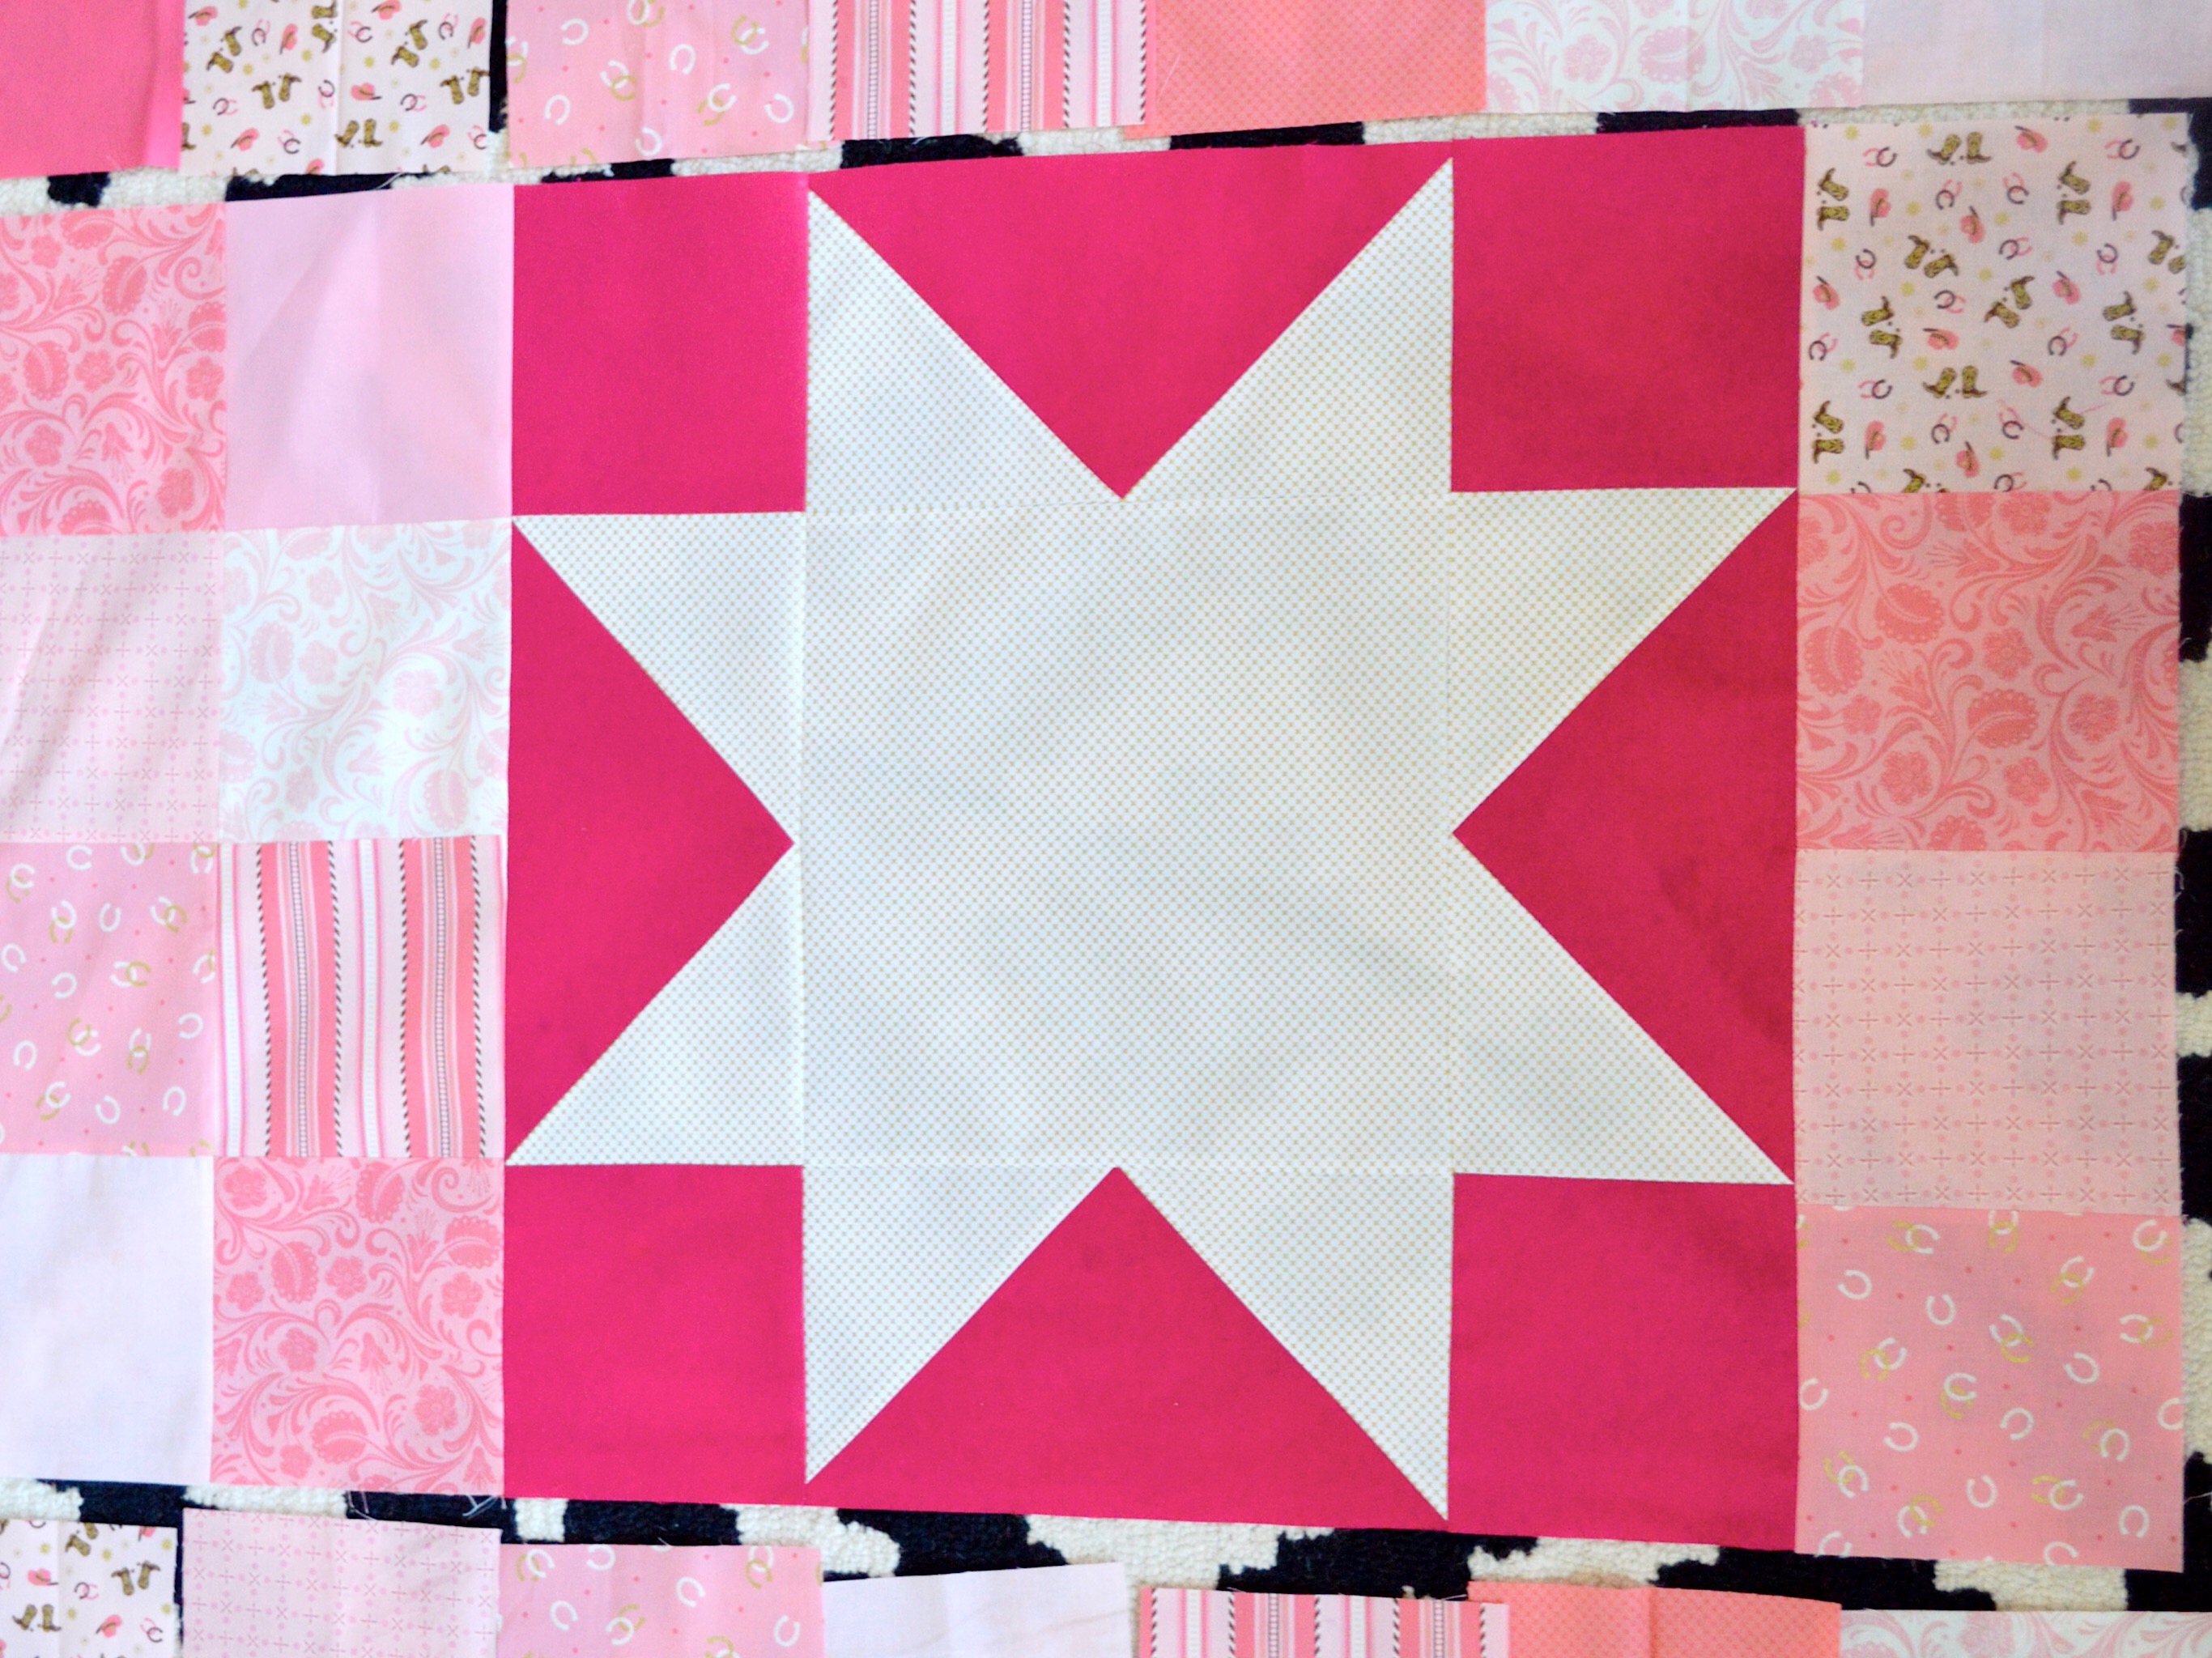
We’ll start putting it all together by tackling the rows on either side of the sawtooth star first. Sew each vertical row of 4 blocks. Then sew two of the rows together and attach to the left side of the star, as shown above. Sew the third row of 4 blocks to the right side of the star, as shown. Press.
Now all that is left is to assemble the rows above and below the sawtooth star. Easy!
Once your quilt front is finished, simply make your quilt sandwich (backing + batting + quilt top), baste, and quilt! I quilted this by machine, but you could also have a professional do the quilting.

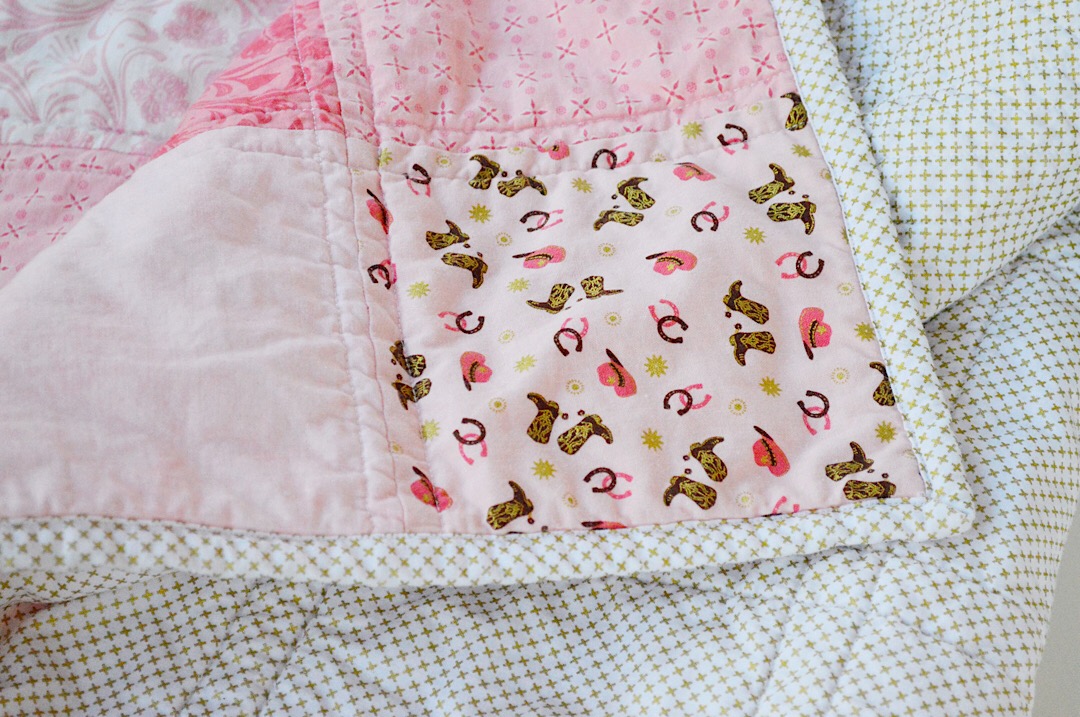
For the quilt back, I used Riley Blake gold sparkle Kisses.
The binding was also done with the gold sparkle Kisses. I really wanted to bring in a lot of sparkle on the back and binding to help emphasize the gorgeous sparkle in the Boots & Spurs prints. This cowgirl glam needs to shine! My favorite tutorial for fast and easy machine binding is this one from Diary of a Quilter.
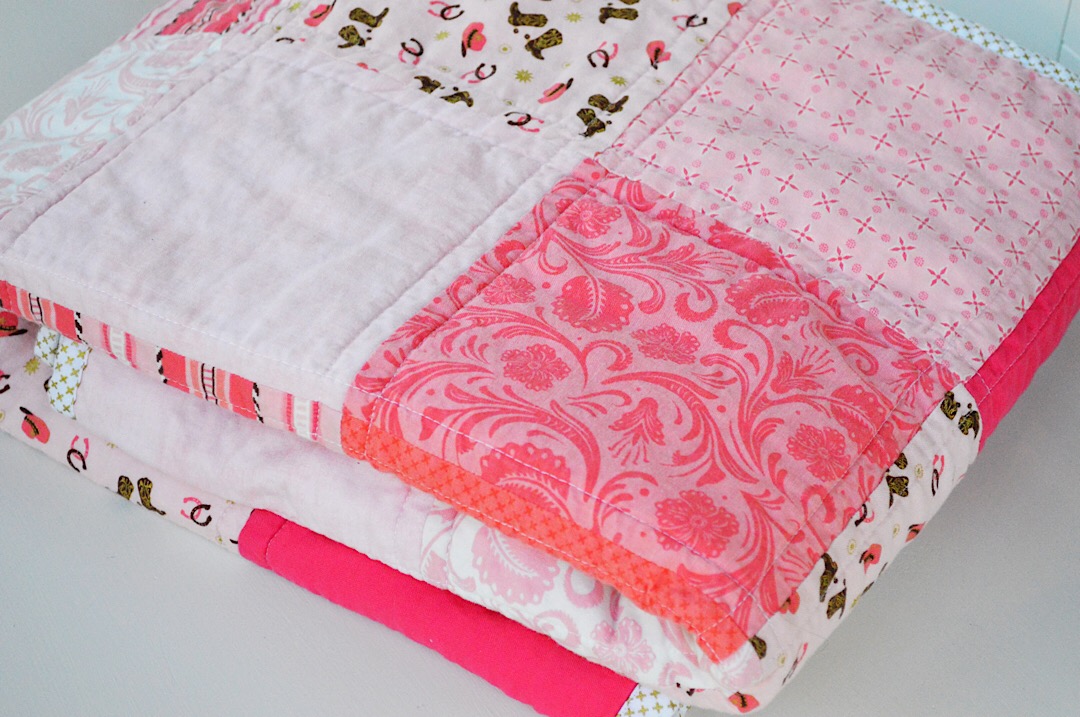
One thing I really love about this collection is how it brings together soft pinks and corals and deeper pinks so harmoniously. It was so much fun to work with so many variations of pink in one project!
I have a feeling that once you have made this sawtooth star, your head will be as full as mine with ideas for future projects. You will definitely be seeing more of this star from me in the future!
Happy Trails!