 |
Hello! Erin here from Why Not Sew? Today I’m so excited to be sharing my first project for the Penny Rose Project Design Team!
I used this wonderful vintagey 1930s fabric from the Hope Chest II collection as well as some Penny Rose wool to make an adorable doll quilt and dolly.
 |
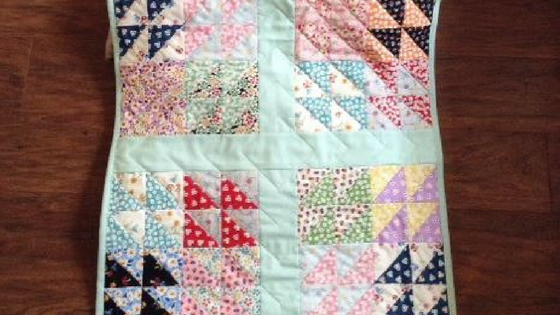
To make the quilt I simply ~
~ paired two contrasting prints right sides together
~ cut them into 5″ squares
~ sewed 1/4″ around the perimeter of the paired squares
~ cut diagonally twice (from corner to corner, rotate mat and cut from other corner to corner) to get 4 half-square triangles
~ trim the half square triangles down to 2 3/4″
~ sew them together like the picture to make a variation of the Birds in Flight or Birds in the Air quilt block
~ for the center strips I cut a solid fabric at 2 3/4″
~ bound the quilt with the same solid fabric as the so enter strips.
~ Quilts as desired. I chose a simple diamond pattern.
So easy, fun and a great way to showcase each print.
 |
For the dolly I used the wool for her head, face, hair and shoes. This wool was so wonderful to work with. It’s really strong and I know it will hold up to years of play. I used this pretty navy print from the collection and a cute vintage button from my collection for her dress.
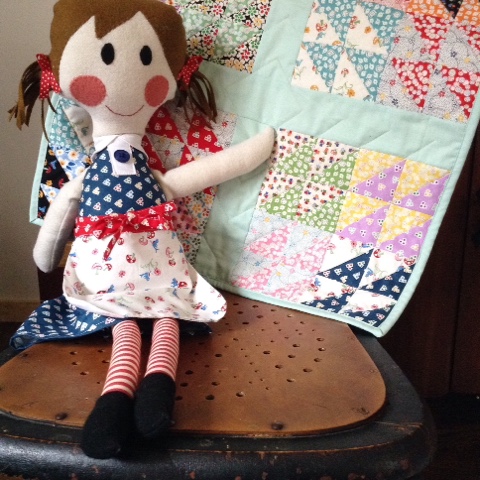
She has a really cute apron made with the what might be my favorite print from the collection, the bluebirds with pink and red mushrooms. I love this print! I trimmed the apron with the red color that matches the navy print in the dress.
 |
Here she is hanging out with her pals! They love their new quilt. I love it too! I think I need to make a full size one for me. I hope you enjoyed my first project for Penny Rose! Thanks so much for reading!
xo Happy Sewing!
Erin