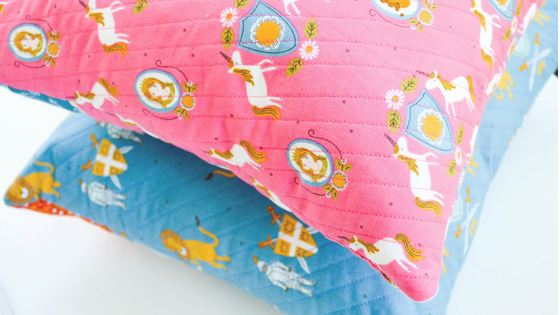
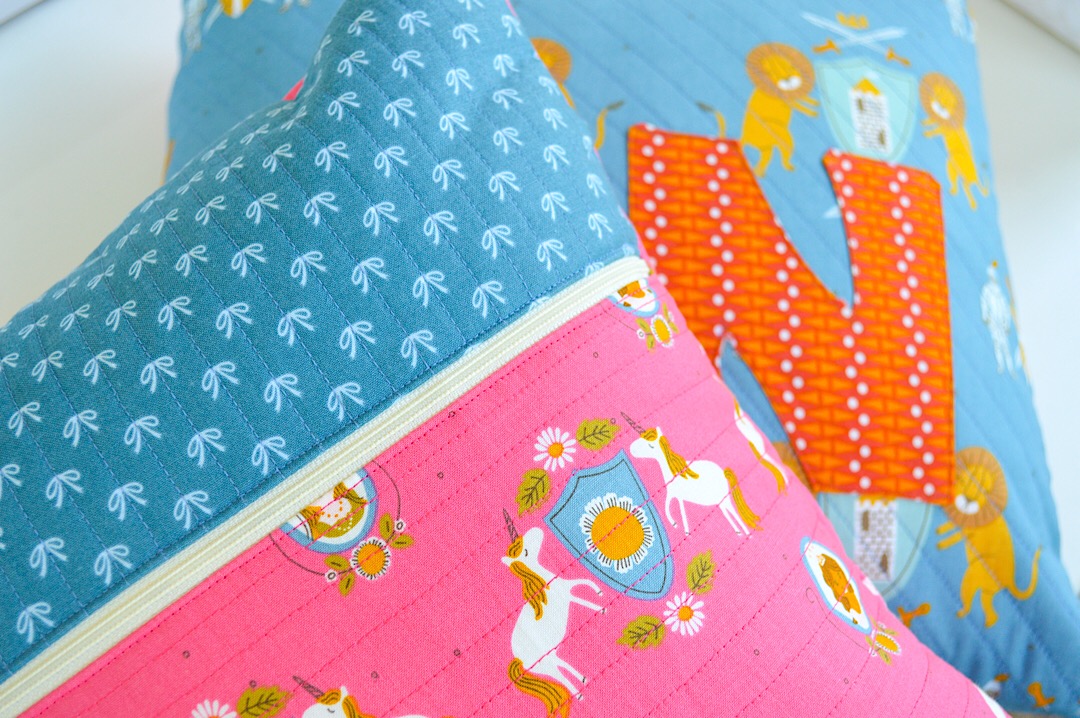
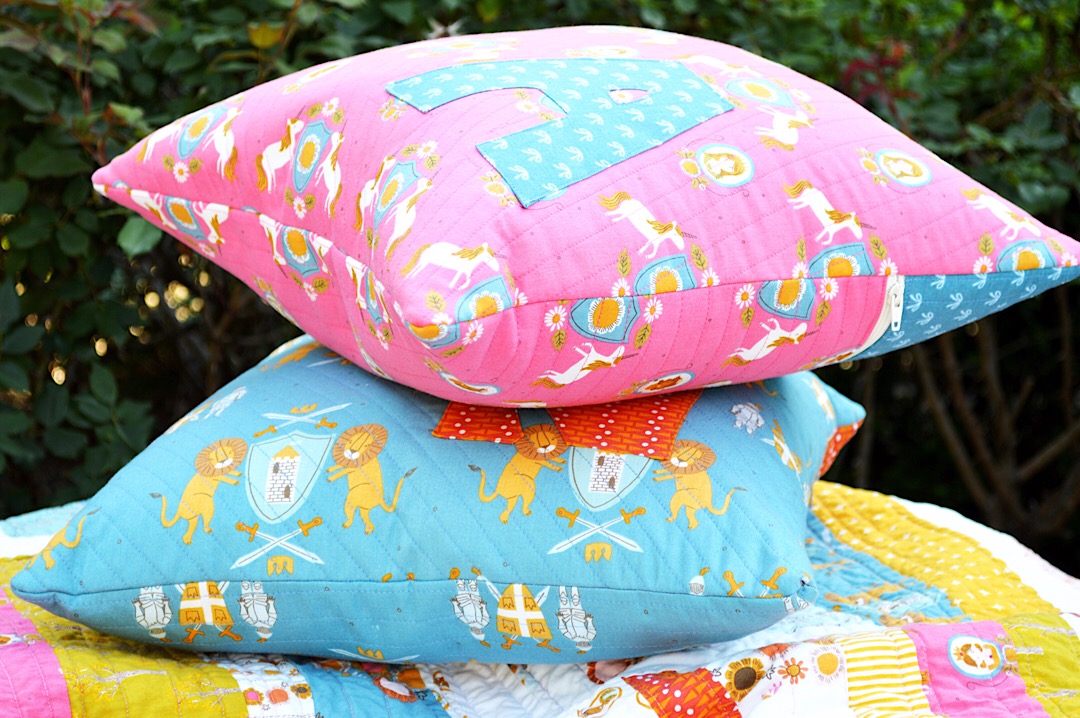
I have another quick and easy project for you today featuring Citrus & Mint’s adorable fabric collections, GUINEVERE and LANCELOT.
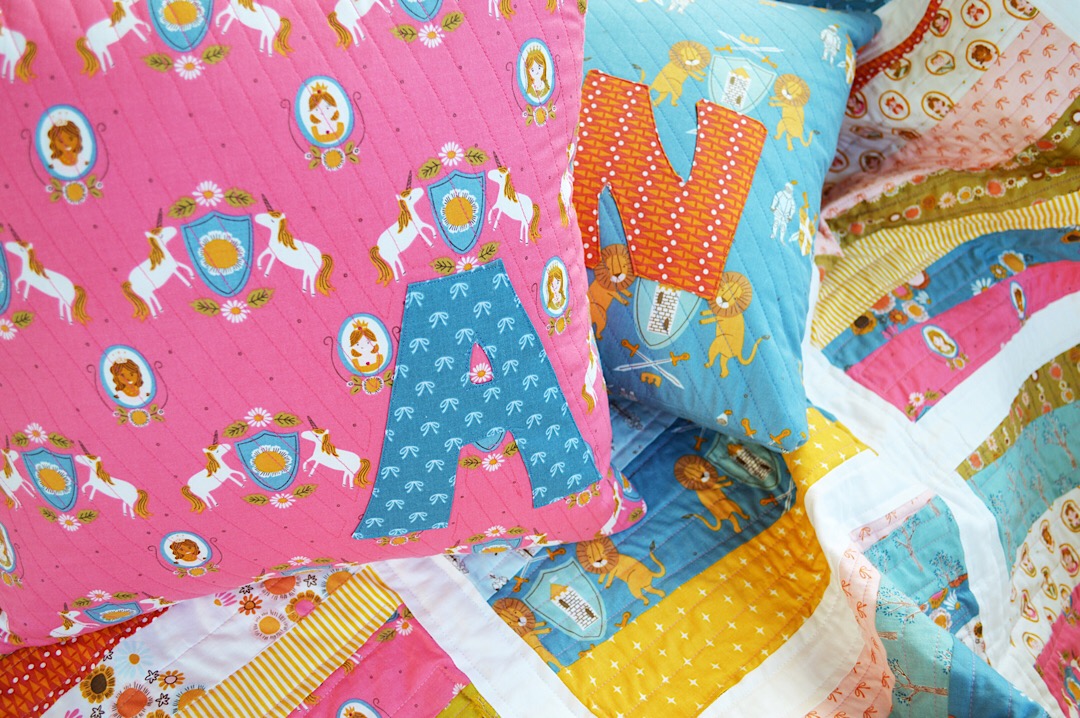
These quilted pillows are honestly a breeze to make, and you can easily personalize them with a monogram for an extra special touch.
When I make pillows, I prefer to quilt them. I like the extra sturdiness and structure the quilting gives to the pillow. Quilting takes just a little more time, but for me, it’s totally worth it.
I hope after reading this tutorial, you won’t be afraid to install a zipper on your pillow backs. Exposed zippers are easy to add and they don’t require exactness in your measurements.

This tutorial is for an 18” pillow. Another preference of mine is using down/feather pillow inserts. This is because they hold their shape much longer than a typical polyester pillow insert, and they feel absolutely luxurious to use. We really put our decorative pillows to use at our house, so the soft, comfort of a feather pillow is important, and being able to fluff them up after each use is a huge win!

To make an 18” quilted pillow, you will need:
- Pillow Front: 1 – 18” square fabric
- Pillow Back: 1 – 18” square fabric + 1 – 6” x 20” rectangle (trust me, you’ll want this piece a little bigger so that everything lines up just right…I’ll explain more later)
- Quilt Batting for pillow front and back pieces
- Zipper that measures larger than 18”. I used a 22” zipper.
- Optional Monogram: 8” square coordinating fabric + 8” square Heat ‘n Bond or other double sided fusible iron on adhesive
The first thing you need to do is place batting behind your fabric pieces and trim it so it is an inch or so larger than the fabric.
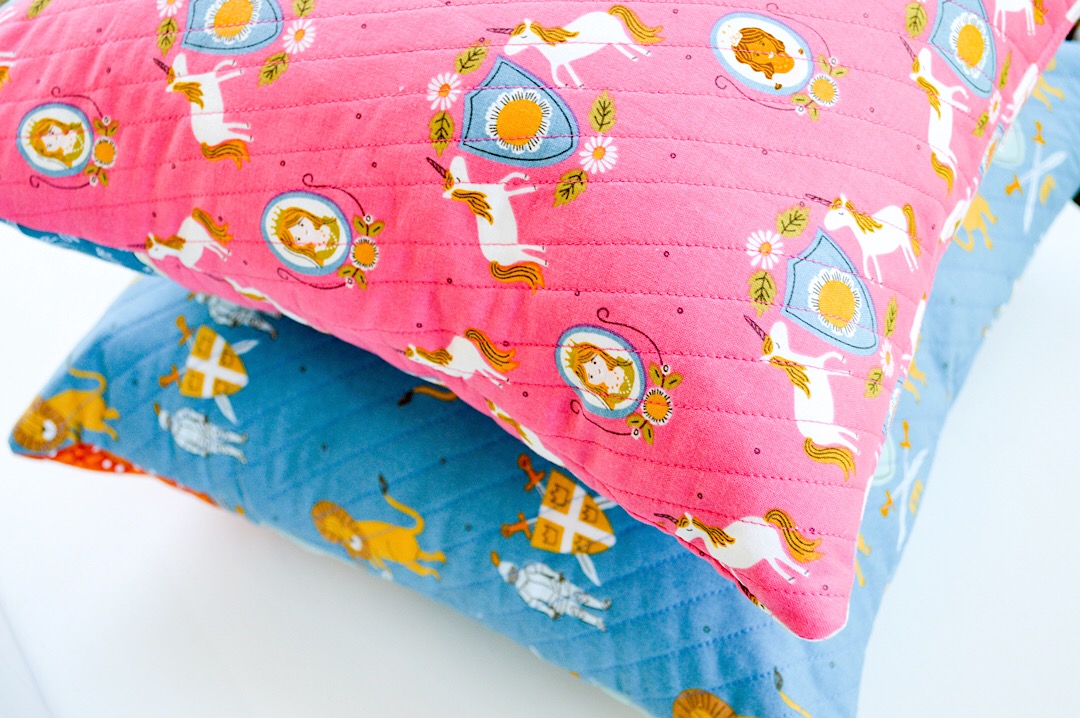
Machine quilt each of the pillow front and back pieces. I quilted my pillow fronts on a diagonal, spacing the rows 1/4” apart. I quilted one of the pillow back pieces horizontally and one vertically. You can choose to quilt these any way that suits your taste.
After quilting each piece, trim the batting so it the edges are flush with the designer fabric.

If you want to add a monogram letter, now is the time to do that. On the wrong side of my fabric piece, I sketched out a chunky letter about 5” tall and wide. Whether you draw the letter yourself or need a printable template, HERE is a great tutorial on how to easily add your Monogram along with free printable letters. The tutorial shows how to add a raw edge appliqué letter to your project. This is the easiest option. I decided to turn my edges under, creating a more finished look. Either way is perfectly fine. The following steps will explain how I created the finished edge monogram.
After cutting out my fabric letter A, shown above, I cut out the same shape front he Heat ‘n Bond, but cut it 1/4” smaller than the fabric letter. I then pressed the bumpy glue side of the Heat ‘n Bond (following directions on the package) to the back of the letter.
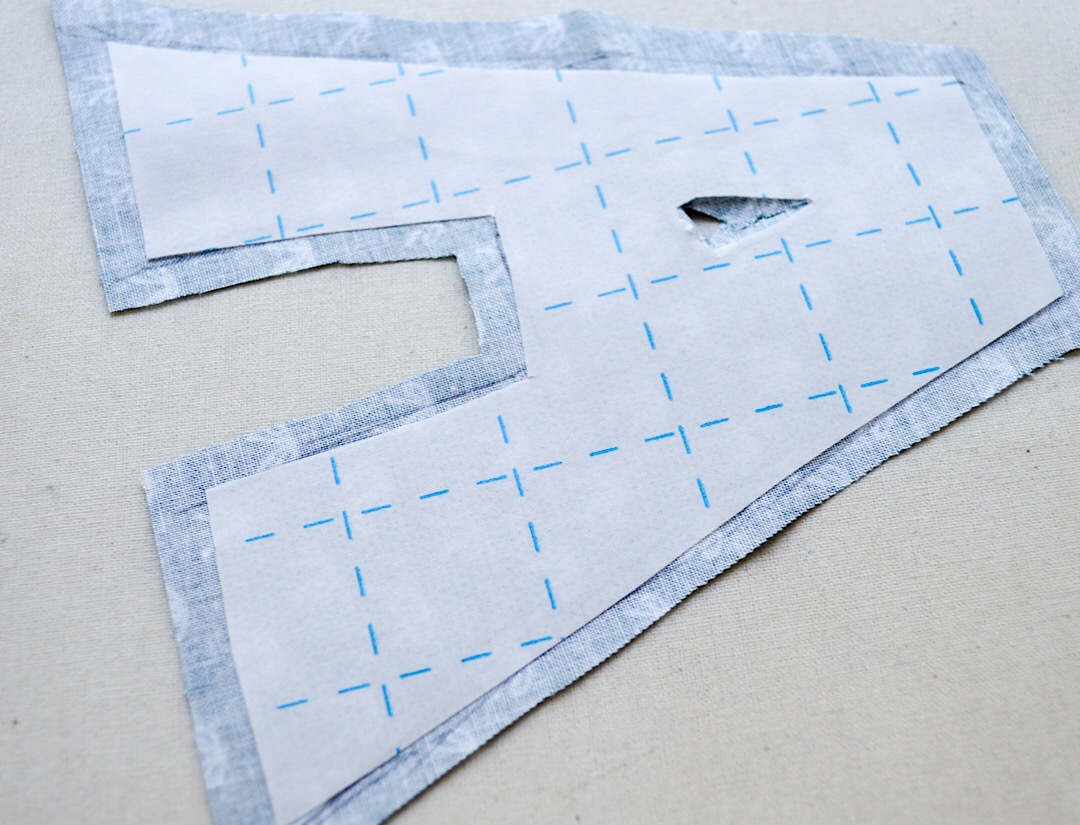
Here is what the back looks like. The paper side of the Heat ‘n Bond is still in tact. I then carefully cut a slit in the opening of the letter A up to the top point and down to each lower corner.
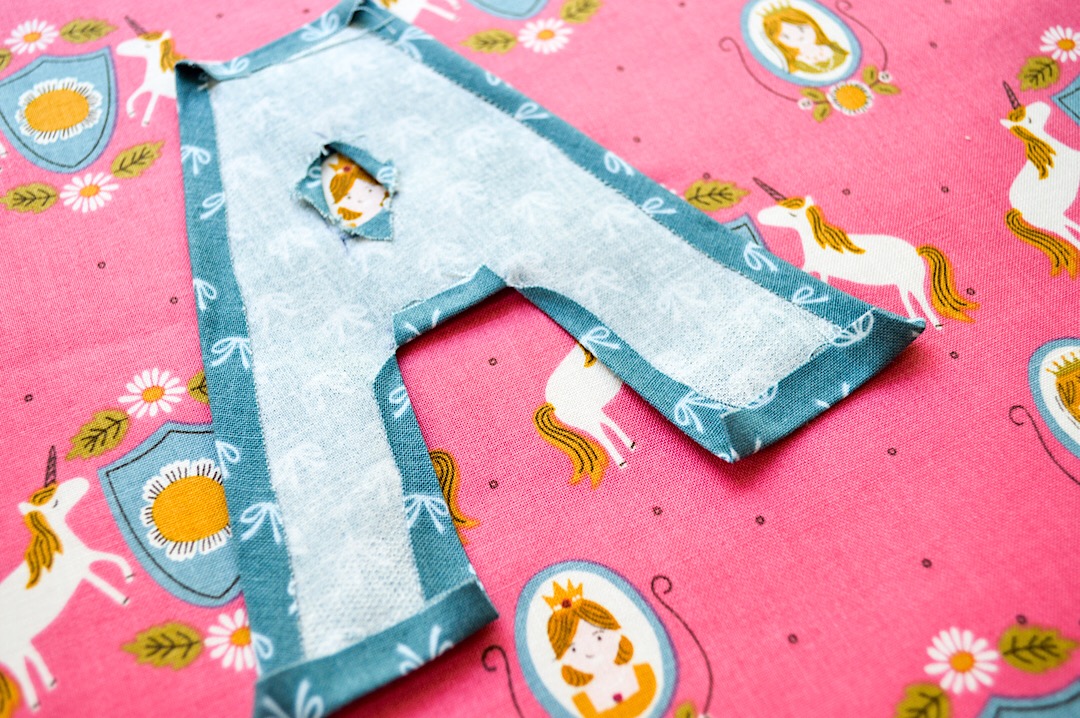
Peel off the paper backing from the Heat ‘n Bond. Then simply turn the fabric edges under toward the wrong side of the letter. The Heat ‘n Bond is slightly tacky, so the edges do stick just a bit. If they aren’t sticking for you, carefully press the edges to adhere them to the Heat ‘n Bond. Turn the letter over and position it on your pillow where you want it. Press into place. Top stitch around the perimeter, keeping the stitching close to the edge.
Your pillow top is done! Let’s start on the pillow back. You may be wondering why your pillow back top and bottom pieces are different widths. This is the most forgiving and easiest way I have found to ensure that the edges line up perfectly.
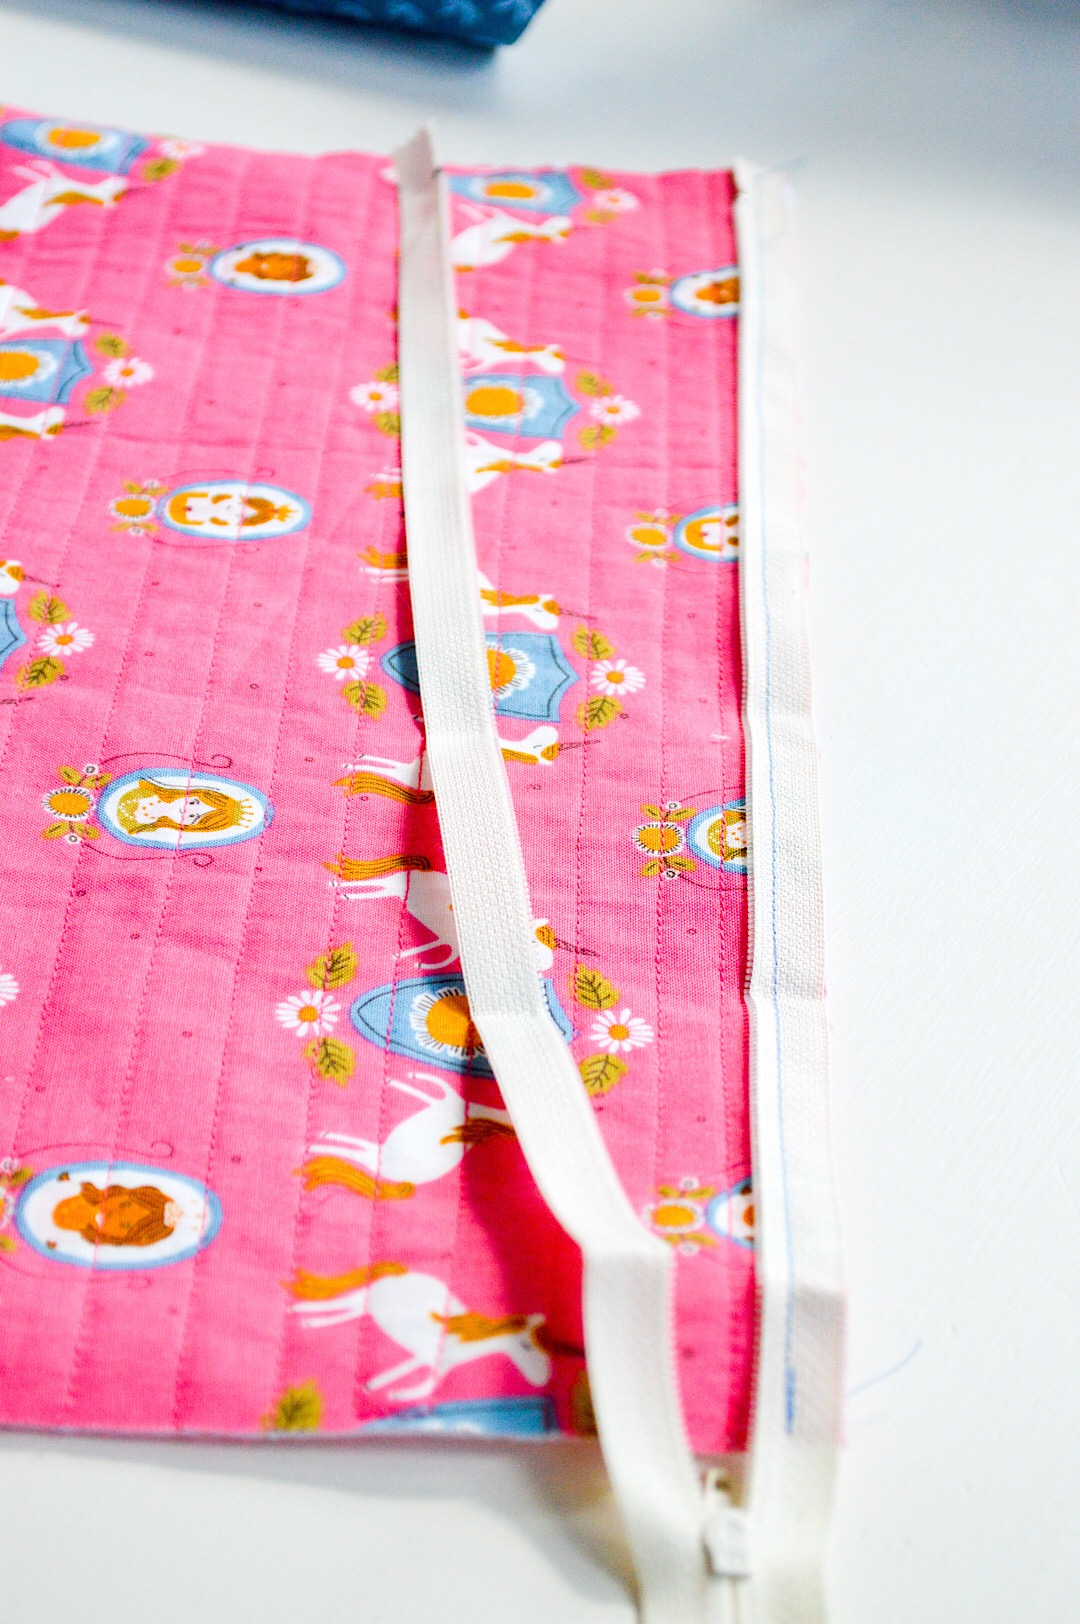
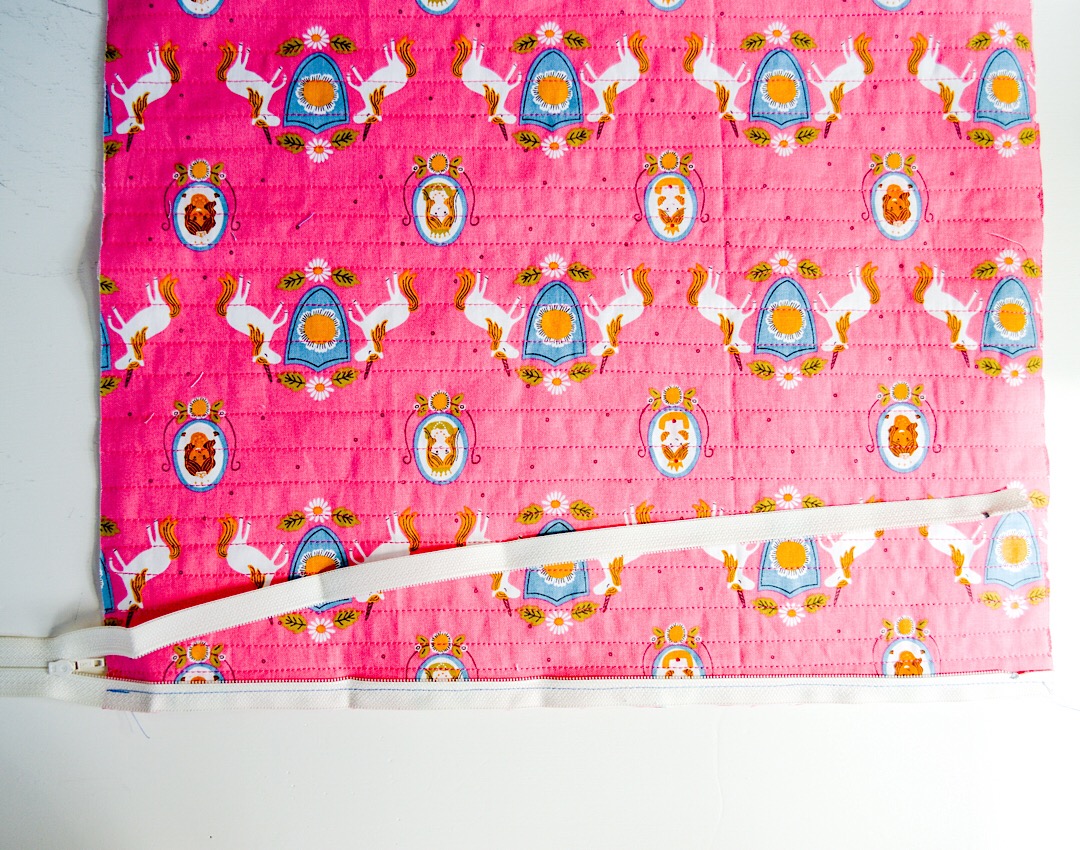
The first step is to attach the zipper to one half of the pillow back. The above photos are the same step from 2 different angles.
Pin the wrong side of the zipper facing the right side of the pillow back piece, as shown. As you pin, line up the end of the zipper with the side of the pillow back. That extra space where there are no zipper teeth gives room for your seam allowance and helps the zipper close neatly.
It’s okay if you have excess zipper tape on the other end. We’ll trim that up later. Sew the zipper to the fabric using a zipper foot, and staying close to the zipper teeth. (See stitching line in above photos.)
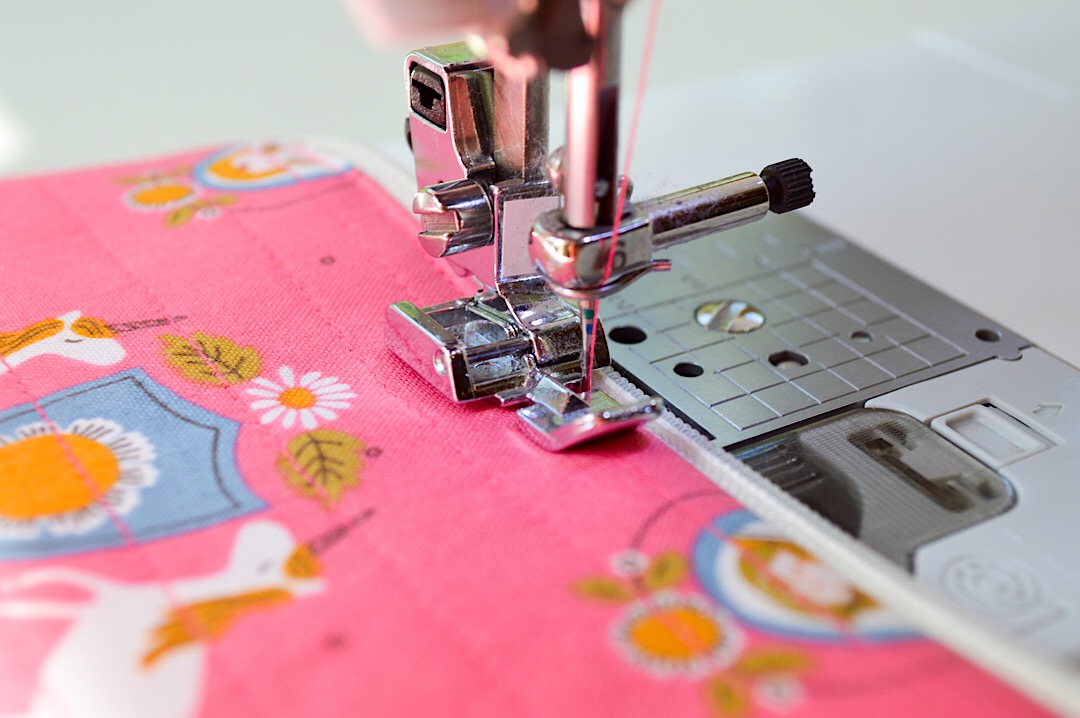
Now tuck the zipper tape under toward the wrong side of the pillow back. Press. Top stitch close to fabric edge, as shown above. I have found it is easiest to top stitch here using the sipper foot because it allows me to get nice and close to the edge.
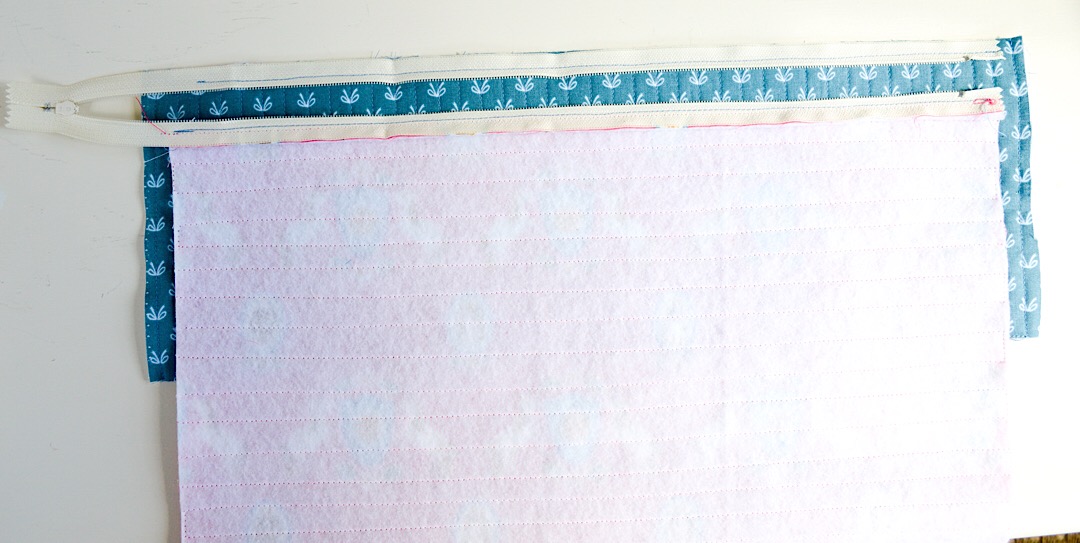
Now were are going to repeat these steps when attaching the top section of fabric. I have found that I need this piece a little wider, because no matter how perfectly I try to line up my zipper with my fabric, the finished product ends up a little wonky. To save me from the headache, I use a wider piece and trim it later.
Lay the top back piece face up under the bottom piece (which is face down) as shown above. Pin the zipper tape (face down) in place along the right side of the fabric. Notice I have a little extra fabric on each end. Using the zipper foot, stitch in place close to to the zipper teeth. (Note that on the left side, I didn’t stitch all the way to the end of the fabric. This is because I will be trimming the fabric in the next step, but I won’t be trimming the zipper tape yet.)
Turn the zipper tape under and press. Top stitch the same way you did for the bottom piece.
Now, zip up the zipper. The bottom piece of fabric is 18” wide. This is the width we want for this pillow. It is too long, however, so we will be trimming length off the bottom, and width off the top.
Lay the finished pillow top over the pillow back. Position it so the pillow back zipper is exactly where you want it. The width of the pillow top and the width of the back pillow bottom pieces should be the same.
Carefully trim the bottom edge of the pillow back so it aligns with the pillow top.
Without cutting the excess zipper tape, trim the upper portion of the pillow back so it aligns with the pillow top

With pillow front and back facing each other, pin all of the sides in place, especially around the zipper pull. This is important, because it maintains the correct position of the zipper, which otherwise could be sewn with too large or too small of an opening.
Without removing the pins, carefully open the zipper halfway. We do this so you will be able to turn it right side out when we are finished.
Using a 1/2″ seam allowance, stitch around the perimeter of the pillow, carefully stitching through the excess zipper tape.
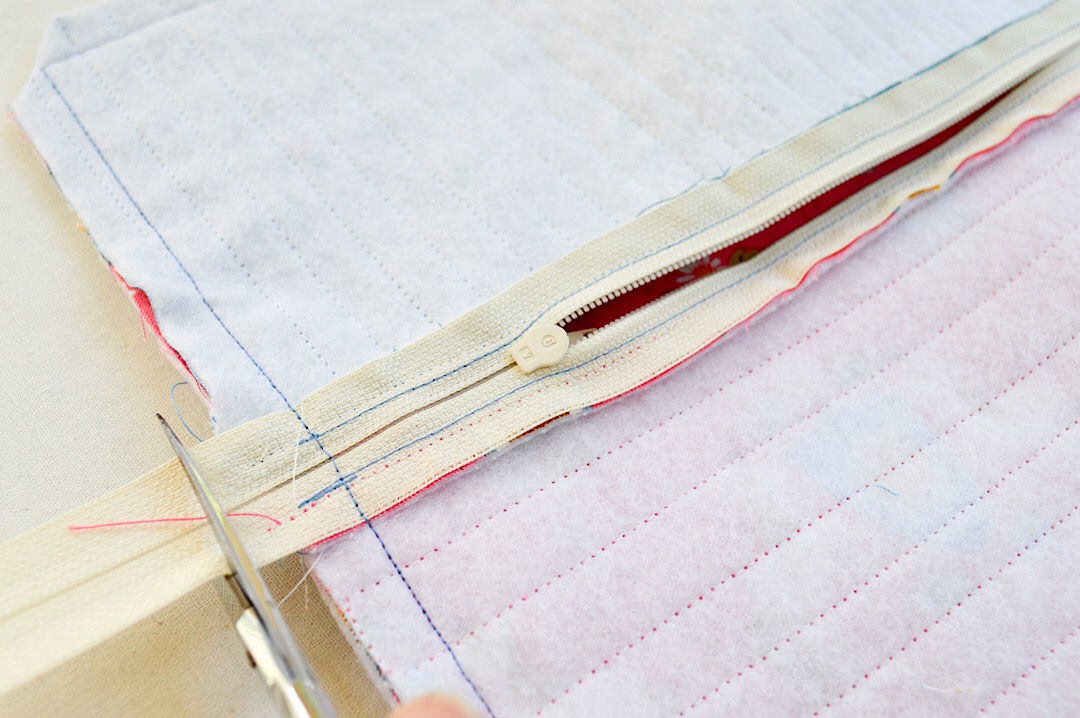
Now you can trim off the excess zipper tape. The reason I wait until now to trim it is to ensure that the zipper teeth stay together during the pillow assembly. It just keeps everything neat and tidy and prevents “zipper accidents” from happening.
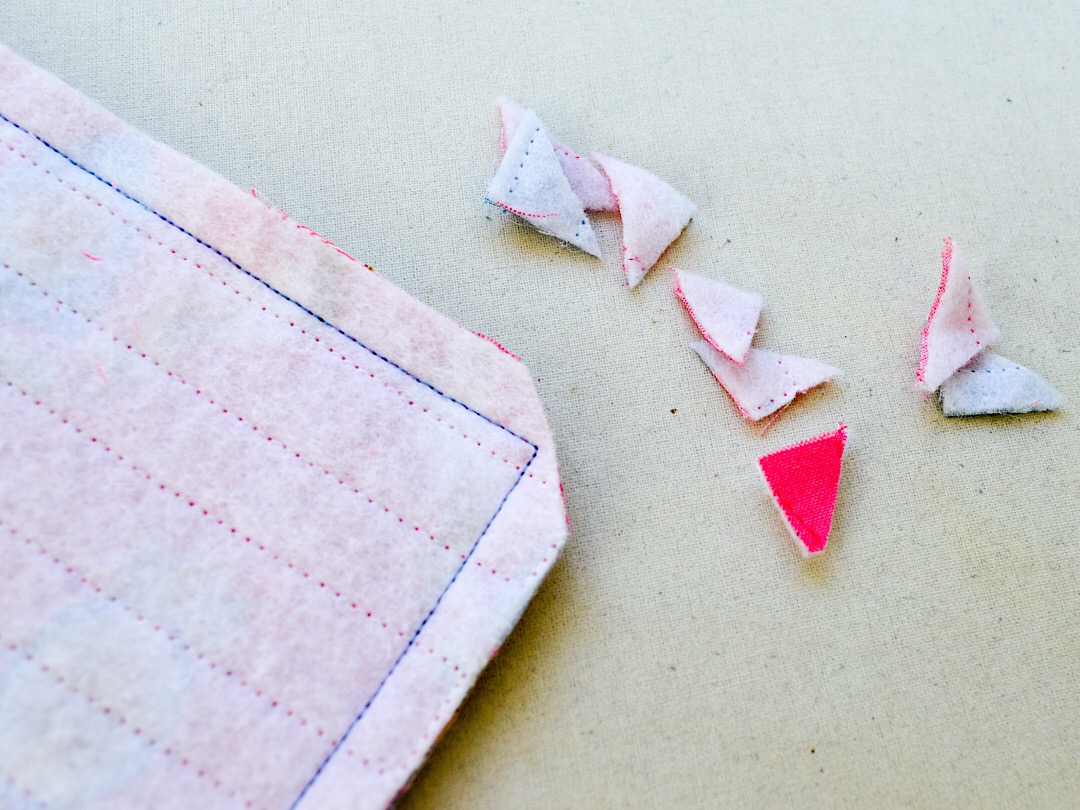
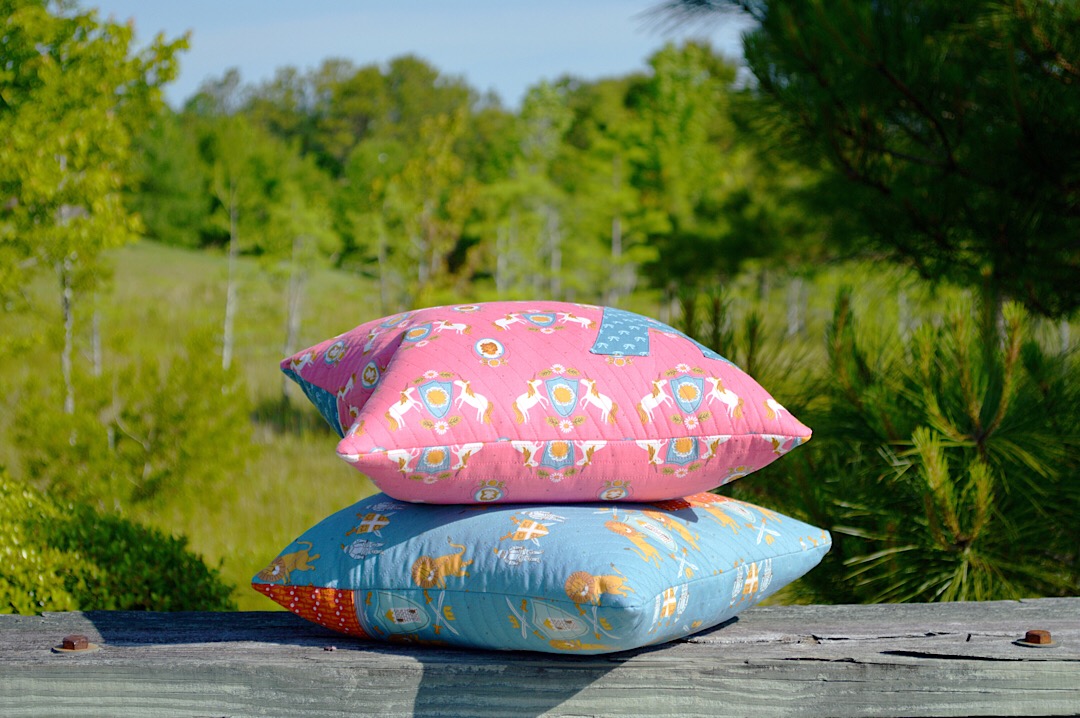
Trim the corners. Turn right side out through the zipper opening. Stuff with your 18″ down/feather pillow insert, and you are done!
Once you get the hang of this simple pillow assembly, you can begin adding more challenging elements, such as piping and ruffles.
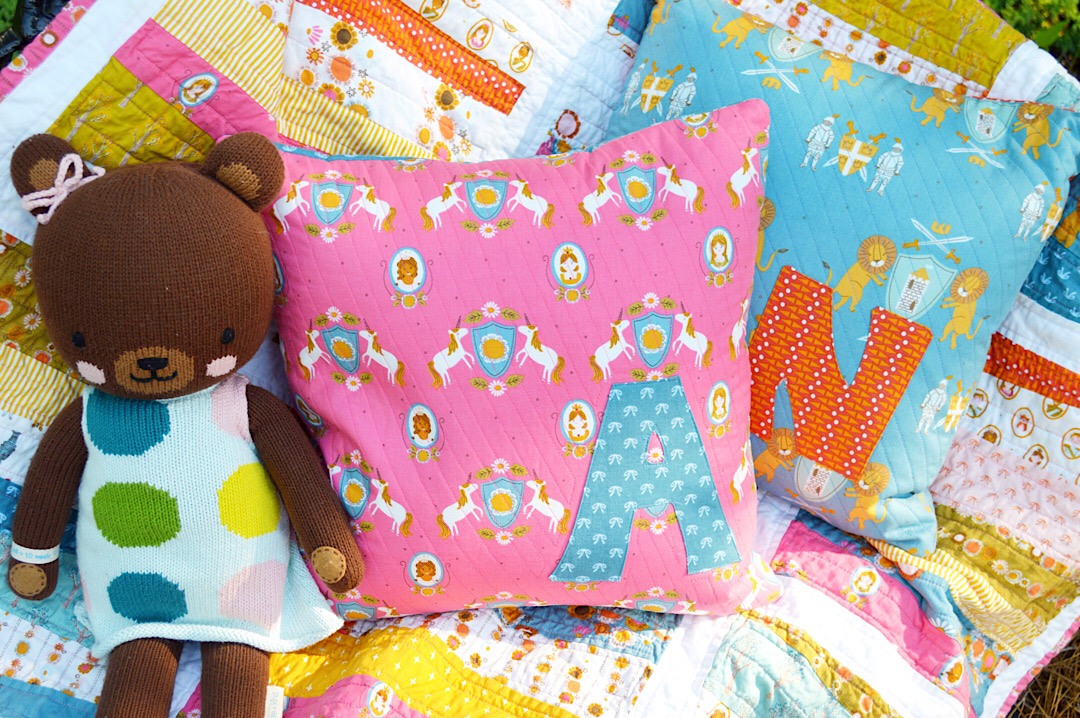
How cute are these fabrics?!
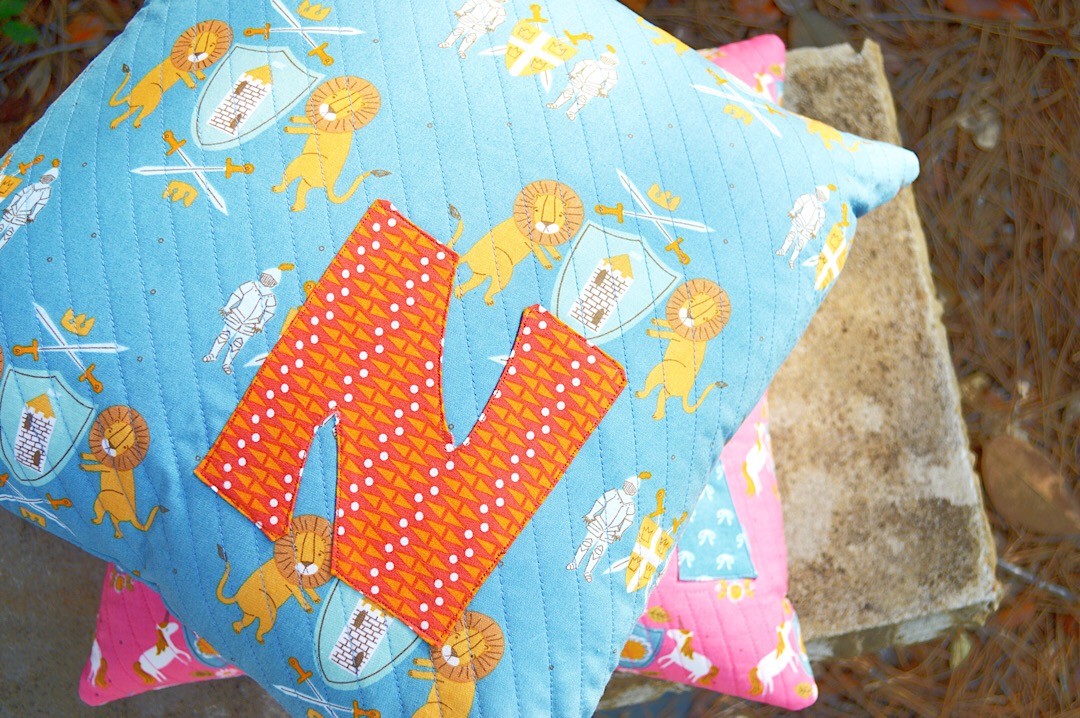
The Guinevere and Lancelot fabric collections, designed by Citrus & Mint Designs, are available now at your favorite local and online quilt shops!
You can follow Citrus & Mint Designs on Instagram @citrusandmintdesigns.
Happy Sewing!