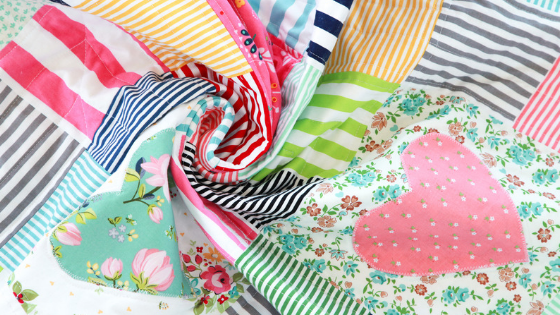
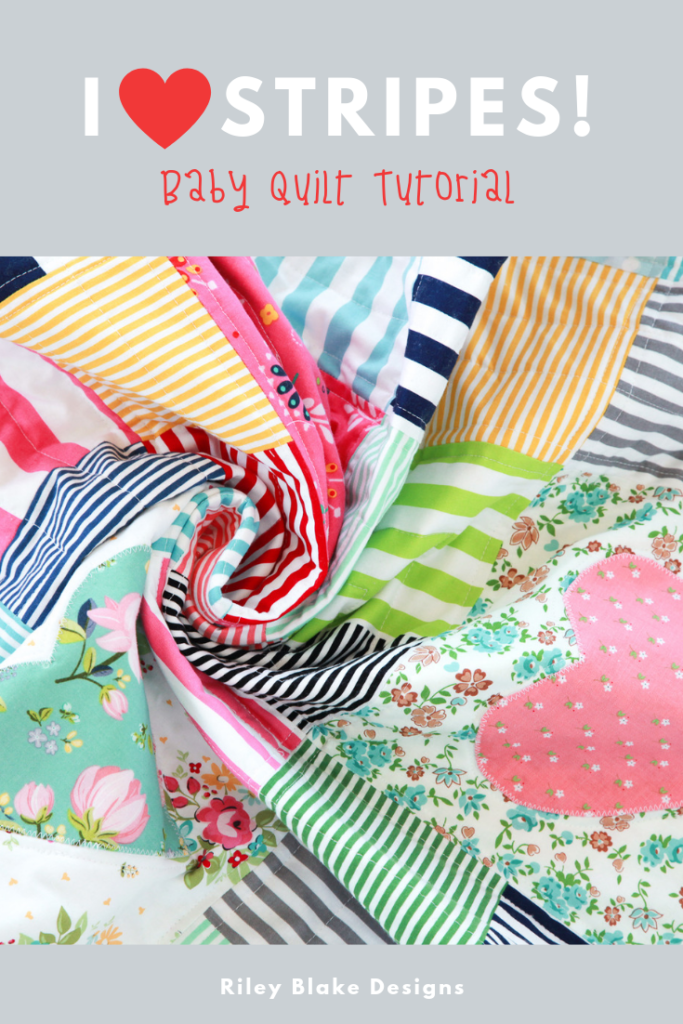
Have you ever started a quilt with no real plan in mind — just a stack of pretty fabrics calling out to become something totally fabulous? That’s the story of this little quilt, I am calling the “I Heart Stripes” quilt.
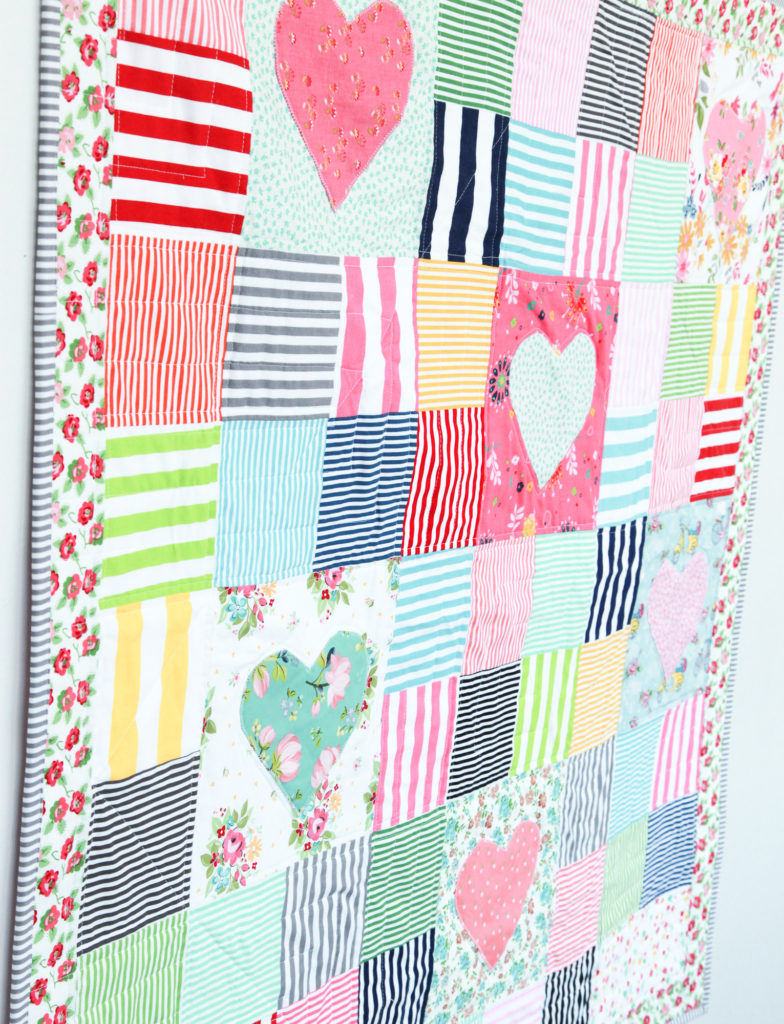
The end result was a happy, scrappy, shabby chic looking design with lots of flexibility for changes so each quilt can be truly one-of-a-kind.
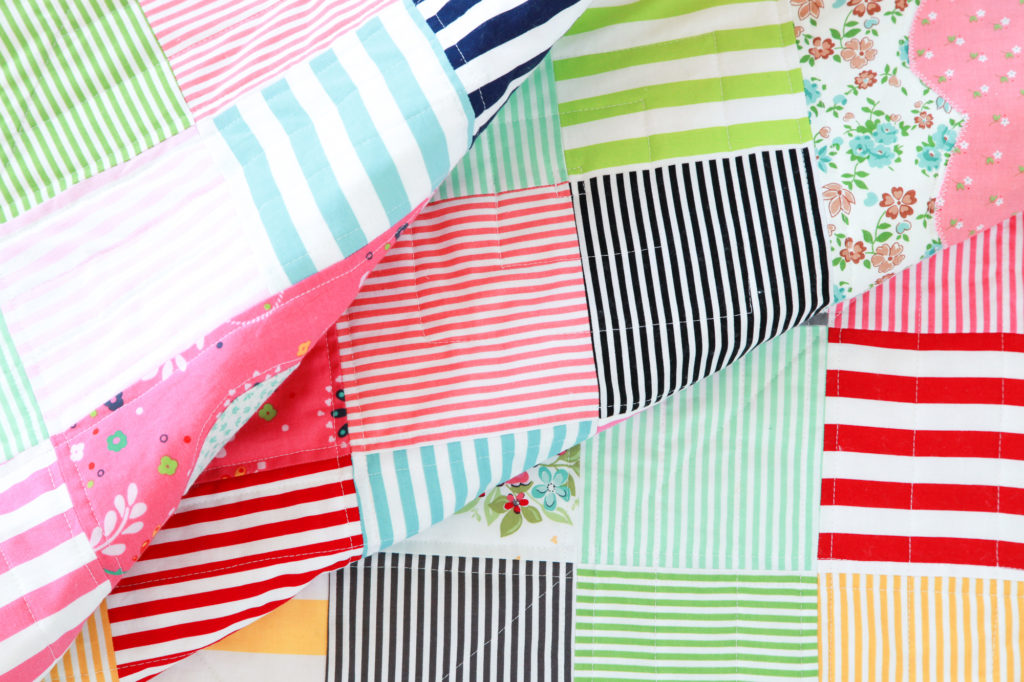
The quilt features Riley Blake Stripe Basics paired with a variety of designer floral prints and simple heart applique. You can change up the color scheme and designer prints, and even change up the applique design to personalize your quilt.
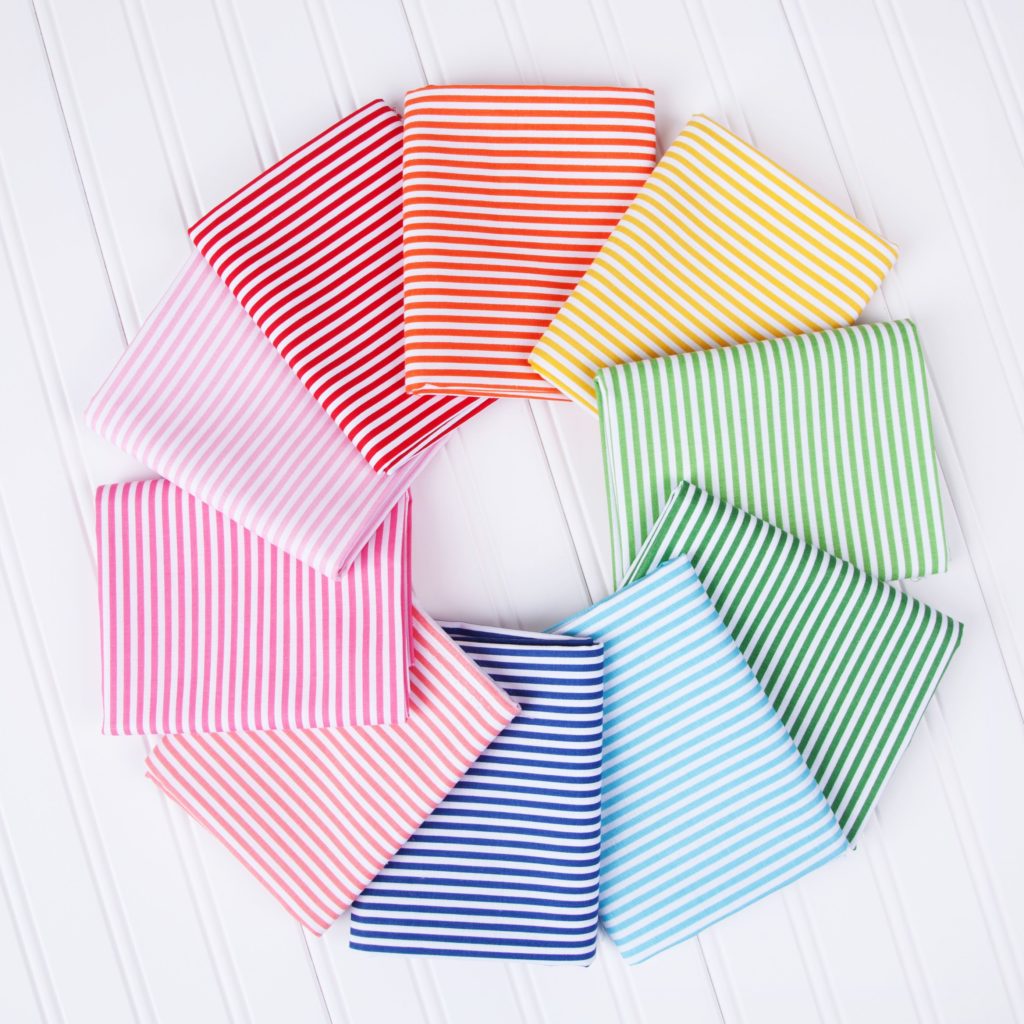
Riley Blake Stripes come in a wide variety of bright, cheerful colors in 1/8″, 1/4″, and 1/2″ widths .
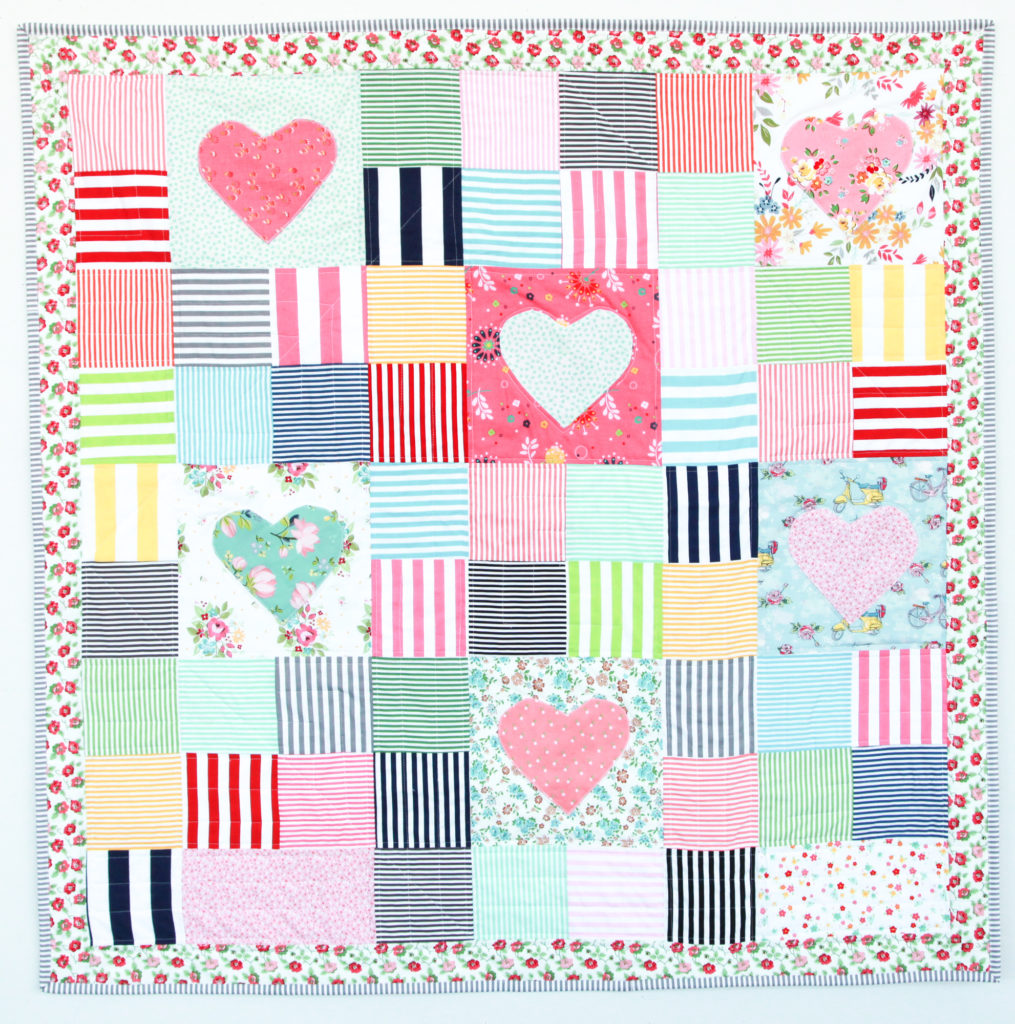
Finished quilt measures approximately 41″ x 41″.
To make this quilt you will need:
- 53 – 5″ squares of Riley Blake Stripe Basics in various colors and widths
- 6 – 9 1/2″ squares in various Riley Blake Designs floral fabrics
- 2 – 5″ x 9 1/2″ strips in Riley Blake Designs floral fabrics.
- floral square scraps about 10″ square
- 5 – 2 1/2″ x WOF strips floral border print
- 5 – 2 1/2″ x WOF strips 1/8″ Riley Blake Steel Stripe for binding
- 1/3 yard fusible interfacing
- Quilt batting
- fabric for quilt back
To get started, we need to make the applique hearts. Take a 10″ x 10″ piece of paper and freeform draw a heart. I didn’t worry about my heart looking perfect because I knew I wanted a scrappy look. If you want a perfectly shaped heart, you can find some templates HERE. Just use your printer to adjust the size so your heart easily fits in a 9″ square.
We are going to make 6 hearts. I chose to use a different fabric for each heart. You can use one fabric, or different fabrics, or even stripes would look great here.
This applique technique uses interfacing to do the hard work, rather than hand turning the edges under. You can watch Lori Holt demonstrate the technique HERE.
Use your template to cut out the fabric hearts.
Now use the same template to cut out six hearts from the fusible interfacing.
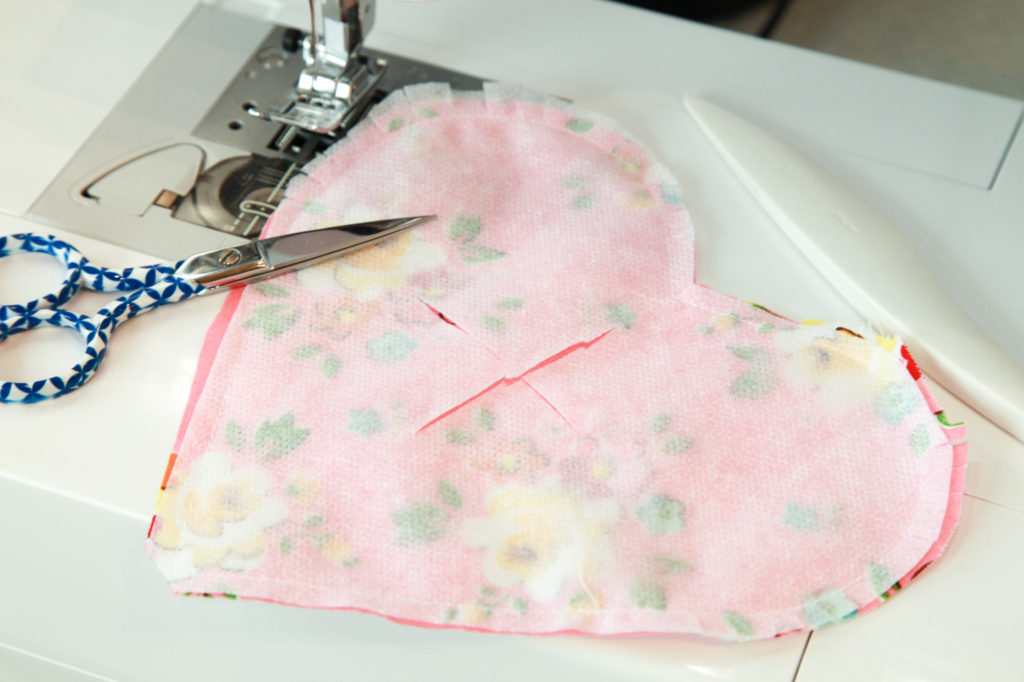
Place an interfacing heart on a fabric heart, with the right side of the fabric facing the bumpy glue side of the interfacing. Sew 1/4″ around the entire perimeter. With a small pair of scissors, clip the curves and point of the heart. Then take a seam ripper or small pair of scissors and carefully cut an opening in the center of the interfacing.
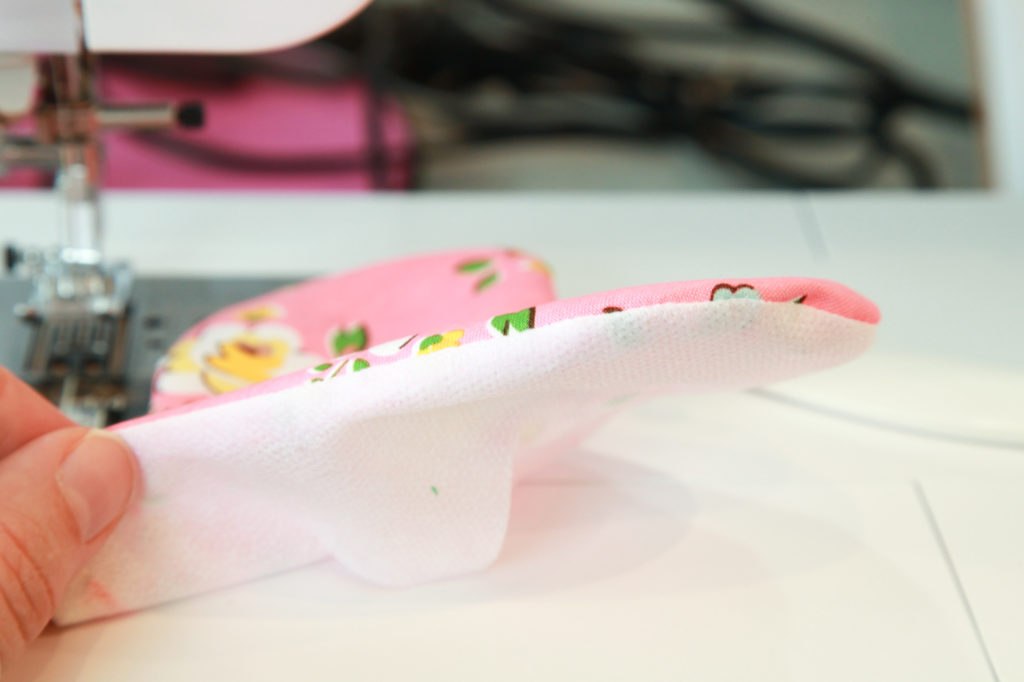
Turn the heart right side out through the hole you cut in the interfacing. The bumpy glue side will now be on the back of the heart.
With a slightly pointy tool, reach in and smooth out the edges. Repeat for all six hearts.
Position the hearts on the 9 1/2″ squares and press. The glue from the interfacing will hold the hearts in place temporarily until you stitch them down.
Stitch the hearts into place using a small zig zag stitch, an edge stitch, blanket stitch, or hand stitching. Whichever method you prefer is great!
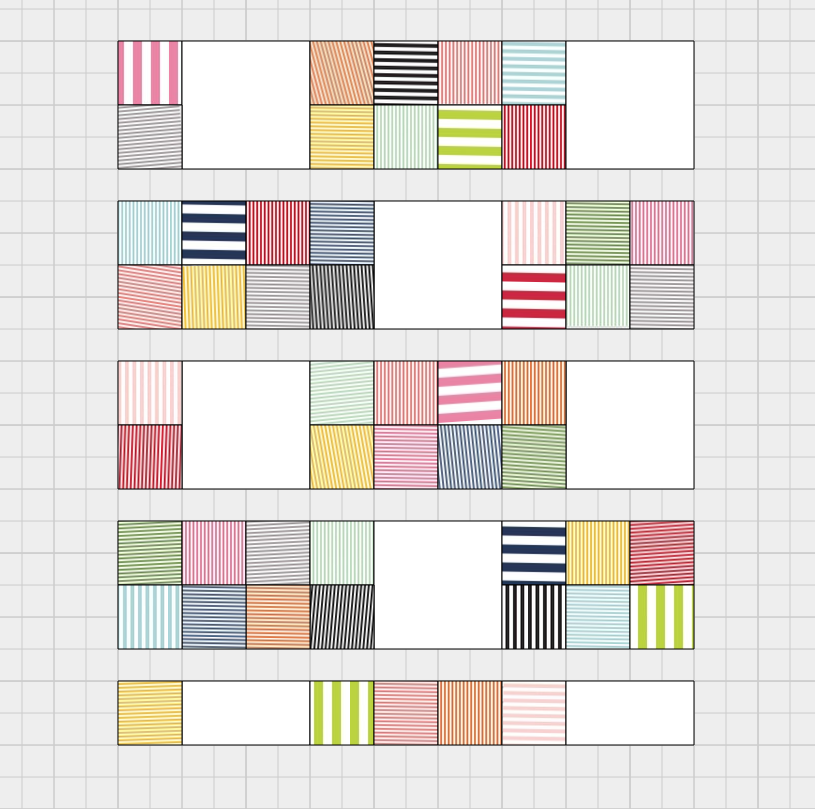
Start assembling the quilt by piecing the blocks into rows as shown above.
Next, sew the rows together to complete the quilt top.
Add the floral borders, sewing the border to the sides first, then to the top and bottom.
Make a quilt sandwich (quilt back + quilt batting + quilt top). Baste and machine or hand quilt as desired.
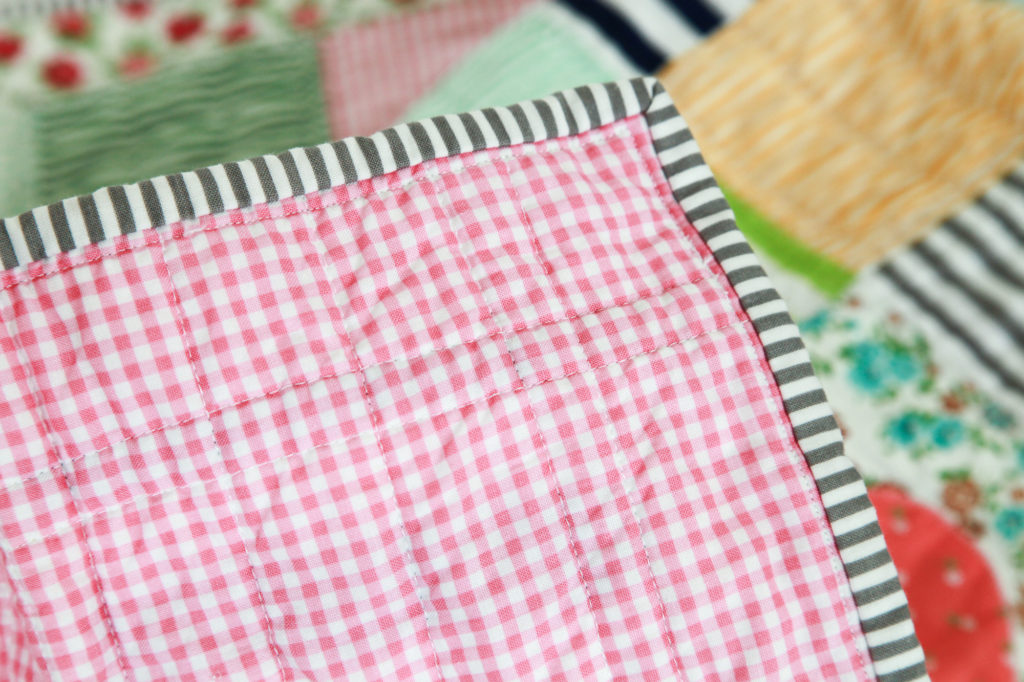
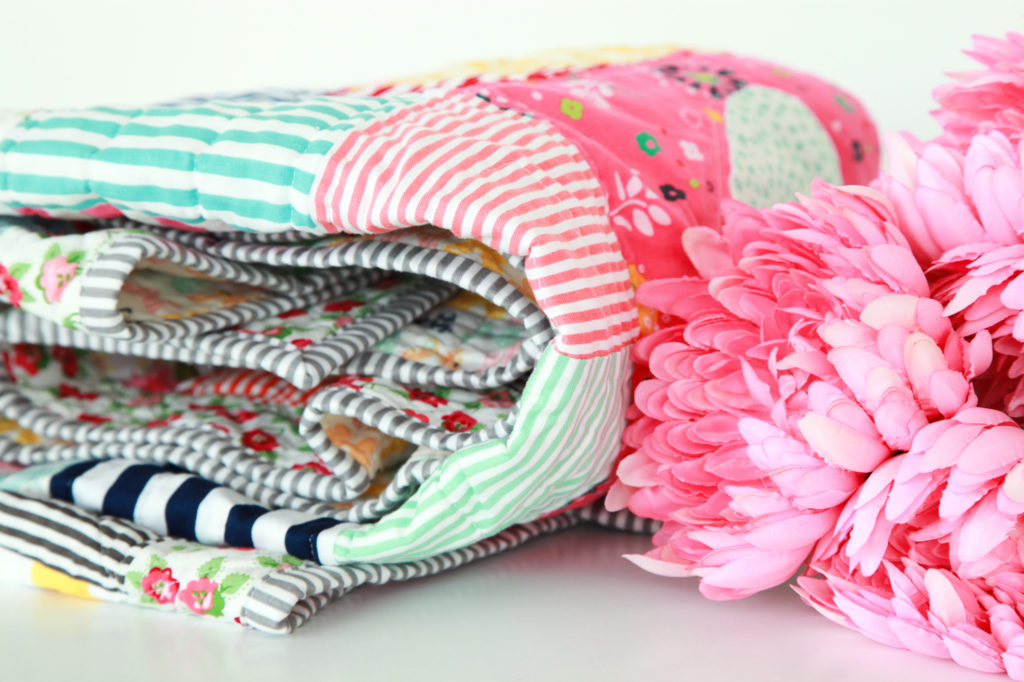
For the quilt back, I used a 1/8″ Riley Blake Hot Pink Gingham. I used 1/8″ Steel Grey Stripe for the binding. Stripes make such a fantastic binding, don’t you think?
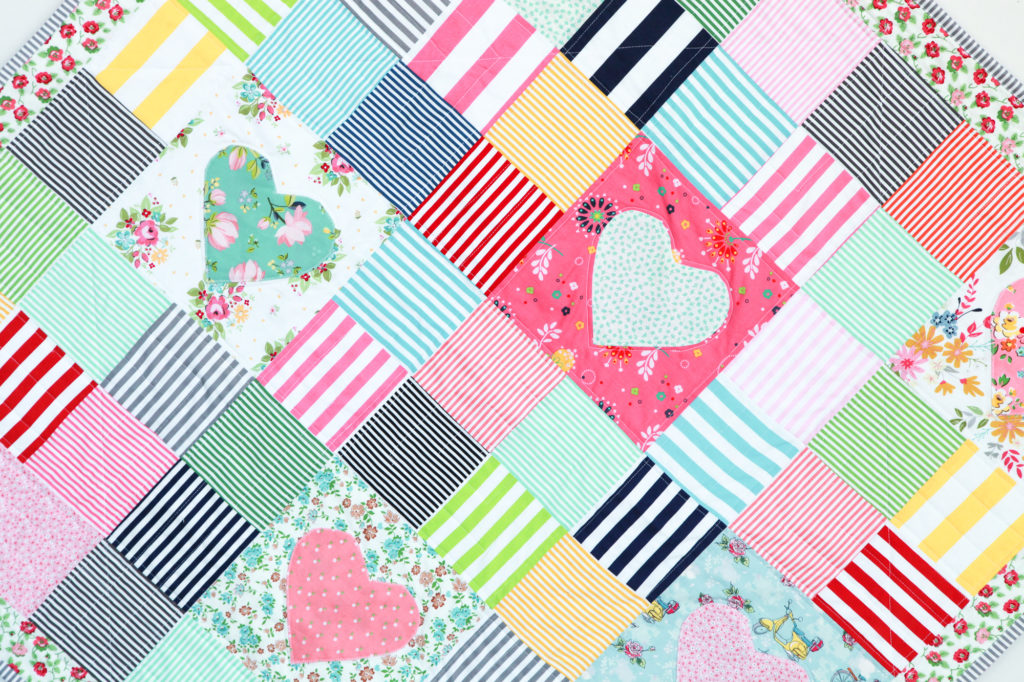
And that’s all there is to it! If I were to make it again, I would probably make the odd bottom row all 5″ squares and leave out the floral strips. I also think the applique hearts would look great in stripes, tying the whole stripe theme together, so I think I’ll try that next time. Replacing a heart with a child’s first initial could be a fun personalized touch as well.
Overall, this quilt is full of vibrant color and lots of love! The perfect choice for a quick and easy baby gift!
Riley Blake Stripe Basics are available now at your favorite local and online quilt shops. Pick up yours today and share your makes with us on Instagram using #rileyblakedesigns #iloverileyblake #fabricismyfun, and be sure to tag us @rileyblakedesigns.
Happy Quilting!