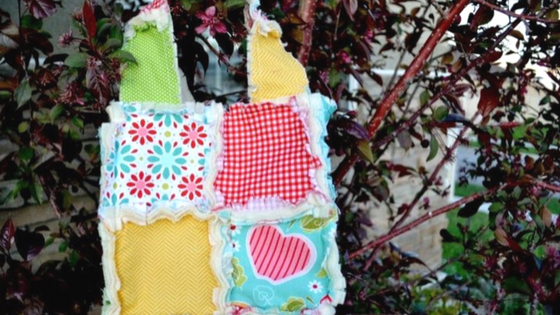
Hello! Today I get to share with you how to make a 4 patch rag bag. It’s one of the first things that I learned how to sew and years later I still love and make them often. They are perfect for cute, quick, handmade gifts. (Especially when filled with special surprises!)
I, by the way, am Liz from over at Simple Simon and Company and as always am happy to be here at Riley Blake Designs. Now….let’s get started! Here’s what you’ll need to make these fun tote bags:
Supplies:
a sewing machine
thread
14 pieces of felt cut into 5 inch squares
14 pieces of fabric cut into 5 inch squares
8 pieces of felt cut into 5 x 2 and 1/2 inch squares
8 pieces of fabric cut into 5 x 2 and 1/2 inch squares
Lay out your fabric squares in the pattern you like best for your bag. You’ll need 4 squares each for the front and back, 2 squares for each side, and two squares for the bottom. Each handle will be 4 rectangles long.
(Sew your front and pack panels together. Sew your side and bottom panels together. Sew them together just like you had them laid out.)
Sew your handles.
Now sew the back panel to the left side panel. And then finally sew that piece to the piece in the photo above. Now you have your bag!
To do this you are going to sew a stitch around the entire top edge of the bag. At the corner of each front and back square you are going to attach the handle. Do this by sliding the handle inside the bag a generous half inch and stitching them together as you stitch around the top of the bag.
When you are done clipping put your bag in the washing machine on the rinse cycle then dry in the drier. This will make your bag cute, fluffy, and ready for use!
Thanks for sewing along with us today and for more ragged fun head on over to our blog and check out some other simple projects!
–Simple Simon and Company


