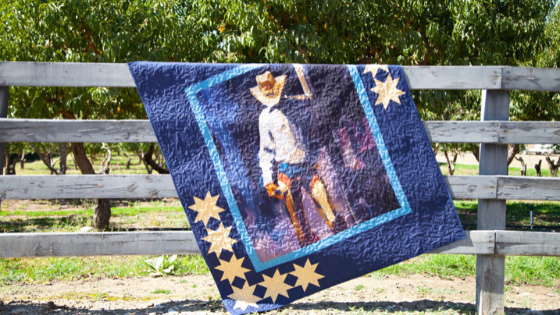
We have a fun and super easy quilt to share with you today! This Star Borders Panel Quilt features the Out of Money fabric panel from the officially licensed Back of the Chutes collection by Hugh Cabot.
Hugh Cabot (1930-2005) gained artistic fame at the age of 22 years after having been appointed by then President of the United States and Secretary of the Navy to serve as a combat artist for the Korean War.
Cabot, awarded with the title of American Master Painter in 2006, is best known for his bold, powerful western landscapes and highly distinctive portraits of the iconic cowboy. His love for the western frontier began at age 12 when he was sent from his hometown in Boston to visit western ranches. By age 14, he was obsessed with the Rodeo, horses, and winning a champion silver buckle. He spent over 20 years studying the way of life of the American Cowboy and perfected southwestern and frontier subjects as a painter, illustrator, and sculptor.
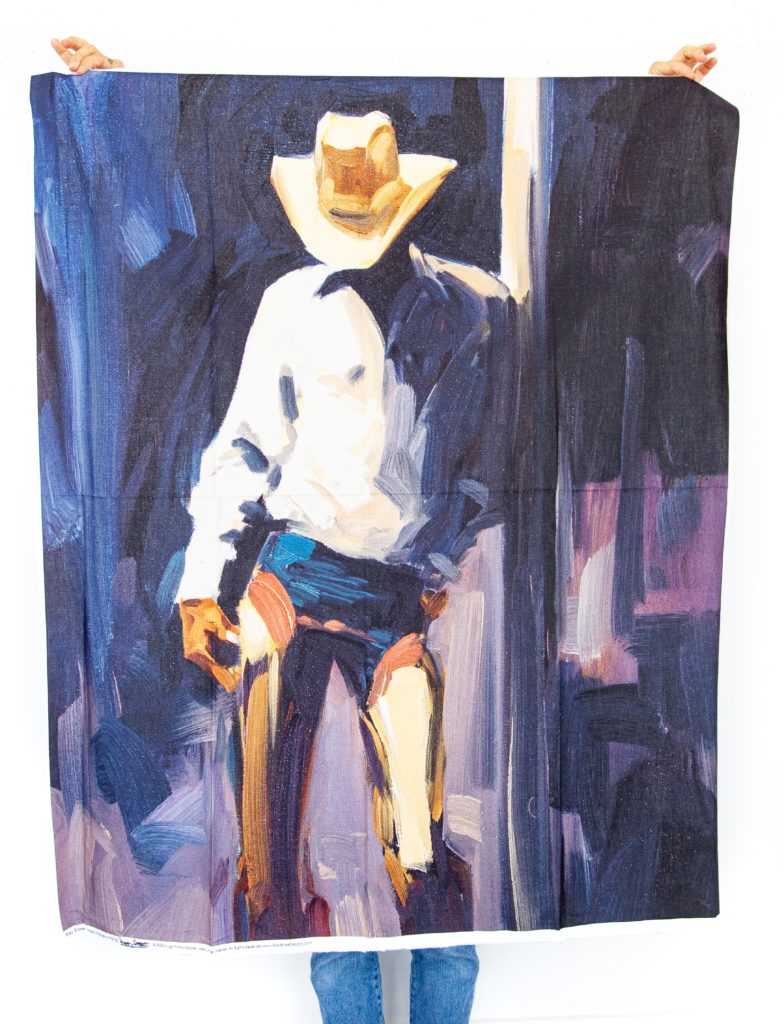
I used this panel, titled “Out of Money,” as the focal point of our quilt. The panel measures 36″ x WOF. The painting was done in broad brush strokes in a combination of warm and cool tones in blue, brown, gold, and even a wee bit of purple color palette.
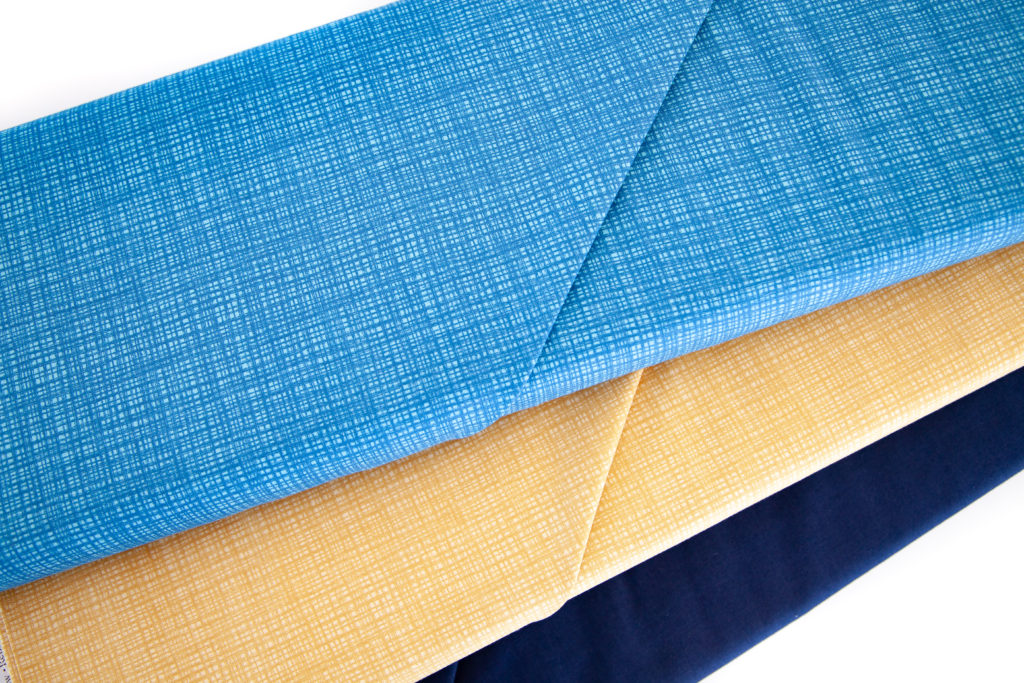
For the coordinating fabrics, I used Confetti Cotton Navy along with Texture by Sandy Gervais in Burlap and Blue.
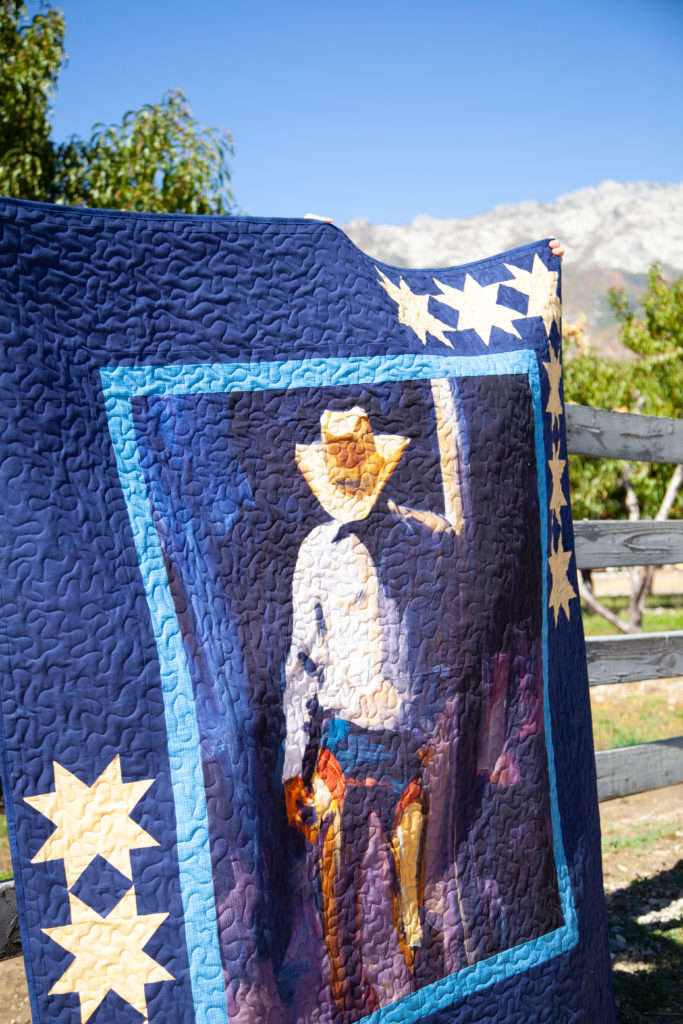
The quilt is made up of the fabric panel + 4 borders. Two of the borders are Navy Confetti Cotton, which blends in with the star border.
I added these two borders to give the stars a bit of space so they look a bit like they are floating. This was just my personal preference, and the best part about these panel quilts is that you can change them up and customize them to look any way you want.
To make this quilt you will need:
- 1 – Out of Money Fabric Panel
- 1/2 yard Blue Texture cut into 2 1/2″ x WOF strips
- 1 yard Burlap Texture
- 1/2 yard Navy Confetti Cotton cut into 1 1/2″ x WOF strips
- 1 yard Navy Confetti Cotton cut into four 8″ x WOF strips
- fabric for the quilt back
- batting
- 1/2 yard Nighttime Shades Basics cut into 7 – 2 1/2″ x WOF strips

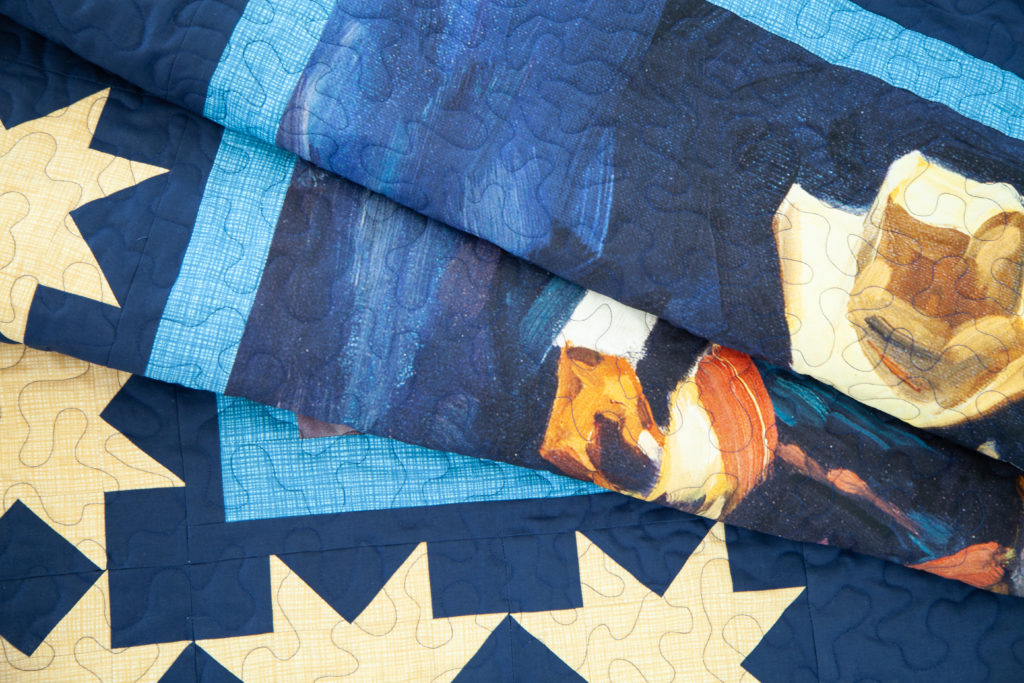
Begin by trimming the panel. I trim it to right where the printed panel ends. Next you will add the Blue Texture strips to each side of the panel. Press. Add the other two Blue Texture strips to the top and bottom. Press.
Repeat with the 1 1/2″ Navy Blue strips — add to the sides and then to the top. ** I like to sew the top, bottom, and side strips (5 total) into one long strip at the beginning. I then just start at the end of the strip and start on the sides, then move to the top and bottom, trimming the ends as I go.
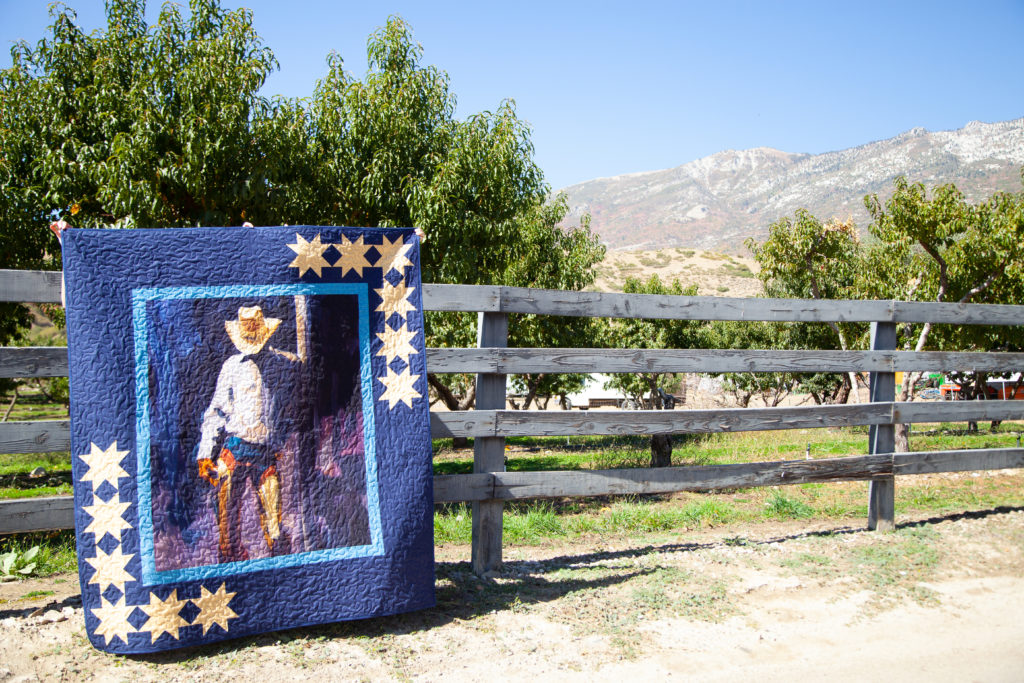
To make the 3rd border, start by making 12 Sawtooth Star Burlap Texture blocks. I like to use THIS TUTORIAL from Diary of a Quilter. She includes a free downloadable chart. I followed the measurements on the chart for the 8″ Sawtooth Star. The cutting instructions on the chart are for ONE Sawtooth Star, so you will want to multiply all of the cutting requirements by 12. If you want to add more or fewer stars to your border, keep that in mind and multiply accordingly.
*Note: In Diary of a Quilter’s chart, the Goose Squares and Outside Corners are Navy Confetti Cotton. The Sky Squares and Center Squares are the Burlap Texture.

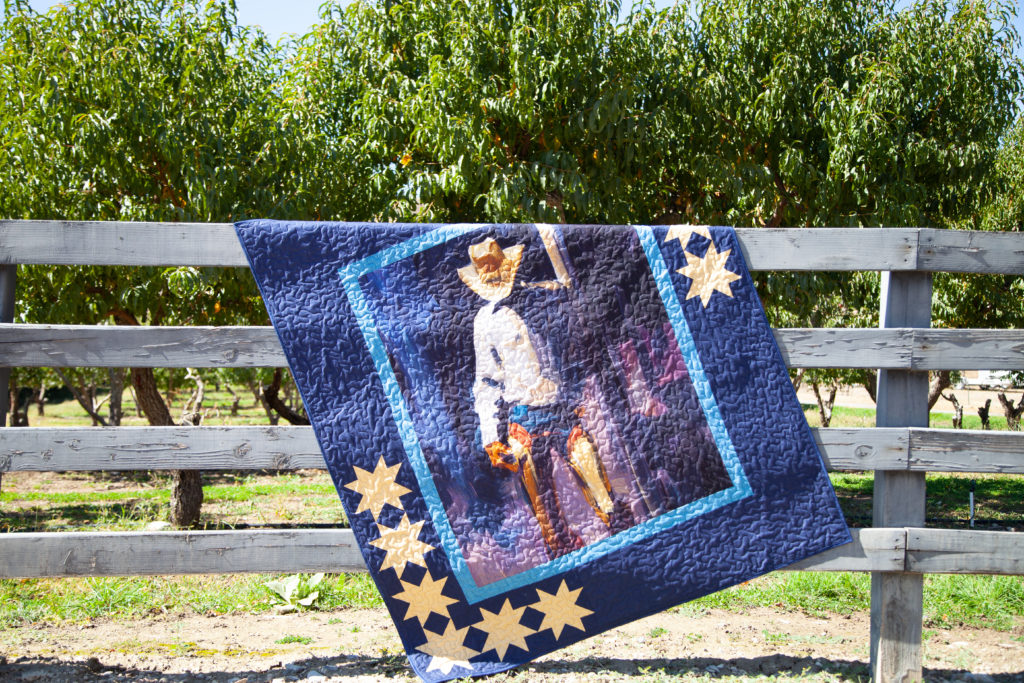
Sew three of the Sawtooth Star blocks together. Press seams. Add an 8″ x WOF strip of the Navy Confetti Cotton, attaching it to the last Sawtooth Star block. Press. To add this strip to the side, you want to start by making sure the top Sawtooth Star block runs even with the top of the quilt top. After those two ends are lined up, you can sew the strip to the side, trimming the extra that will be hanging over at the bottom so it is flush with the bottom of the quilt top. Press.
Repeat for the other side, but instead, line up the stars starting at the bottom of the quilt.
Now repeat for the top and bottom. You want the stars on the top to meet the side column of stars that starts at the top. You want the stars at the bottom to meet up with the side column of stars that started at the bottom. This gives you stars in two corners. Press seams.
Again, you can add more or less stars — that is all up to you. You can have stars going around the entire border, but you do need to be more accurate with getting all of the measurements worked out ahead of time if you decide to go in that direction. This method is better for beginner-intermediate quilters who like a quilt design to be forgiving. You can’t mess this up.
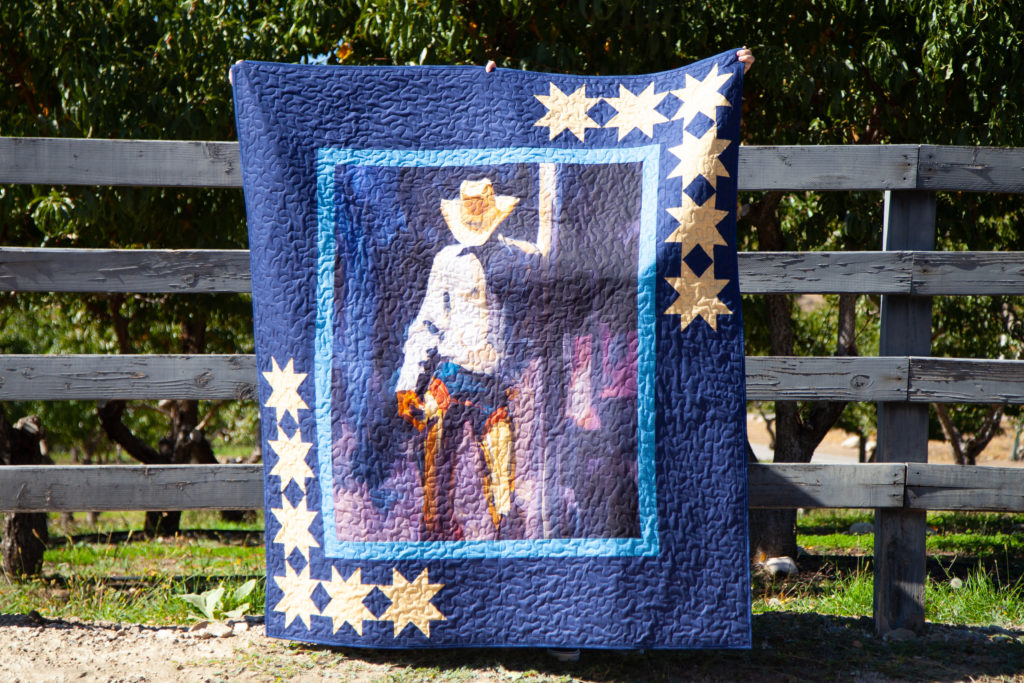
Finally, you will add one more border. I used six strips of the 1 1/2″ x WOF Navy Confetti Cotton. Like before, I sewed them all into one long strip, and just worked my way starting on the sides and then to the top and bottom, pressing seams and trimming ends.
I quilted this on my home machine using a simple all over meandering design. This is an easy design to play with if you are a beginner. I do recommend testing it out on a scrap quilt (just put together a small quilt sandwich with fabric back + batting + fabric top) to make sure your machine can handle the curves. Some machines do have a free motion foot attachment, but can’t handle all of the curves for this type of design. Look at the back of your scrap piece. If you see a lot of pulling, your tension is off. You’ll want to play with the tension until the pulling is gone, and for some machines, a straight line design would be a better option.
For the binding, I used Lori Holt’s Nighttime Shades Basics.
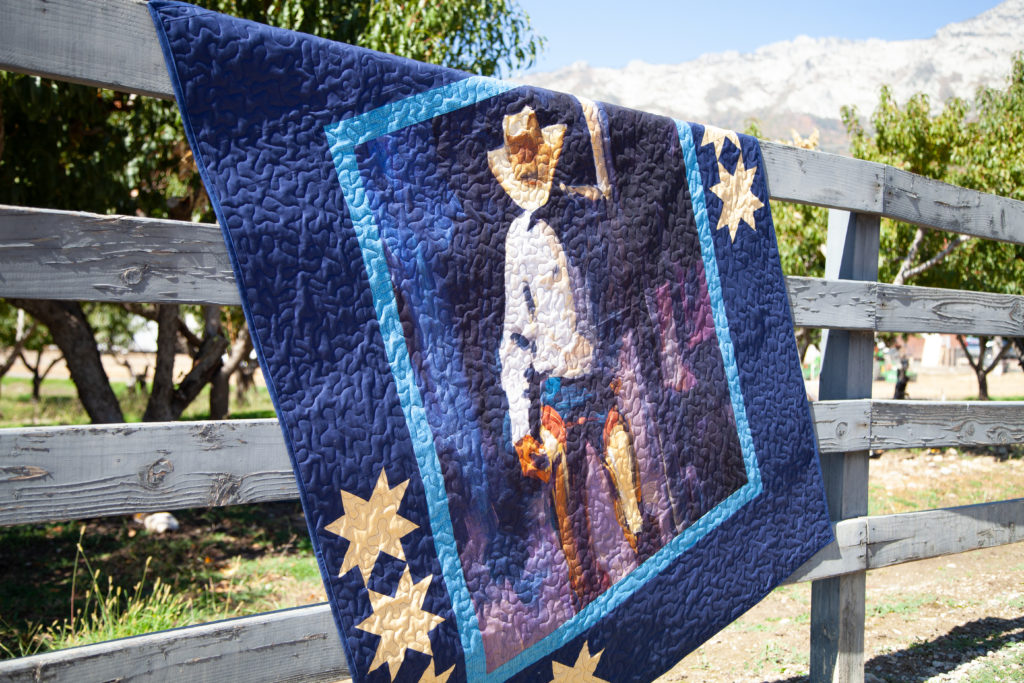
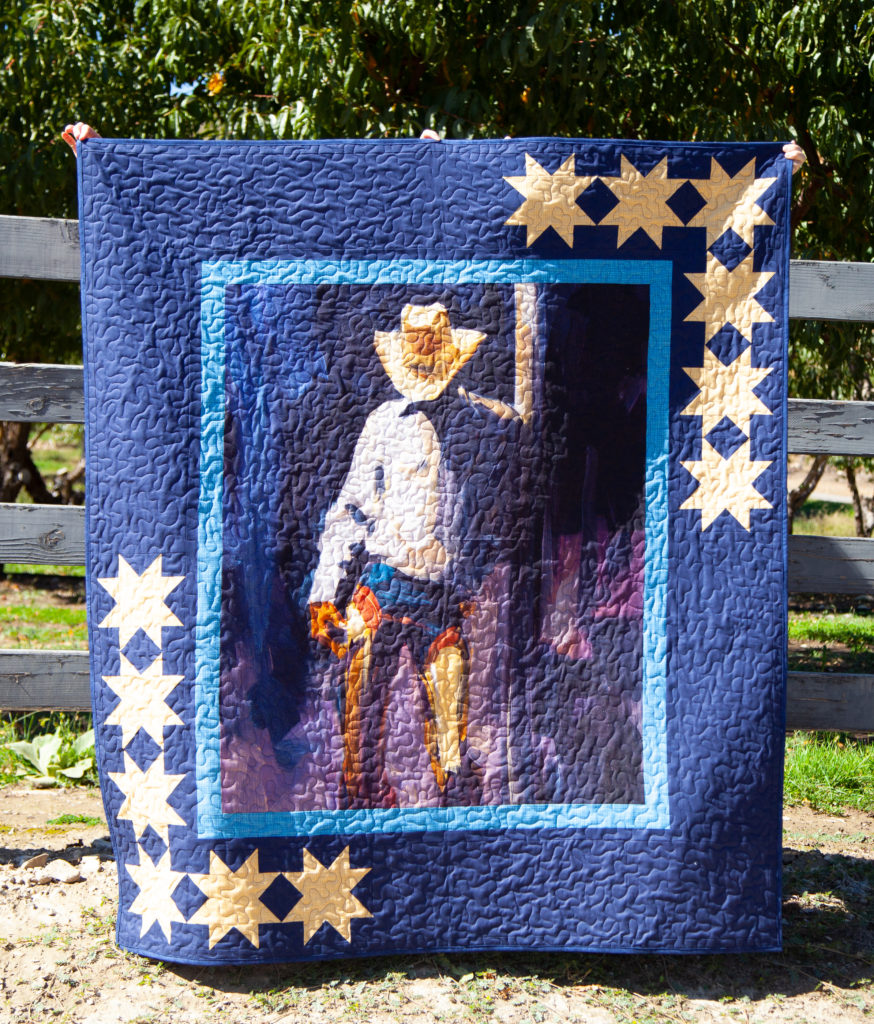
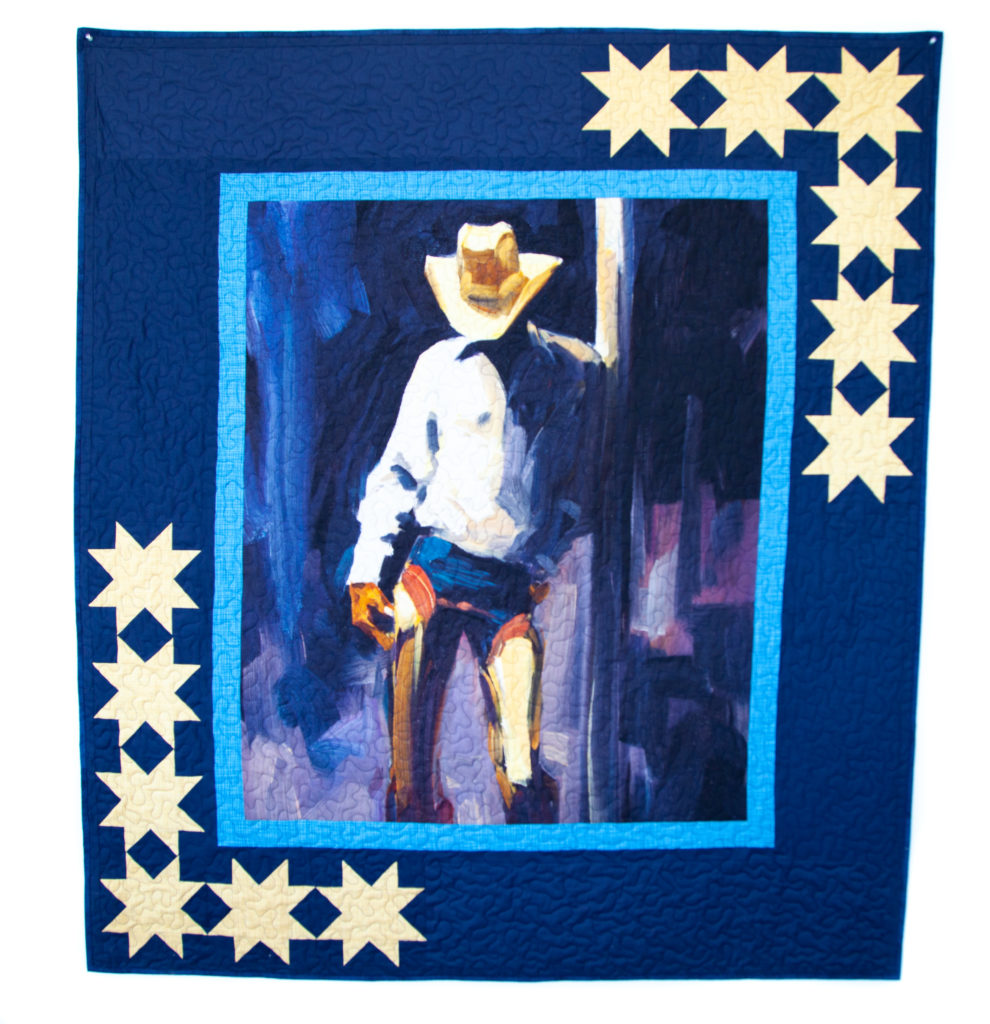
We love how the Blue Texture fabric frames the fabric panel in a clean, simple way, without detracting from the beautiful artistry of the panel.
The same is true for the stars. They seem to compliment and pull out the warm gold tones in the panel, but they frame rather than compete with the artwork.
The officially licensed Back of the Chutes collection by Hugh Cabot, is available now at your favorite local and online quilt shops. Pick up yours today and share your makes with us on Instagram using #backofthechutesfabric, #rileyblakedesigns, #iloverileyblake, and tag us @rileyblakedesigns.
Happy Trails & Happy Quilting!