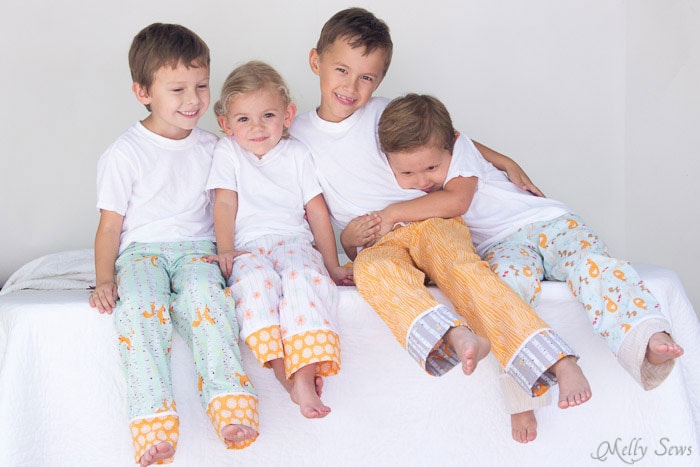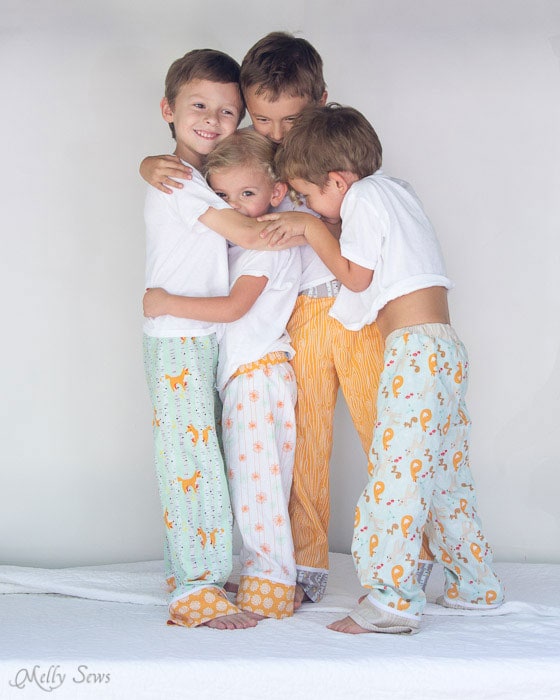
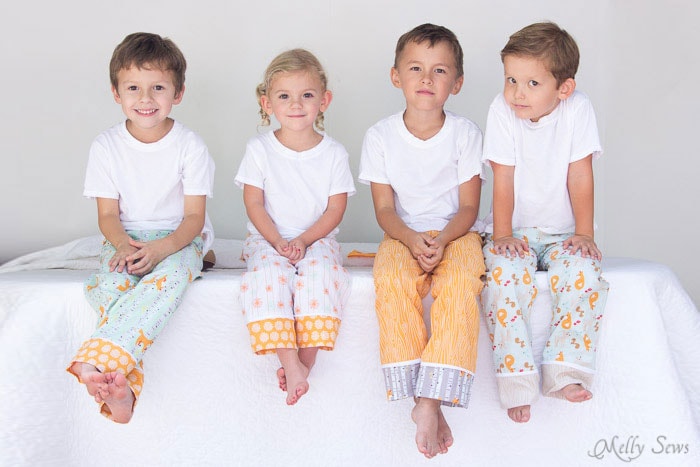
Hey y’all, Melissa from Melly Sews here today, and I’m going to show you how to draft and sew pajama pants for kids – because what is more adorable than siblings and/or cousins in coordinating pajamas? I just love how these from the Good Natured Collection came out. Note: The US Consumer Product Safety Commission (CPSC) has strict requirements for children’s pajamas (and other children’s clothing), and these do not meet their requirements. I am fine with them for my own kids, but it would be against their regulations to sell these pairs. So if you’re an Etsy shop owner or planning to make pajamas for sale, make sure you read up on their requirements and keep yourself out of trouble.
Make your pattern
In order to make these pants, you’ll need three measurements from your child – their hip, rise and inseam length. Don’t know how to measure your kid? Watch this video. To get the rise length, the easiest way is to measure a pair of pants that your child owns. Fold them in half, then measure from the point of the crotch straight up to a line level with the waist. 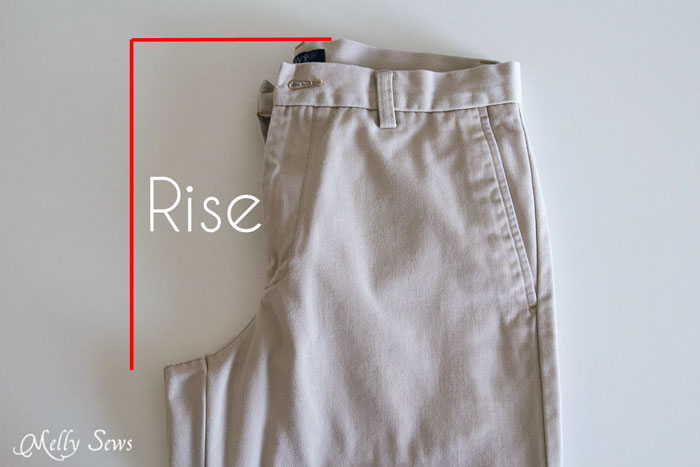
To draft your pants, you’ll need to do a little math. First, take your child’s hip measurement and divide it by 2. Then add 9 inches. Call this number A. Next, add the rise plus the inseam. Call this number B. Draw a rectangle that is A wide by B tall.
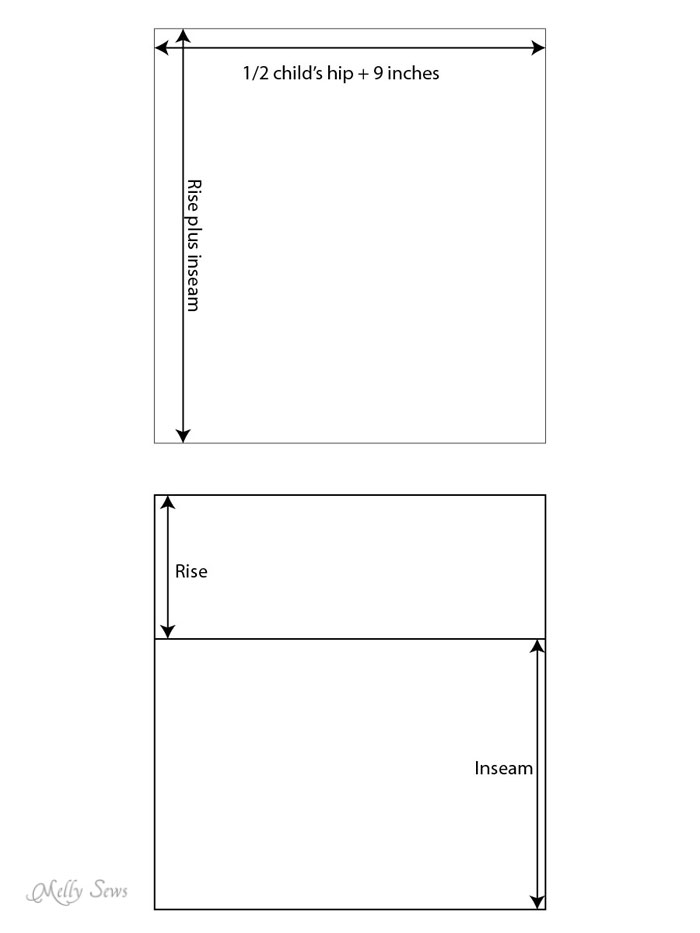
Draw a line across the rectangle between the inseam and rise lengths. Bring the sides of the rectangle in as shown at the rise line. The 1″ side is the front of the pants, the 2″ side is the back. 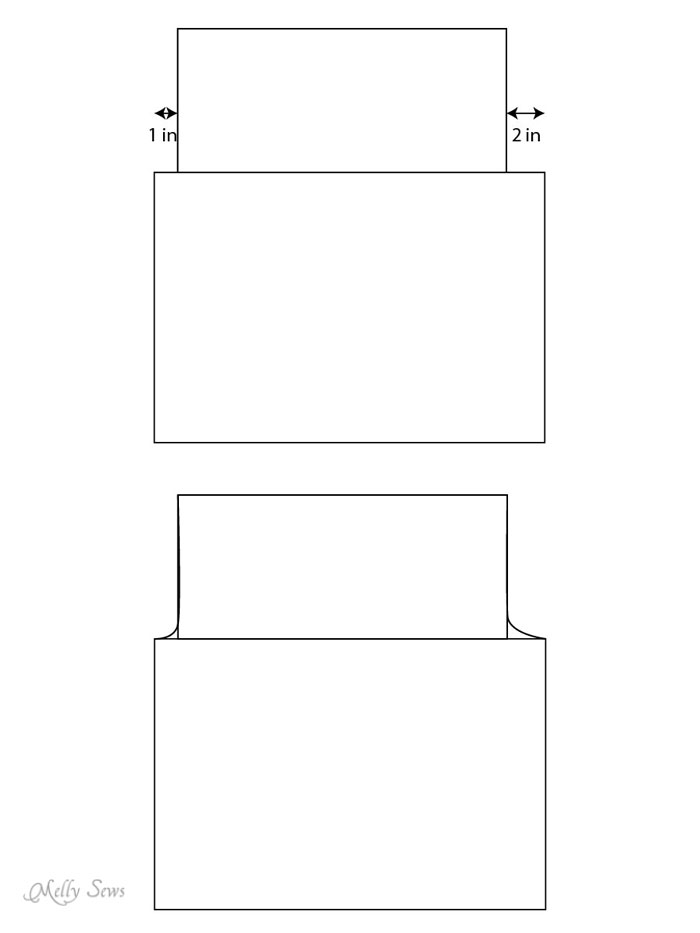
Curve the corners to create the crotch lines. At the front edge, drop the line 2 inches and redraw it – this way the waist will cover your kid’s booty but not come up uncomfortably high in the front. 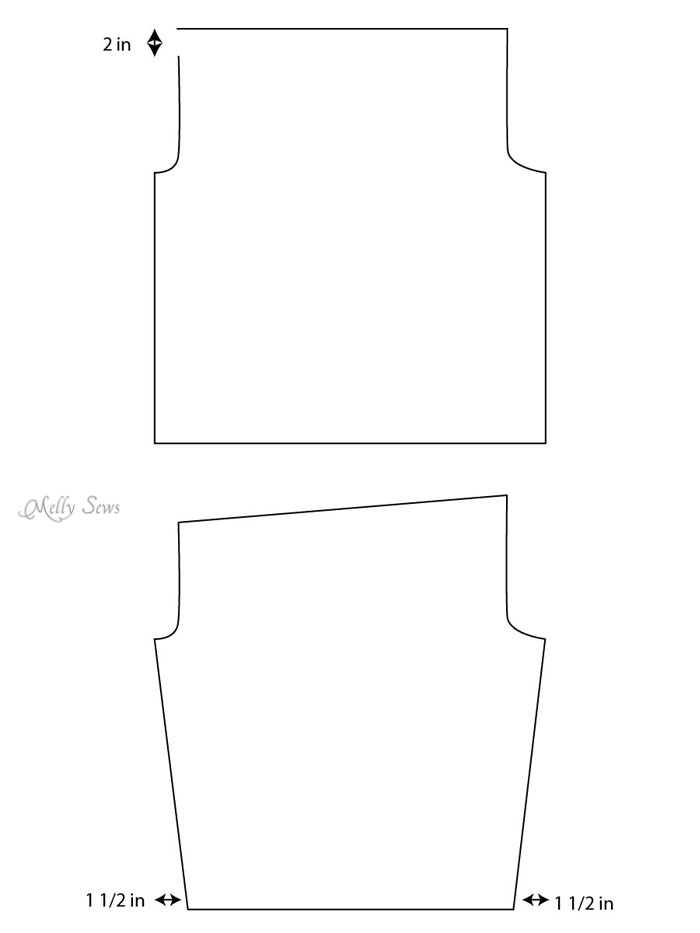
Bring the bottom corners of each pants leg in 1 1/2″. Measure the waistline – you’ll need that measurement to create the waistband. 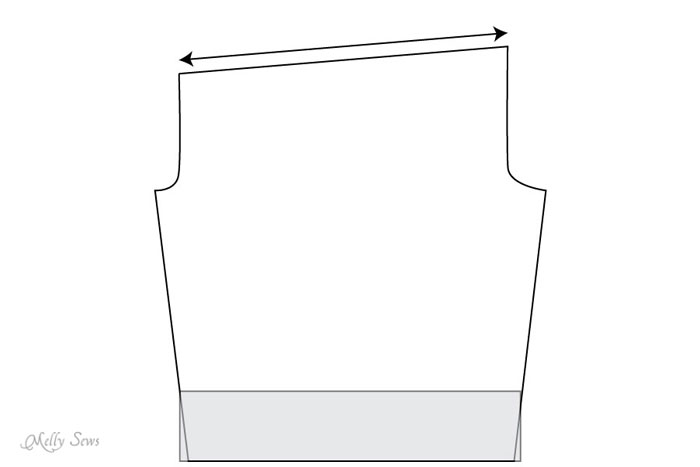
If you want cuffs, trace out a rectangle that covers the part of the pants you want to be the cuff. Don’t follow the angle of the pants leg at the bottom; keep your rectangle with 90 degree corners. Cut off your pants pattern at this line, separating the pants and the cuff. Add seam allowances all around the pants piece. 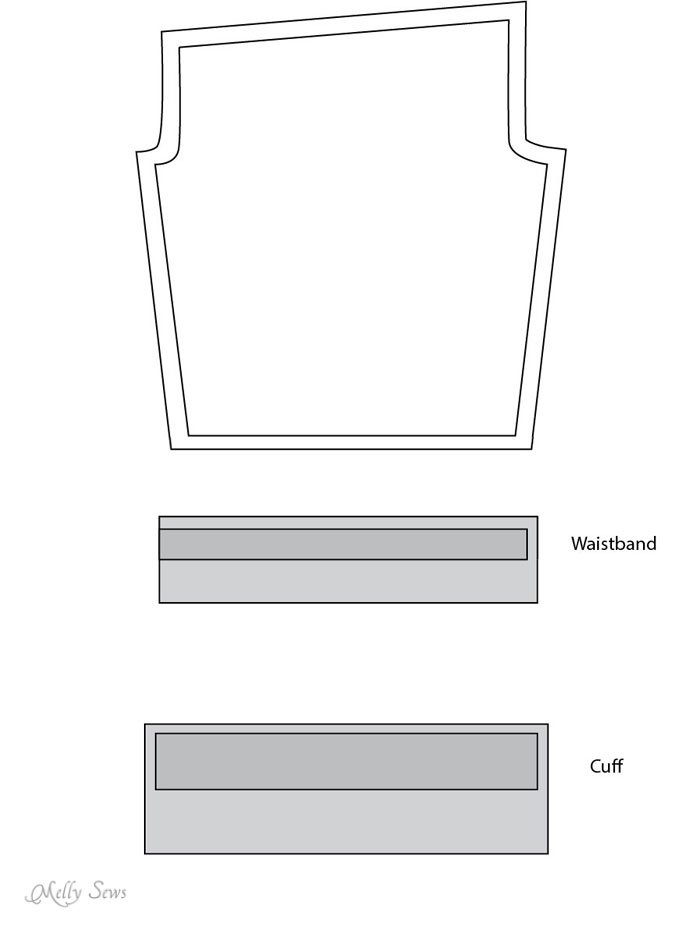
The waistband will be cut on the fold, so add a seam allowance to the top and side edge, then double this rectangle in height for the final waistband piece (because it will be folded in half to form the casing).
Sew Your Pajamas
The cuff will also end up folded in half, so add seam allowances to the top and sides, then double that rectangle to form the final pattern piece.
It’s time to cut out your fabric. For your first time using your pattern, you should probably use muslin or other fabric you aren’t attached to, in case there is an issue.
You need to cut 2 legs, 1 waistband and two cuffs. Make sure you have your fabric folded while you cut, so that you get a right and left front and a right and left back.
Start by placing your legs right sides together and sewing the rise lines.
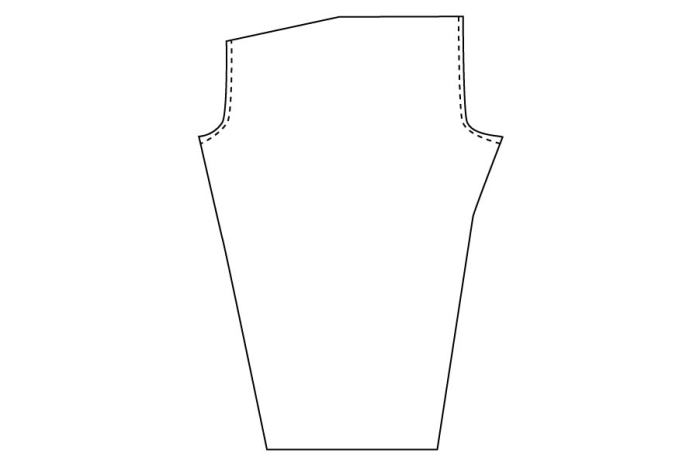
Fold your pants so that the two seams you just sewed are one right on top of the other. Match up your inseams, then sew both in one long seam. 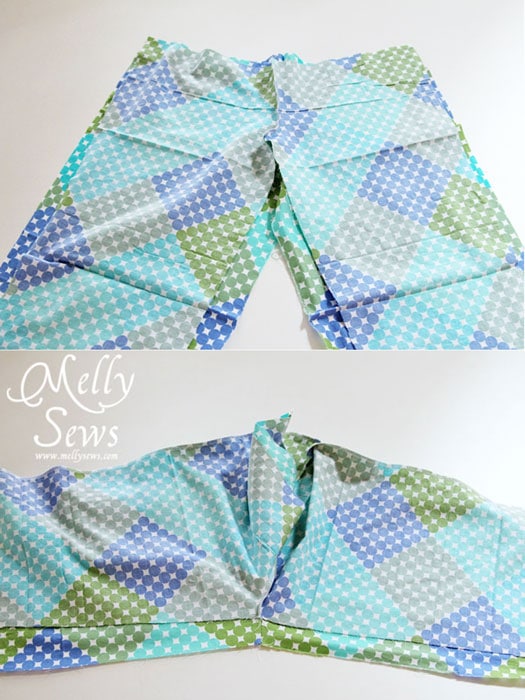
Sew short ends of the waistband together to form a loop. Line this seam up with the center back, and pin your waistband around the top of your pants. Stitch in place.
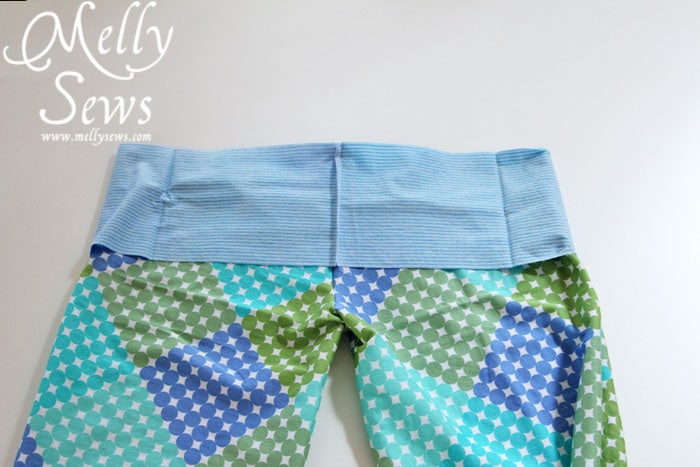
Iron the other edge of the waistband under slightly, then pin it so it barely covers the seam joining the waistband to the pants.
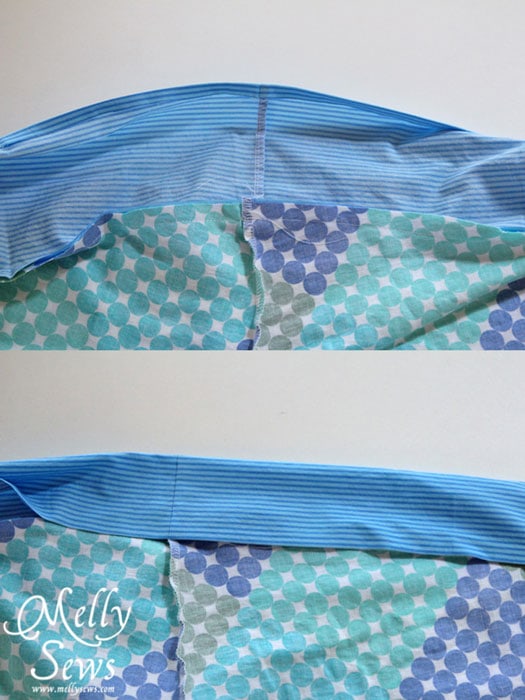
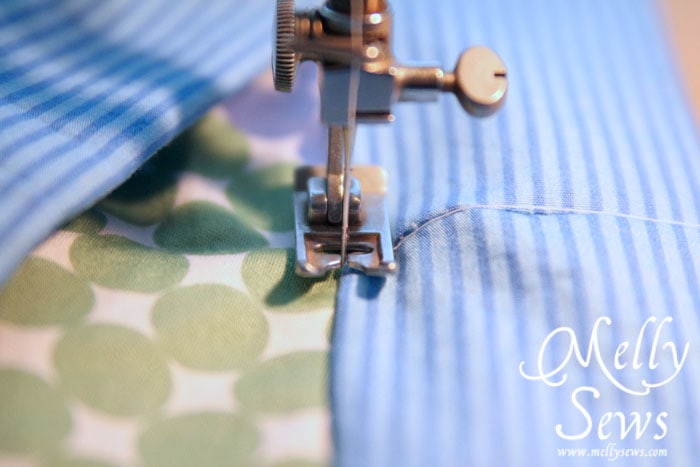
Stitch right next to the waistband to secure it in place, leaving an opening to insert elastic.
Insert your elastic
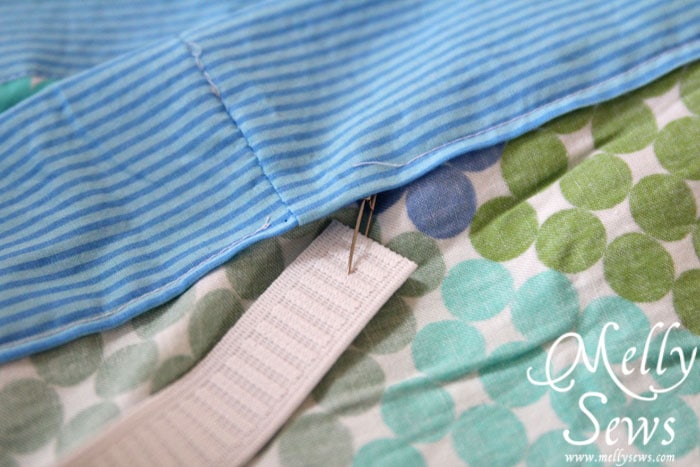
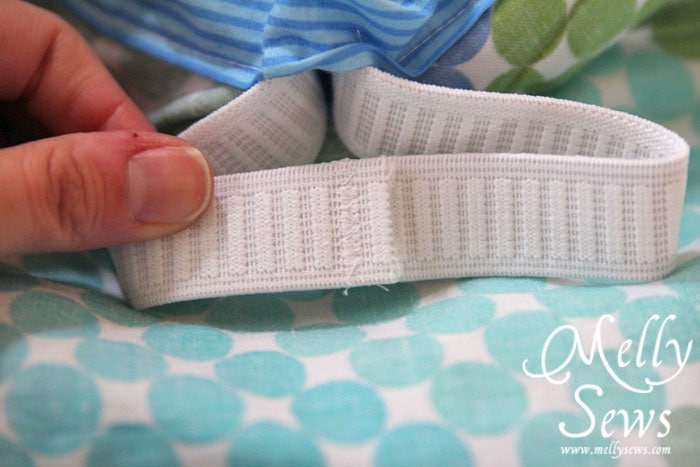
Sew your elastic into a loop and sew the opening closed.
Fold the cuffs right sides together, matching the short edges. Stitch this edge to form a loop. Place each cuff right sides together over a pant leg, matching the seam with the pant inseam. Stitch.
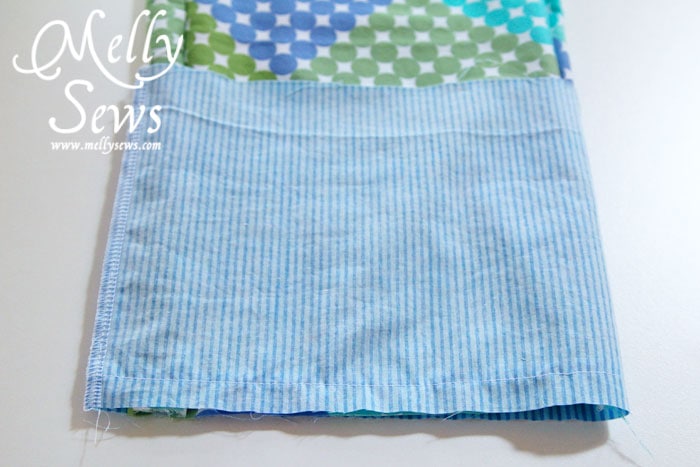
Now just like you did with the waistband, fold the raw edge of the cuff a little to the wrong side and press. Then fold this edge to cover the seam attaching the cuff to the leg, and stitch again.
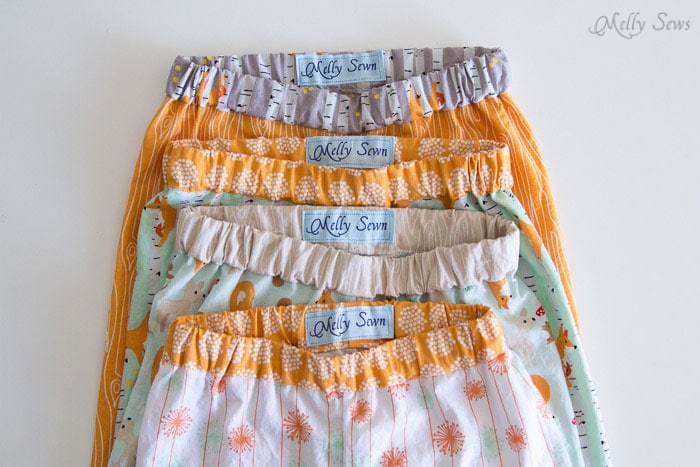
I sewed tags into the back waist of the pairs I made to help the kids get them on the right way.
