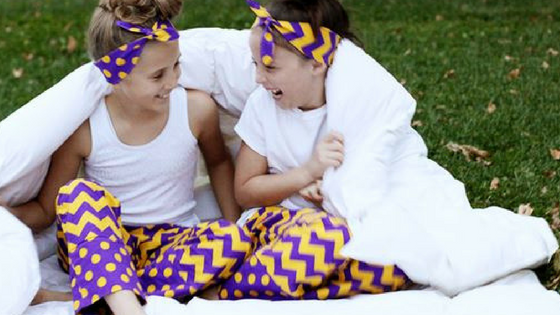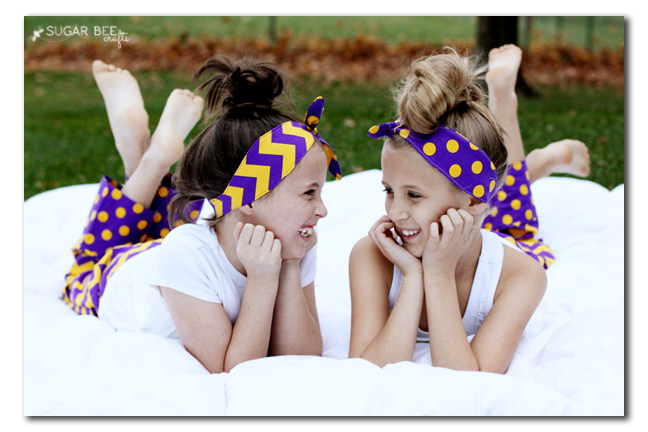
Hi Everyone! I’m Mandy and I blog over at SugarBeeCrafts.com where you can find lots of crafts, sewing tutorials, and more. I’m excited to be on Riley Blake today to show you how to add a contrasting cuff to pajama pants – it takes them from great to amazing!
A pretty common holiday tradition is to sew Christmas Pajamas – do you?? I love to do it, although I drop the ball sometimes and end up buying jammies. But I love when I take the opportunity to make it – the handmade touch is such a fun tradition. This year we’ve moved into a new school district and I thought the Christmas Pajamas, instead of being holiday themed, could be school themed. Did you know that Riley Blake carries chevron in a variety of school color choices?? Awesome, right?! It’s a super fun way to embrace our new school and show our school pride. And it will be extra great when it’s pajama day at school.
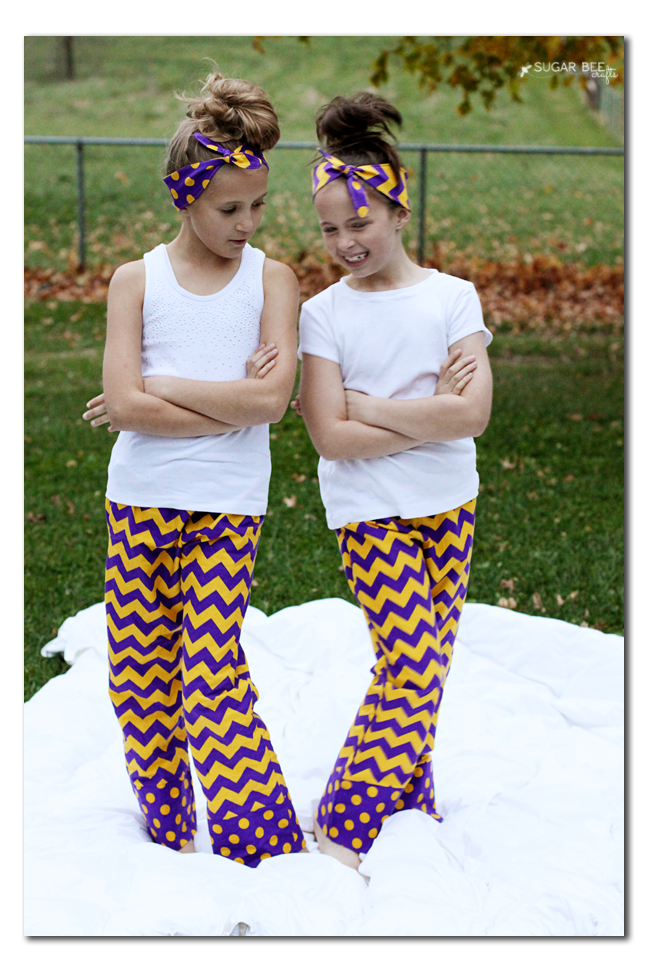
Today’s tutorial is all about that pajama cuff – with the school colors line, you can get chevron or dots, and I love how they mix and match so well. 
Let’s get started! You’ll need:
- Your favorite pajama pattern (or a pair of pjs that you can trace)
- 1 1/2 yards main fabric (depending on size – my girls are wearing a size 10)
- 1/2 yard contrasting fabric (this will give you enough for 2 sets of pjs)
- sewing supplies First, prewash your fabric – this gets it ready to sew into a garment that is to be worn.
Next, using your favorite pajama pattern, cut out 4 leg pieces (front and back of each leg). You can alternatively just trace around a favorite pair of pjs. You can cut them shorter according to how long you want the cuff hem. Mine is 4 inches finished, so the main fabric leg panels can be 4 inches shorter than original.Then, out of contrasting fabric, cut 4 rectangles (2 for each leg, front and back) that are the width of the pajama leg and the length of double how long you want the cuff (so mine are 8ish inches long)
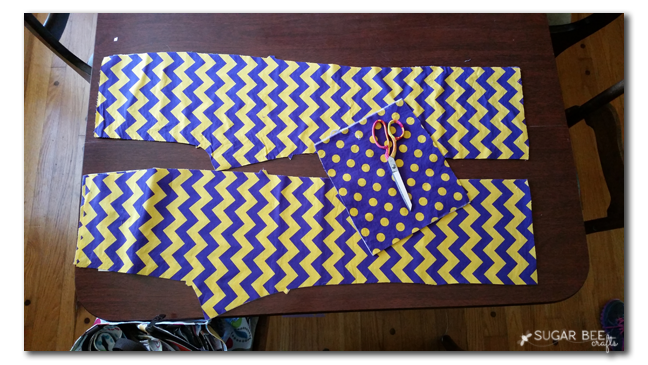
Now you’re going to sew up the pjs like you normally would – there’s a couple of options. You can sew the front piece to the back at the inner leg seam, then do the front-to-back crotch seam, then sew the outer side seams. Or, you can sew one leg completely (both inside and outside seams), and do the same with the other leg, then with right sides together put one leg inside the other and sew that front to back seam that way. Then add a casing around the top and thread through elastic.
This tutorial is more about the contrasting cuff – so on to that! You can see how the pj pant leg is sewn, and the cuff is just barely wider (since it hasn’t been sewn yet) – –
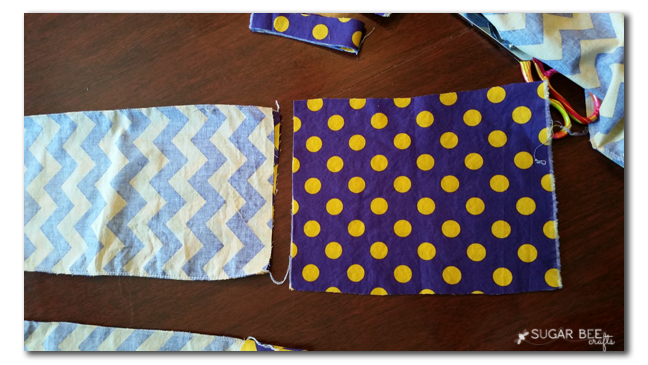
Sew 2 of the cuff rectangles, right sides together, sewing down the long sides.
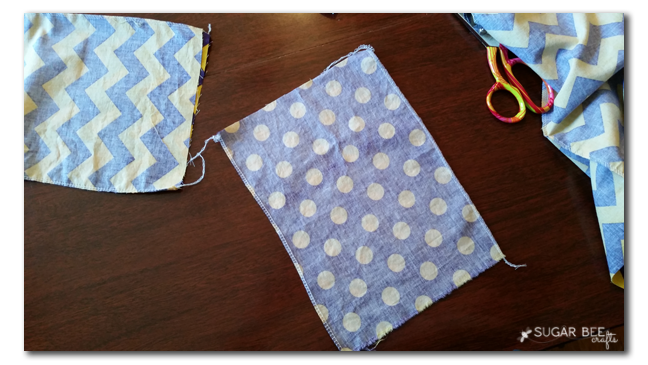
Now, turn it up halfway…
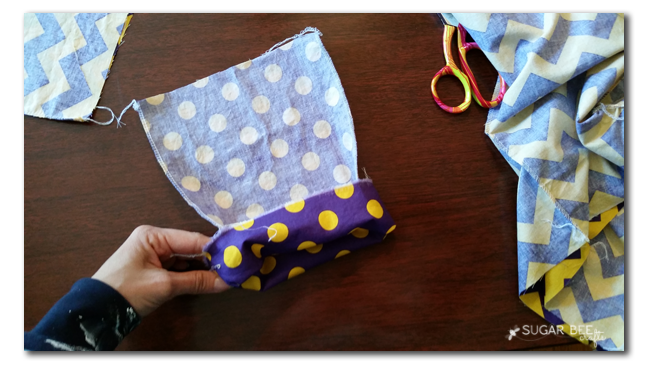
This method means that there is a fold at the bottom of the cuff, AND that there are no exposed seams on the inside edges of your cuff – they are enclosed in the folded part.
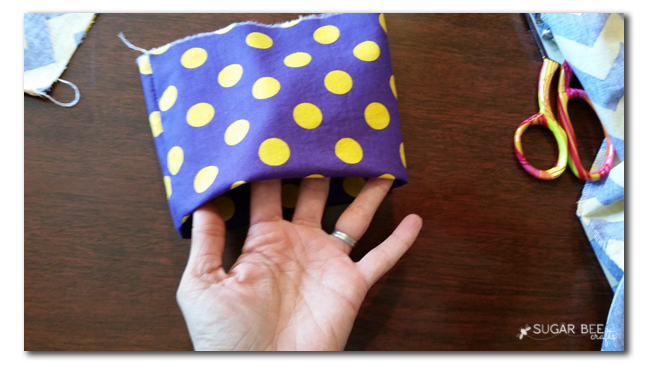
See, no seams! So pretty inside!
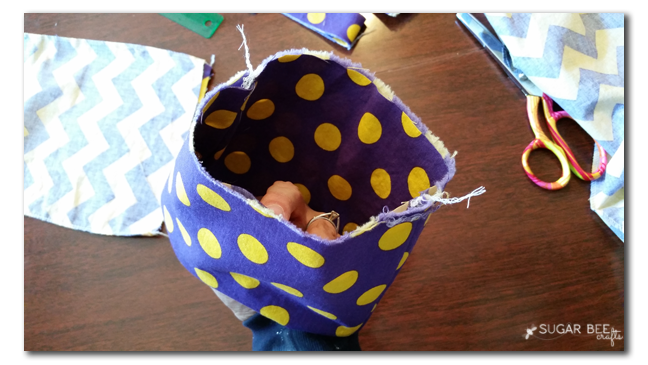
Now let’s attach them to your pants. With right sides out on the pants (the cuff is the same on both sides so it doesn’t matter which way on it), you’re going to make sure both raw edges are down.
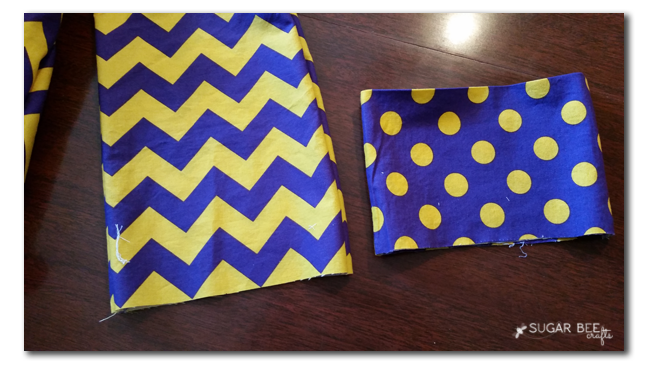
With it’s raw edge down, slide the cuff onto and around the pj pant, matching raw edges. Then you just sew all along that raw edge – that’s it! Flip the cuff back down along that sewn seam and press into place to help it stay down. You can also top stitch if you’d like.
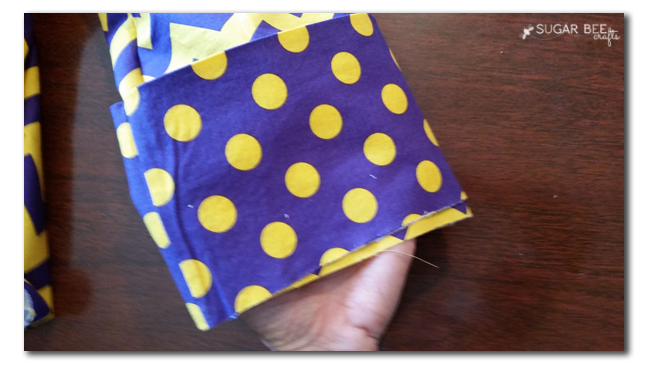
I just love how the contrasting cuff brings the whole feel of the pants up a notch!
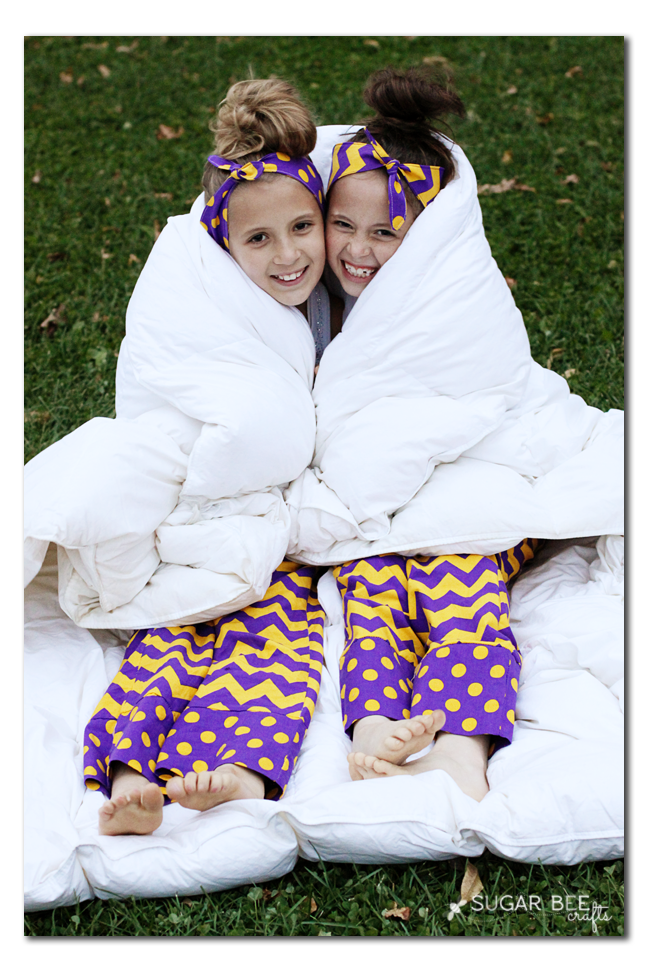
Oh, and with those contrasting dots I sewed a quick tag into the back of the pants – a peek at that:

Love how they turned out (even if it was too dark to take fun jumping pictures! – that’s the time change for ya – so dark, so early!)
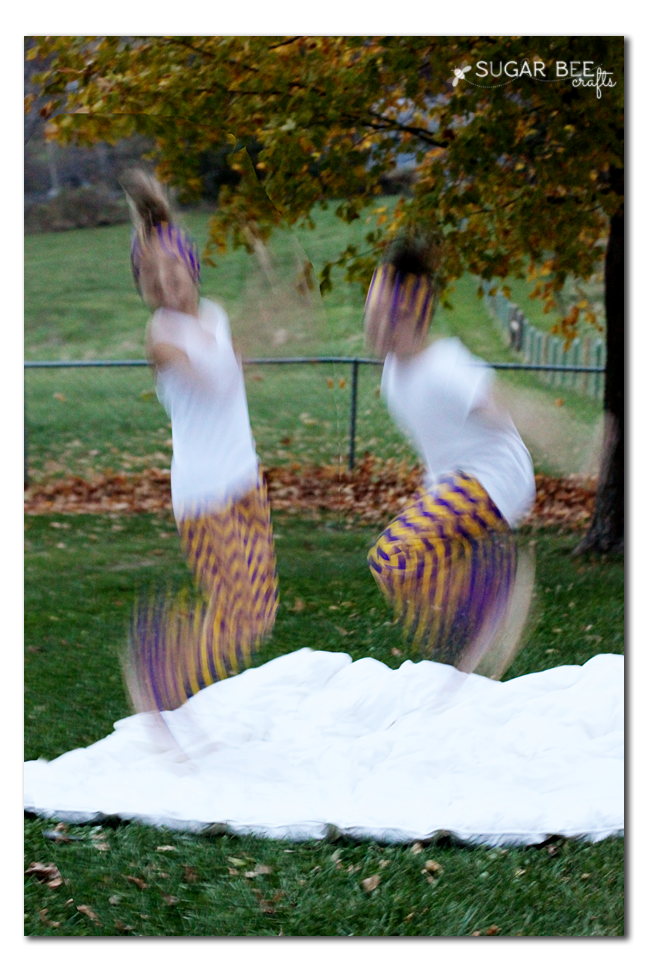

So as you’re contemplating holiday jammies this year, look at school colors as an option. Or incorporate a cuffed pj pant into any fabric combo – it will look cute for sure! Be sure to check out more fun sewing tutorials at www.SugarBeeCrafts.com! – Mandy

