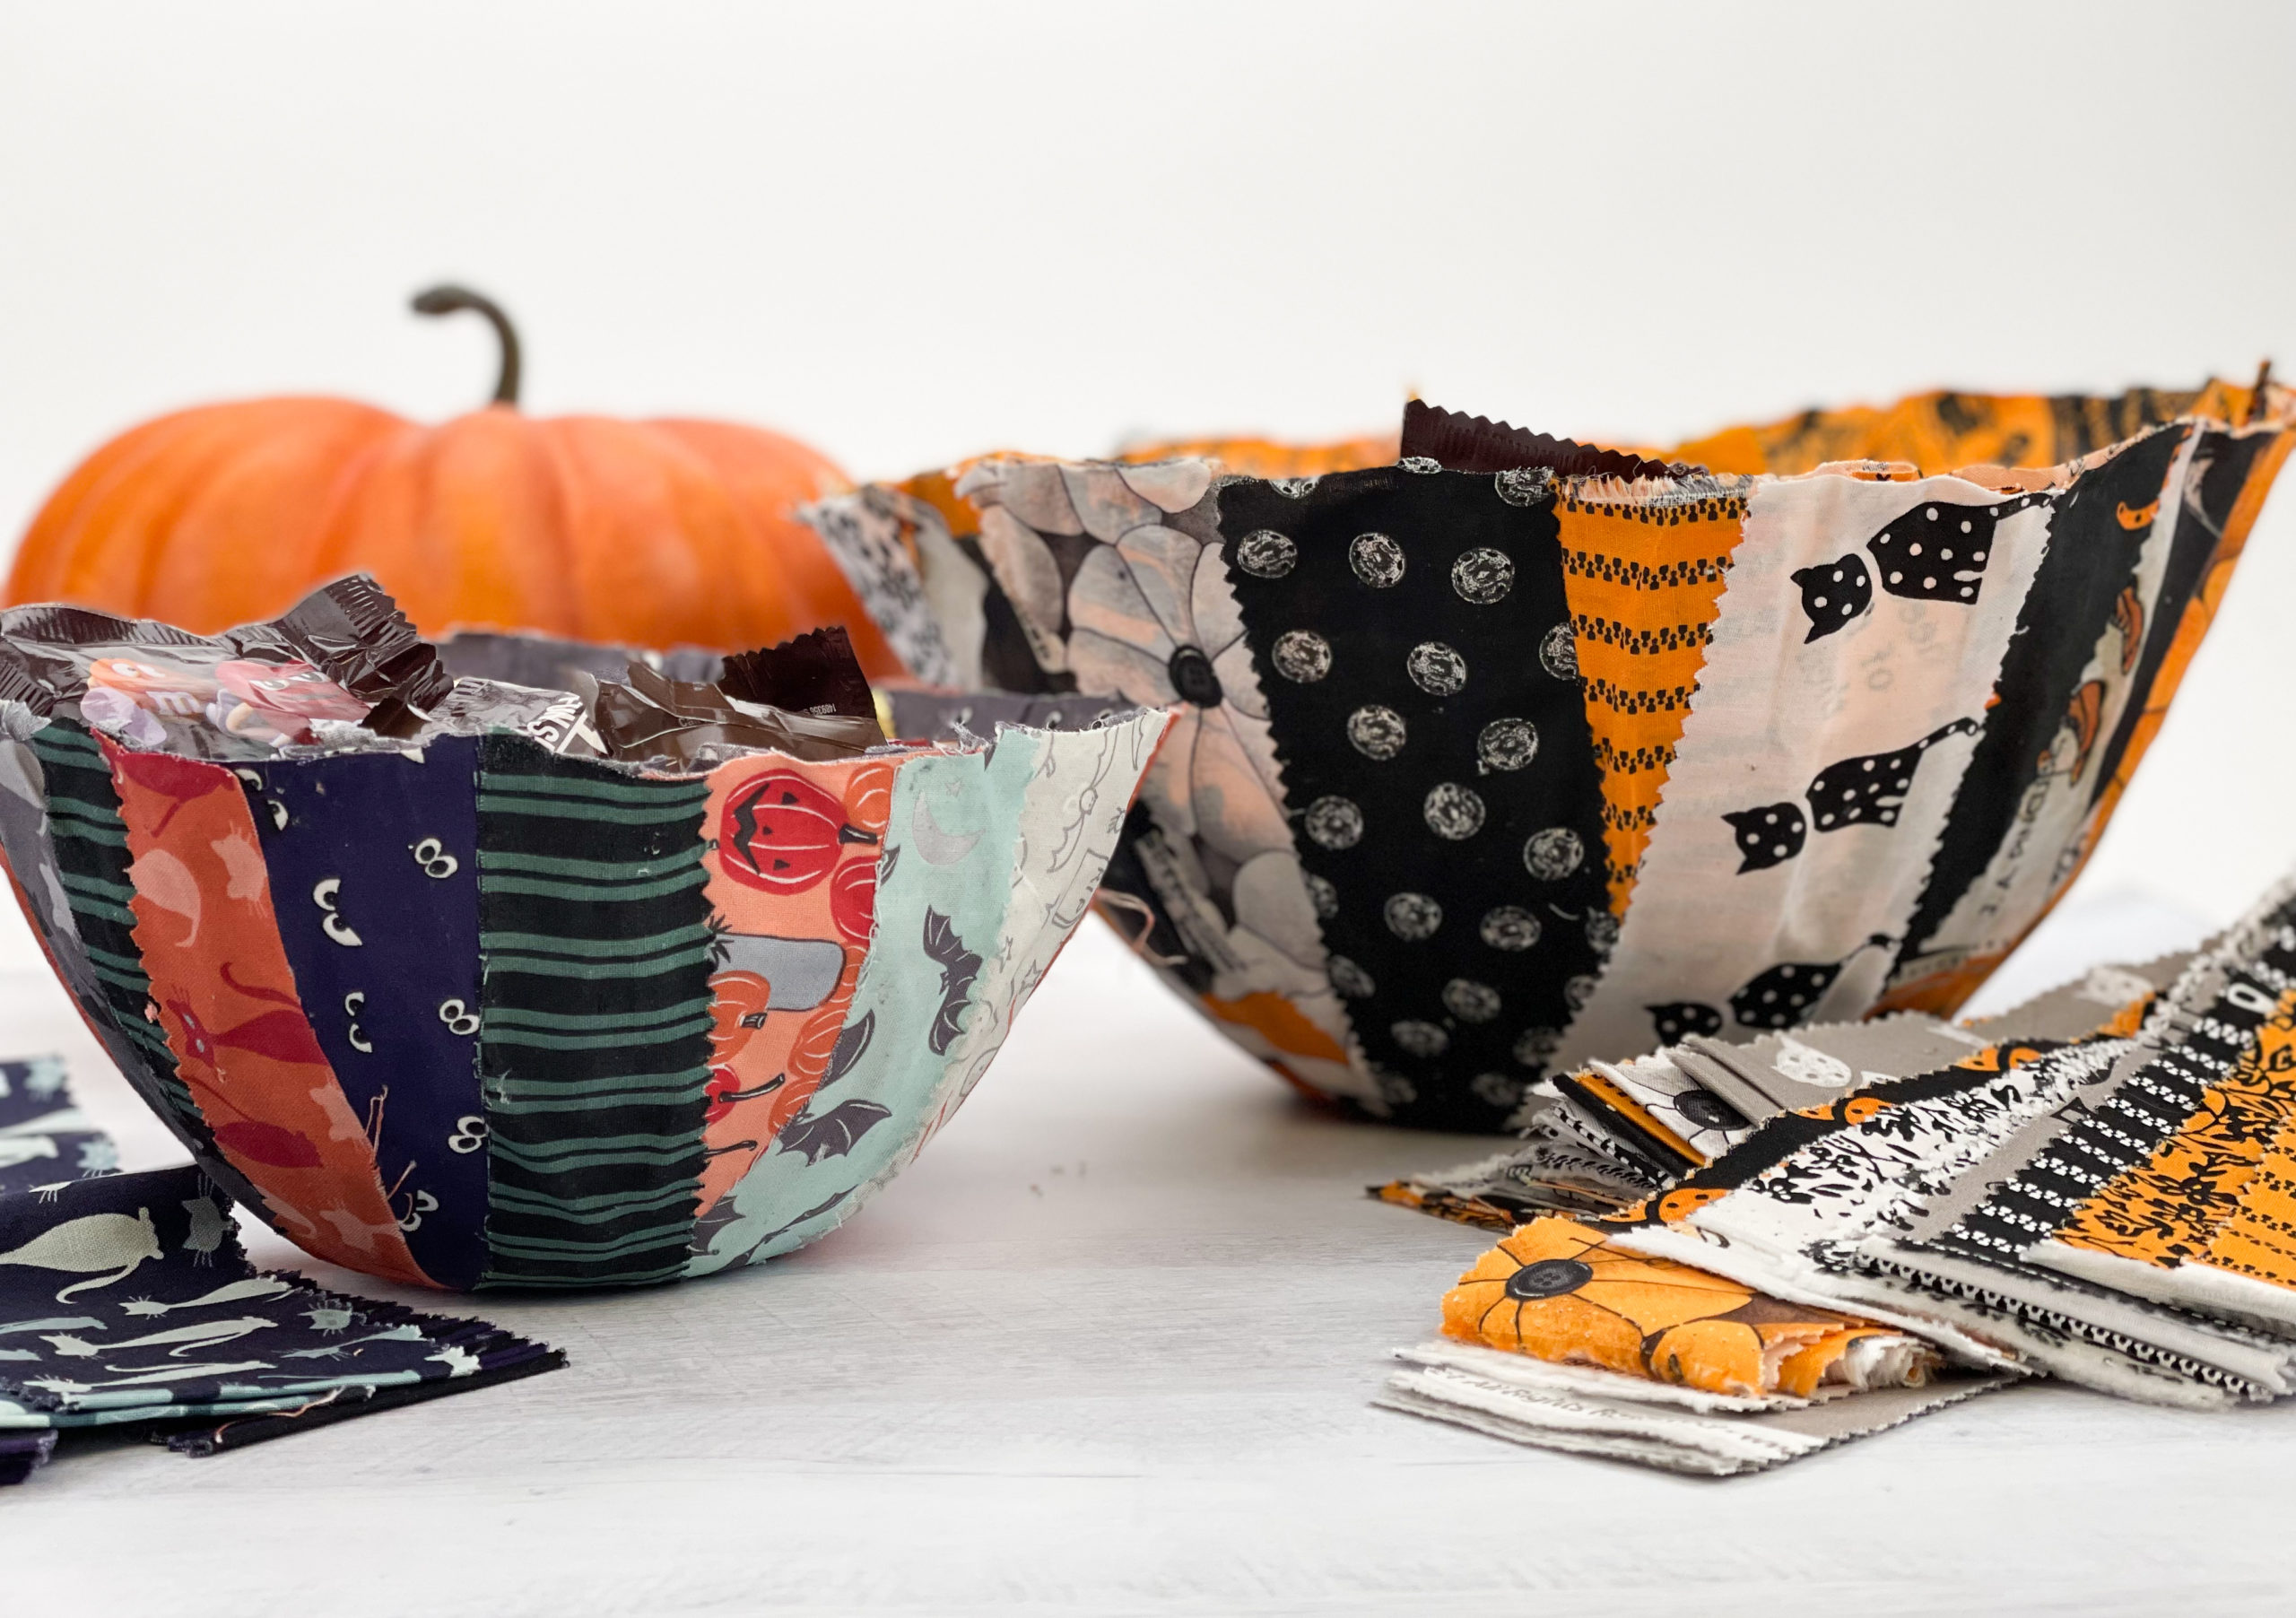
Halloween is right around the corner and we are getting ready for Trick-or-Treaters with these fun, no-sew candy bowls! The original tutorial is by Claudia Mitchell at FeltMagnet and can be found here! We loved making these bowls with Claudia’s handy tutorial!
This project is a great scrap buster OR you can use some pieces from a Rolie Polie! Here’s what you’ll need to get started:
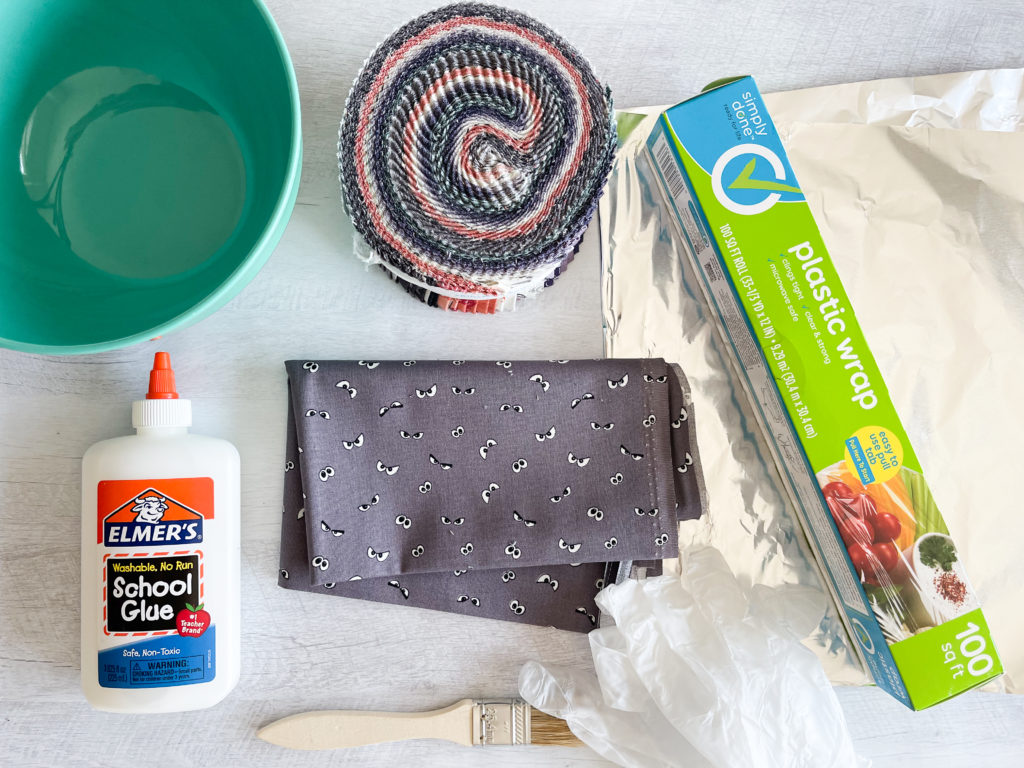
A bowl to be your mold (choose your bowl accordingly, plastic wrap, foil to protect your work surface, school glue (or similar), a crafting paint brush, fabric scraps or a Rolie Polie, a piece of fabric large enough to cover the outside of your bowl, and disposal gloves to keep your hands clean!
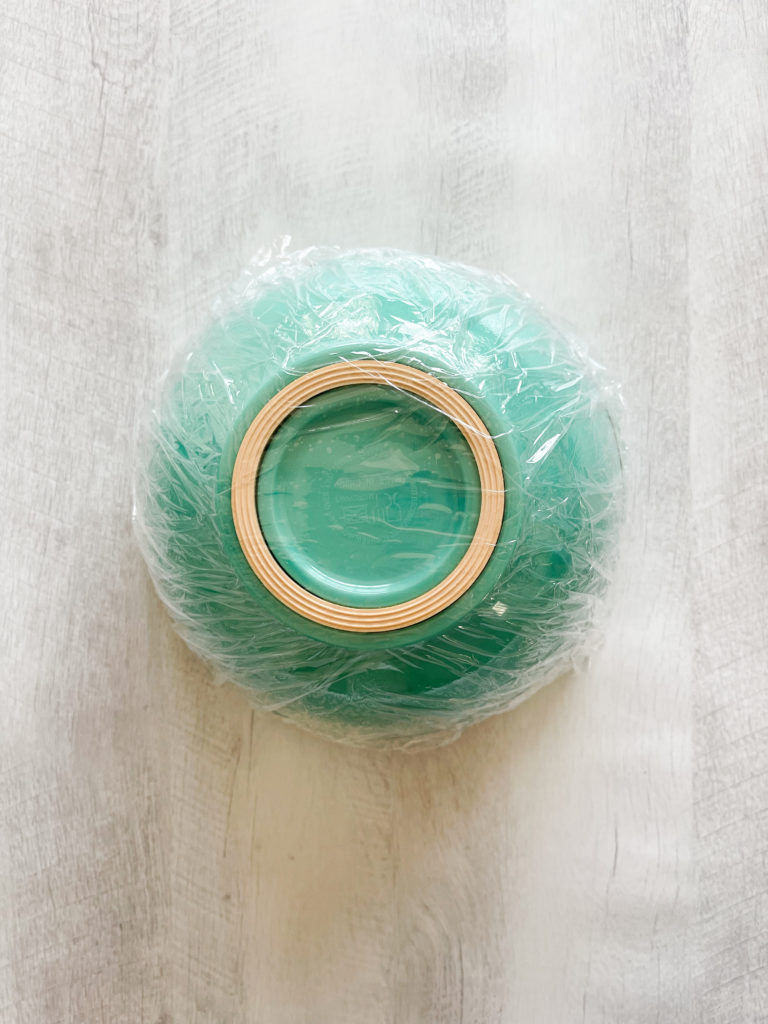
- Cover your bowl in plastic wrap (inside and out)!
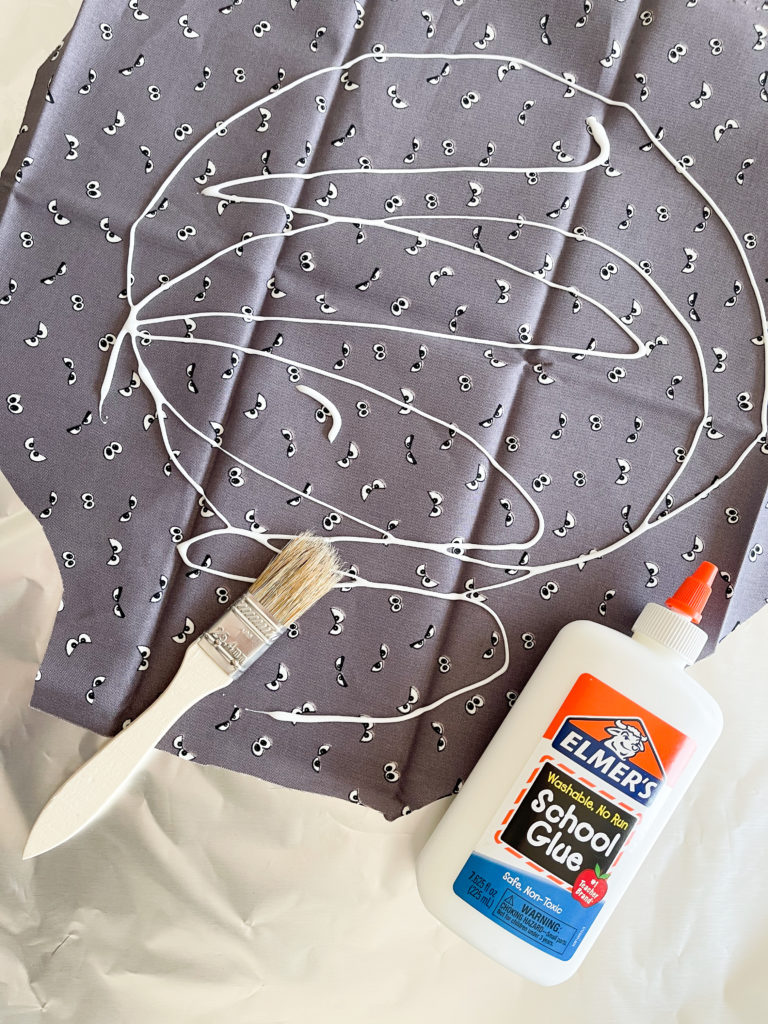
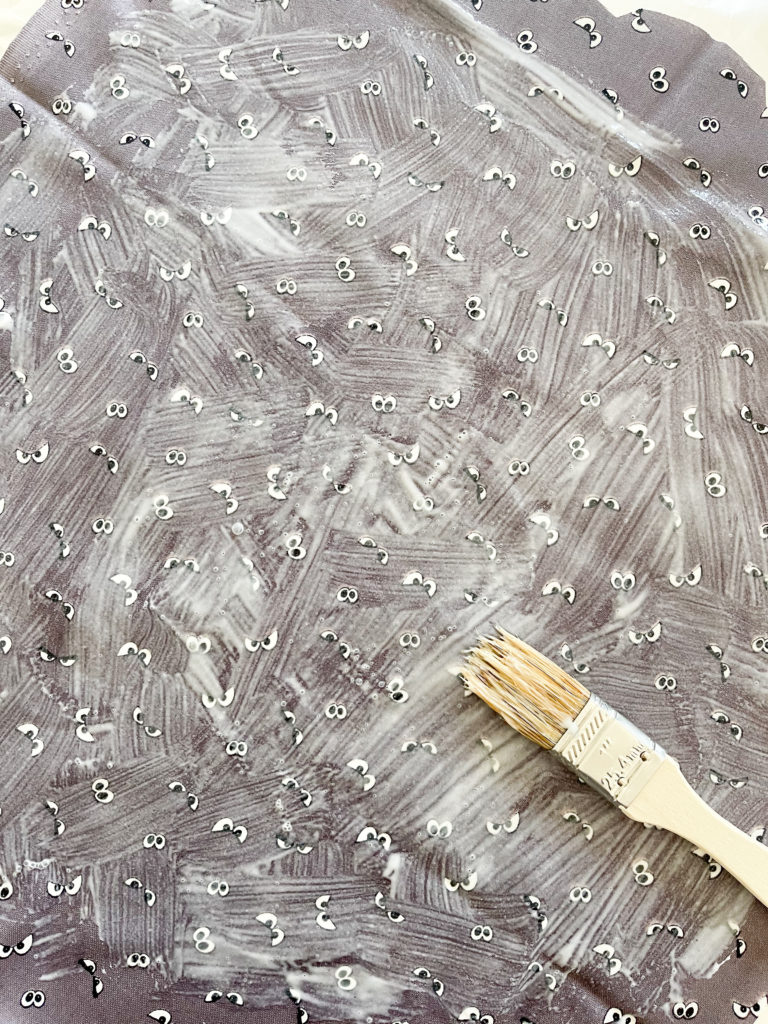
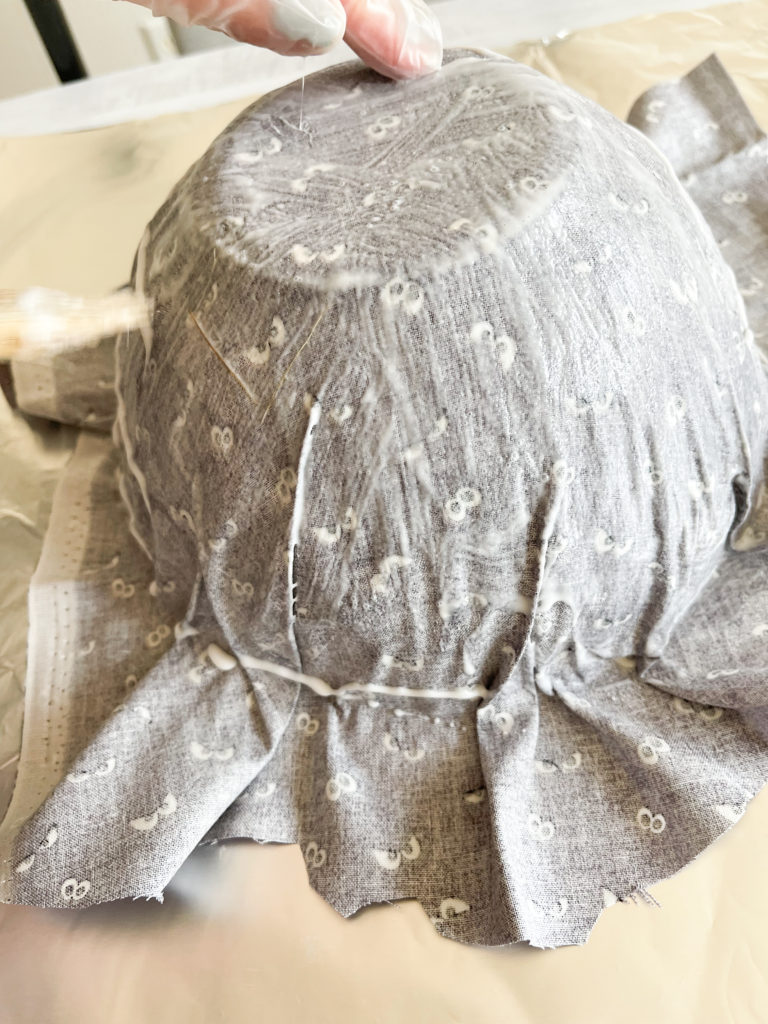
2. Lay out the foil to cover your work surface. Cover your large fabric piece in glue on the right side of the fabric and mold it to the outside of your bowl. The right side of the fabric will be touching the outside of the bowl.
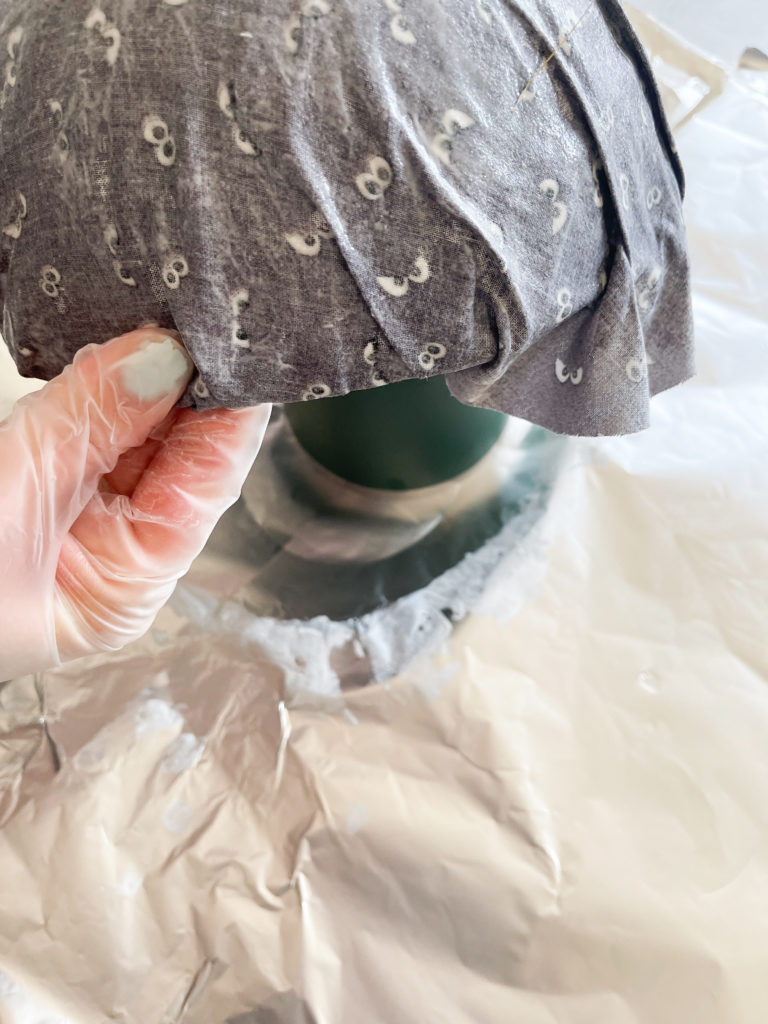
3. Fold the edges of the fabric into the bowl and set the bowl on a large cup to give it some height so the rim does not touch the table.
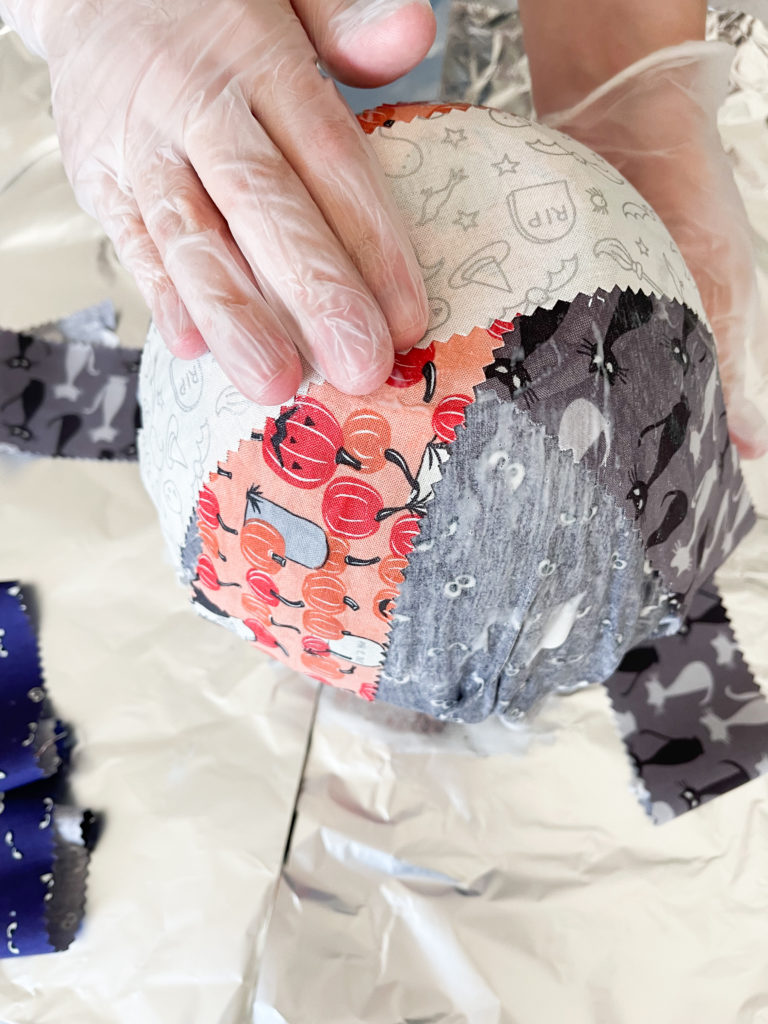
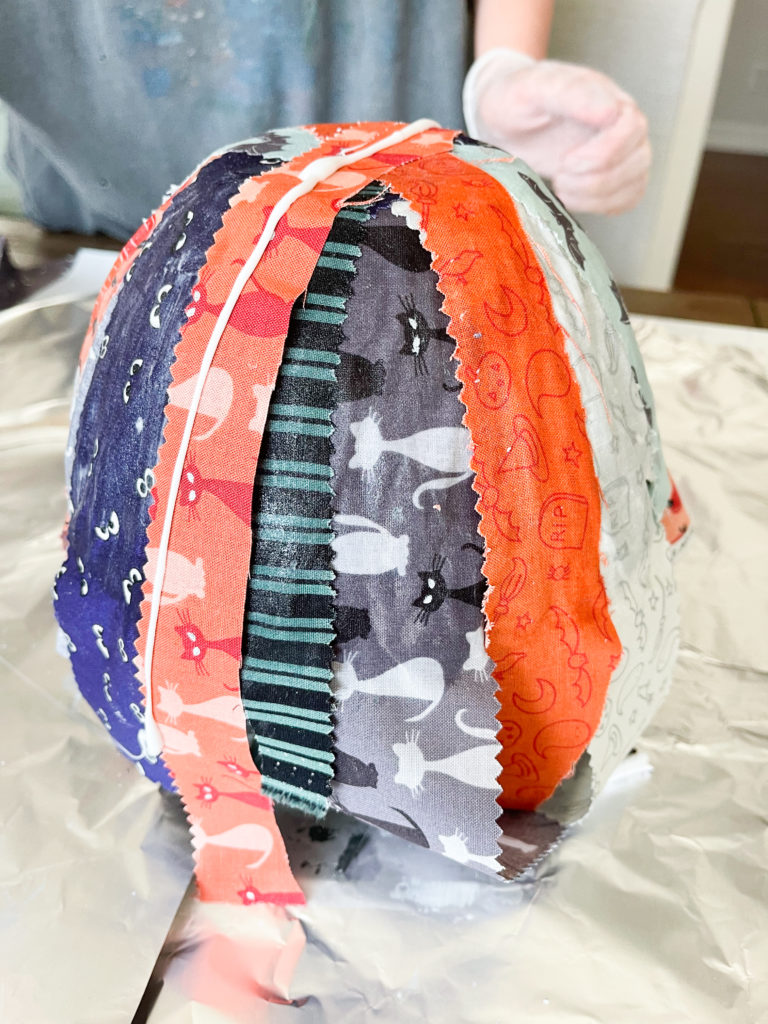
4. Begin laying your scraps or 2 1/2″ strips with the right side facing UP towards you on the bowl. Add glue as needed. Spread the glue using your gloved hands or your crafting brush. This step is messy! Continue until the bowl is covered to your liking.
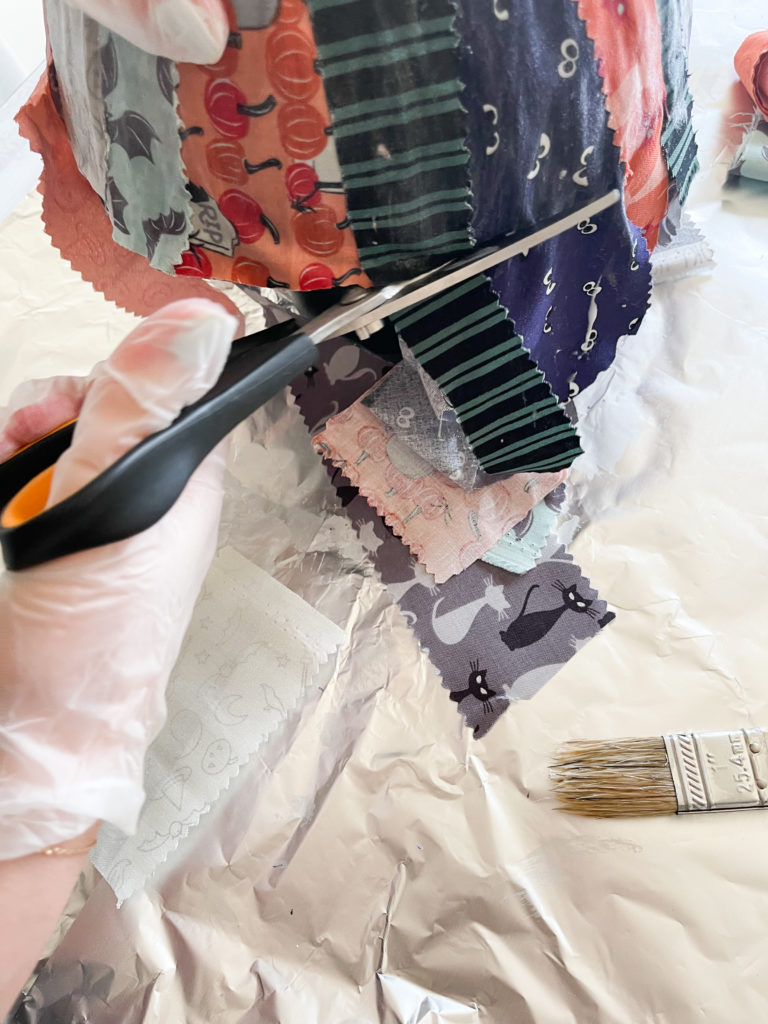
5. Cut around the edge of the bowl to remove excess fabric. Wash your scissors and allow your bowl to dry completely before handling (we dried ours overnight).
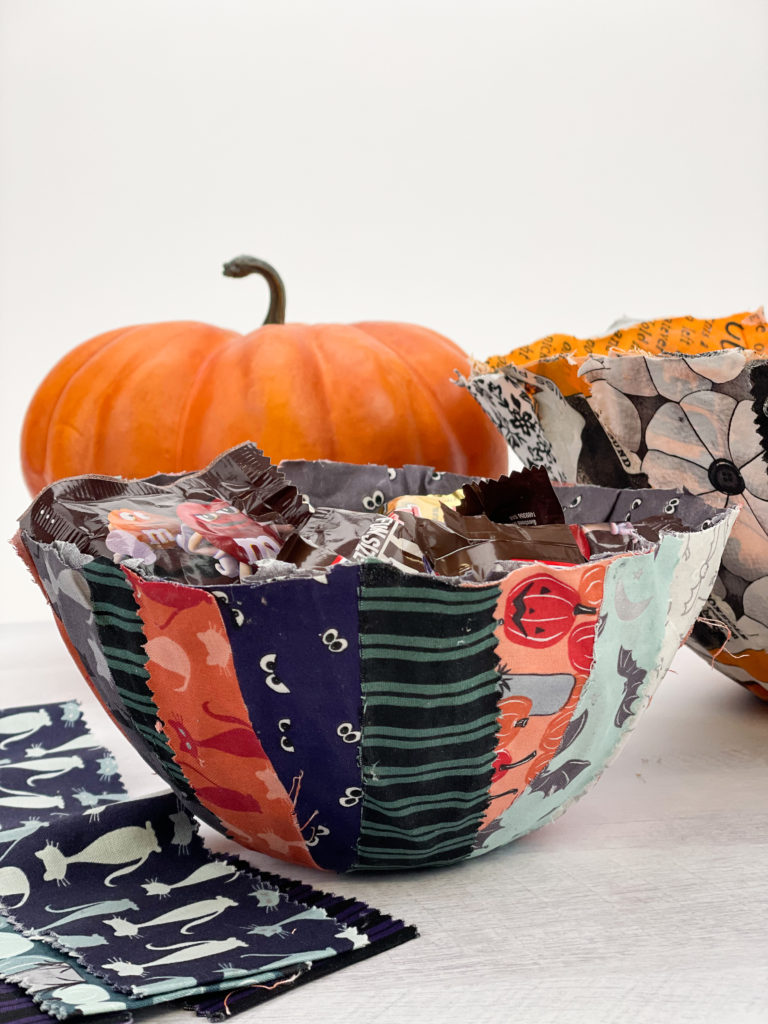
6. In the morning when the bowl is dry gently work it off the plastic wrap covered bowl. Fill with candy and enjoy!
This fun project is a great way to use scraps or excess precuts and makes for cute Halloween decor! Thank you Claudia at FeltMagnet for the original tutorial for this project!
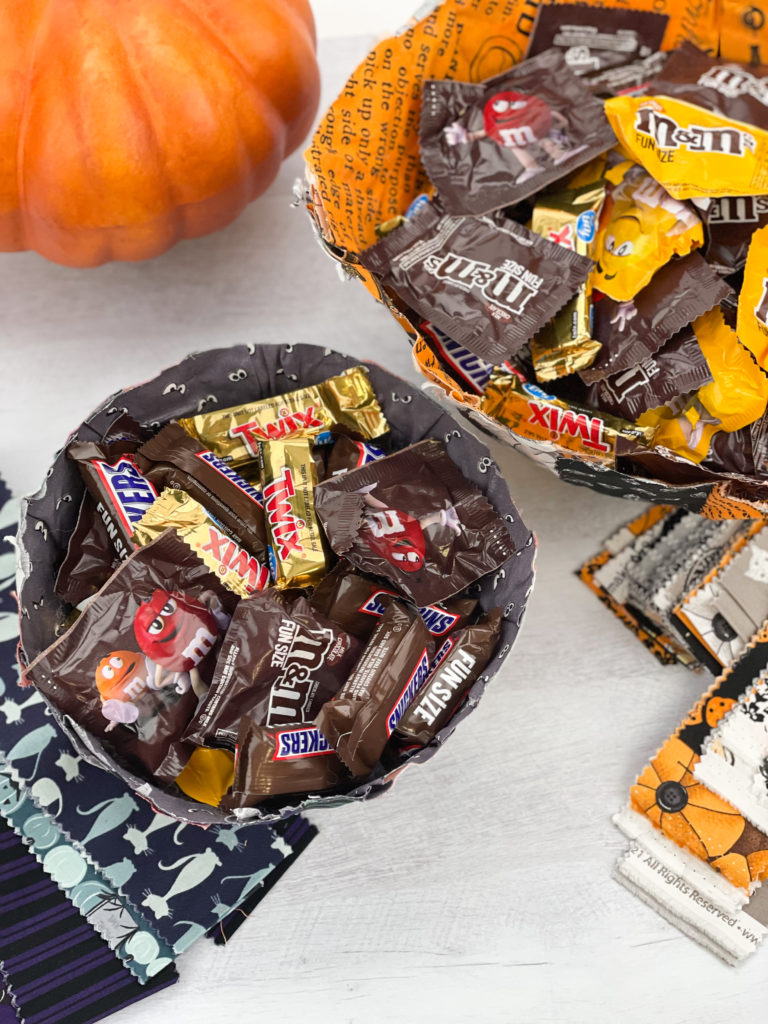
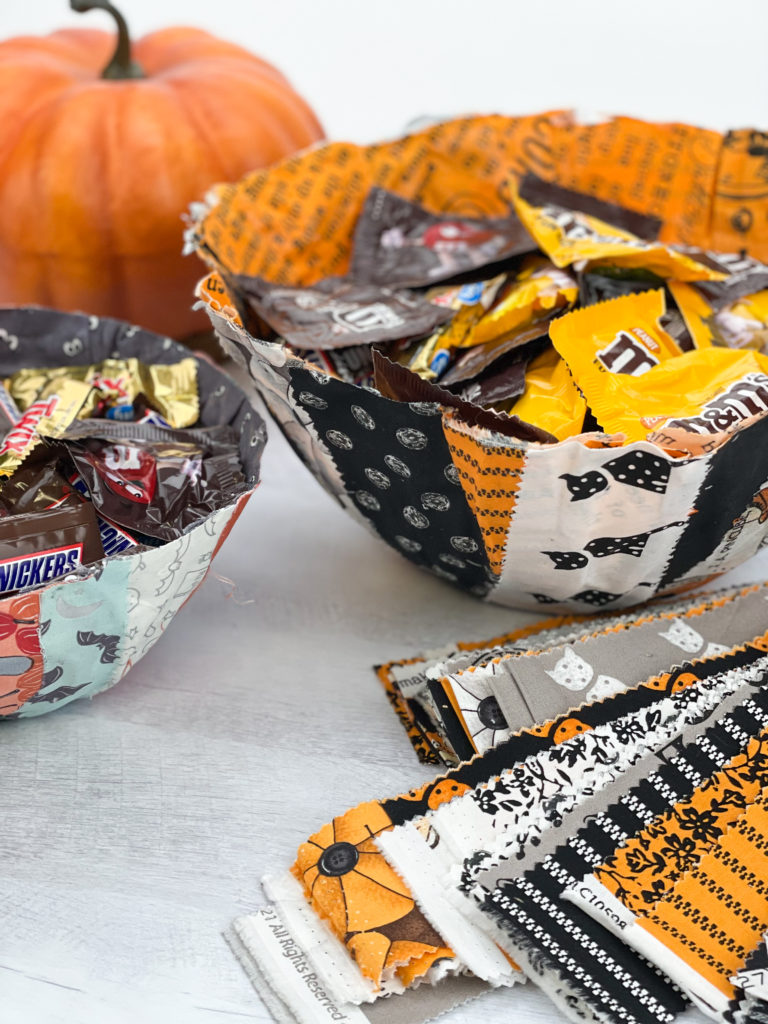
The collections featured are Spooky Hollow by Melissa Mortenson of Polkadot Chair and Old Made by Janet Wecker Frisch– both available now at your favorite local or online quilt shop!

