Summer is right around the corner, and that means we’ll be reaching for lightweight blankets to cuddle up with, and our DOUBLE GAUZE is the perfect fabric for making those blankets! You’ve probably seen double gauze around — it is widely used for infant receiving blankets and even summer clothing, but did you know it can be used in quilting? Why yes, it can!
Today, I am going to walk you through the steps to make a super easy and impossibly cute whole cloth Double Gauze quilt. This is a great way to start working with Double Gauze. It’s relatively quick to put together, doesn’t require you to be very precise in cutting and measuring, and you end up with a beautiful finished product!
For this quilt, you will need:
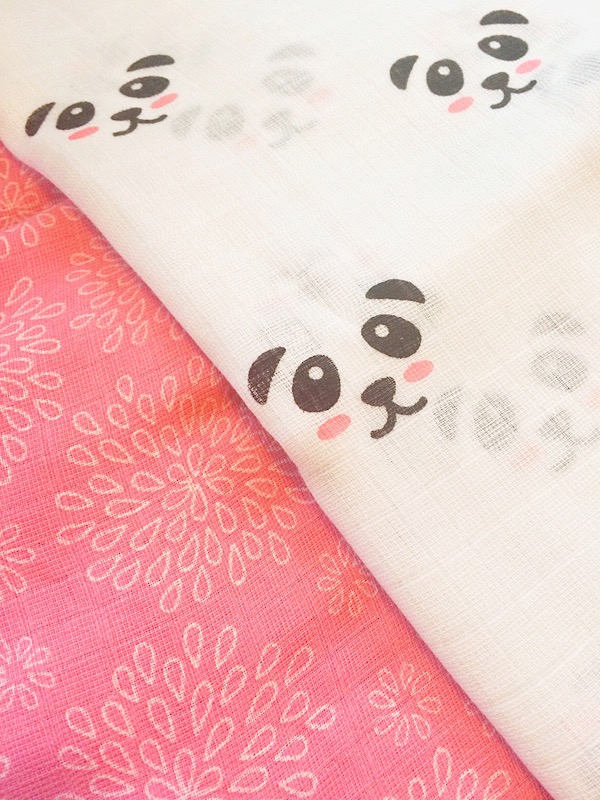
*2 Yards DOUBLE GAUZE for quilt top
*2 Yards DOUBLE GAUZE for quilt back
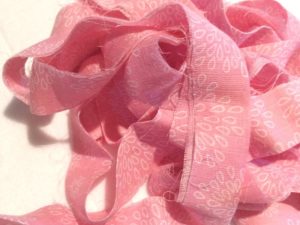
*1/2 Yard DOUBLE GAUZE for binding (I used the same fabric that I used on the quilt back.)
*Needle and thread
*Quilt Batting
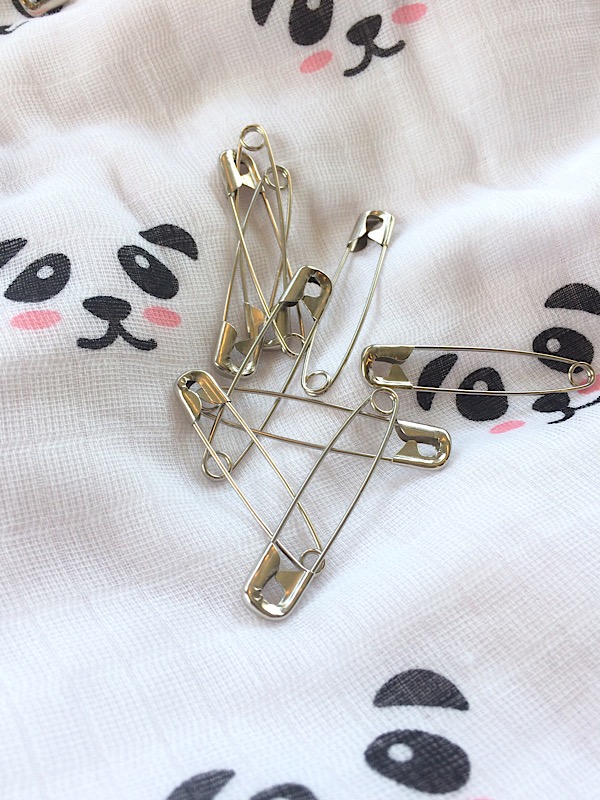
*Quilter’s safety pins for basting OR a Basting Spray
To begin, cut the quilt top and bottom to the size you want. I decided to make this quilt a large square, measuring approximately 57″ x 57″. I figured this size is probably much too large for a baby quilt, but it might be a nice oversized toddler quilt or throw blanket.
*Note, it is a good idea to cut your fabric several inches larger than the size you want the finished quilt to be. You will be trimming the edges later, so you will most likely lose several inches
Make your quilt sandwich. Lay the quilt back on the floor, wrong side up. Lay the quilt batting on top of that, and then lay the quilt top fabric on the top, right side up. The only tricky part with this is trying to get the 3 layers to align with each other. Just do your best – this project is very forgiving. You will trim off the uneven edges later.
Once you have the layers lined up pretty well, you have two options. Option #1: Start basting with the safety pins. Be very generous with your basting. This fabric moves around a lot. In addition, you won’t need to use a hoop or frame with this tutorial, but to keep things from shifting around too much, lots of safety pins are needed. Option #2: Use a basting spray to temporarily hold the layers together.
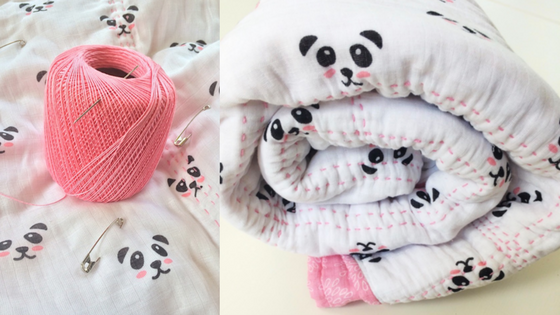
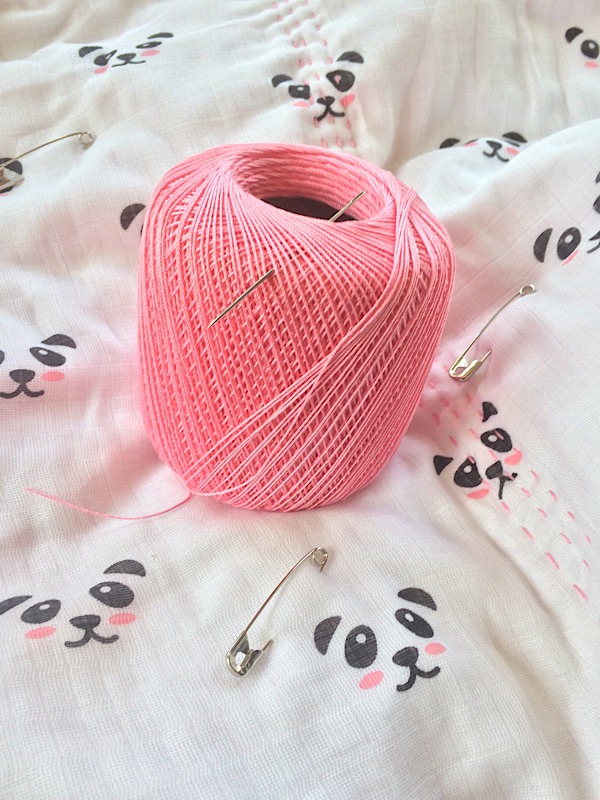
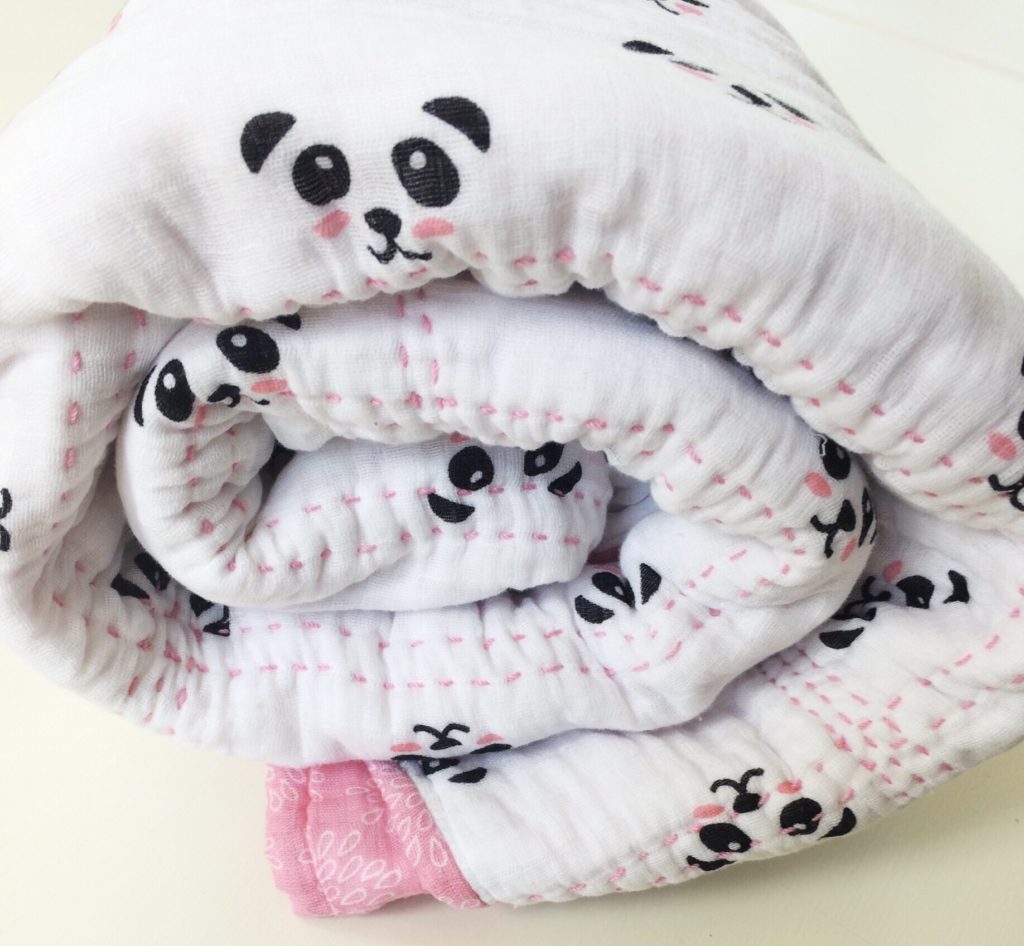
Now you can start quilting. The only matching thread I had on hand was actually this crochet thread. It has a nice thickness to it, so I thought I’d give it a try. I really like how it looks! If you aren’t sure about your thread color or thickness, you can practice on some fabric scraps first.
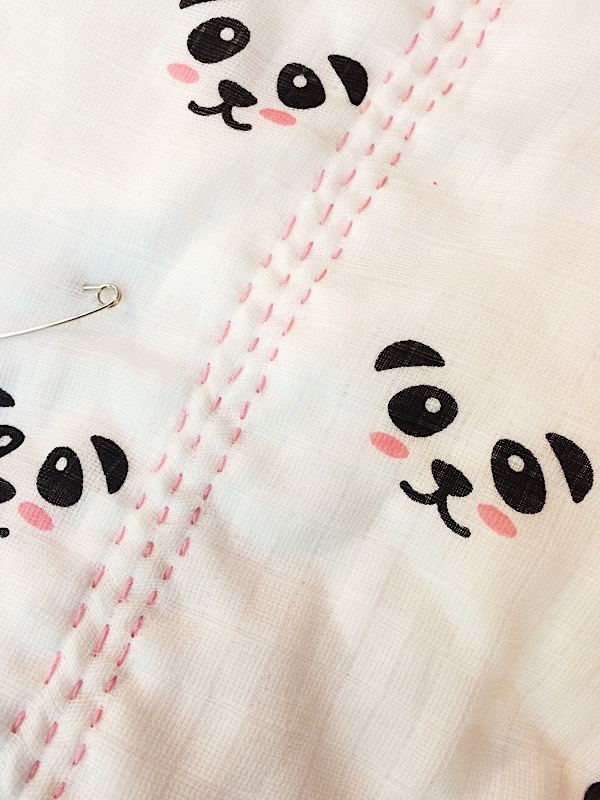
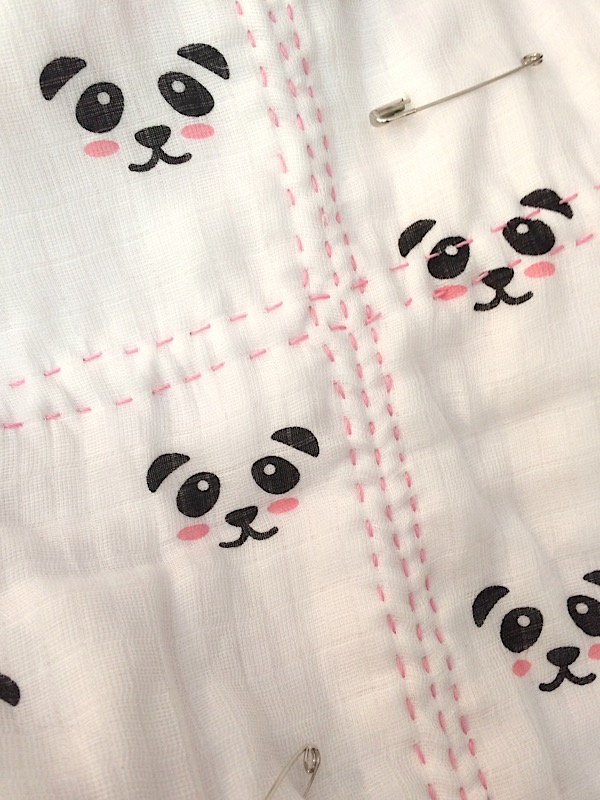
Start making rows, or whatever designs you want. You could tie simple knots, use the sewing machine to quilt some basic rows or designs, or just hand stitch some rows like I did here.
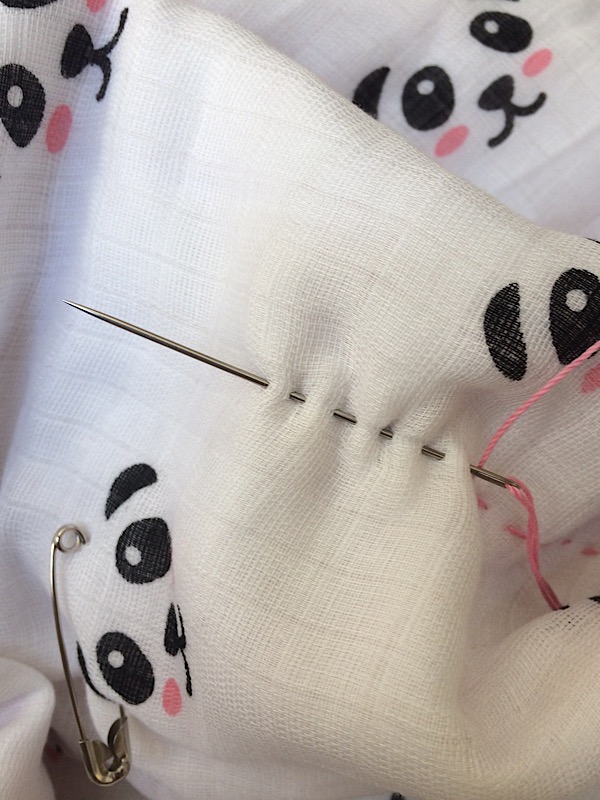
For the hand stitching, I used a simple running stitch shown above.
The stitches can be uneven, and the amount of rows can vary. This is completely up to you.
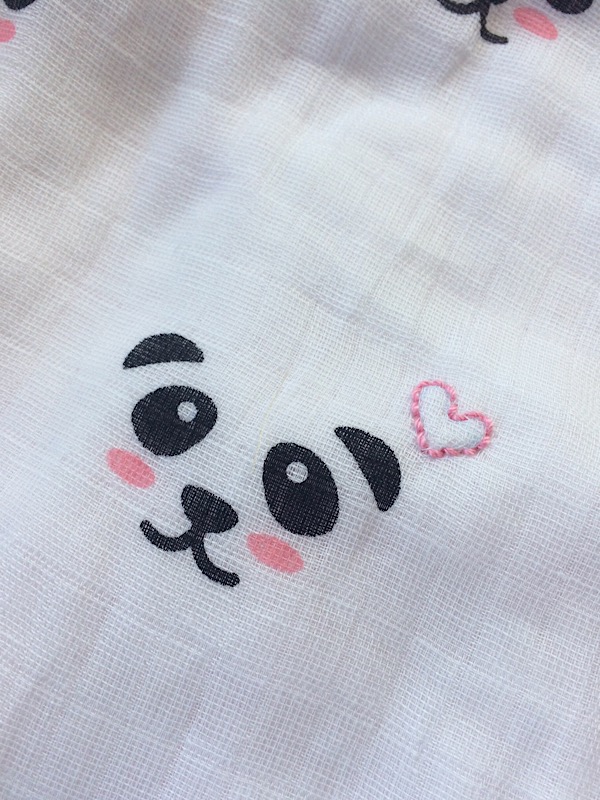
I decided to add little hearts in a few places just for fun.
Now it is time to bind the quilt! Here are a couple of great binding tutorials. HERE and HERE.
*When pressing the binding in half, I found it helpful to use a light starch to give the gauze some structure. This made it much easier to work with when it came time to sew the binding to the quilt.
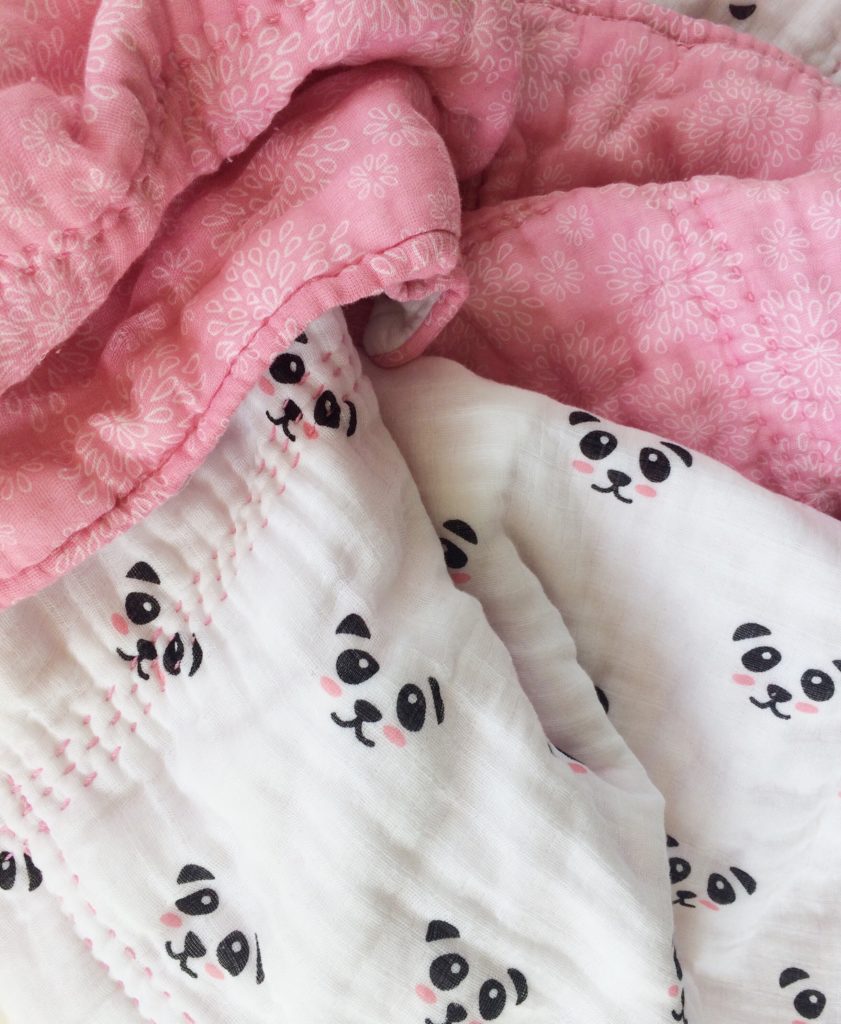
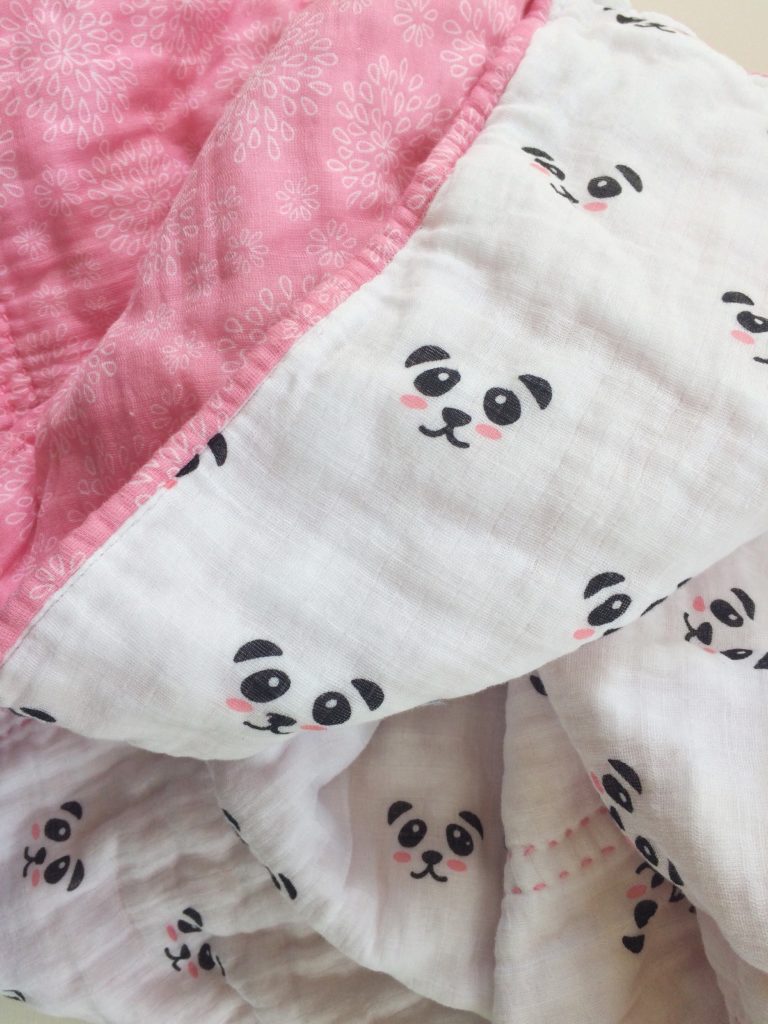
Once you have your quilting and binding finished, you are ready to wash the blanket. Washing will give the gauze that signature crinkled appearance, and guess what? All of those puckers hide the imperfections. Another reason why this is a great beginner project!
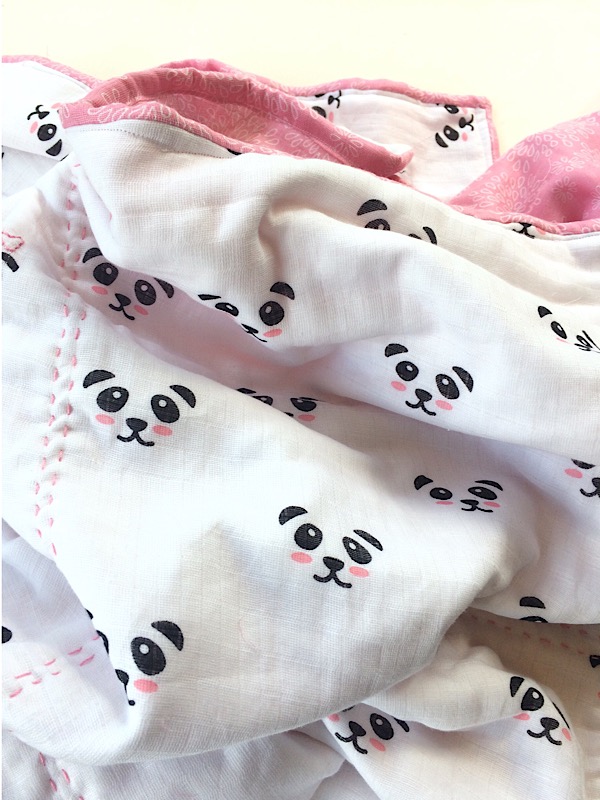
Here it is washed and dried. Now doesn’t that look just dreamy?
CAN’T. HANDLE. THE. CUTENESS.
Once you finish one of these, you’ll be wanting to make more. They are so simple and so satisfyingly soft and cute! Happy sewing!

