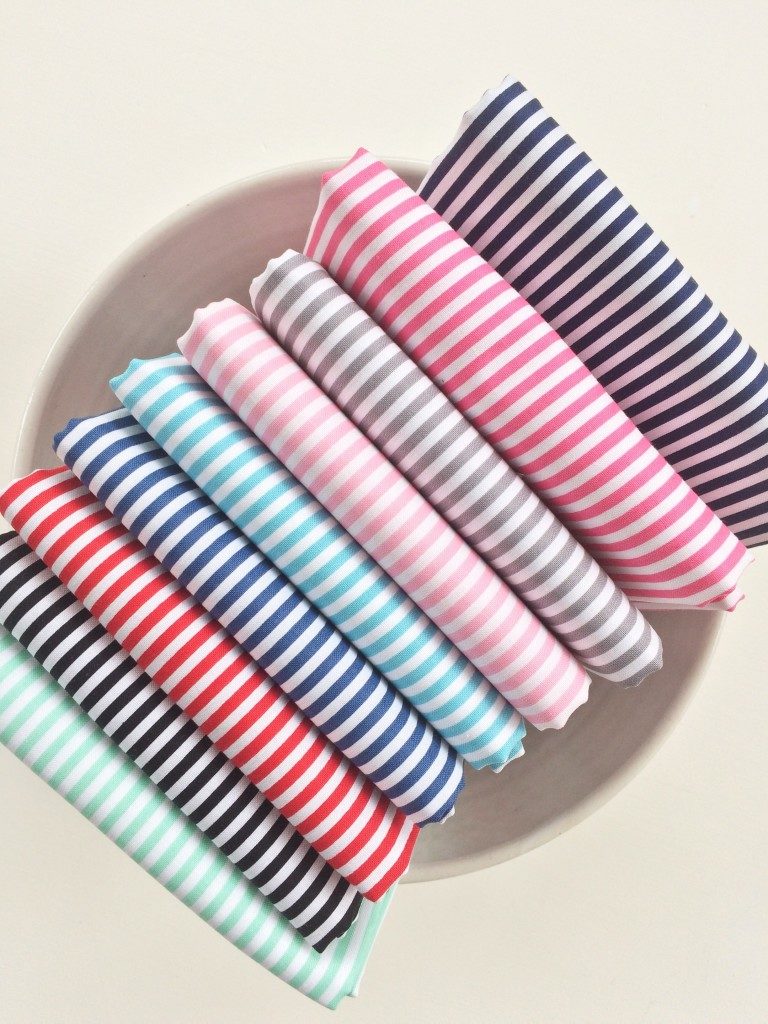
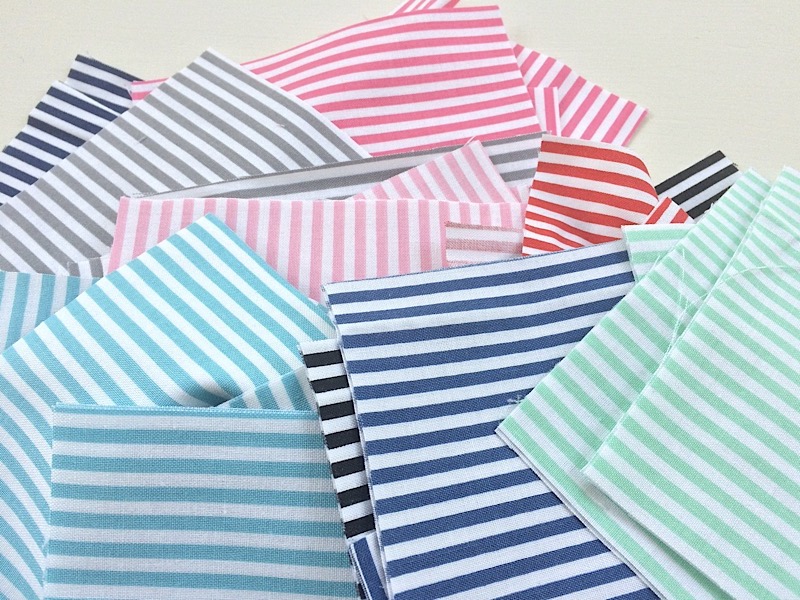
What is it about little tiny stripes that make me so happy? When I found out we had some brand new 1/8″ STRIPES being added to our basics, I could hardly contain myself.
So, when this bundle of cuteness arrived in the mail, well, let’s just say I’m glad the neighbors can’t see into my house, or they would have seen me unabashedly stroking and petting these little pieces of fabric. Which probably isn’t normal. Right?
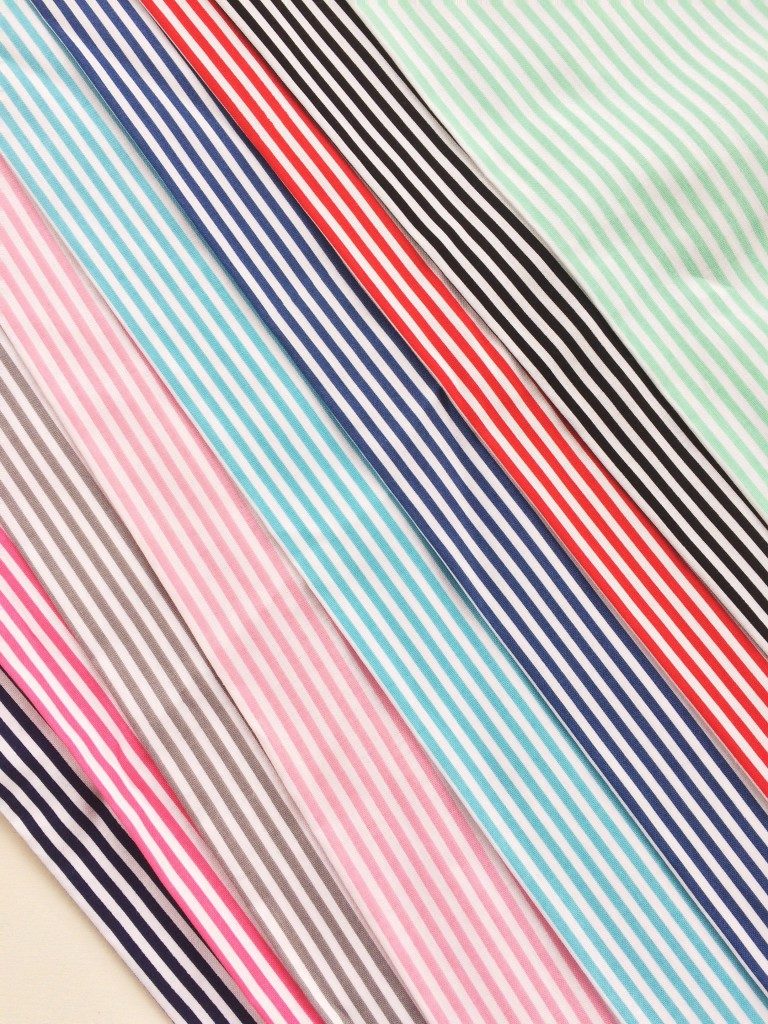
The new 1/8″ STRIPES come in 9 colors that coordinate perfectly with other Riley Blake Designs basics.
These stripes were all so totally fabulous that I couldn’t leave any out. I had to use them ALL! In. One. Project. I know, a little crazy, but stay with me here.
I didn’t have to look far to find this super easy beginner BABY QUILT TUTORIAL by Amy Smart at Diary of a Quilter, and I immediately knew that I HAD to use the tutorial to make an all over stripe baby quilt.
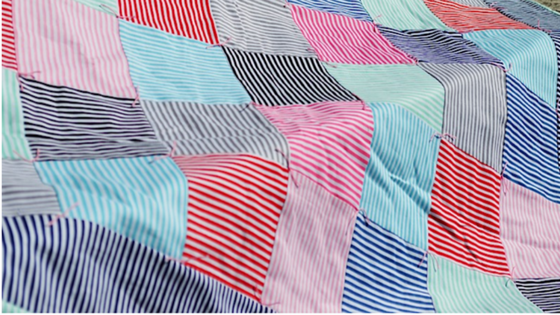
Amy’s instructions call for 64 – 5″ squares. I was using 9 different colors of stripes, so I cut 8 squares of each color, knowing I would have some extra squares. This worked out perfectly, because it gave me plenty of freedom to play with the layout of the squares so it was pleasing to the eye.
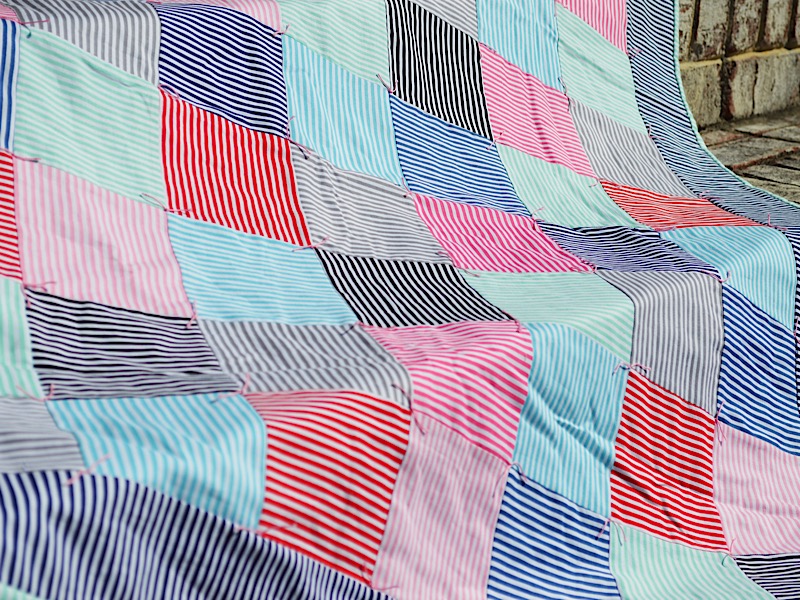
I tried to alternate between the dark and light colors to add visual interest. Notice, I also alternated each square between vertical and horizontal.
Alternating lights and darks didn’t always work out perfectly, as you can see here where the navy blue square is right next to the red, and the aqua is right next to the mint and gray. This is totally fine. The goal was for it to look random, and for like colors to be separated as much as possible. A few exceptions to the rule here and there was not a problem.
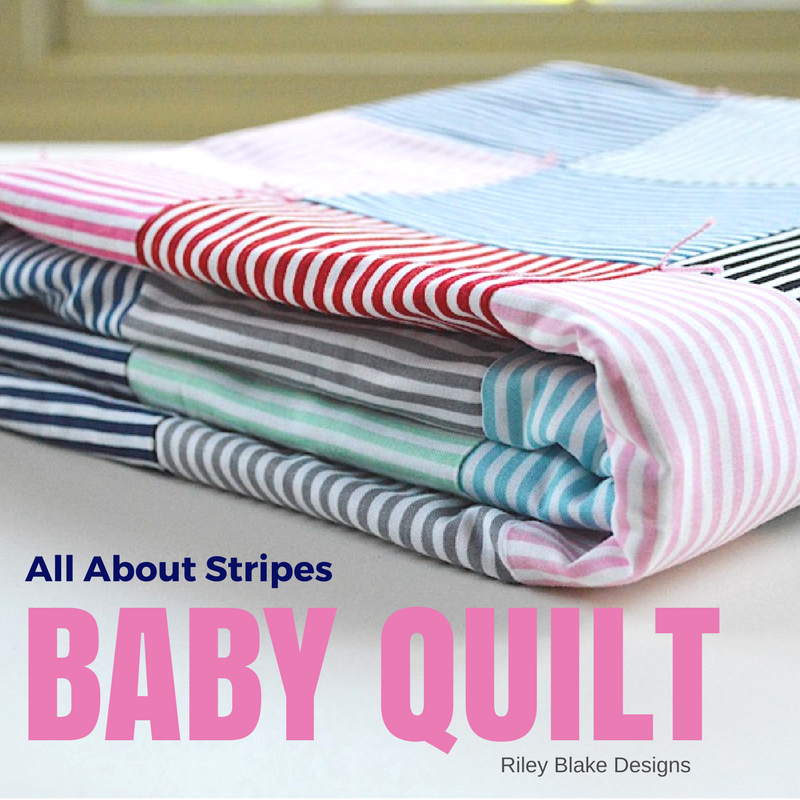
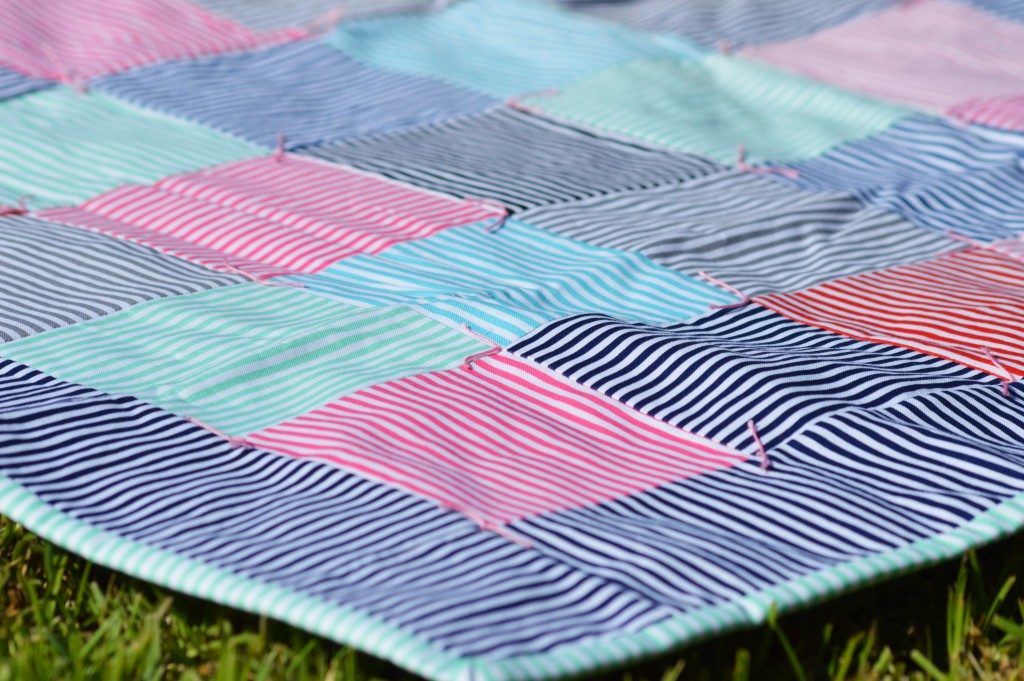
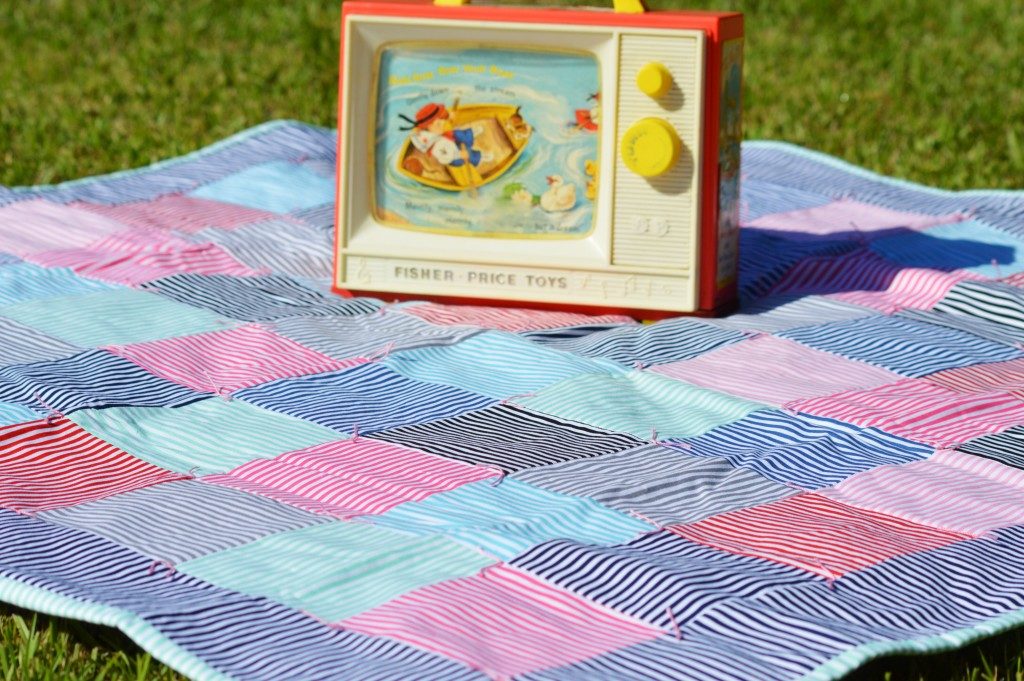
After piecing the squares together, I debated between machine quilting or hand tying. Ultimately, I decided to hand tie the quilt because I wanted to add a little bit of texture to break up the very linear look of the quilt. I used the pink crochet thread I had left over from the DOUBLE GAUZE QUILT.
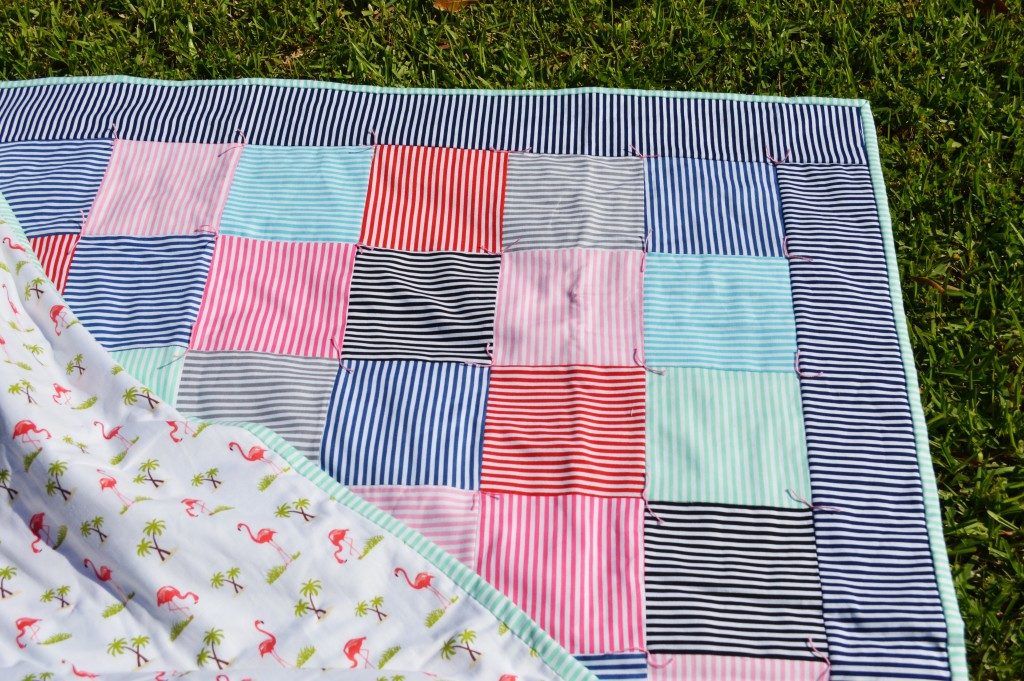
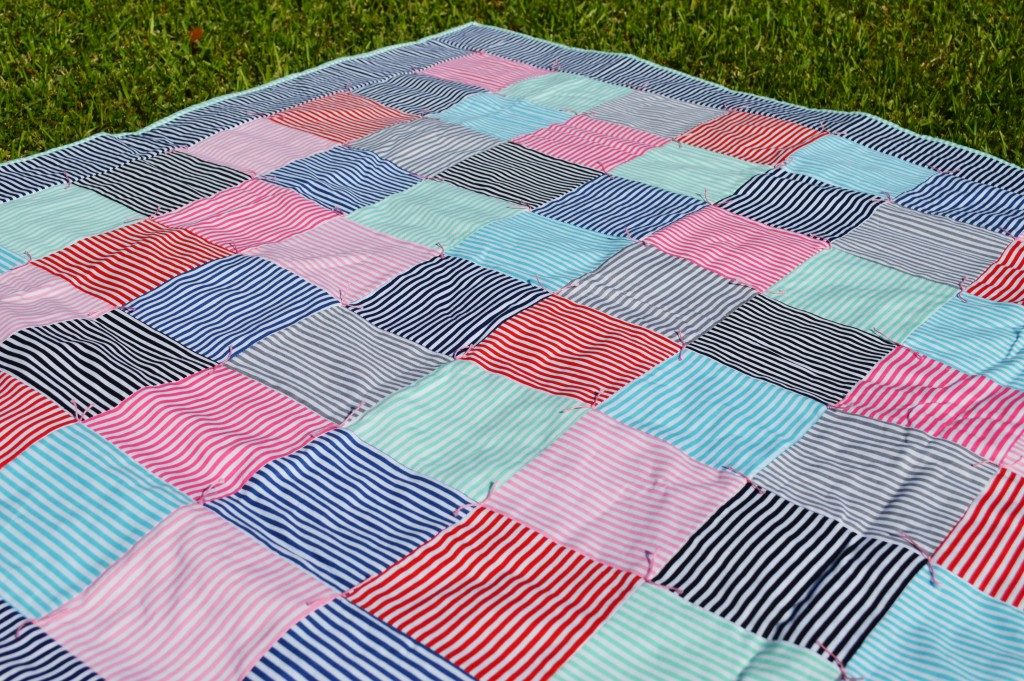
I used the Navy 1/8″ Stripe for the border, and I used the Mint 1/8″ Stripe for the binding. You can use just about anything for the backing — a SWISS DOT, or Floral would be super cute. I decided use this Riley Blake Designs Flamingo novelty print as a fun surprise.
Isn’t this seriously just too cute? This is another awesome quilt for beginners, and Amy does a great job explaining each step in her tutorial.
You can look at Amy’s complete tutorial for this quilt HERE. And check out Riley Blake Designs 1/8″ Stripes HERE.
Happy Sewing!