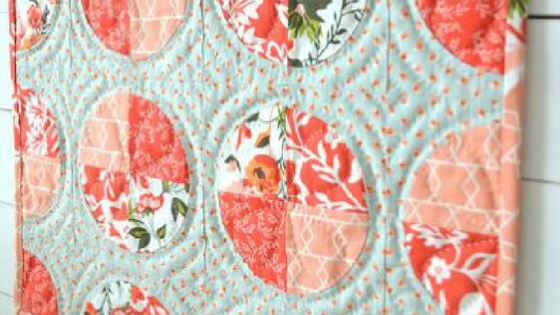
Hello I am Sachiko from Tea Rose Home! I am in love with Apricot & Persimmon by Carina Gardner. I love her use of colors and the beautiful timeless designs. Today, I am going to share a mini quilt I have created using her gorgeous fabrics! Before you begin, print out the templates I provide in a PDF. I traced them onto clear plastic to make template. It is so much easier and quicker to use those templates and cut out the shapes with small rotary cutter. You can also trace the template onto the fabric and cut them out with scissors if you prefer. Circle quilt (finished size 18 1/2″ x 18 1/2″)
{You will need}
Mint Apricot Petal— 1/3 yard Cream Apricot Main, Coral Apricot Floral, Peach Apricot Criss Cross, Coral Apricot Fern—Fat Quarters
 Thread, Thin 80/20 batting, Other quilting necessities.
{How to}
1. From the Mint Apricot Petal, cut 3 – 3 1/2″ strips. Lay them together perfectly and cut 36 – 3 1/2″ squares.
2. Use template 1. Match the two straight edges of the template to the two edges of the fabric square and cut out the shape.
3. From the Coral Apricot Fern (fat quarter), cut 2 – 3 1/4″ wide strips. Lay them together perfectly and cut 9 – 3 1/4″ squares.
4. Use template 2. Match the two straight edges of the template to the two edges of the square and cut out the shape.
5. Repeat the process in steps 3 and 4 and cut out shapes from the rest of the three fat quarters. Now, you have 36 pieces of Mint Apricot Petals, 9 x 4 = 36 pieces of quarter circle pieces from the fat quarters.
7. With right sides together, pin on the creased center line.
8. Pin the ends and between. Then, sew with 1/4″ seams. Press the seam with an iron. Do the same with the rest of the 35 blocks.
I love hand quilting, but I can picture this quilt being machine quilted in my minds eyes too…
Here is the back of the quilt. It is just simple strips pieced together, but I like this look as well!

