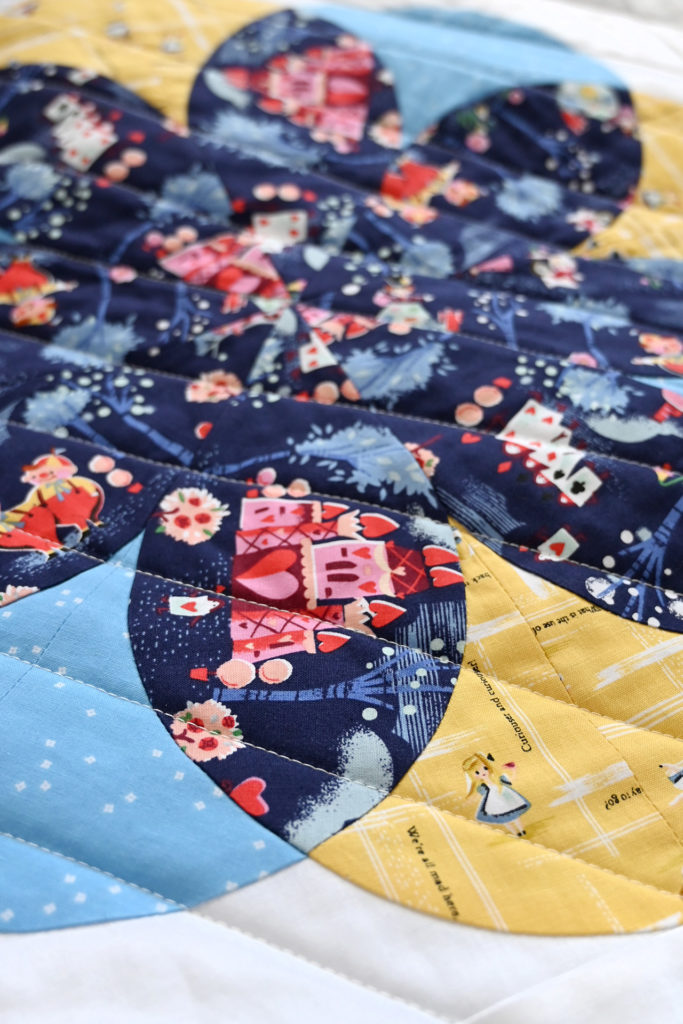
This is Holly Clarke from Holly Clarke Design back again on the blog tour to share what I’ve been working on using the adorable new collection called “Down the Rabbit Hole” by Jill Howarth. You can find out more about me and my work on my website at https://hollyclarkedesign.com and over on Instagram at @holdmyseamripper to see what I’m currently working on.
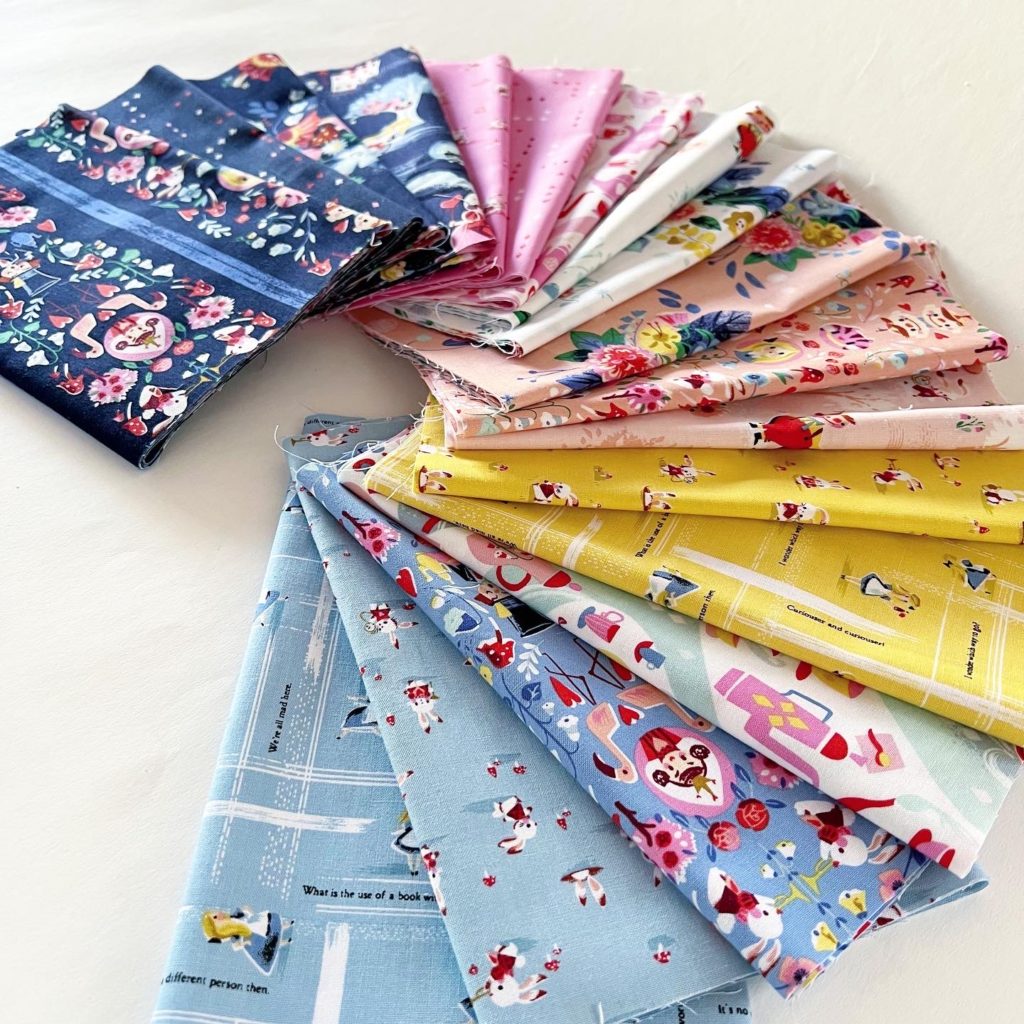
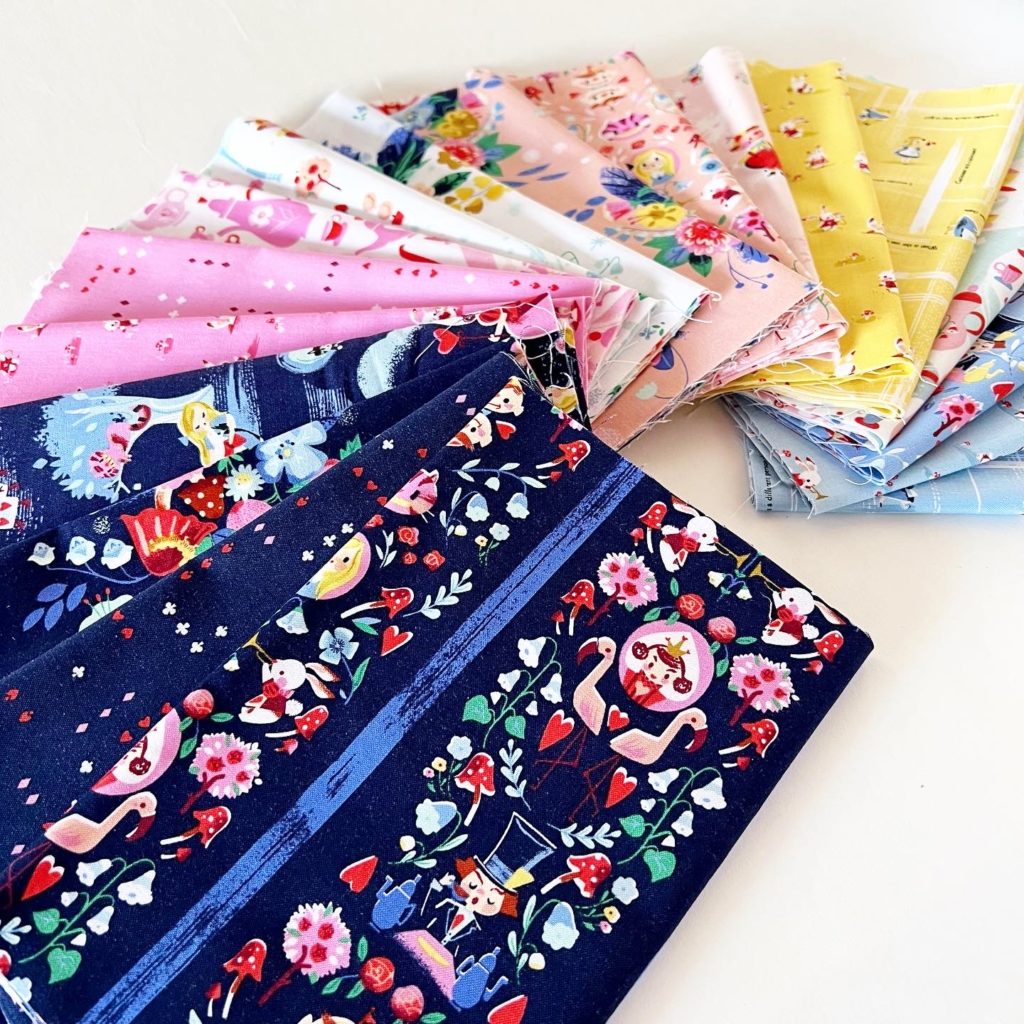
This is the 6th quilt I’ve made using Jill Howarth fabric and it’s safe to say I’m a total fan girl of her work. I love how her cheerful and intricate designs always remind me of the fairy tale picture books I read as a kid. I love looking at all the small details she includes in every collection.
As the “Down the Rabbit Hole” title suggests, this collection tells the beloved classic story of Alice in Wonderland. I have always had a love/hate relationship with Alice’s story. I was very much a rule-follower as a child and anything nonsensical made me suspicious but curious.
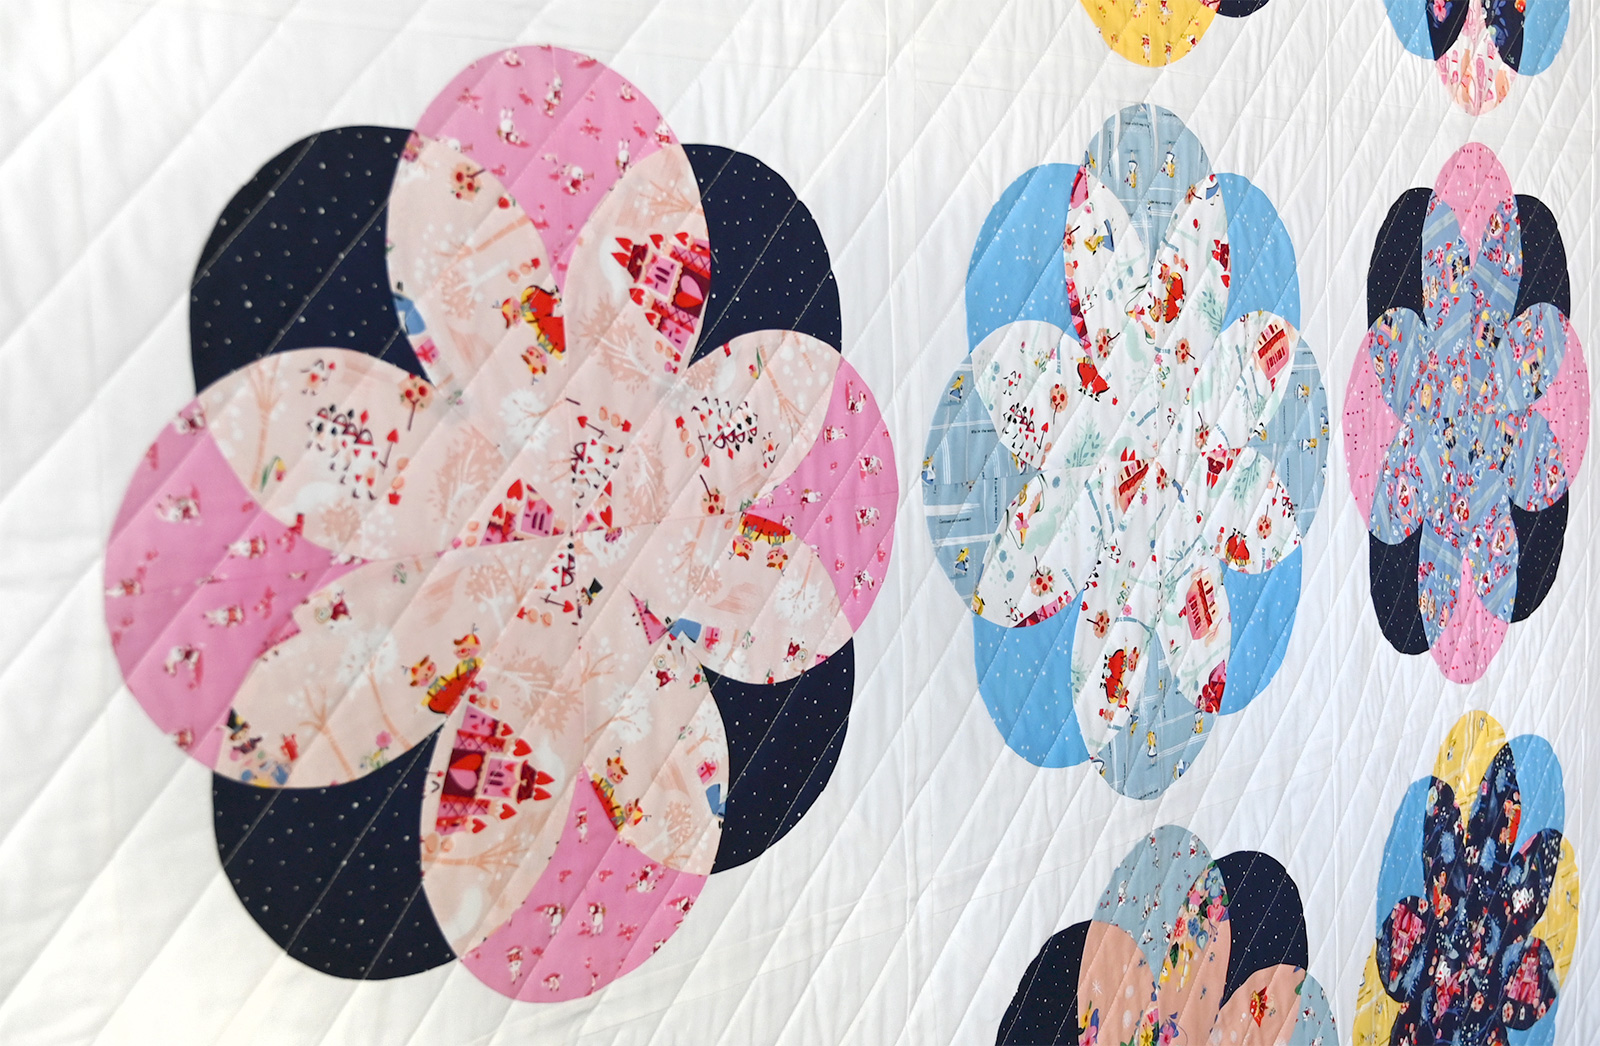
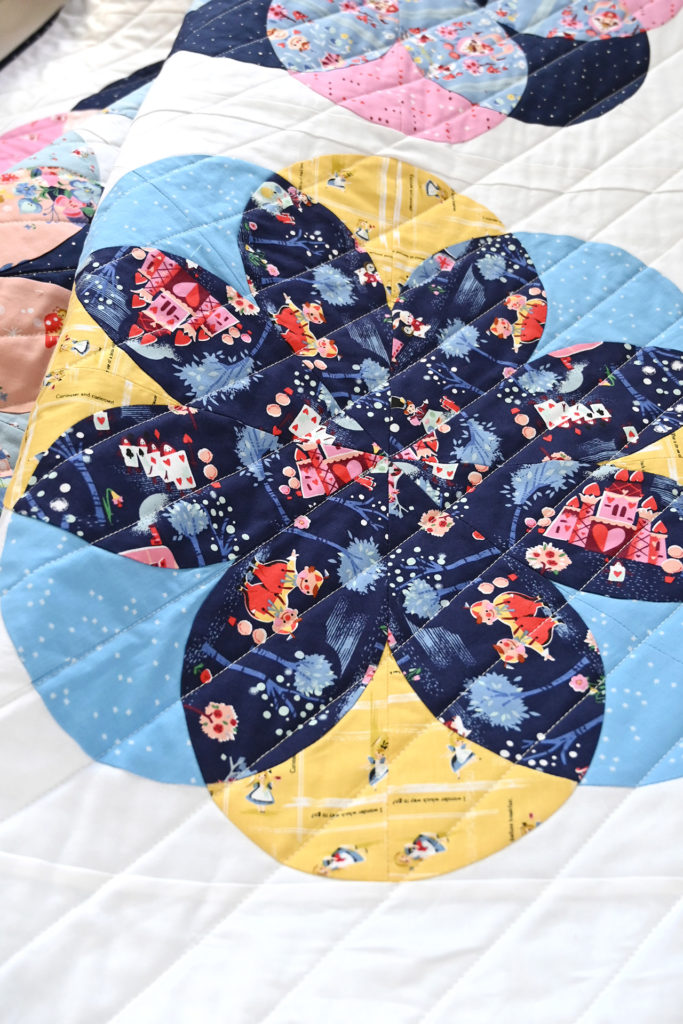
When I saw that Jill’s new collection was coming out, I knew I wanted to make something with it. I decided it would be perfect for the new “Perfect Pansies” block I’ve been playing with. I was inspired by the scene in the Disney movie with the singing flowers. (Which is a lovely musical scene until the flowers realize she’s not one of them and then they turn on her and insult her and literally push her out of the garden.)
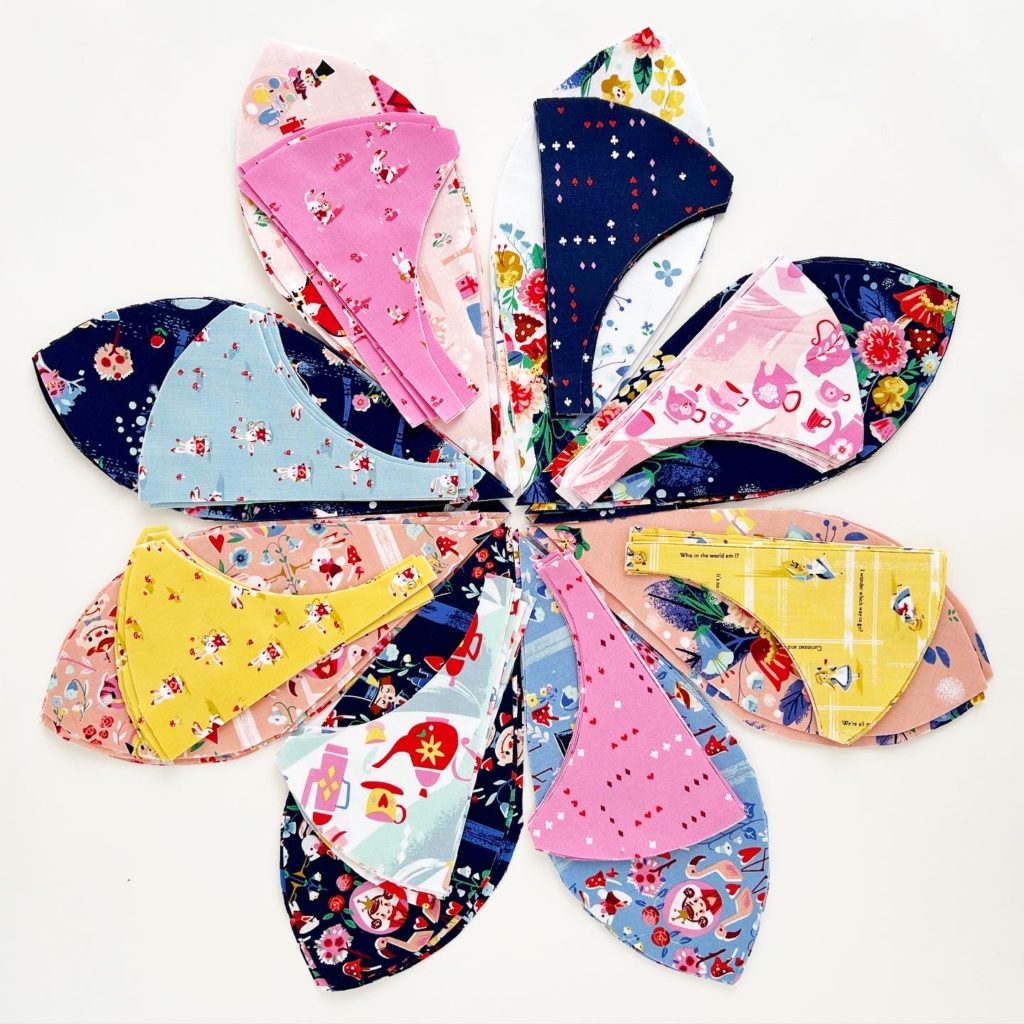
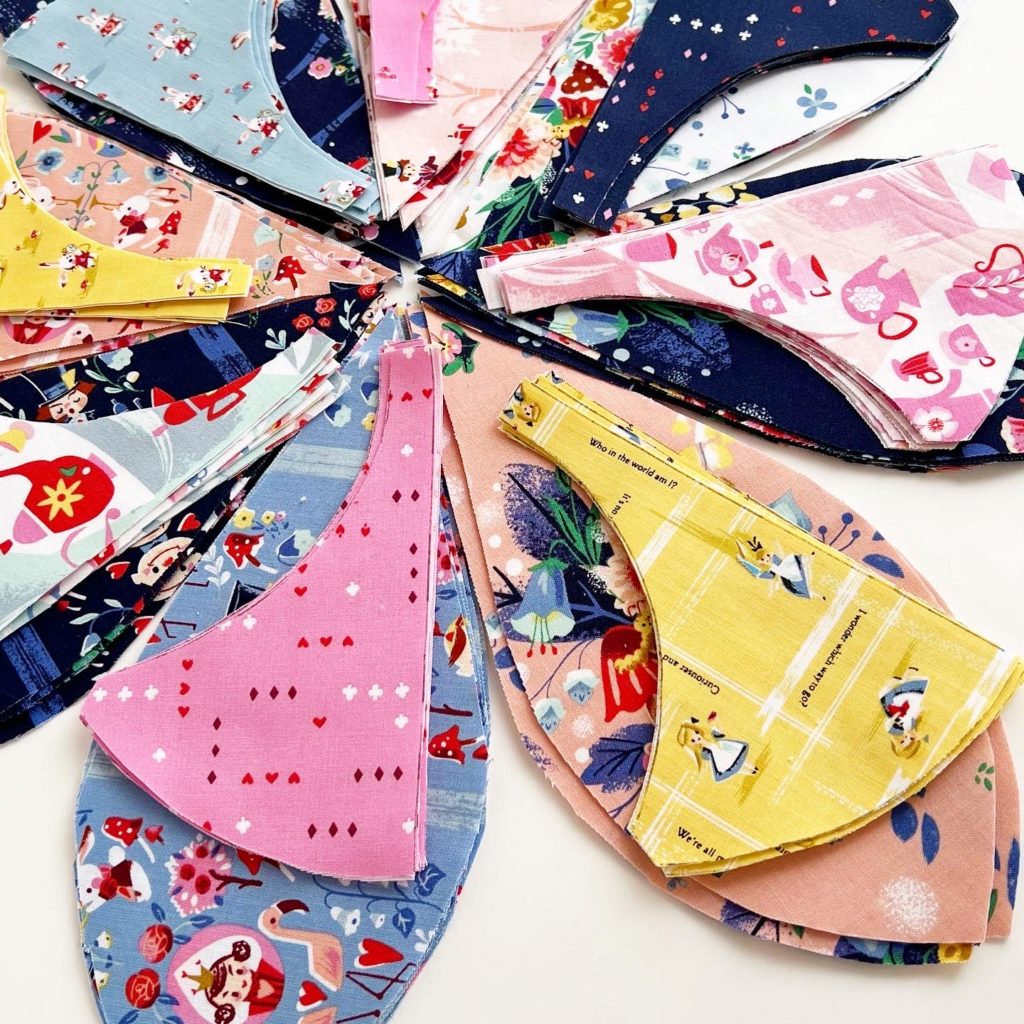
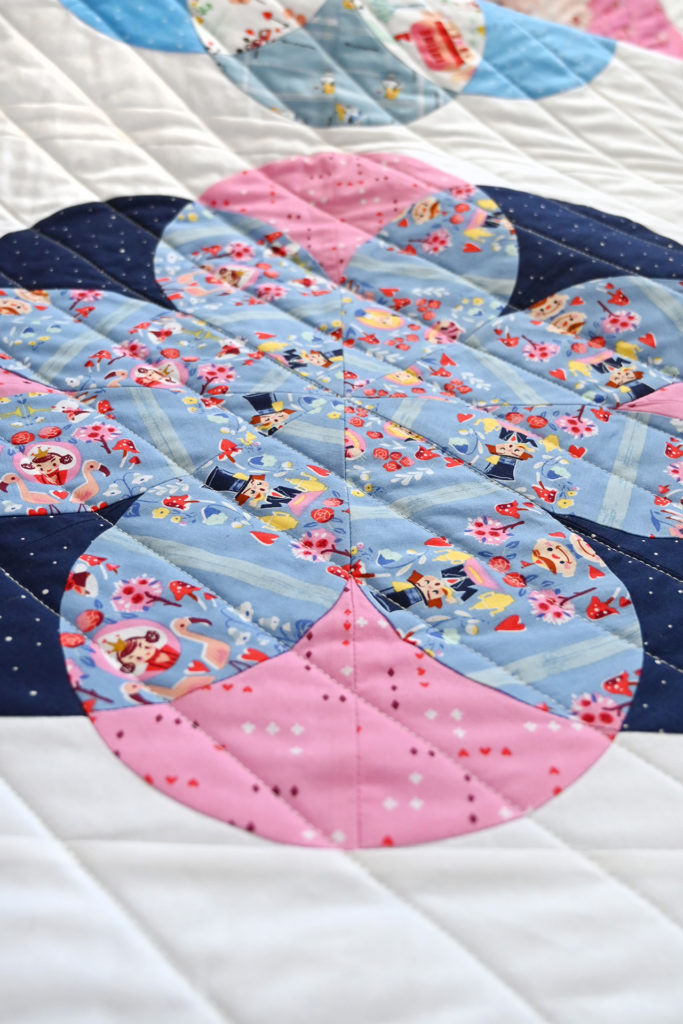
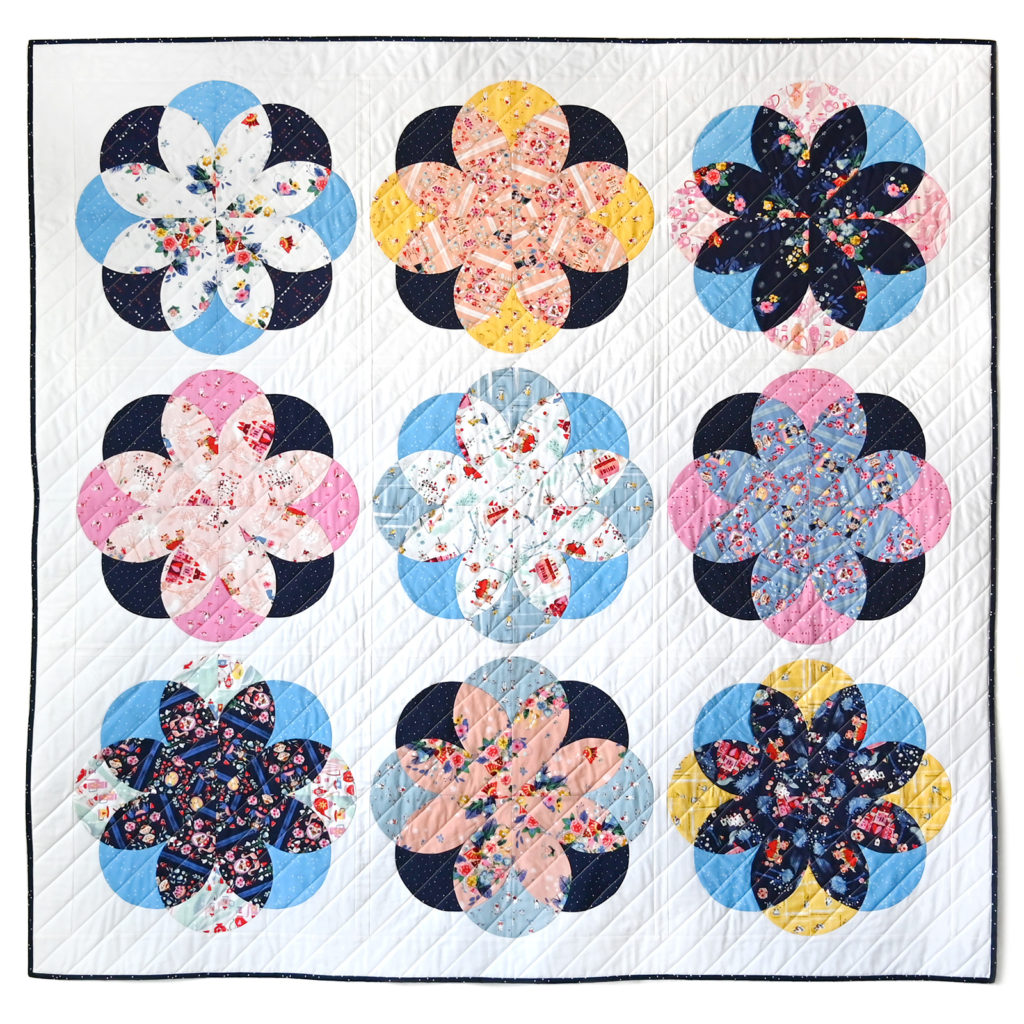
I made nine Perfect Pansies blocks using 16 different prints from the collection alternating my blocks with the addition of Blossom in Medium Blue and Dapple Dot in Navy. For the background I used Confetti Cottons in Riley White.
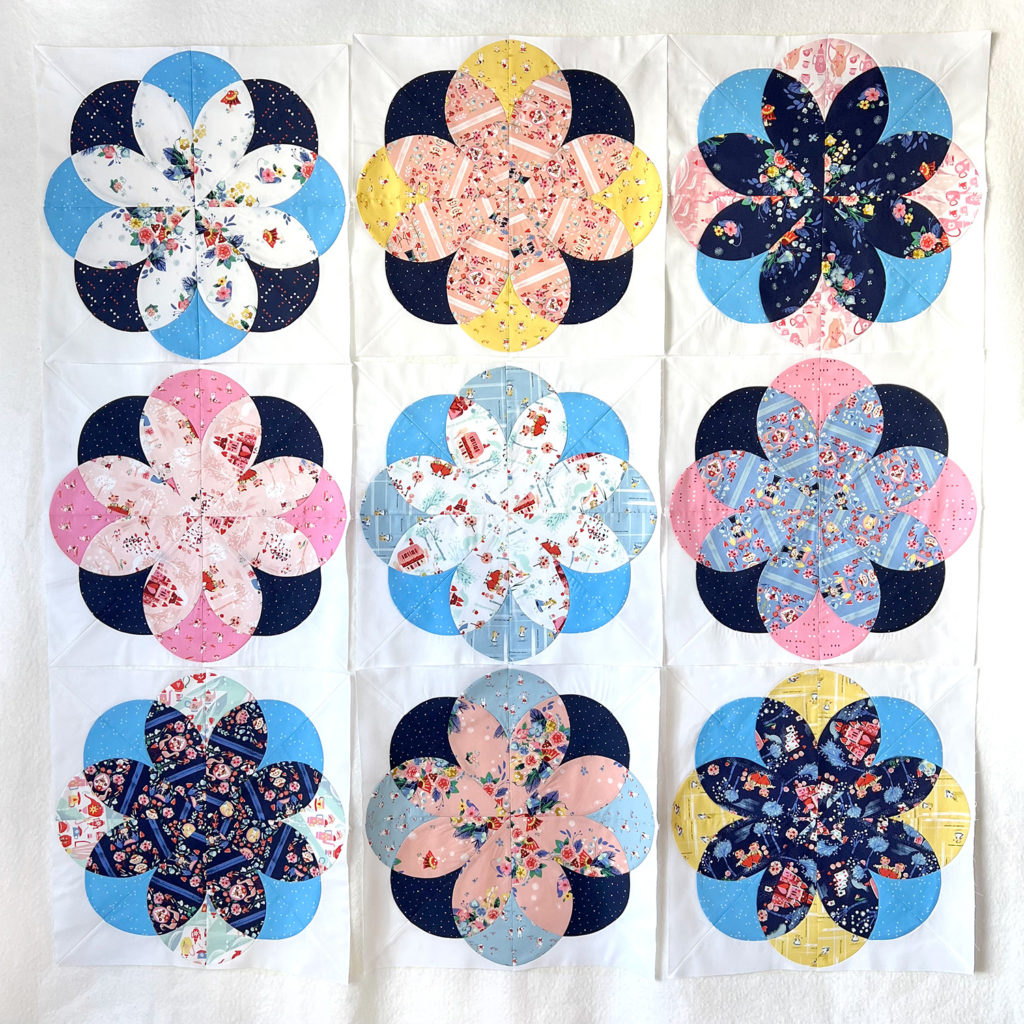
After I pieced all my blocks I decided they needed some sashing to give each of the blocks a little bit of breathing room to make them each stand out on their own a bit. Look at all that squishy fabric-y goodness on my sewing table!
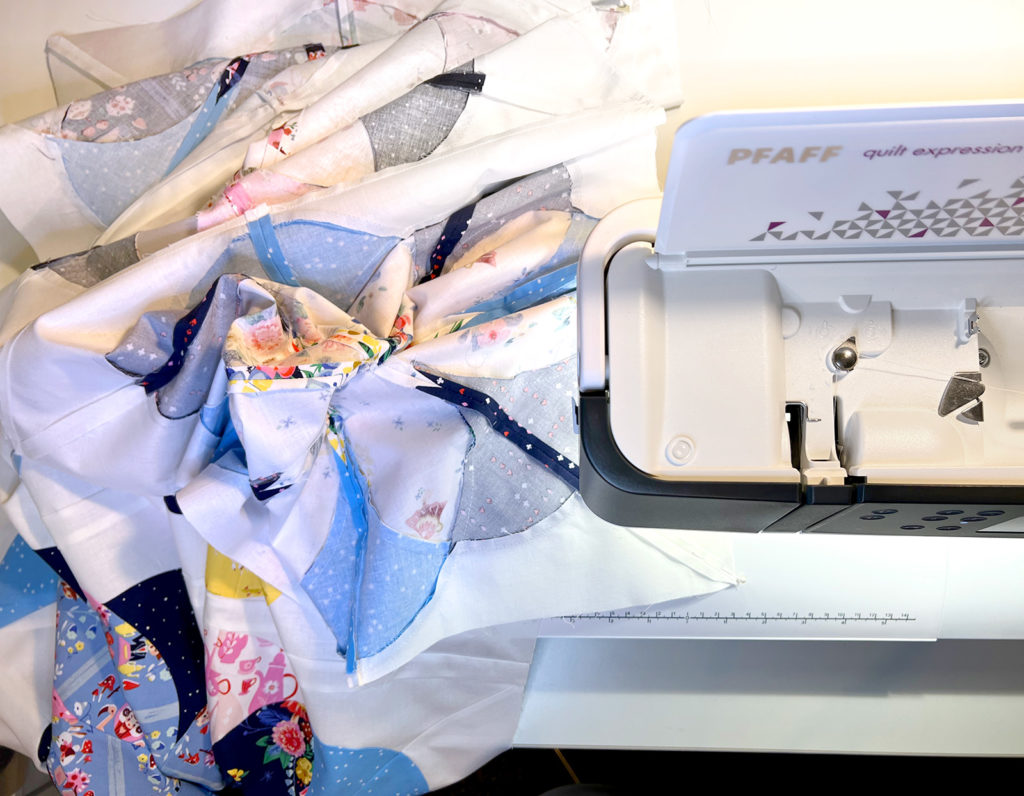
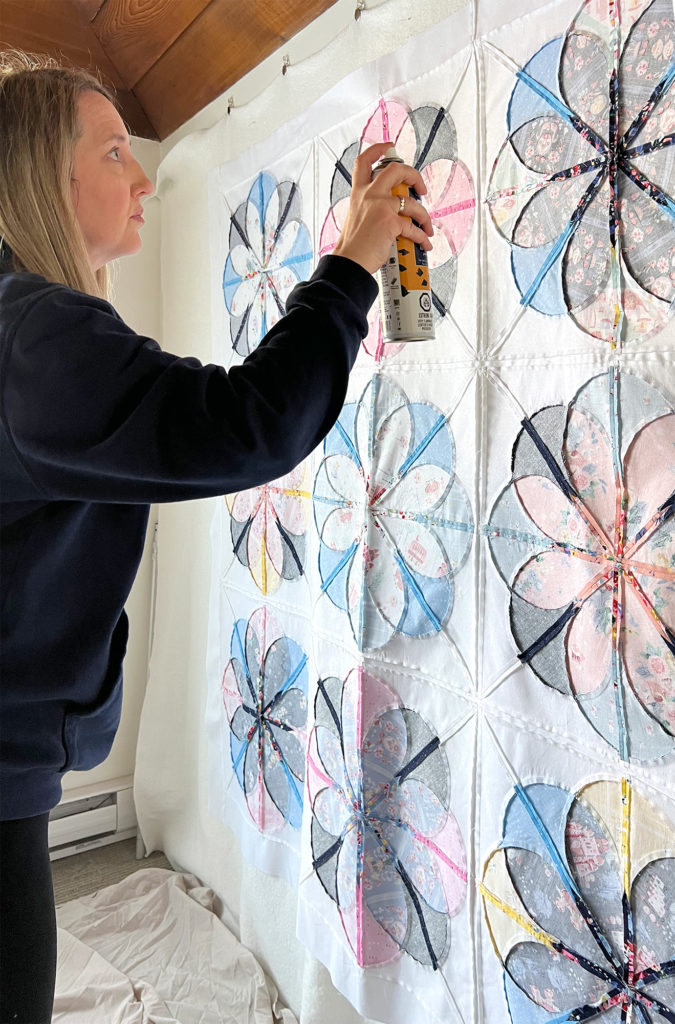
Here’s an “action shot” of me using my design wall for spray basting (so focussed!!). I like how this photo shows off the pretty curved seams on the back of the quilt top.
When I’m quilting, Jovie the Cat always needs to inspect my work. (This is normal, right?) I decided to use straight-line quilting following the diagonal lines of the blocks. The lines are spaced 1.5” apart so the quilting is not too dense. I like the quilting a little looser so that the quilt doesn’t feel too stiff when it’s finished.
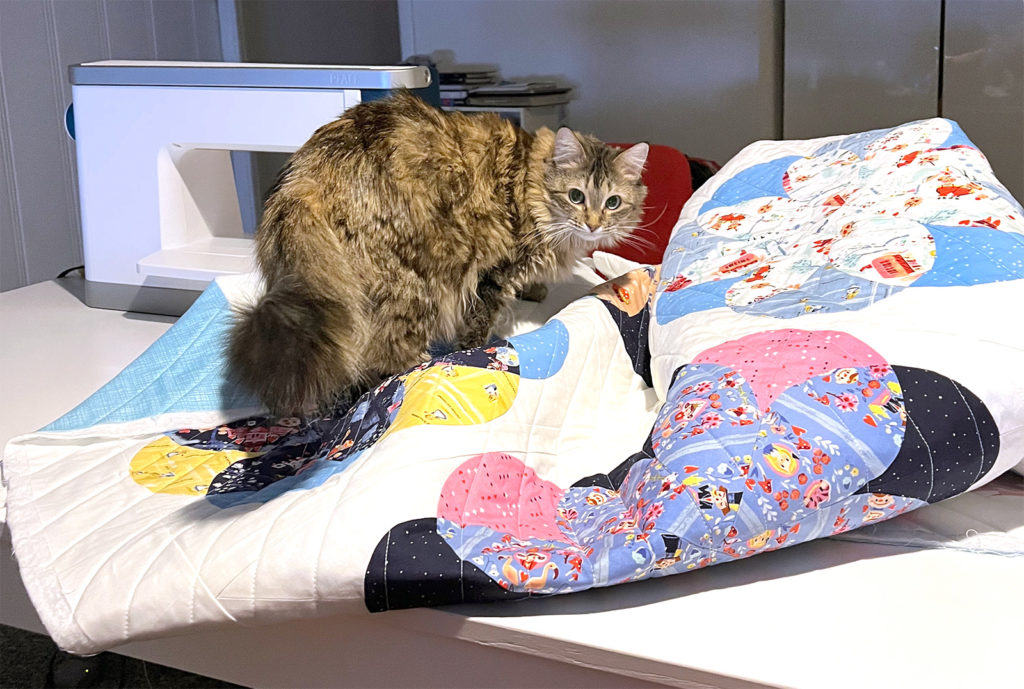
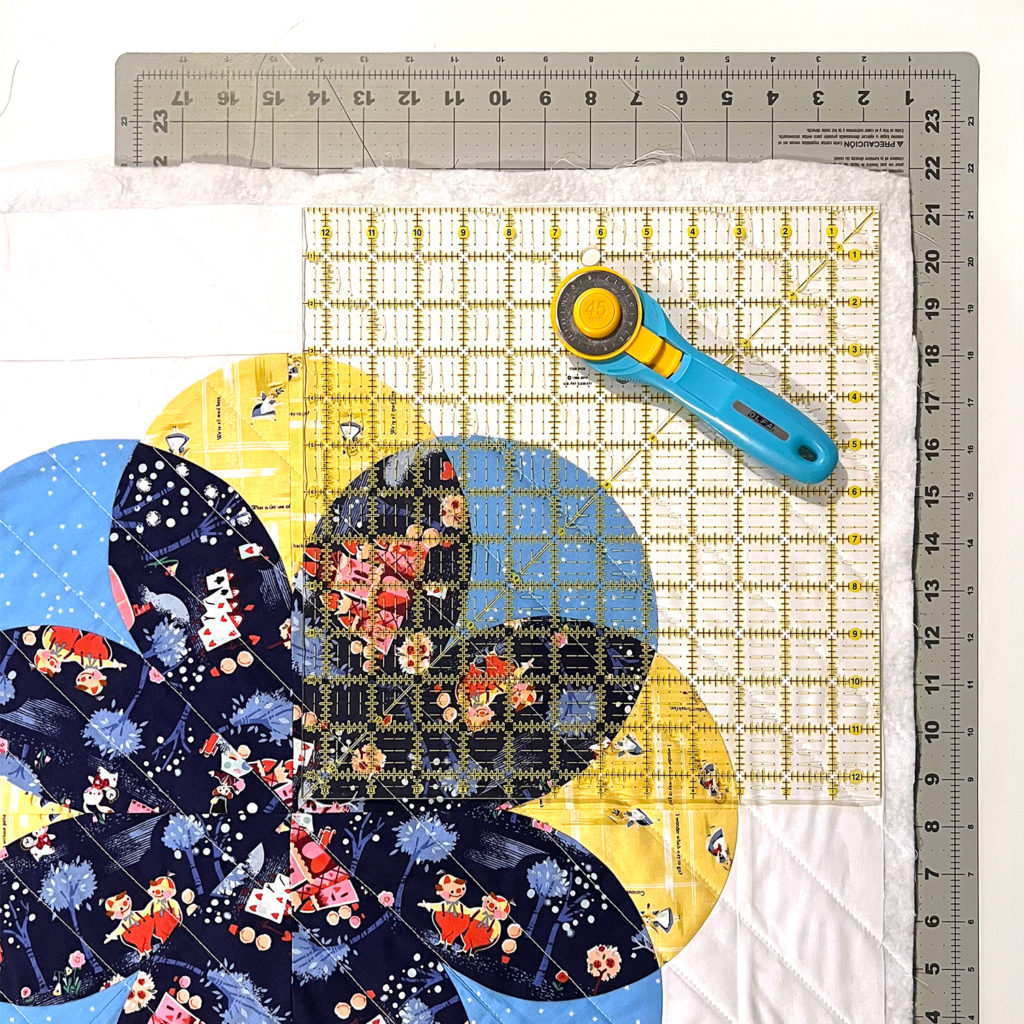
Once I’m finished my quilting I trim the batting and backing with a long ruler and I use a big 12” square ruler to make sure my corners are nice and squared up.
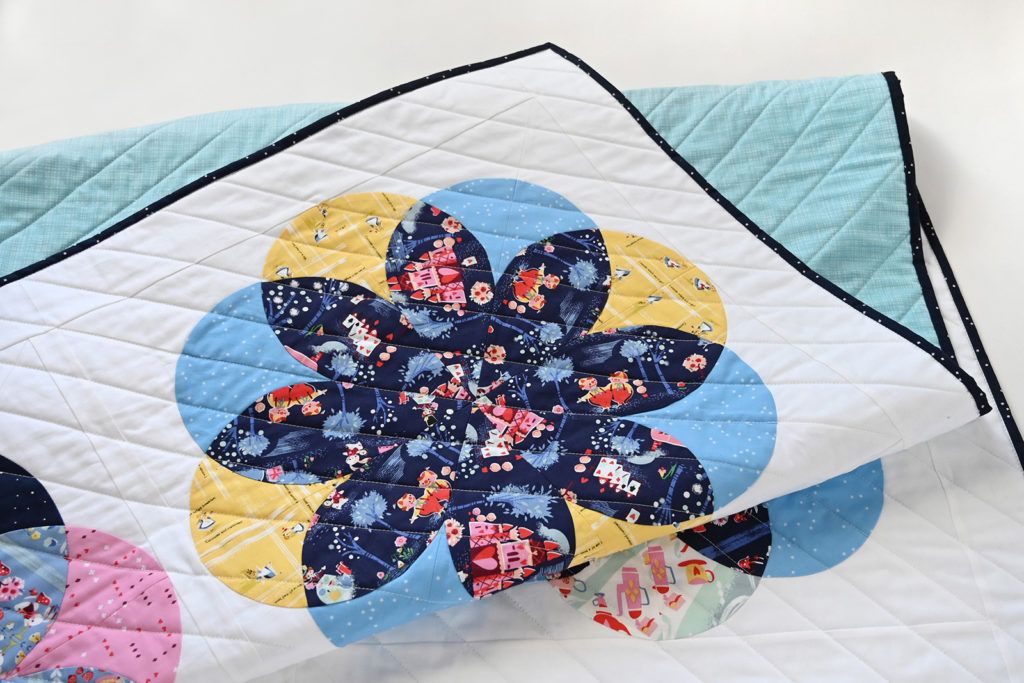
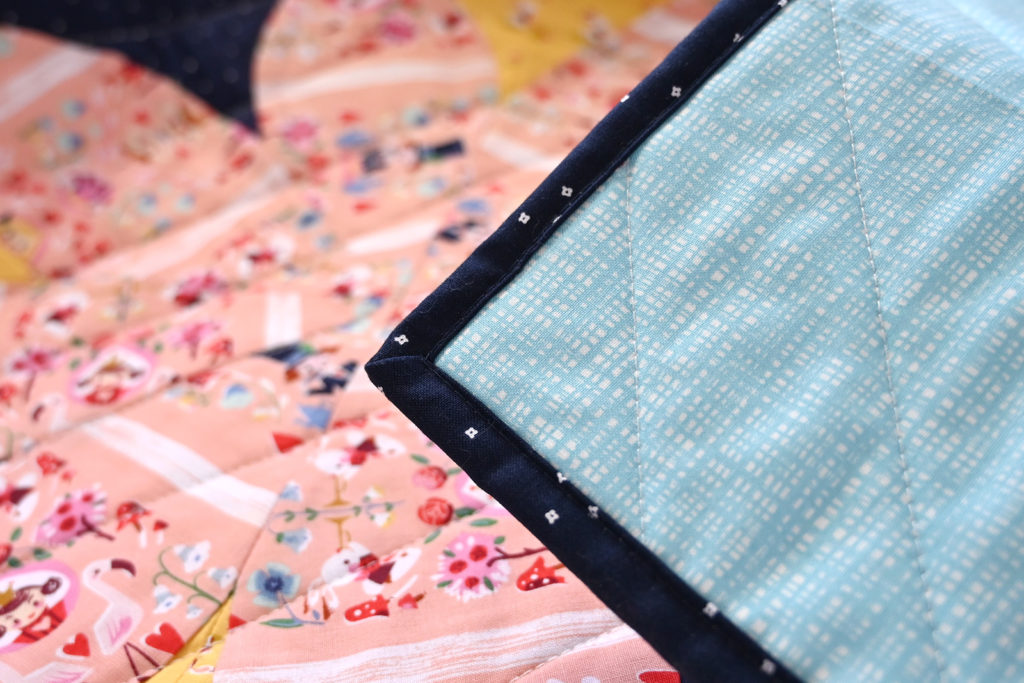
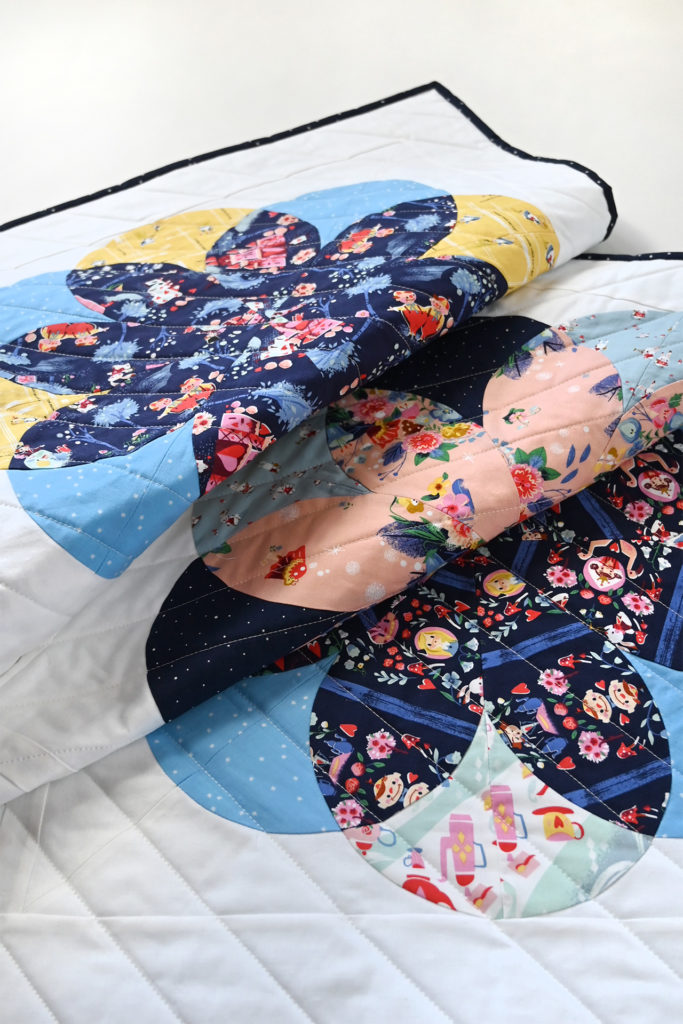
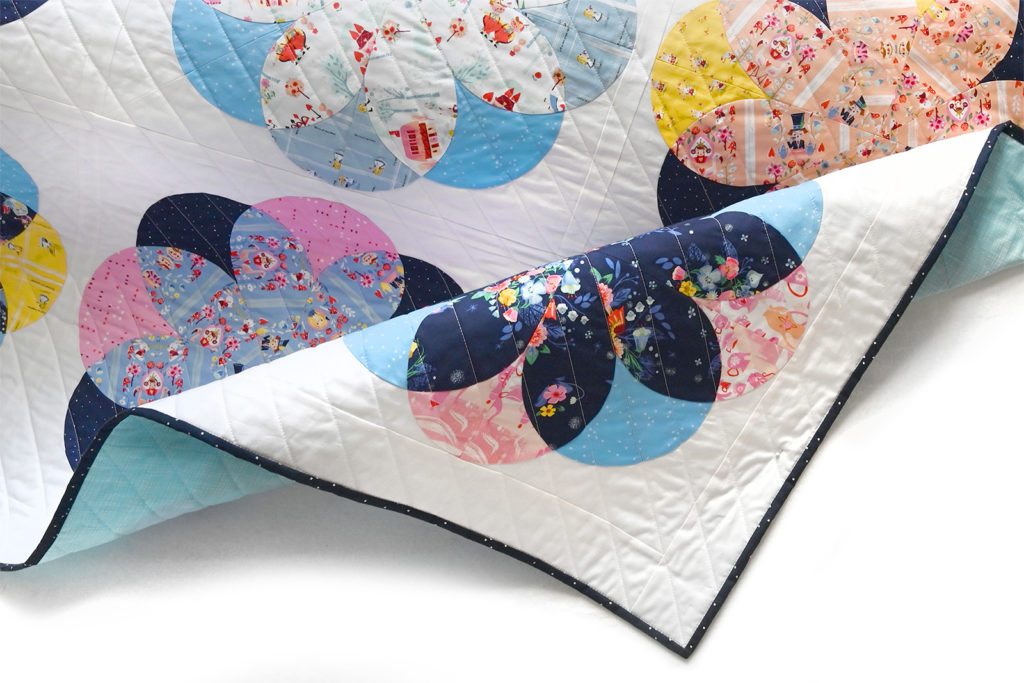
Here are some finished photos of my quilt. I’m so happy with how it turned out. For my backing fabric, I used Texture in Sky and for my binding I used Blossom in Navy.
Down the Rabbit Hole – Perfect Pansies Quilt
I hope you enjoyed reading about my process of making my Perfect Pansies quilt. If you want to read about more of my work, please visit my website at https://hollyclarkedesign.com and on Instagram at @holdmyseamripper

