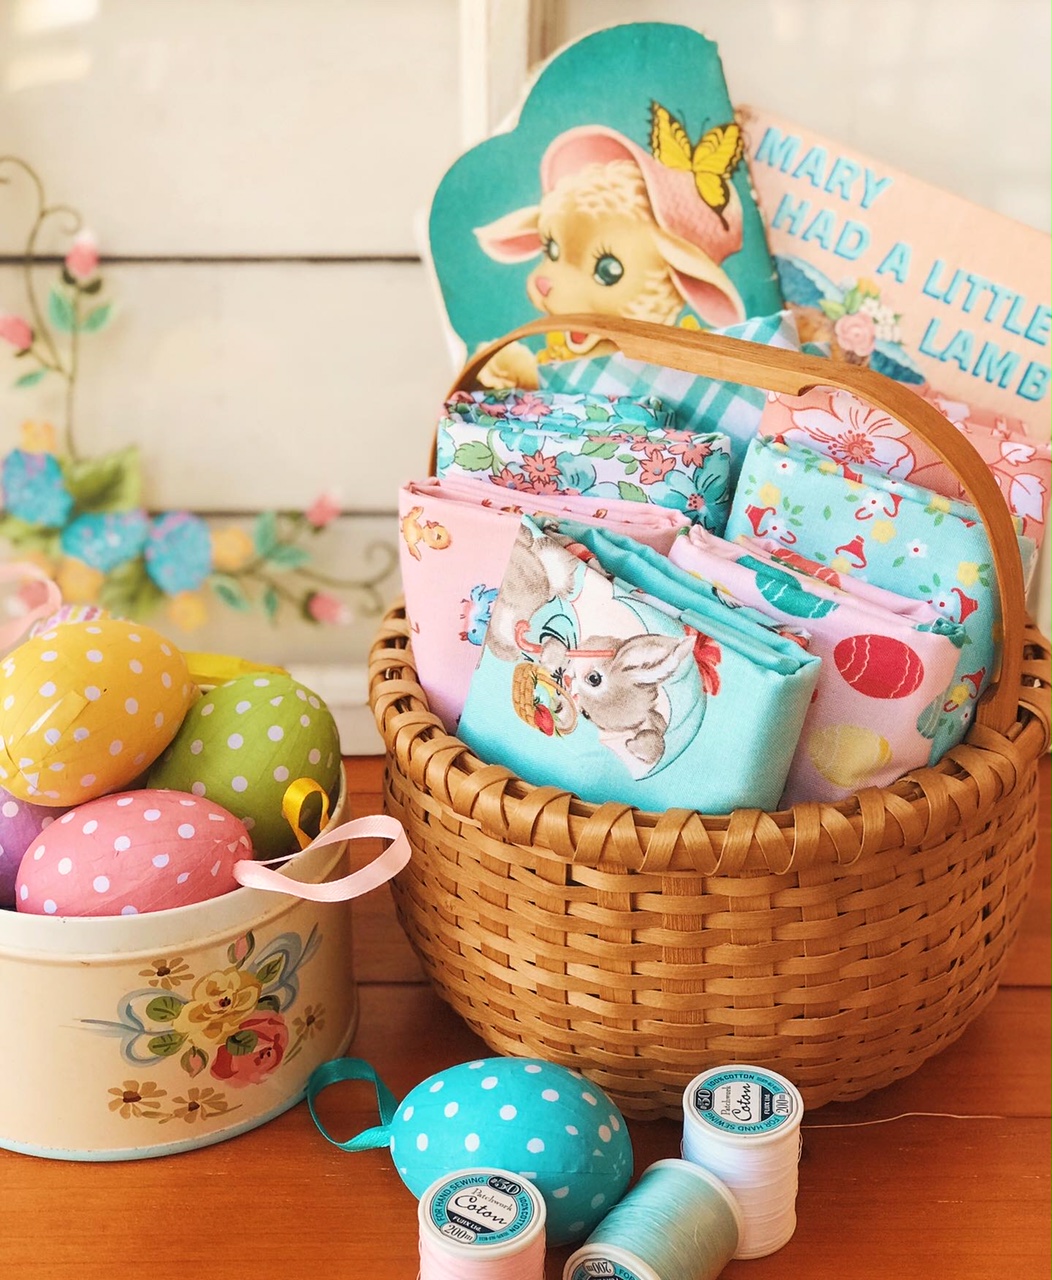
Hello and Happy New Year! I hope you all had a joyous holiday. I’m Karen from Creamcraft Goods and I’m starting the New Year with a cute project to share – a Drawstring Bag and Stand Up Pouch using adorable upcoming fabric – Easter Parade by Lindsay Wilkes of The Cottage Mama. As a thank you for following along, I included a free tutorial below for the Stand Up Pouch, so you can make them in time for you Easter baskets! It’s a quick, fun easy make.
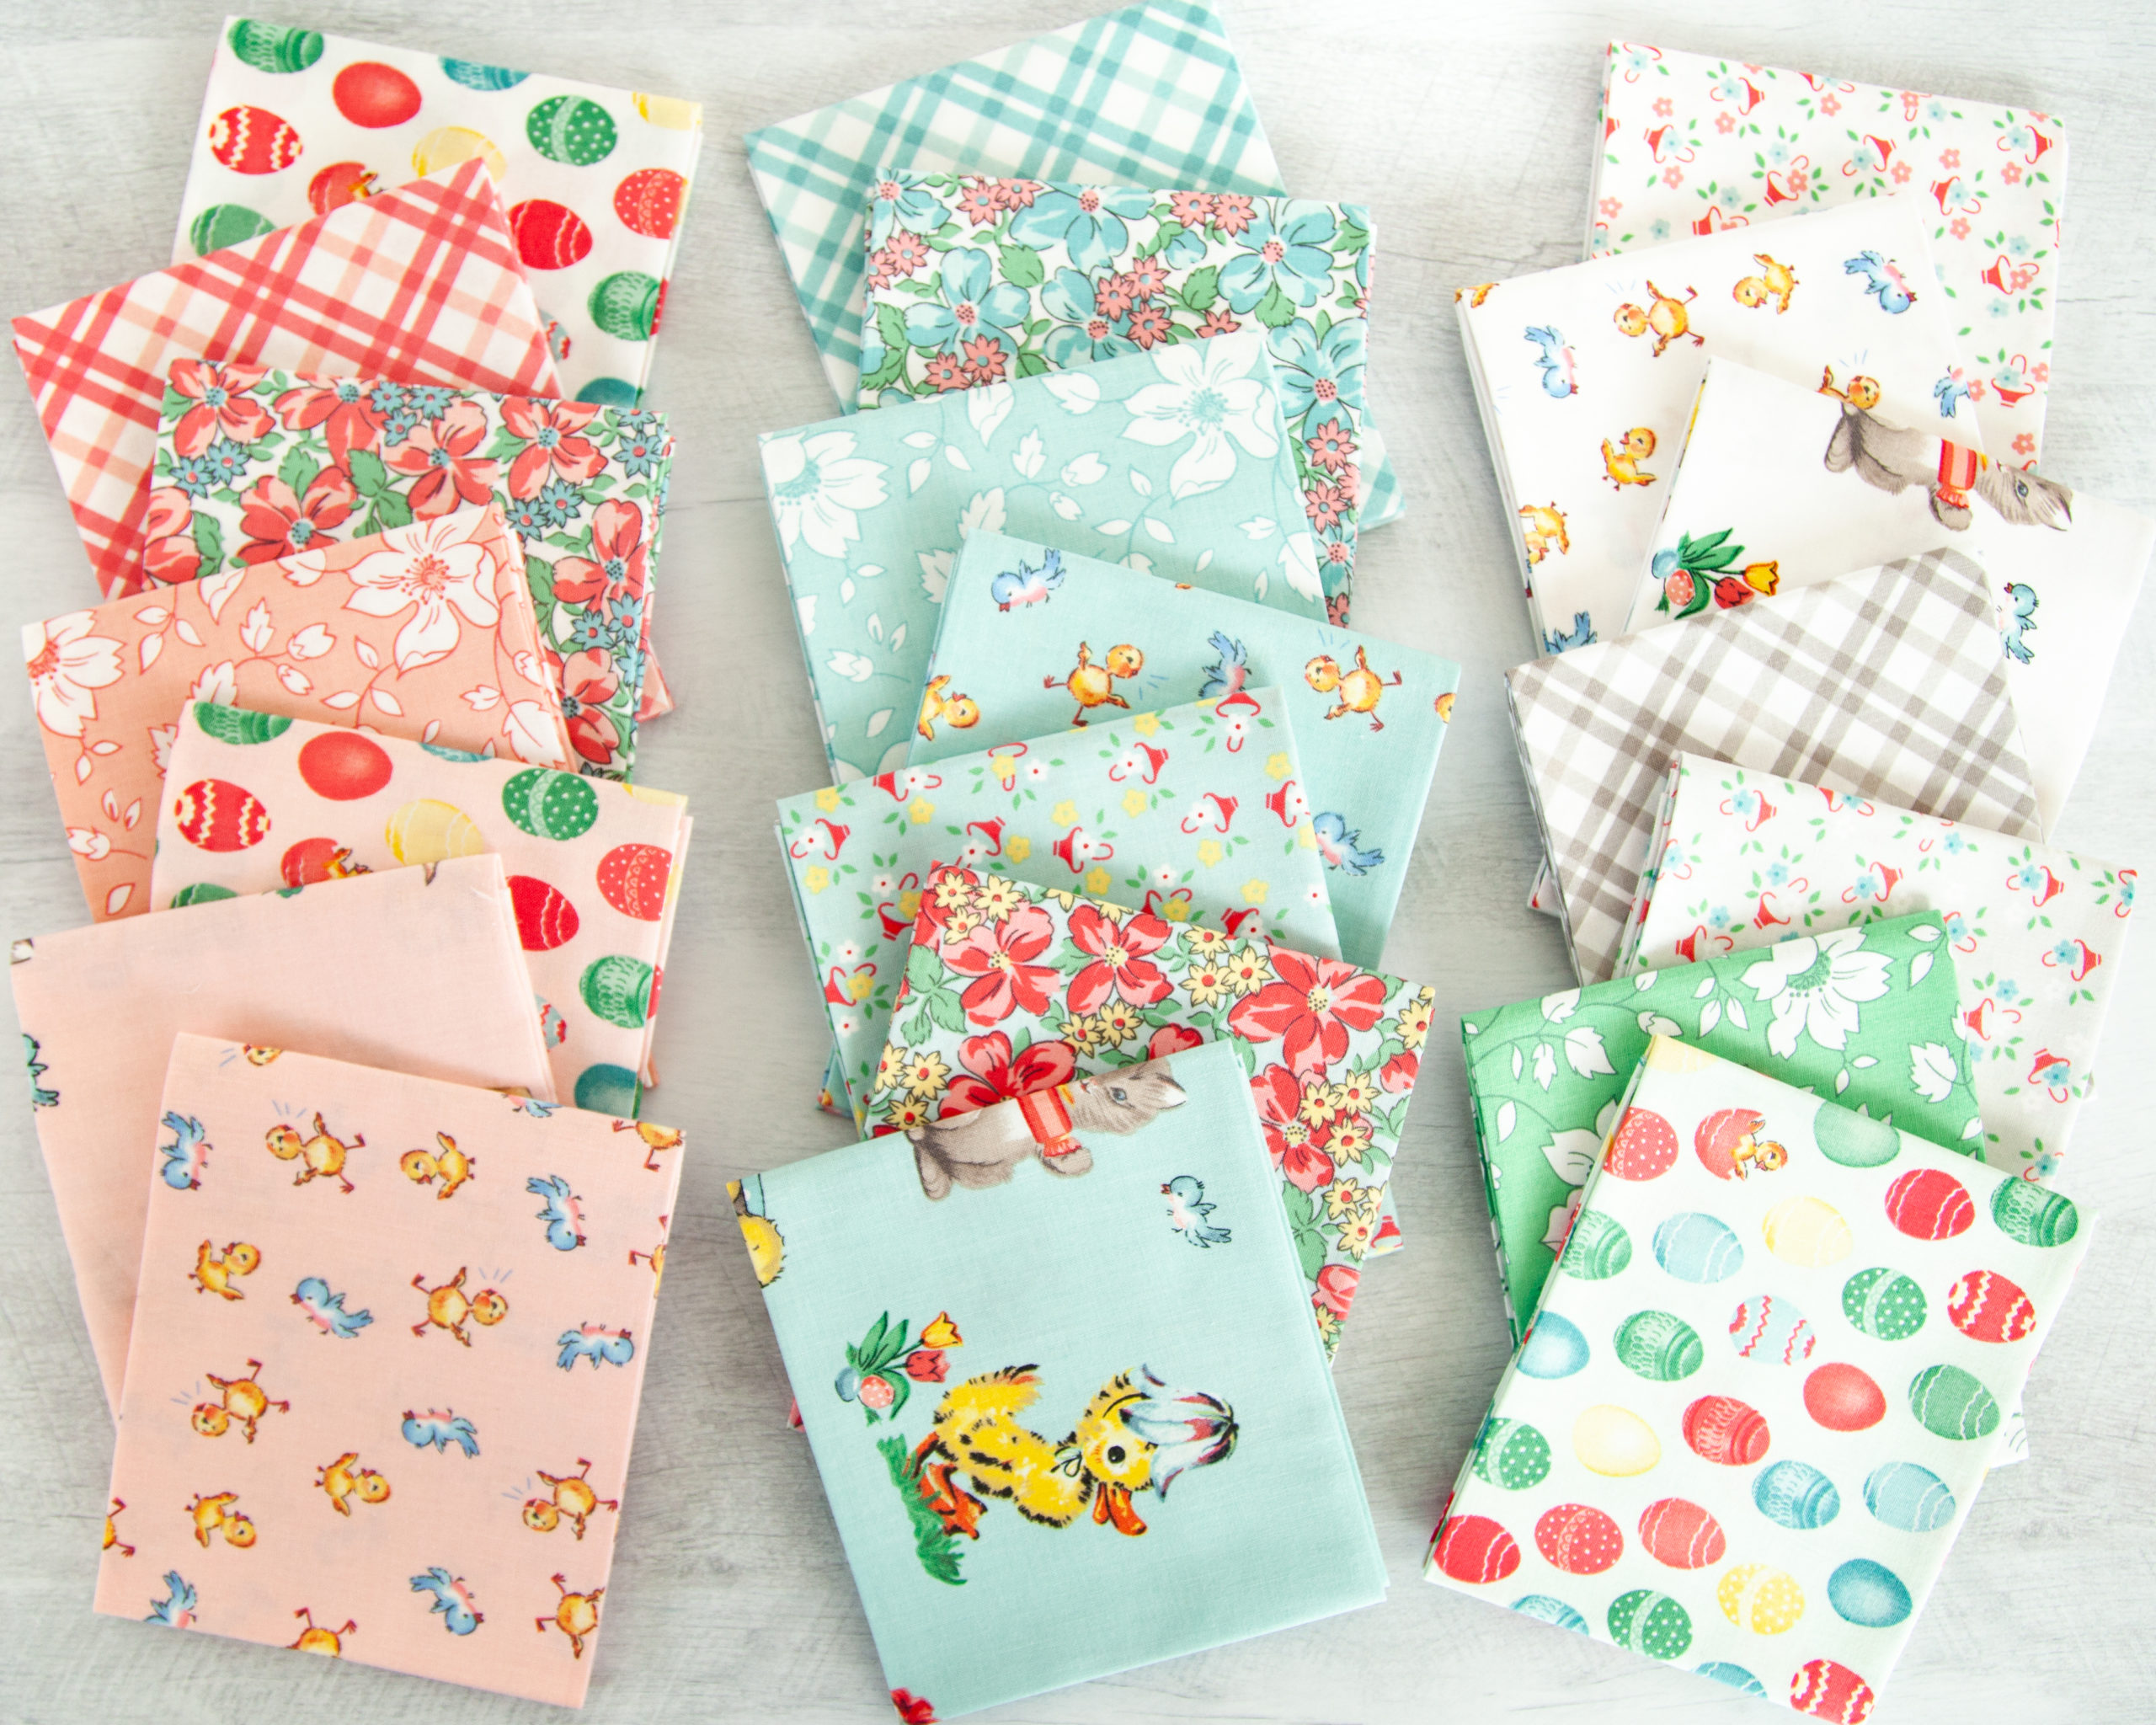
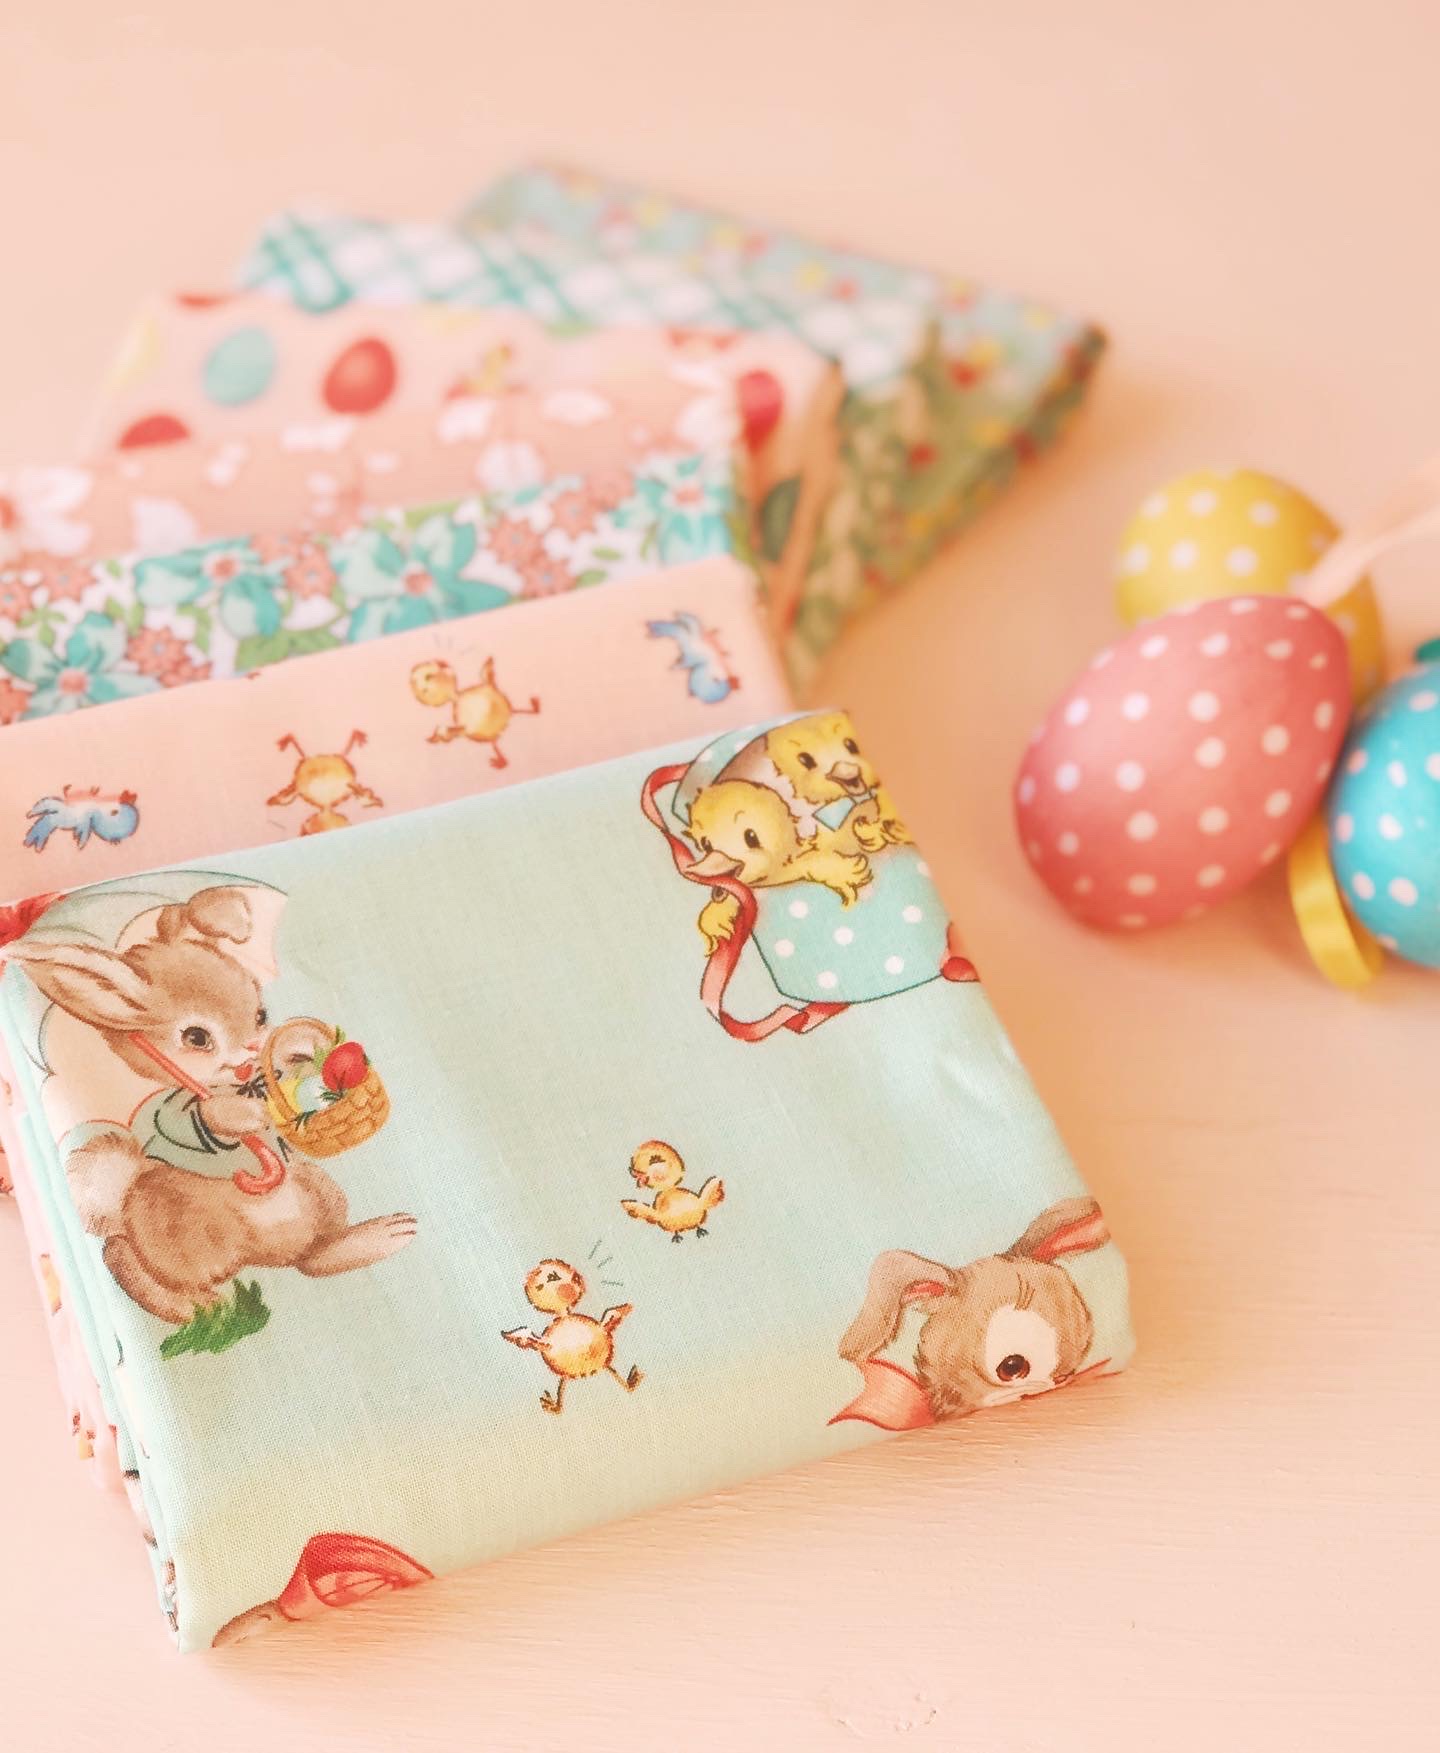
If you are a huge fan of Lindsay’s work (as I am), you will find her retro designs with adorable kitschy animals, mixed with florals and nostalgic prints always in a sweet color palette. Easter Parade is perfect for the Easter holiday and beyond.
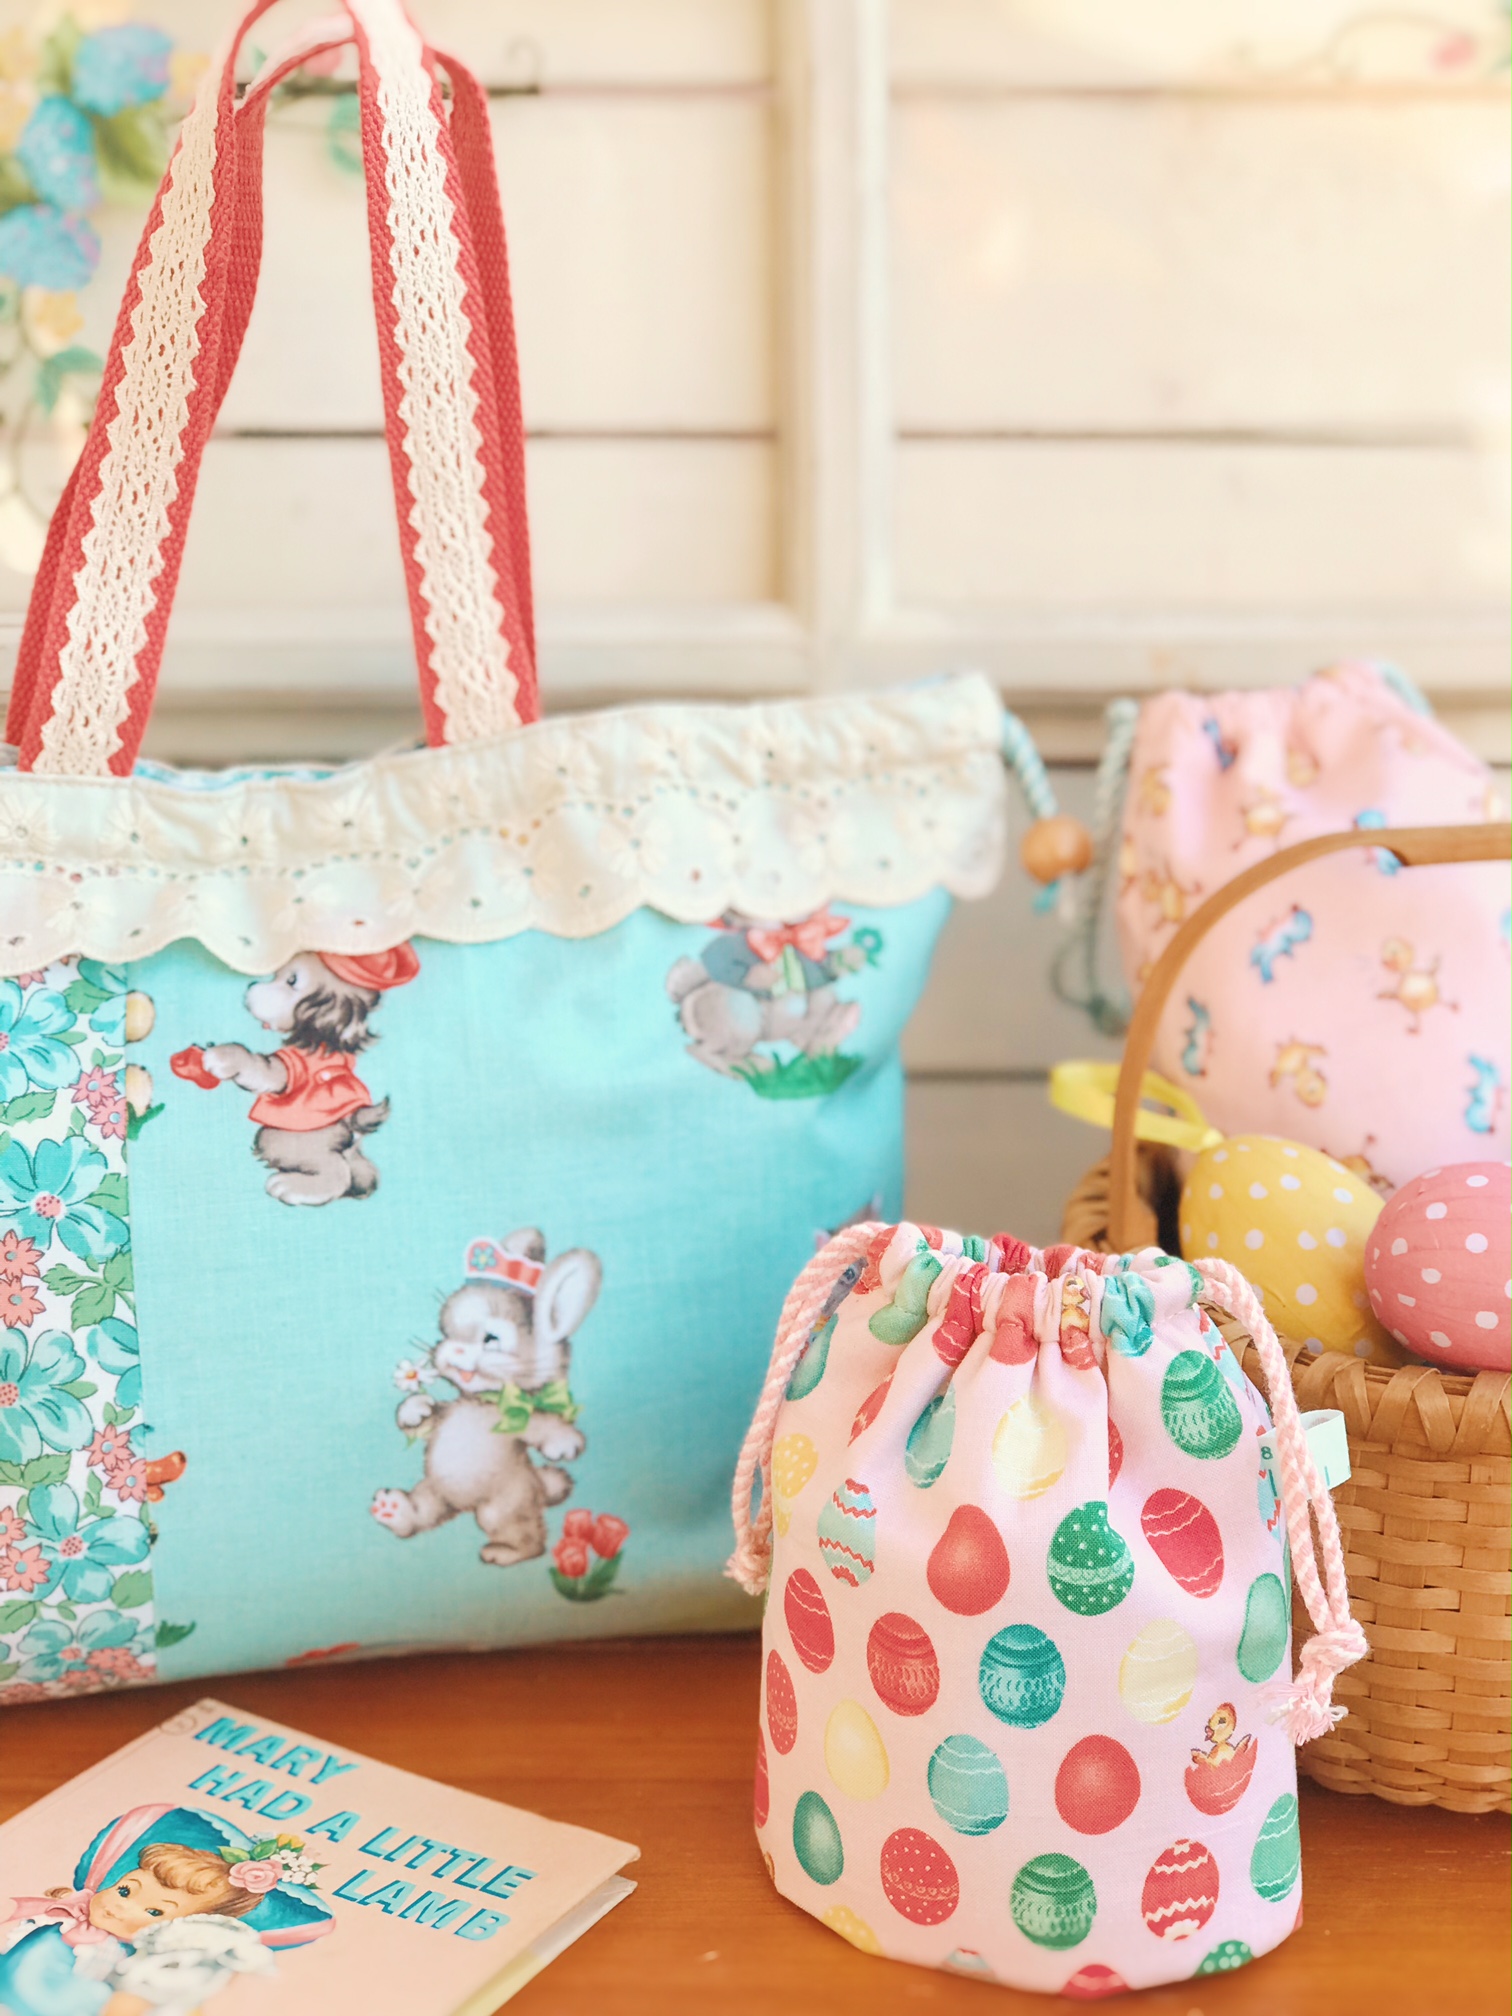
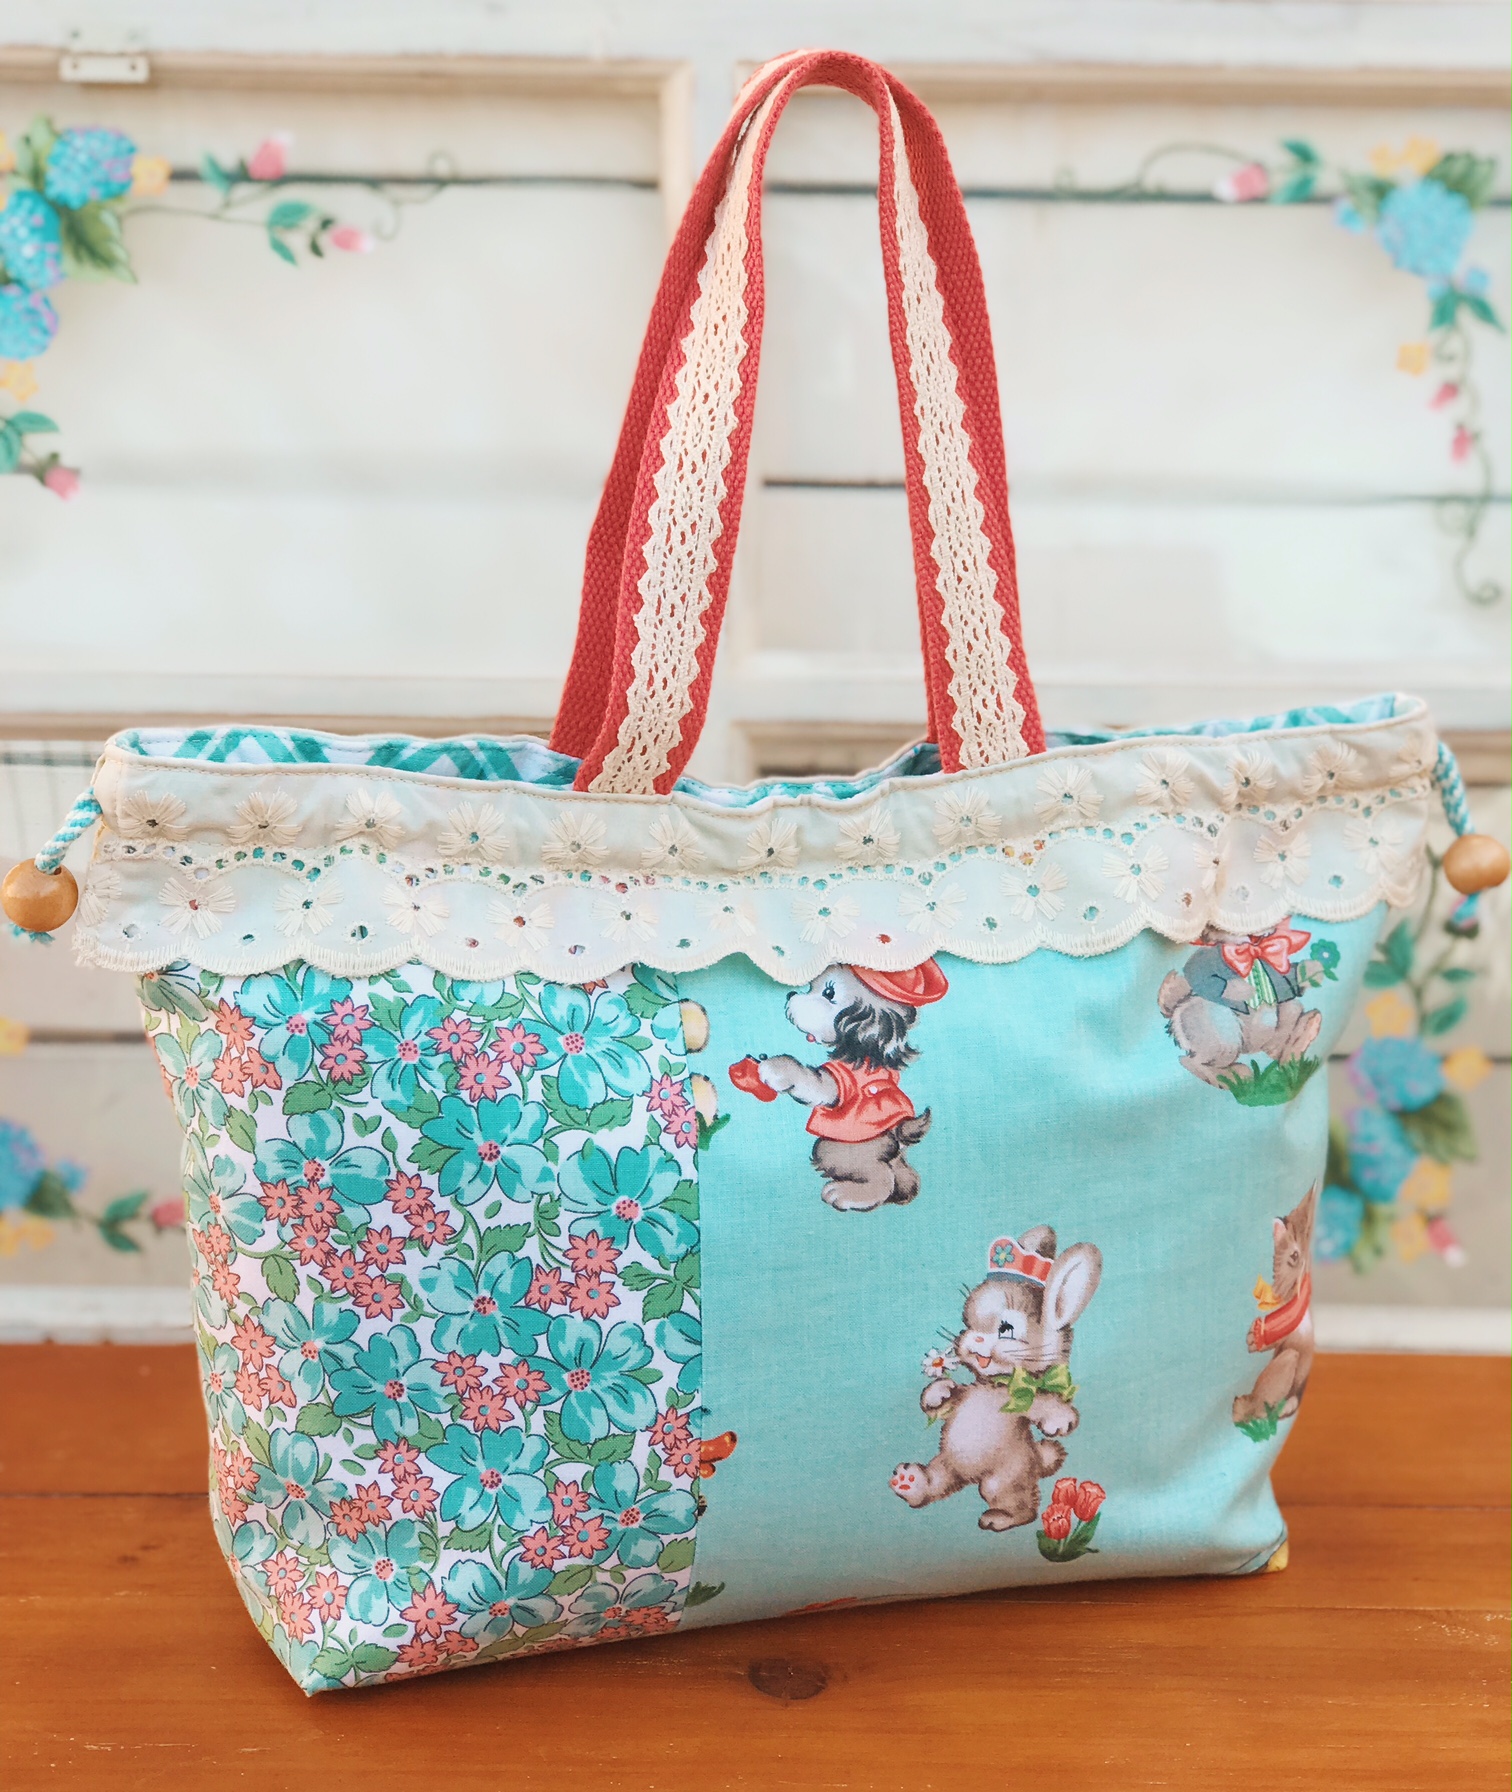
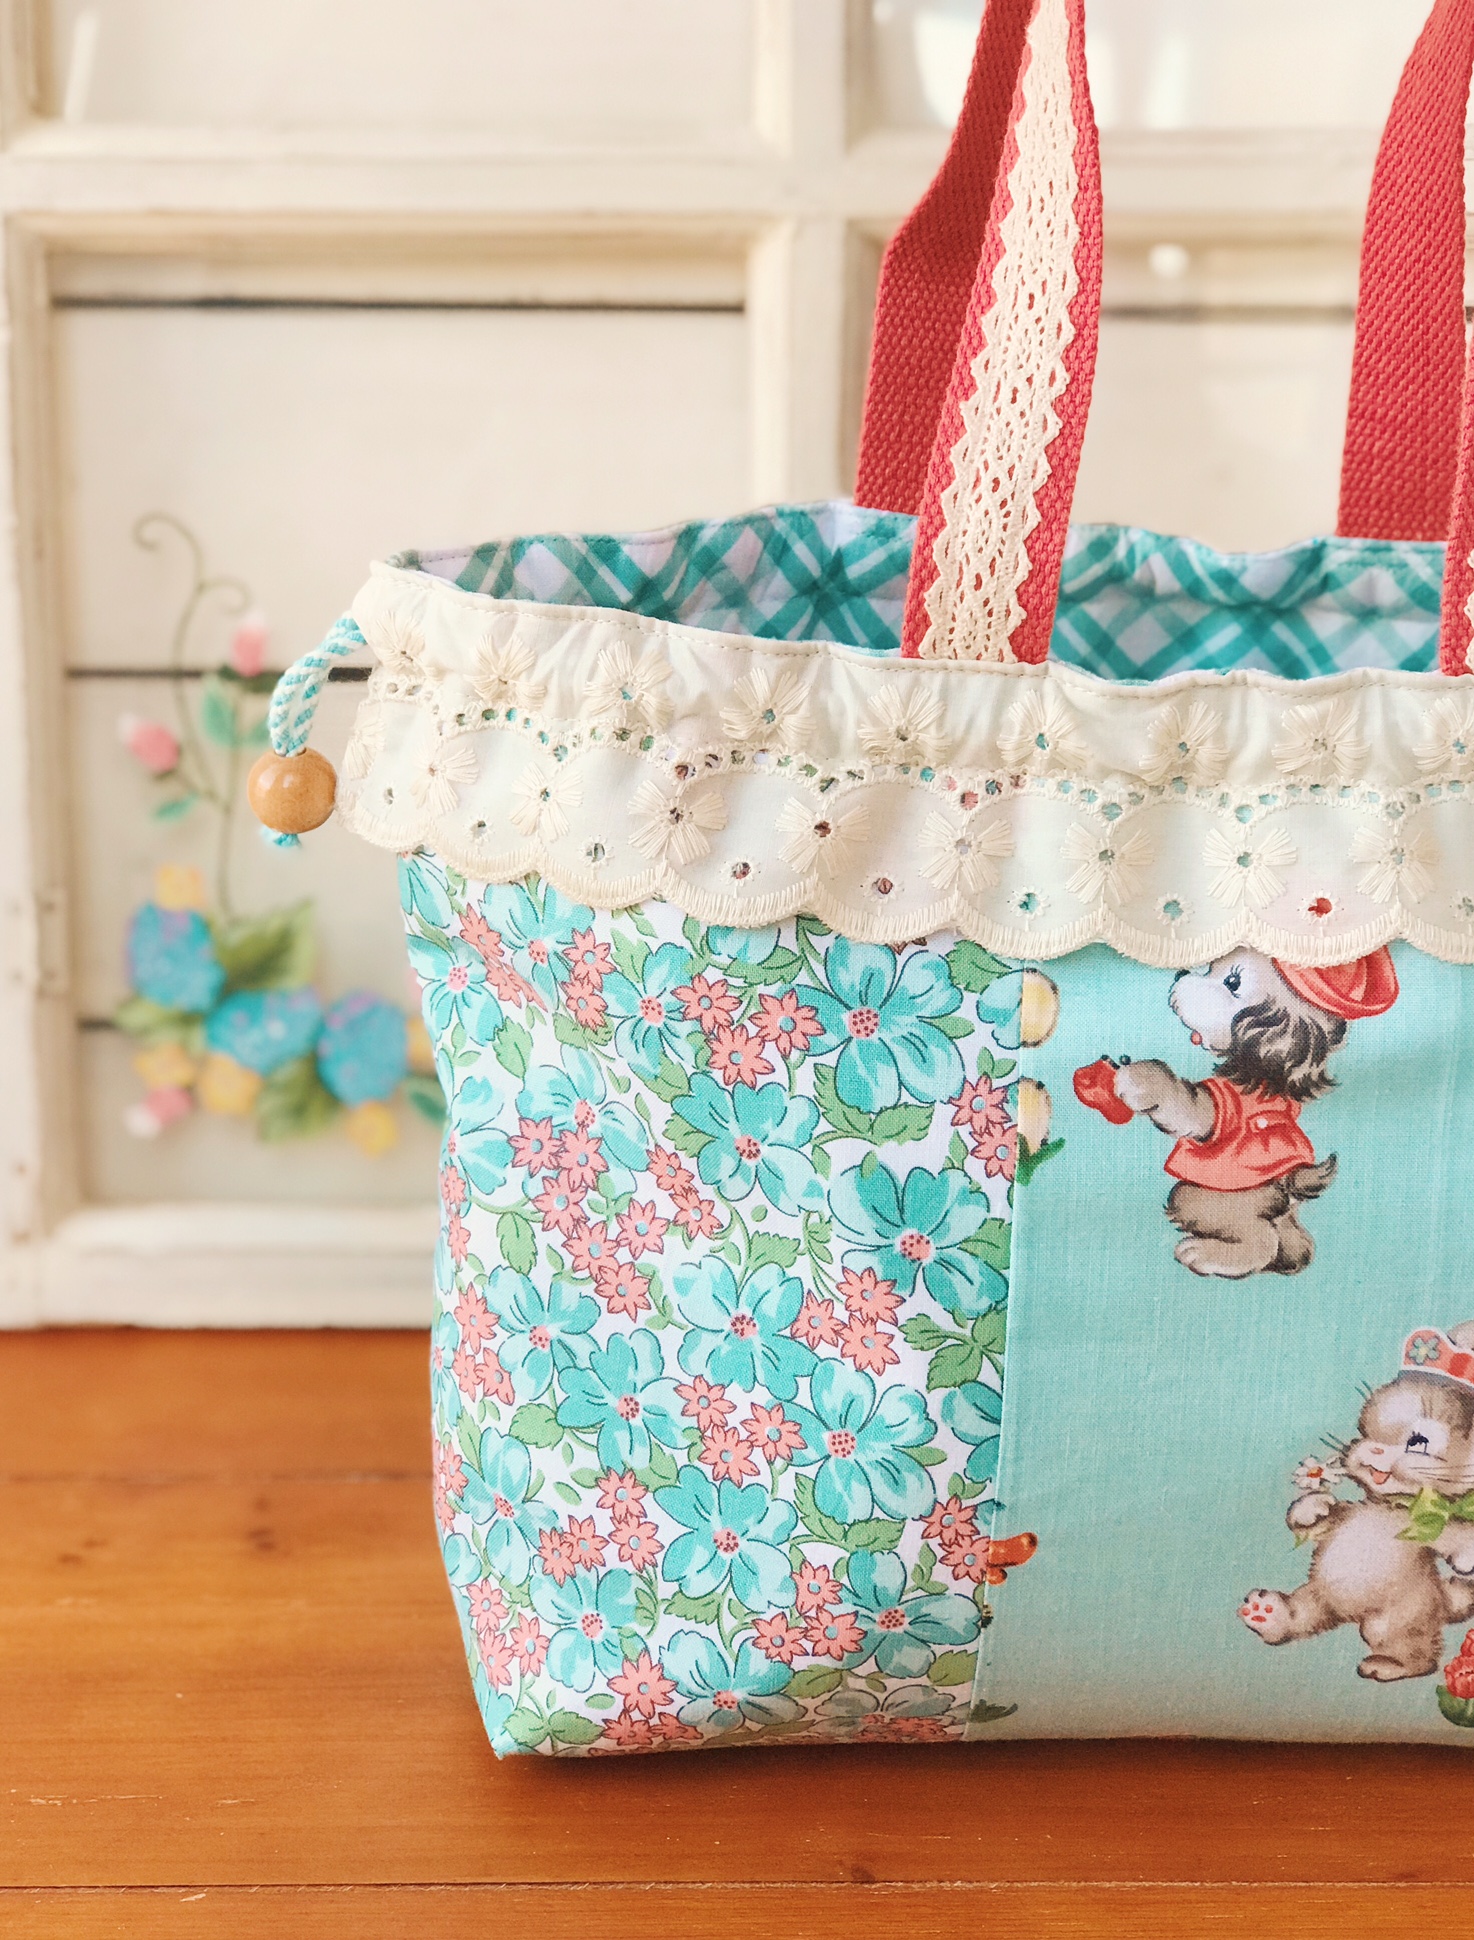
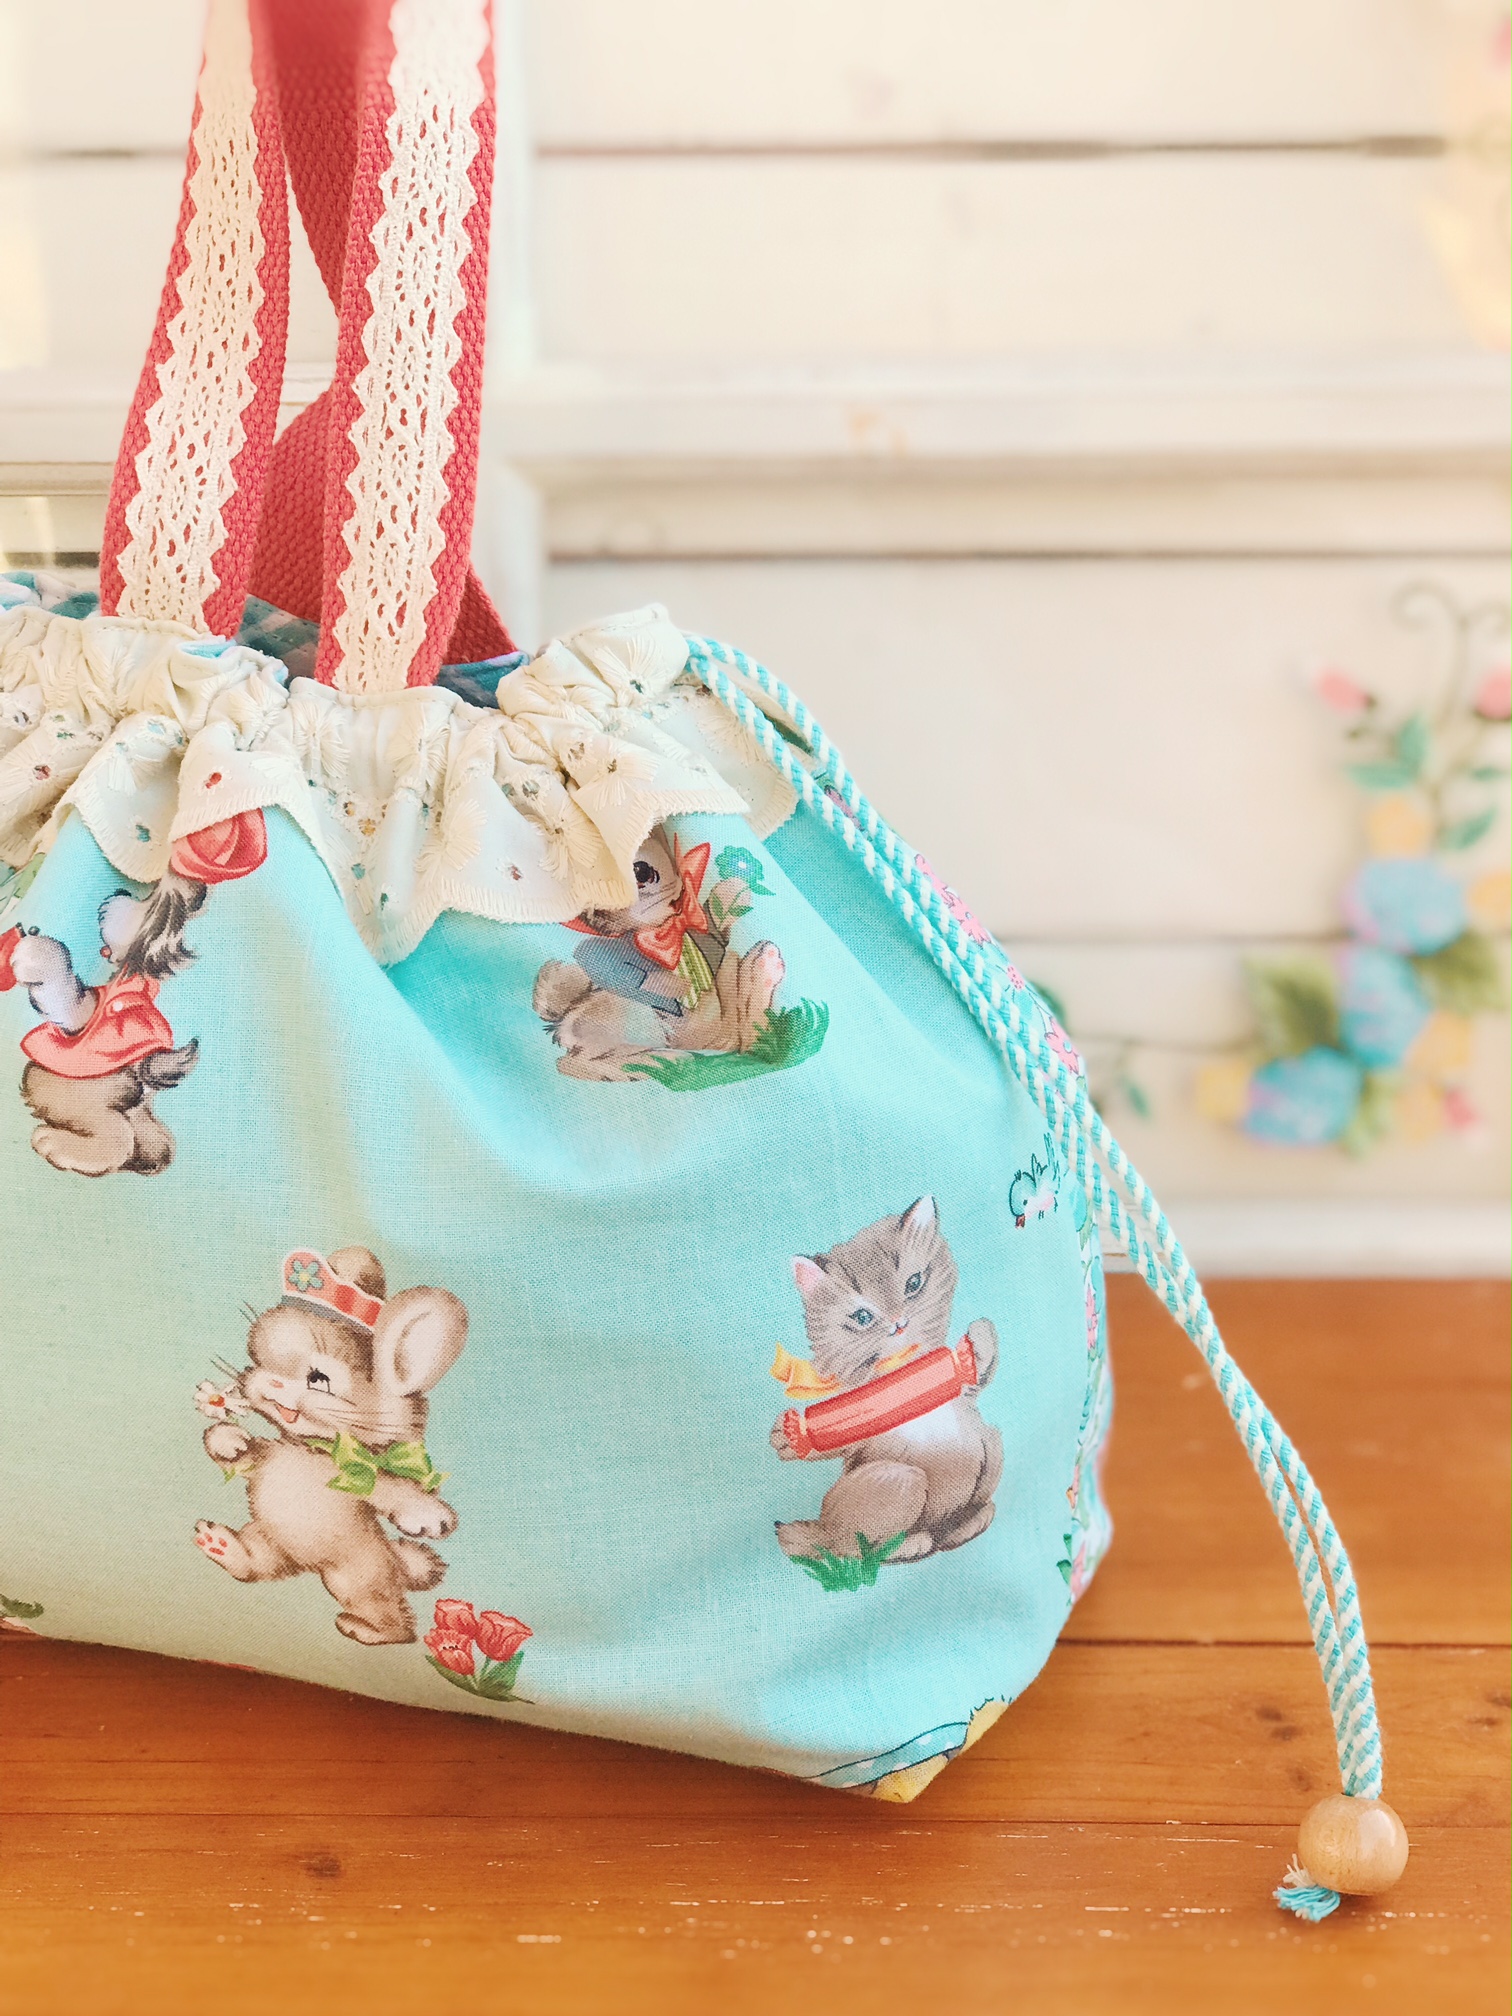
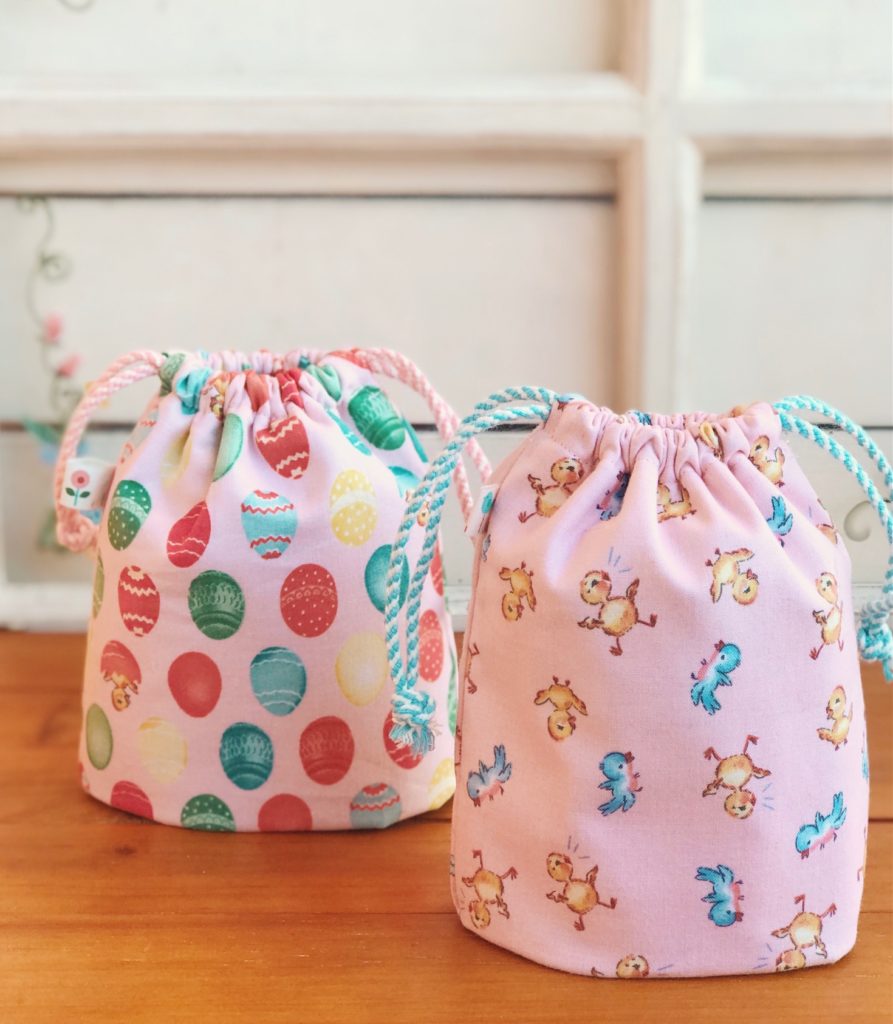
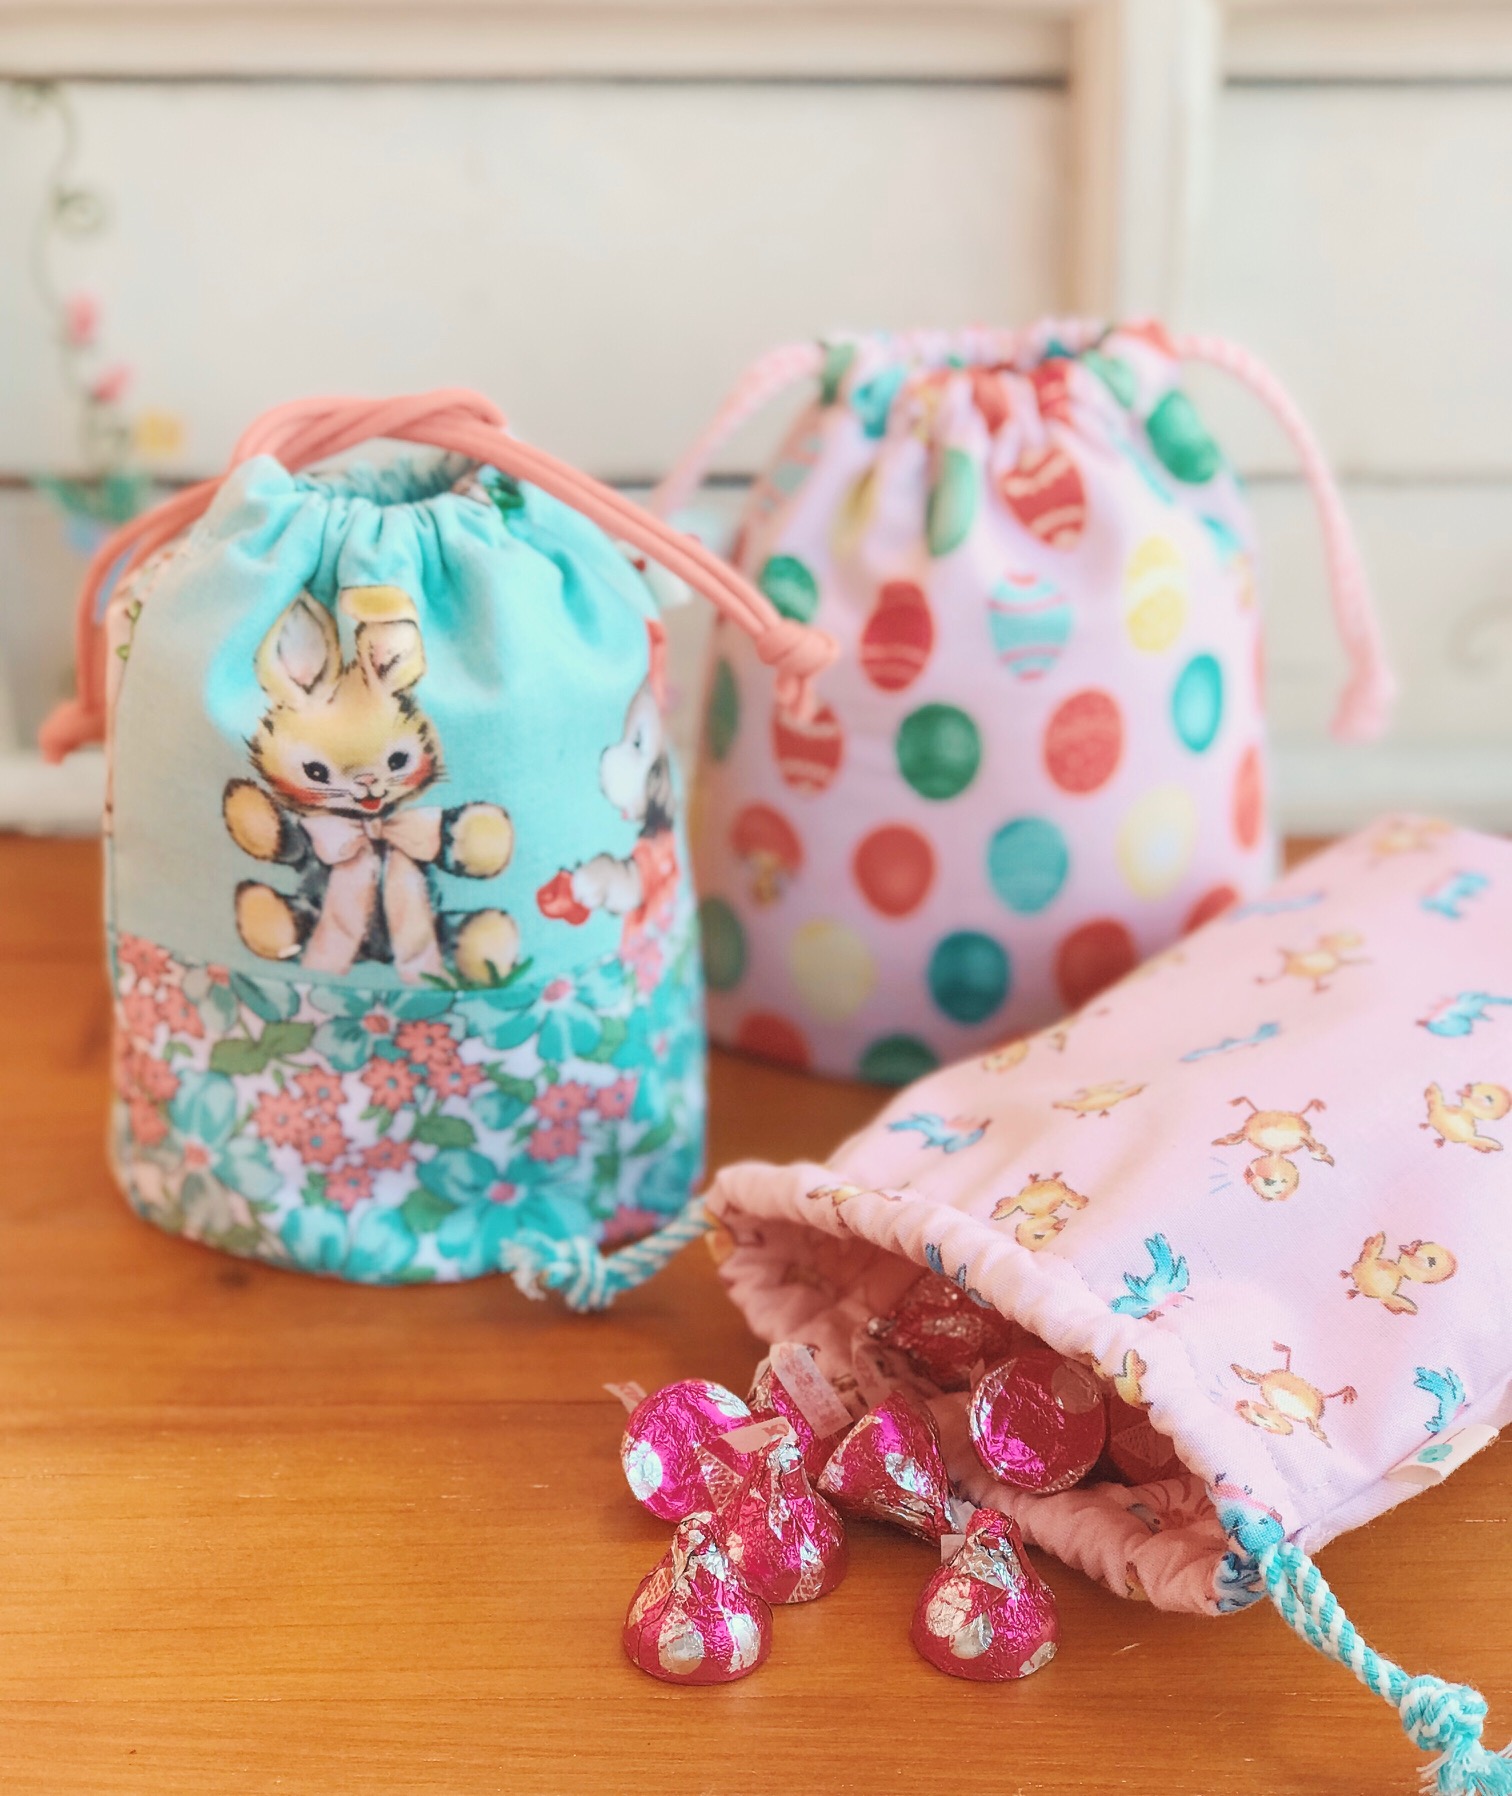
For the Drawstring Bag, I used the retro animal print and florals. I paired it with vintage cream lace for the drawstring closure. I think it adds a nice touch. You can use this bag as an open tote or a closed drawstring bag. I added sturdy cotton webbing handles with lace making it nice to carry along with you.

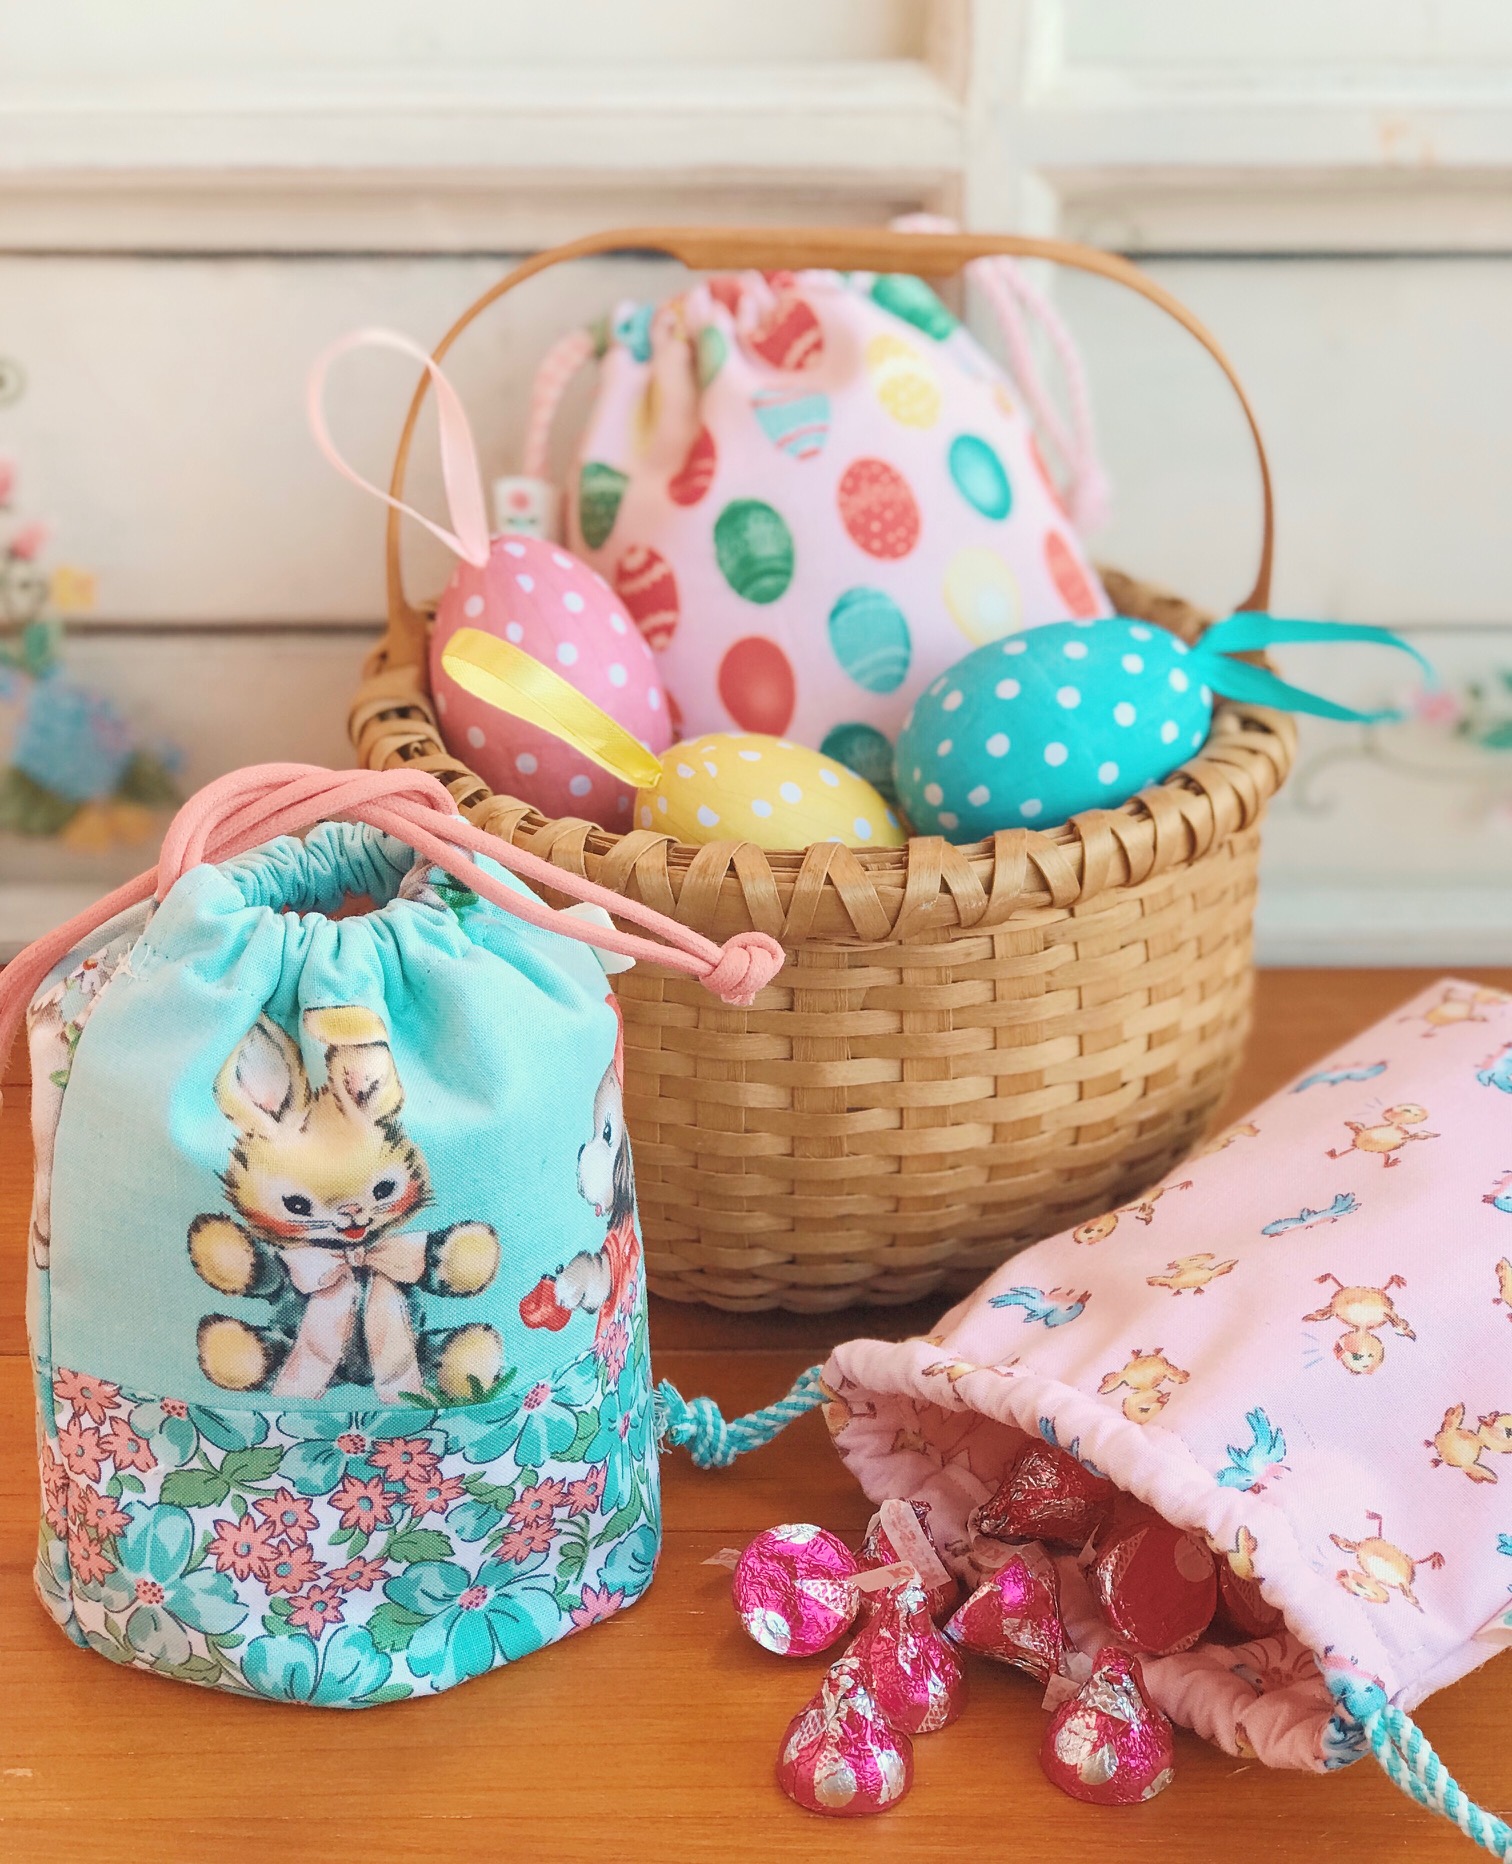
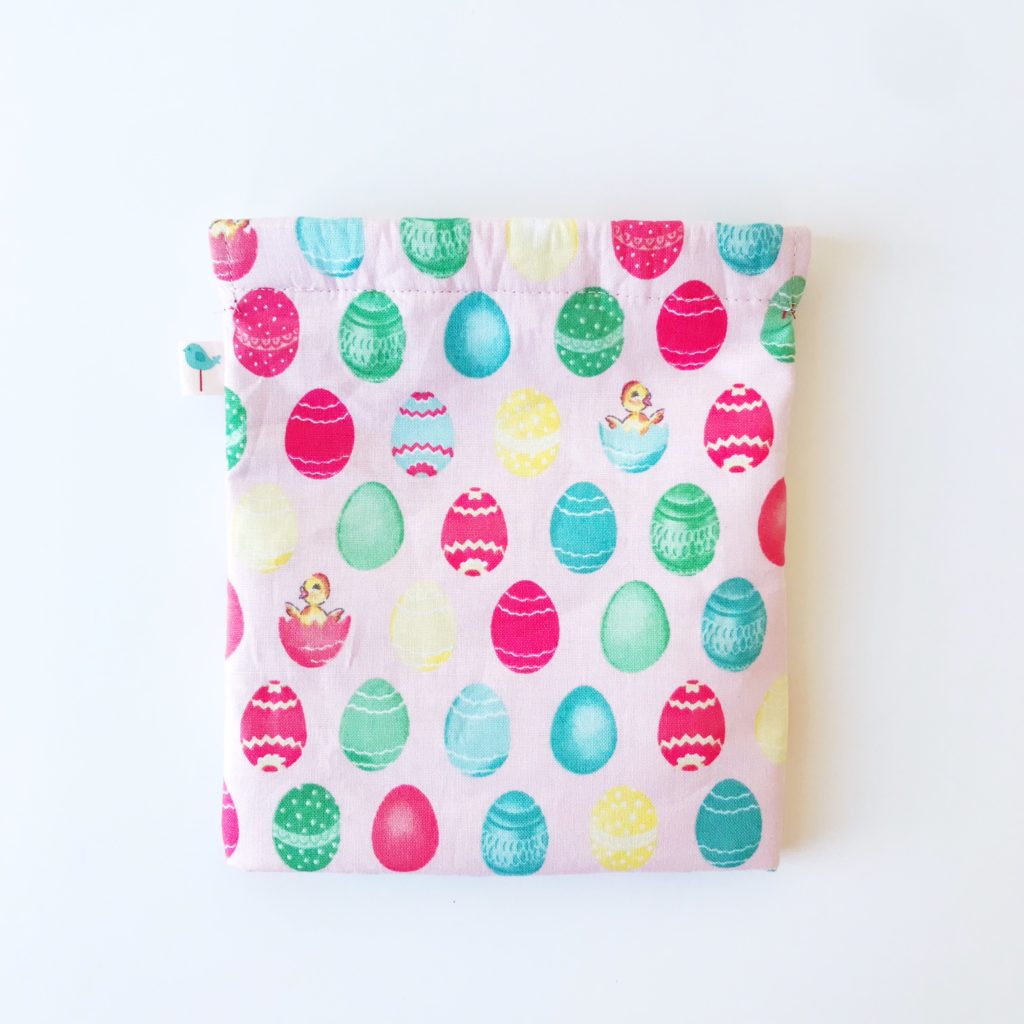
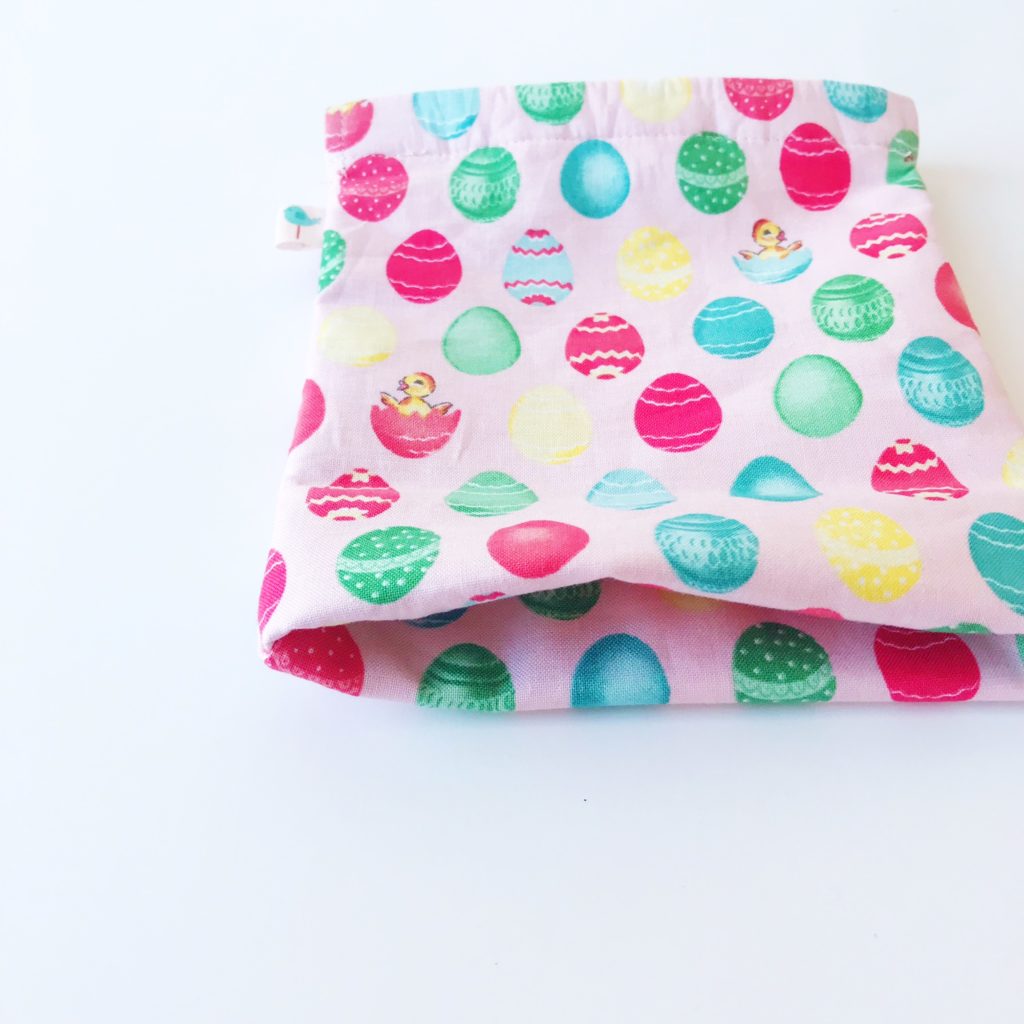
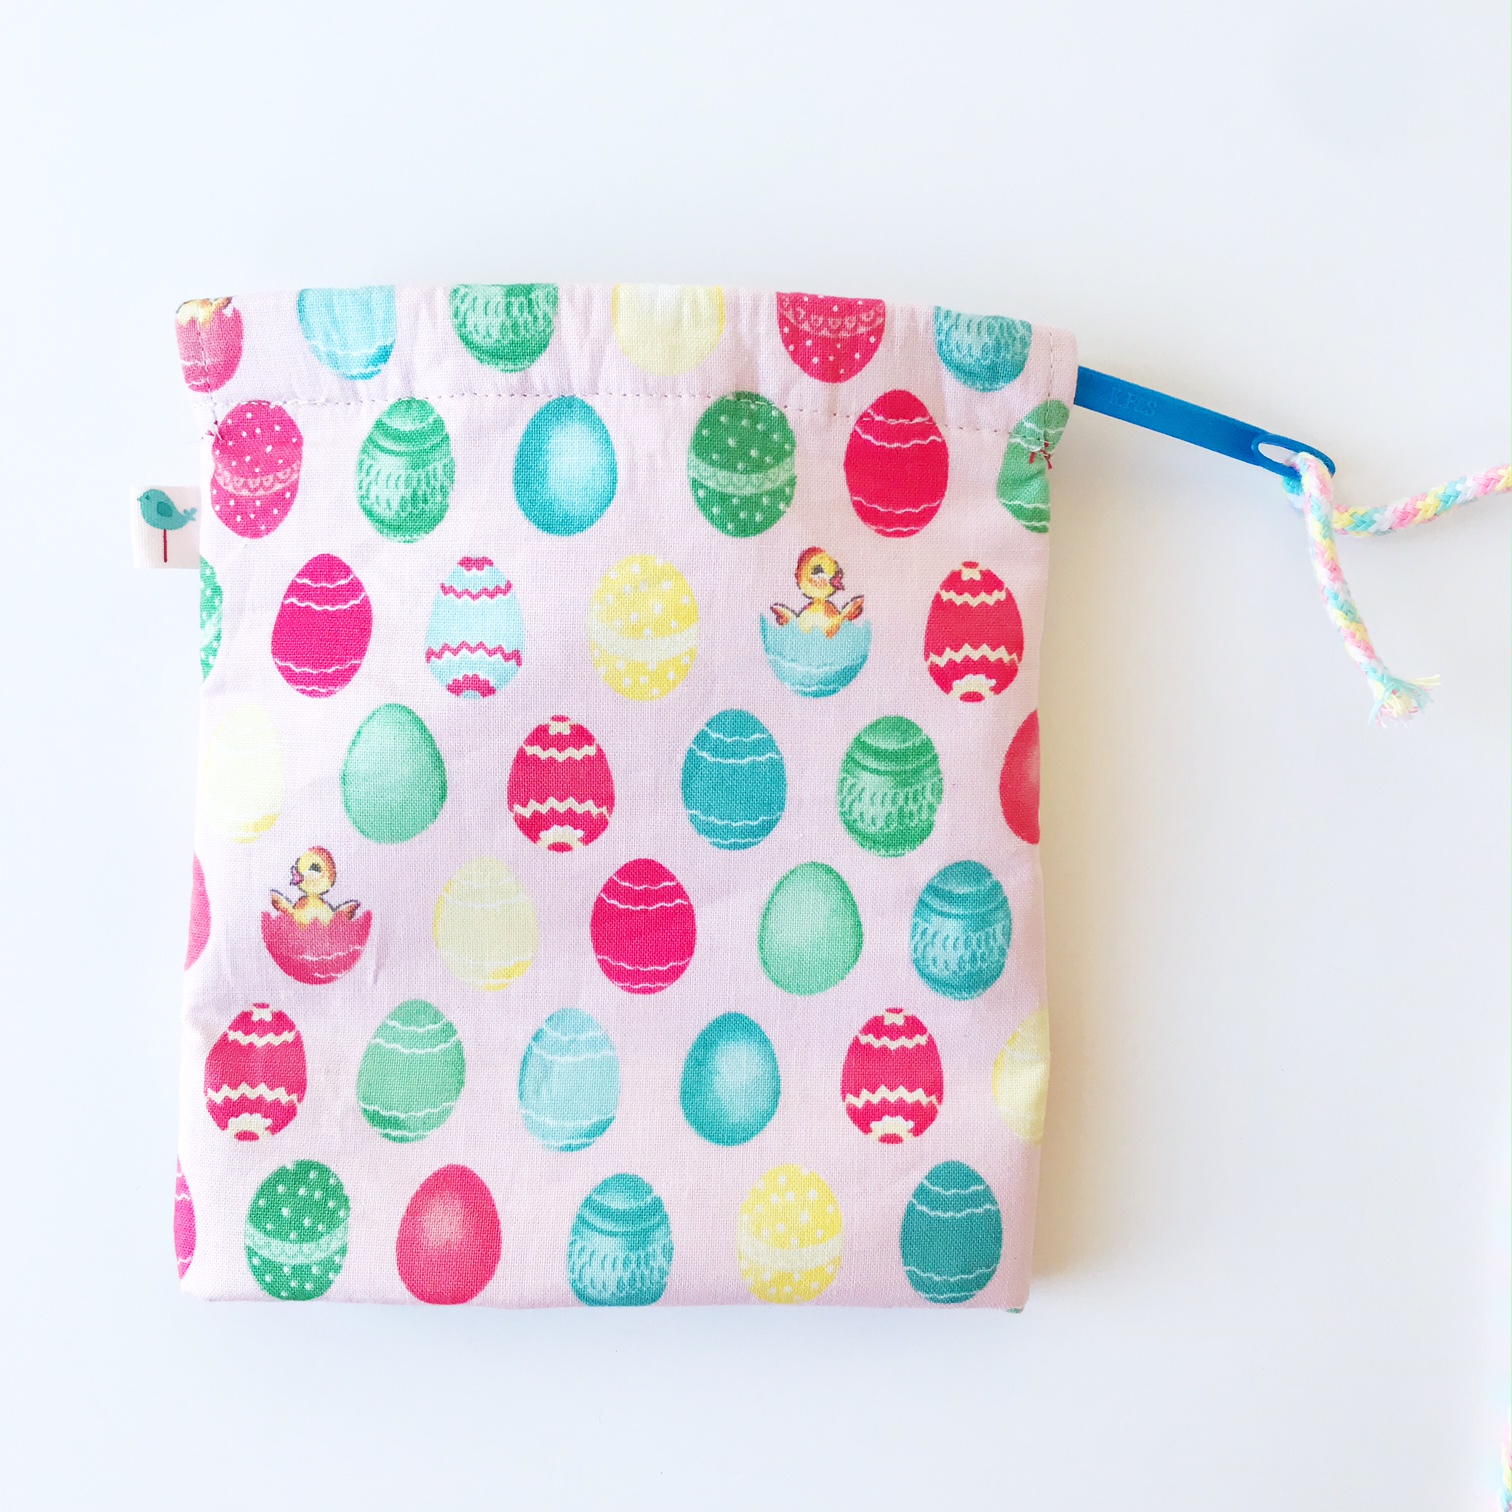
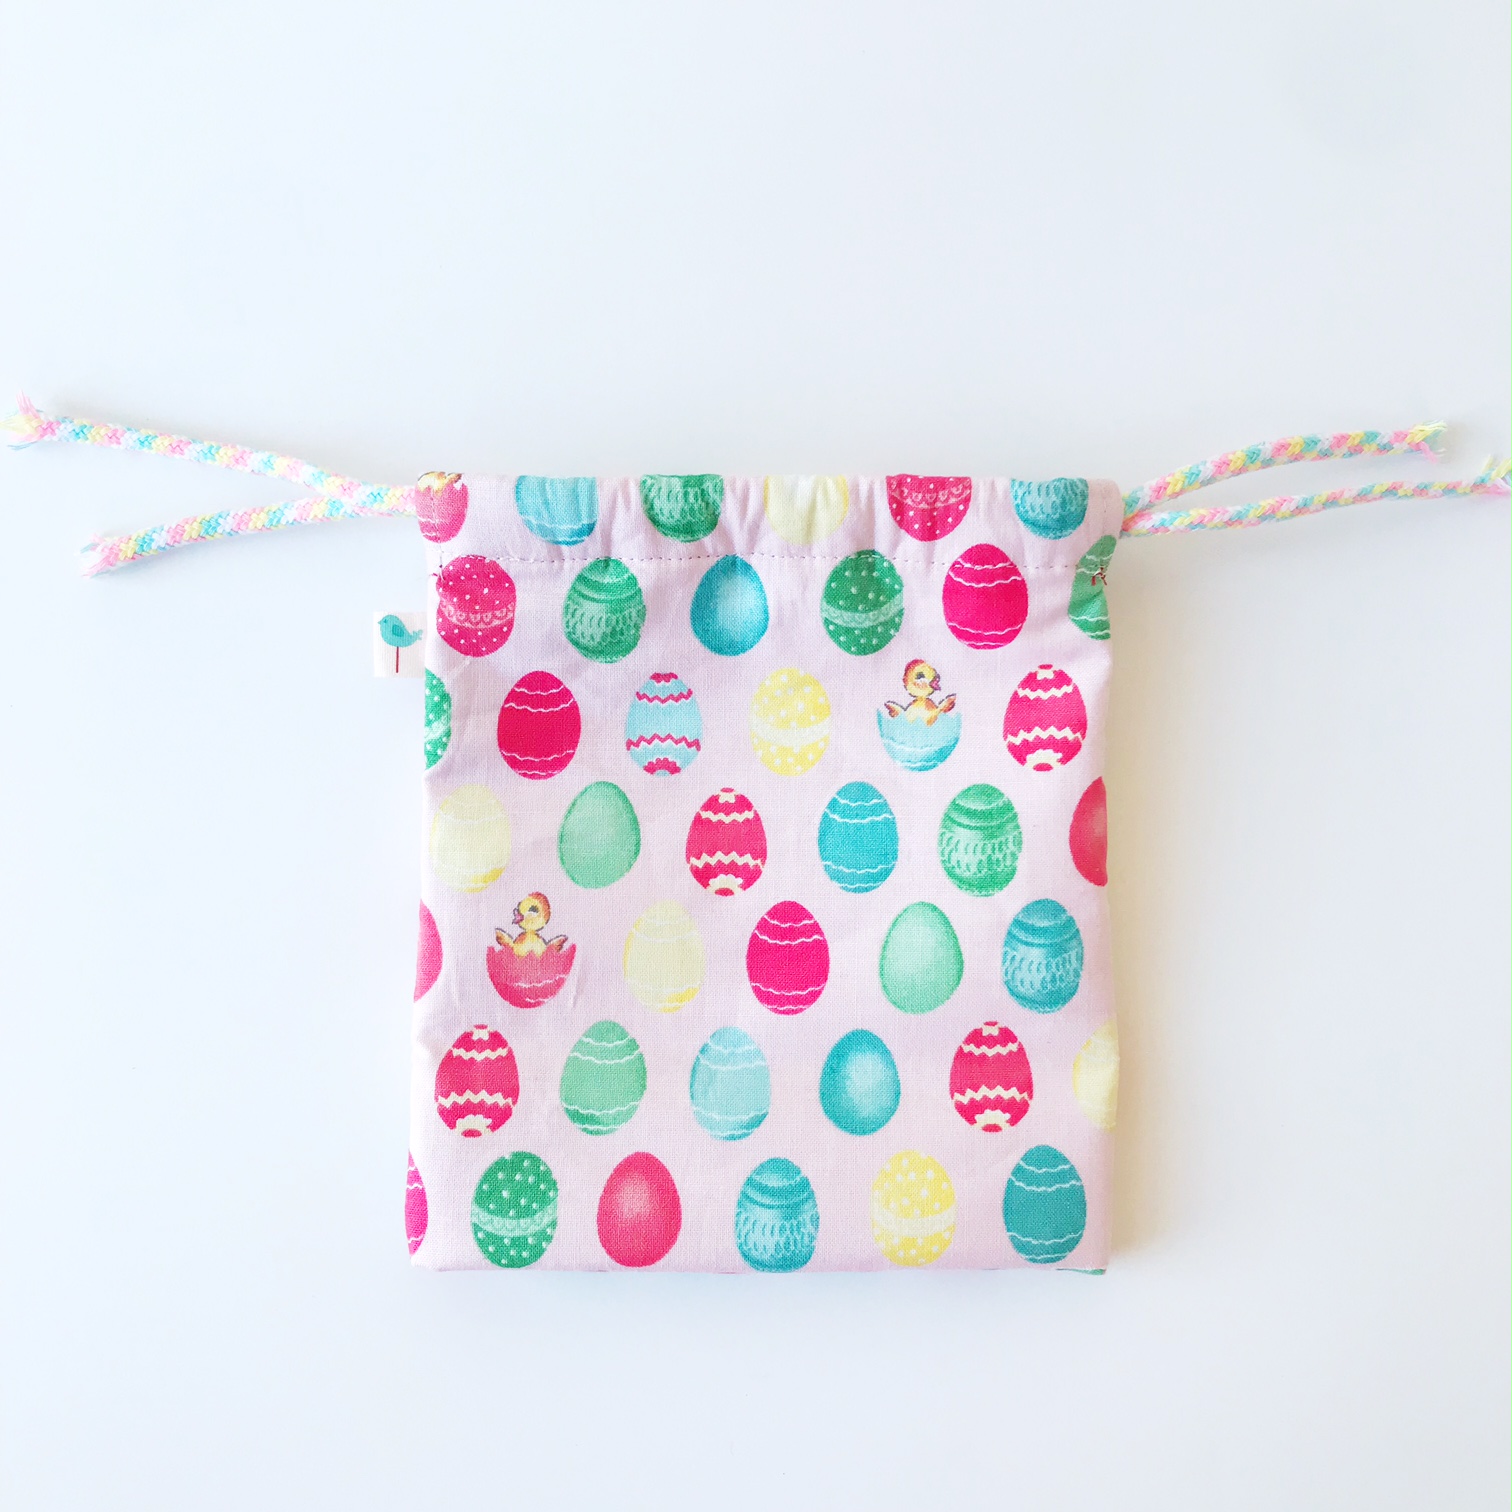
The Stand Up Pouch is the perfect size to include in Easter baskets or to hand them as little gifts on its own to the recipients. The bottom is gusseted, making it roomy for all the things you can add such as candy, a few Easter eggs, or a small toy. You can also stand the pouch up when you display it.
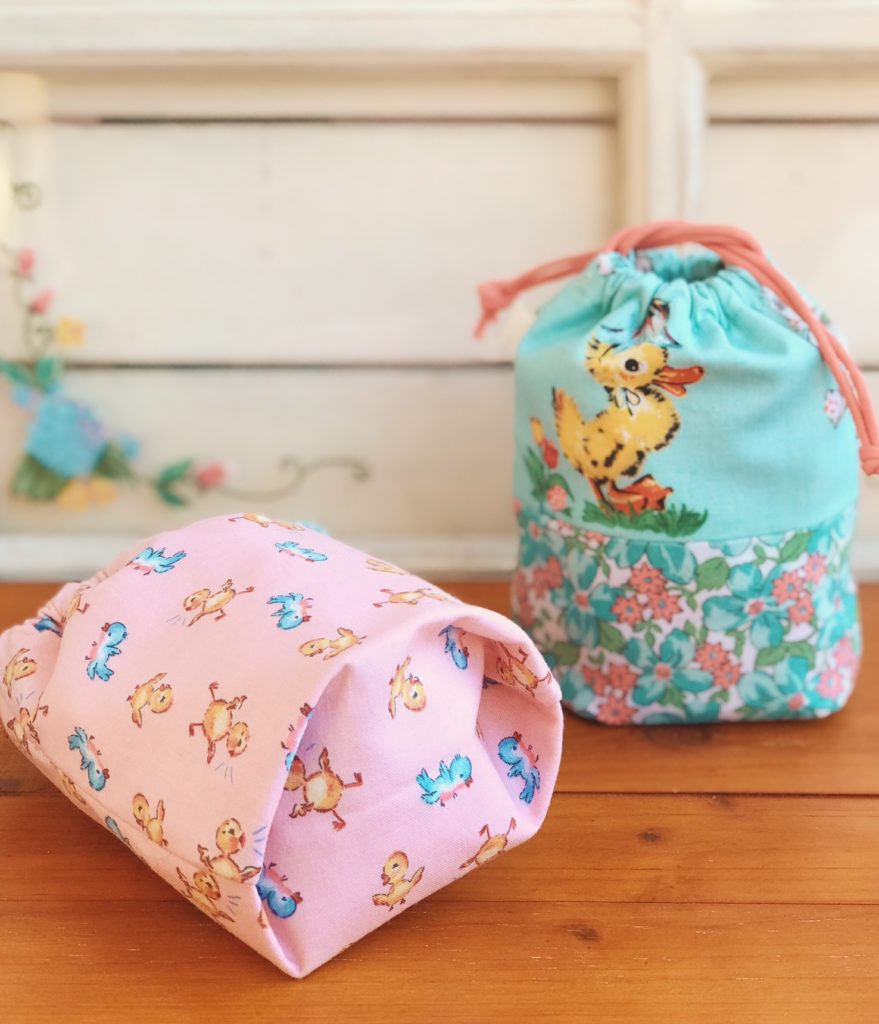
Gusseted Bottom


To make the Stand Up Pouch, here is the Tutorial:
Stand Up Pouch Tutorial
You will need the following materials and tools –
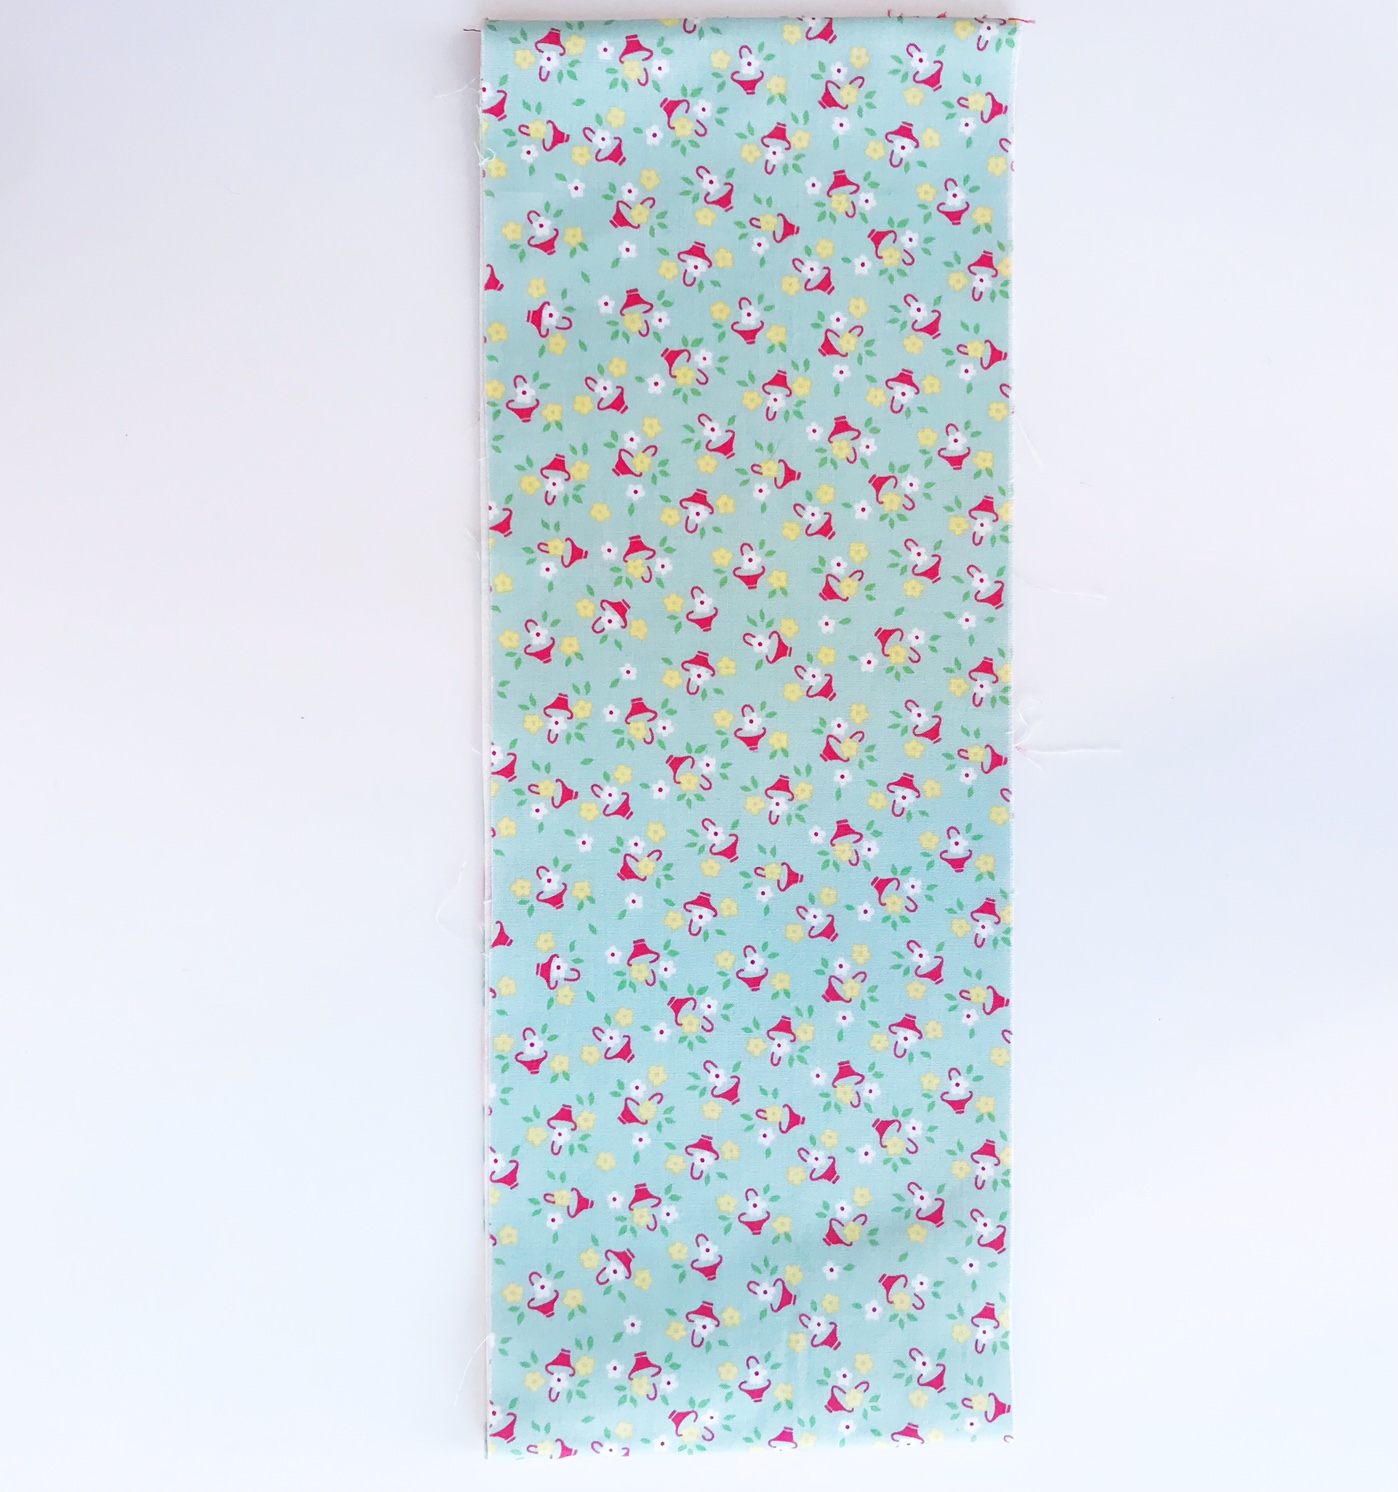
- Two cotton fat quarters in contrasting prints
- Fusible interfacing in medium weight
- One yard of drawstring (thin type)
- Bodkin (to thread the drawstring)
- Point turn tool or chopstick
- Water soluble marking pen
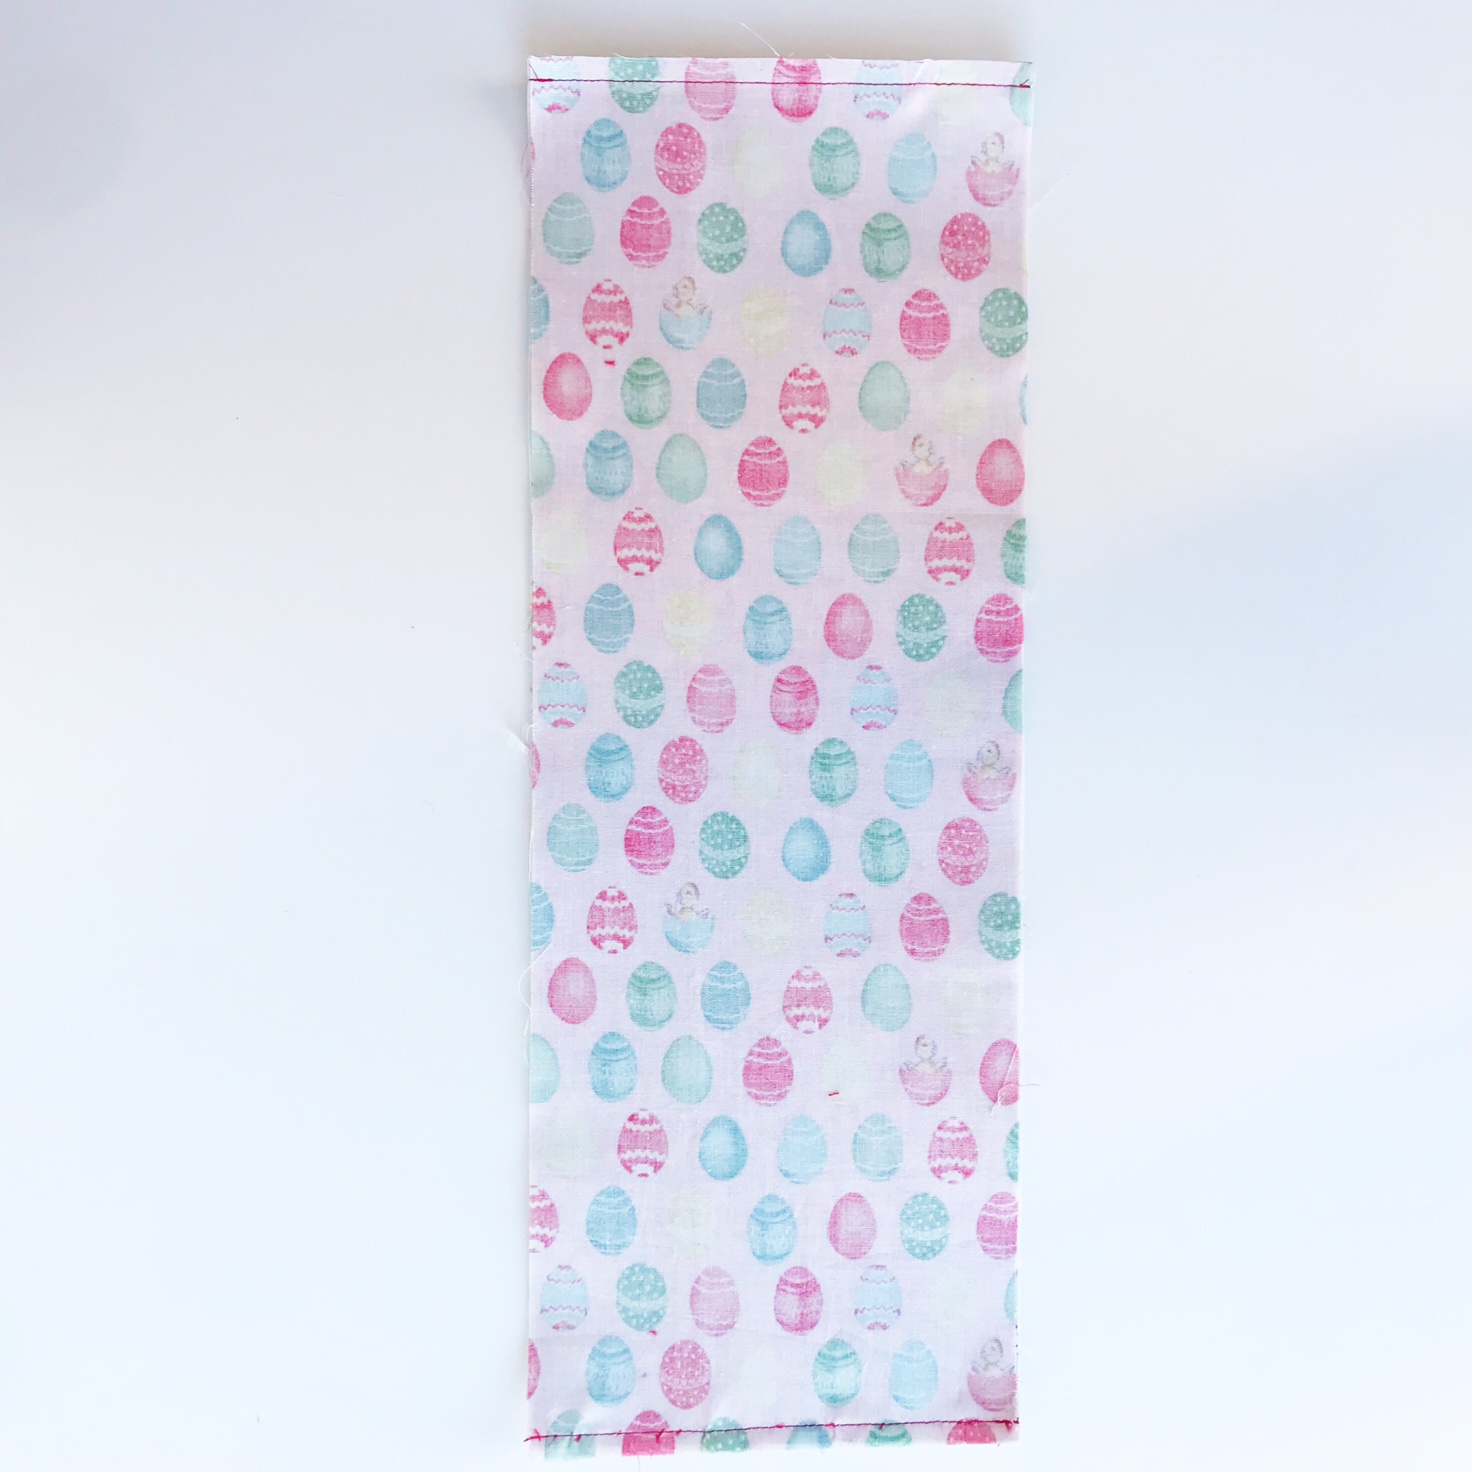
You will need to cut the two cotton pieces and fusible interfacing to 6 ½” x 18” . Cut the drawstring into two 18″ pieces
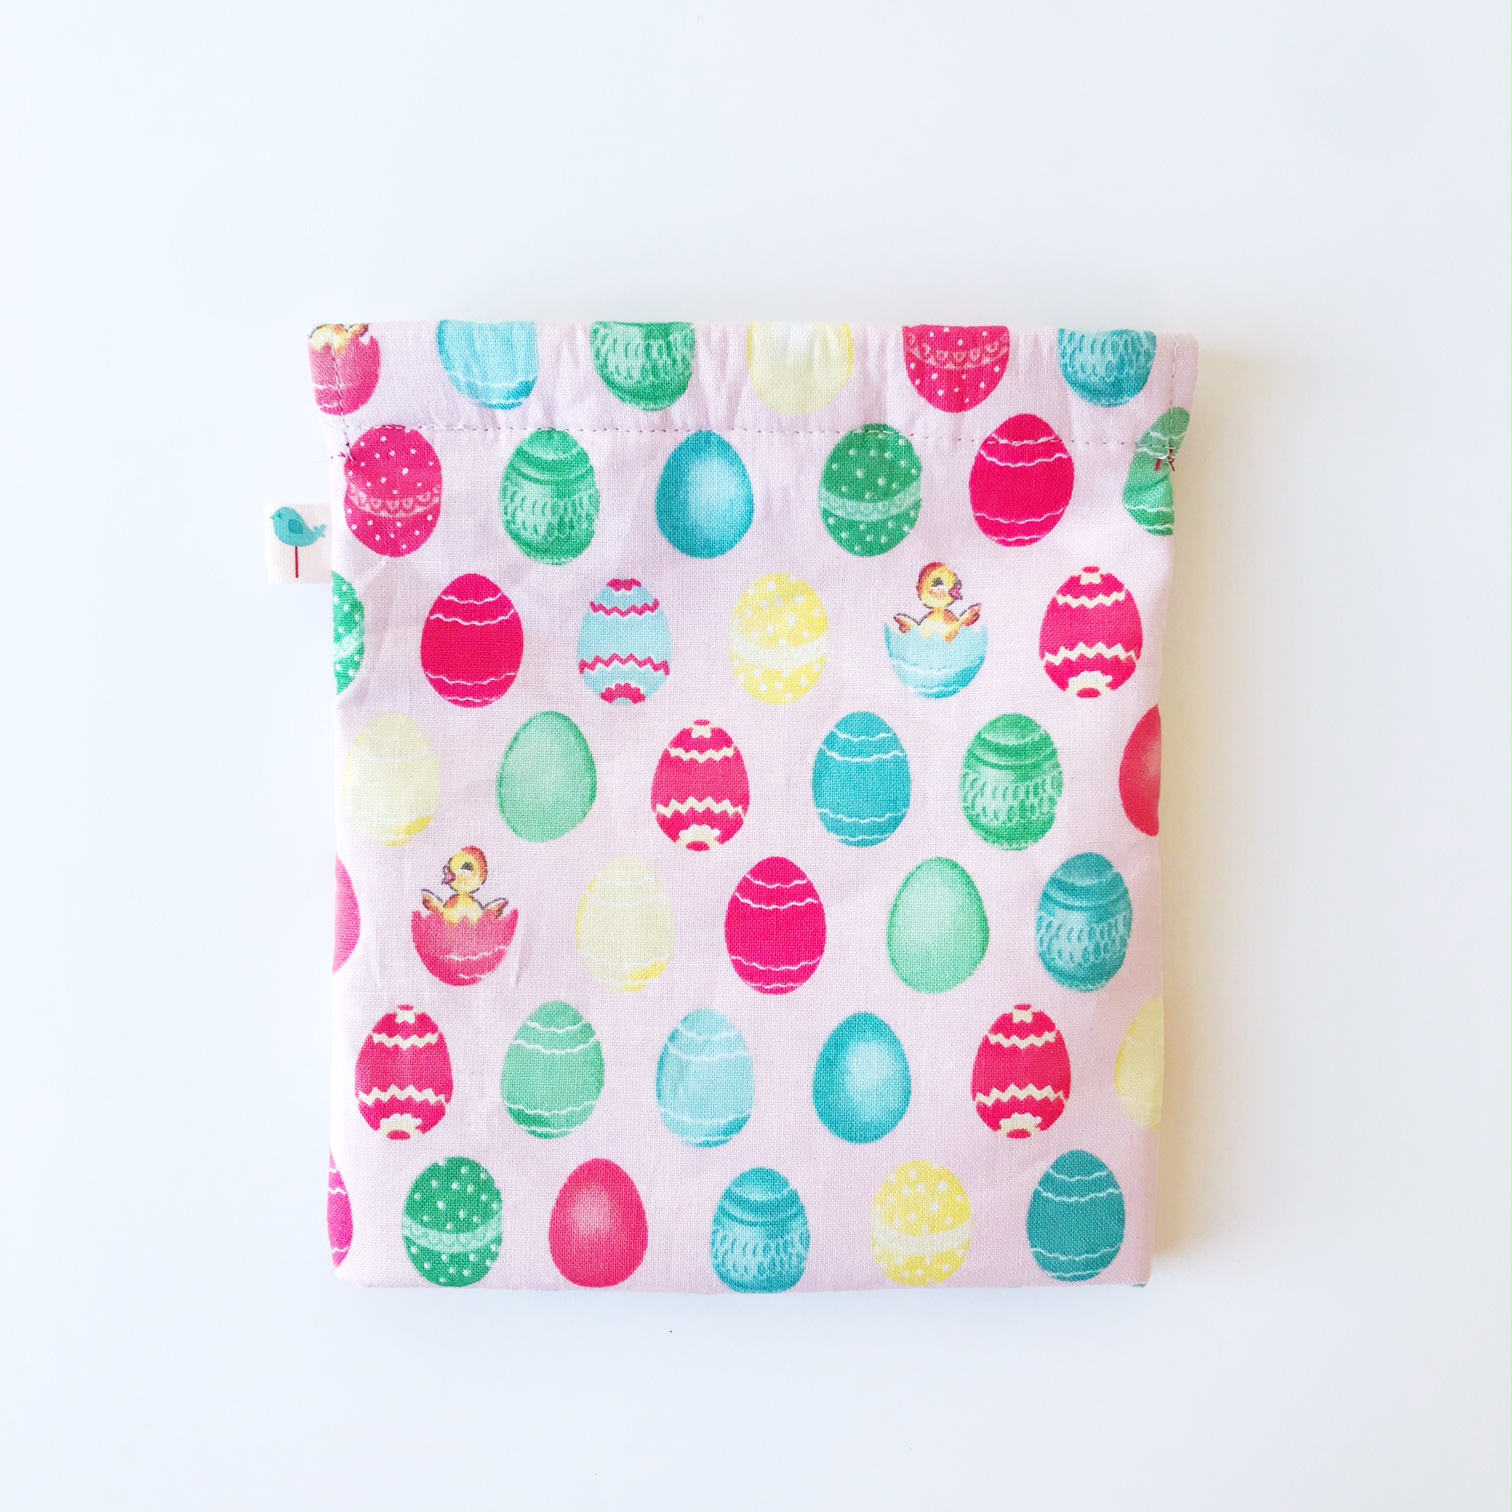
*Finished size (laying flat) – 5 3/4″ x 6 1/2″
Tutorial Steps:
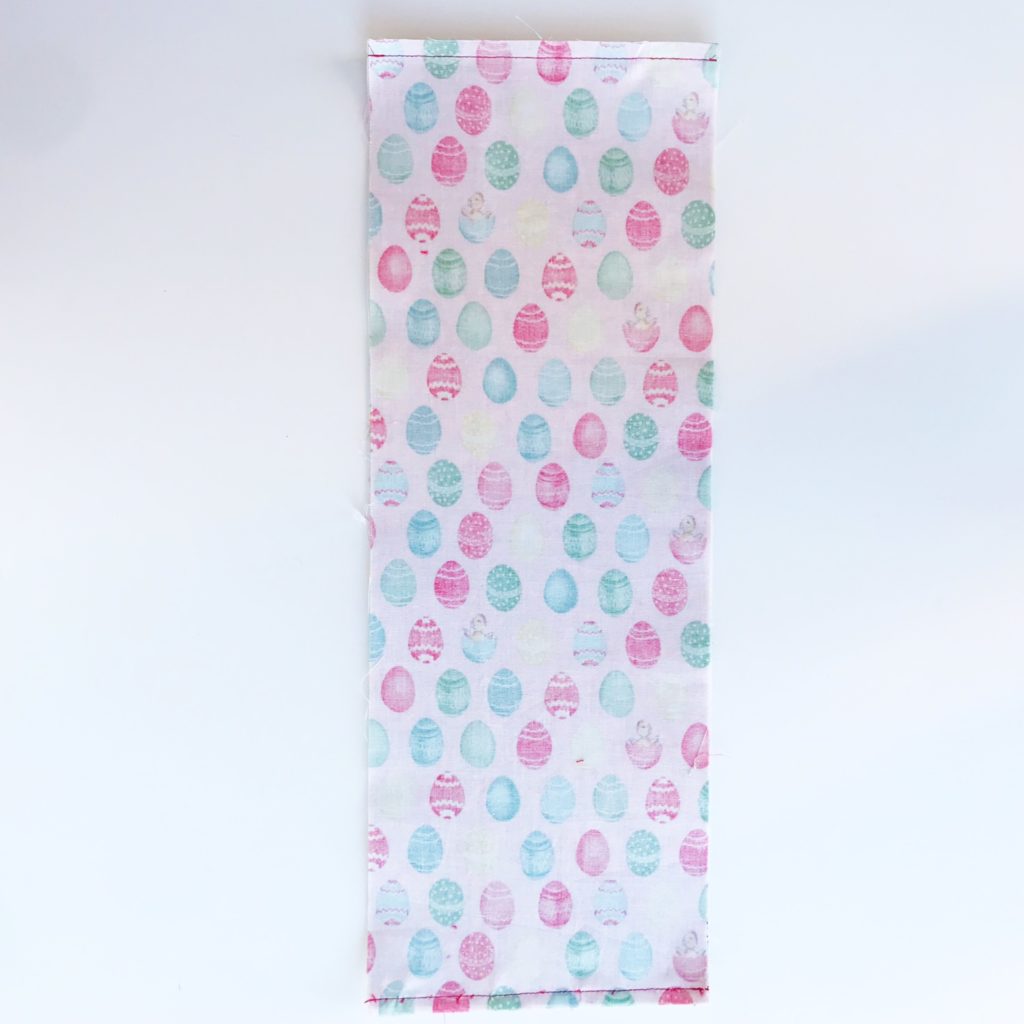
Adhere the inner pouch lining to the fusible interfacing (I find having the interfacing on the inner liner gives a smooth finish to the outer pouch while still giving the pouch body). With wrong sides facing out, lay the outer piece on top of the inner piece.


Pin the top and bottom and sew a ¼” seam along each end. Press open both seams and turn the piece right side out (it will look like a loop) and press.
Sew a 1/4″ seam on both ends. Press open seams. 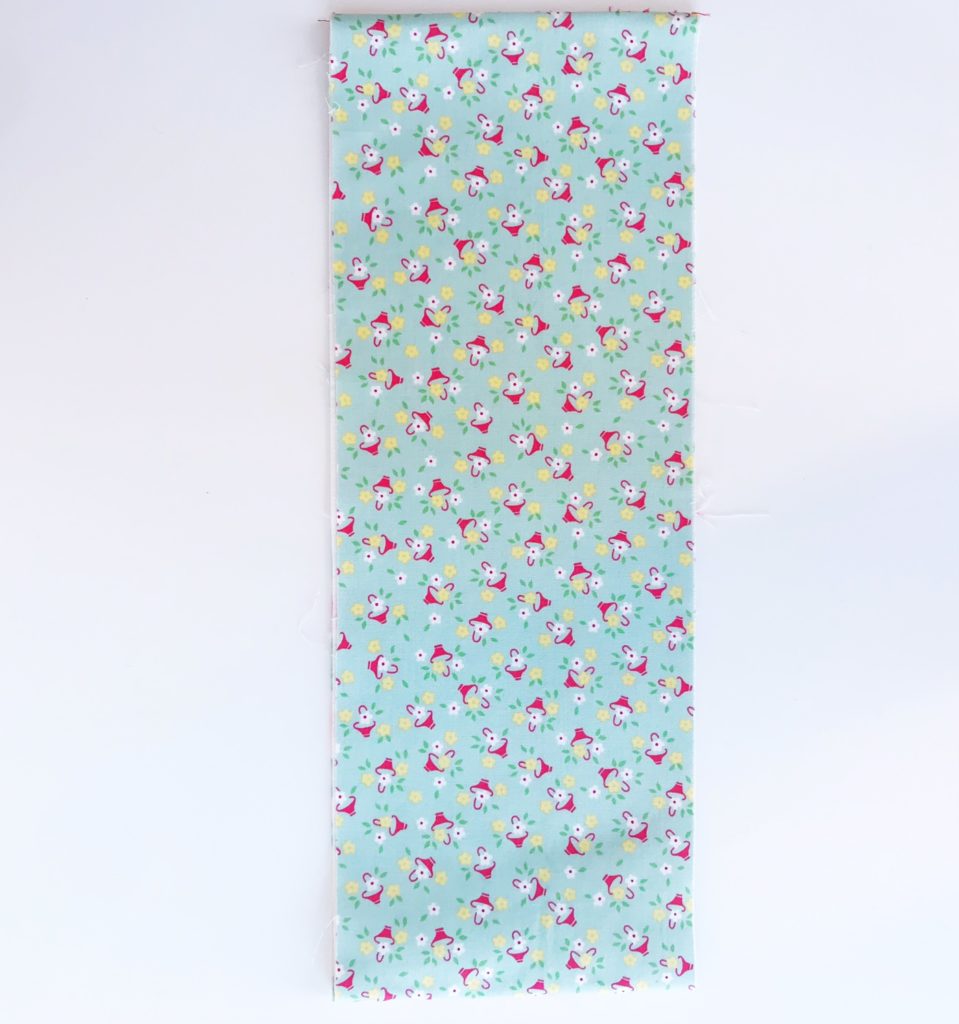
Turn piece right side out and press.
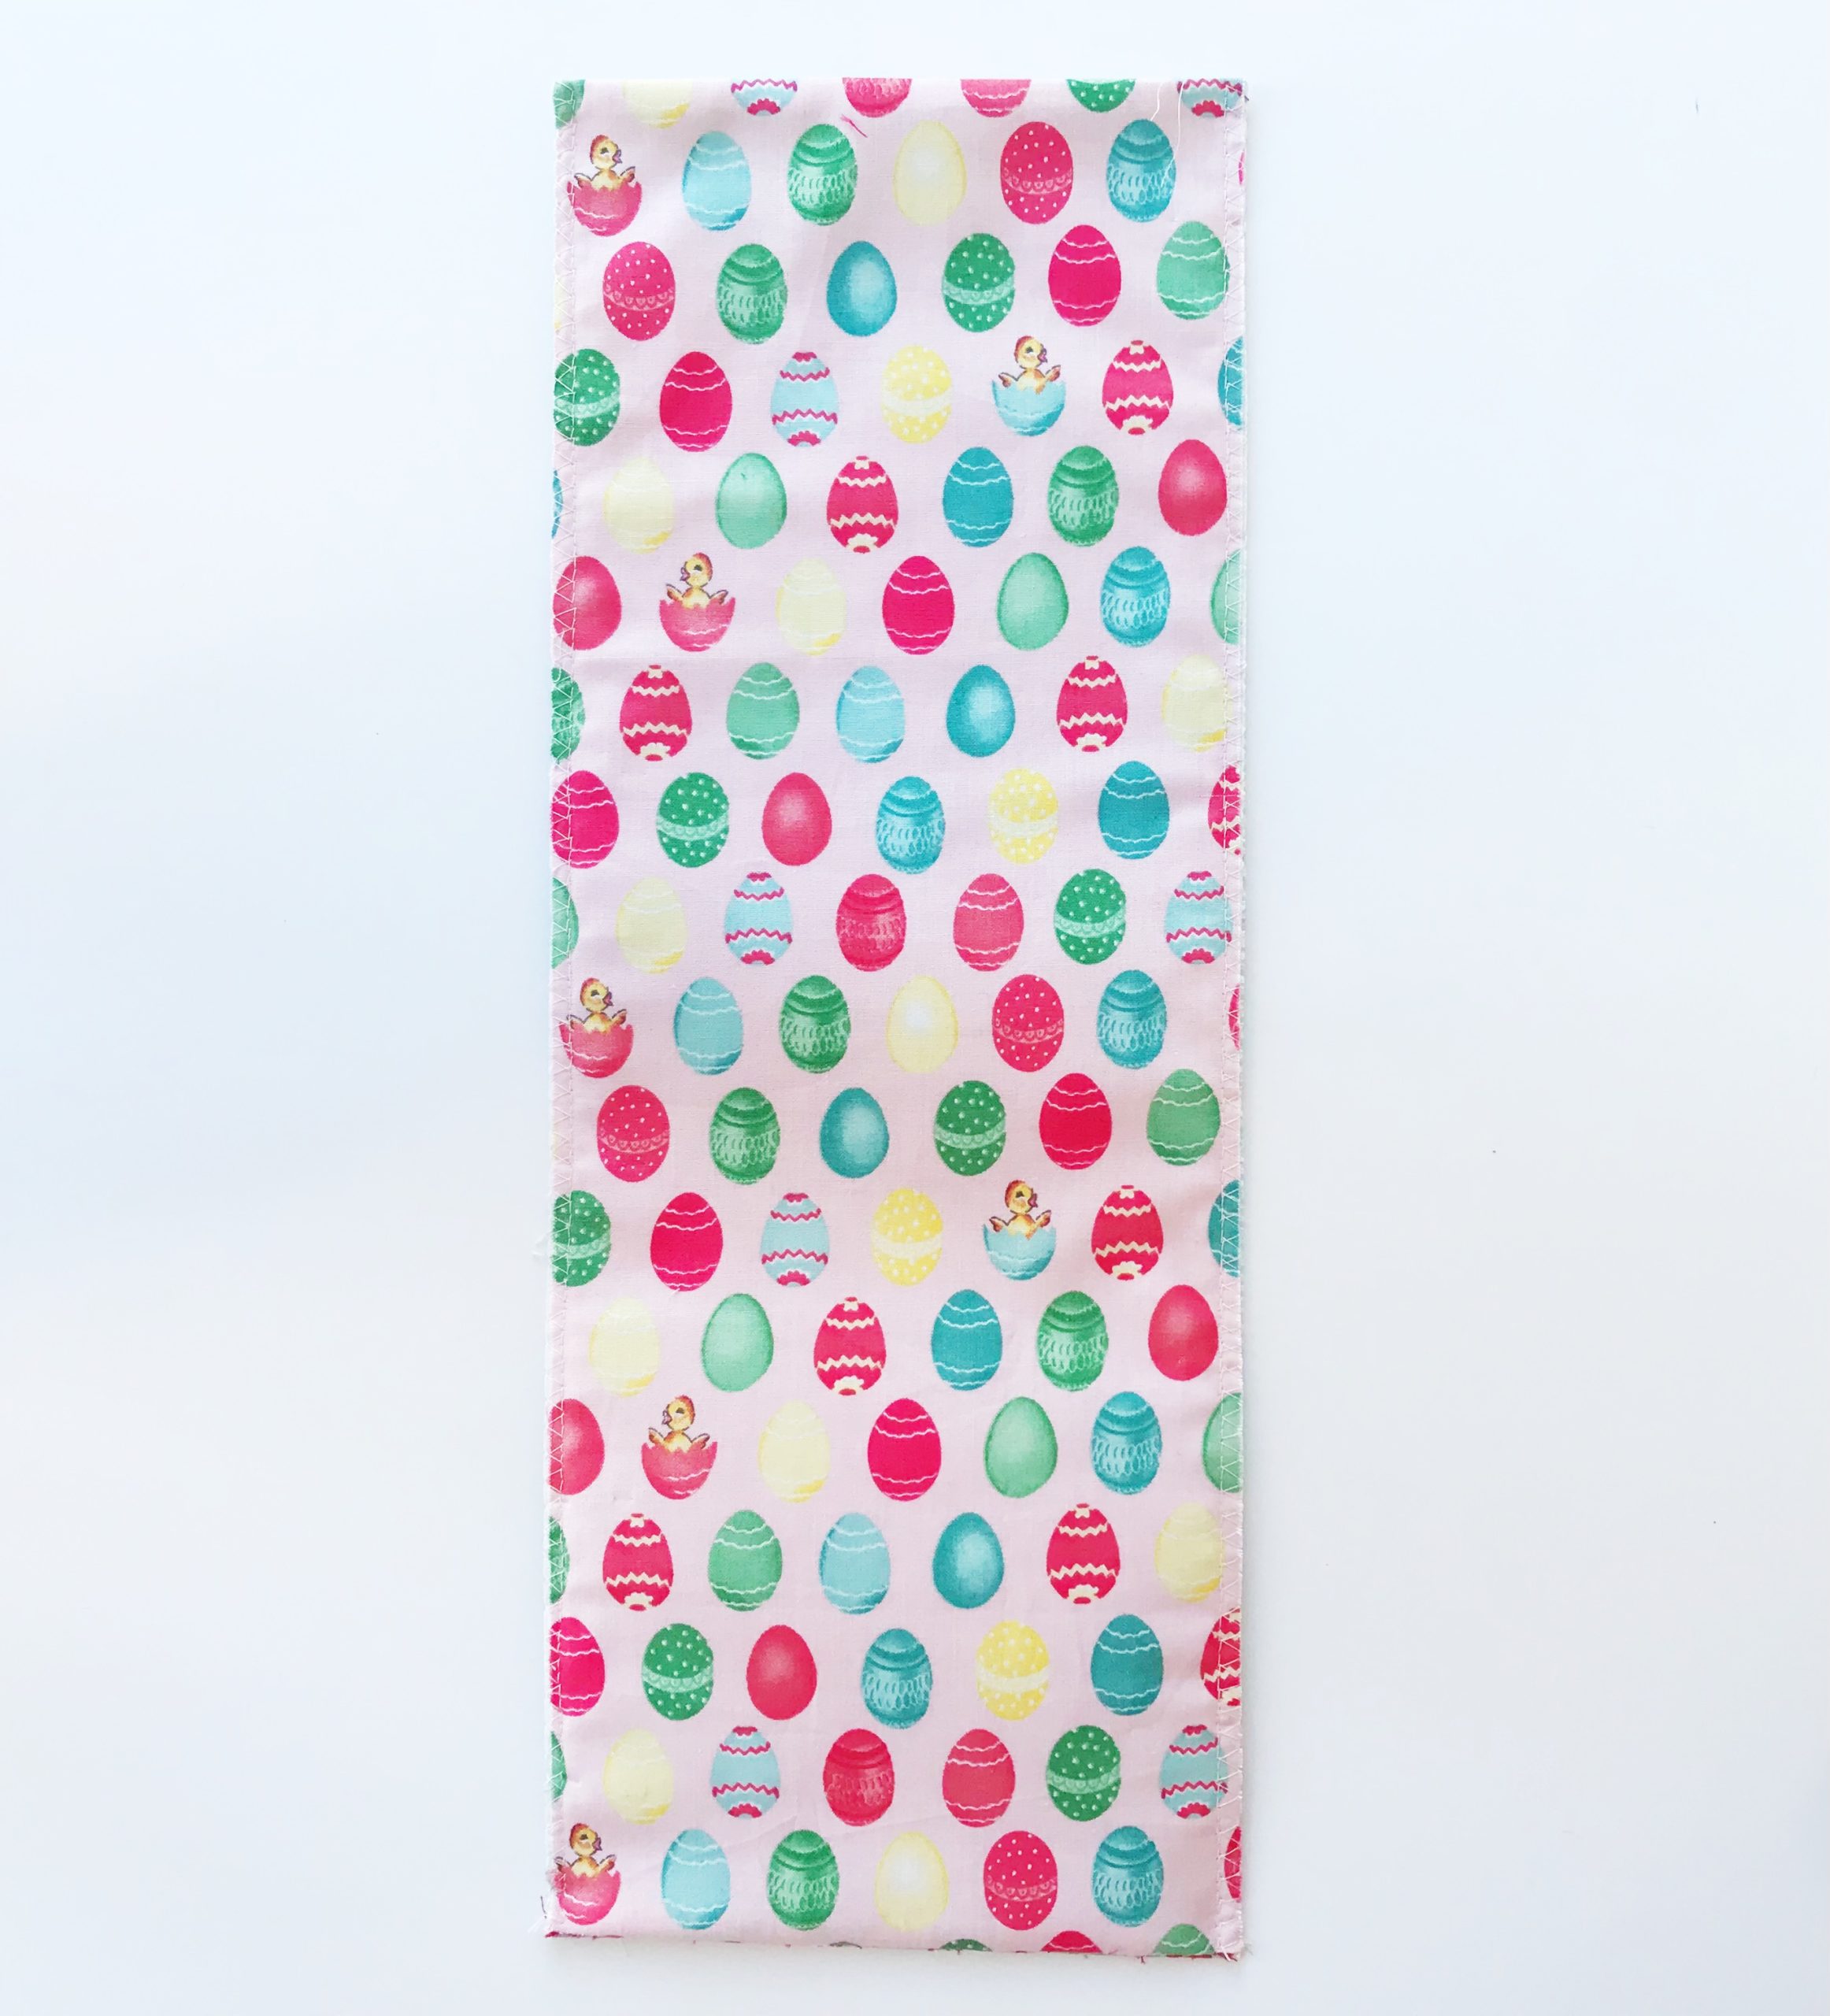
Using the overlock stitch on you machine, sew each side using a ¼” seam allowance.

Sew along each side with a 1/4″ seam using the overlock stitch 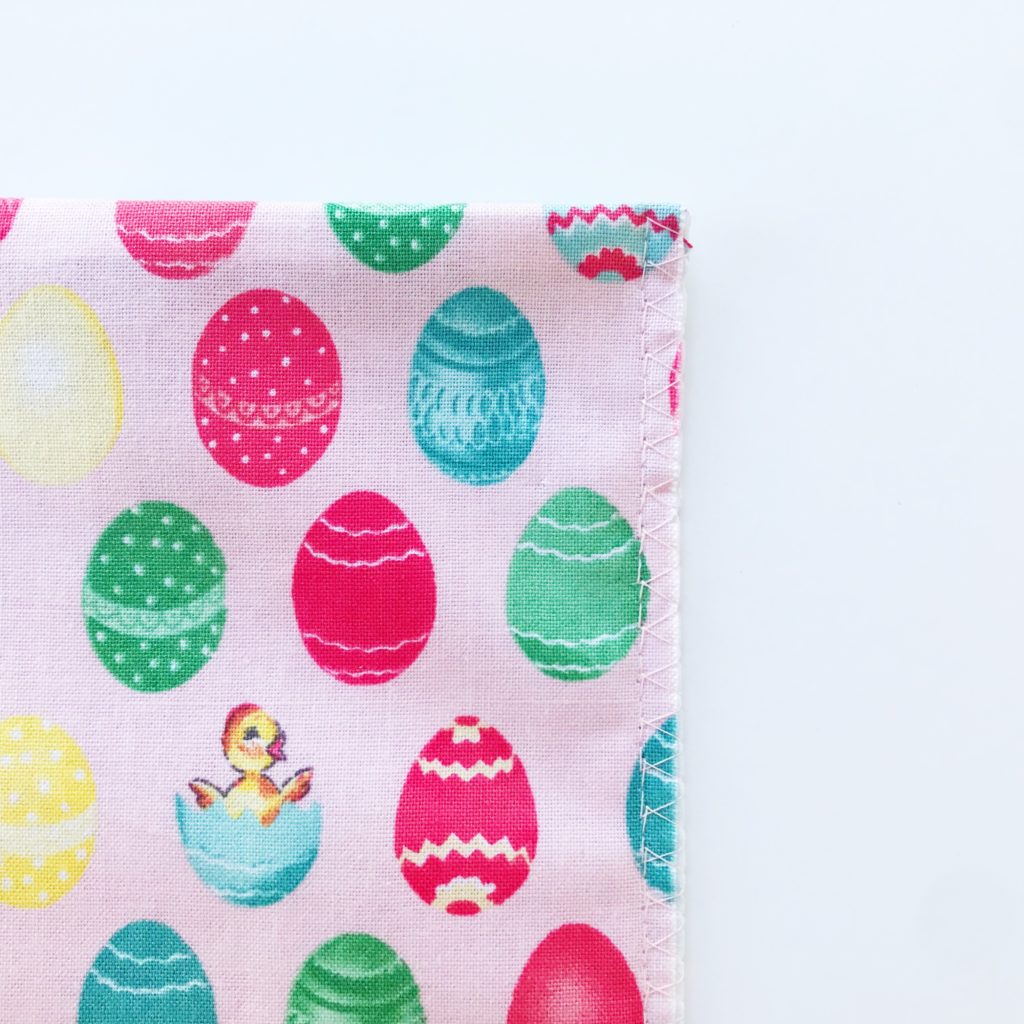
Overlock stitch

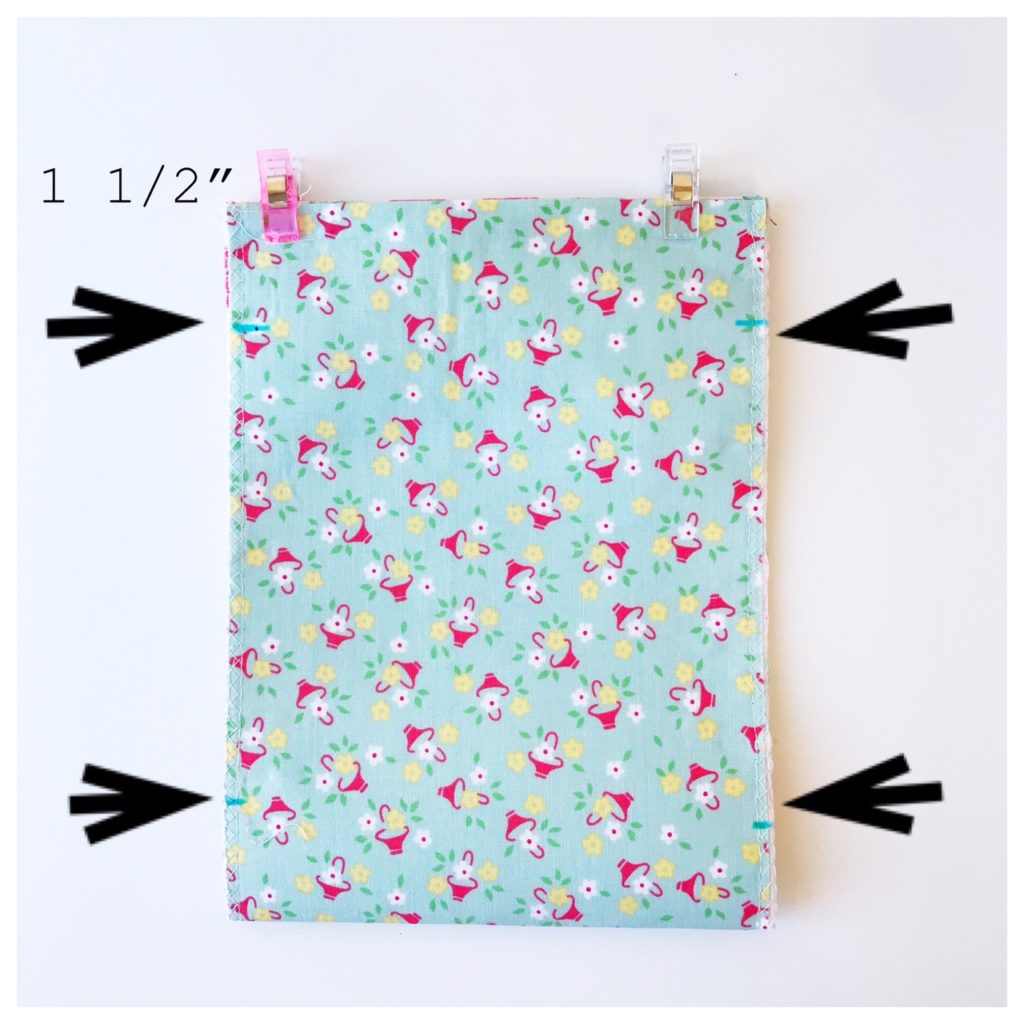
To prep the bottom gusset and top cord channel, position the pouch so the inner liner side is facing out. For the bottom gusset, make a mark with a marking pen 1 ½” from the bottom left and right corners. For the top cord channel, mark the top corners by 1 ½”.
To make the bottom gusset, from the bottom corners, fold the ends up along the marked lines and clip in place. Sew up to the top marked line on the top on each side, making sure to backstitch once you get to the marked line.

Fold the bottom up along the marked lines 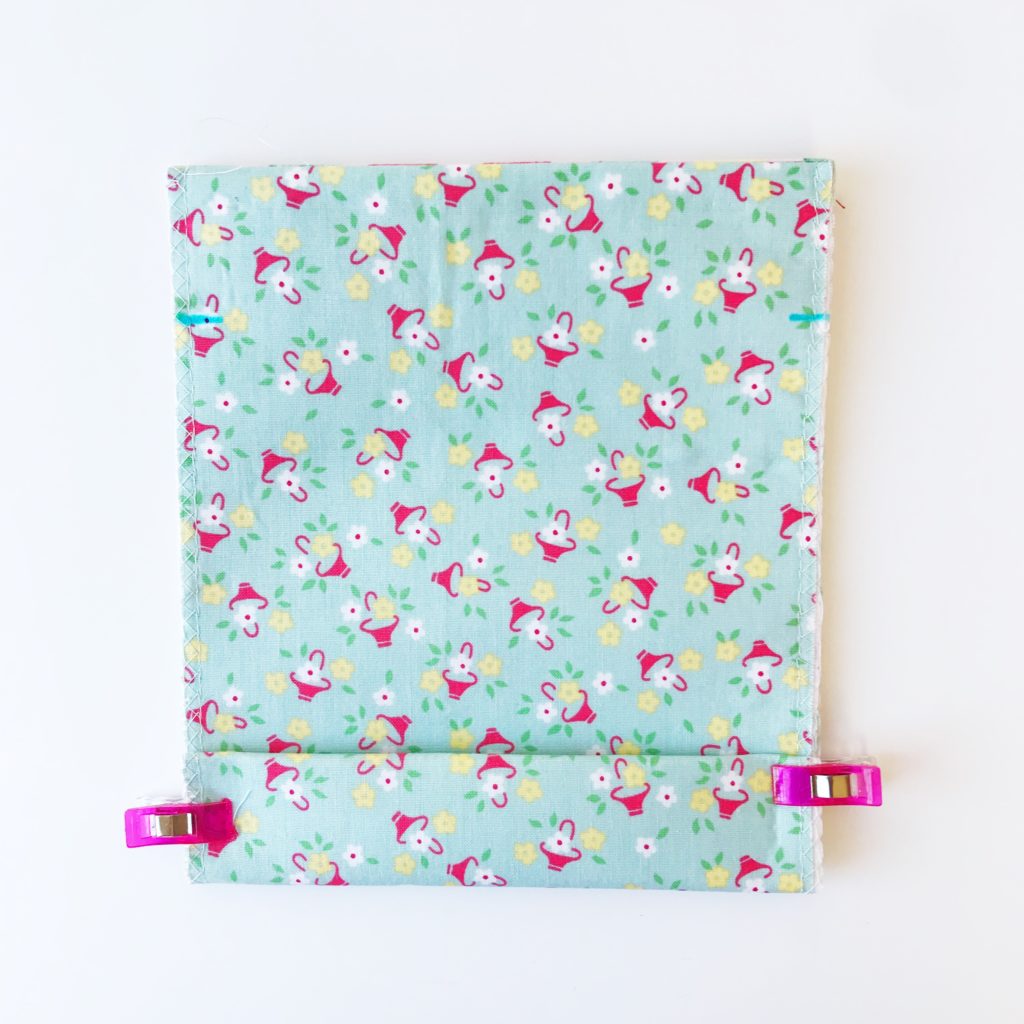
Clip the fold in place 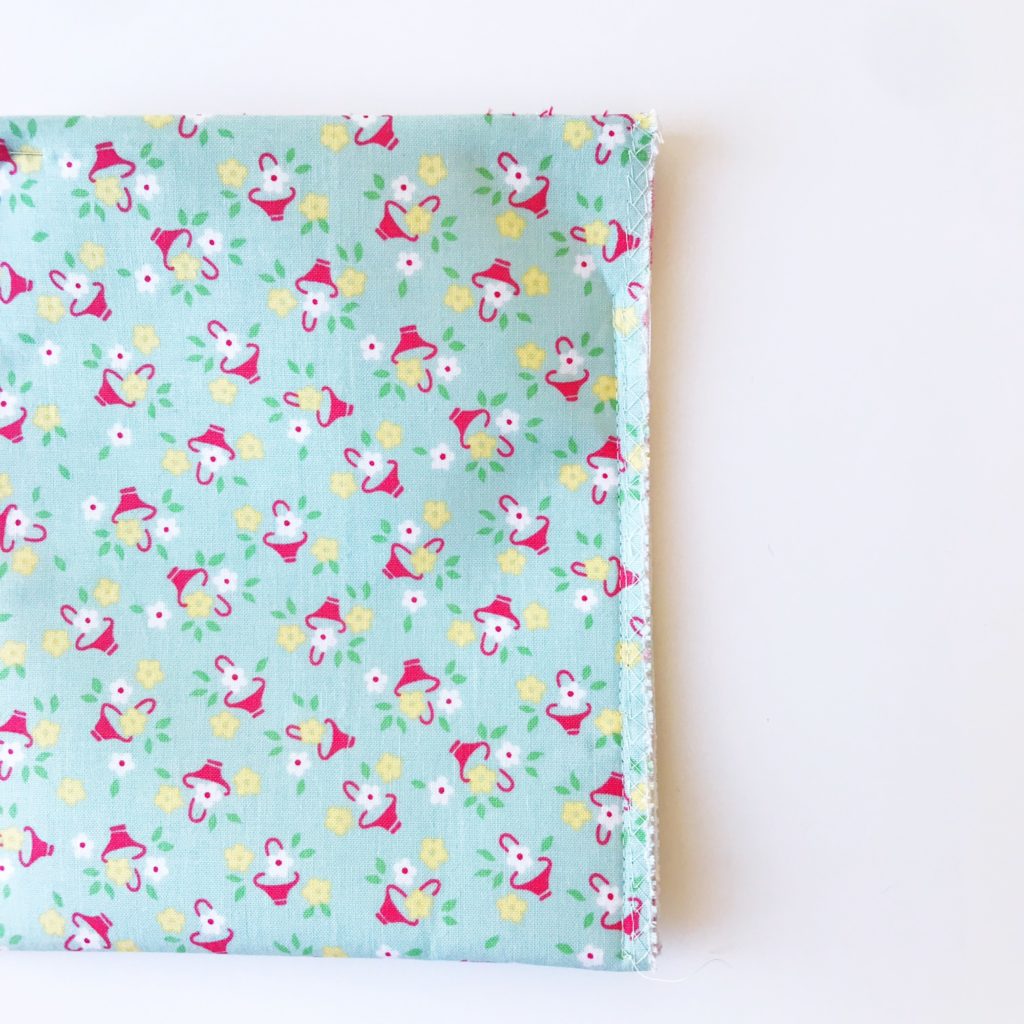
Sew a 1/4″ seam on each side, stopping at the marked line on the top.
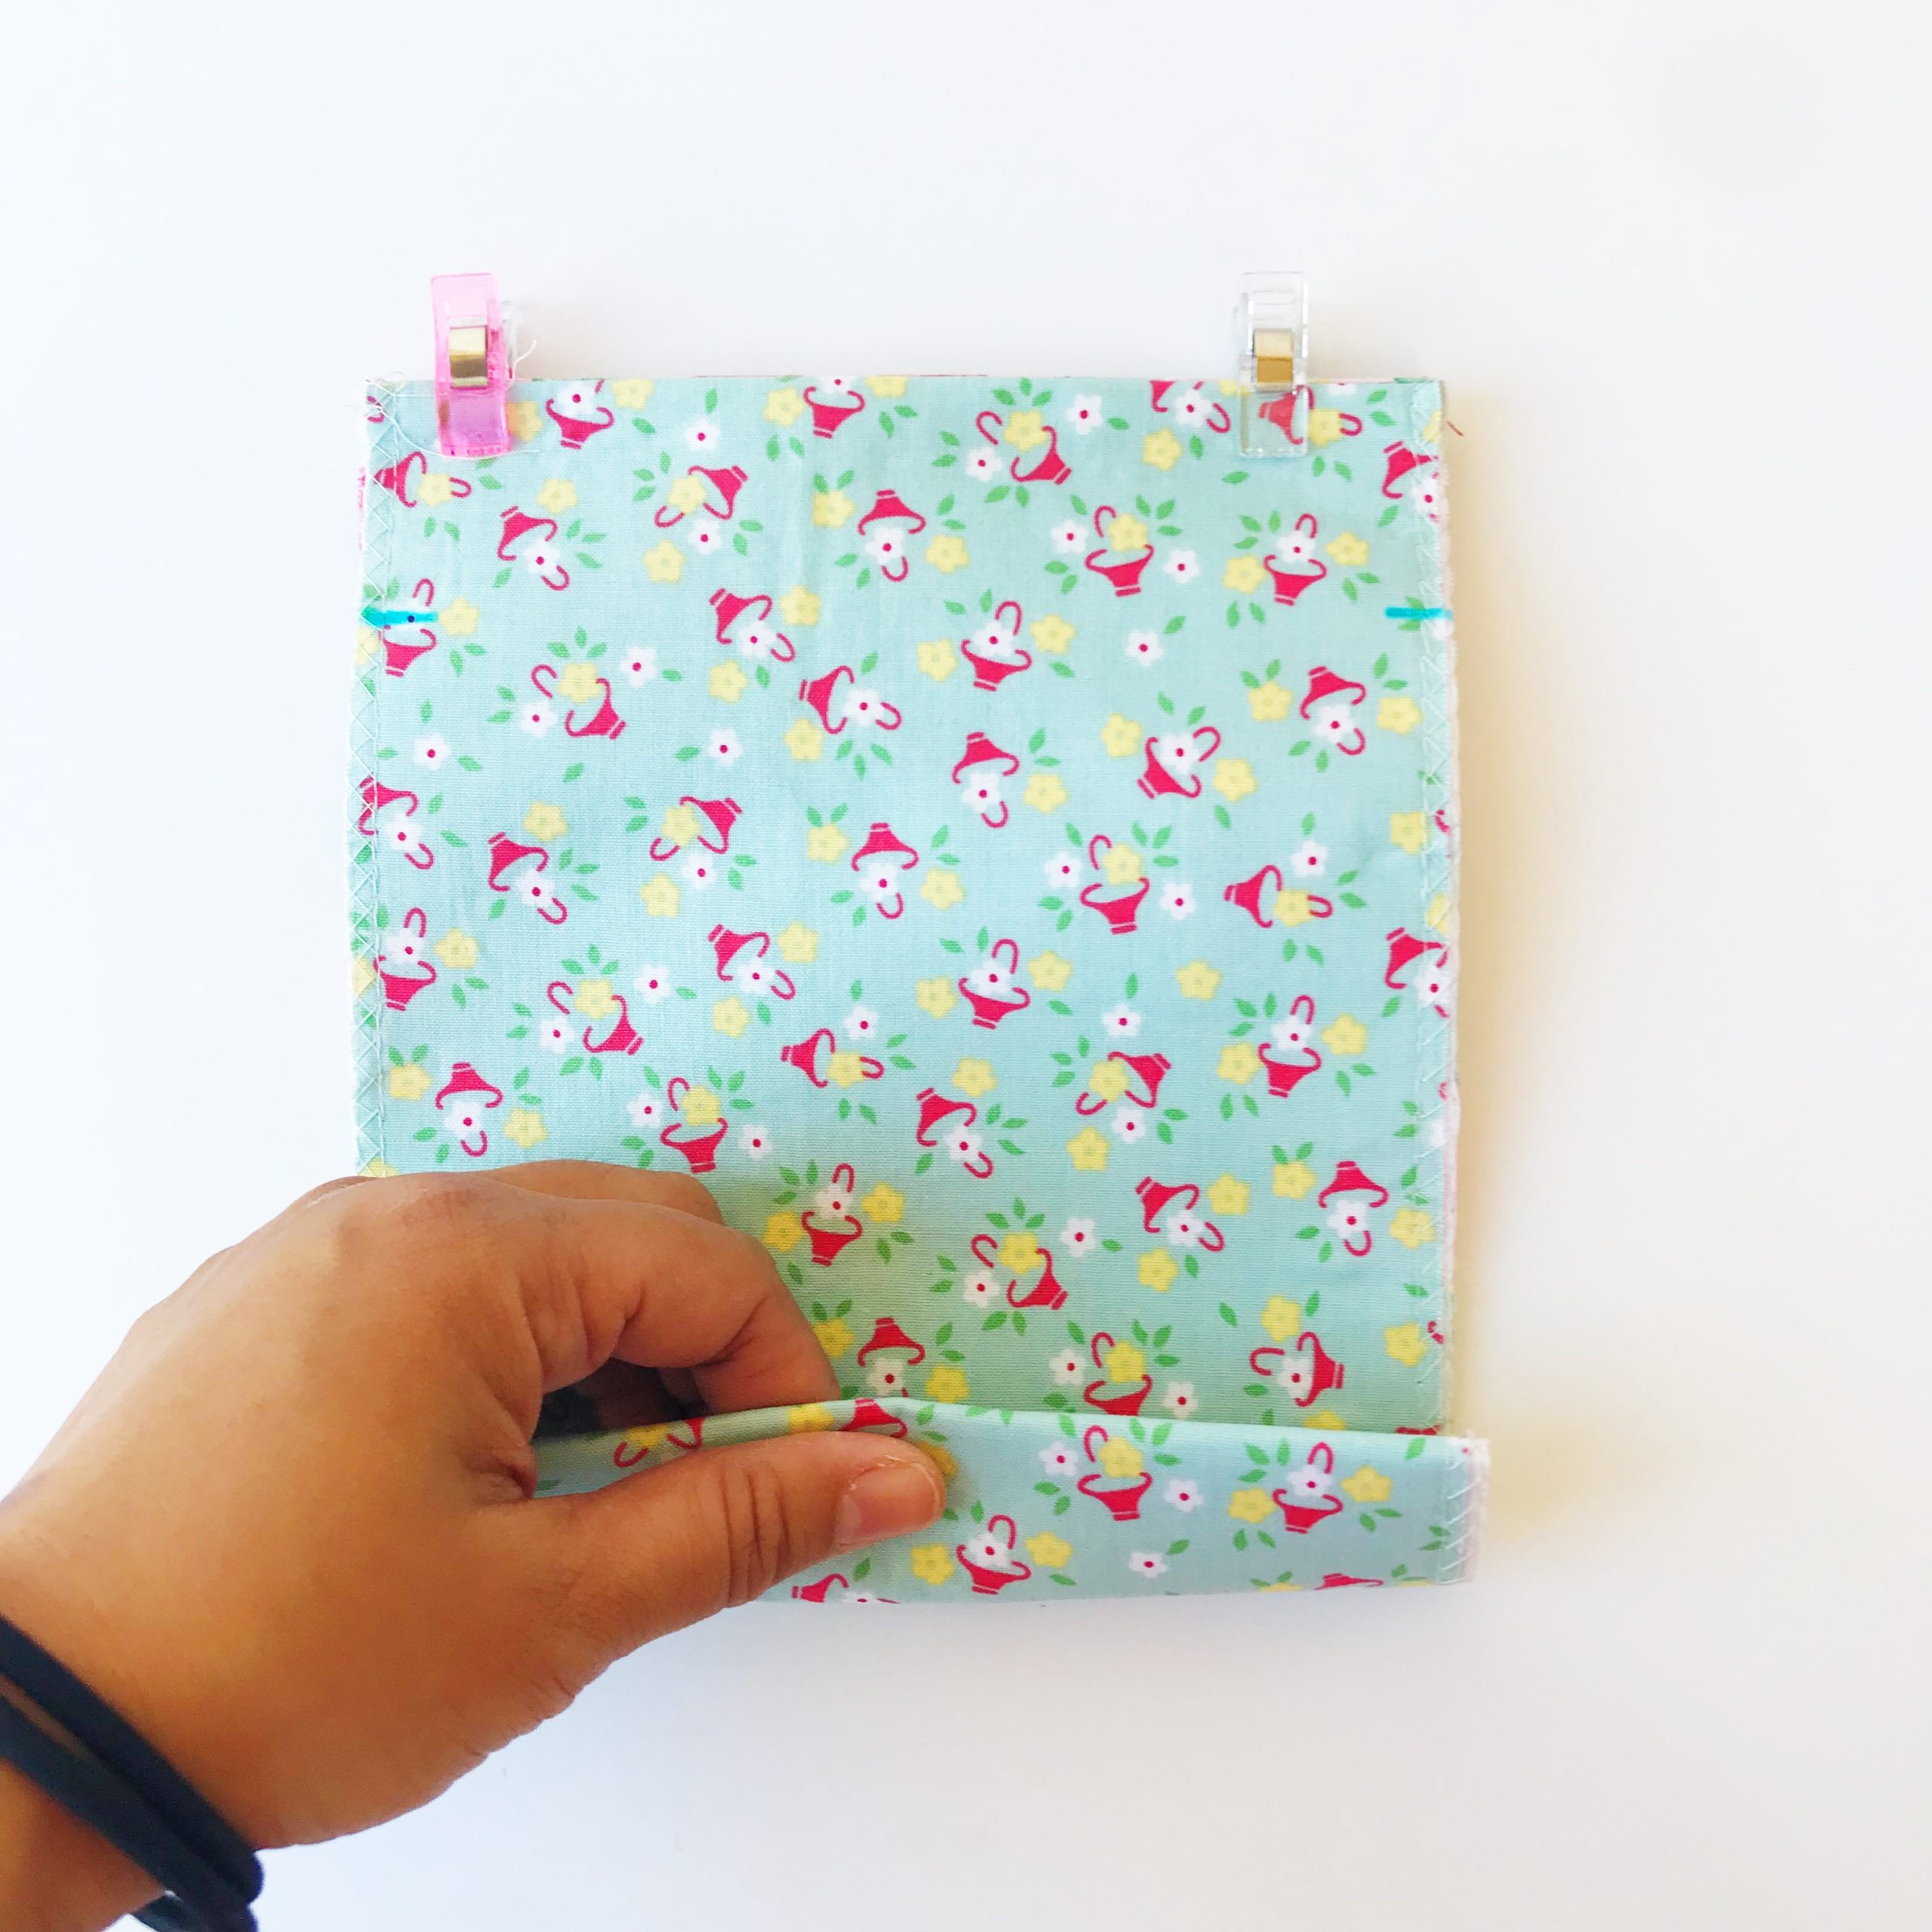


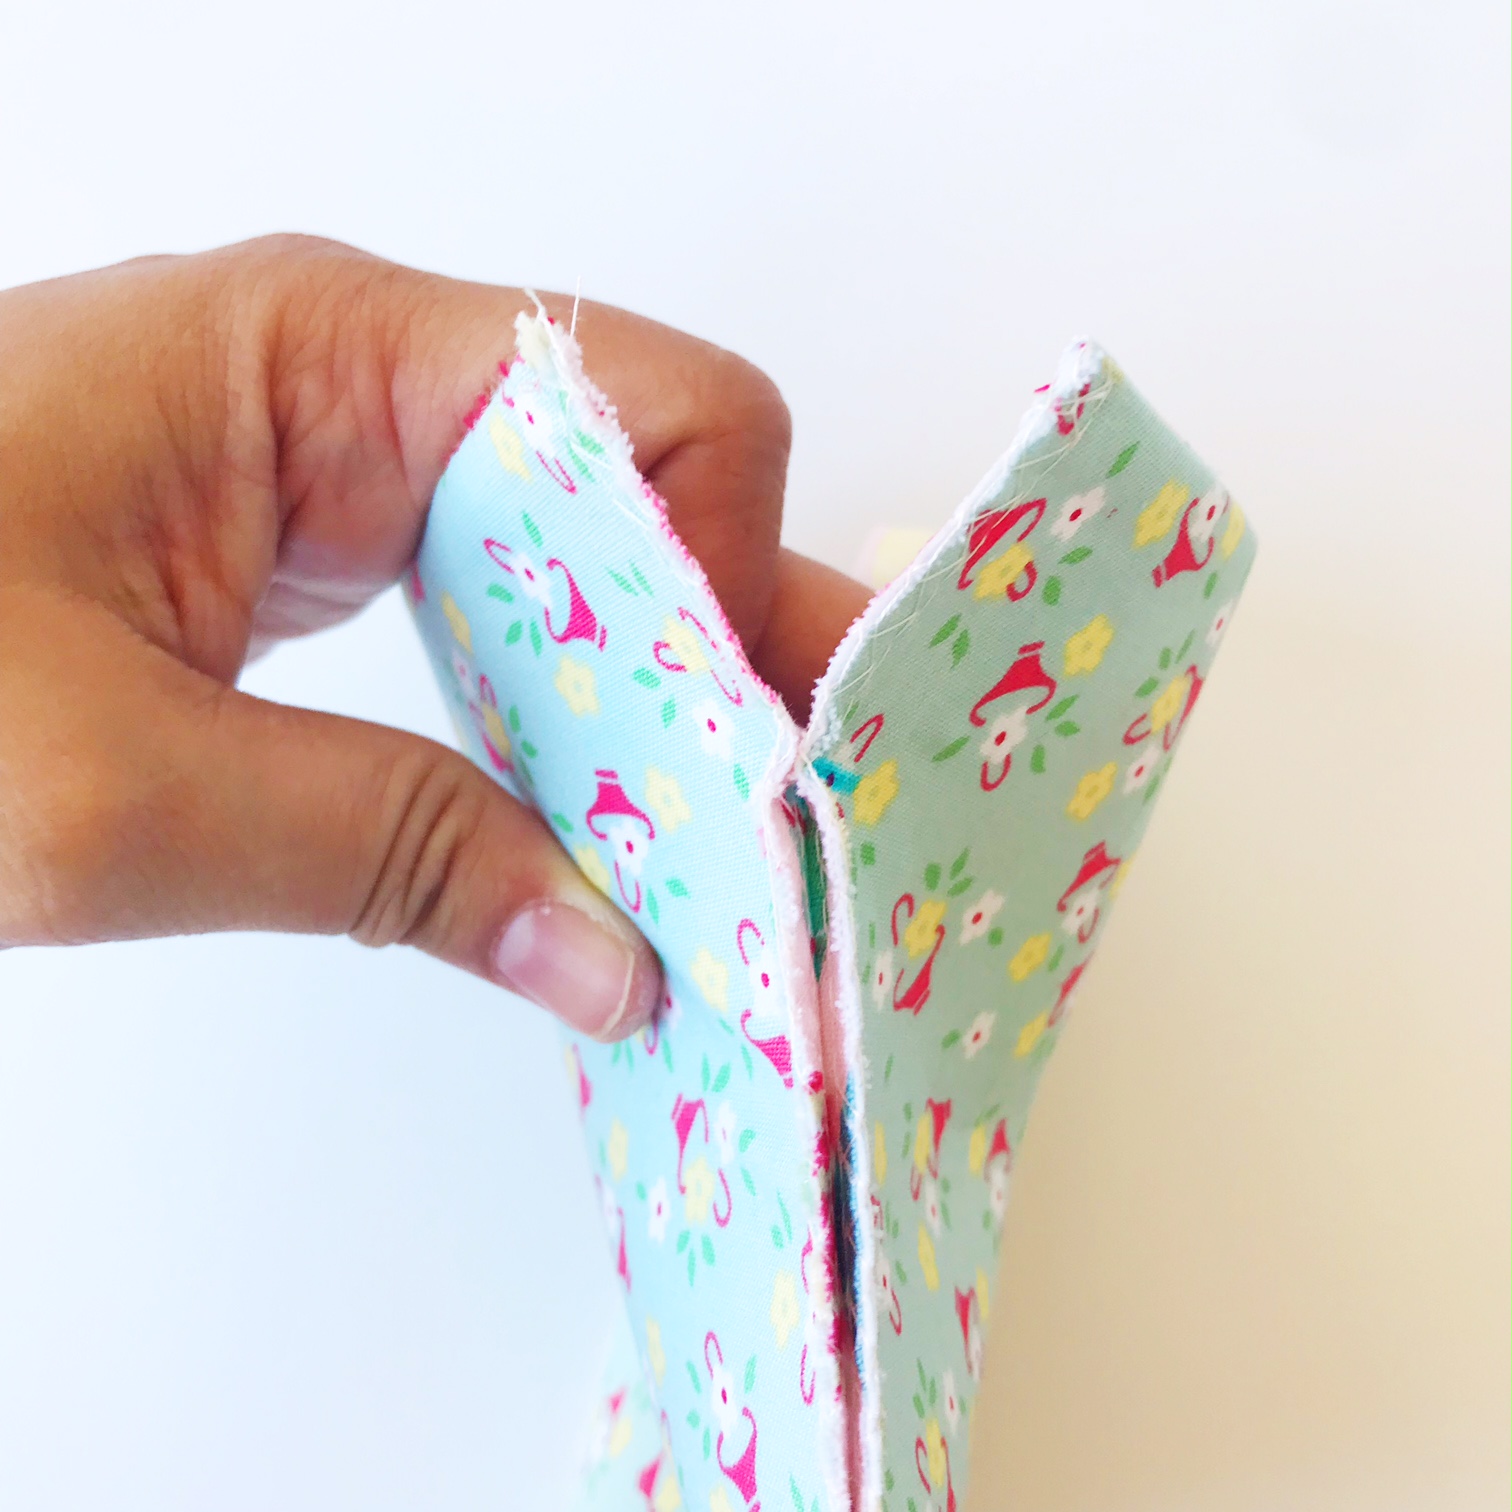
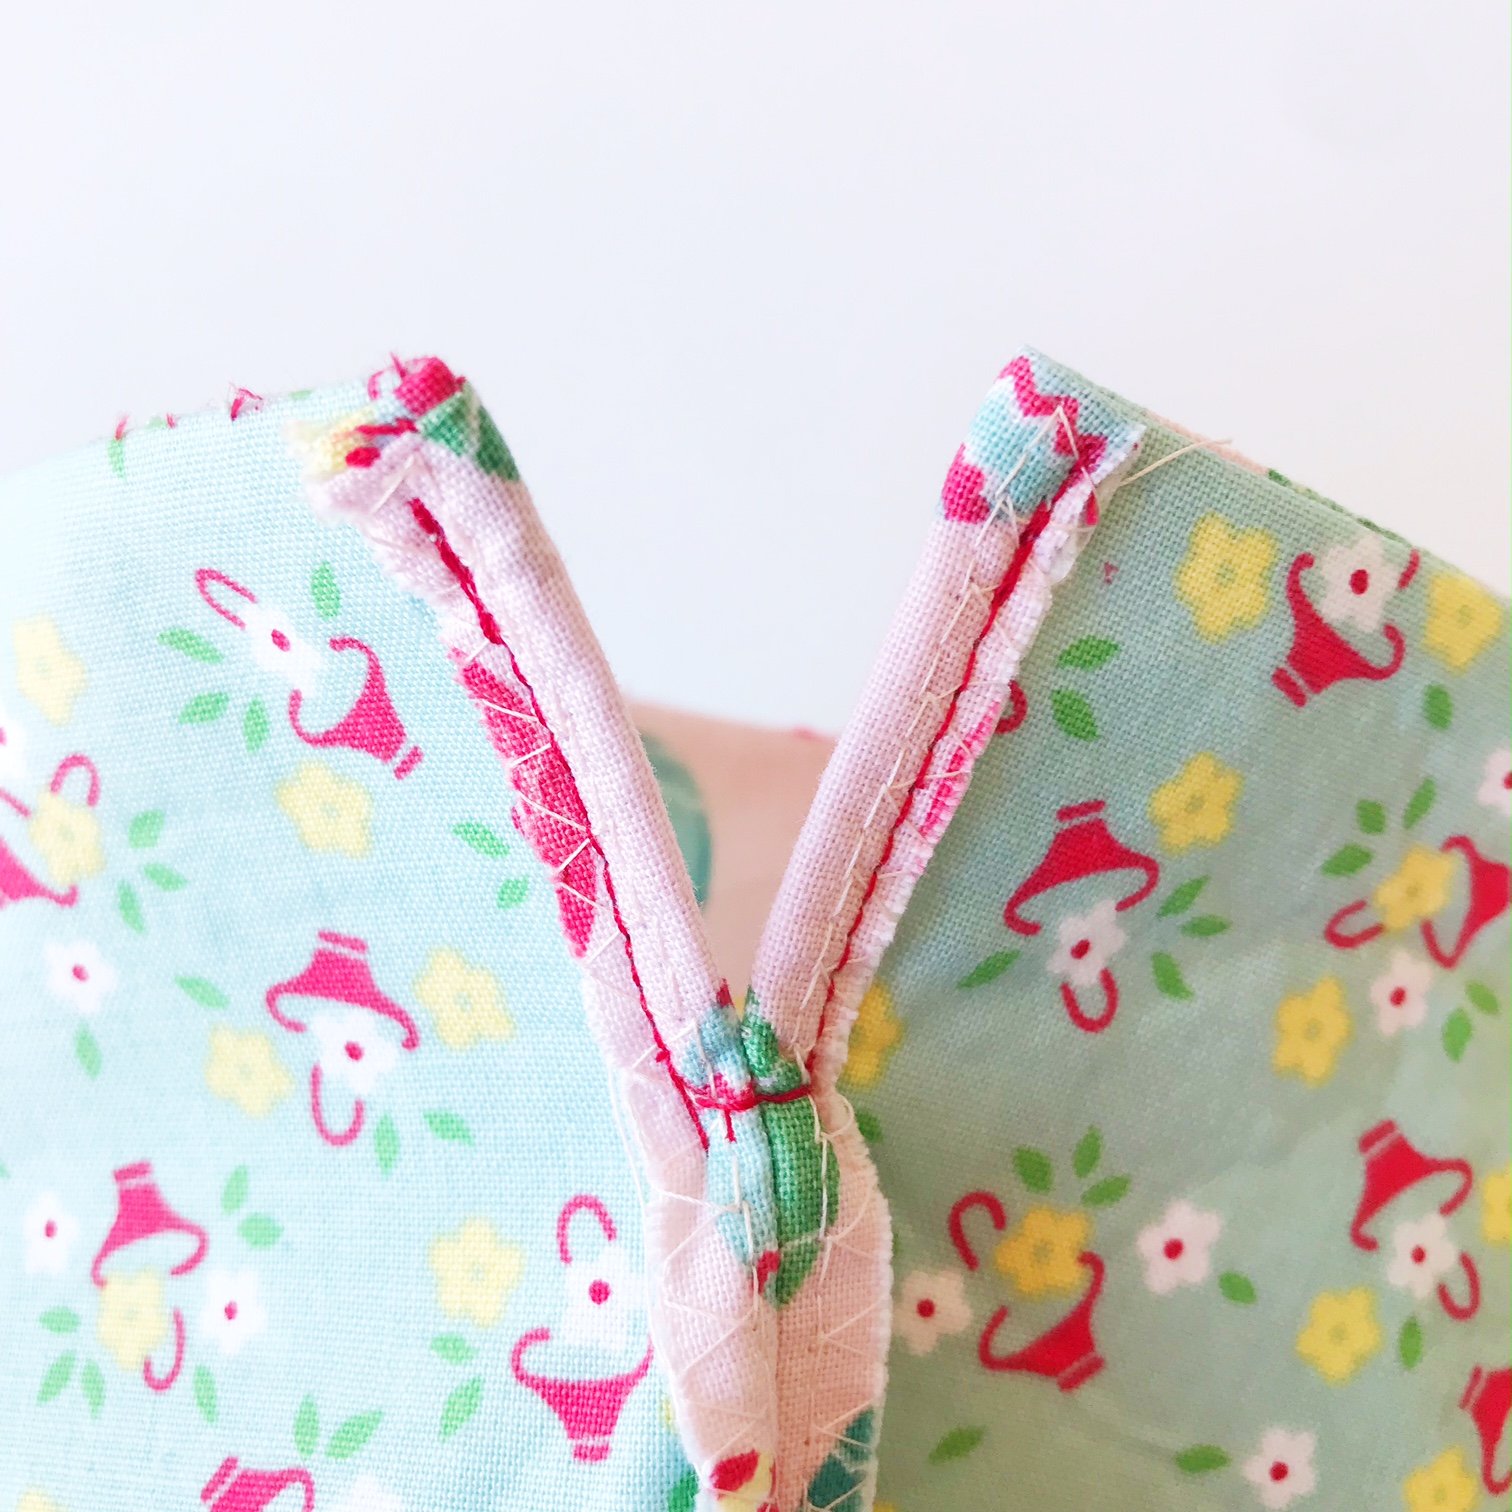
To make the the channel for the drawstring, open the top side seams (you will have an open side here from the 1 1/2″ unsewn seam). Press the open seam back by ¼”, using the sewn seam as a guide. Pin in place and sew using a 1/8” seam around the opening (see picture). Repeat for the other side.

Open the side seams 
Press back by 1/4″ and pin in place 
Sew using a 1/8″ seam allowance

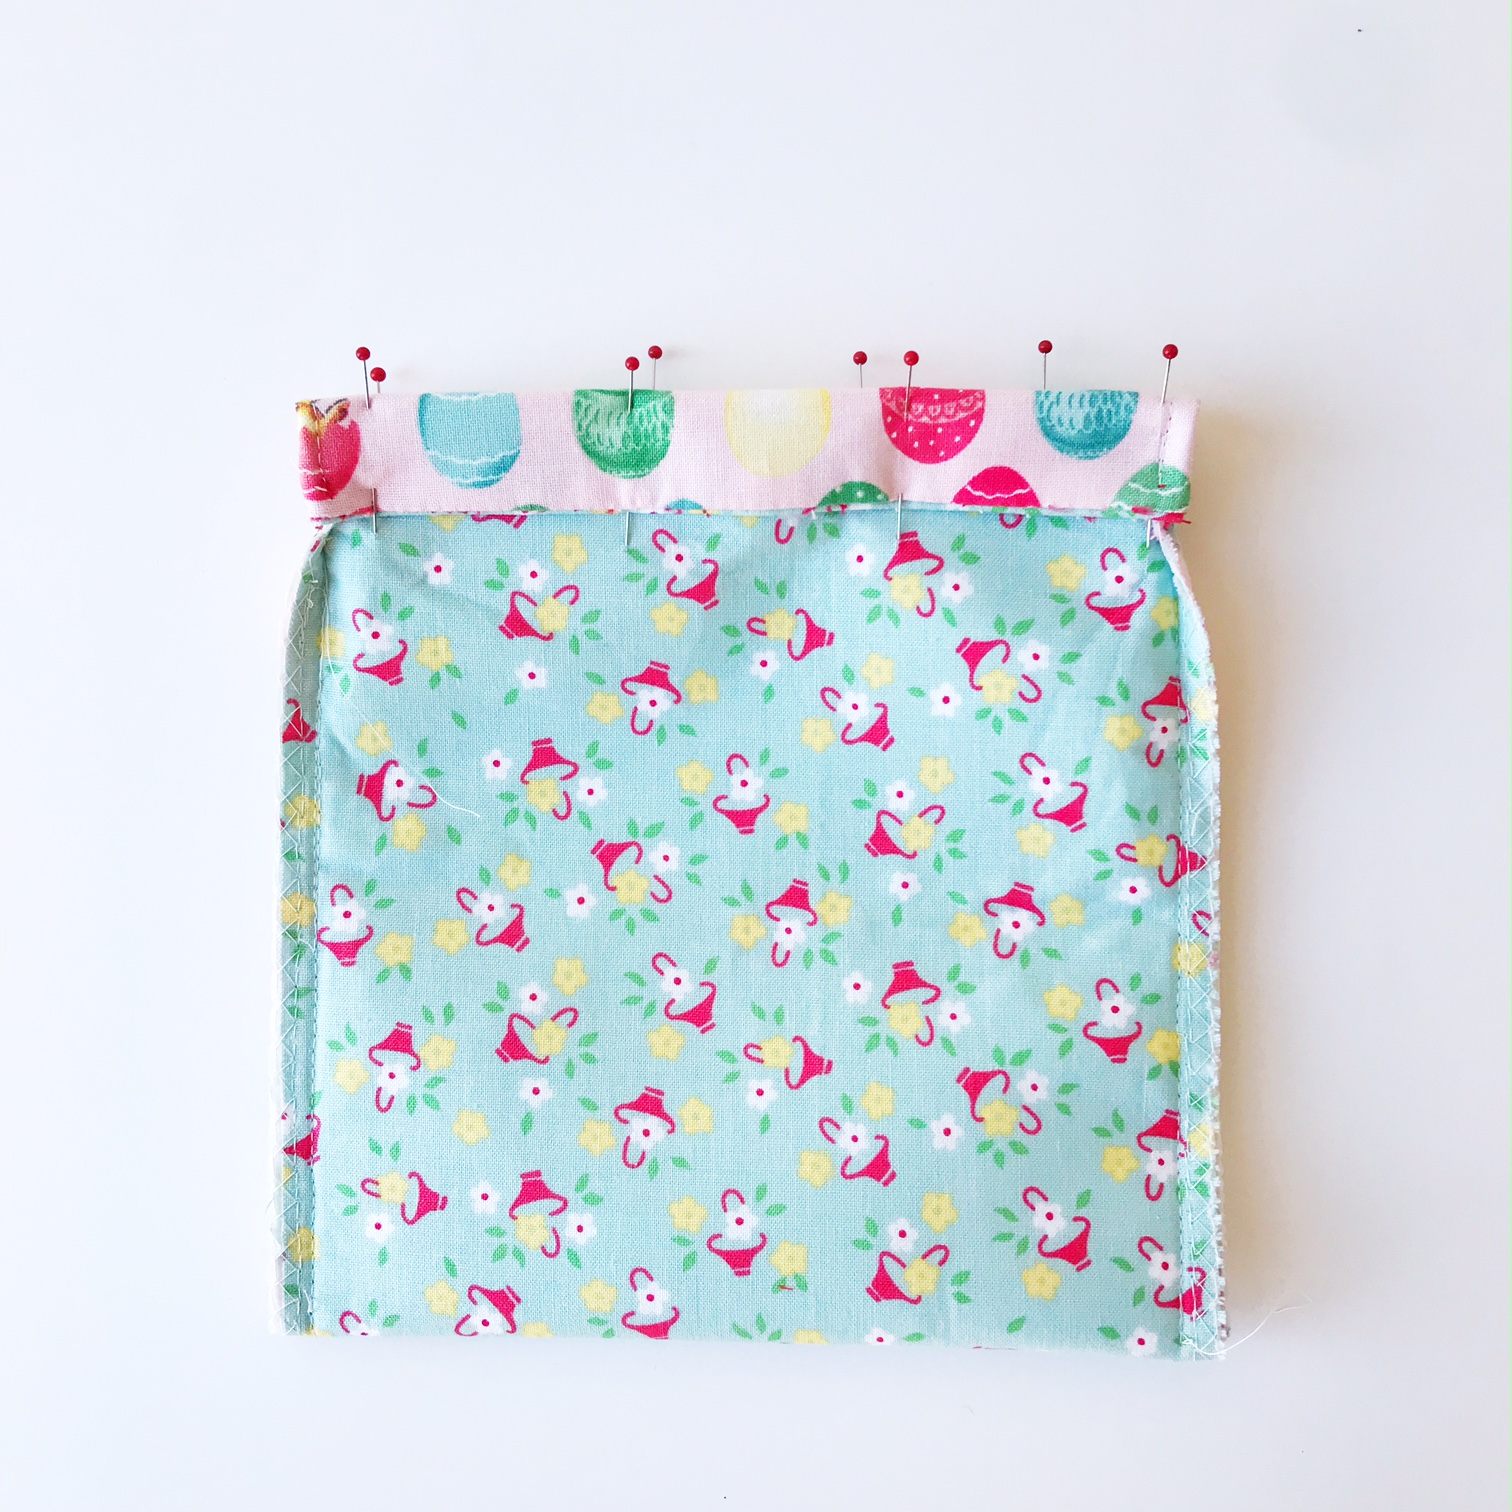
Now fold the top seam down by ¾” (to about where the open side seam ends). This will create the channel for the cording. Sew a 1/8” seam along the bottom of the folded edge (take off your sewing arm to sew around the pouch).

Fold the top edge down by 3/4″ and pin in place 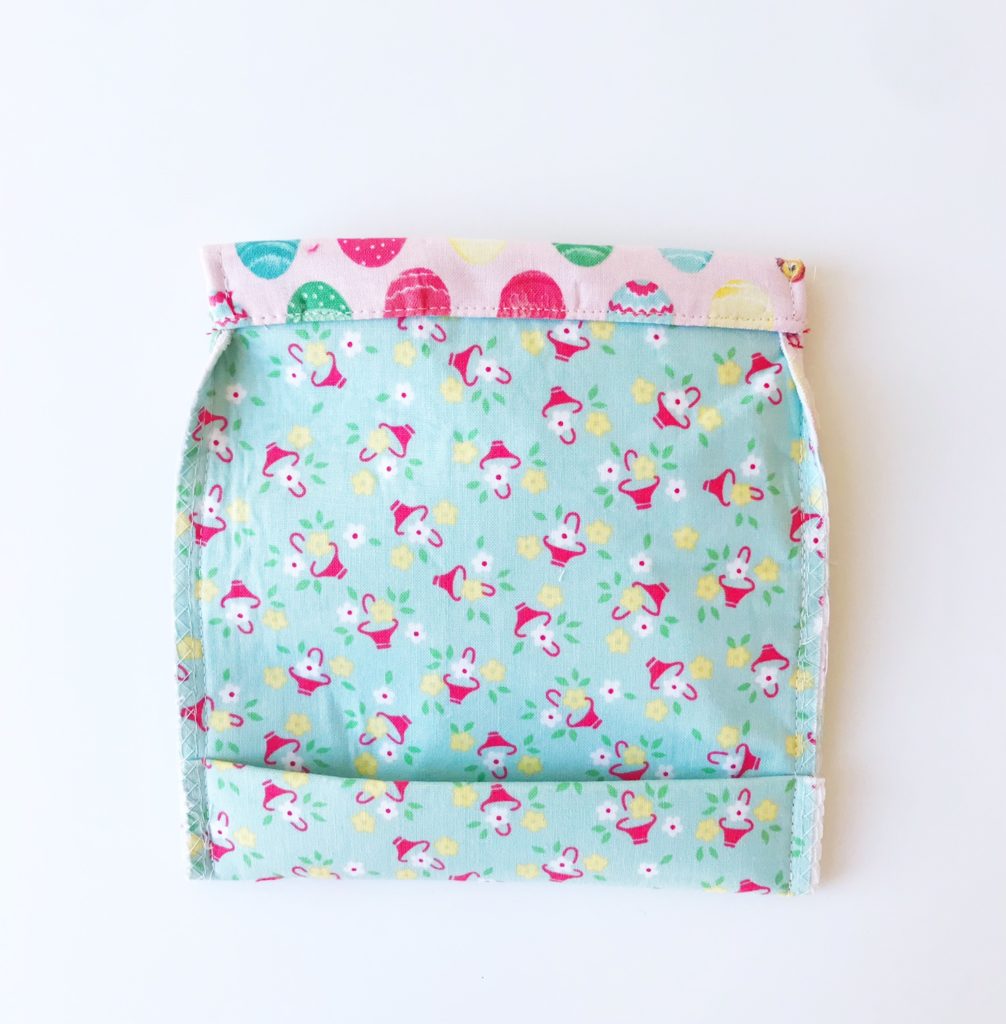
Sew a 1/8″ seam along the bottom of the folded edge

Turn the pouch right side out, using a point turn tool or chopstick, smoothing out the bottom seams.
Bottom gusset

To insert the cording, starting on either side, use the bodkin to thread the first cording piece into the channel, passing thru the gap to the other end. Take the second cording piece and repeat starting on the opposite side. Once both ends are out, tie each end to secure in place.
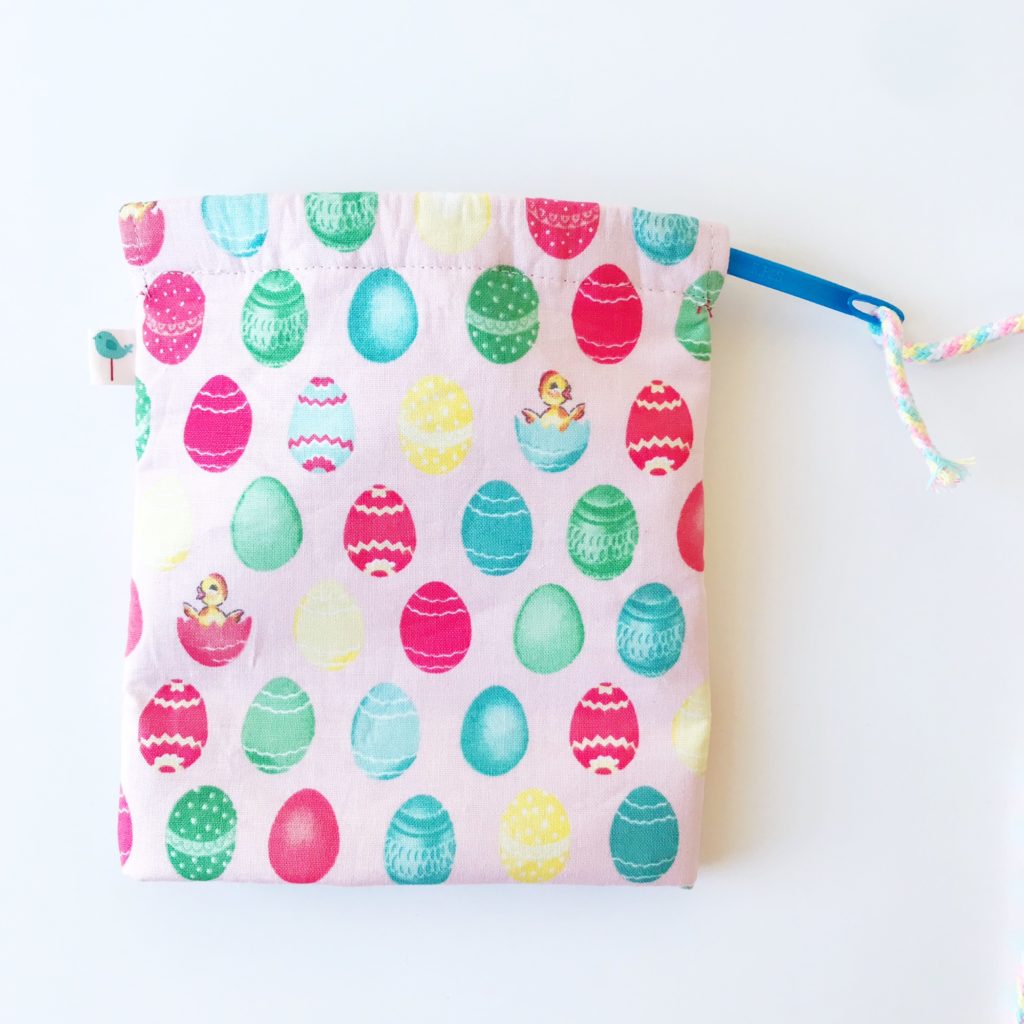
Insert one piece of cording to either side. Passing thru the gap to the other side 
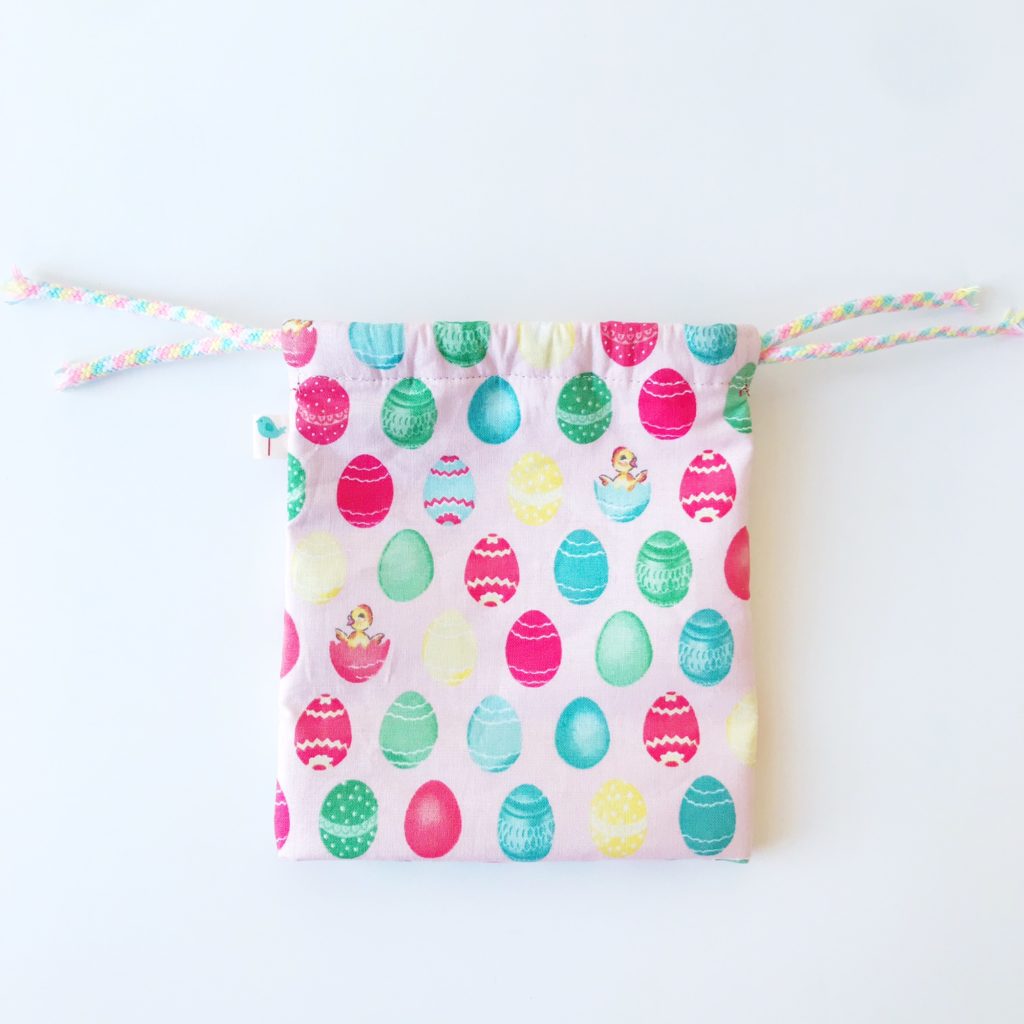
Insert the second piece on the other side 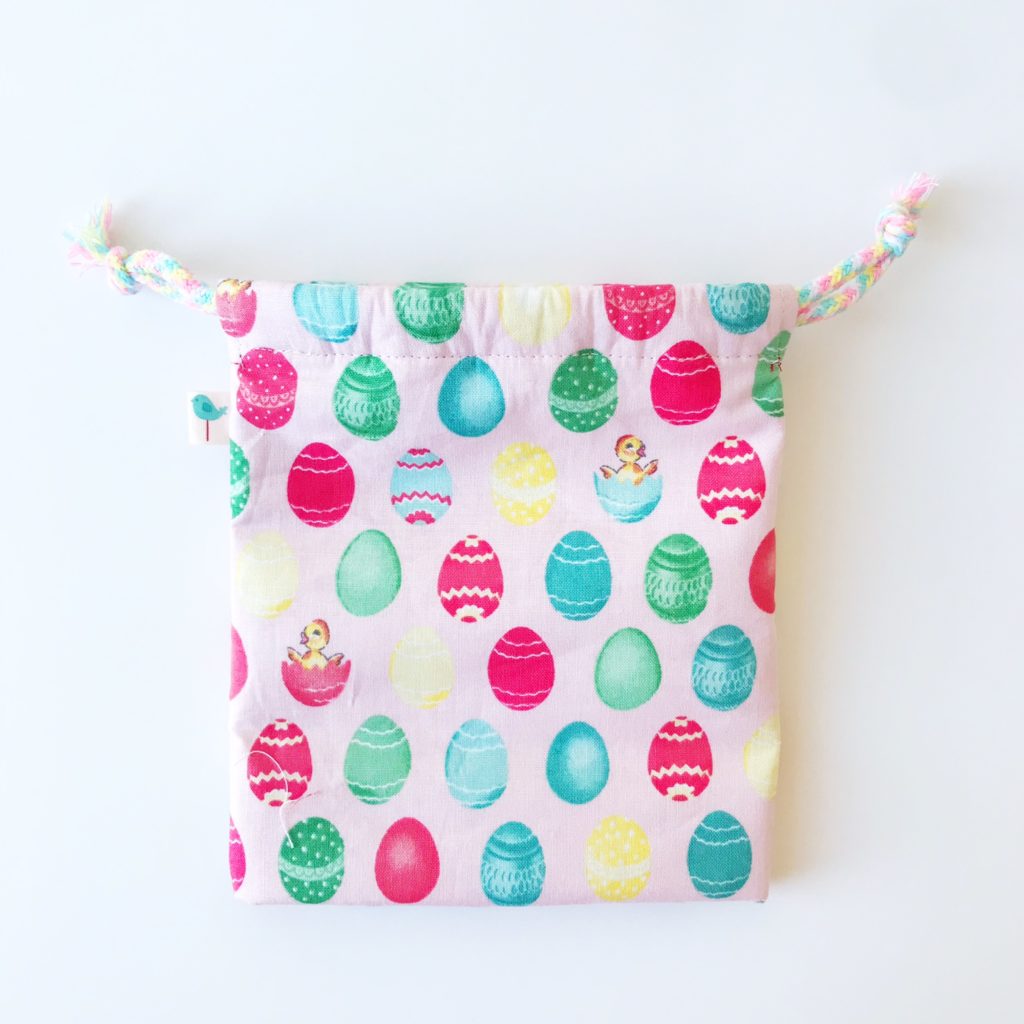
Tie both ends in small knot to secure the drawstring


You are now done!
About the Maker
Karen makes cute bags and other small projects. Follow her on Instagram or visit her blog for projects and inspiration.