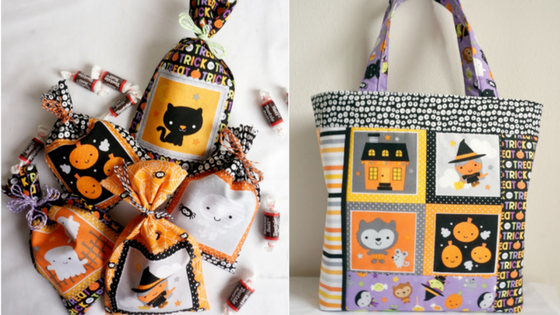
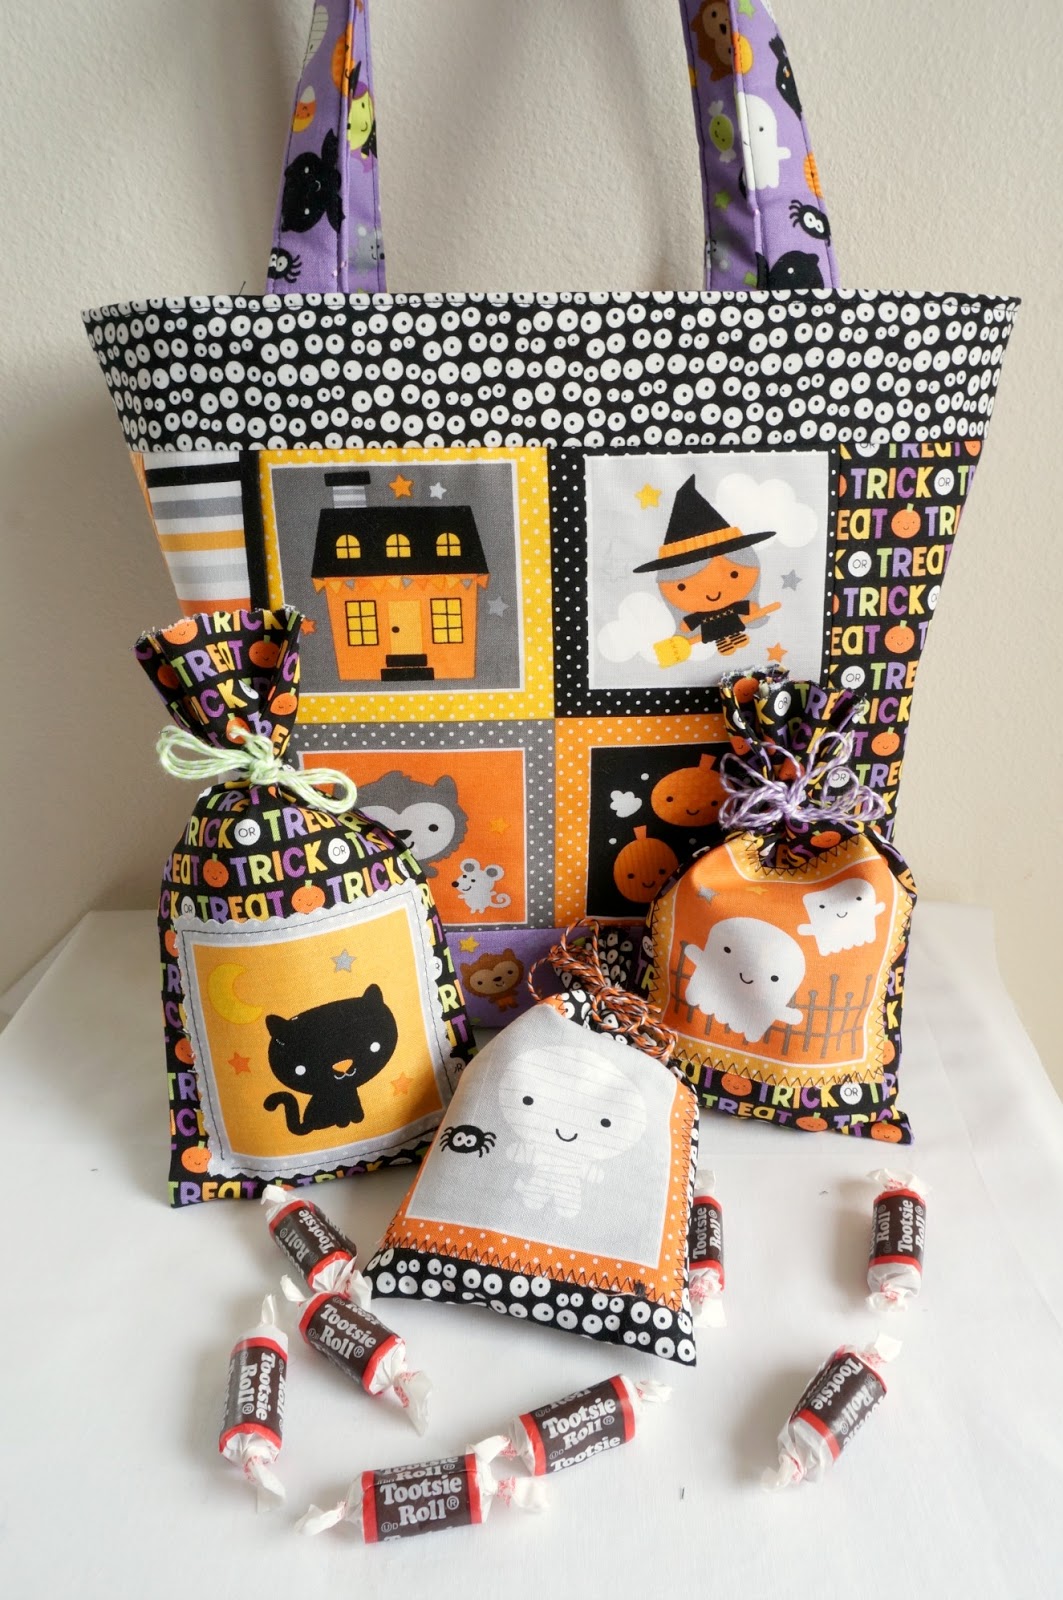
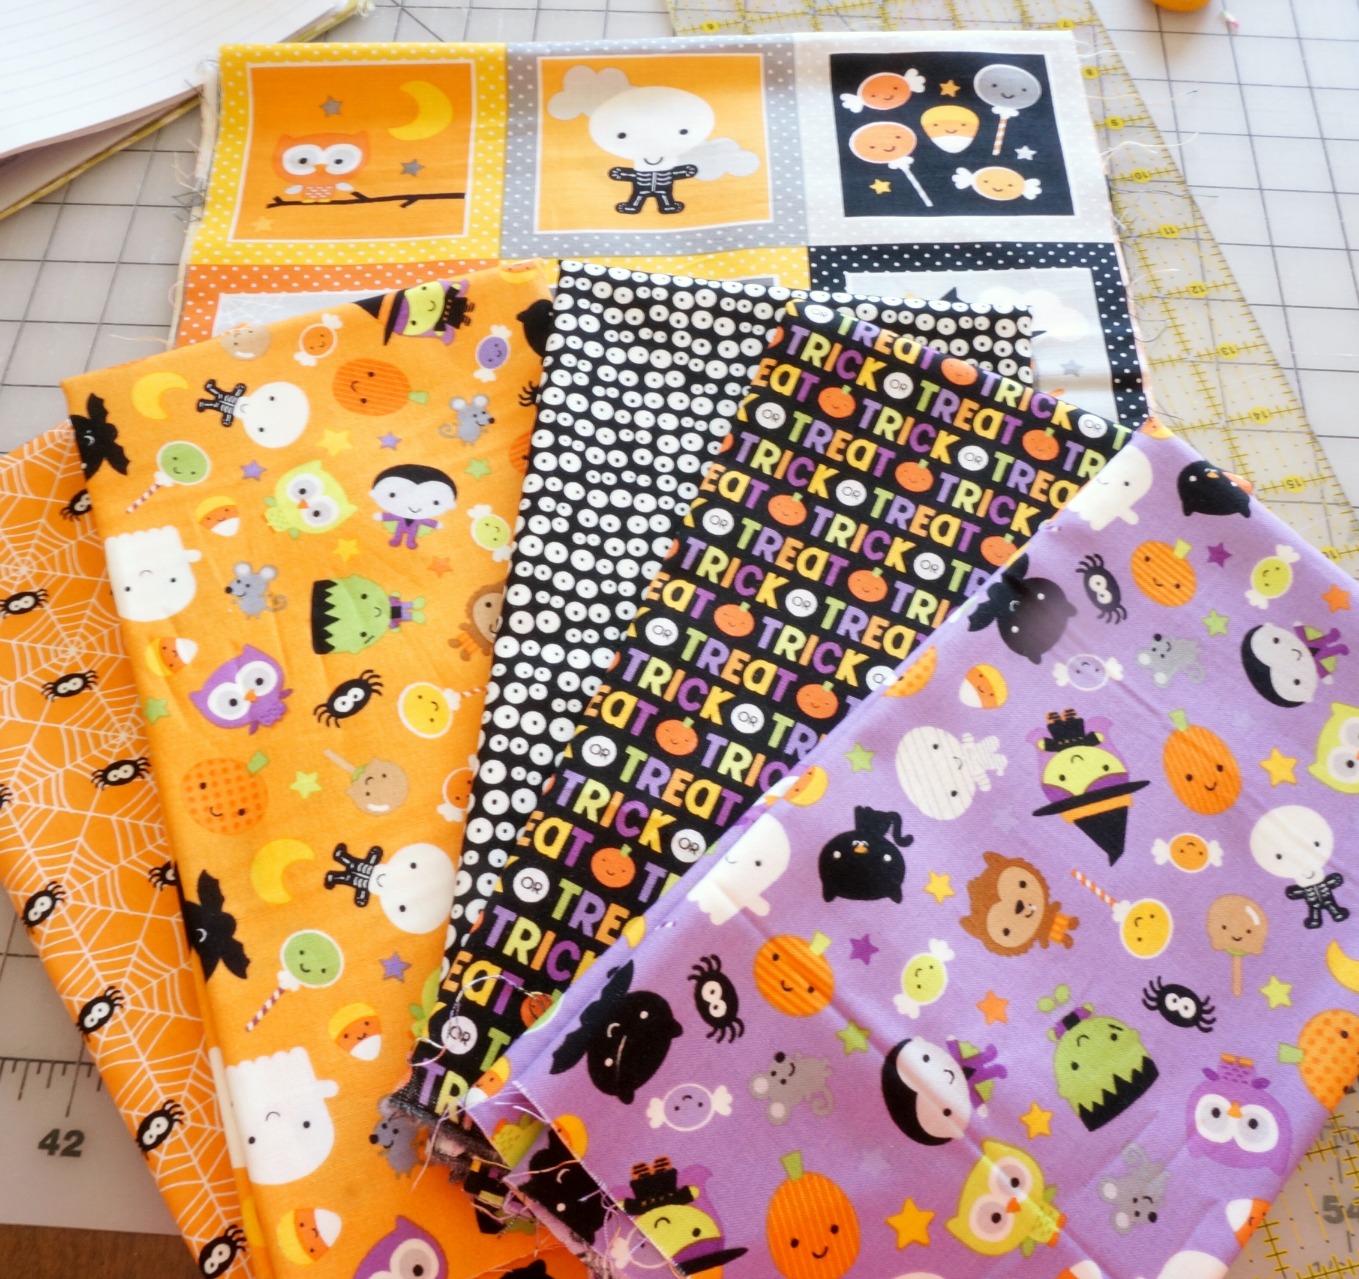
When I first saw this Ghouls and Goodies fabric from Doodlebug Designs, I knew it would make the perfect trick or treat bag for my youngest who will go for the first time this year. I was going to make up a new pattern, but then I found this one by The Cottage Mama right here on the Riley Blake Designs blog and realized there was no need to reinvent the wheel.
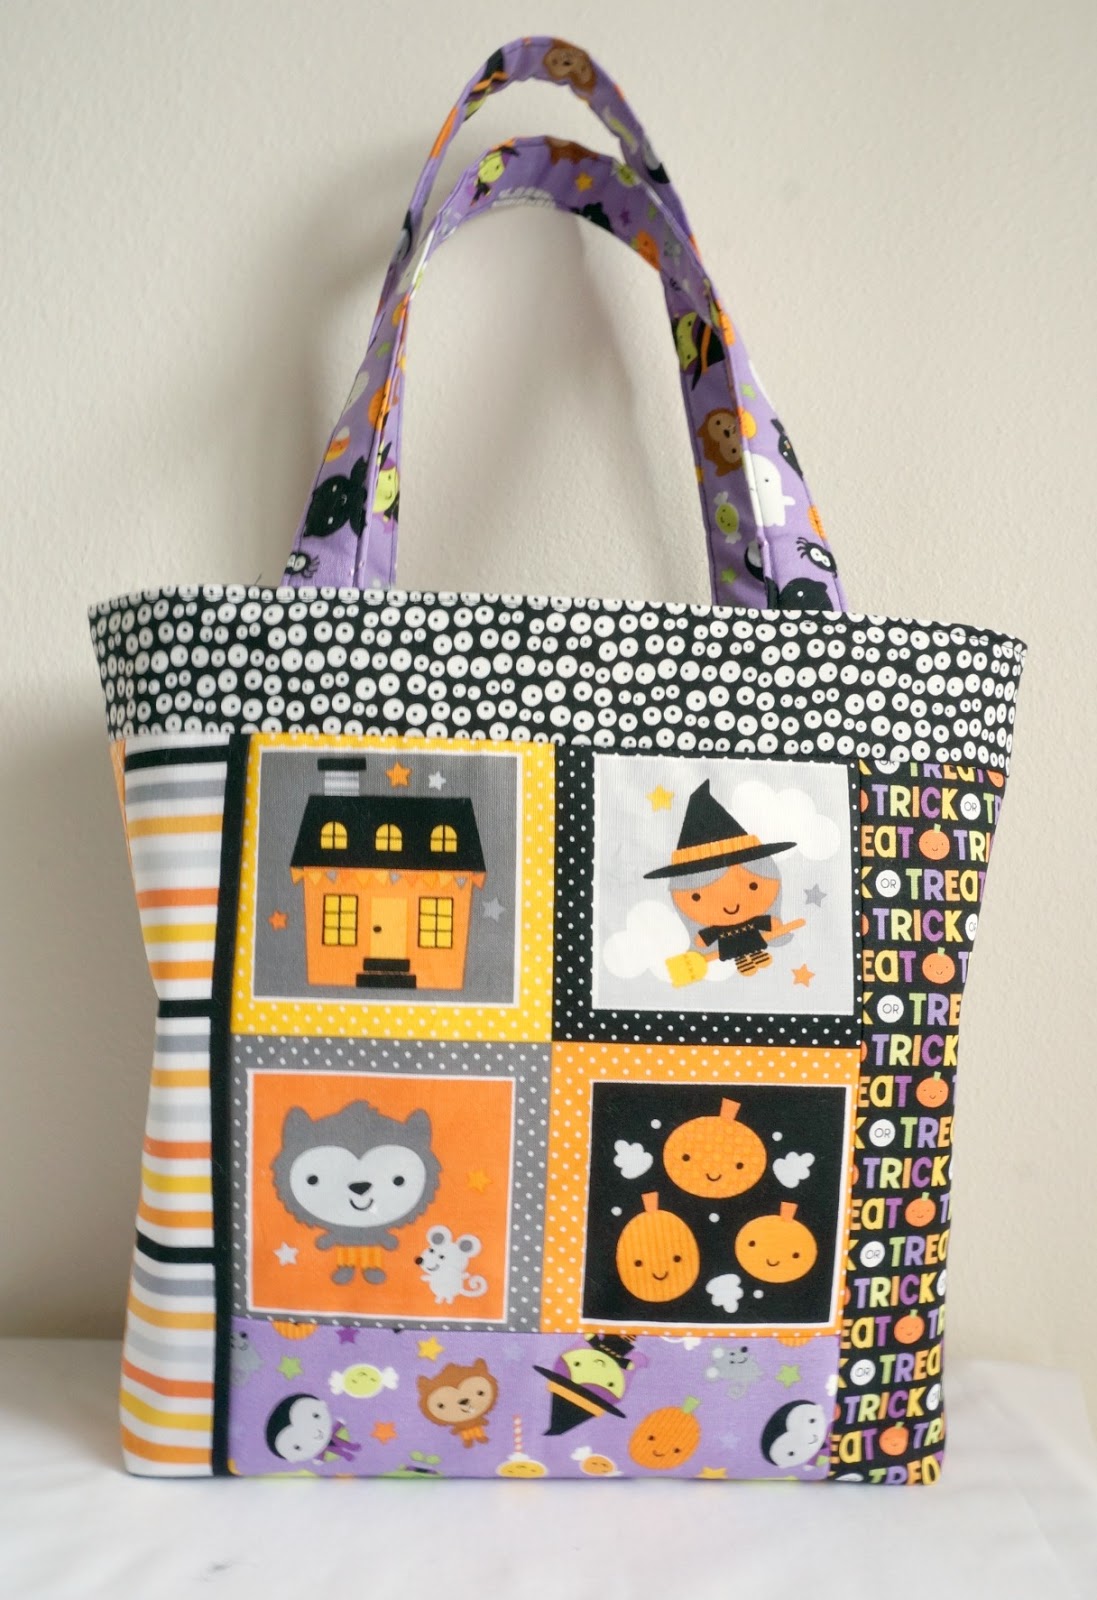
I only made a couple of changes. I used a quilt as you go method to create the front of the bag, starting with a four block section of the panel fabric. The only other change I made was to cut out a 2″ square from the corners instead of a 1″ corner. It makes the bag a bit smaller and deeper.
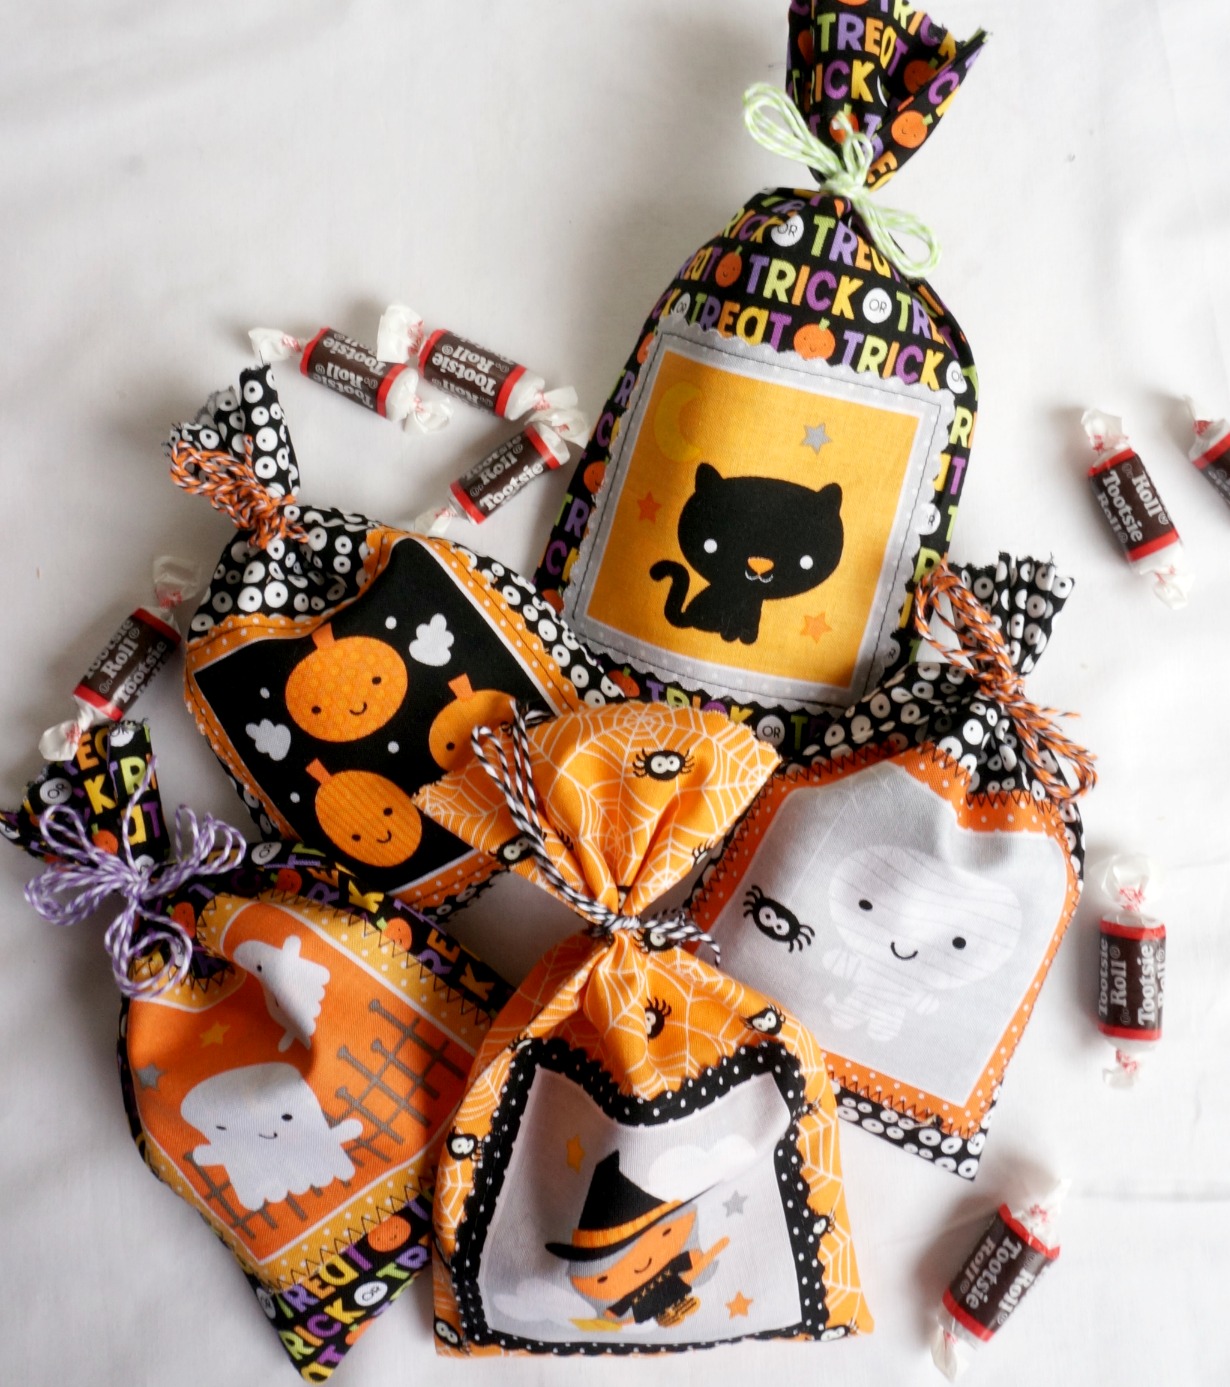
As I was cutting out the squares for the bag front, I had a few squares that were left over. I realized they would be a cute accent for some goodie bags, so- you get a bonus tutorial today!
These are super quick and simple, so they are perfect as favor bags, small gifts for your neighbors or friends, or even to give to your trick or treaters (if you are nice like that). Or switch out the fabric and they work for birthdays, everyday gifts or any holiday you want.

- Place the accent square 1/2″ up from center of strip (or 3/4″ up from bottom of front rectangle if fabric is directional).
- Sew accent square into place. If you don’t have a pinked edge on the accent piece, use a zig zag stitch to sew into place to prevent fraying.
- Fold strip in half, or place rectangles right sides together.
- Sew down sides (and bottom if sewing rectangles) using a 1/4″ seam allowance.
- Turn right side out and press.
- Fill with your favorite treats and tie closed.