Happy Friday! Inspired by a forecast of sunny skies ahead, I decided to whip up a quick and easy baby quilt that is guaranteed to chase away the blues!
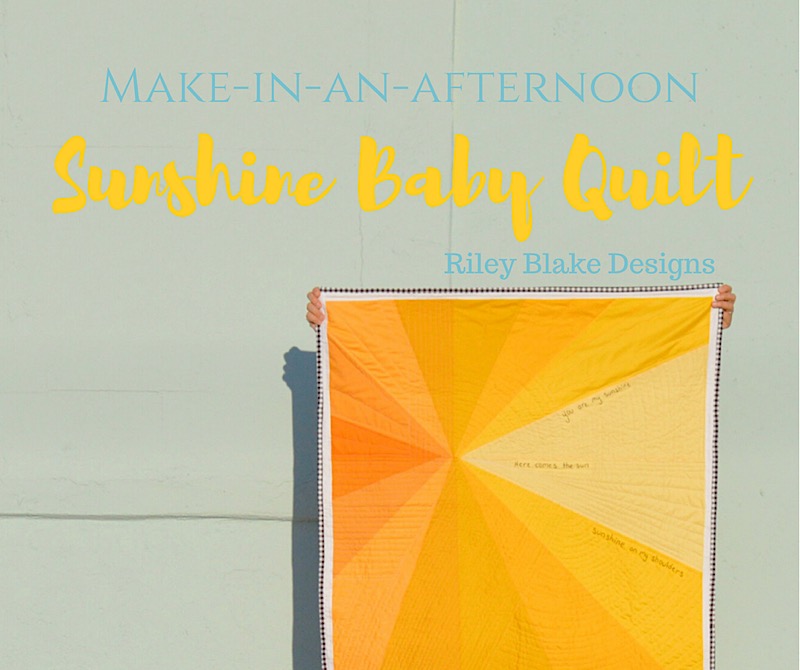
With a handful of these gorgeous Riley Blake Designs Confetti Cottons in various yellow tones, ranging from Sunshine to Cheddar, I set out to quilt up some serious sunshine!
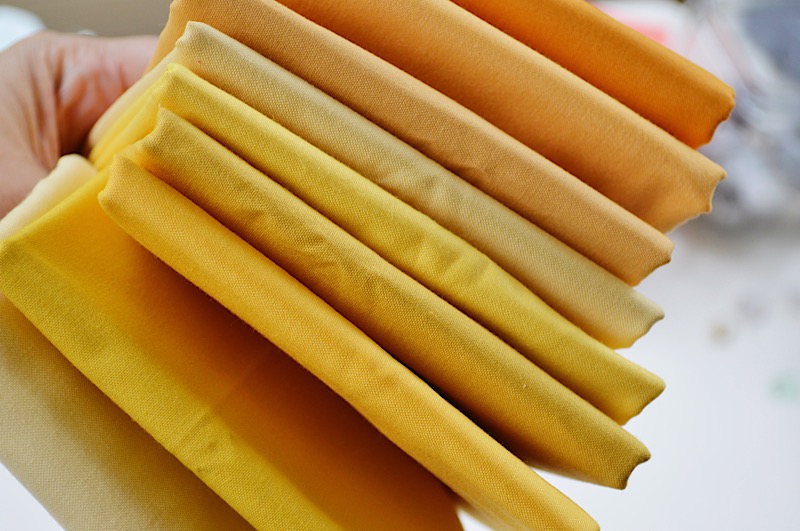
Aren’t those colors just beautiful?
To make this blanket, you will need approximately 1/2 yard of 7-8 different solid color fabrics.

I used Riley Blake Designs Confetti Cottons in Sunshine, Harvest, Daisy, Riley Mustard, Riley Yellow, Daffodil, and Cheddar
To begin, take a large piece of paper (you can use poster board, butcher paper, or tape together multiple pieces of printer paper). I used paper from a large easel pad. I used a ruler to draw straight lines from my starting point, which begins off-center, out to the edges of the paper. I ended up using 7 different colors of fabric, so I drew 6 lines.
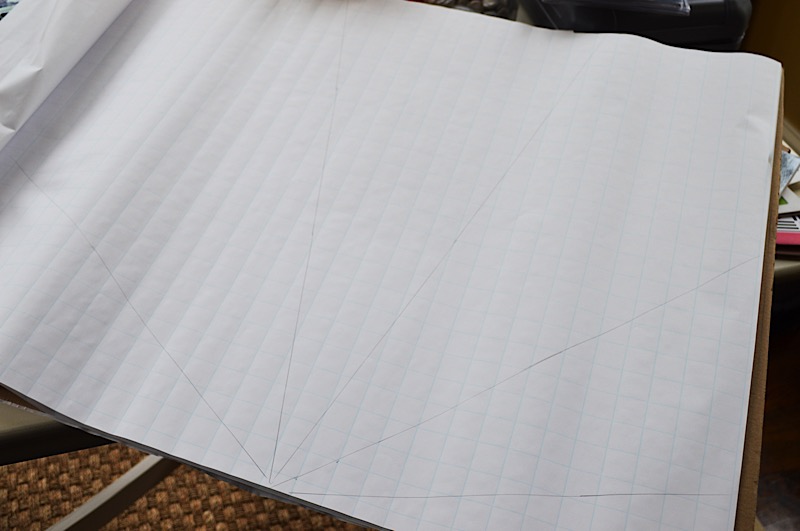
The easel paper measured 25″ x 30″. I wanted my “sun” to measure approximately 36″ x 40″. I used an additional piece of paper as an extender by taping it to one of the short ends. I then used my ruler to extend my lines out by 6.”
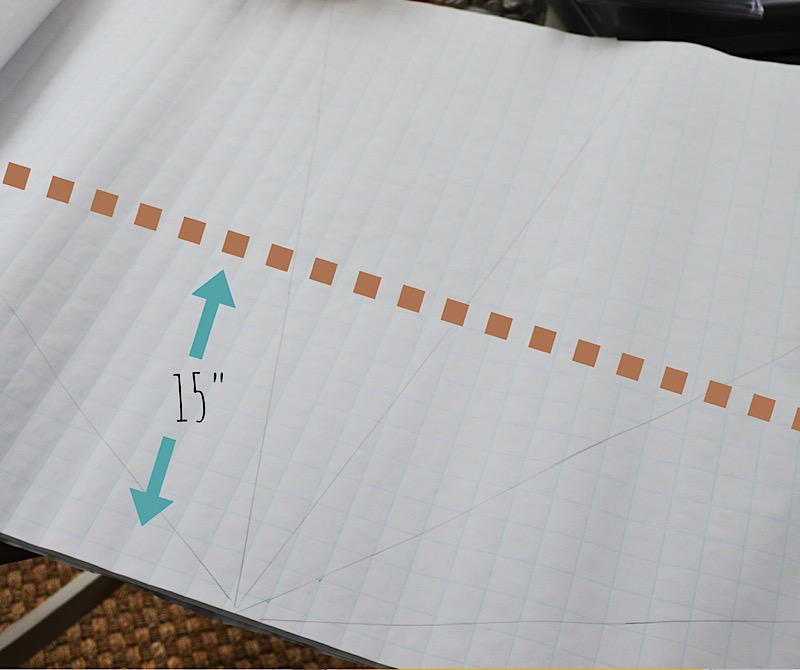
Next, draw a line about 15″ up from what will be the center of my quilt. This line will be used later on.

Number each angle, then cut along each angle line, ignoring the dotted horizontal line (which will be used later on).
Determine the order you want your fabric to appear on the quilt. In my version, I started with Cheddar as my #1 piece (the smallest angle), and gradually moved from dark to light, ending with Sunshine as my #7 piece.
Lay out your pattern piece RIGHT SIDE UP on the fabric. You will be cutting 2 angles from each piece of fabric. So, beginning with pattern piece #1, pin the paper to a single layer of the fabric and cut it out. We will call this first set of angles, Set 1. Repeat for each of the colors/angles.
Next cut the pattern pieces along the dotted line. This will create the 2nd half of your quilt. Lay each pattern piece RIGHT SIDE DOWN on its coordinating fabric (#1 piece goes with Cheddar, and so on). Pin, and cut out. Set these pieces aside for now.
Take your first set of angles and lay them out to make sure you have them in the right order and everything looks just right. Starting with pieces #1 & #2, sew the angles together using a 1/4″ seam allowance. Press each seam as you go. Continue until you have the first set of angles sewn together to make half of your quilt. Trim the edges where necessary.
Repeat this process for the 2nd half of the quilt, which has the shorter length angles. Press the seams along the way and trim as necessary when finished.
Now it’s time to put the two halves together. Simply line them up, matching the center of your sun as best as possible, and stitch, again using a 1/4″ seam allowance. Press.
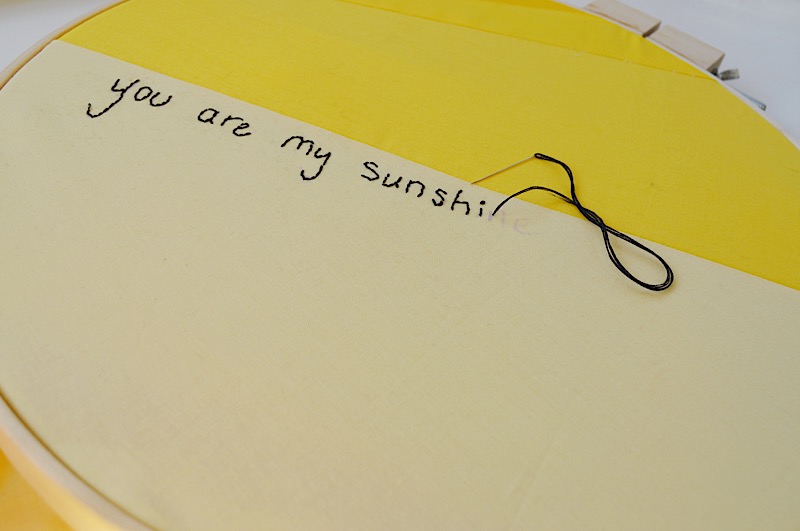
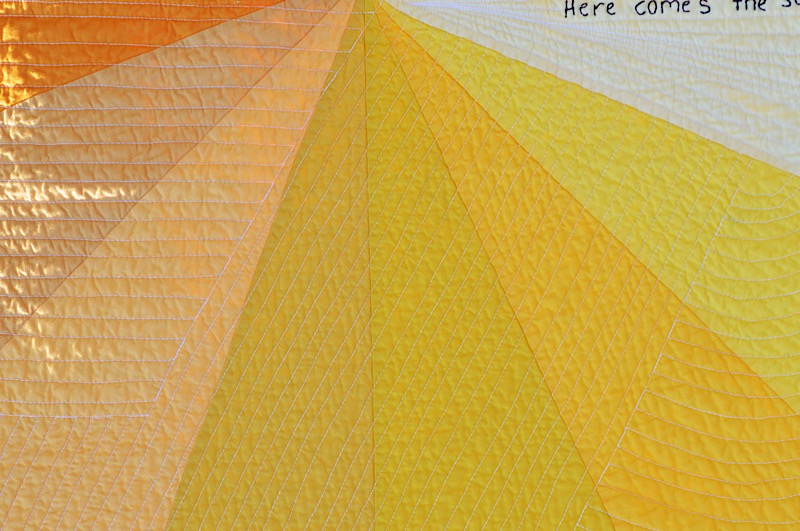
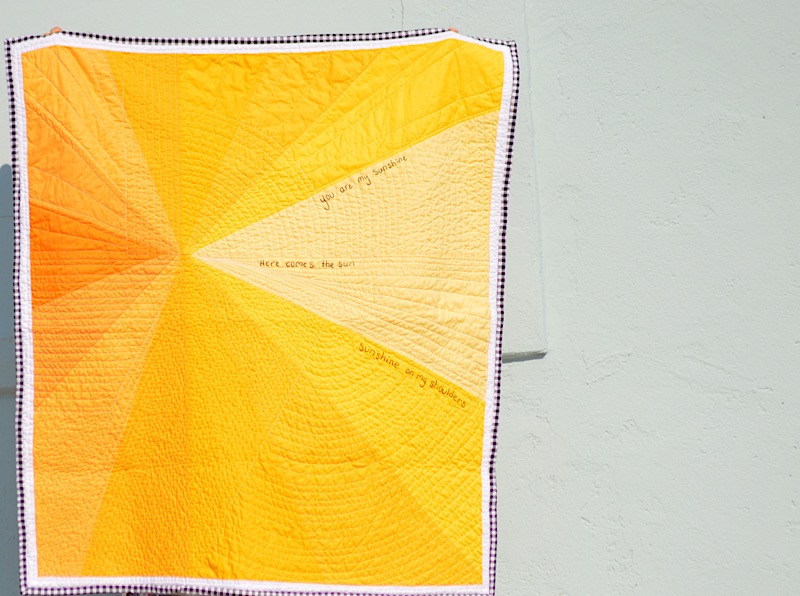
At this point, I opted to embroider several little sunshine phrases. “You are my sunshine,” “Sunshine on my shoulders,” and “Here comes the sun.” You could skip this, or you could even add more sayings to your quilt.

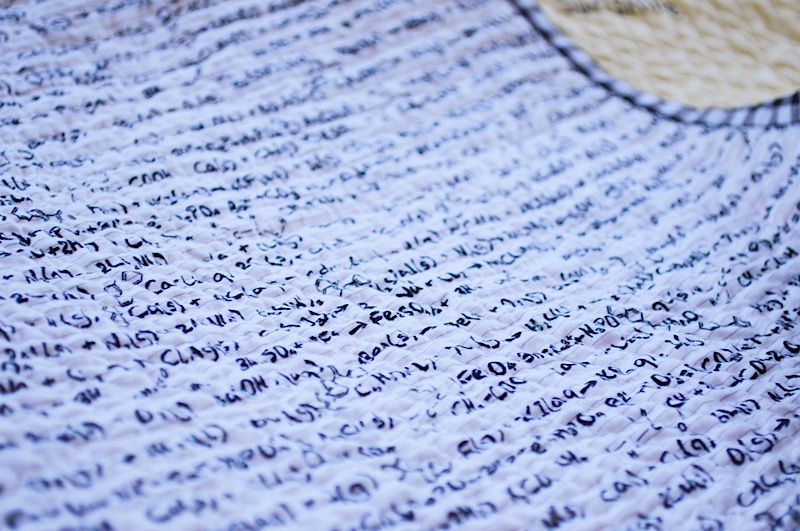
I added a 1.5″ border in Riley White, and backed it with this fun Science Equation fabric designed by Becky Marie Designs.
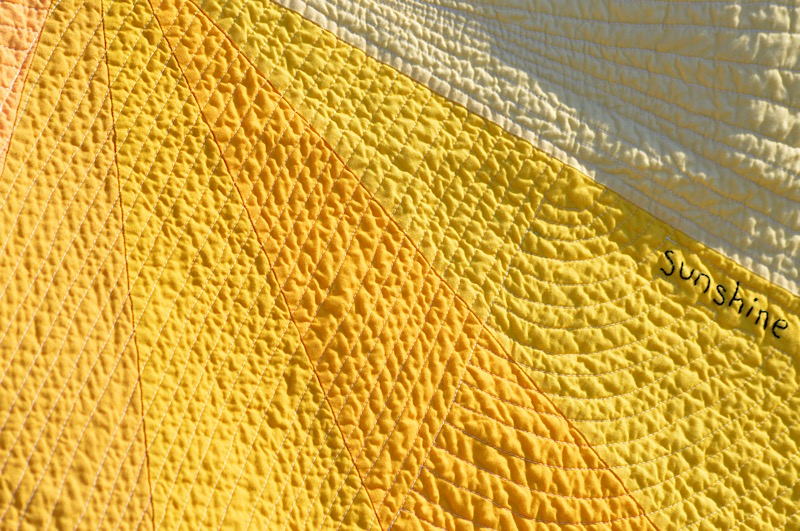
I played around with the quilting. You can really do anything here, from hand quilting, to a looser, more basic design, or you can keep it tight like I did here.
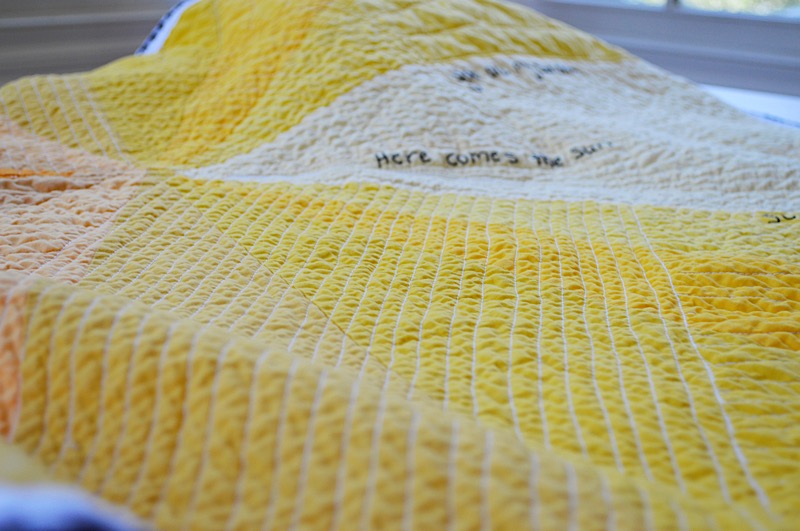
Don’t you just love how the fabric achieves it’s cozy, crinkly perfection after going through the wash?

For the binding, I used my favorite 1/4″ Black & White GINGHAM. You can find a fantastic binding tutorial HERE.
I want to give special thanks and credit to YOU AND MIE for this idea. While I adapted her picnic blanket idea for a baby quilt, the creative genius is all hers. Be sure to stop by her BLOG for more detailed photos, instructions and plenty of inspiration!
Check out our full range of Confetti Cottons HERE.
Happy Sewing!