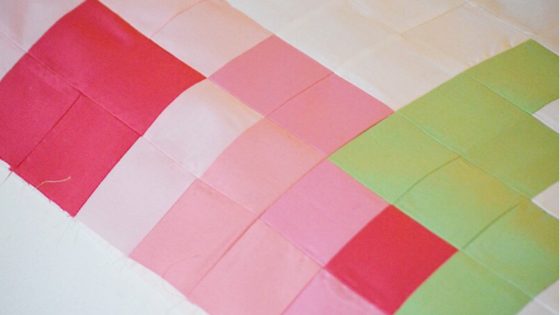
Happy Friday! I hope everyone is feeling good about their week and ready to tackle the first row in our PIXELATED ROSE QUILT.
LAST WEEK, I introduced you to the FREE PIXELATED ROSE QUILT PATTERN DOWNLOAD, and we talked about fabric requirements. Now that we have gathered up our fabrics and cut them into a million squares, let’s begin!
According to directions on the pattern, it is very important to assemble the blocks in numerical order. Working with all of these squares can be mind boggling, so the key is to stay organized.
With that in mind, I started by laying out Block #1. I like to use Lori Holt’s DISPLAY BOARDS. They hold all of my little squares in place, and this allows me to carry the squares around, as I move from cuttin mat to sewing machine to ironing board, and so forth.
Once you have your squares laid out according to the pattern, you can begin sewing them together using a 1/4″ seam allowance.
After I complete a row, I go back and press the stitching, as shown above. This sets the seam and gives you a cleaner finish.
Next, on the pattern instructions, you’ll see that it tells you to press the seams of each row in opposite directions. Above is a picture of what that looks like. Doing this reduces bulk, which gives you a nicer finished product.
After you have completed each of the six rows in the block, it is time to sew them together. Lay the first two rows right sides together, butting up the seams, as shown in the above photo.
After you have sewn the rows together, press the seams OPEN, as pictured above. I press along the back seams…
…and then I press again on the front. Here is what the block will look like when it is finished.
Follow the same steps to complete each of Blocks 1-5 in the first row. At this point, I like to lay out my blocks to make sure I have them oriented correctly and in the right order. It’s easy to get turned around with all of these little squares, so double checking each step along the way is helpful. Once you have made sure everything is just right, it’s time to sew the blocks together. I lay the blocks right sides together, match up the seams, and them pin them in place, so everything stays lined up just right as I am sewing.
Once the blocks are sewing together, press the seams open. The press the front. And there you have it! Row One is finished!
The Pixelated Rose Quilt looks much more difficult that it actually is. For this reason, this is a great quilt for beginners Beginners will be working with simple squares, and can learn how to keep a neat 1/4″ seam allowance, how to press the seams, and butt up seams as they stitch rows together. They will also have the satisfaction of making something that is practically a work of art!
Until next week!


