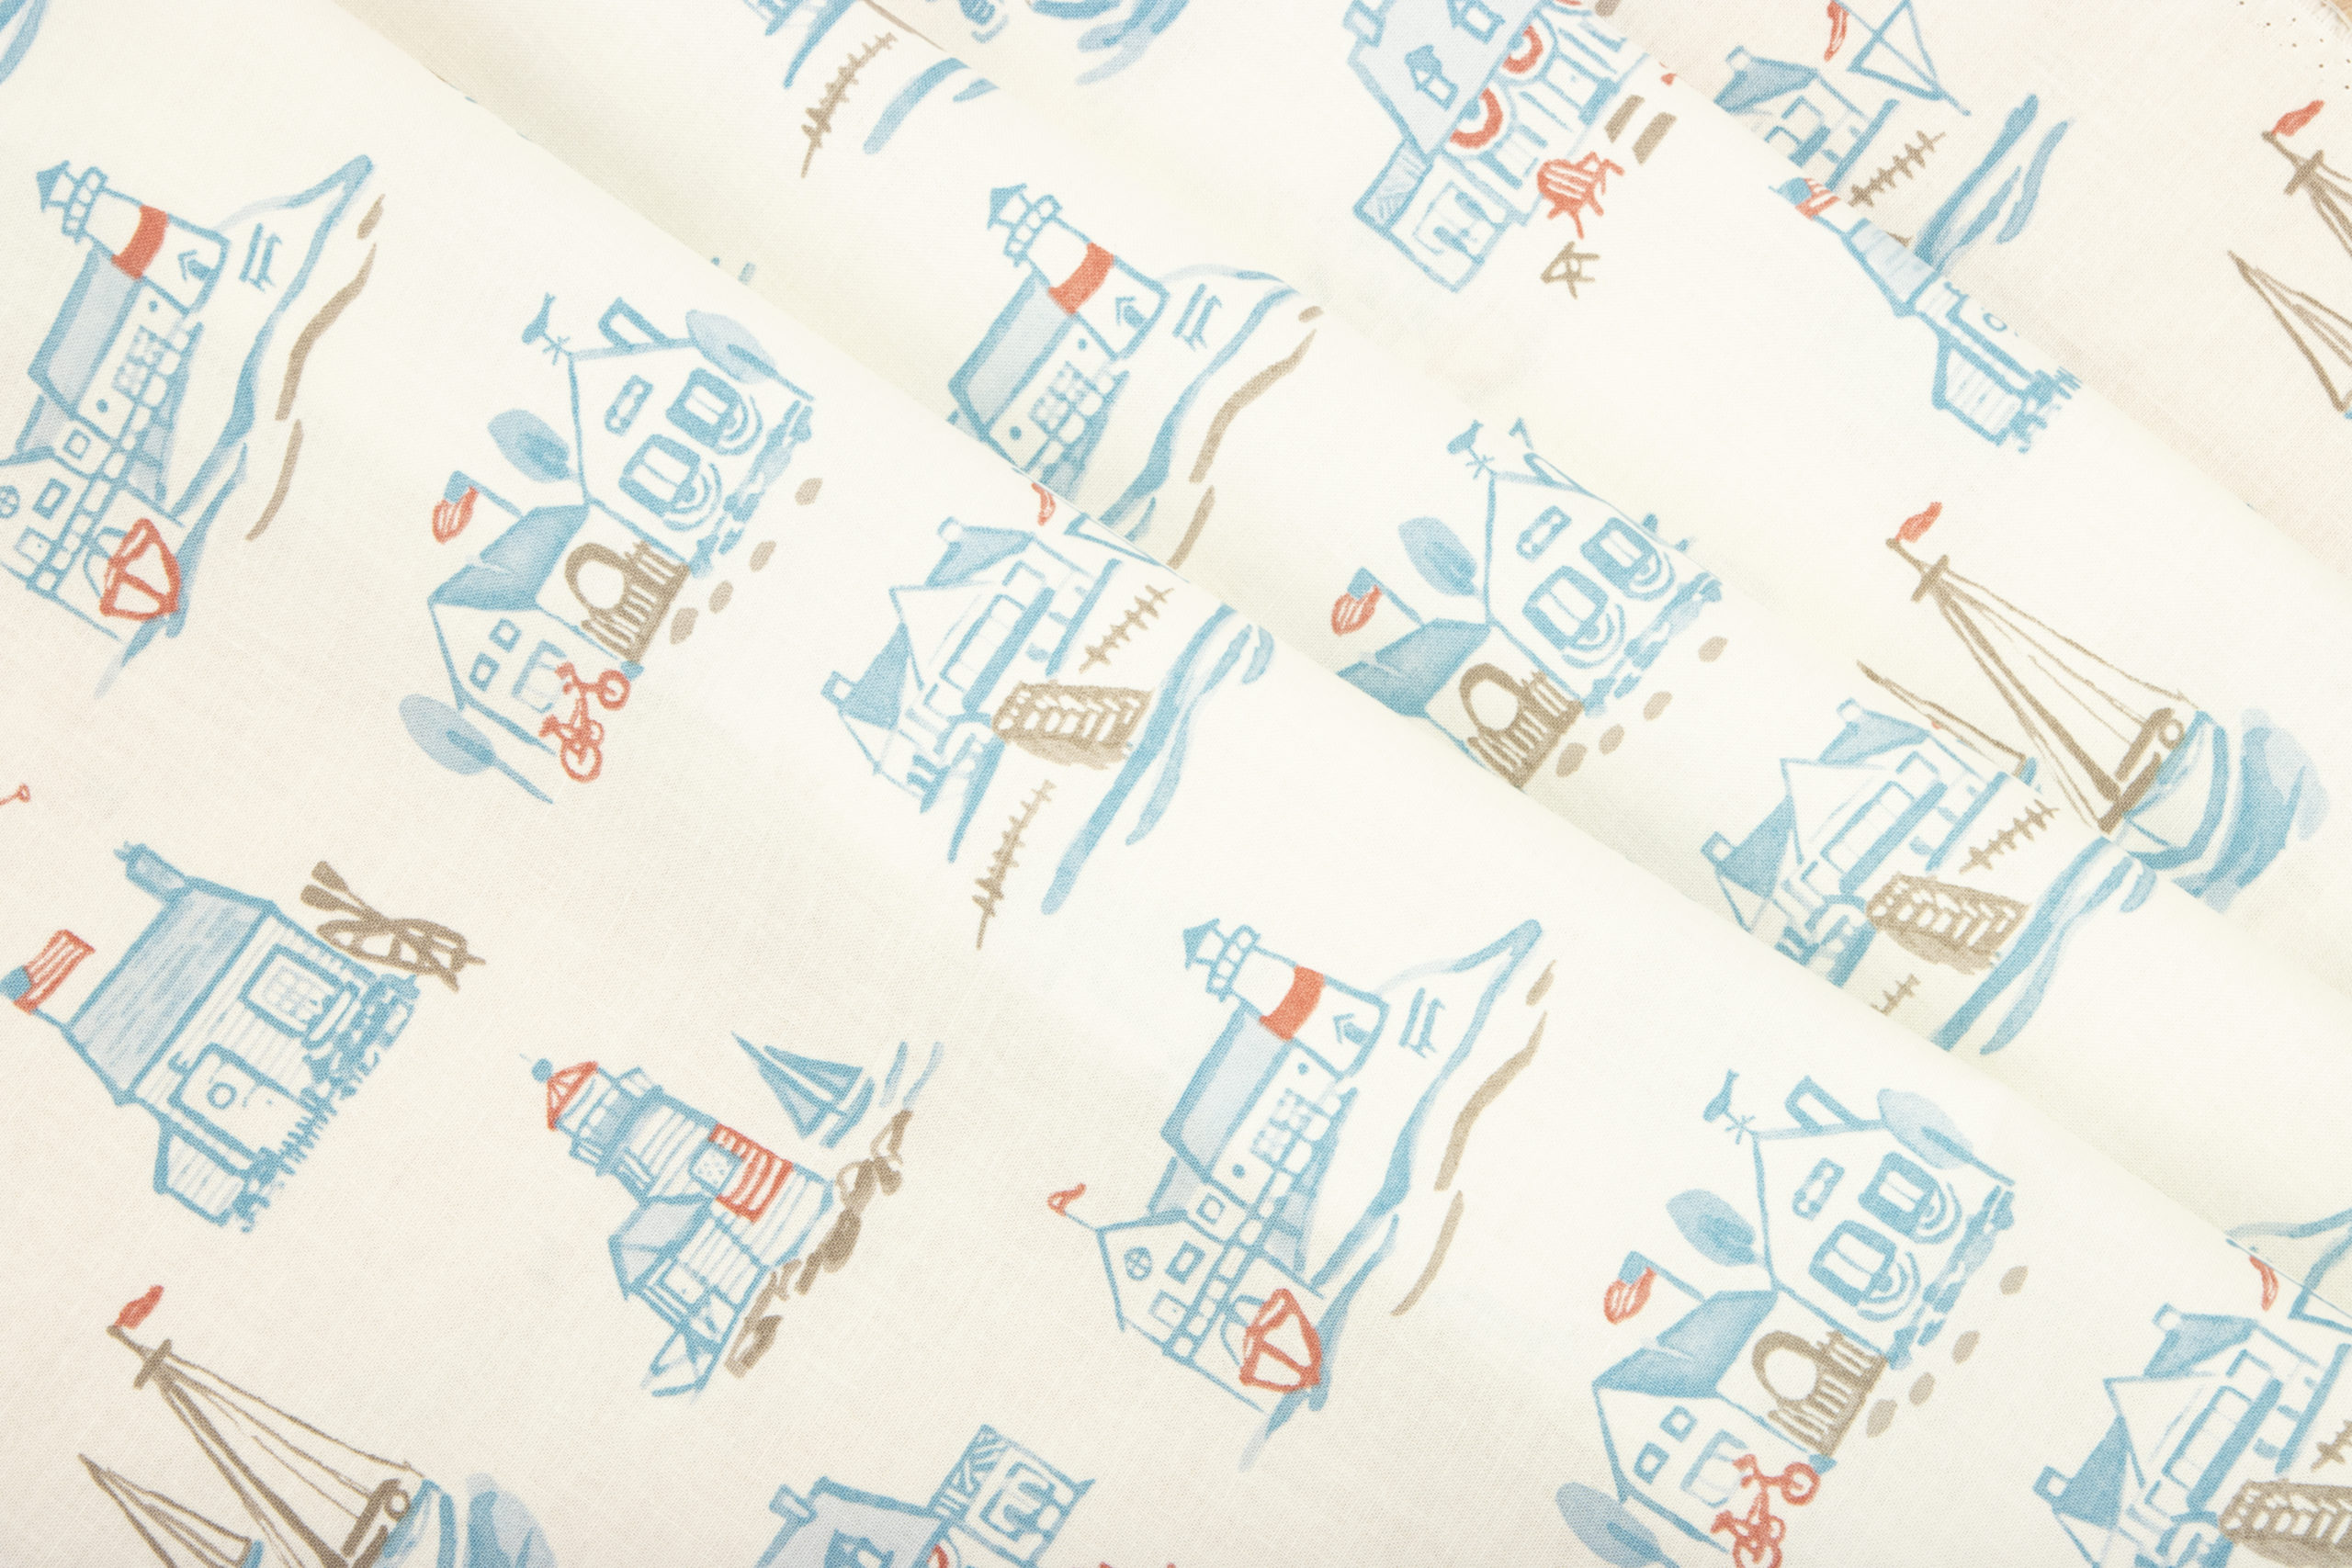
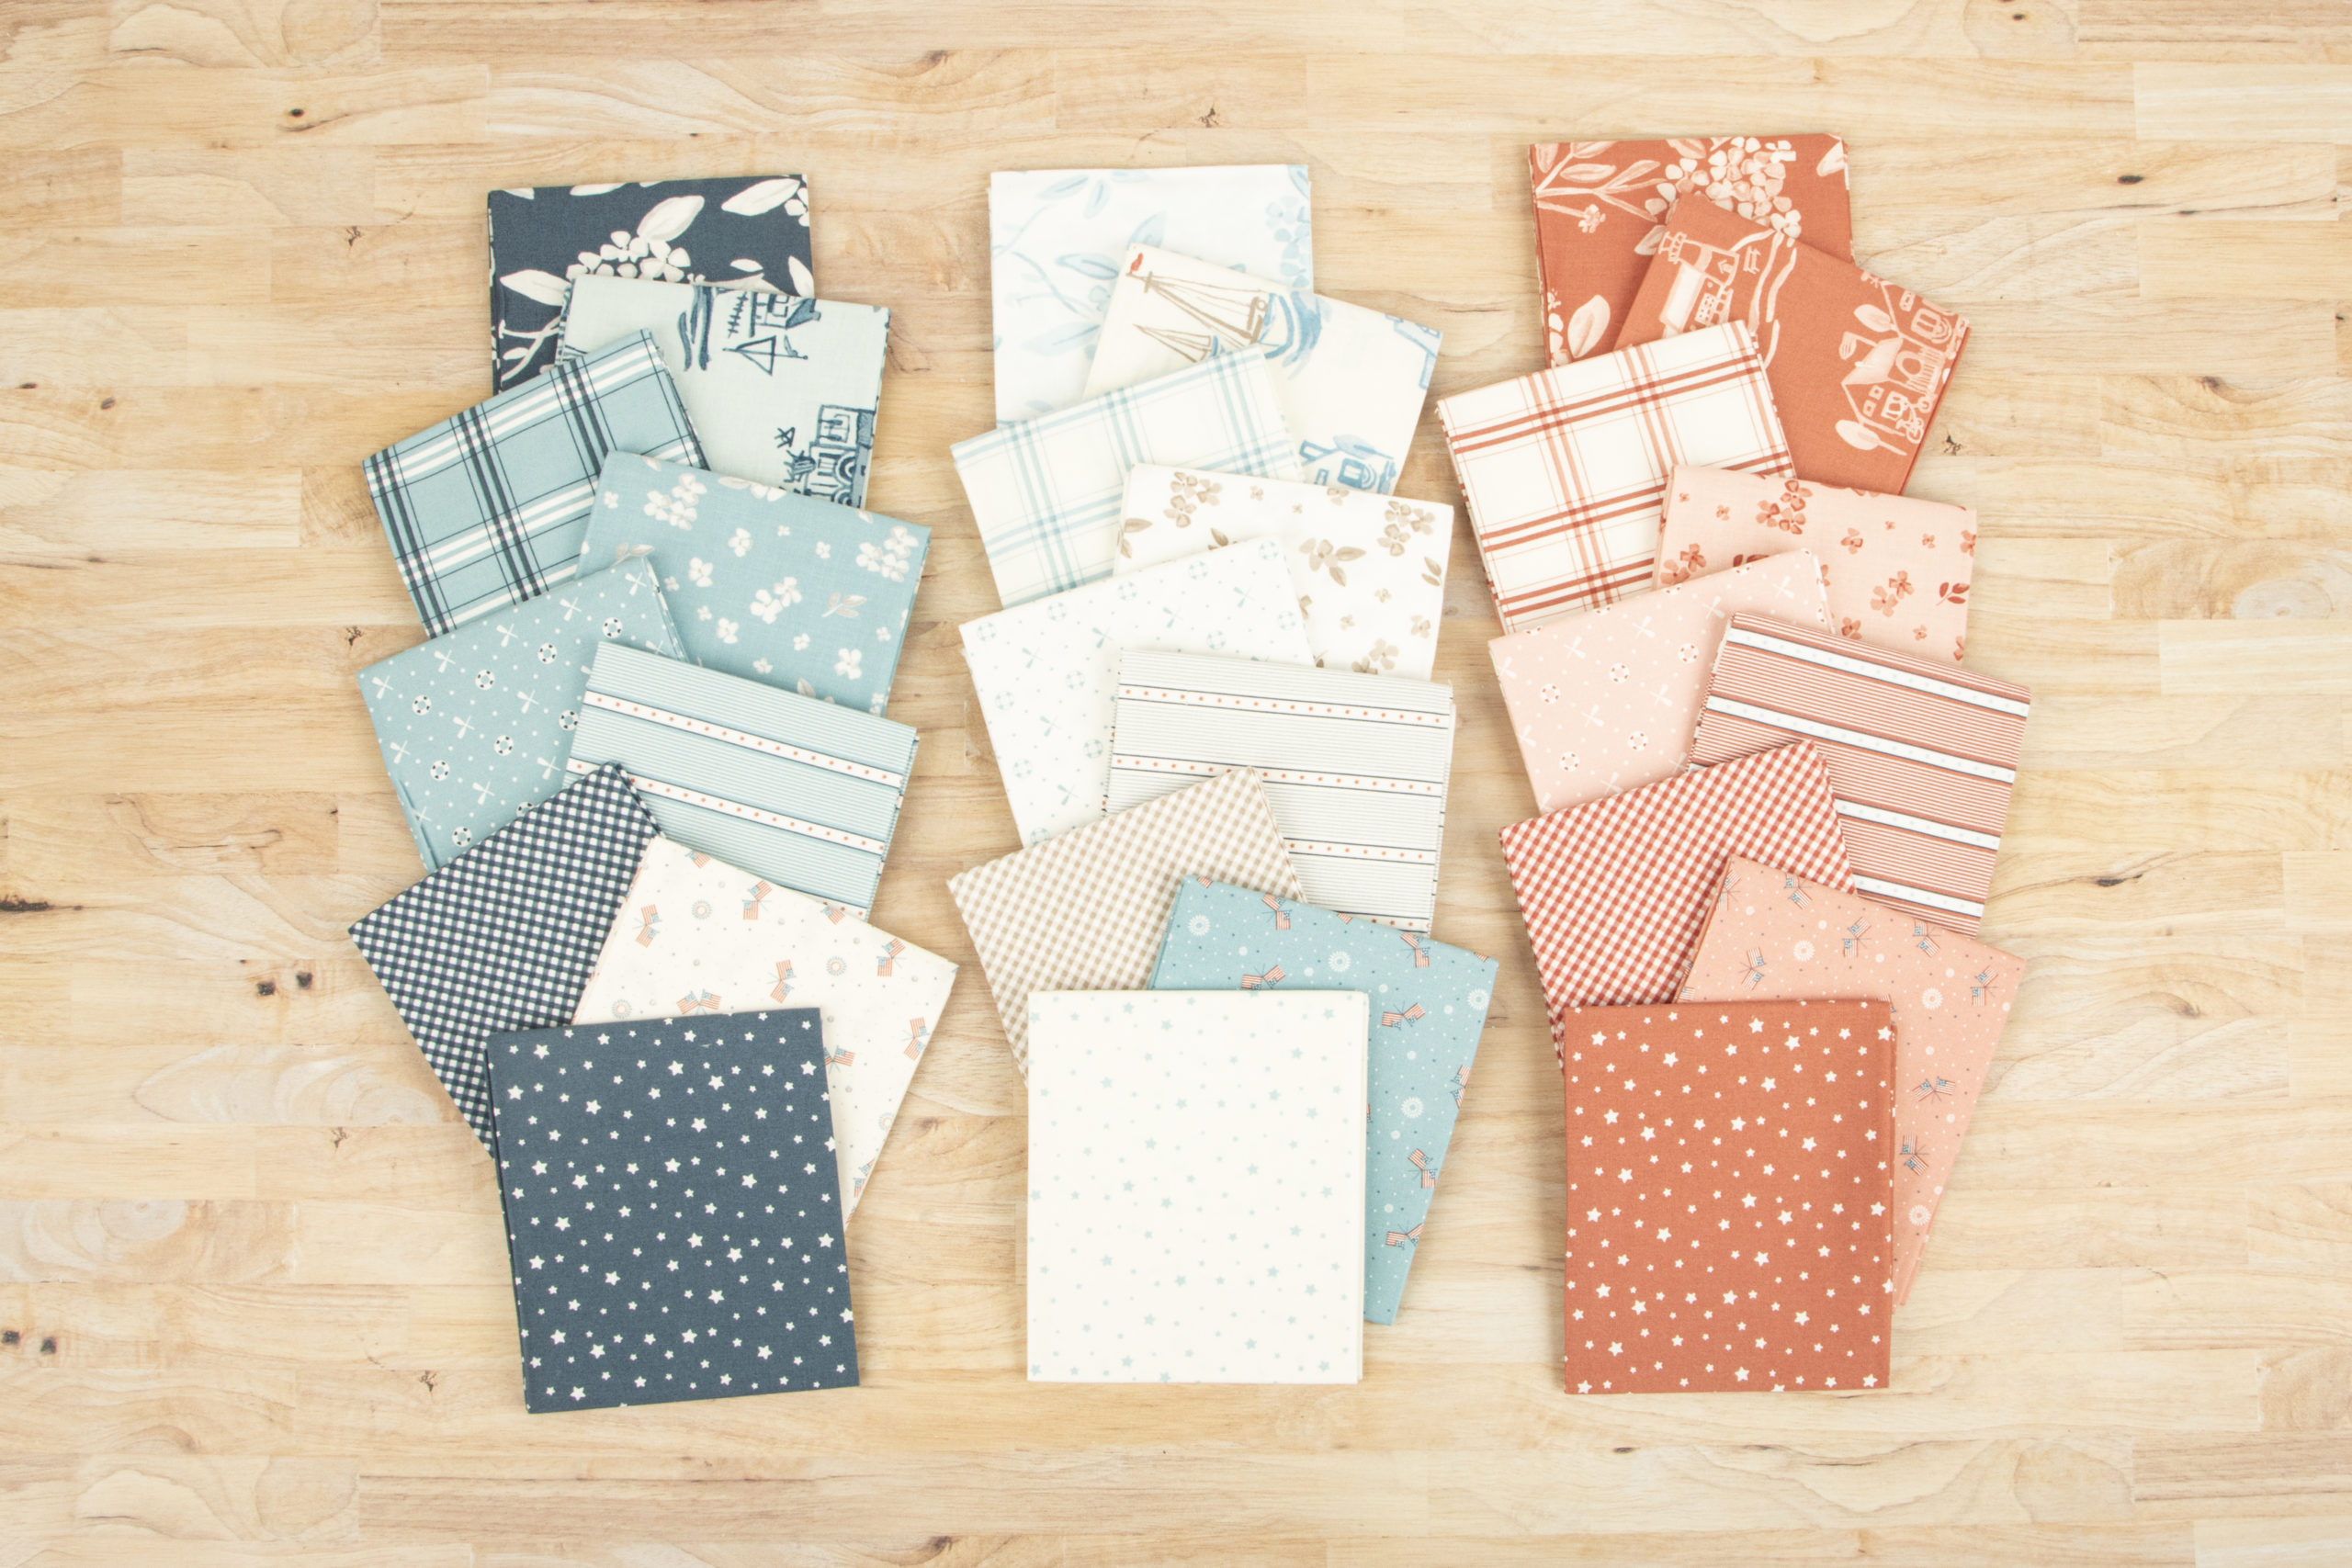
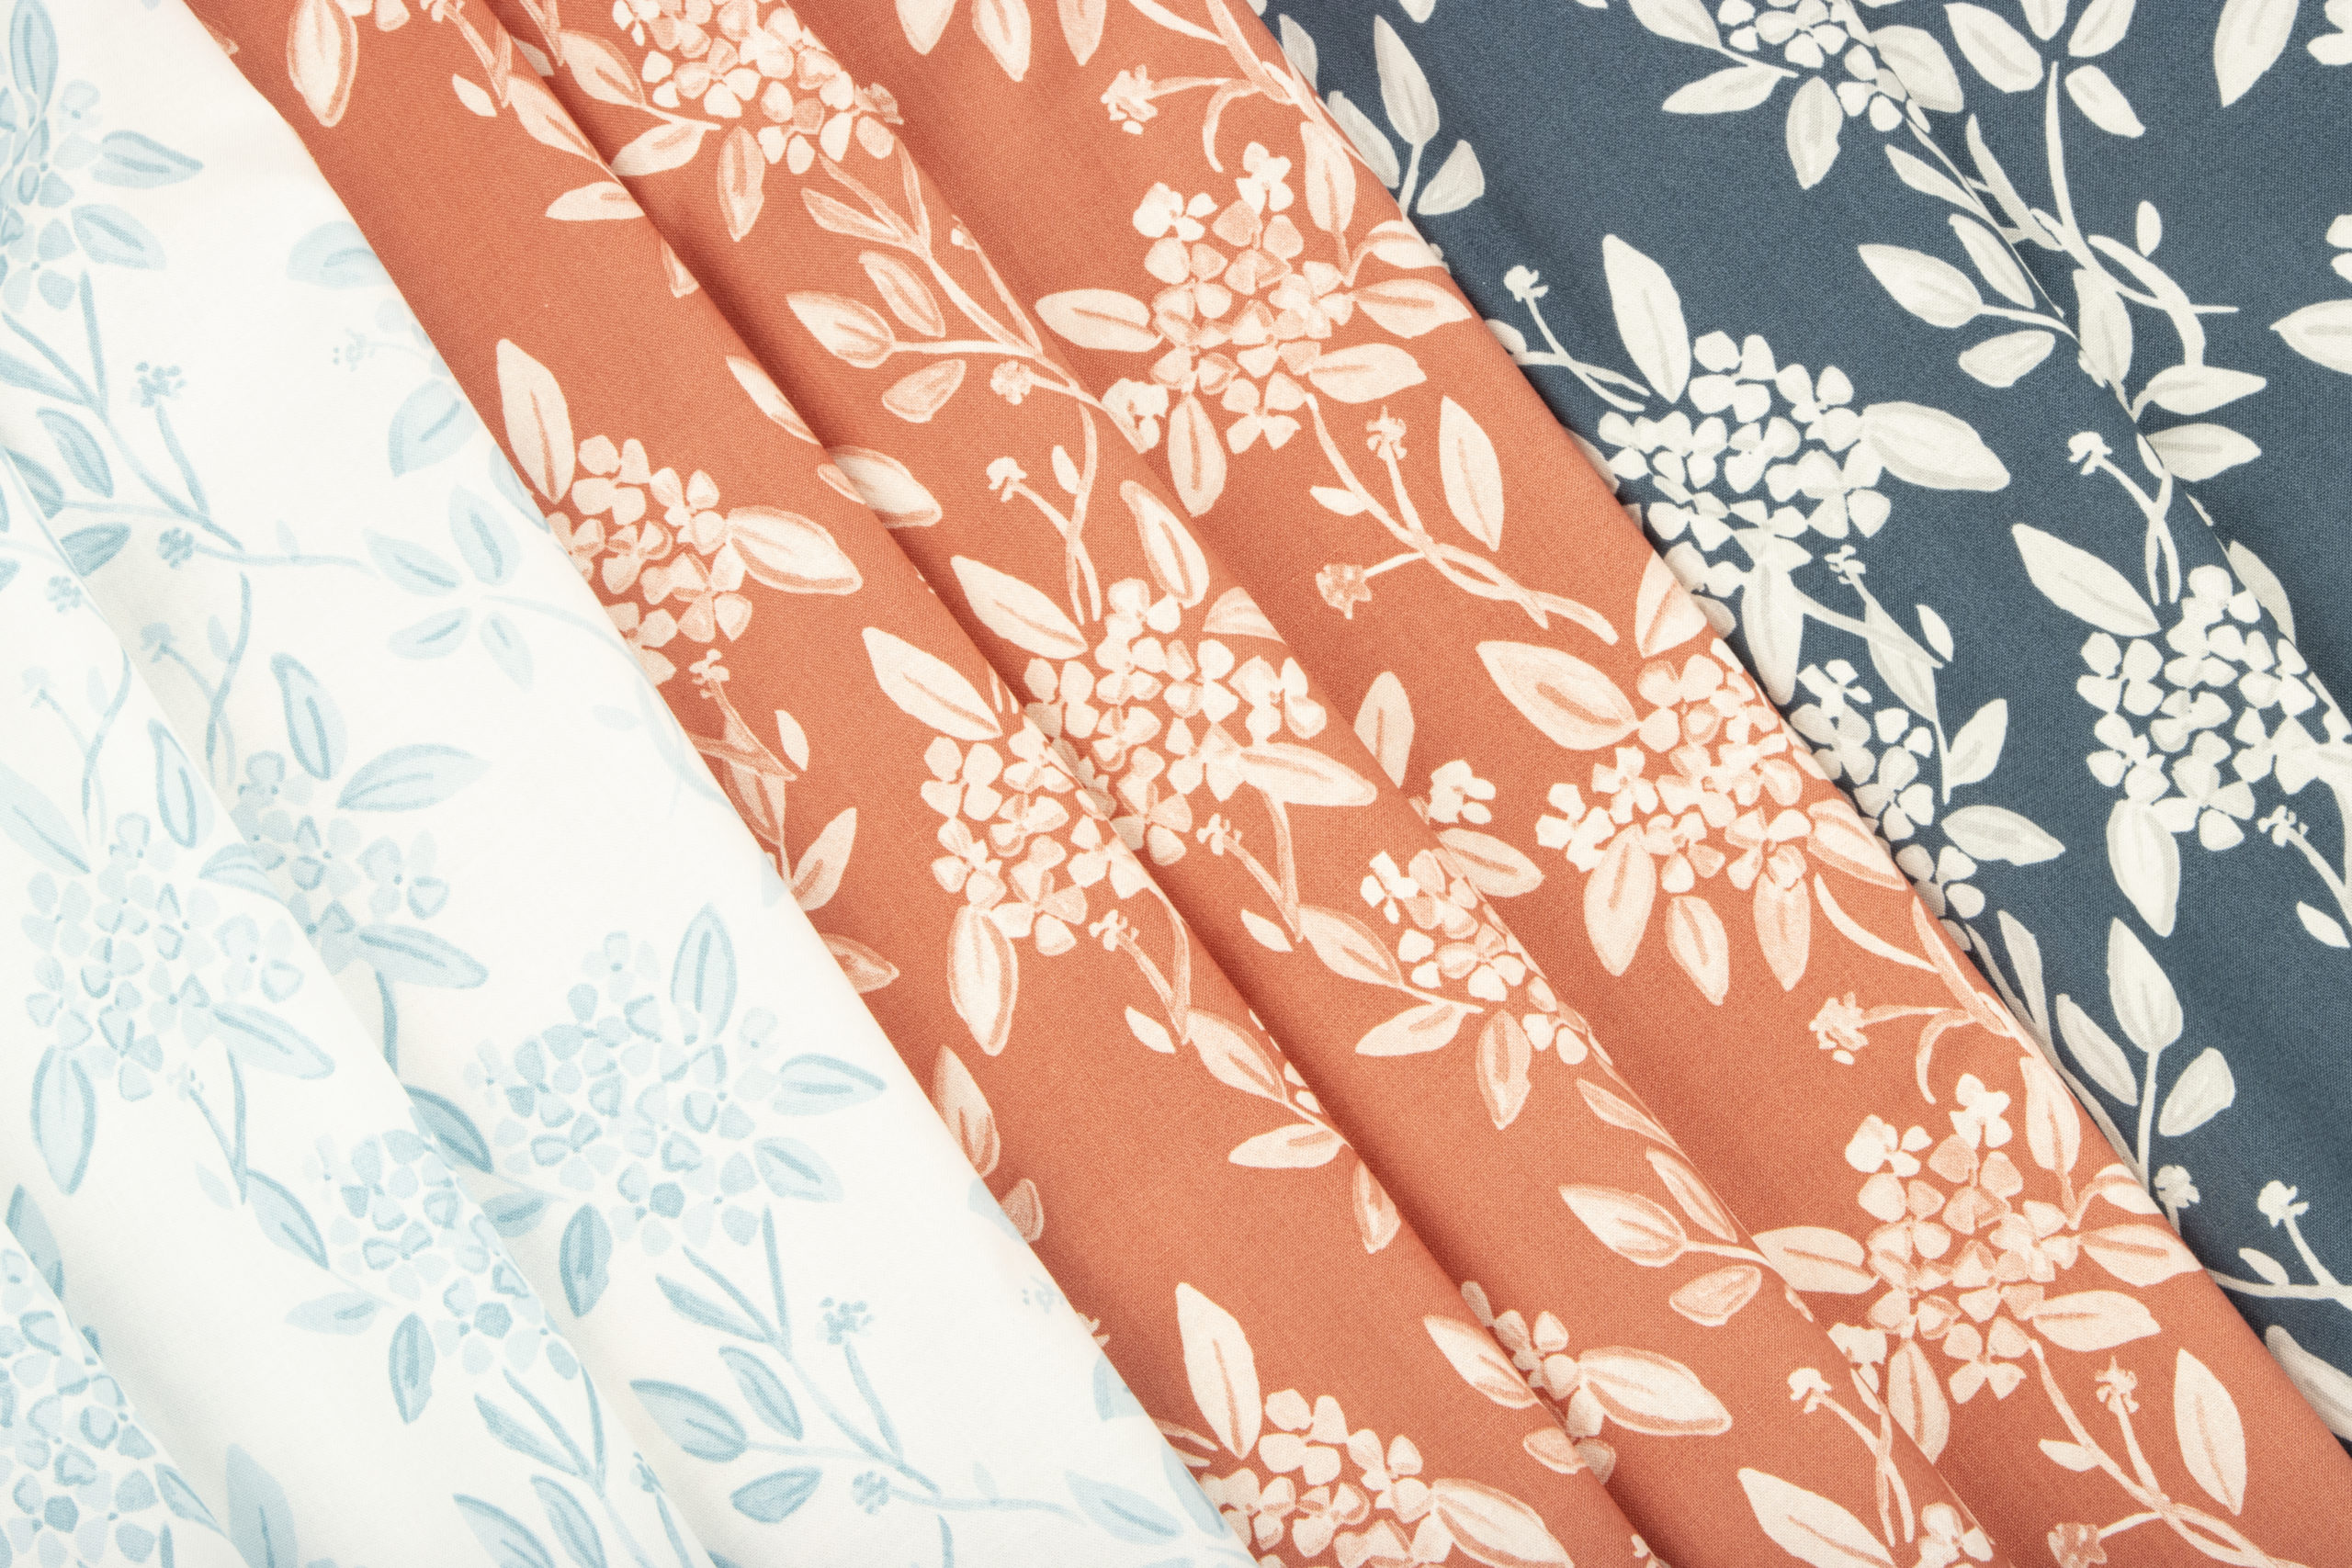
Hi friends! It’s Alyssa from Hark Quilts. I’m so excited to share with you this whole cloth quilt I made from this new collection, Portsmouth. Designed by Amy Smart of Diary of a Quilter, Portsmouth features stars, flags, gingham, plaid, hydrangeas, and the most adorable nautical scenes.
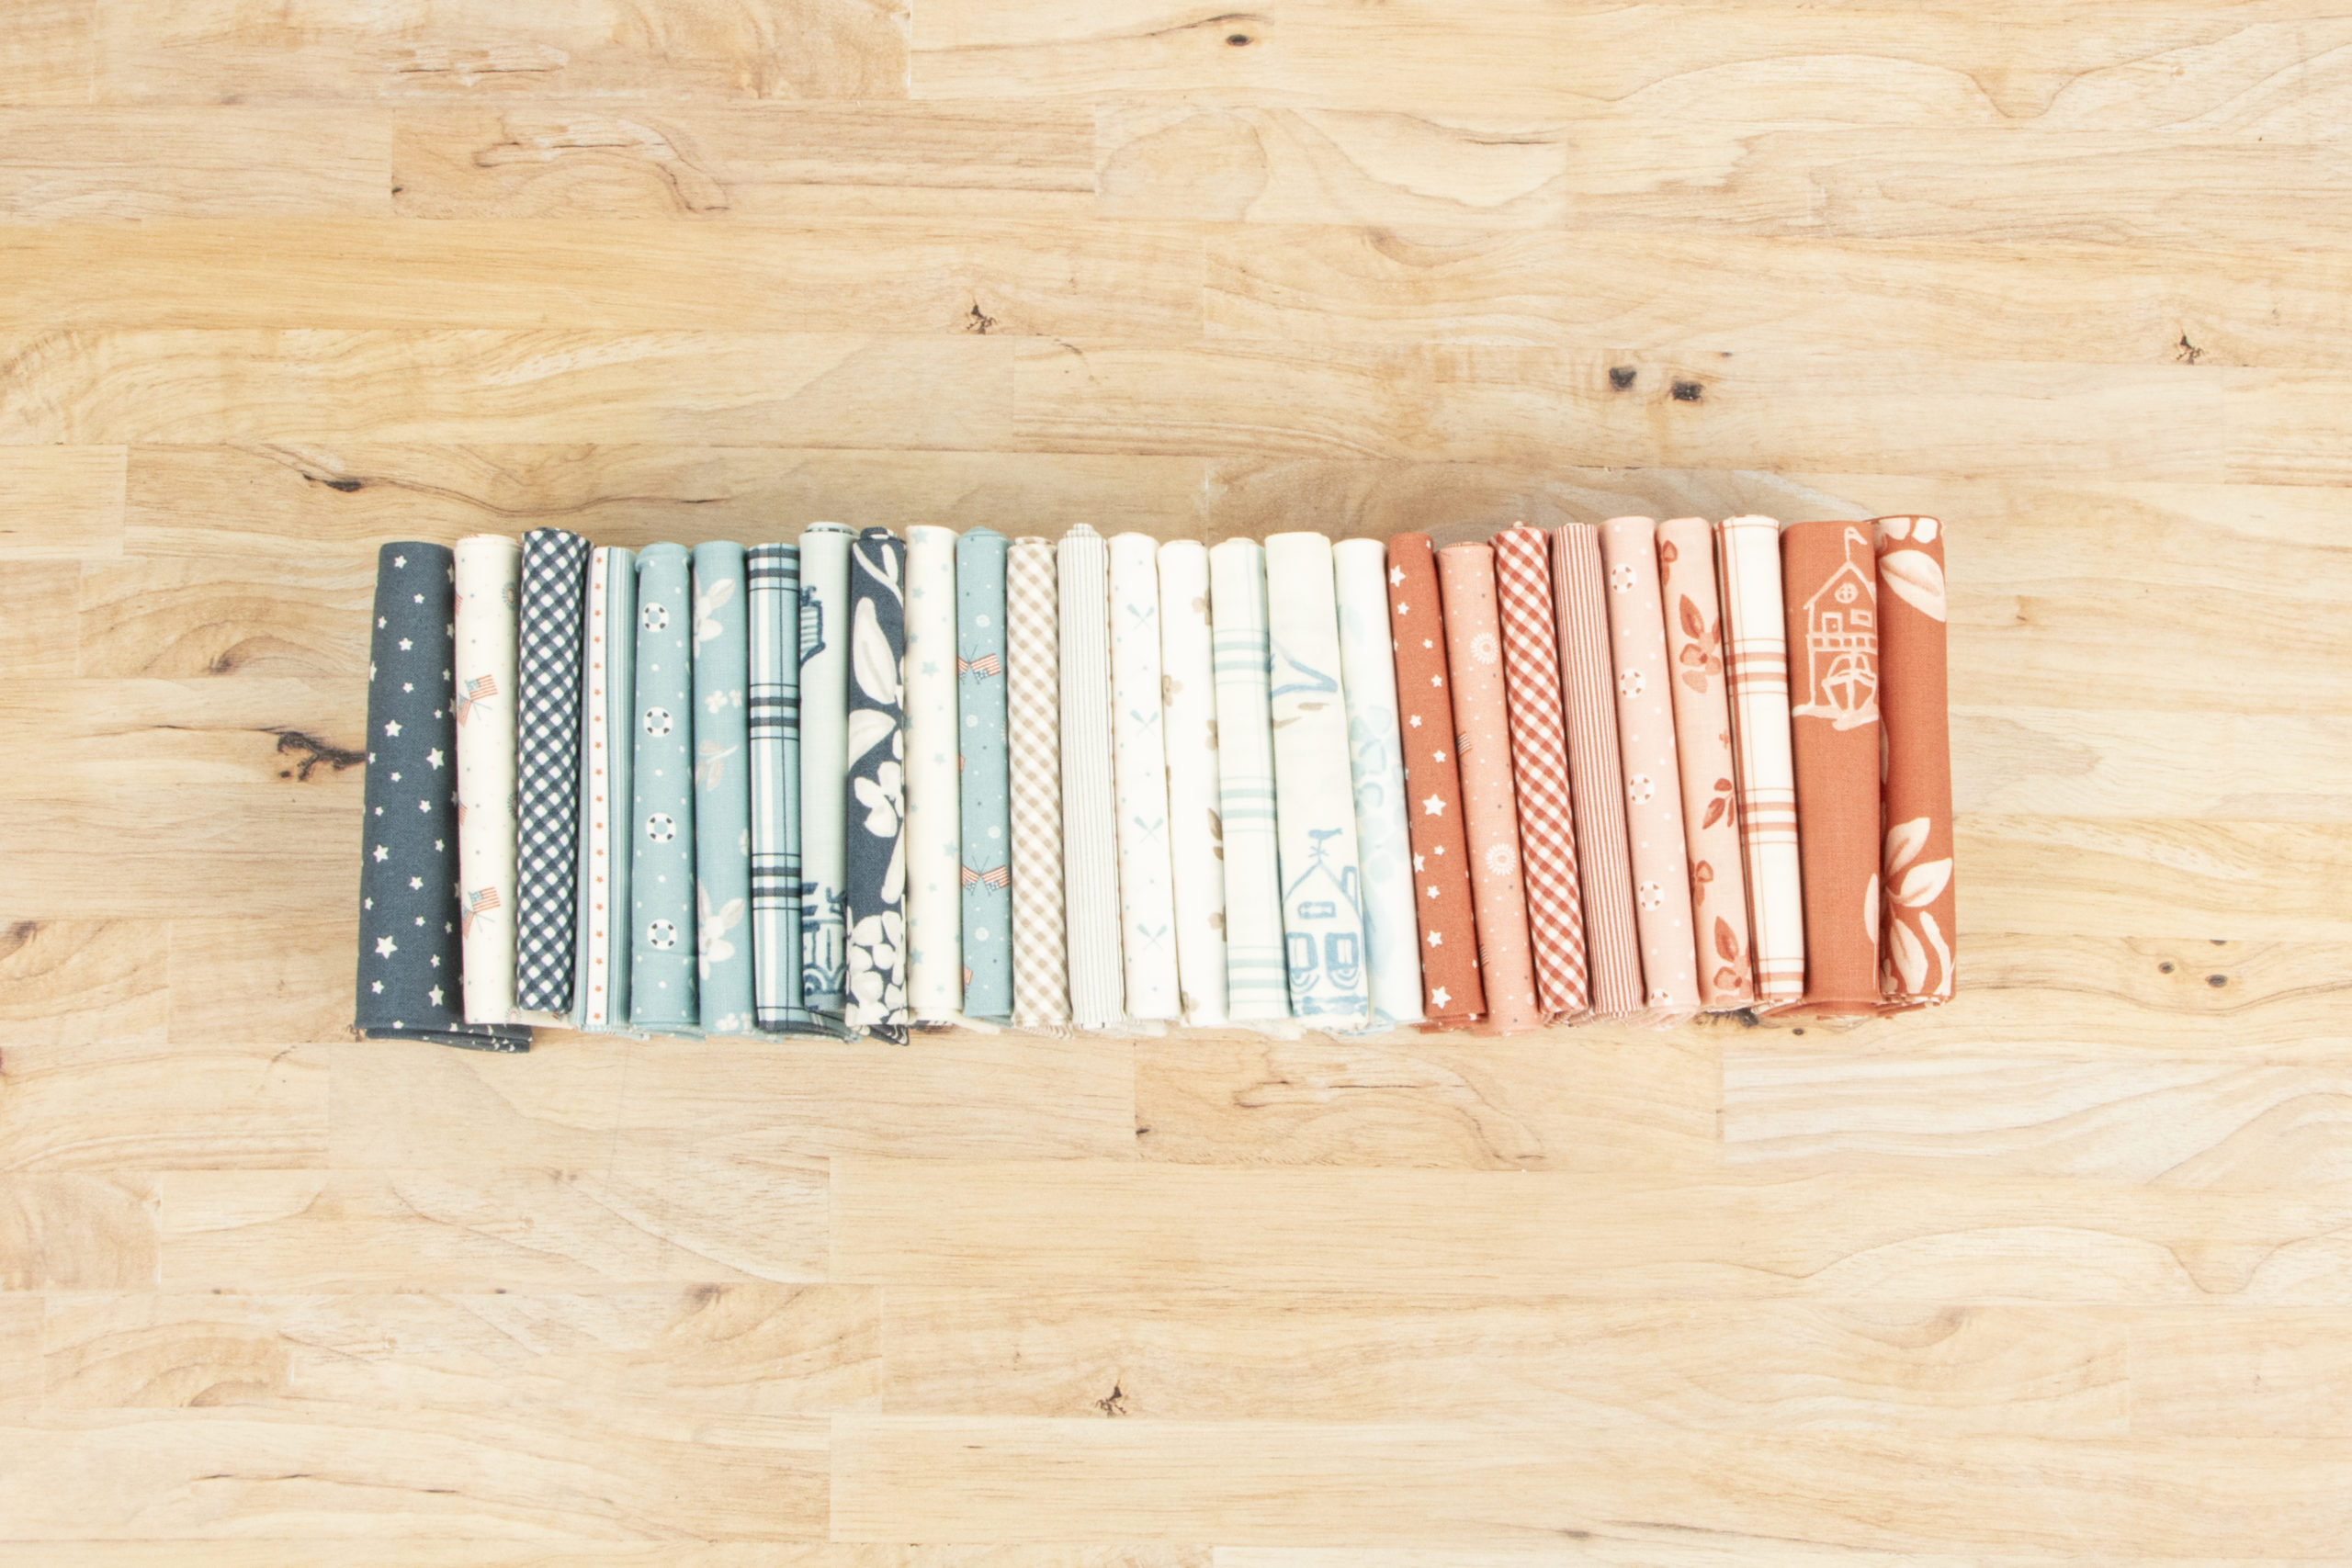
I’m obsessed with the colors of this collection! There’s just something so lovely about a beautiful red, white, and blue collection. The reds lean a little more orange, which I love, and the hydrangea print is just so gorgeous.
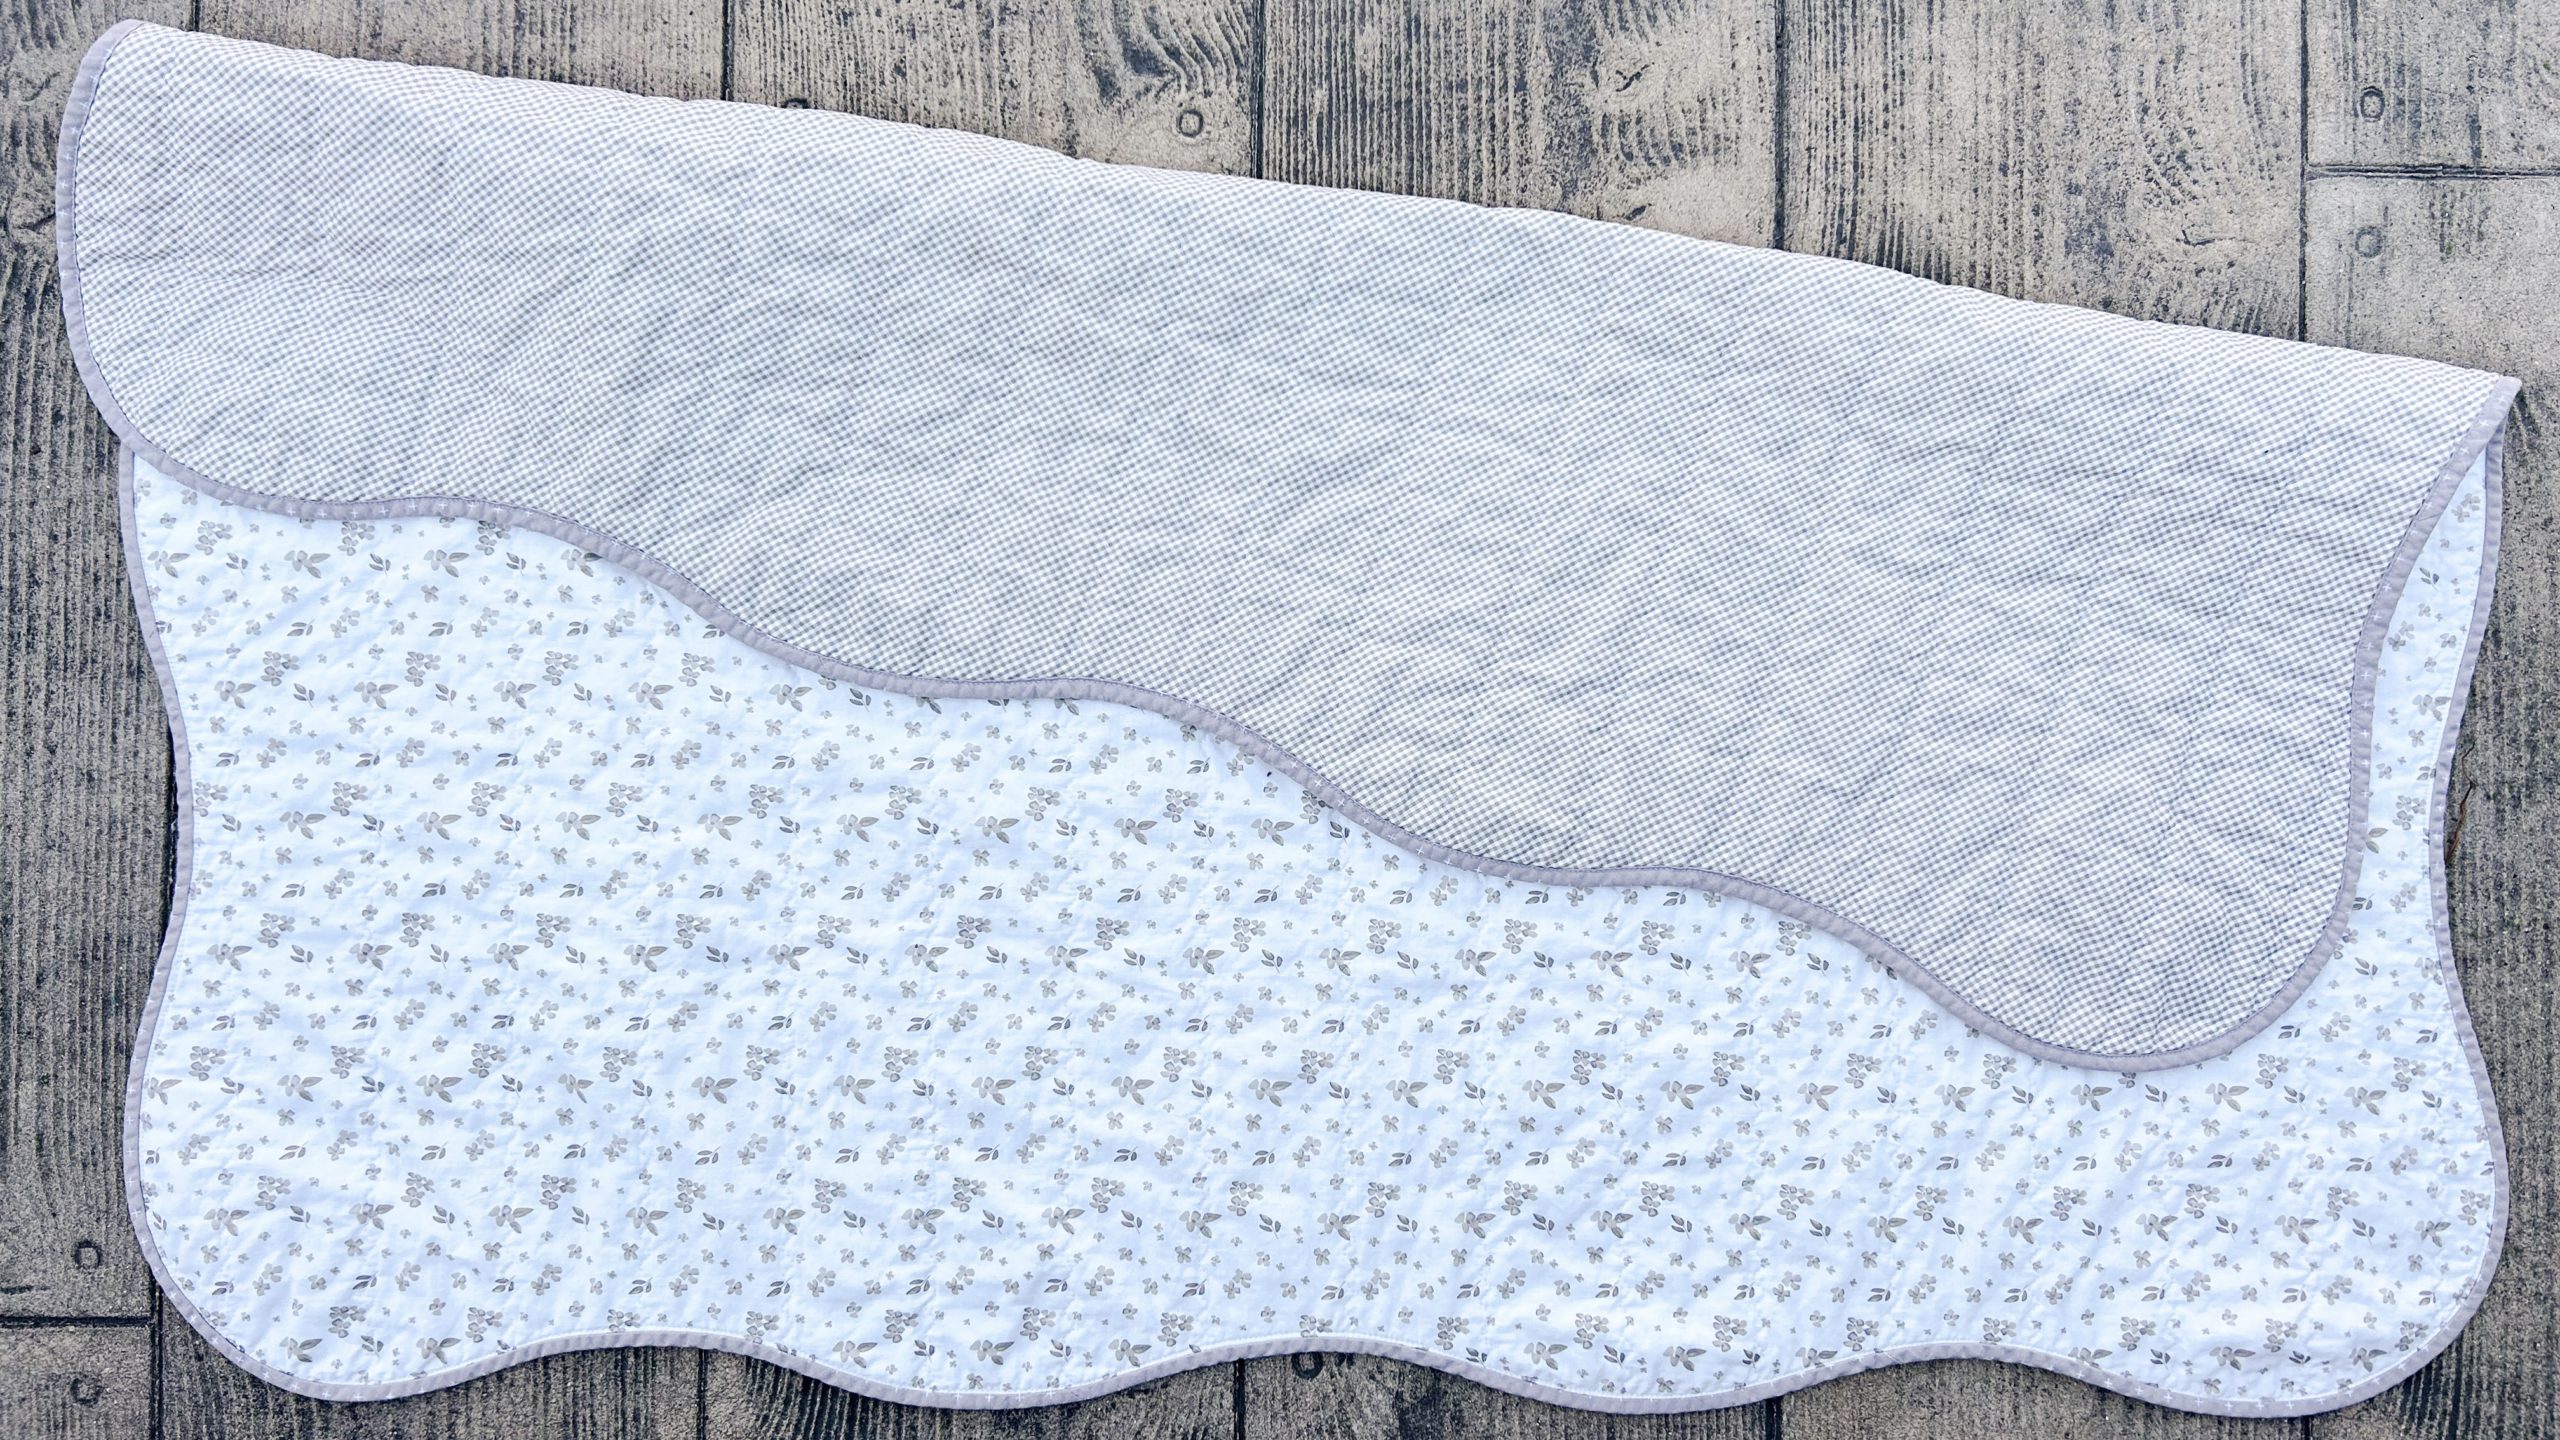
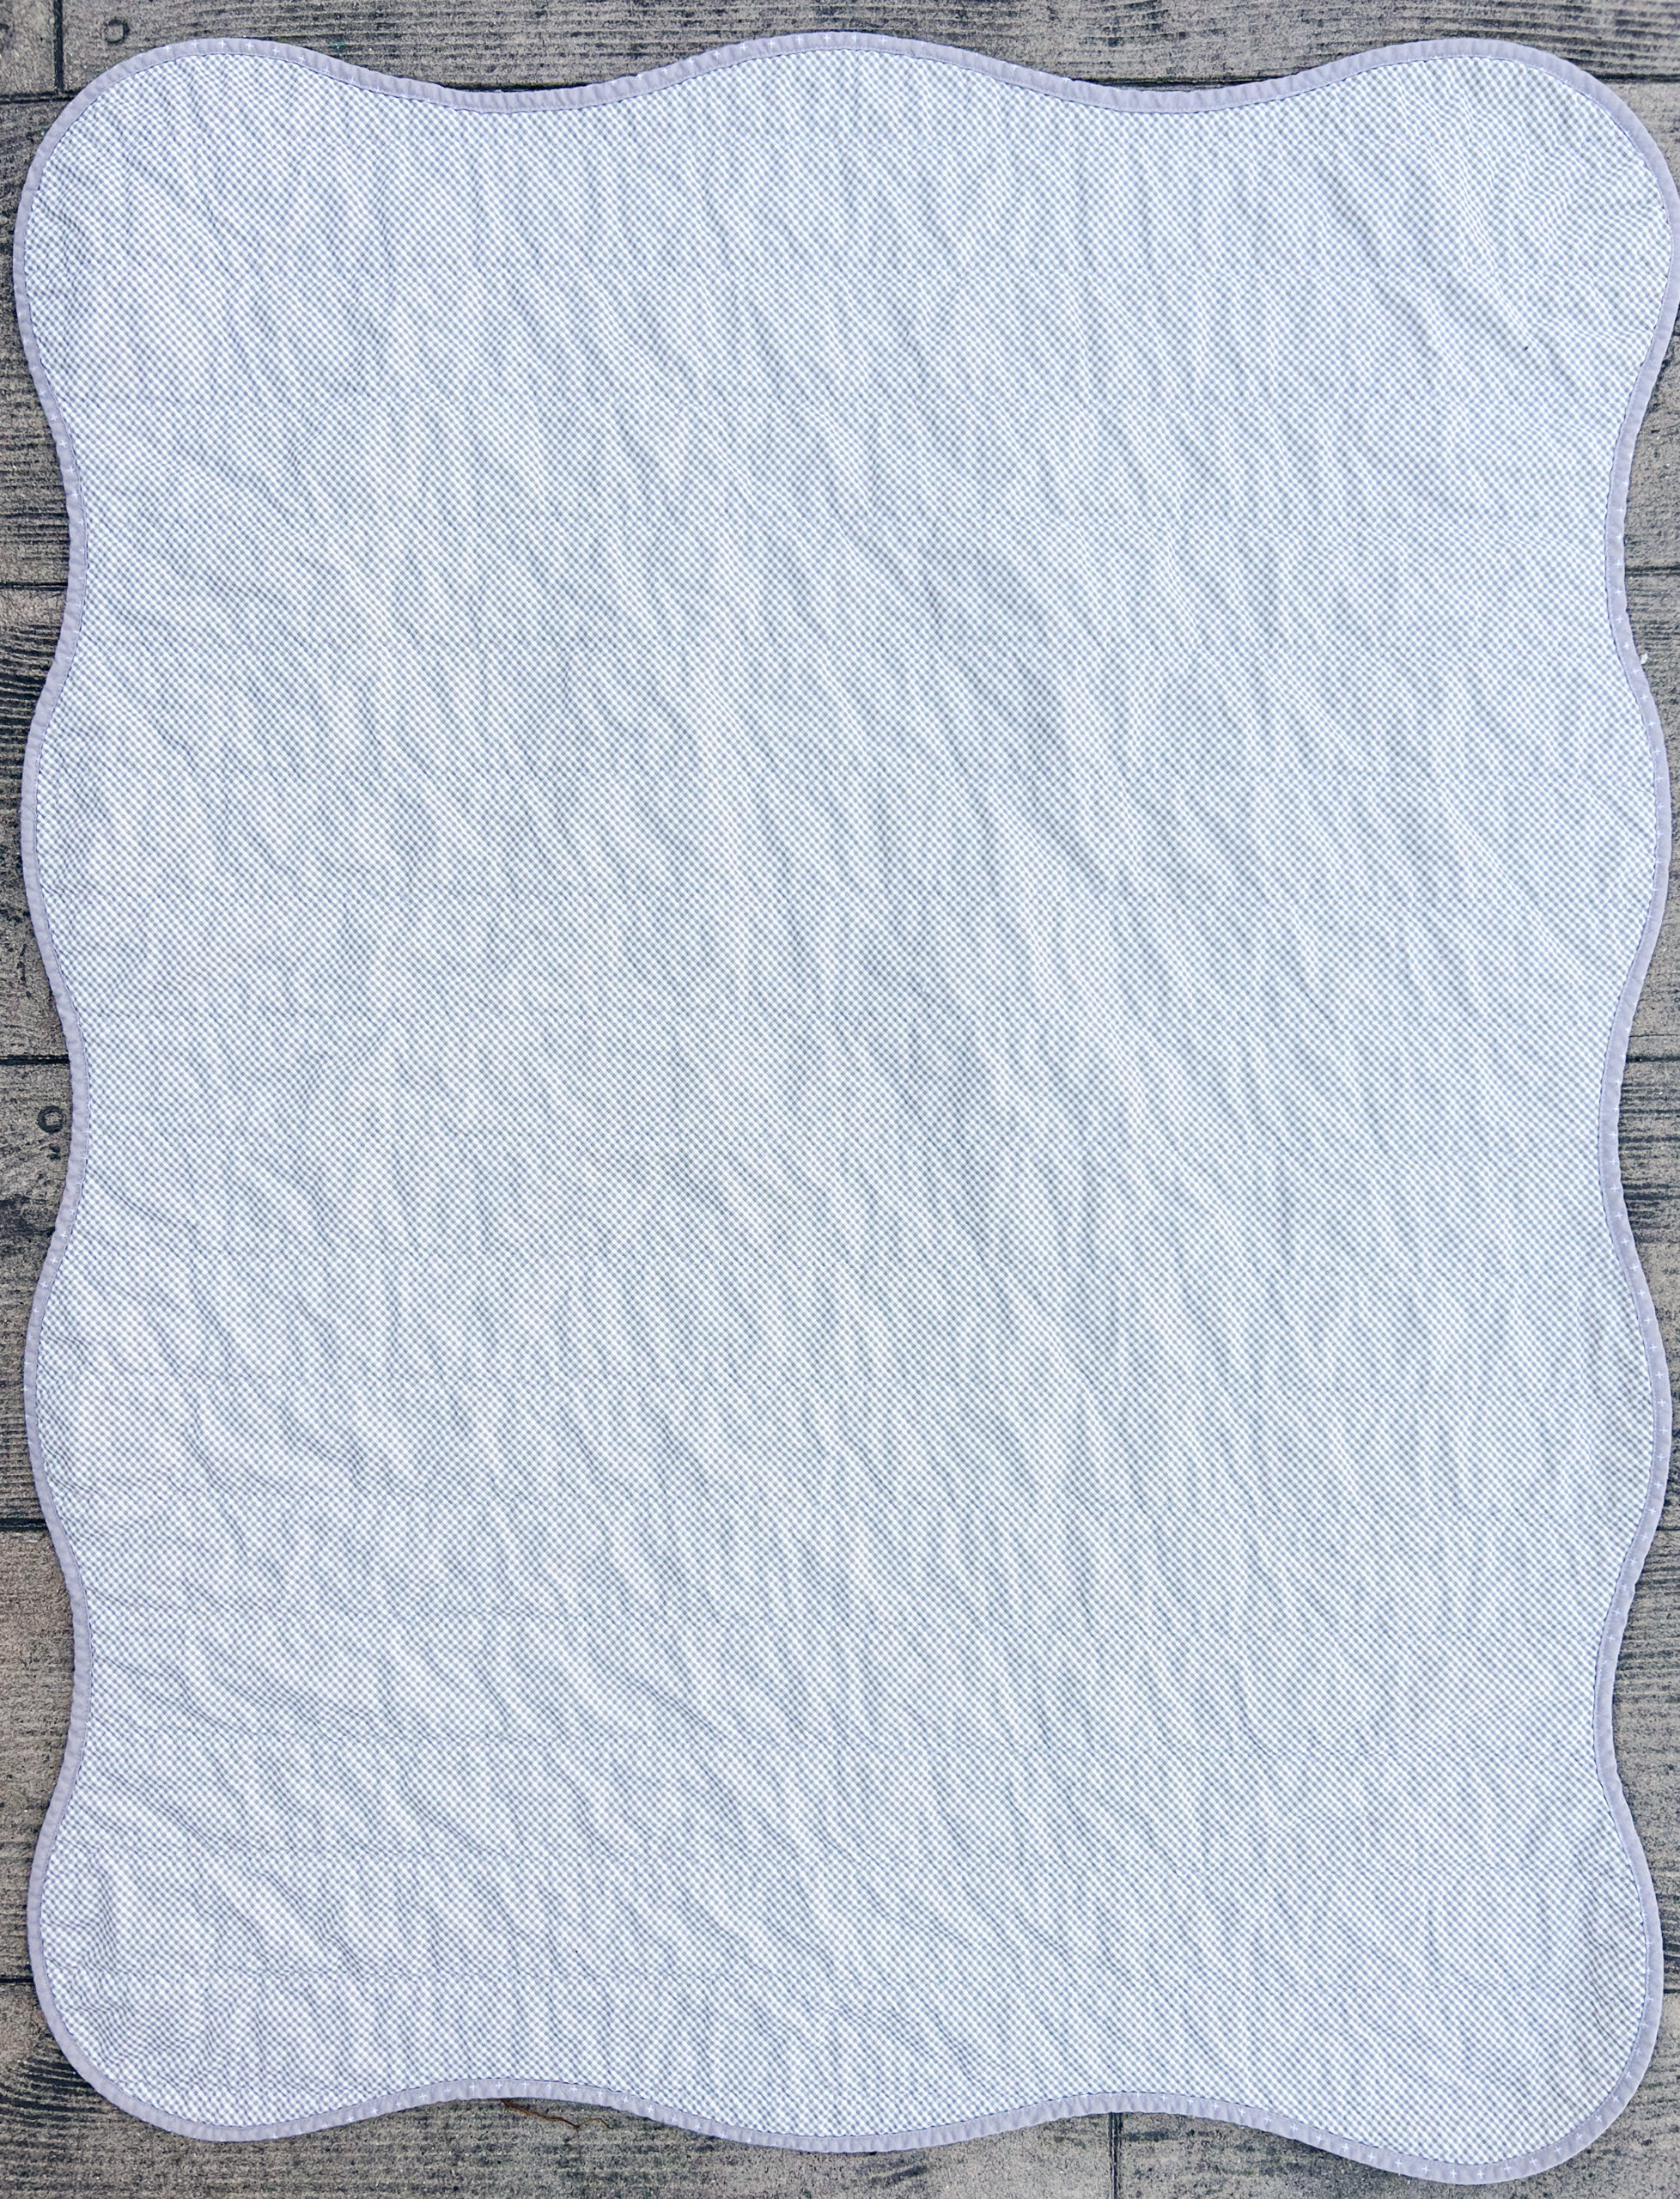
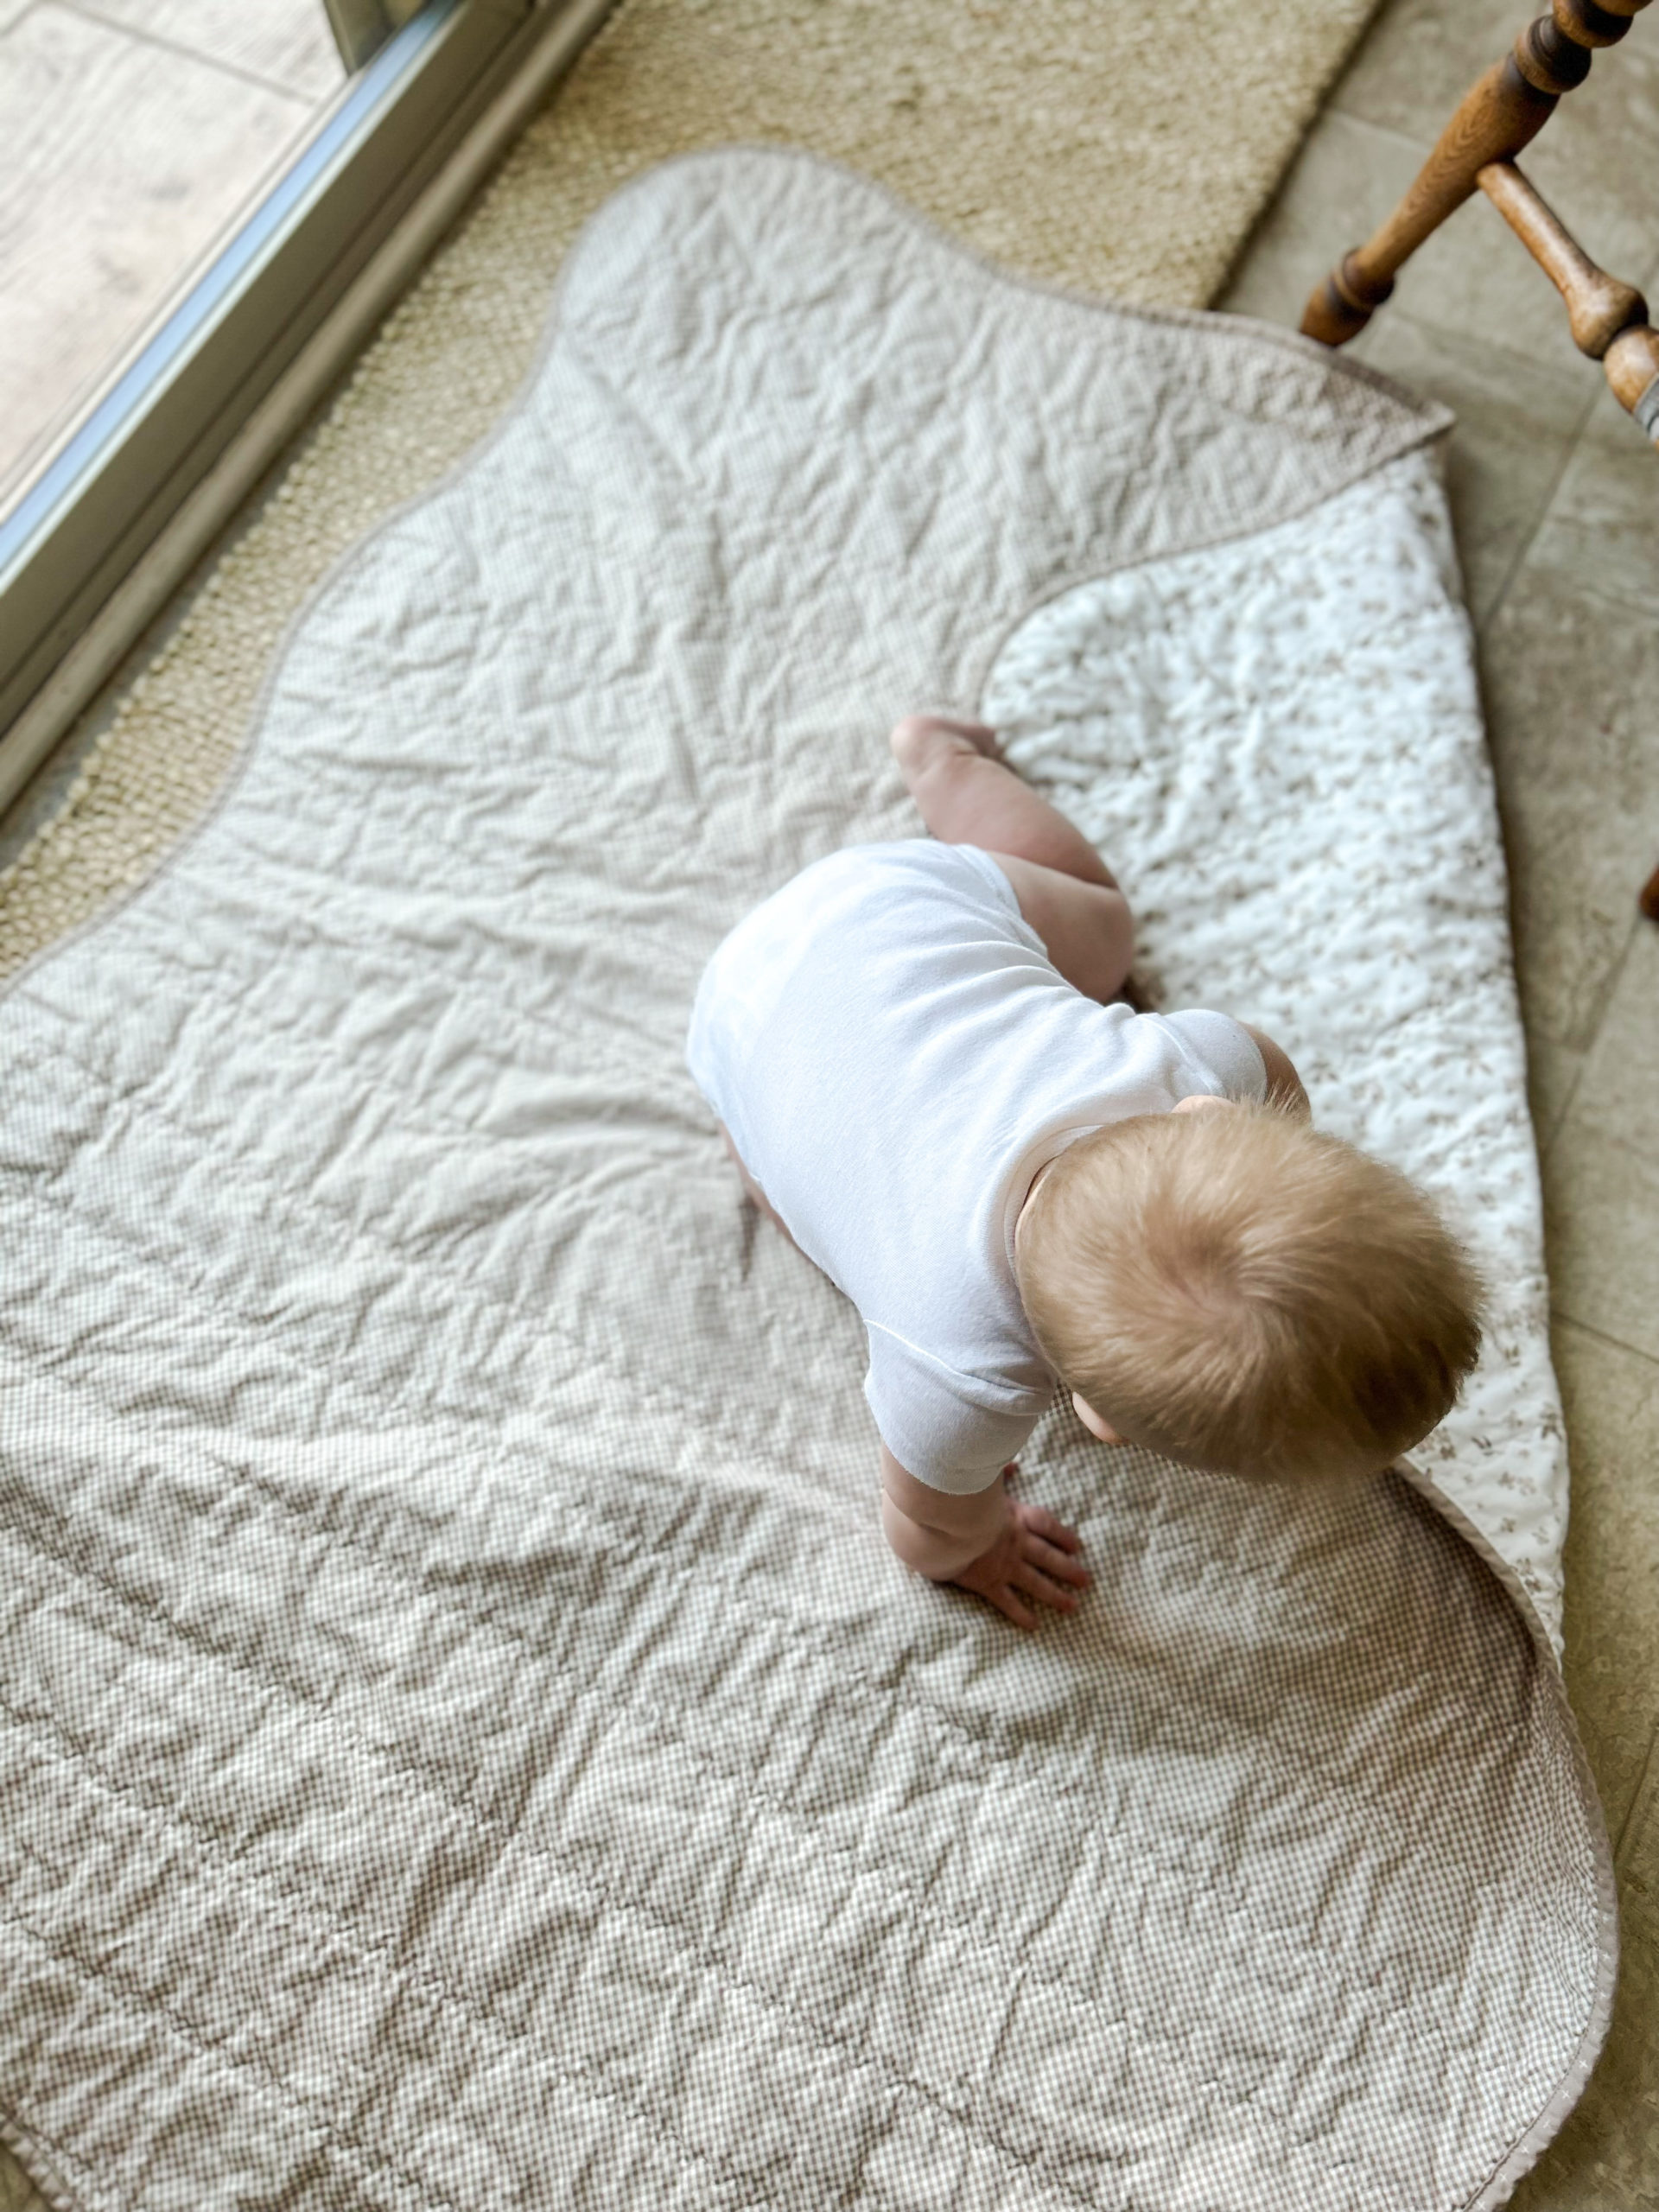
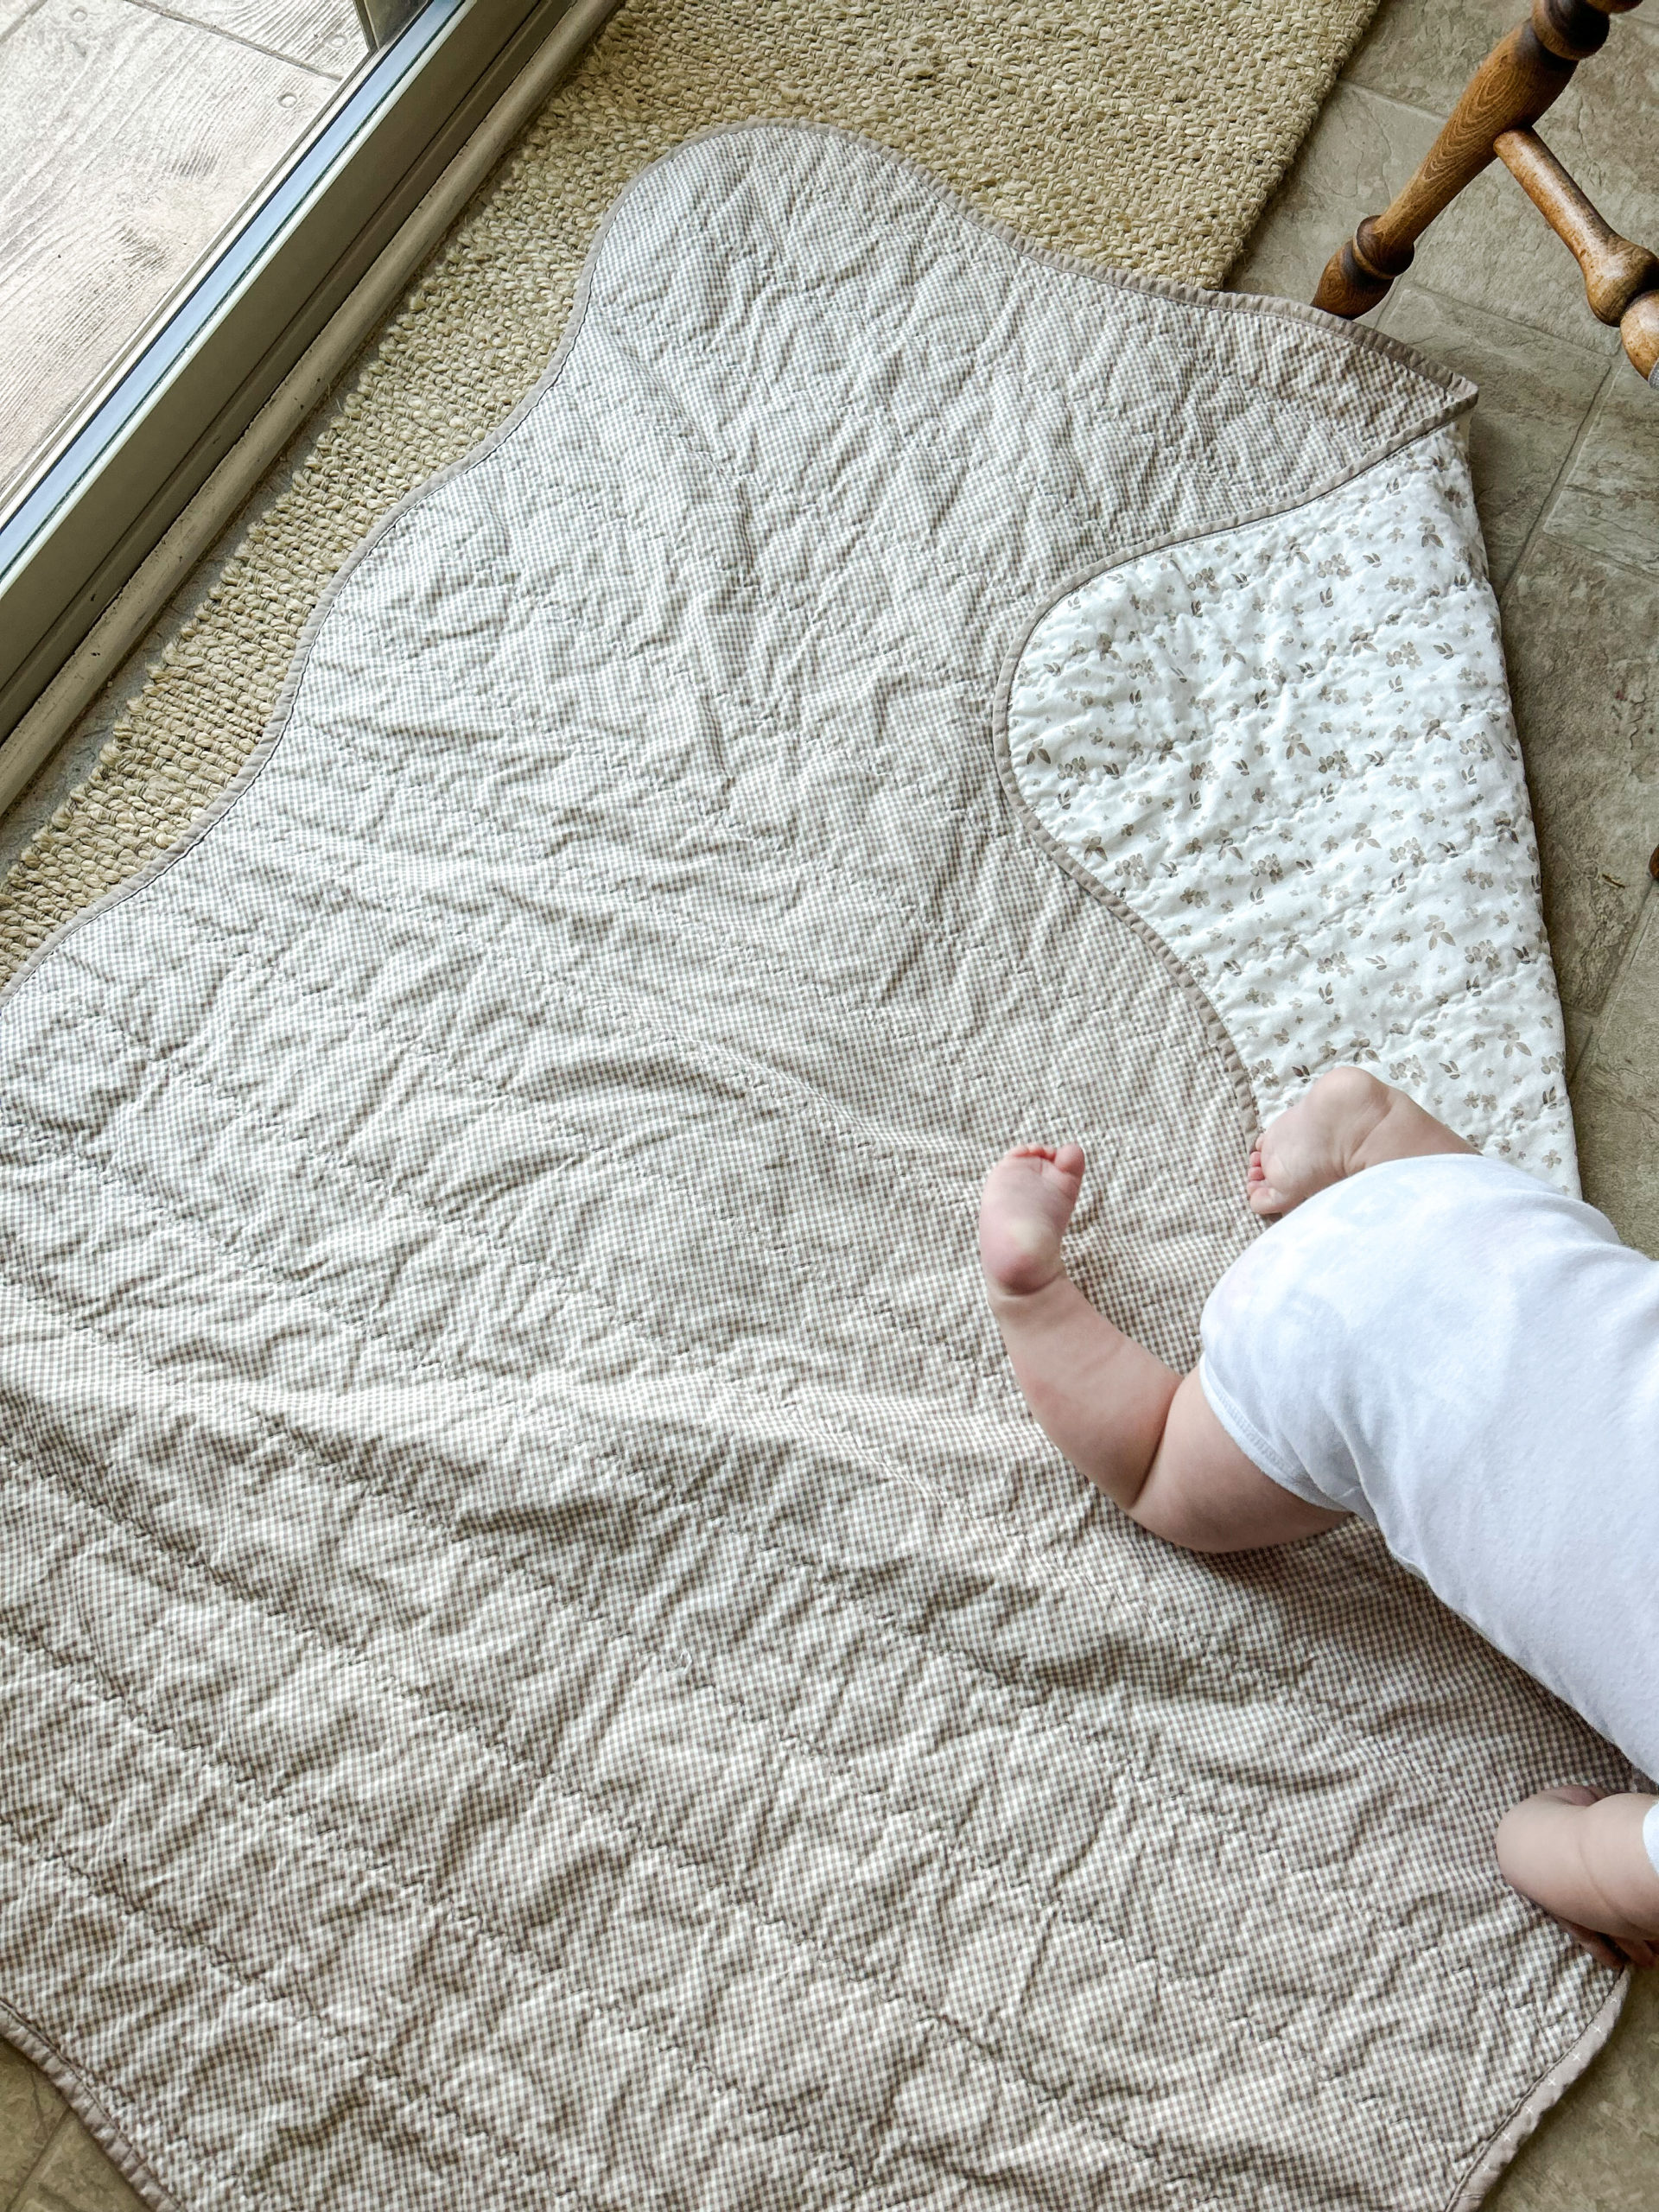
Inspired by the coastal vibes and nautical scenes I decided to do a wavy edge on this quilt. I fell in love with the Gingham and “Ditsy Blooms” prints and so I planned to make a whole cloth quilt with a wavy edge.
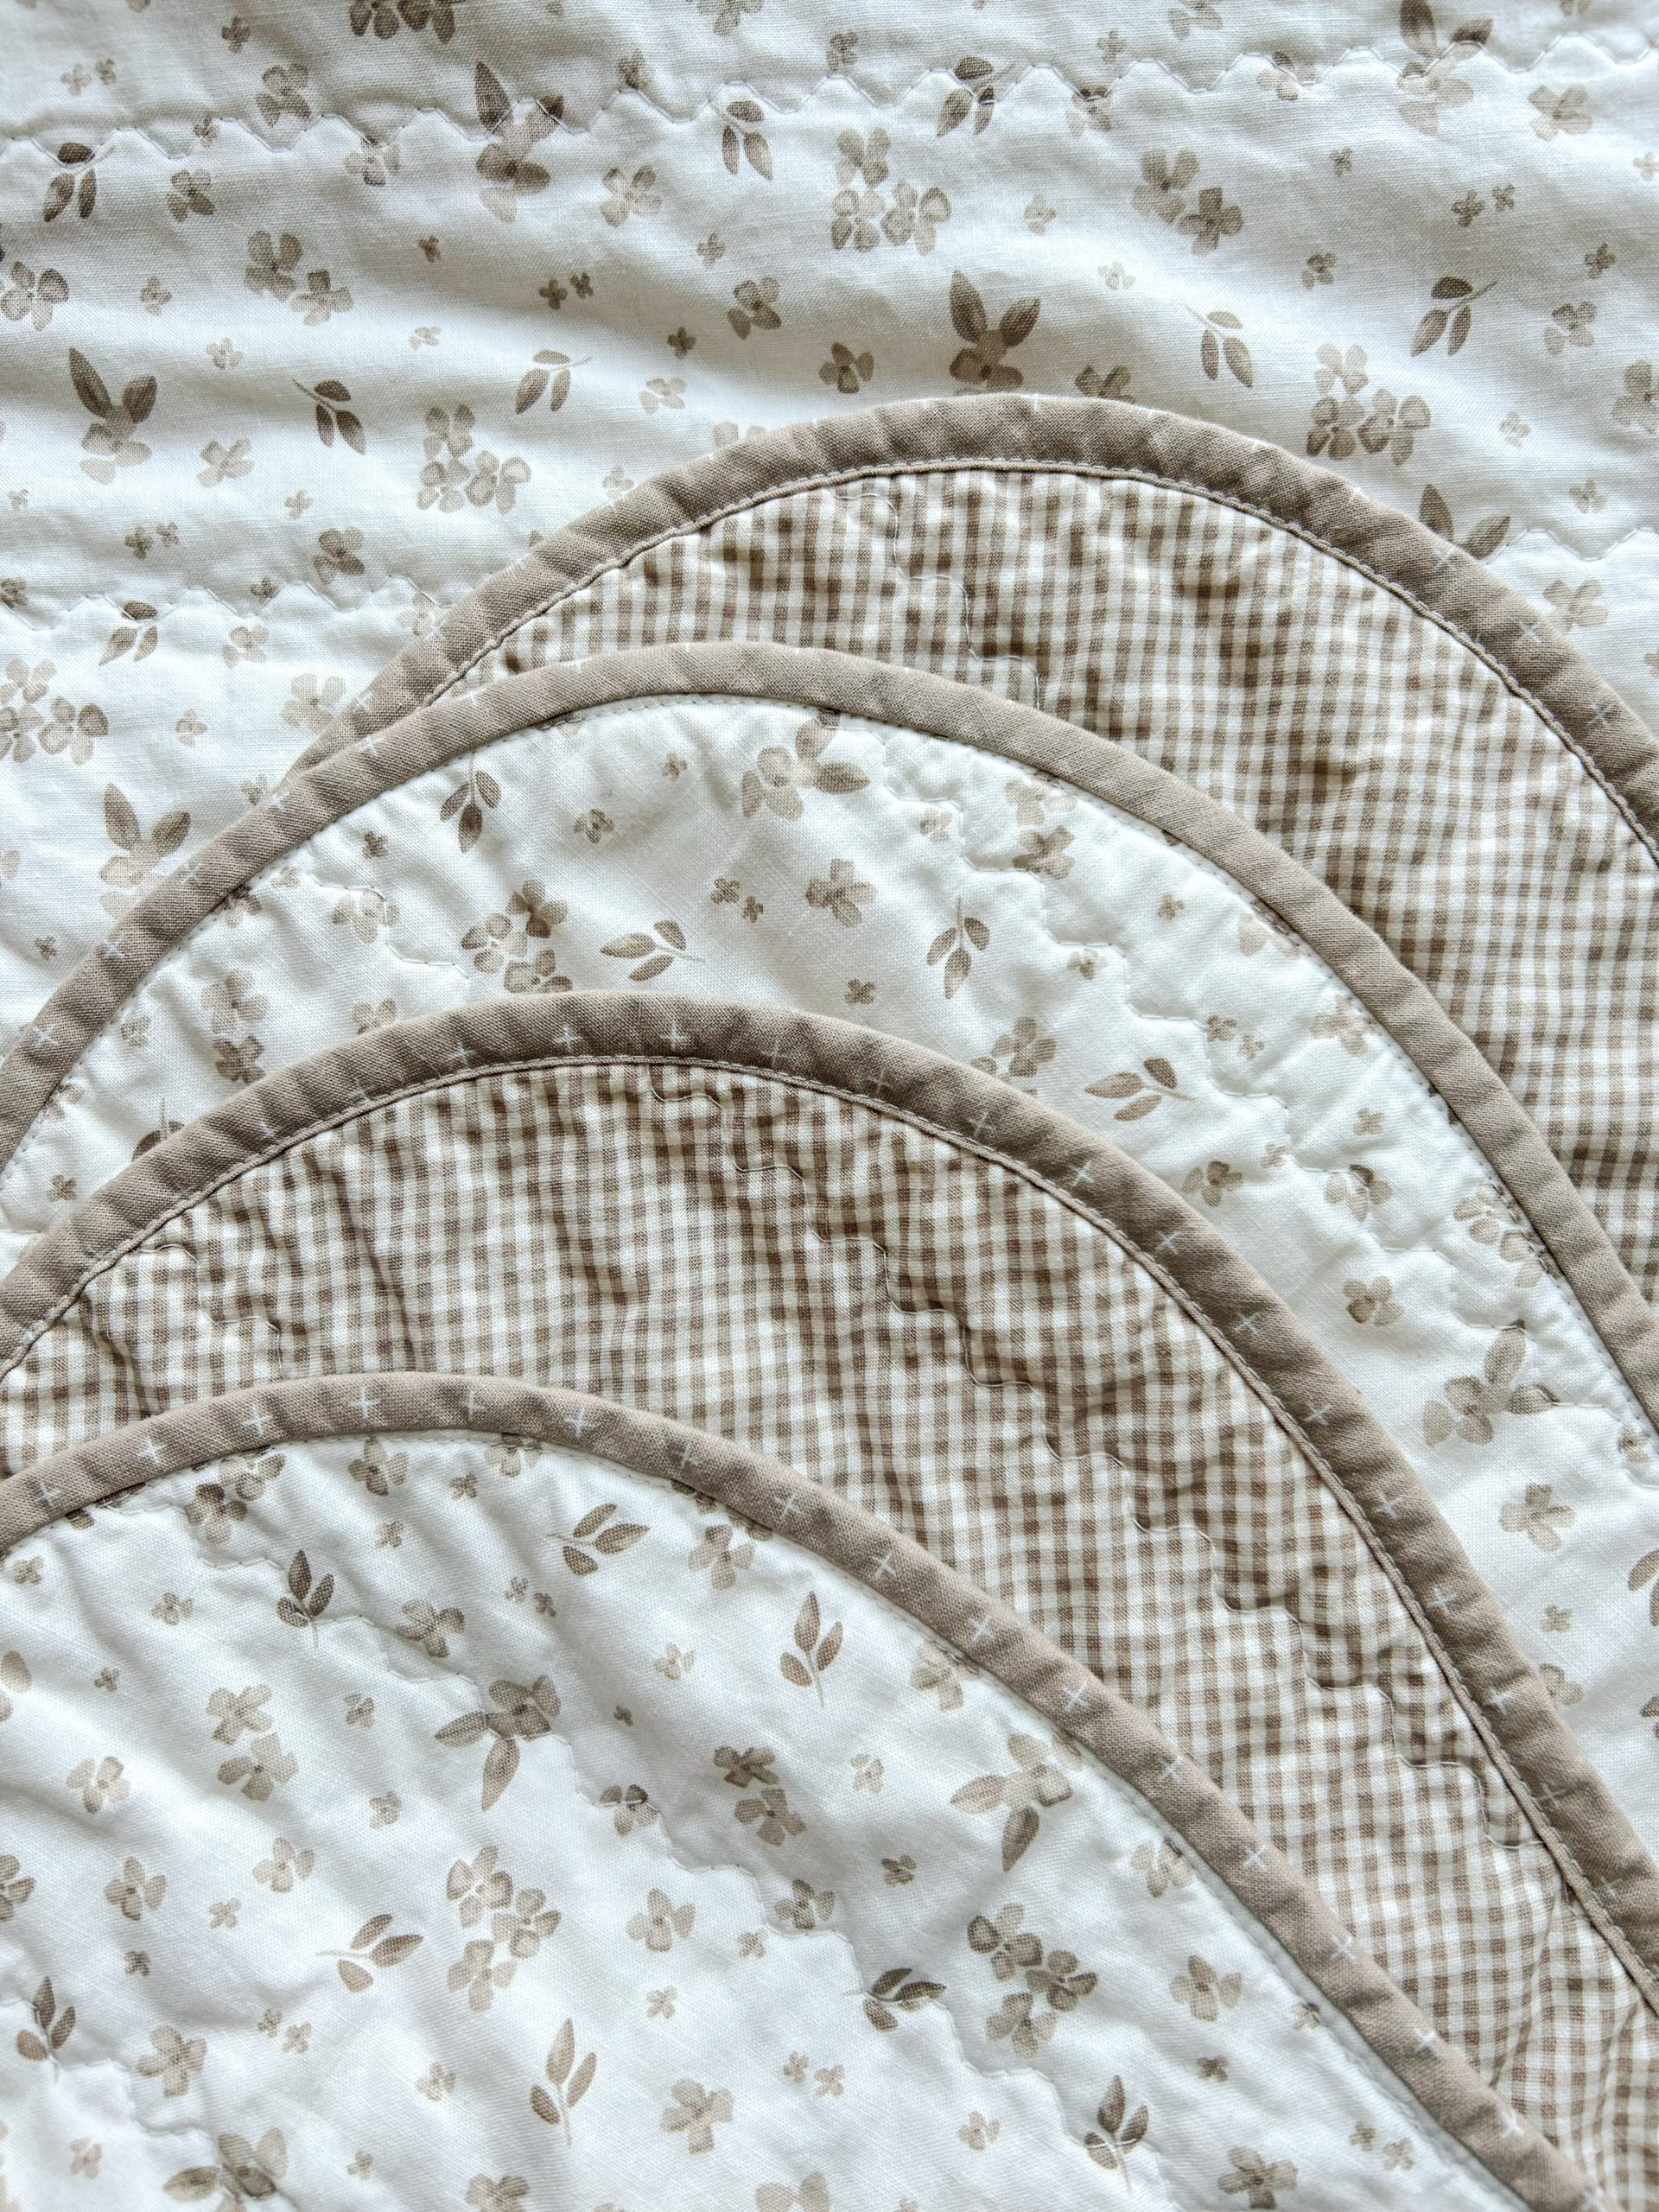
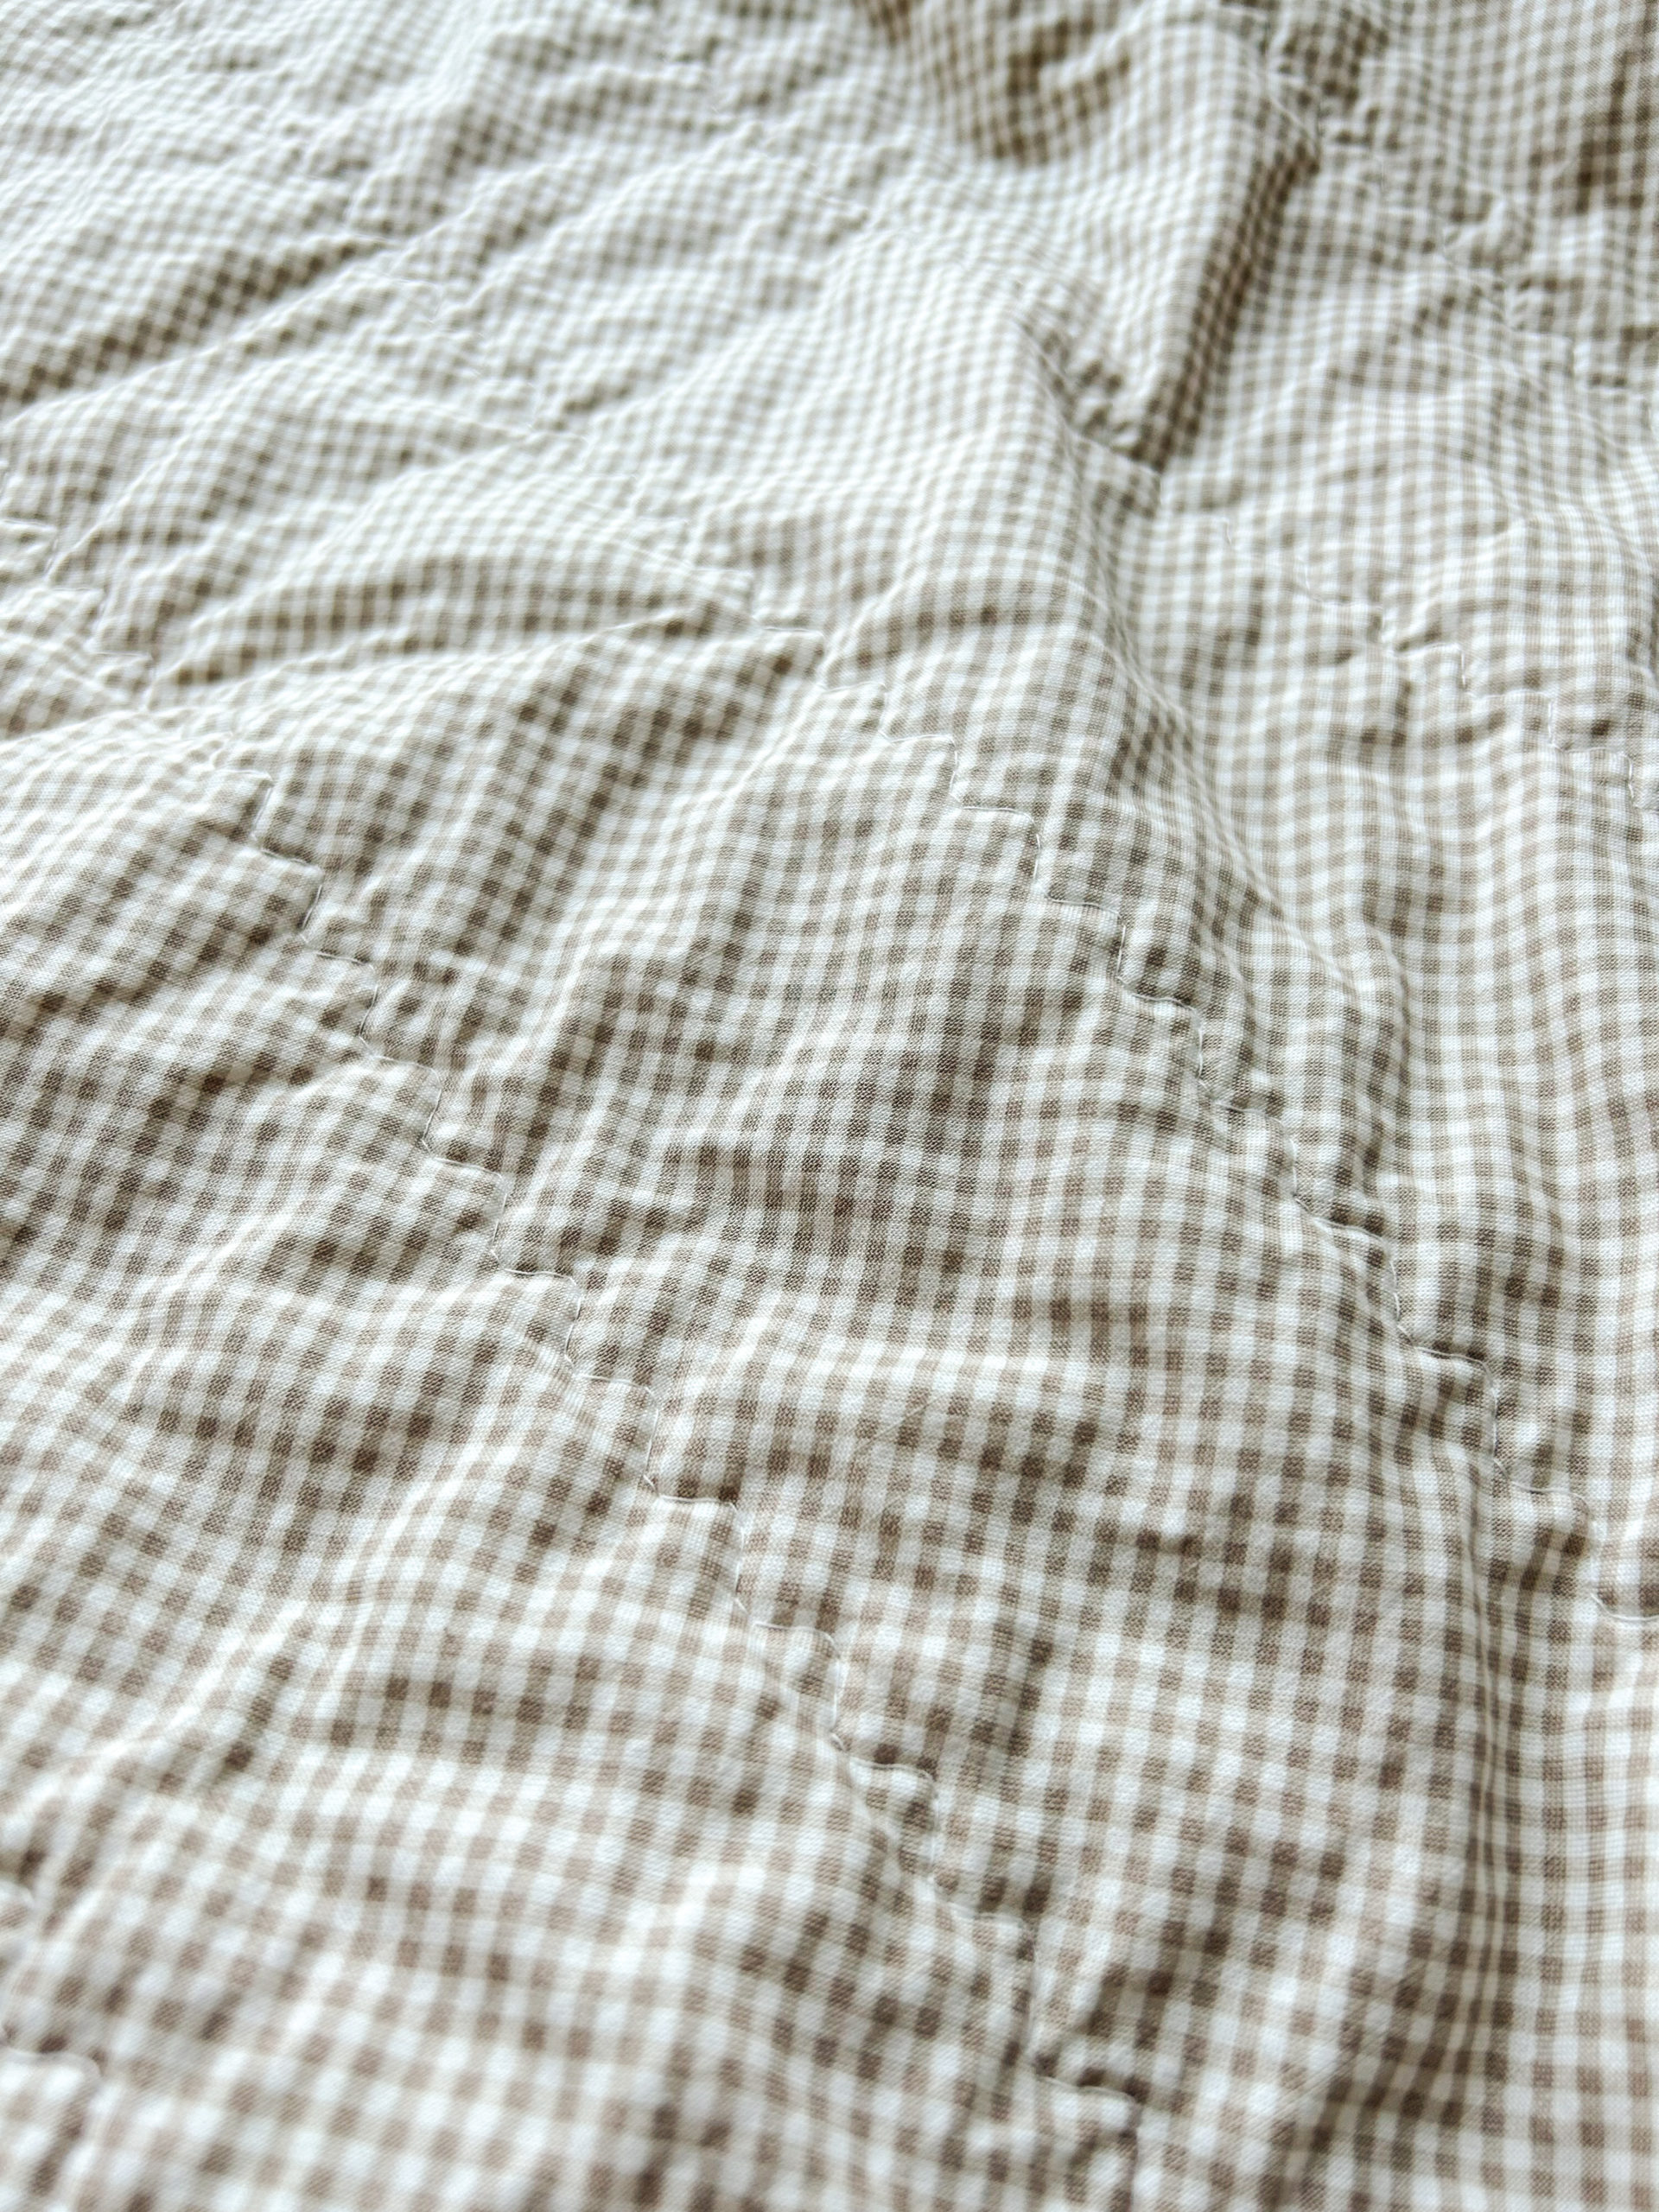
I didn’t stop there with the curves, I also quilted it with a wavy stitch. Having only done this once before and LOVING it, this little wavy stitch basically chose itself. It’s so simple to do, but gives the quilt such a whimsy vibe. Check the stitch chart on your machine and test it out on some scraps. I had to lengthen my stitch to almost a 4 and I recommend taking it as wide as it can go (which on my machine is a 5).
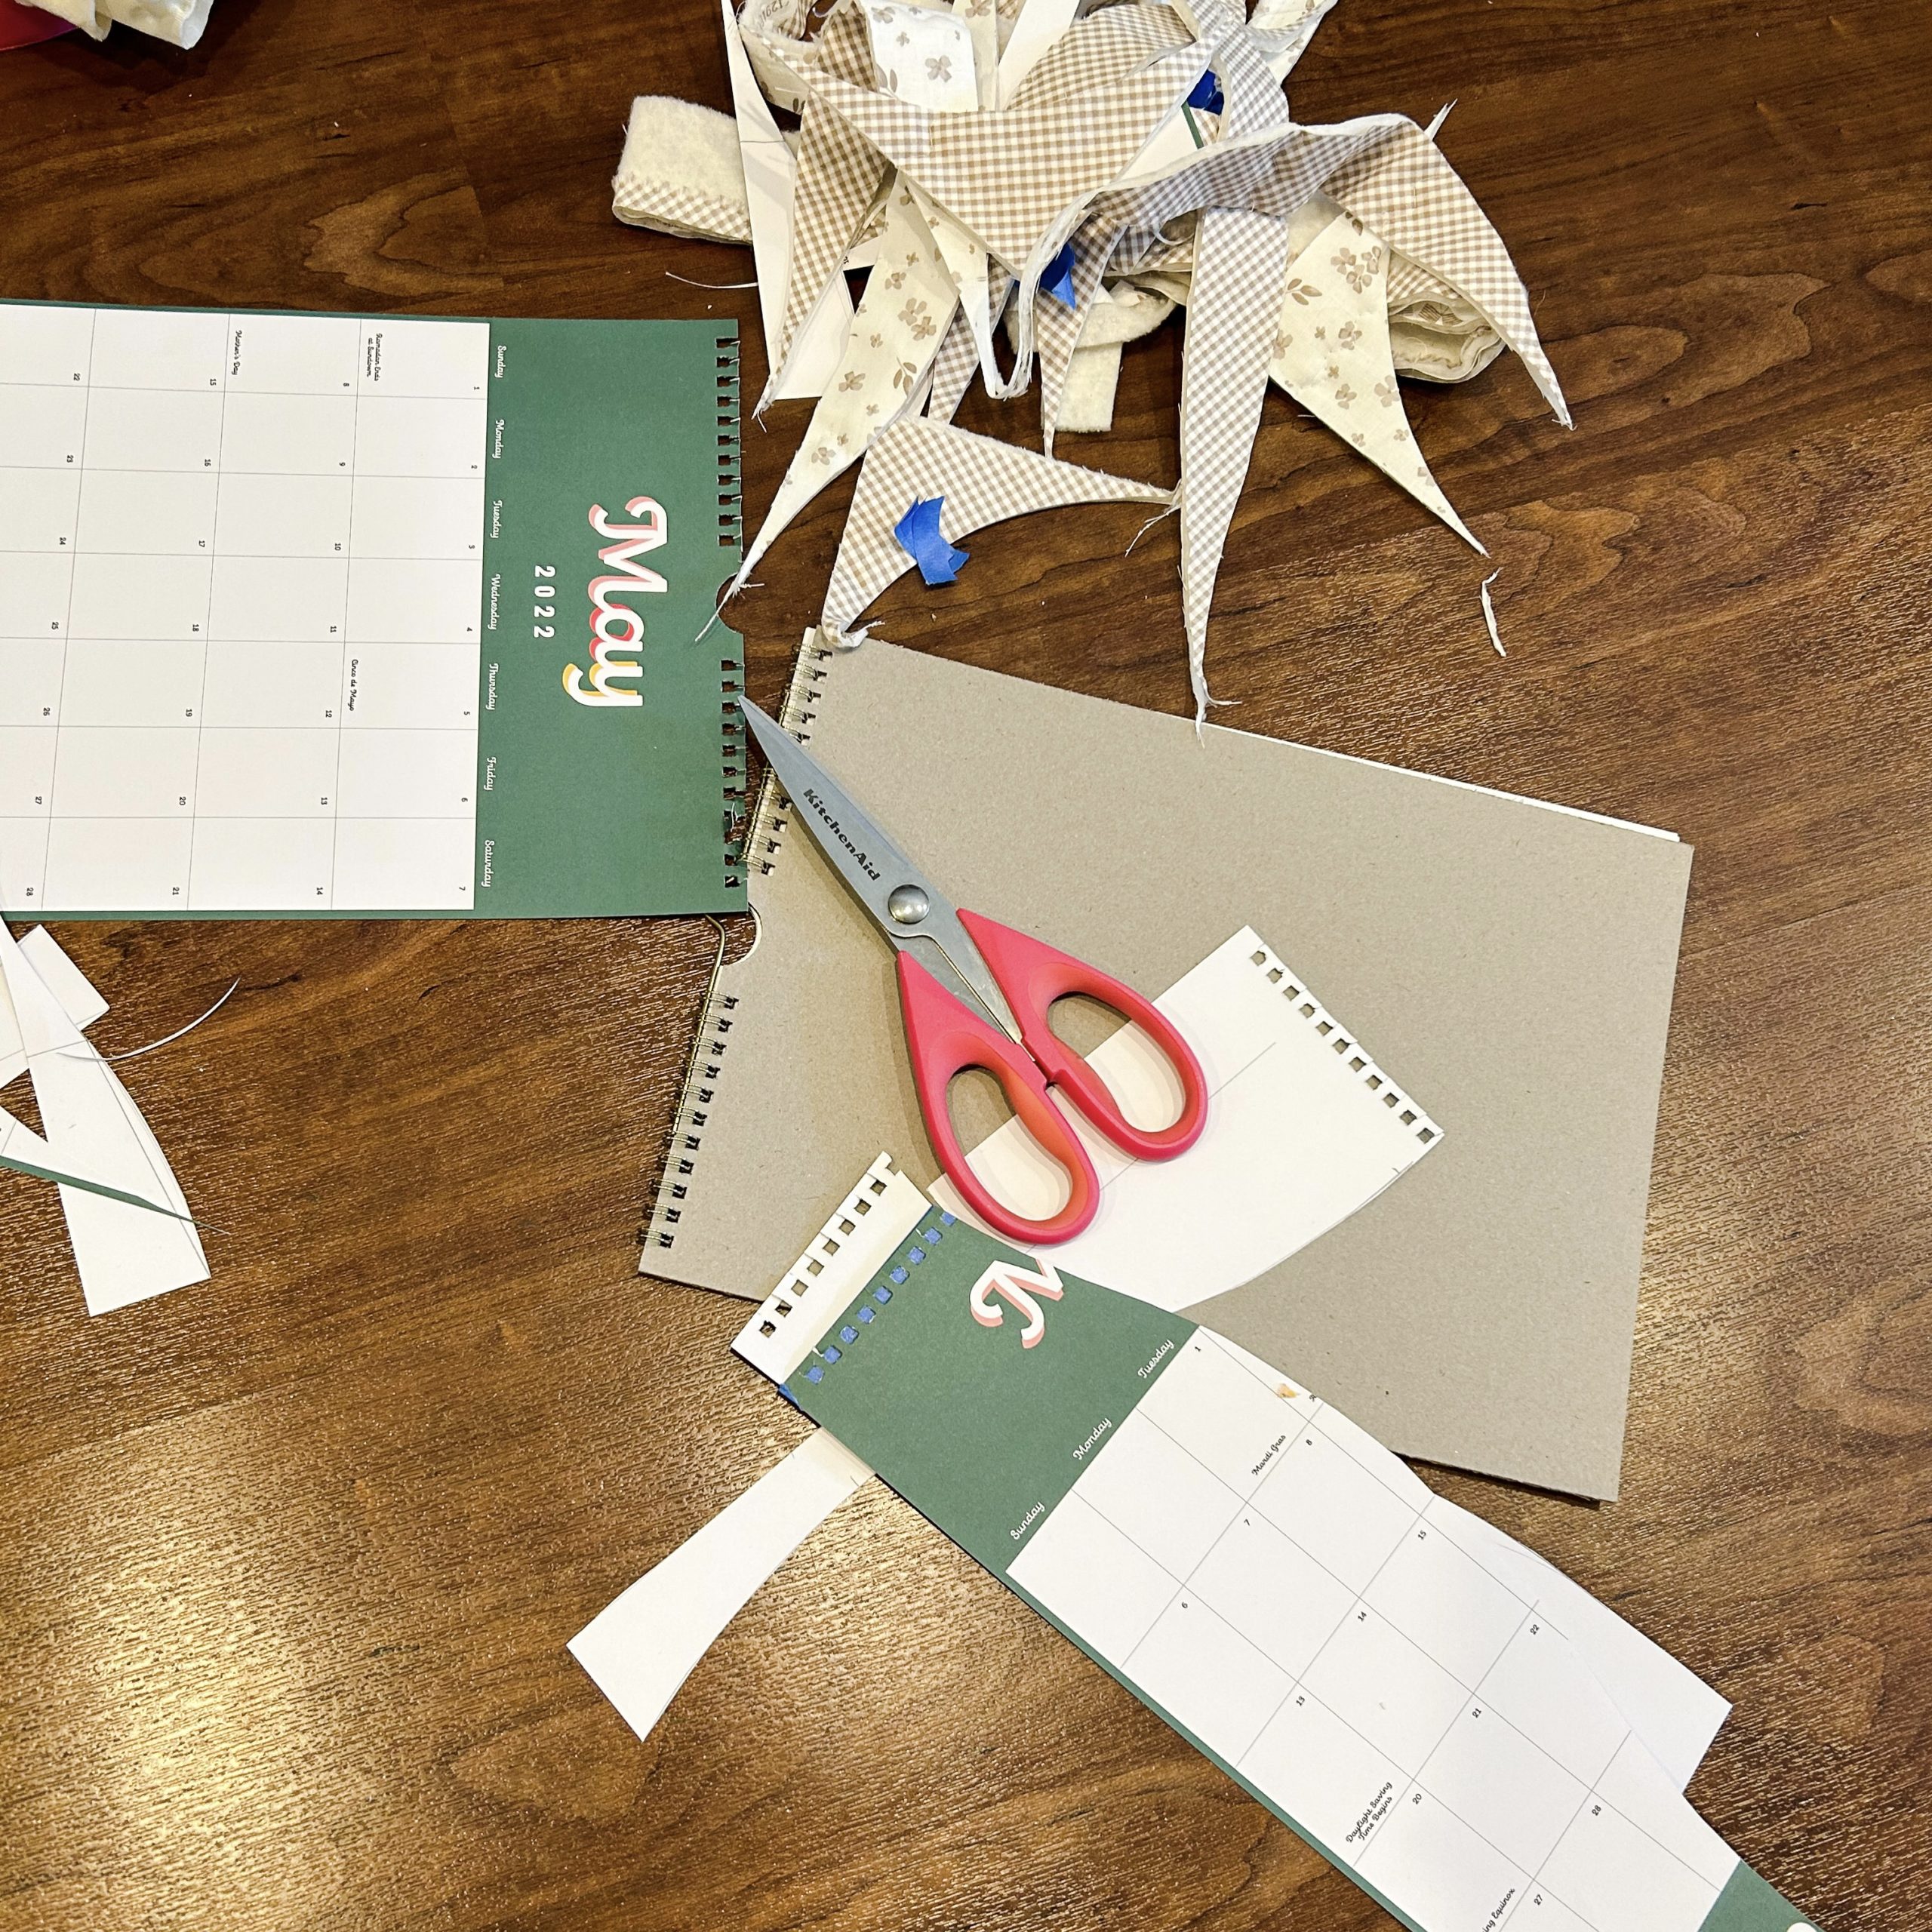
The wavy edge turned out to be easier said than done, and I had to change course a few times. I started out by trying to use a bowl to trace the waves but I wasn’t able to get it to line up with the corners properly. I decided the best course of action was going to be creating my own template. My method was a bit haphazard but I’ll describe it below.

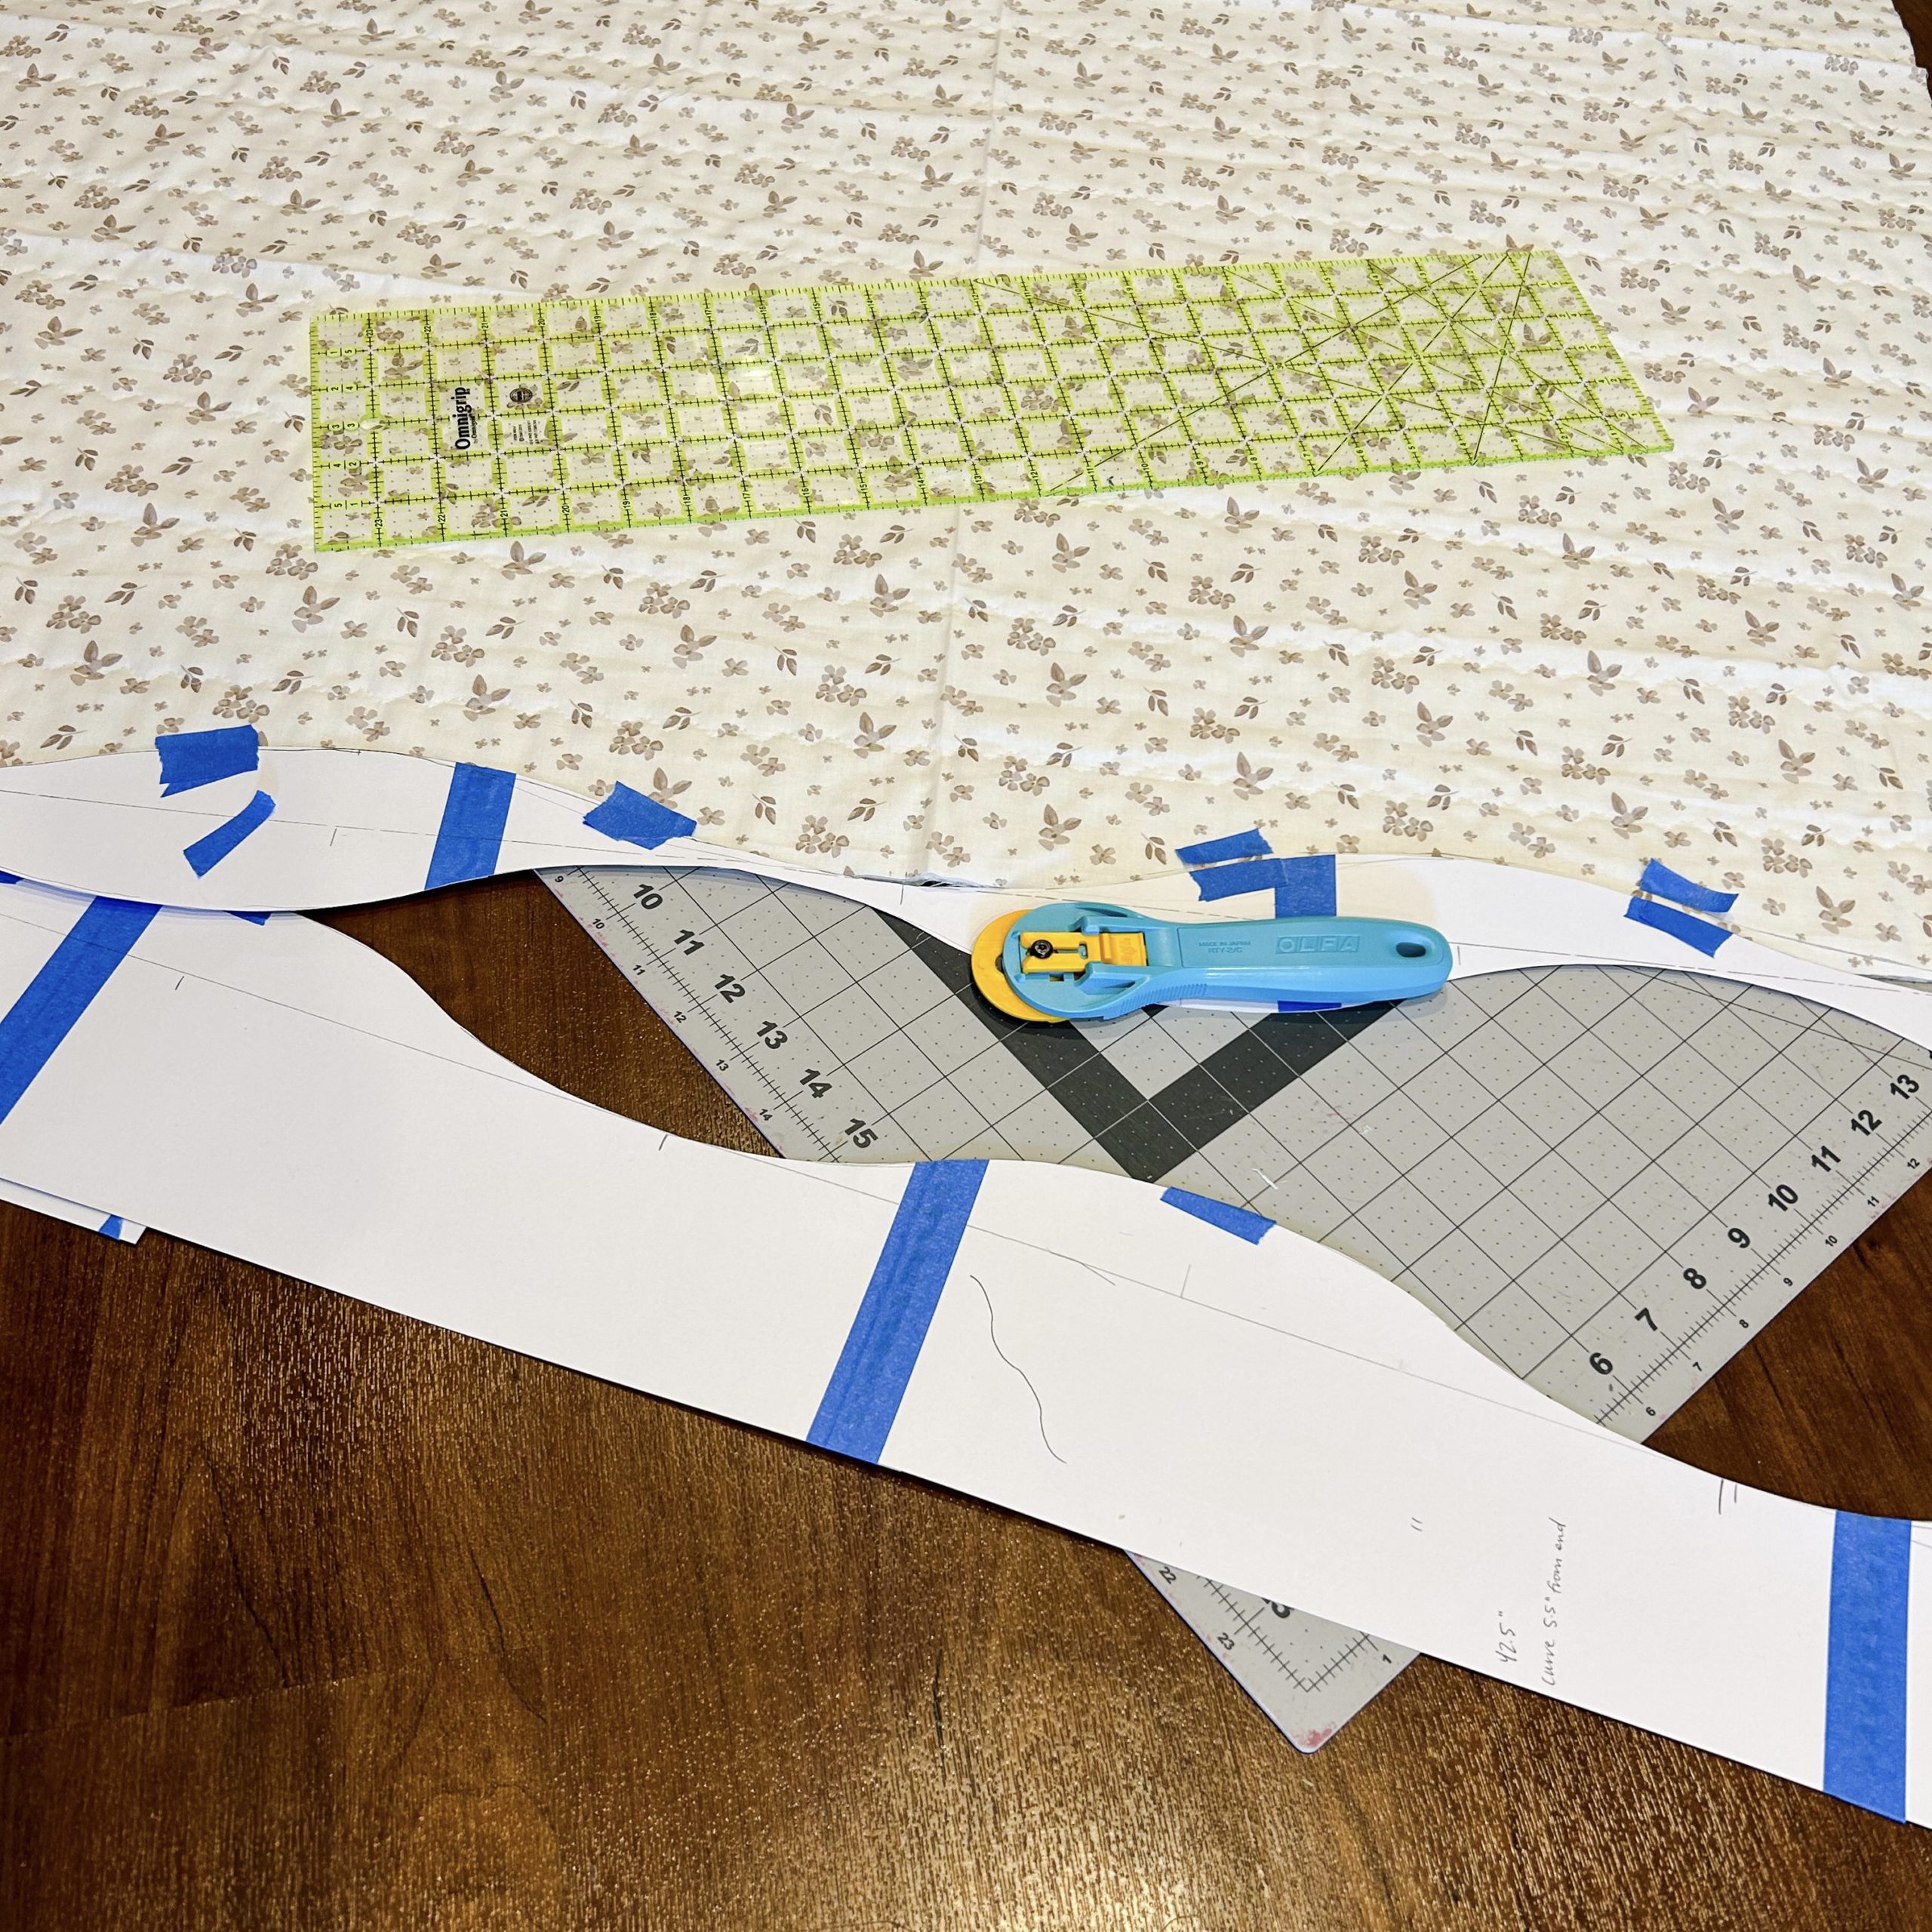
Creating the template
- After quilting, round the corners of the quilt (I used a large mixing bowl).
- Measure the distance of the flat edge of the quilt (curved corner not included in measurement).
- Decide how many waves are desired. For the short ends of the quilt I wanted three waves (2 dips + 1 “hill”). For the long sides of the quilt I wanted five waves (3 dips + 2 “hills”). For each side, multiply # of dips by 2 (let’s call this new value W).
- Divide distance of flat edge of quilt by W. Let’s call this new value X.
- Create a mini template with a piece of paper with the following dimensions; 1.5″ by X.
- Draw half of a wave on your template, from the bottom left corner to the top right corner and cut.
- On a long piece of paper (I used the back of an old calendar taped together) draw a straight line that is the length of the distance of the flat edge of the quilt (from step 2).
- Use this mini template to transfer the to-scale wave pattern onto a long strip of paper. Flip your mini template end-over-end until you finish the right # of waves.
- Cut out the template, place on the edge of the quilt, and then cut carefully with a rotary cutter. Note that the same template can be used for both short ends (top and bottom) as well as the same template for the long sides (left and right), so only two templates are needed.
- Good luck (ample amounts needed)!
Thanks for following along! Hope you enjoy making your own wavy-edged quilt (or wavy-quilted quilt). But above all I hope you enjoy this gorgeous new Portsmouth collection!
Be sure to check out my website for other fun makes, free tutorials, and quilt patterns.
Follow Hark Quilts on Instagram
Follow Hark Quilts on Pinterest


…goodbye!

Fabric Used
- Portsmouth Gingham Pewter – C12916-PEWTER
- Portsmouth Ditsy Blooms Cloud – C12913-CLOUD
- Bee Cross Stitch Pebble – C745-PEWTER