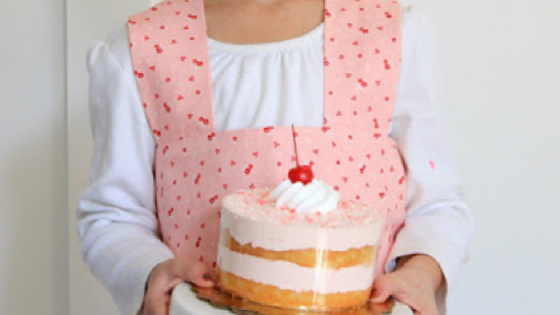


Sometimes when you see a fabric line, you know exactly what you want to make with it. That happened to me when I saw this Sweet Orchard fabric. I couldn’t stop thinking about how cute a sweet kitchen set would be in this darling and bright line. So, when it came time for my Design Team post, I didn’t think twice, and requested this gorgeous fabric. I’m Amy from Ameroonie Designs and today I’m going to share with you the apron pattern I sewed up for my sweet girls.

I decided that since I was making an apron for my 4 year old, I wanted something with no ties so I wasn’t constantly being asked to tie and untie strings. I browsed Pinterest and came across this tutorial on the blog Brown Eyes plus Blue. I was originally going to just link to her post, but there were a couple of things I wanted to clarify and a couple of minor changes I made to the measurements so I went ahead and recreated the tutorial here so you wouldn’t have to click back and forth, but you should click over and check out the darling linen aprons she made (as well as get measurements for a women’s size small apron). I used her measurements for the child’s apron (size 4) but I’ll tell you how I sized it up for my older daughter (size 8) as well as the other changes I made to her instructions.
Let’s get started:

2. Apron Facing- 29″ X 3 1/2″, 32″ X 3 1/2″
3. Apron Body- 29″ X 18″, 33″ X 25″
4. Apron hem- 29″ X 6″, 33″ X 7″
5. Pockets (cut 2)- 6 1/2″ X 7 1/2″*, 8″ X 11″
*This was the measurement in the original pattern, and the one I used on the pink apron, however, I would probably make them bigger if I were to do it again, even as large as the ones on the size 8 apron.
Assembly:
All seam allowances are 1/2″
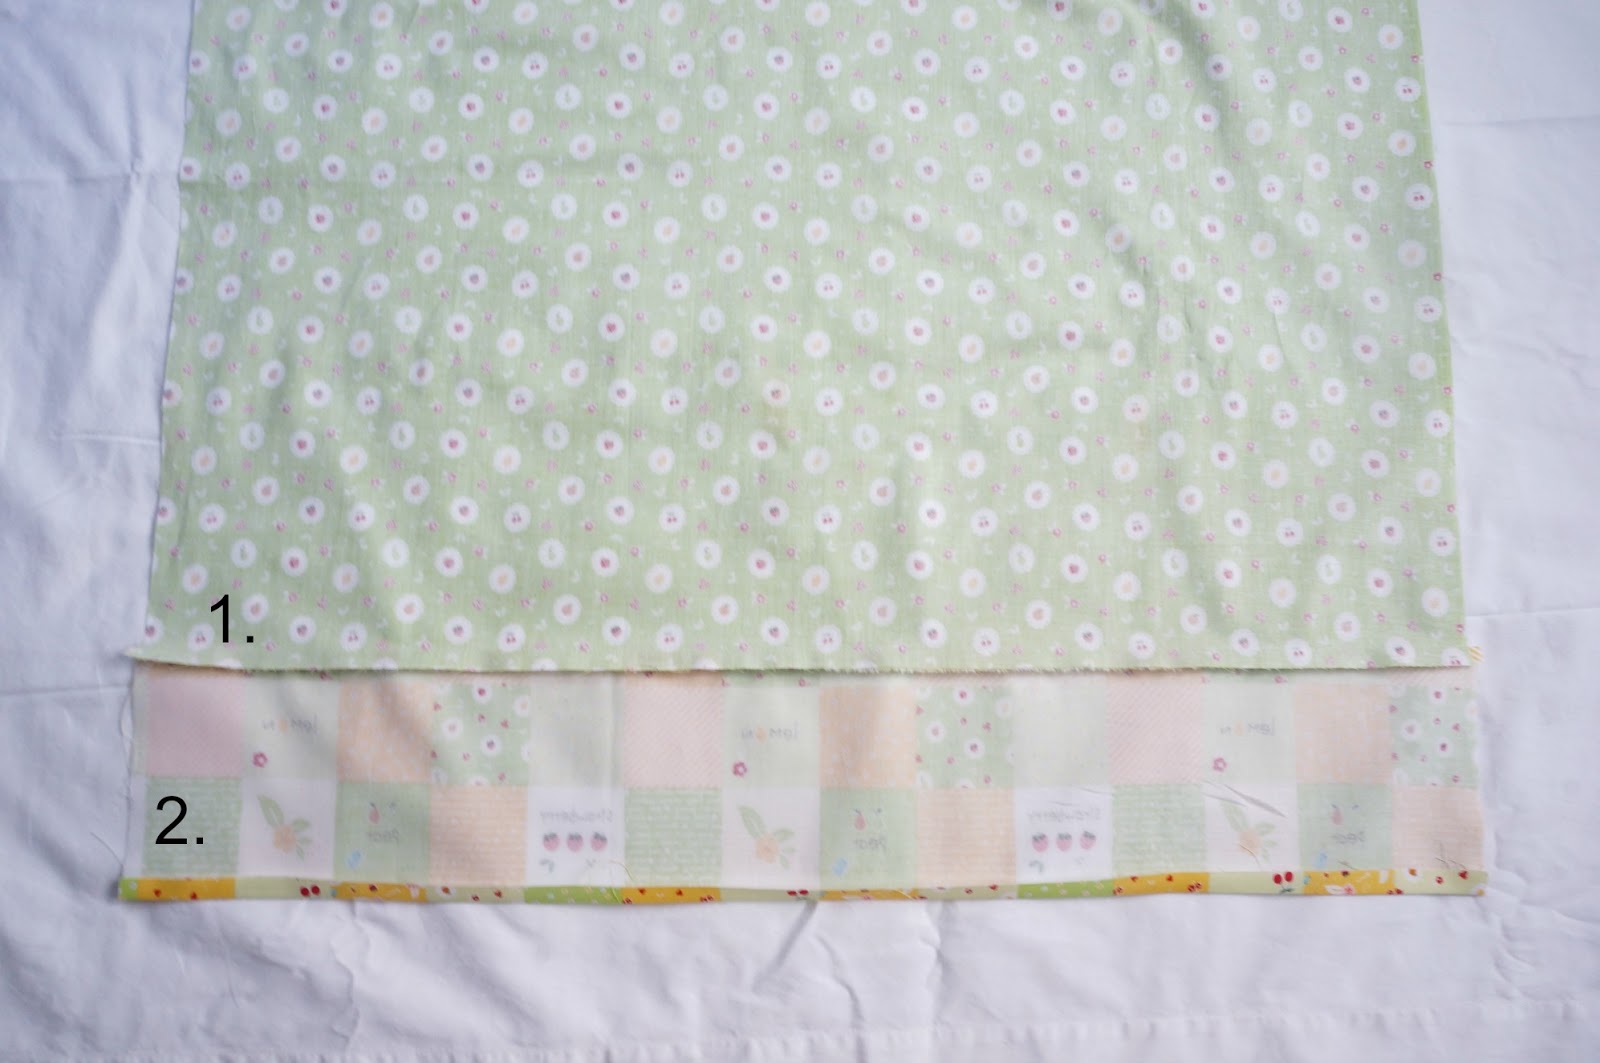
1. Sew the hem to the bottom of the apron body piece. Press the seam toward the hem.
2. Press the bottom of the hem up 1/2″.

Fold the bottom of the hem up toward the wrong side of the fabric and line it up with the sewn line at the top of the hem. Sew down.
*for larger seams I used a piece of washi tape to mark the measurement on my sewing machine so I could sew from the right side of the fabric.

Press the sides of the apron body in 1/2″.
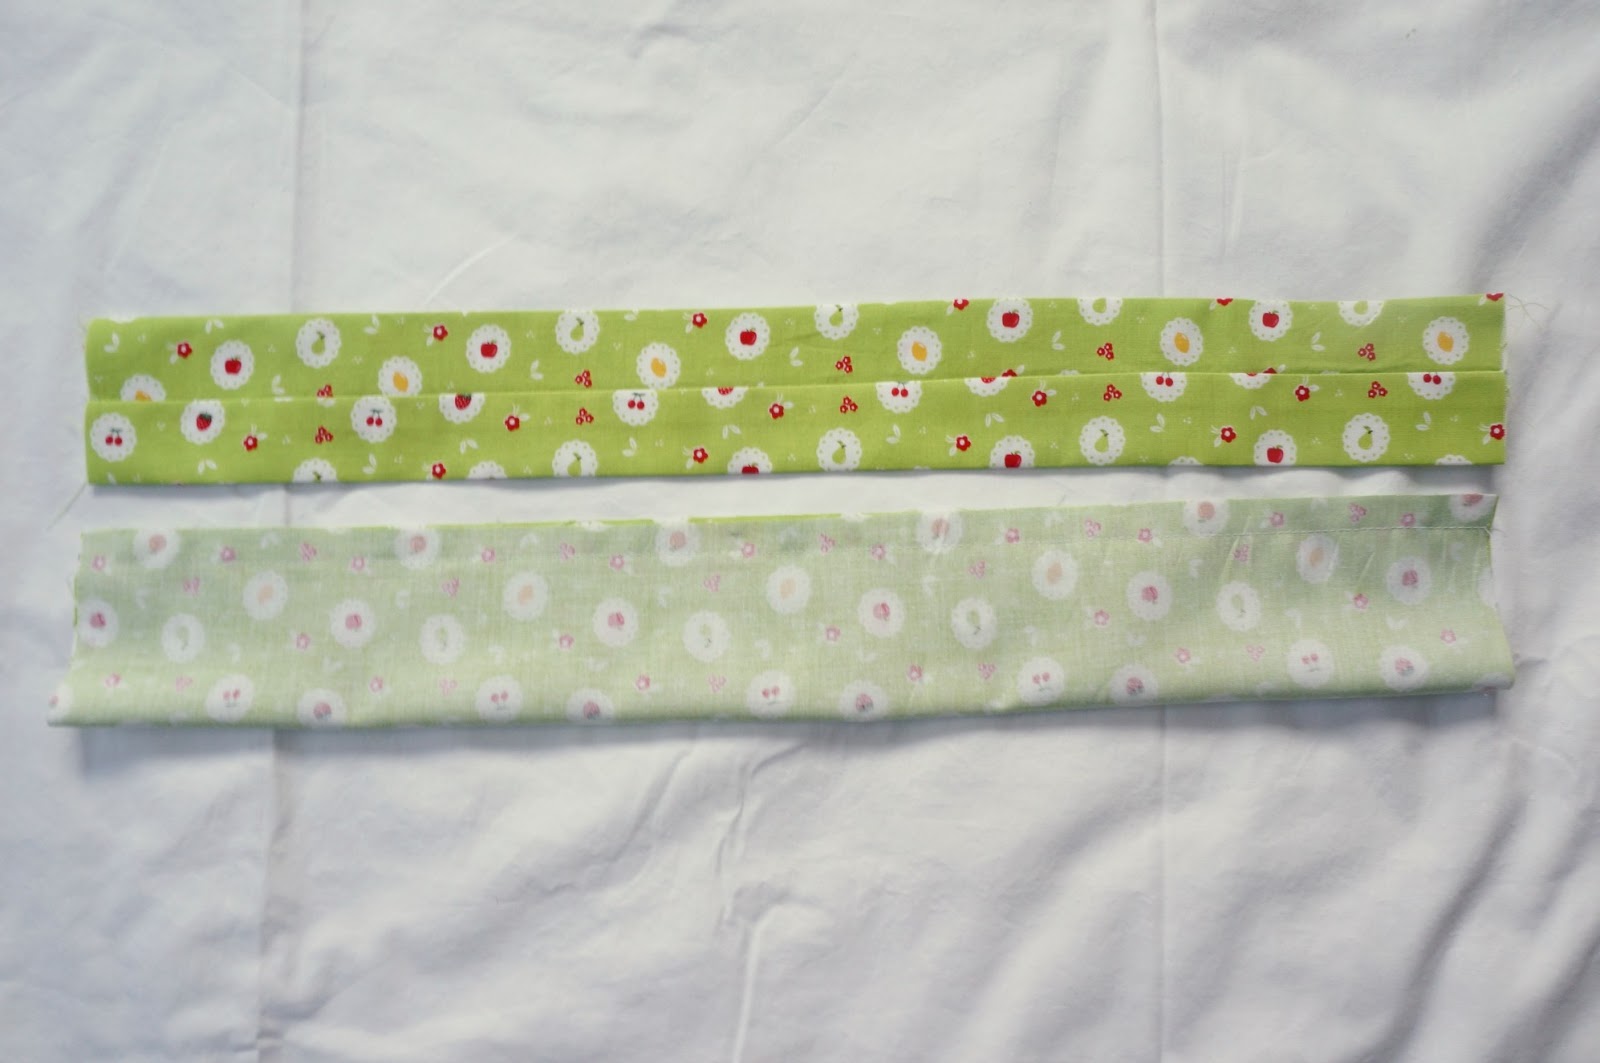
Cut the strap piece in half. Fold the strap along the long edge, right sides together. Sew down the long side. Turn right side out and press flat.

1. Press down the top of the pocket pieces 1/2″.
2. Fold the top of the pocket toward the right side 1 1/2″, pin in place. Set aside.
3. Press up the bottom of the Apron facing piece 1/2″

Lay the apron body piece right side up. Line one end of each strap 2 1/2″ in from the sides, wrong side up to the raw edge of the apron body piece. Line the apron facing piece right side down, lining up the raw, unfolded edges. Pin the strap down and mark just to the outside of the strap edge 2 1/2″ up and 1/2″ from raw edge. Sew an “L” shape making sure not to sew the side of the strap. (indicated by the dashed line) Repeat for the second strap.
*it is very helpful at this stage to try the apron on the child it is for- you will want to adjust the position and length of the strap so the apron fits the way you would like it. For the size 4 I cut 3″ off of each strap, for the size 8 it was 2″.

Once you have tried the apron on, you will have found the position on the front of the apron to attach the strap. For the size 8 apron on my daughter it was 5 1/2″ from the side of the strap. For the size 4 apron on my daughter it was 4 1/2″ from the strap. Cross over the straps (making sure they are not twisted) and pin into place between the apron body and the apron facing. Sew across the top of the apron. Trim the corners and turn the facing to the wrong side of the apron. Press the top seam flat. Press the sides of the apron in 2 1/2″. Sew down the sides of the apron at 2 1/4″ in from the sides. Sew the top facing down at 2 1/4″ down from the top. Top stitch all four sides of the apron.

1. Sew down the sides of the top hem of the pockets 1 1/2″. (indicated by dotted line)
2. Clip the top corners.
3. Turn top hem to the wrong side of the pocket. Press.
4. Press the sides of the pocket in 1/2″.
5. Press the bottom of the pocket up 1/2″. Sew down the top hem of the pocket at 1 1/4″ (not shown)
Try the apron on the child again to determine the position of the pockets. For the size 8 apron I placed them 6″ in from the sides and 10″ down from the top. I am not giving the placement of the size 4 apron because I suggest making the pockets bigger and that would change the placement of them. Pin pockets in place and sew down the sides and across the bottom.

You are finished!

Watch the smiles roll in as your child tries on their new apron.

I hope you enjoy making these for the little ones you love in your life. And I hope you’ll join me over on my blog for more fun sewing projects and other crafty ideas.
xoxo,
Amy