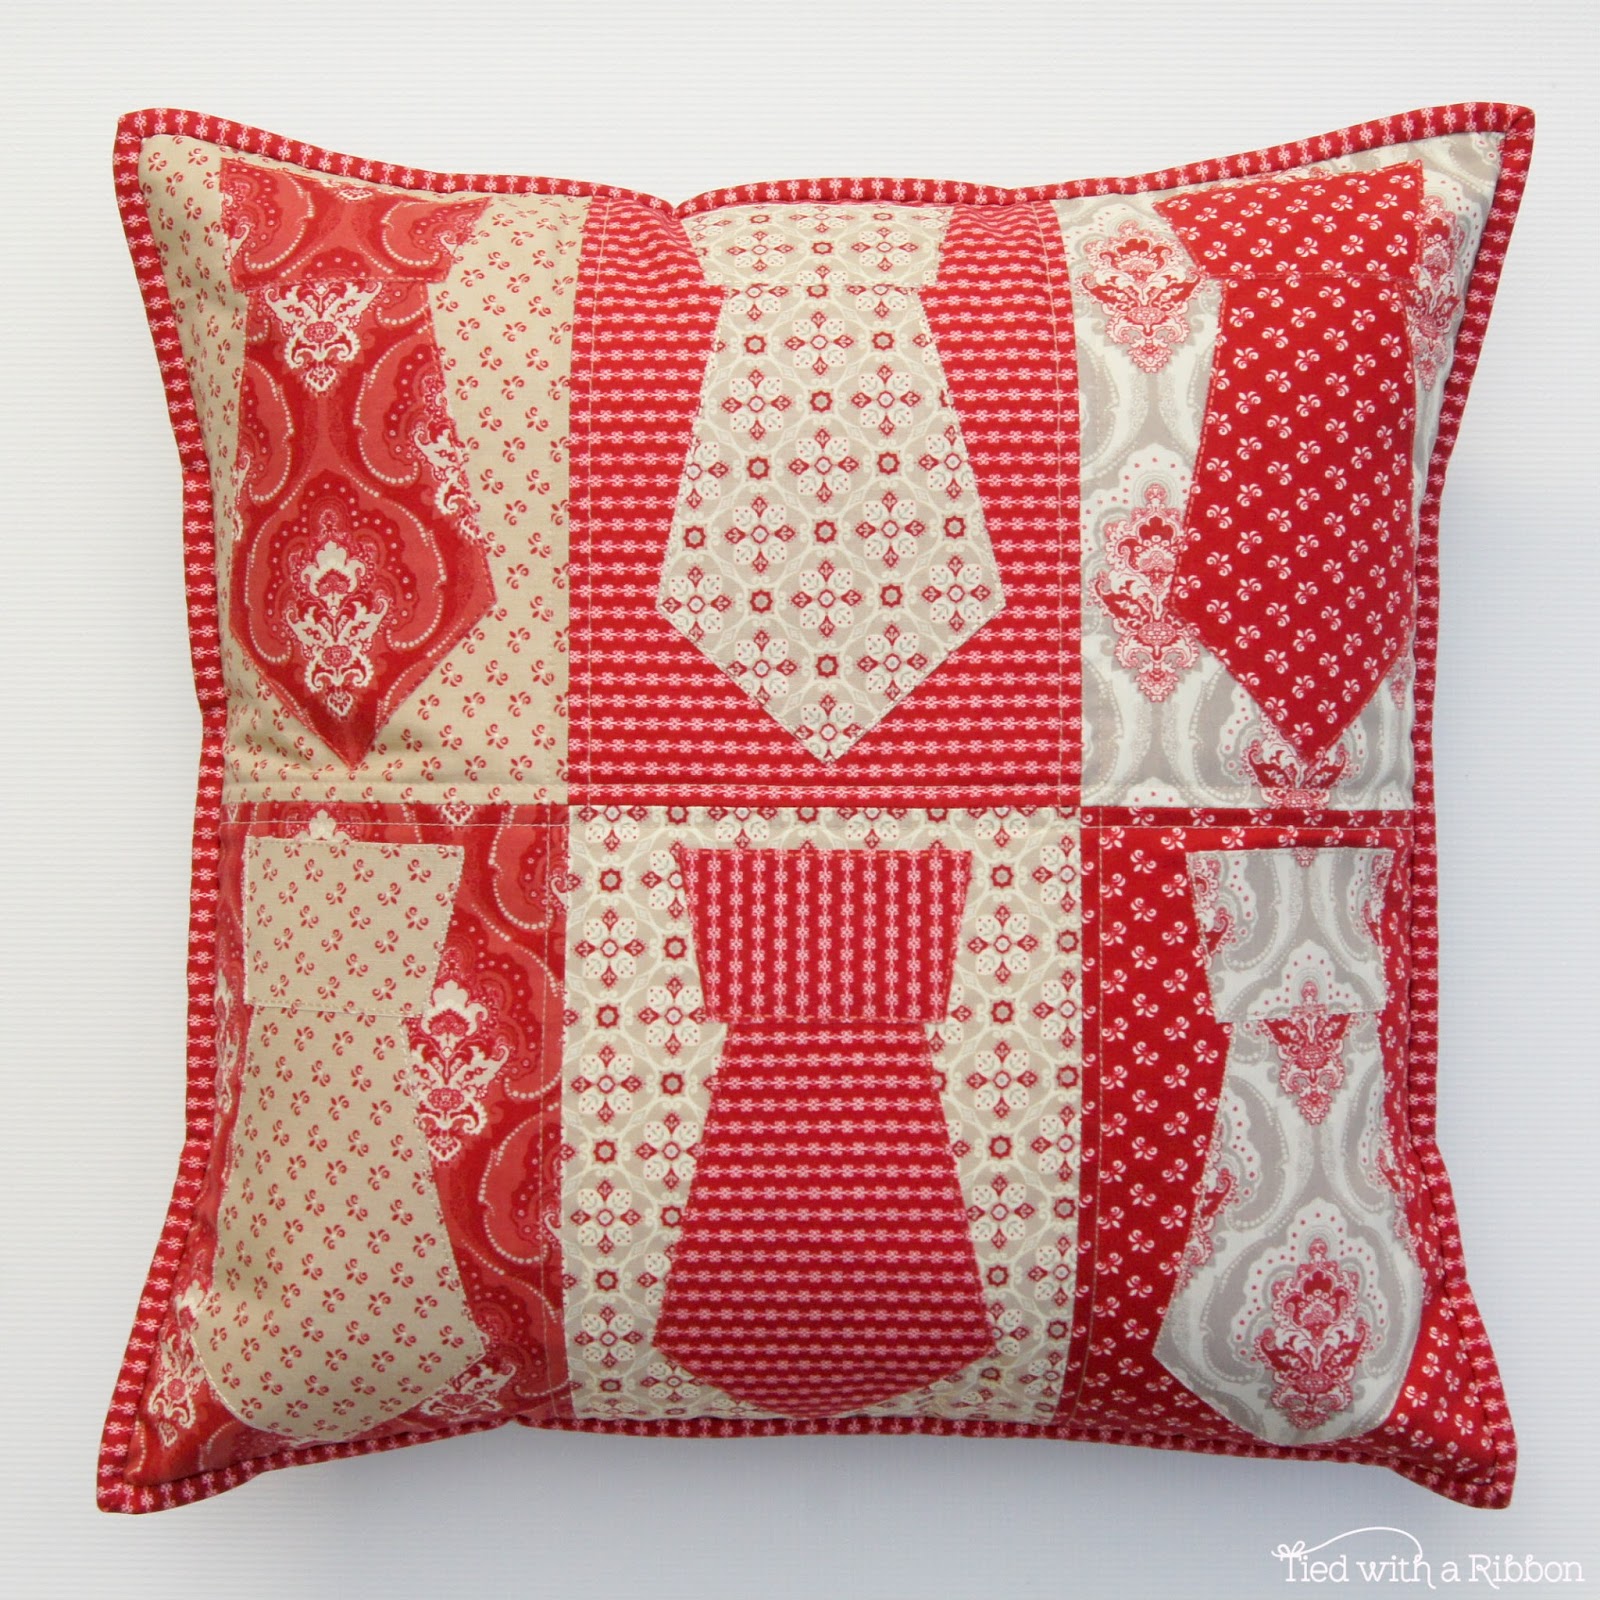
Today I am back for the Penny Rose Design team with another Tutorial for you to create. I wanted to make something for you to create for a special man in your life. I always get caught up in all the girly things but do love to create things for the boys and today this “Dad’s Ties Cushion” fits the bill.
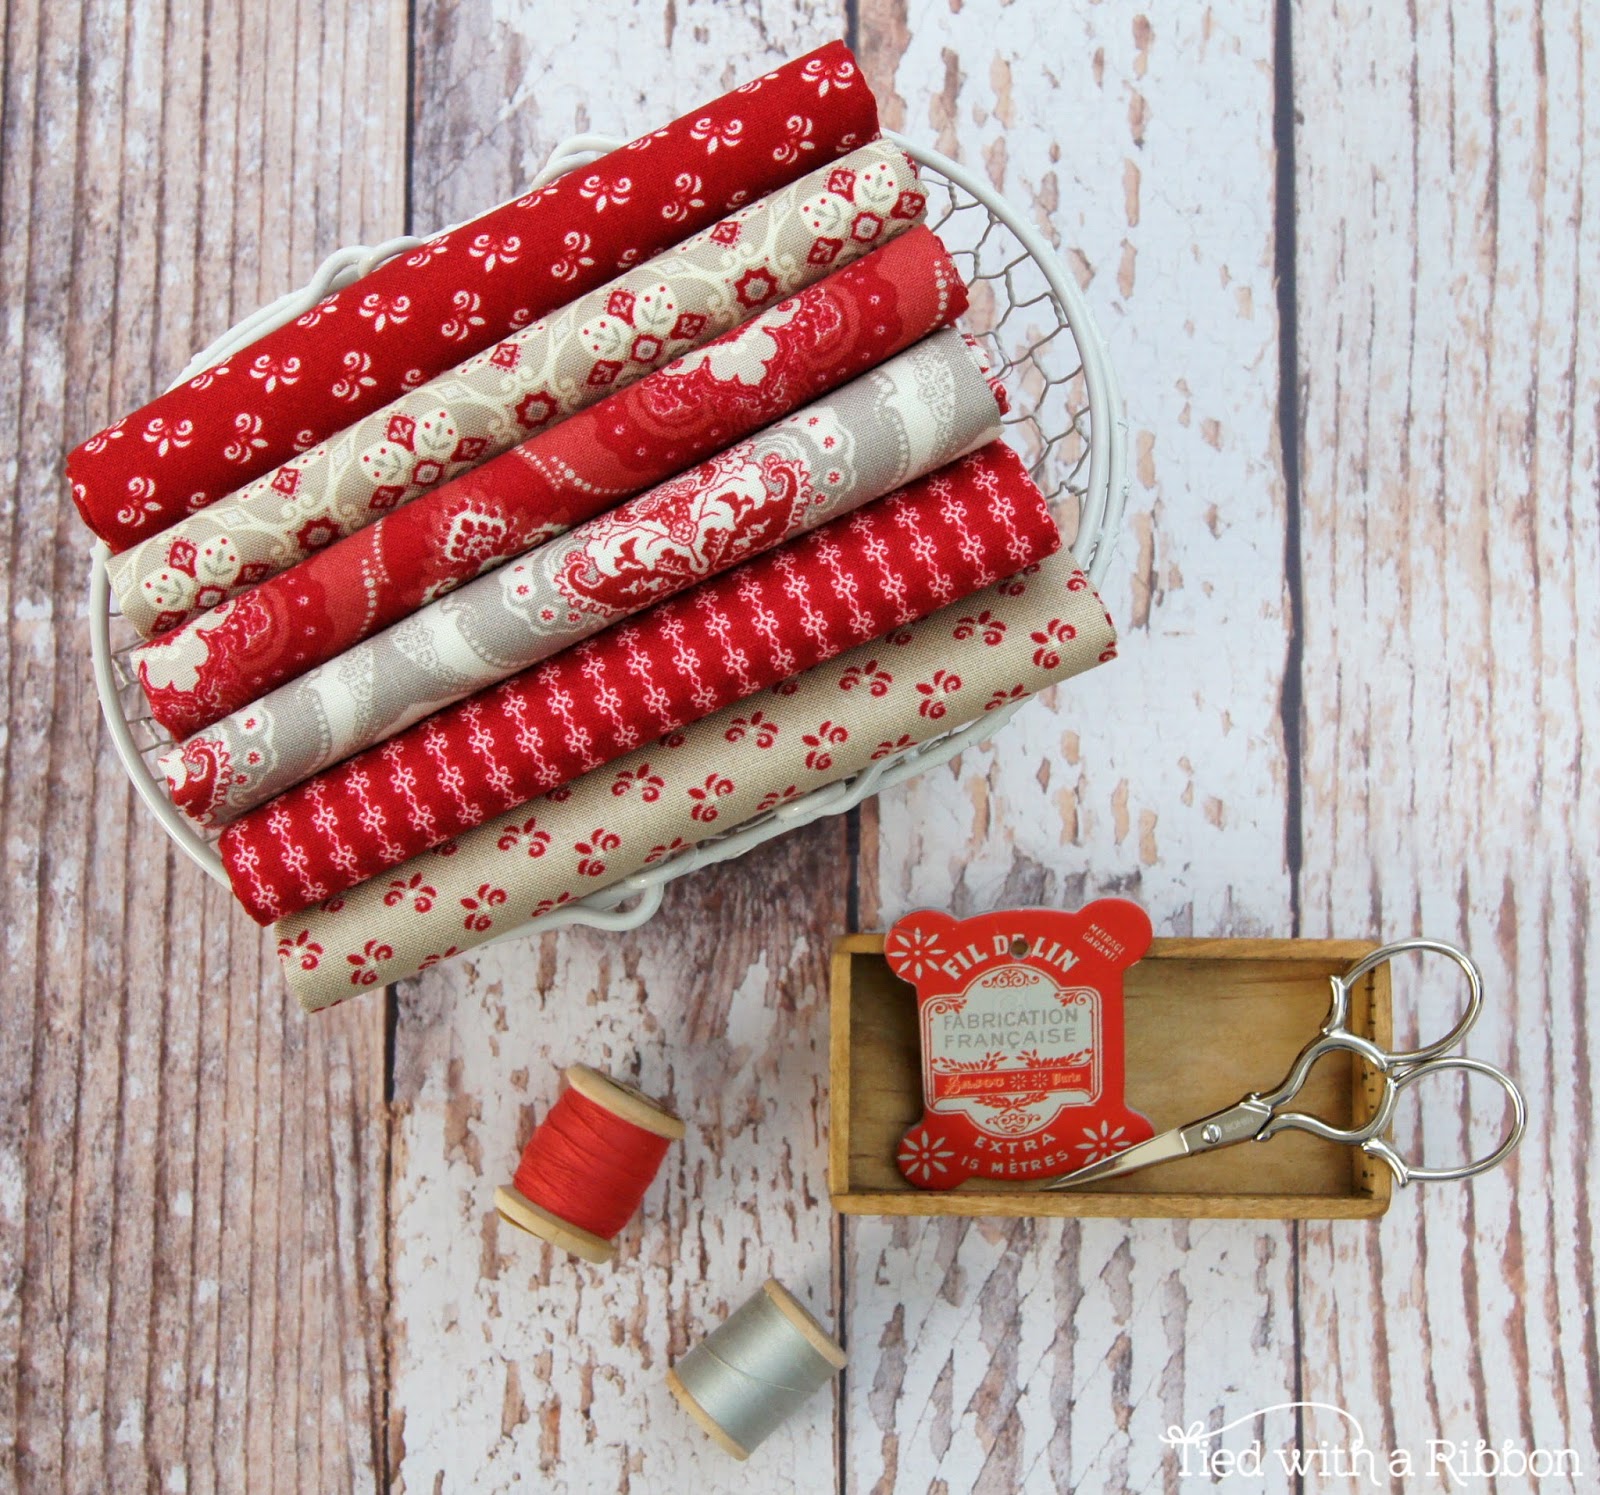
This range – Beaujolais by Sue Daley Designs for Penny Rose Fabrics was just perfect with its reds, grays and taupes to create a cushion inspired by “Dad’s Tie Collection”.
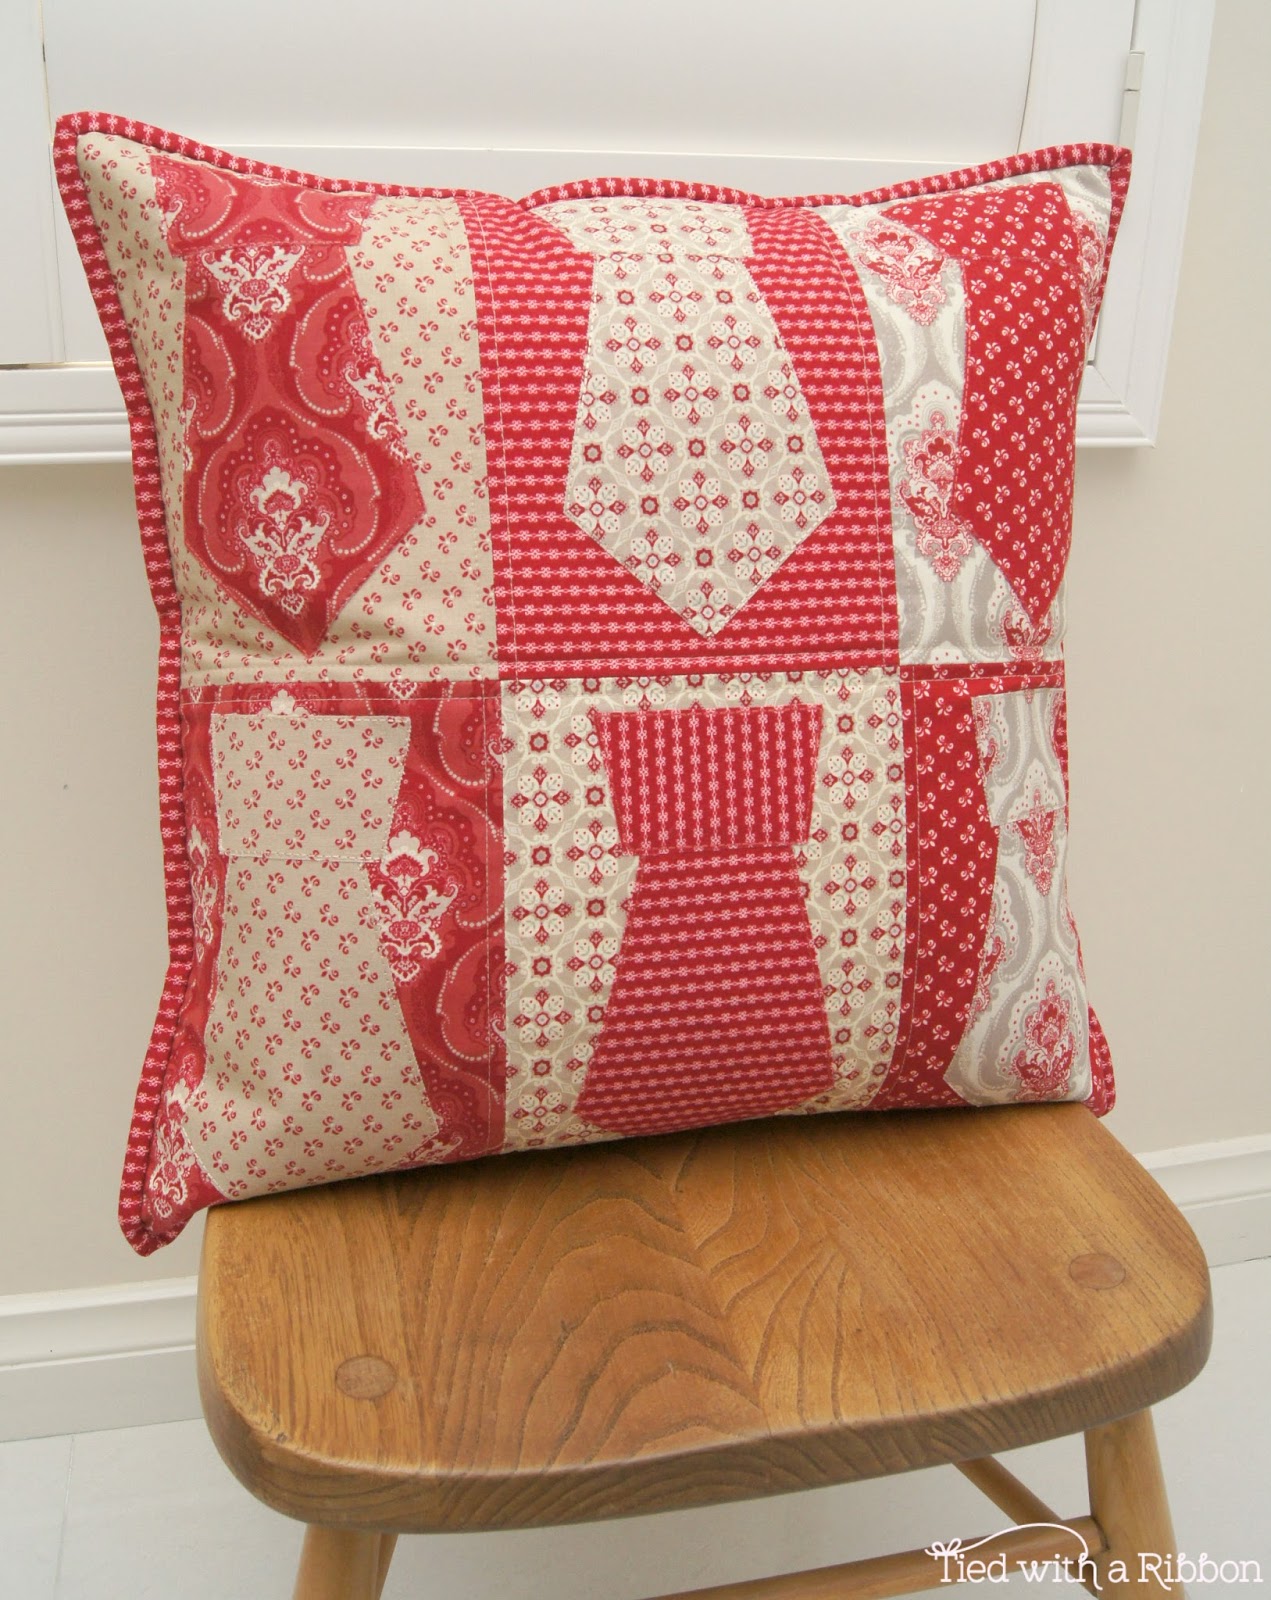
Dad’s Ties Applique Cushion
18.5in x 18.5in
Requirements
3 Fat 1/8ths of Taupe fabrics
3 Fat 1/8ths of Red fabrics
1/4yd Red Binding fabric
1/2yd cushion backing fabric
Fusible Web
Pencil
Cotton thread for Appliqué
Cotton thread
5/8yd x 5/8yd batting
Size 18 Cushion Insert
Step 1 – Cutting Instructions
From each of the 3 Red and 3 Taupe fabrics cut 1 – 6.5in x 9.5in rectangle
From the Red Binding fabric cut 2 strips – 2.25in x WOF
From the Backing fabric cut 2 – 15in x 18.5in rectangles
Step 2 – Print out the Appliqué Template sheet from HERE. Trace with a pencil, 6 Tie knots and 6 Ties out onto your Fusible web leaving approx 1/2in space around each traced shape.
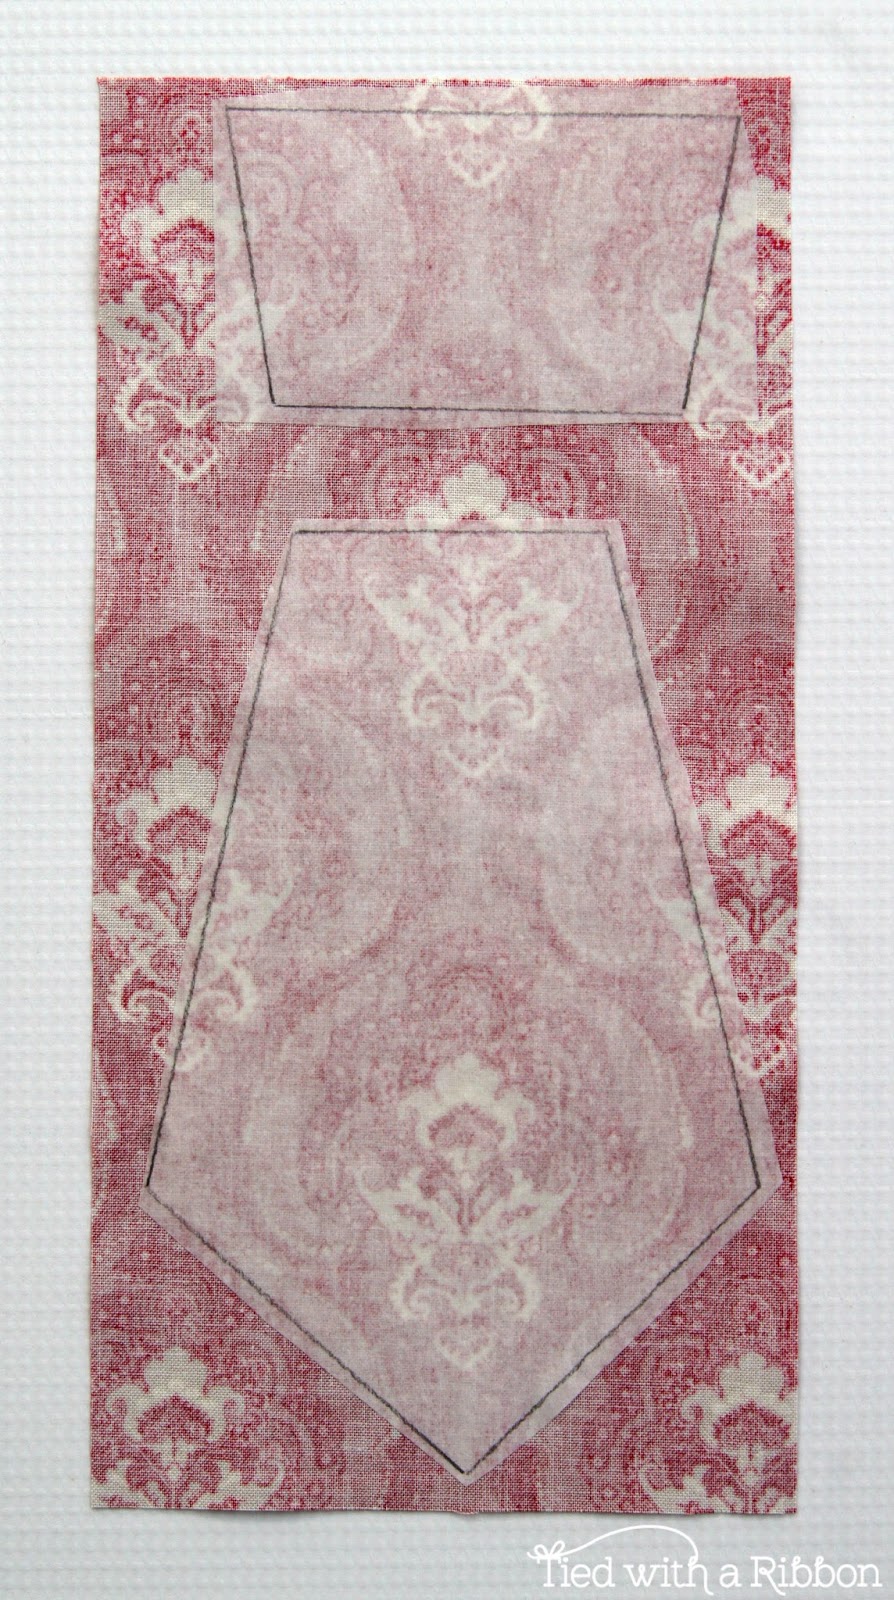
Take the leftover Red and Taupe pieces left over from cutting your background rectangles and fuse a Tie Knot and Tie to each of the fabrics with the Fusible Web onto the back of the fabric (make sure to follow the manufacturers instructions for your particular brand of Fusible web)

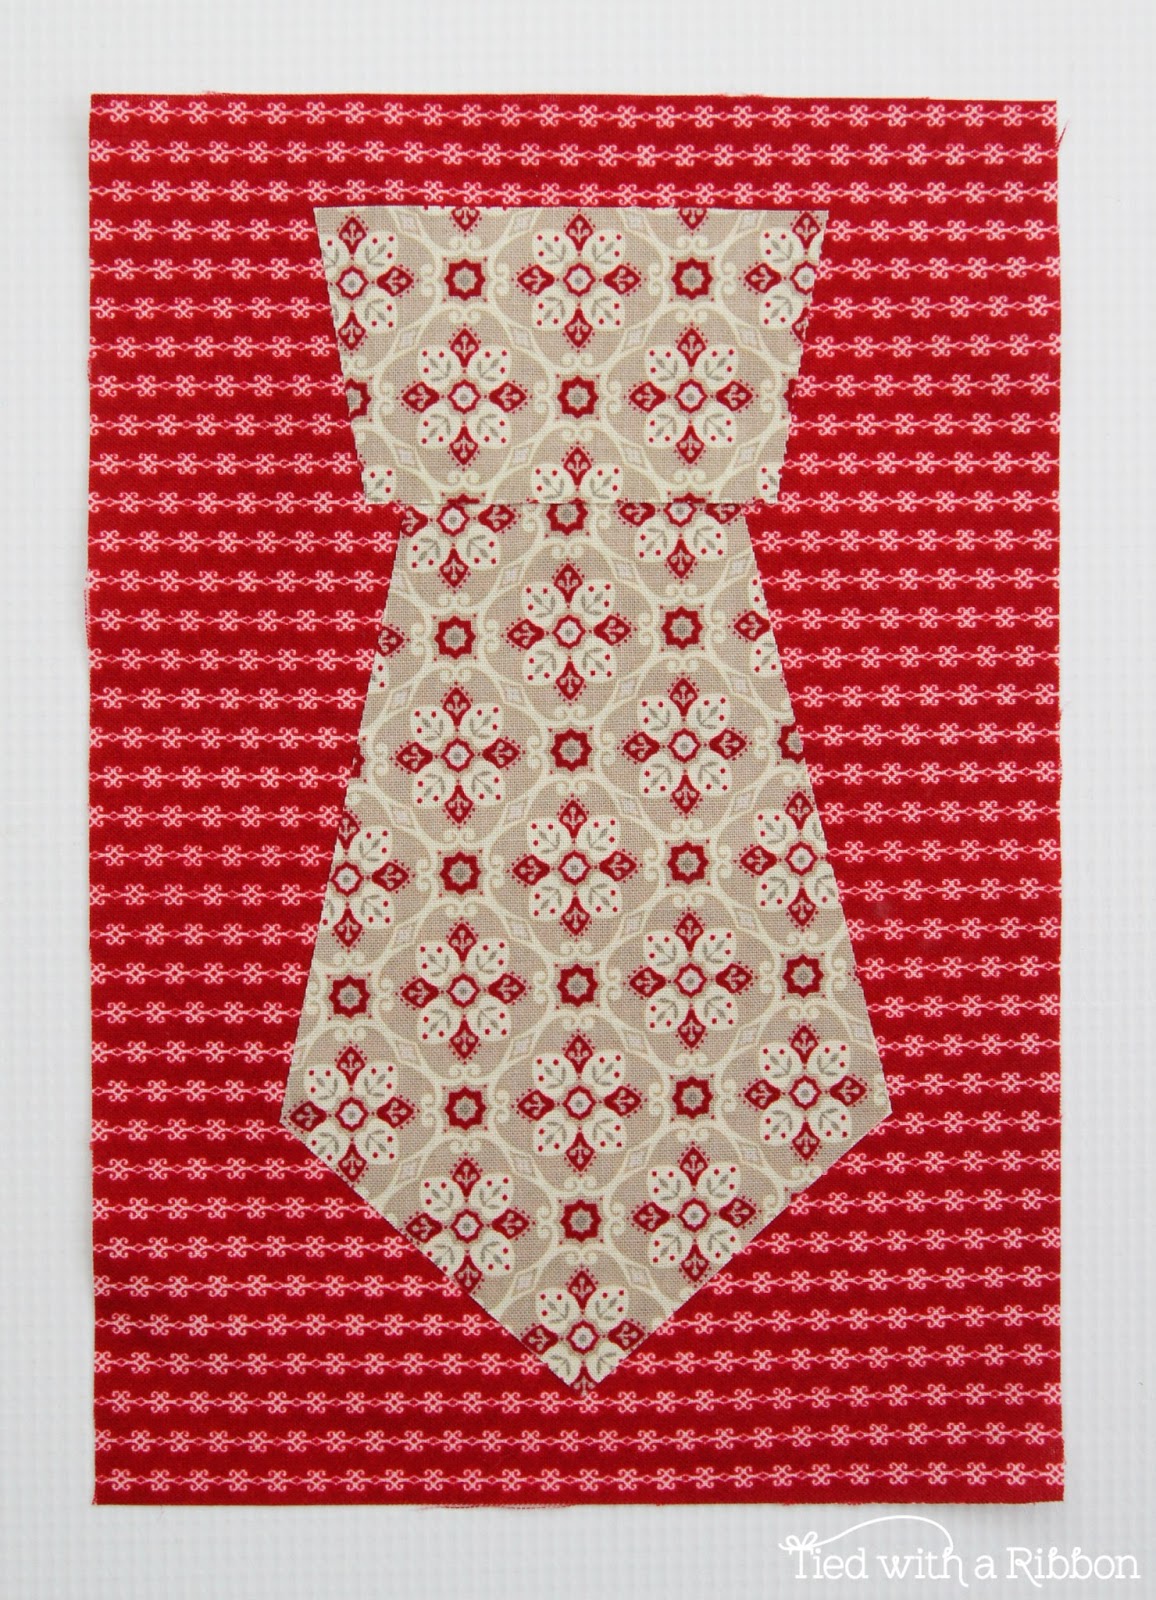
Step 3 – Cut out the Tie Knot and Tie shapes on the pencil line. Peel the Fusible web from the back of the fabric and place the Ties Knots and Ties into position on the chosen background fabric. Place the Tie under the Tie Knot and fuse to the background fabric.
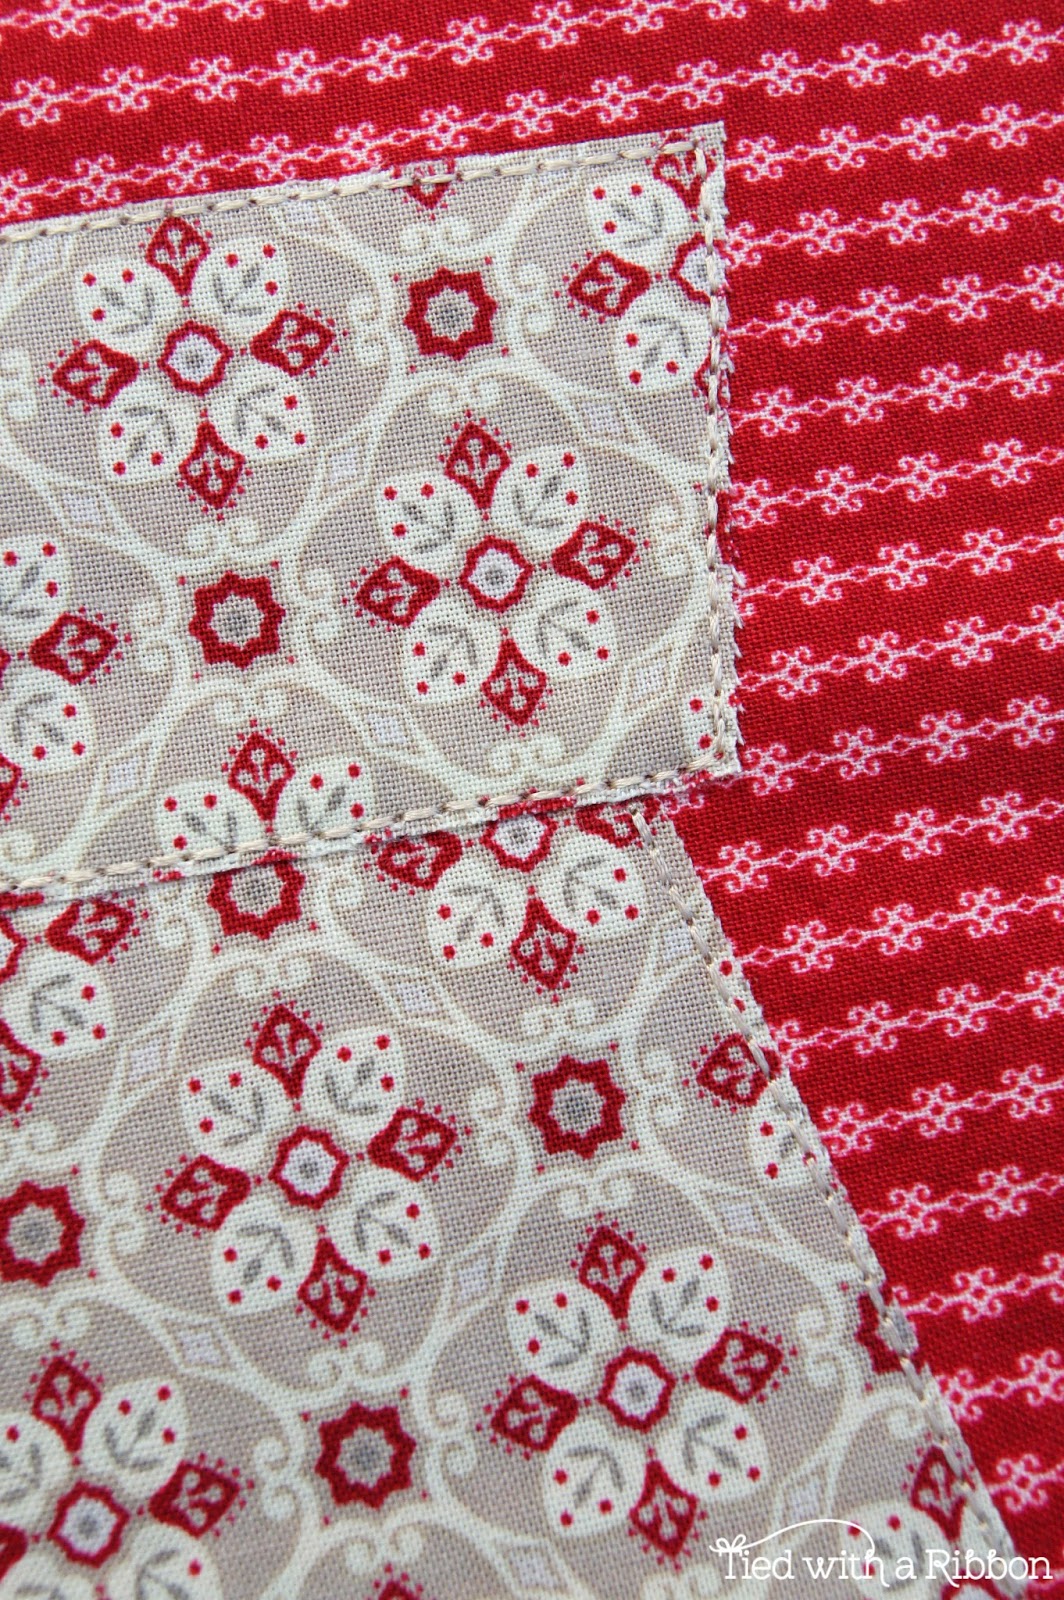
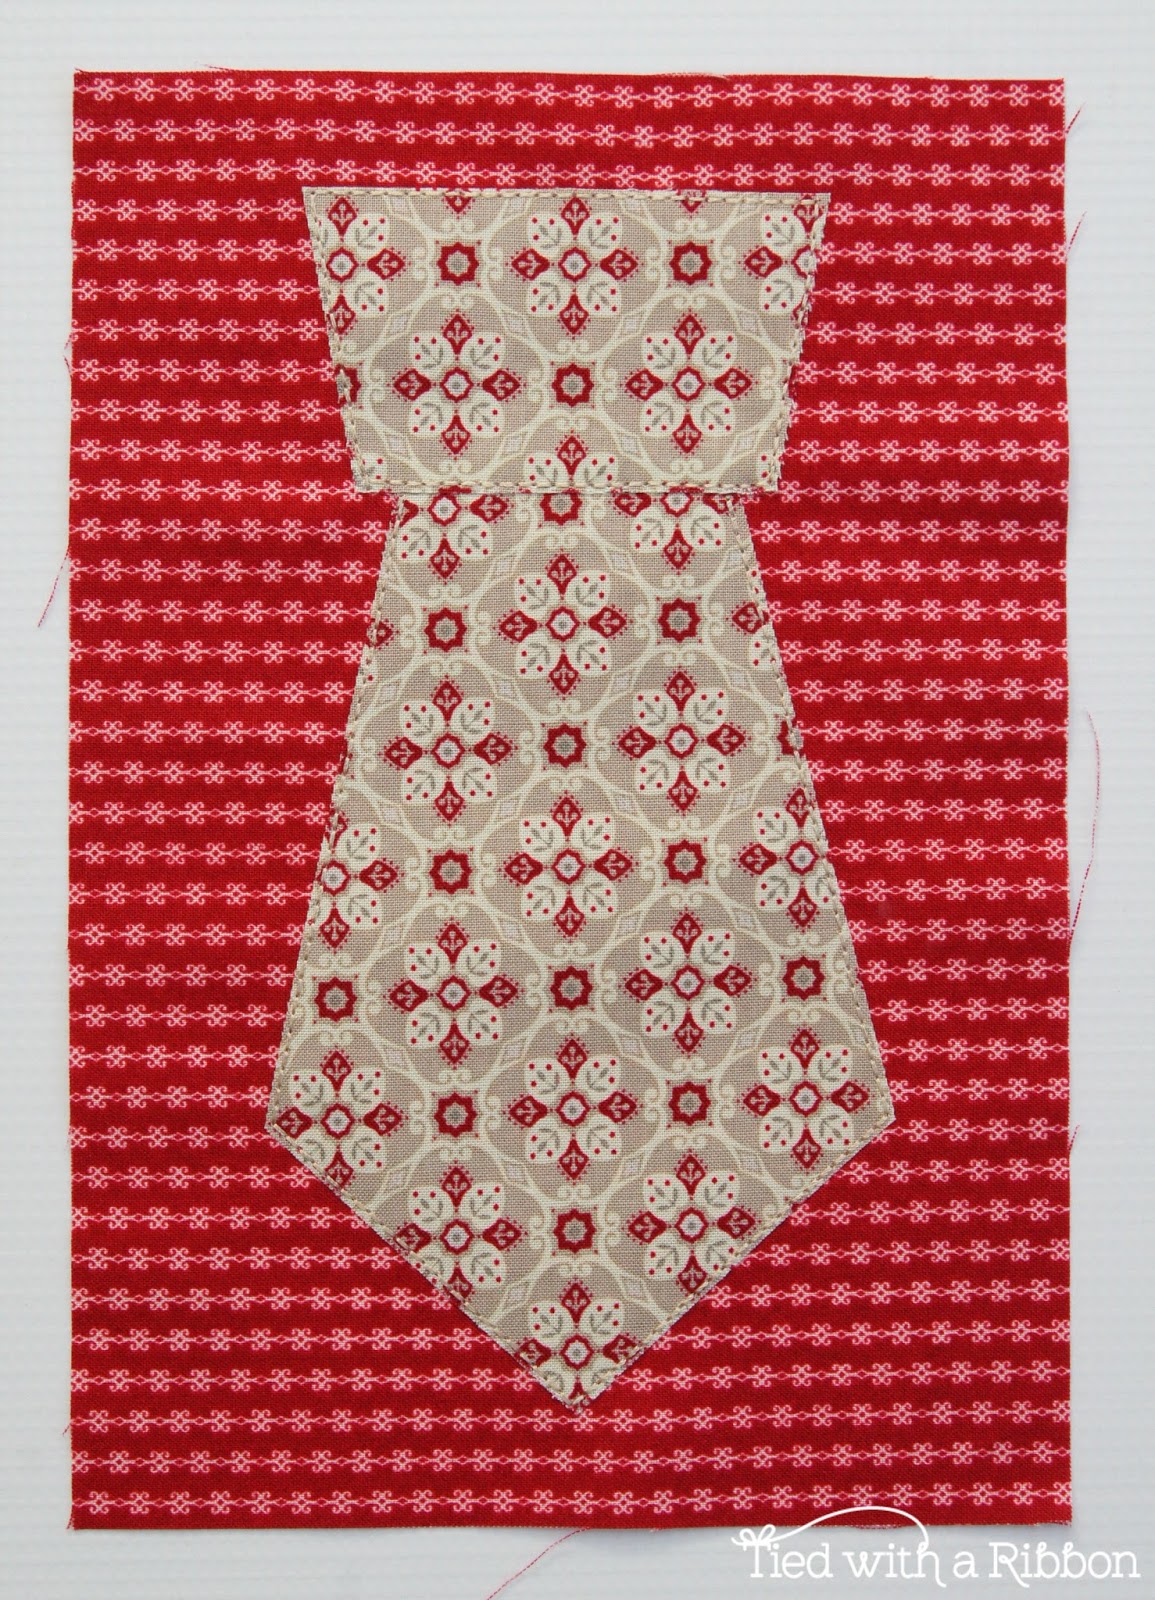
Step 4 – Appliqué the Ties in any way you choose. You can use a Machine to Blanket Stitch around your ties or sew a Triple Stitch (like I did) to create a Raw Edge Appliqué look. You can also of course handset your Ties if you prefer. Stitch all 6 ties in your chosen method.
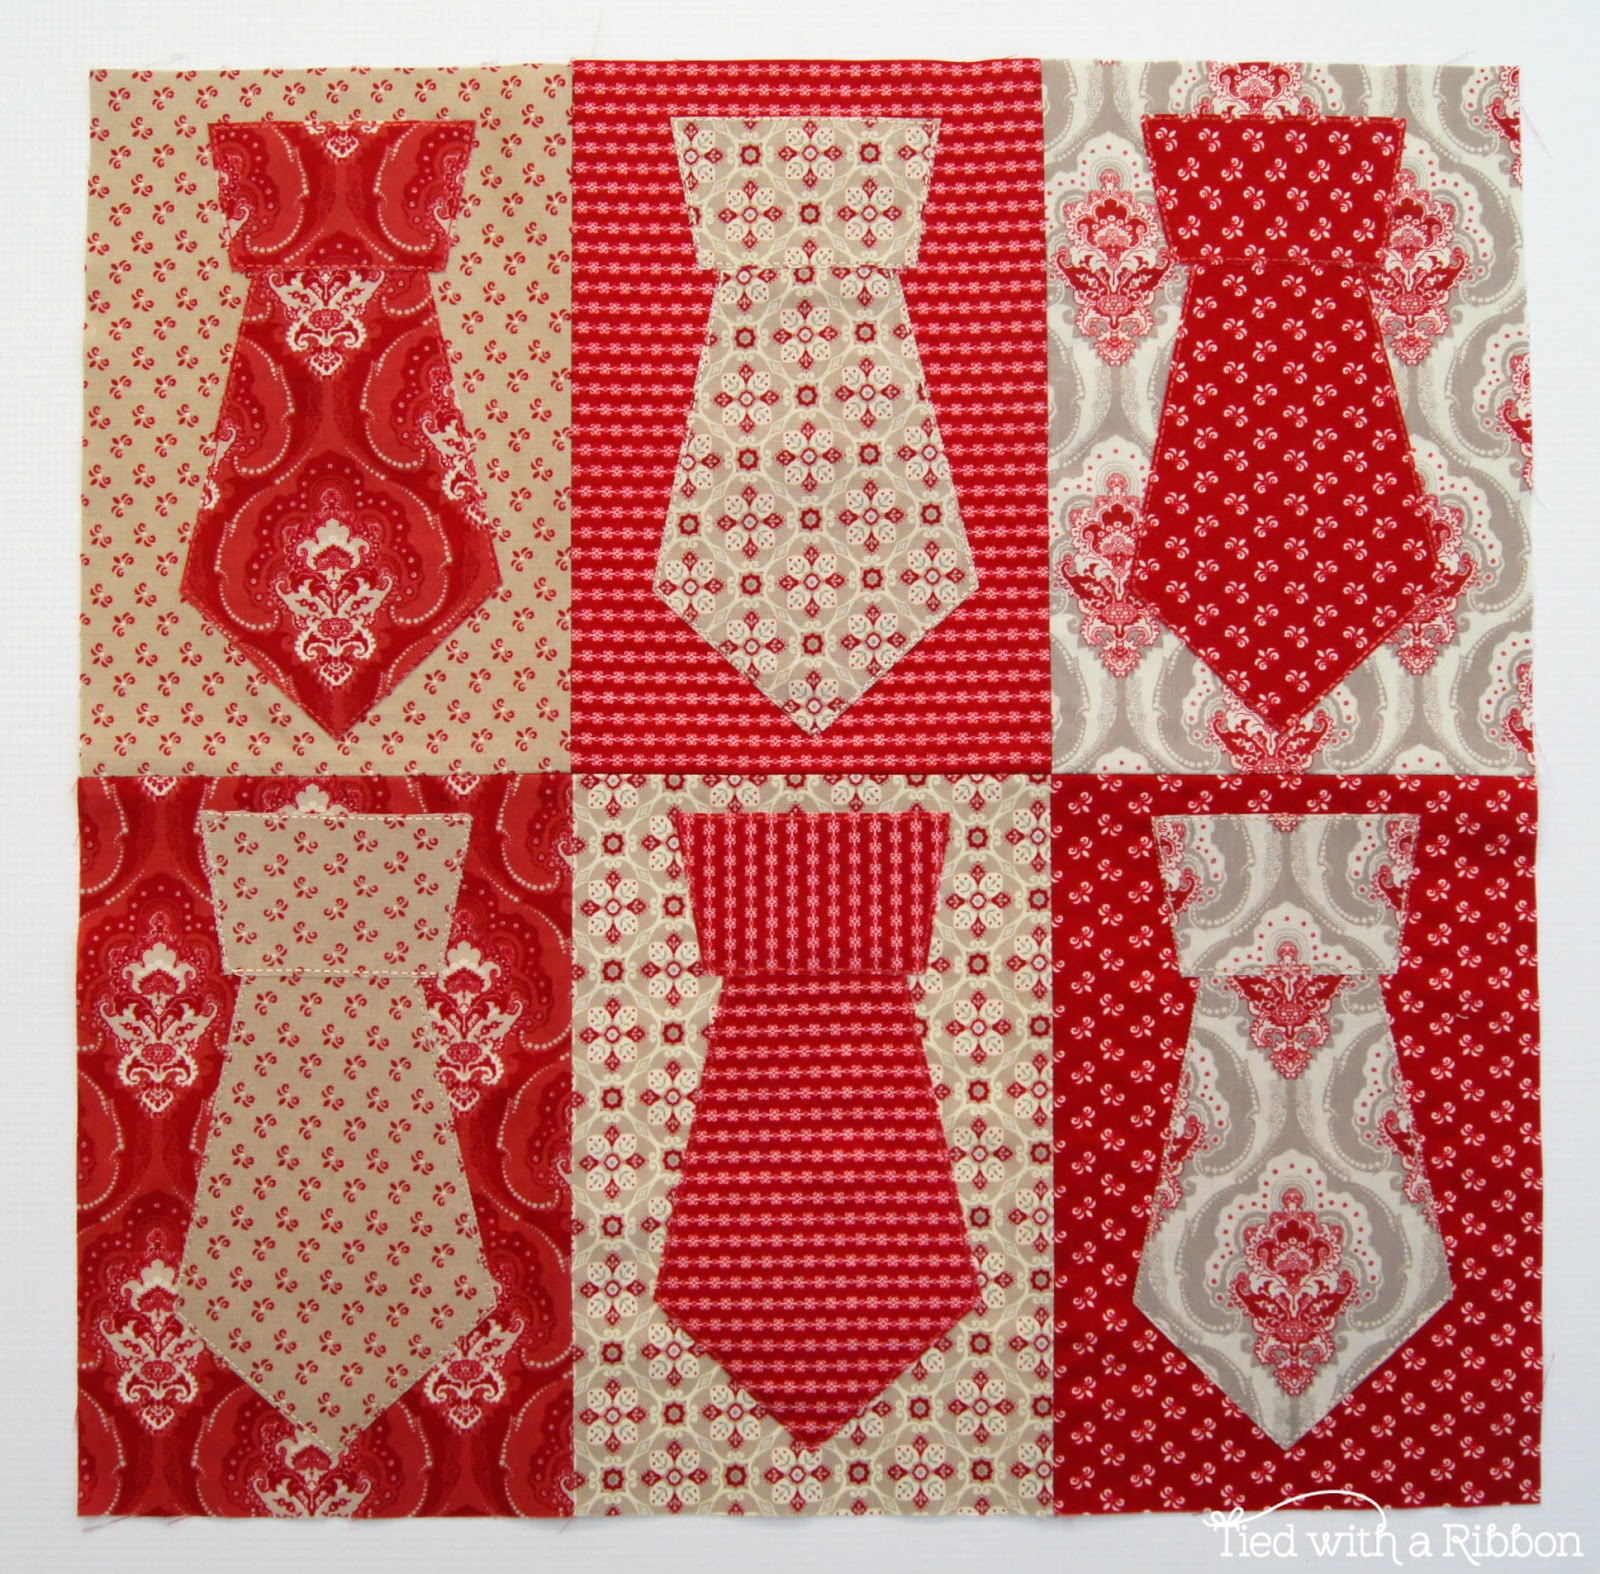
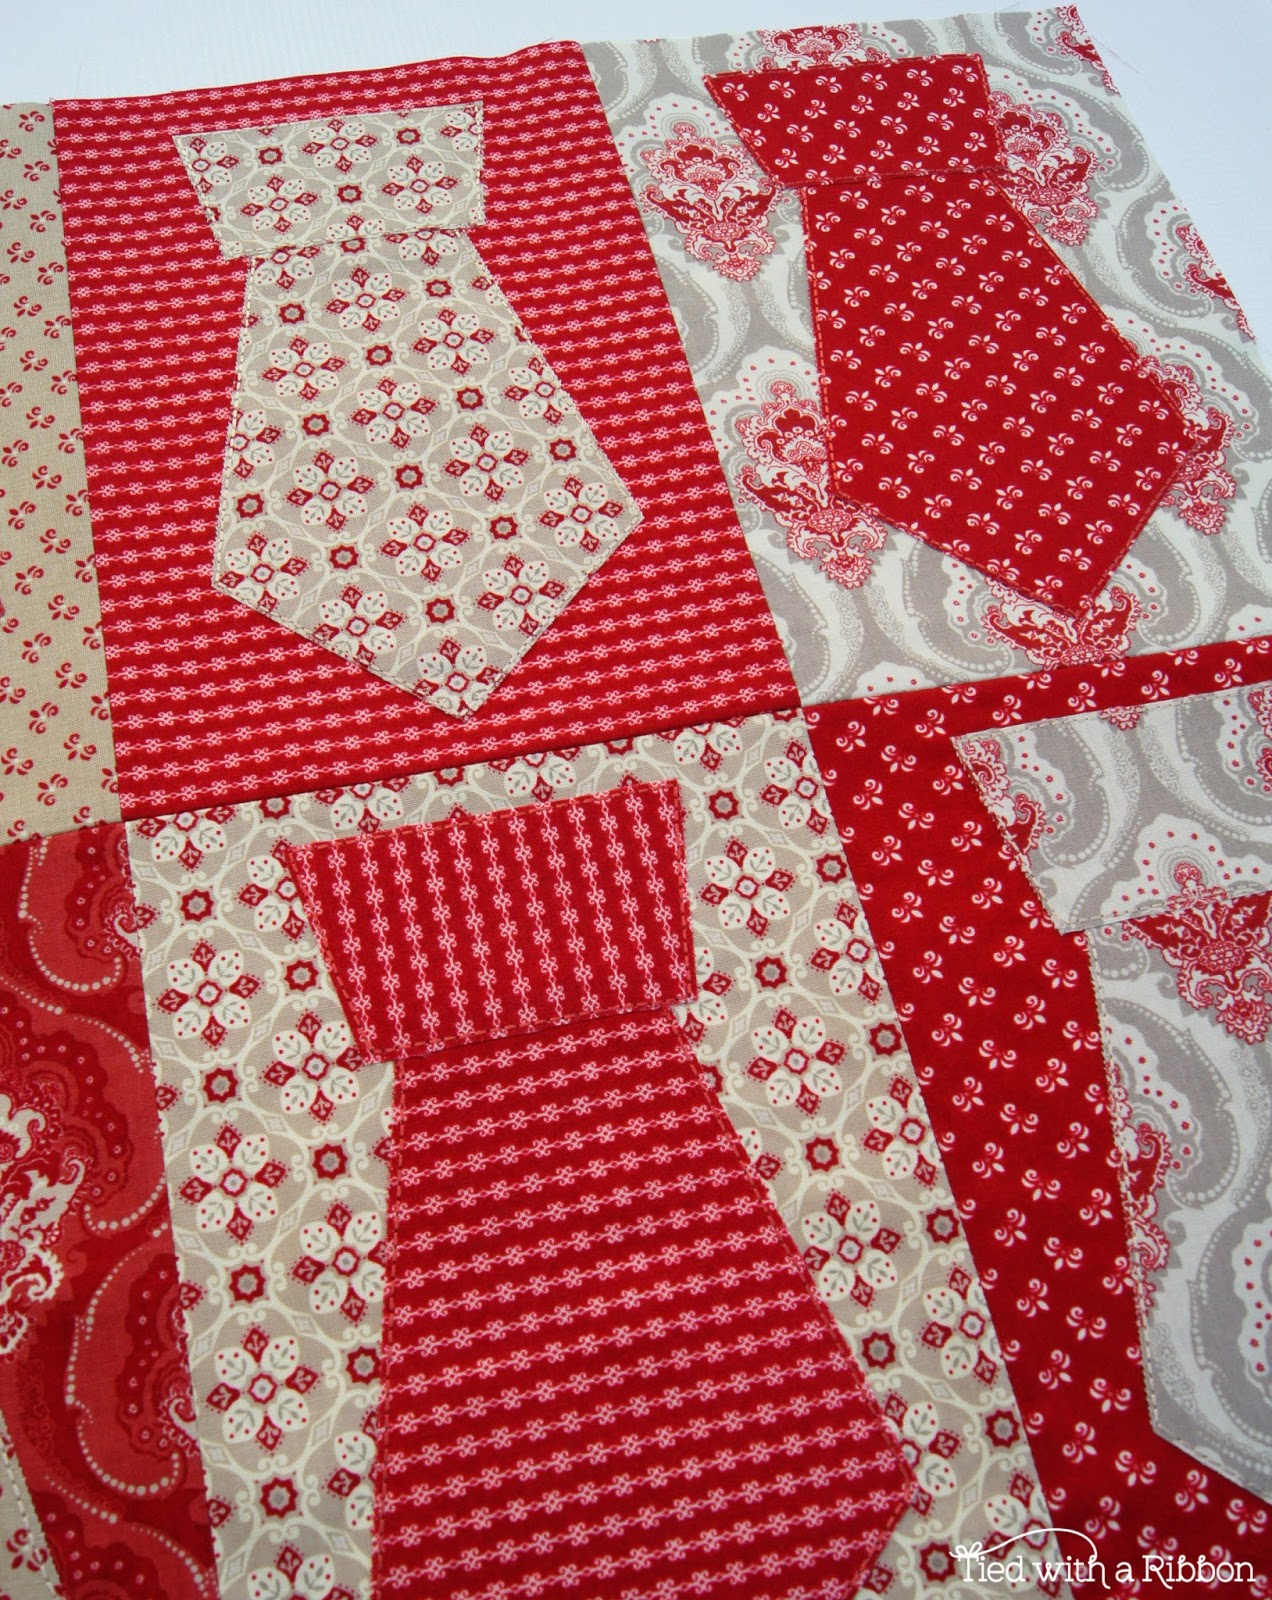
Step 5 – Arrange the background fabrics in a 3 x 2 row formation. Arrange until you are happy with the colours and placement of your fabrics and colours. Sew the first row of 3 together, pinning as you go. Press seams open. Sew the second row of 3 together again pinning and pressing seams open. Sew the first and second rows together.
Step 6 – Place your cushion top on top of your batting and quilt as desired. Trim batting back to the size of your cushion top.

Step 7 – To make the cushion backing – take one cushion backing piece and along one long raw edge fold over this raw edge (wrong sides facing) 1/2in and press. Then fold over a second time – 1in and press again. Do this for the other backing piece. Sew along the open edge and folded aged of the cushion edge.
Step 8 – Place the cushion front facing right side down on your bench. Then lay one of the cushion backs matching up the raw edges on the side and bottom to the cushion front. The sewn fold should run horizontal to your cushion. Place the second cushion backing on top of this matching the side raw edges and top of the cushion. Pin the backing to the front. Sew a basting stitch 1/8in around the cushion edge to hold the cushion front and backings in place.
Step 9 – Sew your binding strips end to end and then press in half lengthways with wrong sides together. Sew the Binding to your cushion top by starting half way along one side of your cushion. Sew the binding strip to the right side of the cushion, metering the corners as you go. Stop about 6in from where you started. Join the ends and cut off the excess.
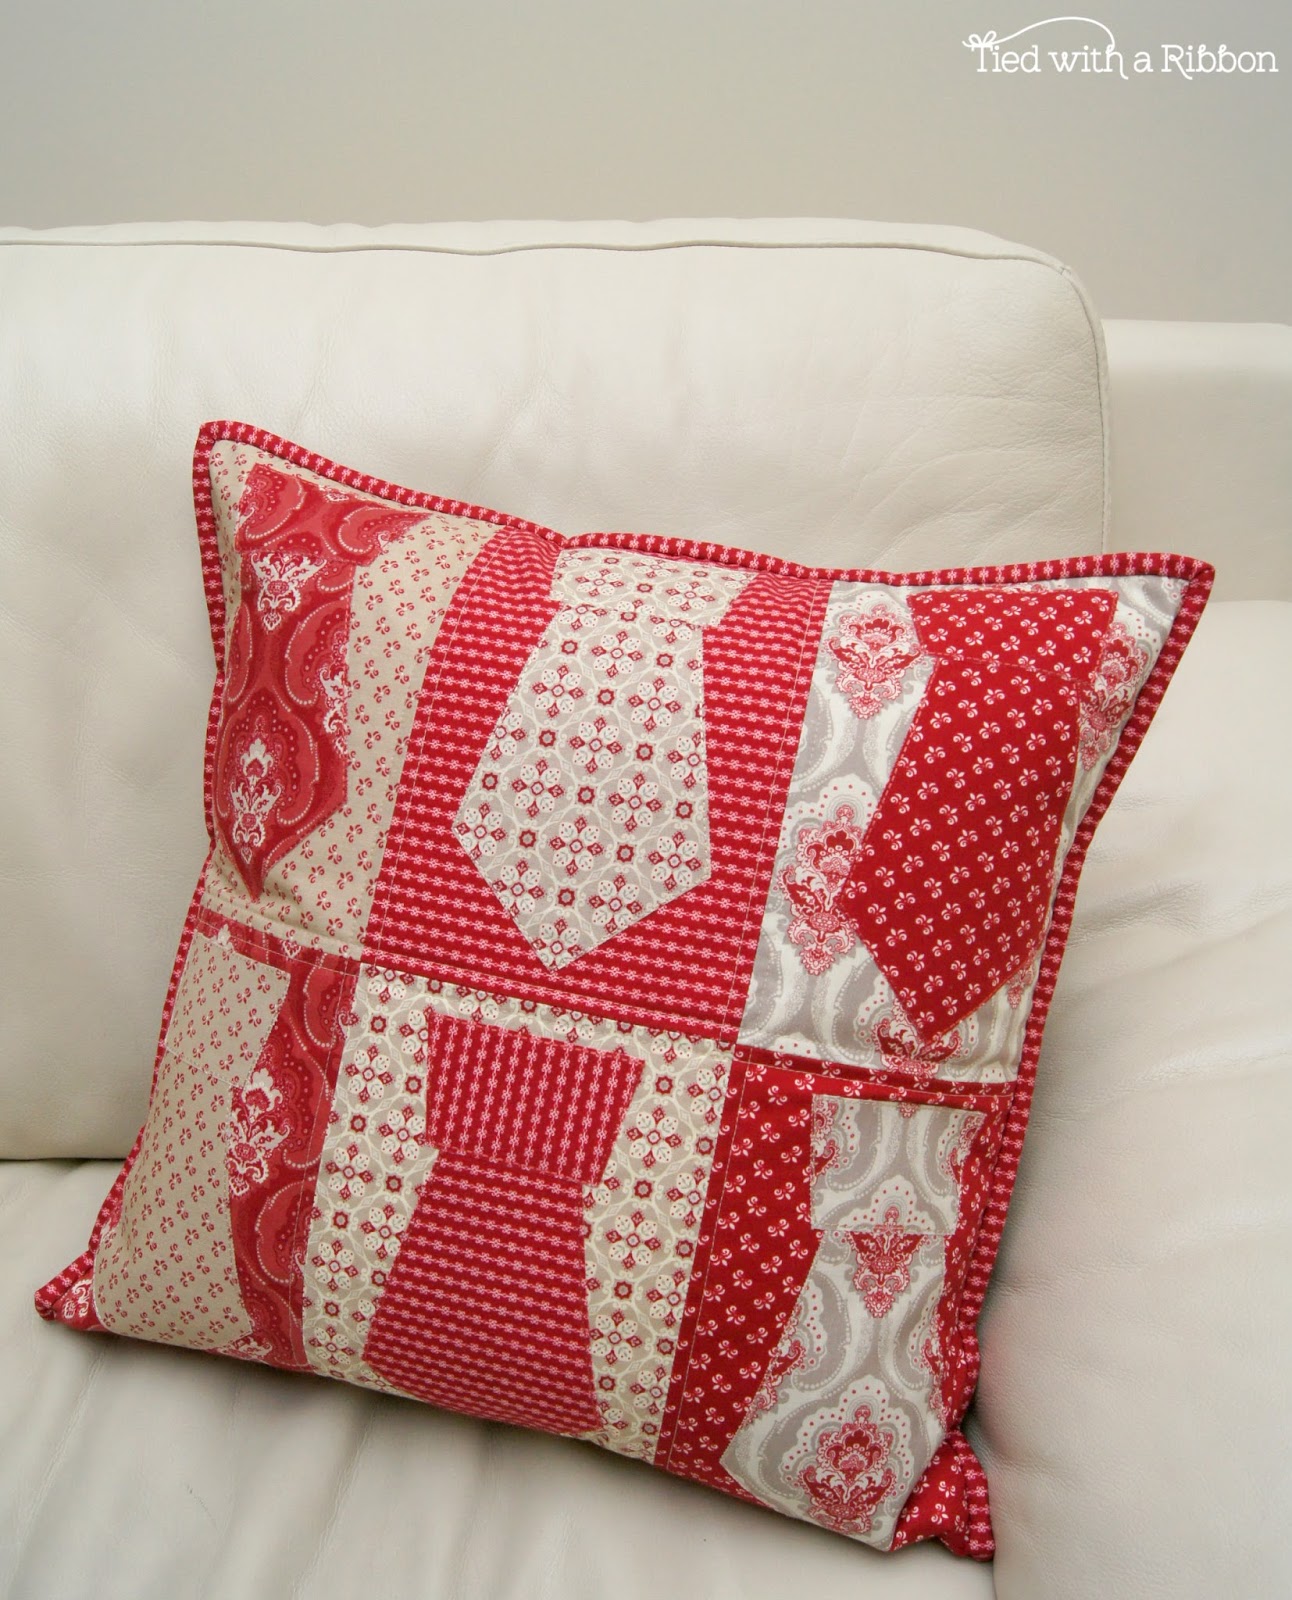
I hope you enjoy making this cushion for yourself – whether for a birthday, special event, Fathers day or just because – I am sure it will be treasured.
Happy sewing
Jemima x x