 |
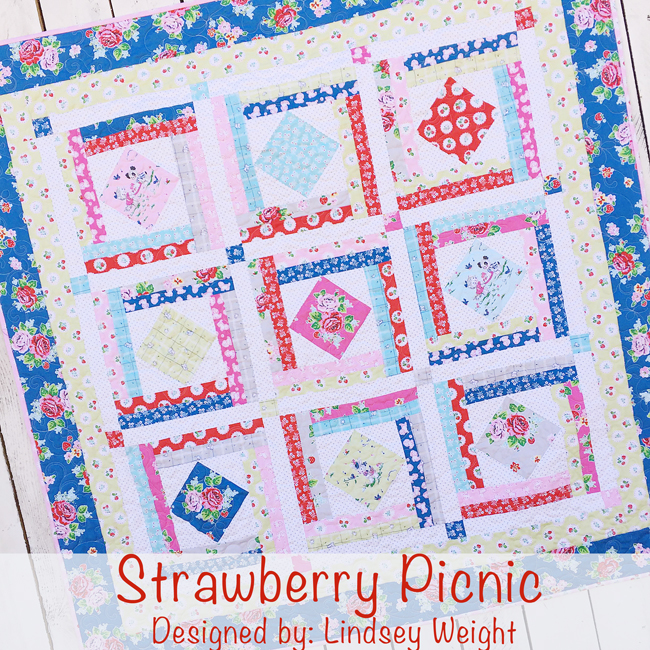
| Quilt size: 55″ x 55″ |
Lindsey here! I am excited to share this quilt with you today! When I saw Strawberry Biscuit, I fell in love! I am fairly certain Elea designed this just for me! 😉 This fabric is so charming and the prints are absolutely adorable! I wanted to really showcase all those playful prints when designing this quilt. So I came up with a simple block, and went from there!
The blocks are very simple to put together, and actually require a partial seam. Don’t let that scare you! Partial seams are so easy and really straight forward. Once you learn how to do them, you will wonder why you were ever afraid to try them!

One of my favorite parts of the entire quilt is the back. I used this fantastic Cheater Print for the backing. I am a sucker for patchwork, and this print just makes my heart happy! The Cheater Print comes in three different color ways, I used the pink color-way for the backing on my quilt. I love the fact that I can use this quilt and show the back or the front and it looks like two different quilts!
 |
| Strawberry Picnic Quilt Kit – Pre-order Here |
Alright, lets get started!
Fabric Requirements:
- 1/4 yard cuts or fat quarters of Strawberry Biscuit
- 1 yard of background fabric (Swiss Dots in Aqua)
- 1/2 yard of border 1 (Green Scallop)
- 1 yard of border 2 (Blue Main Print)
- 1/2 yard of binding
- 3.5 yards of Cheater Print
Cutting:
Out of background:
- 18 – 4.5″ x 4.5″ squares cut in half diagonally (B)
- 24 – 2″ x 12.5″ strips (Sashing)
Out of Various prints:
- 9 – 5 5/8″ x 5 5/8″ squares (A)
- 72 – 1 3/4″ x 10 1/8″ strips (c)
- 16 – 2″ x 2″ squares
Out of border 1:
- 3″ x Width of fabric strips
Out of border 2:
- 4.5″ x Width of fabric strips
Block Assembly:
Start with an (A) square and take two (B) triangles. Sew a triangle onto the top and bottom of your square. Your (B) triangles will over go over the sides of your (A) square. Do not trim fabric that hangs over! Press.

Now take two more (B) triangles and sew them on to the left and right sides. Press.


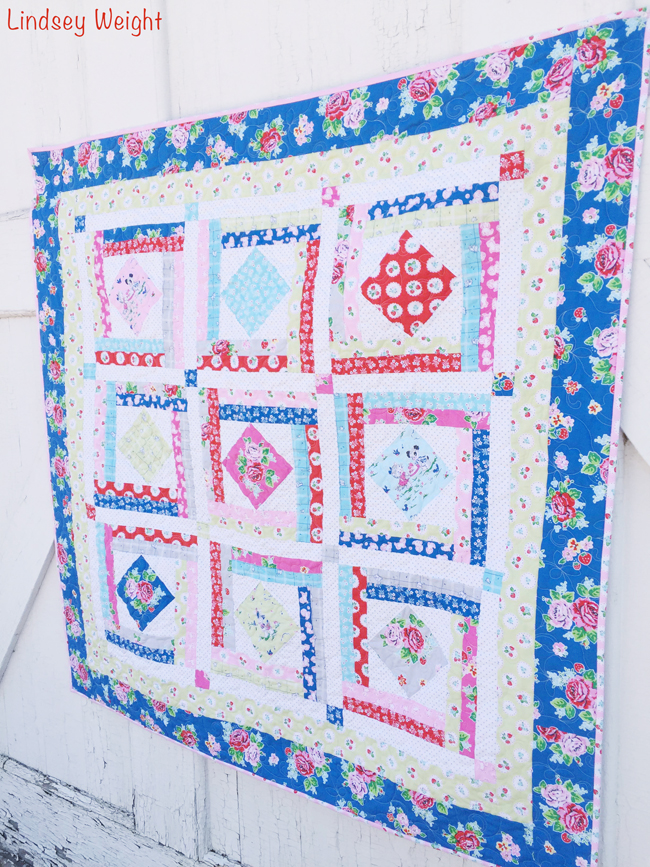
Make 9 blocks. Blocks will measure 12.5″ x 12.5″

Assembling the quilt top:
Sew a sashing strip in between your blocks. Then sew your blocks into rows of three:


Sew a strips between your rows:

Sew longer strips to the left and right side:

Adding borders:
Border 1:
Measure the length of your quilt, and cut left and right border to appropriate length. Sew the left and right border on. Now measure the width of your quilt and cut your top and bottom border to appropriate width. Sew the top and bottom border on. Press.

Border 2:
Measure the length of your quilt, and cut left and right border to appropriate length. Sew the left and right border on. Now measure the width of your quilt and cut your top and bottom border to appropriate width. Sew the top and bottom border on. Press.
Baste, quilt and bind with your preferred method!

I had so much fun making this quilt! I hope you do too! 🙂
 |
|
|
I had a little helper with me when I was photographing the quilt! He approves! 😉

Thanks for stopping by!