Hi! I’m Sedef, and I am a blogger and designer from Down Grapevine Lane {insert link to www.downgrapevinelane.com}. I am so excited to be part of the Penny Rose project design team, and today I will be sharing with you a cot quilt tutorial made with a new Penny Rose fabric range called ‘Toy Chest’.
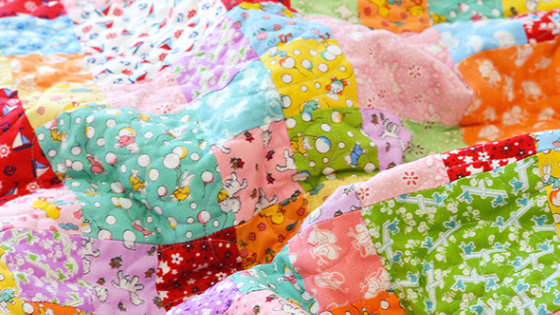
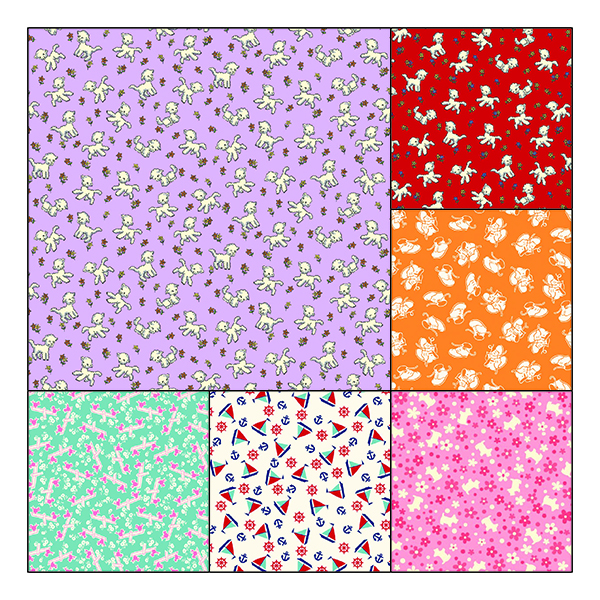
As soon as I saw this line in Penny Rose’s catalogue, I instantly knew I had to make a baby quilt with it. Frolicking lambs? Check. Fluffy bunnies? Check. Birds on see-saws? Check. Simply too cute for words!
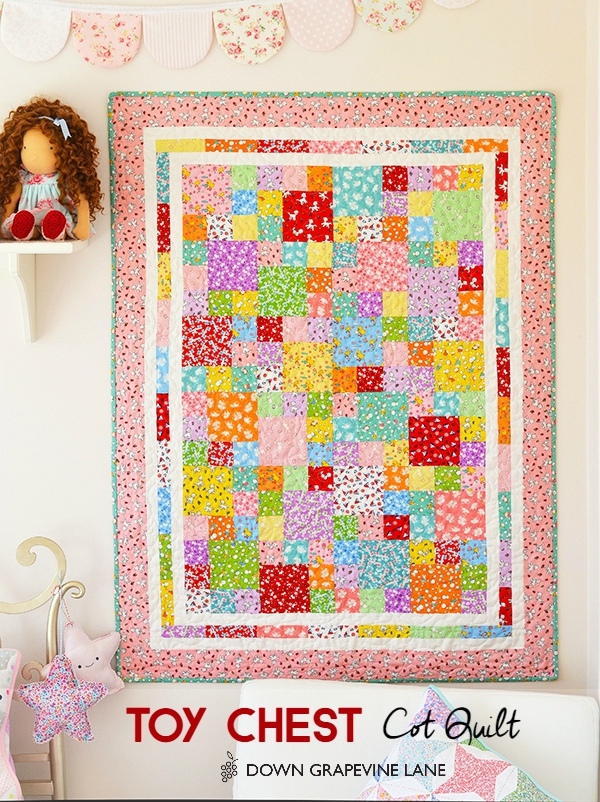
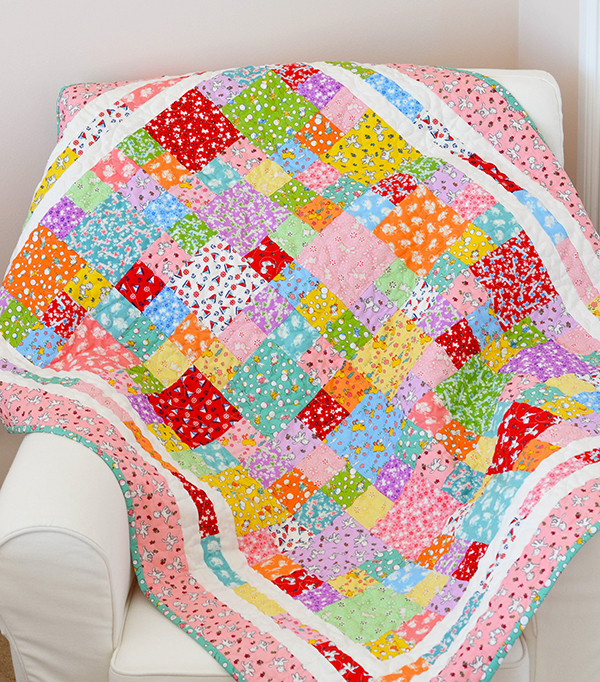
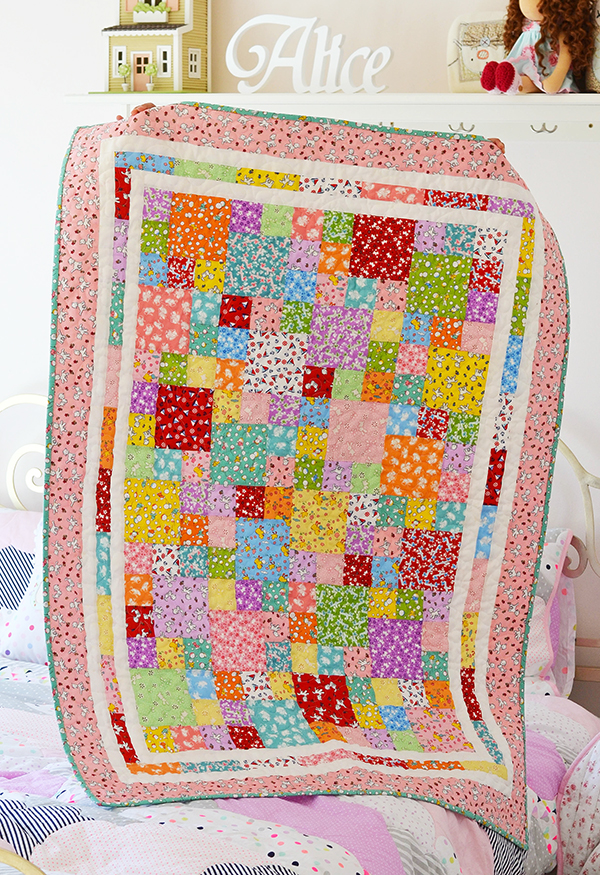
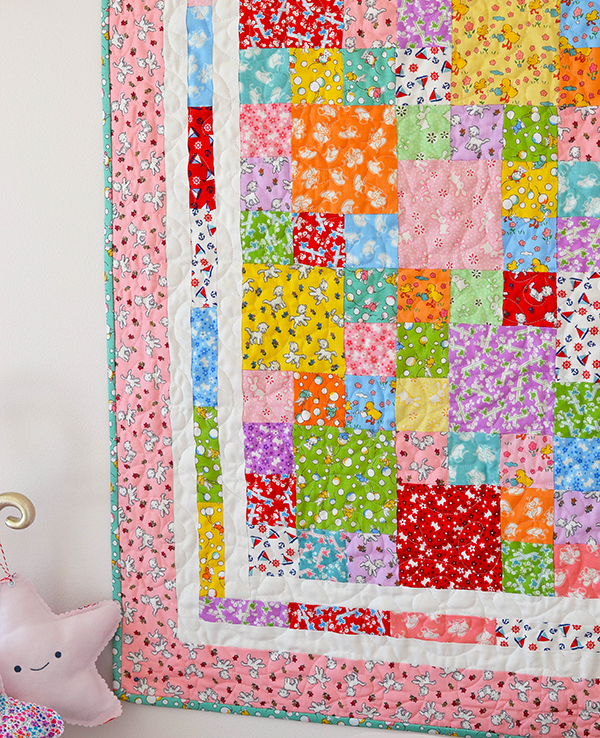
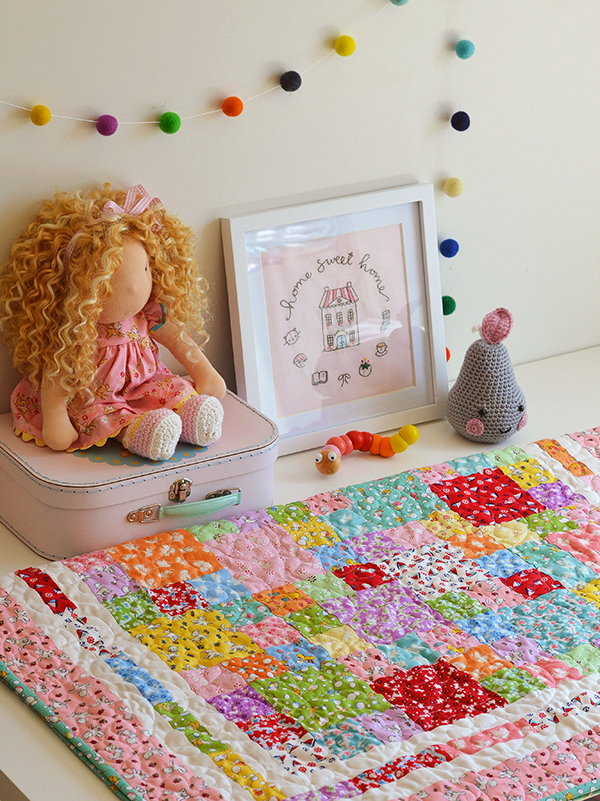
And here is the quilt I designed. I went for a simple design with a vintage feel, and no fiddly points so it’s suitable for all levels of quilters.
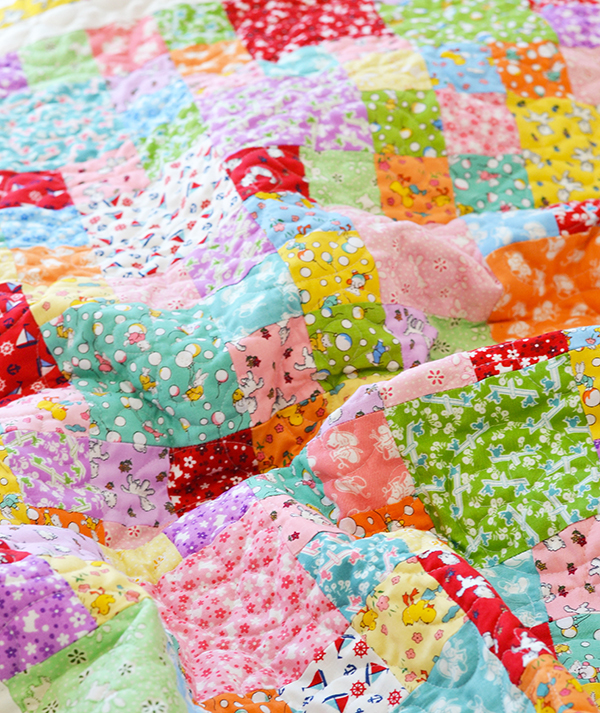
It has been professionaly quilted on a long arm machine, in a sweet floral swirly pattern.
Here are the steps to make this sweet quilt.
Toy Chest Cot Quilt Tutorial
Finished size 35″ x 47″
All seams are 1/4″
RST = Right sides together
Fabric Requirements
All requirements based on fabric 42″ wide (WOF)
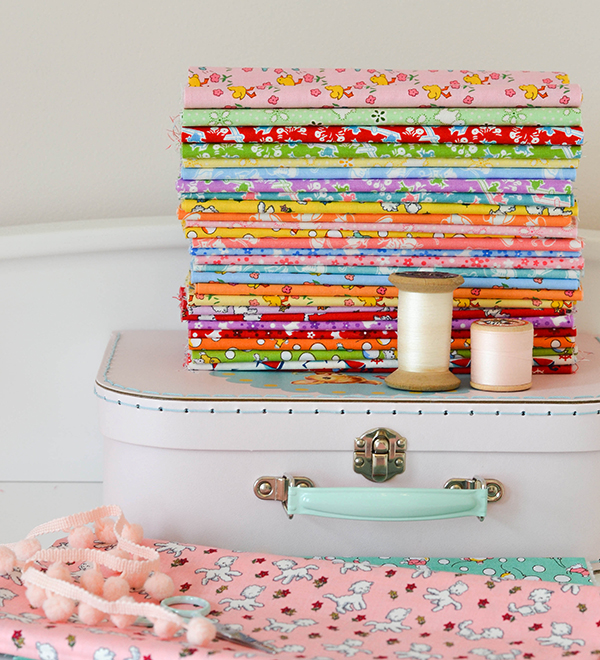
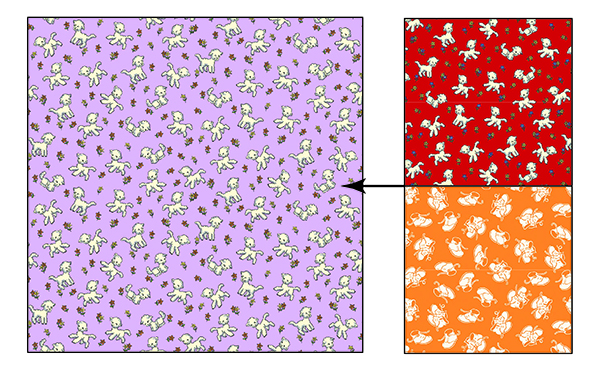
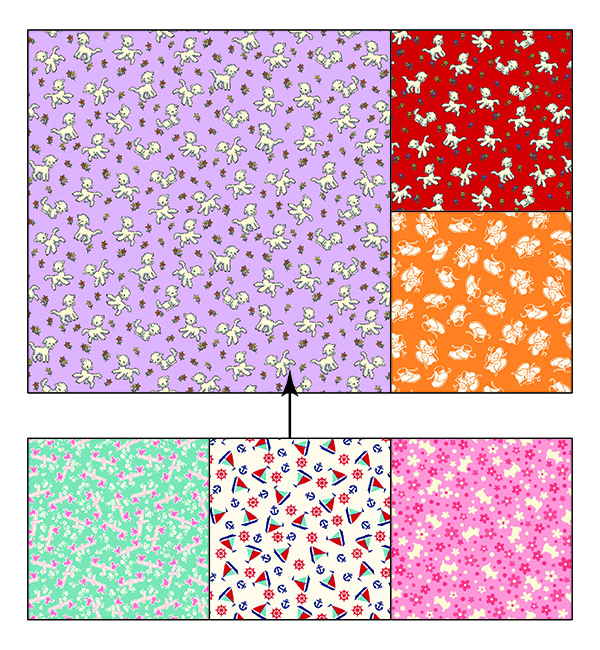
Fat Quarter bundle of Toy Chest (patchwork centre and pieced border)
3/4 yard Toy Chest Little Lambs Pink (border)
1/2 yard Toy Chest Bunnies & Balloons Aqua (binding)
1/2 yard Ivory Solid Quilting Cotton (border)
41″ x 53″ batting41″ x 53″ backing fabric (1.5 yard if using Toy Chest)
Cutting Instructions
From the Toy Chest fat quarter bundle24 – 4.5″ squares in mixed colours (A)
120 – 2.5″ squares in mixed colours (B)
20 – 4 1/4″ x 1 1/2″ rectangles in mixed colours (C)
14 – 4 1/2 ” x 1 1/2 ” rectangles in mixed colours (D)
From ivory solid
2 – 24 1/2 ” x 1 1/2 ” strips (E)
2 – 38 1/2″ x 1 1/2″ strips (F)
2 – 40 1/2″ x 1 1/2″ strips (G)
2 – 30 1/2″ x 1 1/2″ strips (H)
From Toy Chest Little Lambs Pink
2 – 42 1/2″ x 3″ strips (I)
2 – 35 1/2″ x 3″ strips (J)
From Toy Chest Bunnies & Balloons Aqua
4 – 2 1/4″ x WOF strips (for the binding)
Quilt Top Assembly
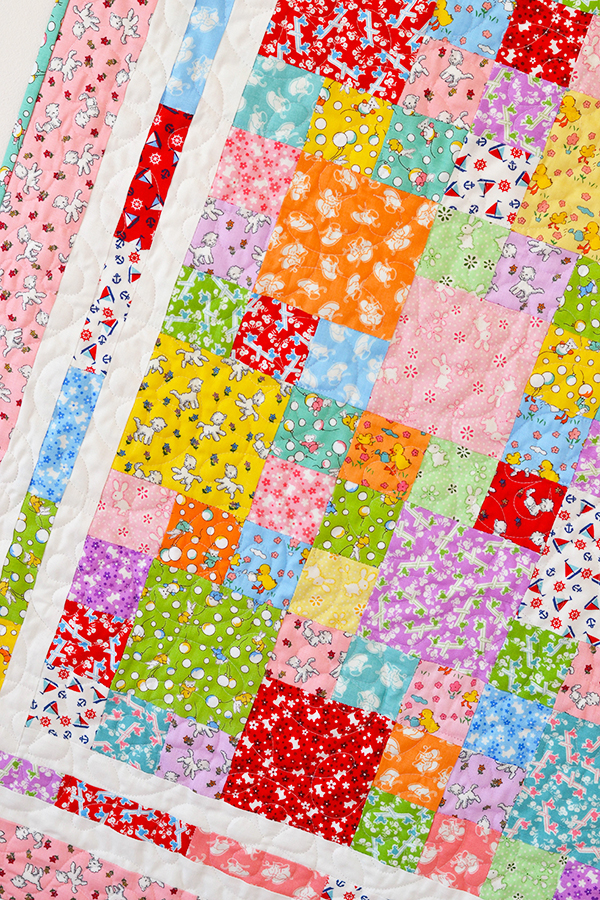
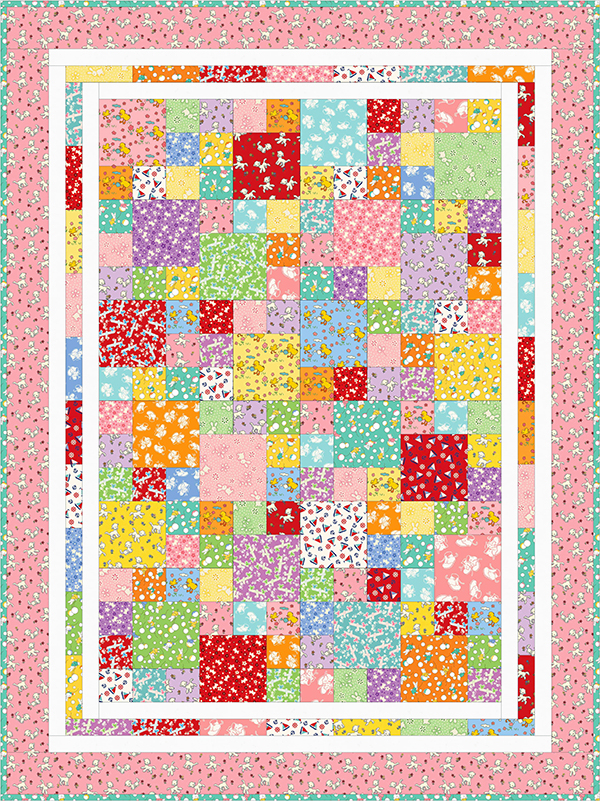
The central patchwork of this quilt consists of 24 blocks, laid out in a 4 x 6 grid. Each block consists of a large square surrounded on two sides by two small squares. These blocks are rotated throughout the patchwork to give an overall random effect.
Layout the fabric squares on a flat surface / design wall until you are happy with the configuration of the blocks and colour distribution. Pay attention to directional prints during layout and assembly, so you don’t end up with upside-down ducks in the finished quilt.
To make one block, sew two B squares together, then place along one side of the A square RST, sew in place. Press seam towards the B squares. Sew the remaining three B squares together, place along the other edge of the sewn rectangle RST, carefully pinning and checking that the seam intersections match. Sew in place. Press the seam towards the B squares.
Make 24. Place the finished blocks together on a flat surface, rotating them as required. Sew the blocks together in rows, press seams in alternate directions, then sew the rows together, nesting the seams at the intersections.
Sew an E strip along the top and bottom edges of the central patchwork. Then sew an F strip along the right and left edges.
Sew 10 C rectangles together for the strippy border. Make two. Sew each strippy border along the right and left edges.
Sew 7 D rectangles together. Make two. Sew along the top and bottom edges.
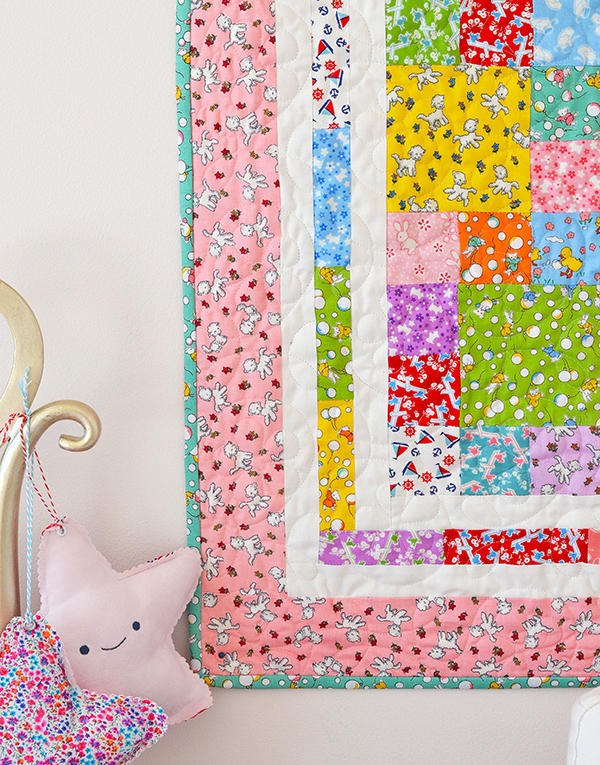
Sew a G strip along the right and left edges. Then sew an H strip along the top and bottom edges.
Sew an I strip along the right and left edges. Then sew a J strip along the top and bottom edges.
Your quilt top is now complete.
Finishing
Make a quilt sandwich with your quilt top, batting, and backing, and quilt as desired. Join the binding strips using diagonal seams. Press the entire binding in half lengthwise, wrong sides facing. Starting half way down one side of the quilt, place the binding strip on the quilt, raw edge to raw edge. Sew it onto the quilt, mitreing the corners. Join the ends of the binding, fold it over to the back of the quilt, and slip stitch it by hand along the back edge of the binding.
And your sweet quilt is ready! Thanks so much for stopping by today, I hope you enjoyed this tutorial. You can also come visit me on Instagram (insert link to www.instagram.com/downgrapevinelane) and on my blog Down Grapevine Lane (insert link to www.downgrapevinelane.com) for more free patterns and tutorials. Have a lovely day!
