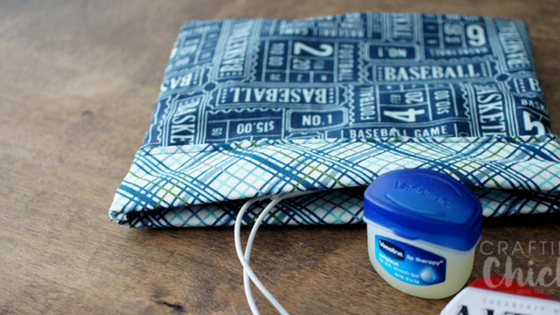
Hello! I’m Nikkala with The Crafting Chicks and I’m so happy to be back here with all of you Riley Blake followers! Today, I’m sharing how to make Snappy Bags. While the name might sound a little cheesy, I dare you to think of a better one after seeing the clever way these work.
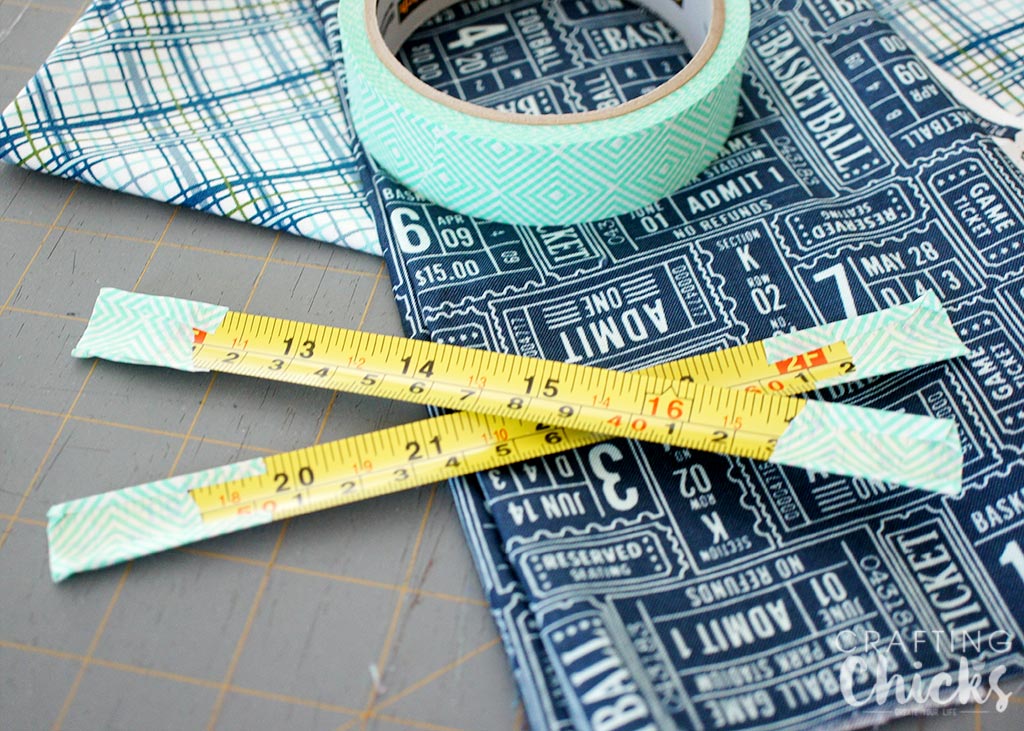
You’ll need 2 pieces of coordinating fabric (I used a plaid stripe from Offshore by Deena Rutter and the Baseball Ticket fabric is from Play Ball by Lori Whitlock), 1 old tape measure (or a cheap one from the Dollar Store) and masking tape to cover the sharp edges of the cut tape.

Step 1: Cut both fabrics 8″ x 14″.
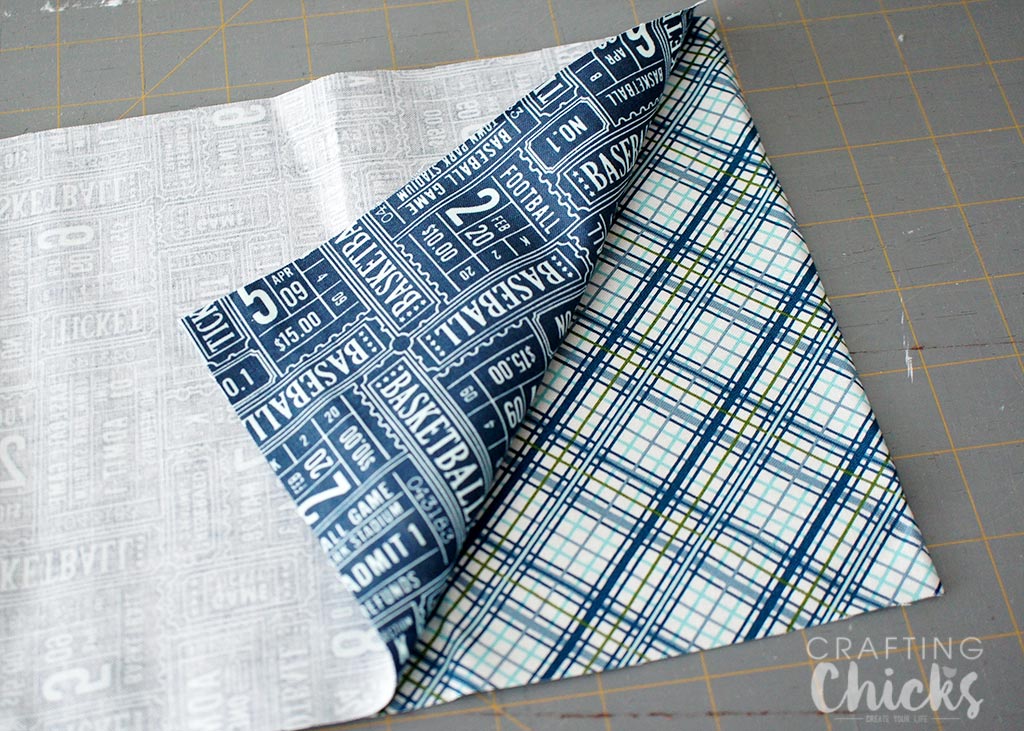
Step 2: Place fabrics right sides in and stitch around the outside, leaving a small opening to turn through.
Step 3: Clip corners, and turn. Iron.
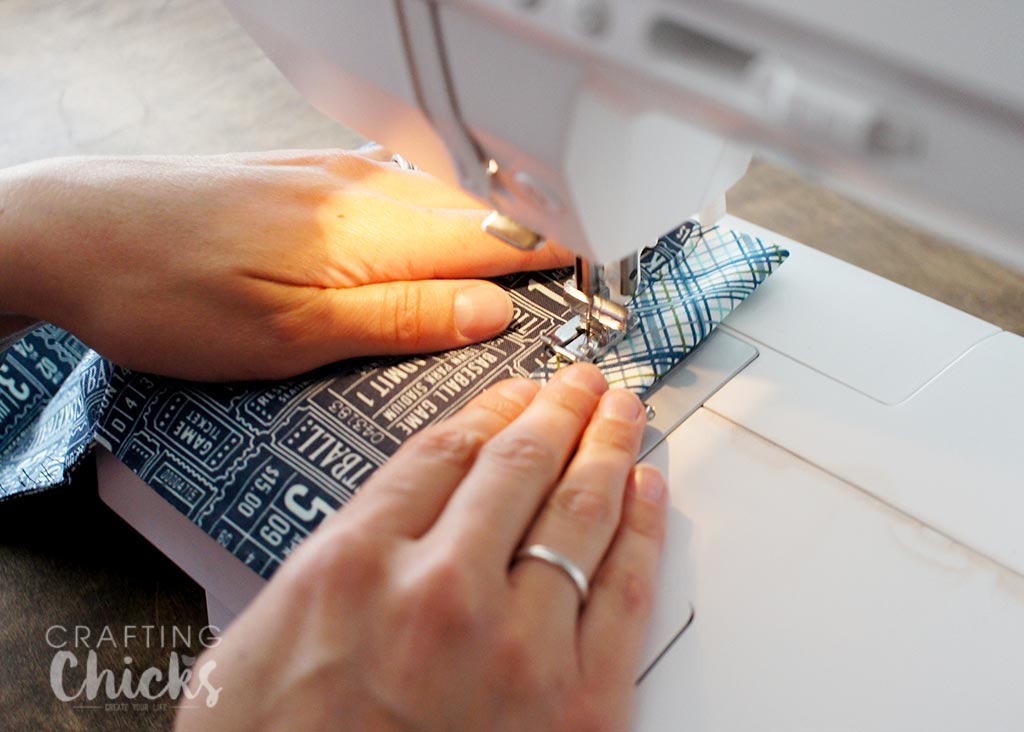
Step 4: Sew a casing large enough for the piece of tape measure to fit but folding the end over.
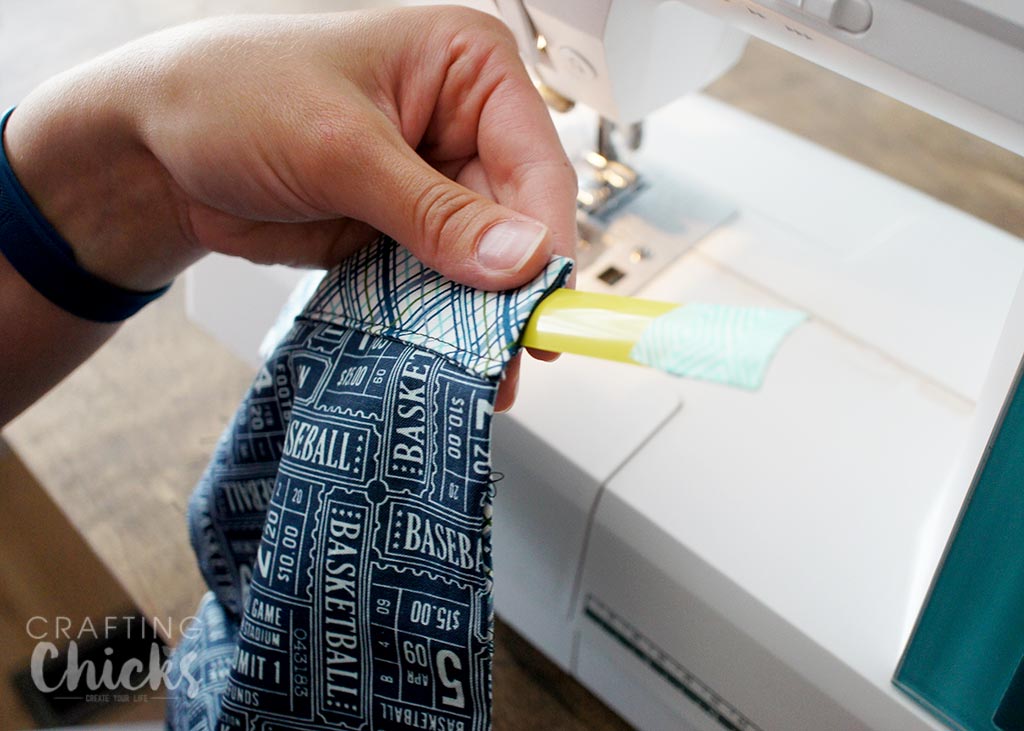
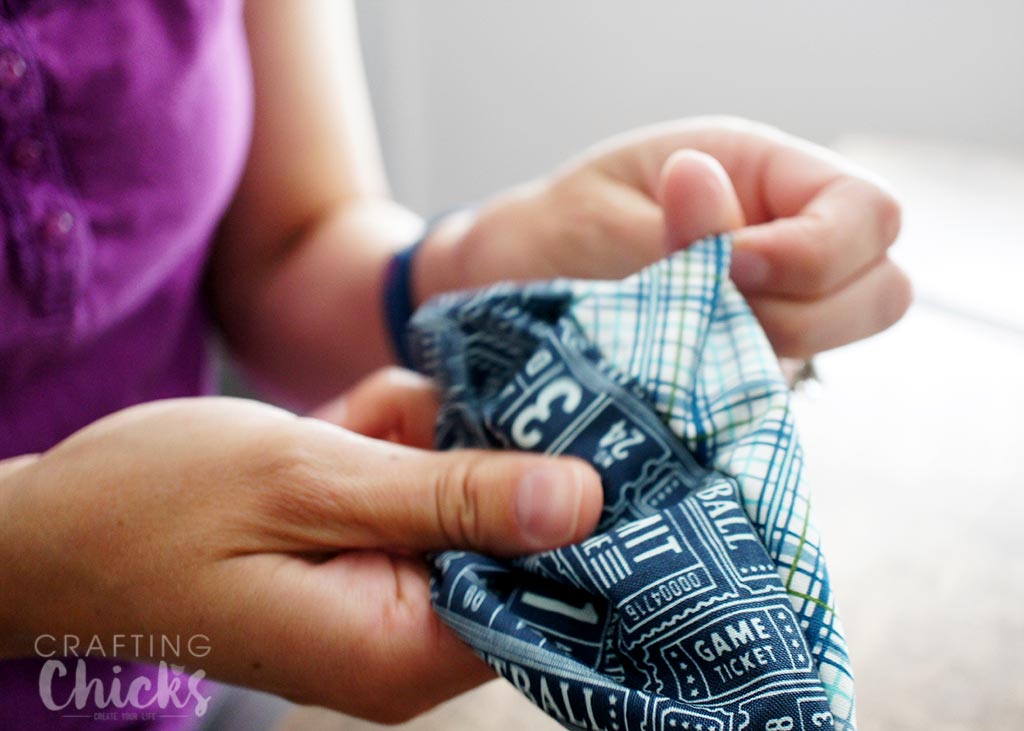
Step 5: Slide tape in with the numbered side of the tape pointing in. Fold sides with the 2 fabric sides together. Stitch up sides and turn.
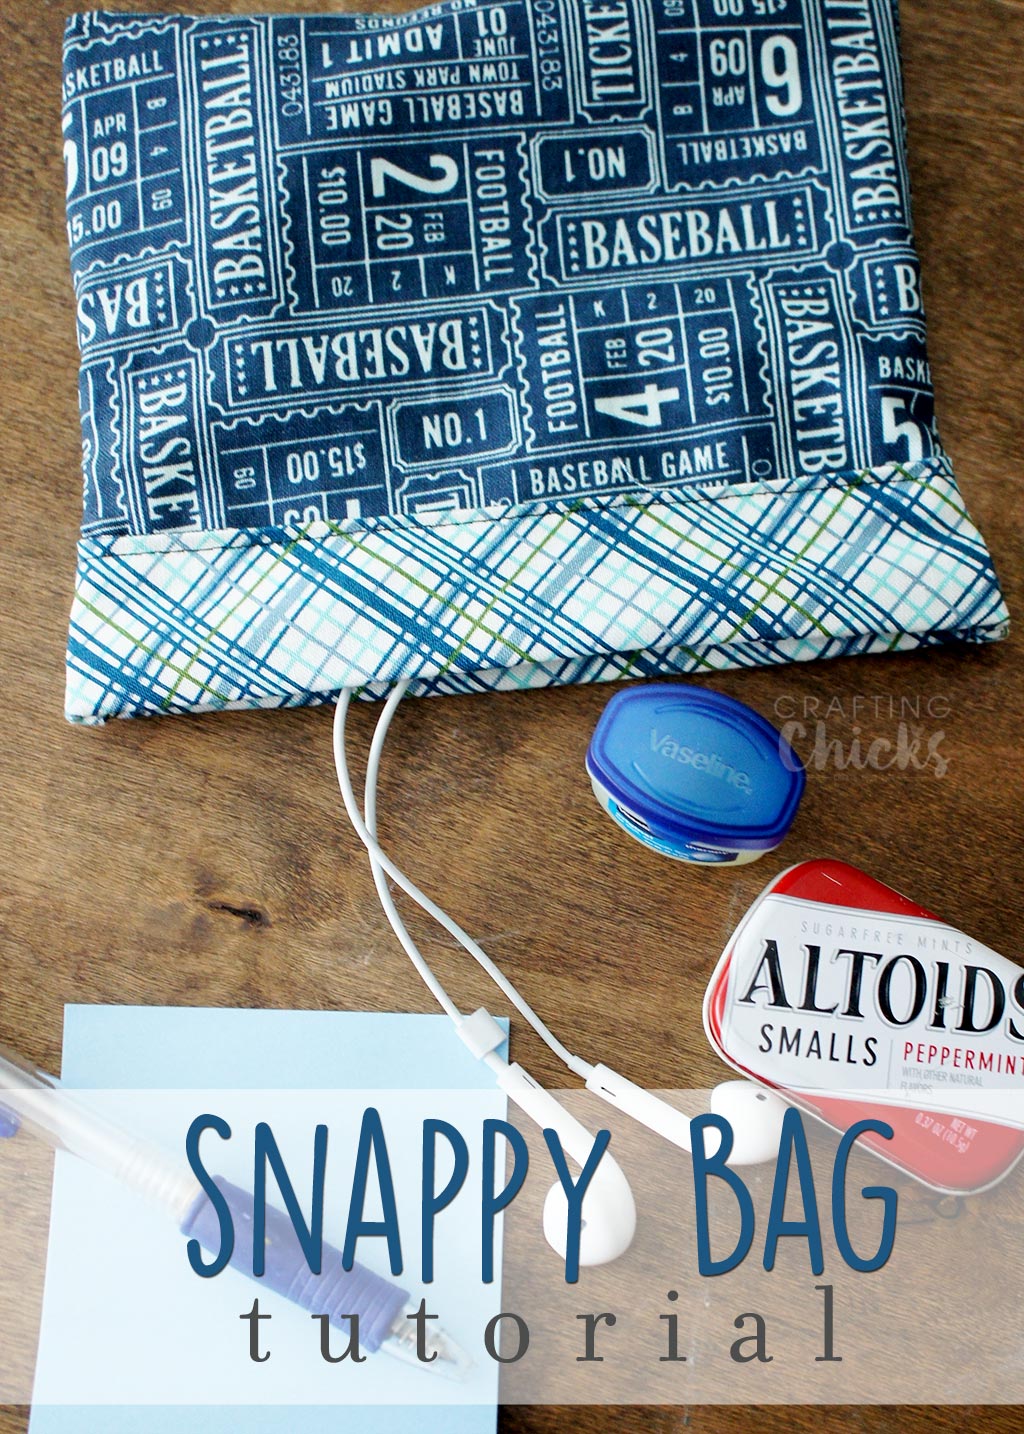
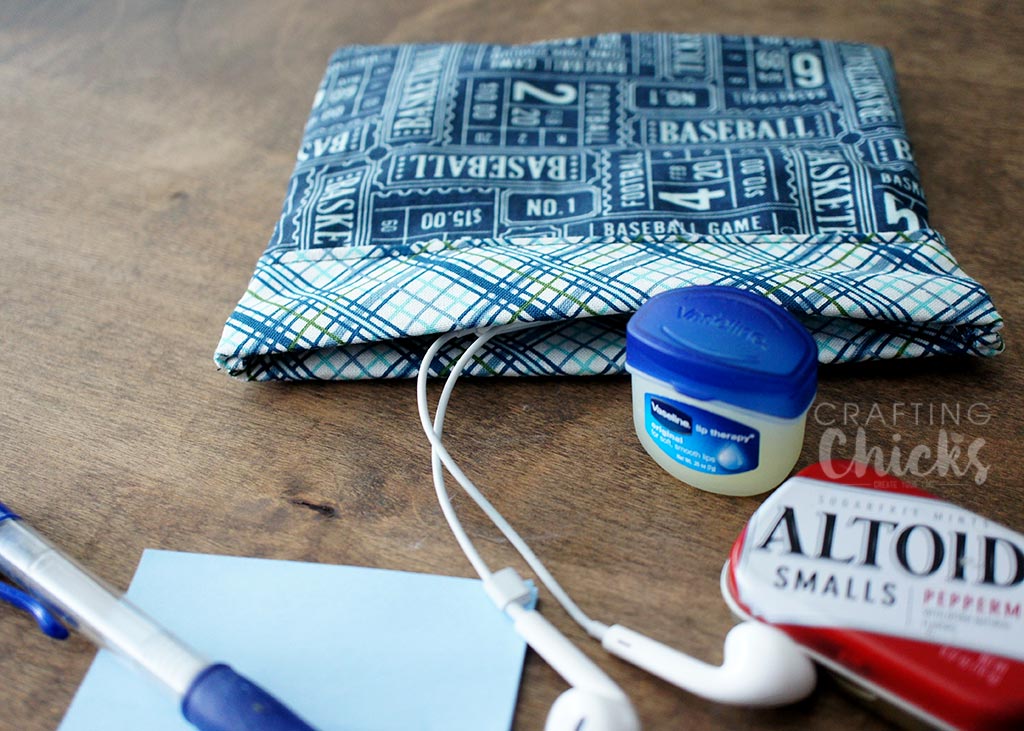
The tape measure makes sure the bag is closed, and holds all sorts of goodies. You’ll want them in the diaper bag, swim bag, church bag, purse…any and everywhere you have small items you’d like to keep contained! Snappy Bags are great for holding small toys, and loose ends.