Hi all, it’s Becky from U Create! I love when I get to share cute things here at the Riley Blake blog. Everything here is beautiful and I love being in such great company.
School started last week for my little ones and my baby is now in Kindergarten. As I practiced her letters with her one night I thought about how my mom had made her kids a ton flannel board stories to help us learn. I decided to make my daughter some flannel board letters to practice on her own.
Supply List:
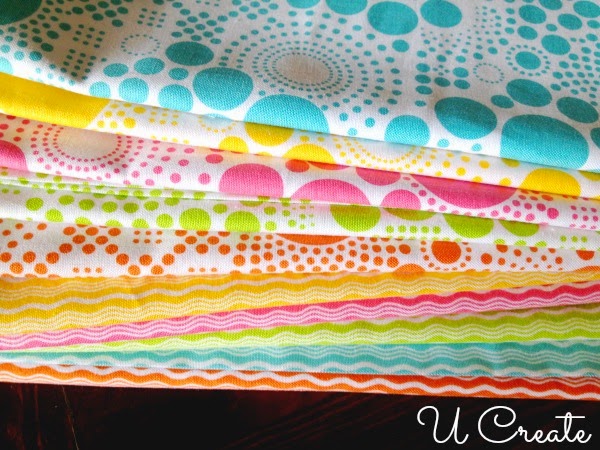
1/2 yard Riley Blake Crimp Lime
1/2 yard Riley Blake Crimp Blue
1/2 yard Riley Blake Pop Hot Pink
1/2 yard Riley Blake Pop Yellow
1 yard of stiff felt
Heat’n Bond Sewable Lite Iron-on Adhesive
Alphabet Stencil or Digital Craft Cutter
matching thread and sharp scissors
Step #1: Iron the Heat’n Bond to the back of the 4 fabric pieces you are going to be using. I only added the Heat’n Bond to 1/4 yard of the 1/2 yardage. NOTE: don’t take the backing off the adhesive yet.
Step #2: Using a large alphabet stencil, trace and cut the letters out of the fabric. I actually used a digital craft cutter (Cricut, Silhouette, Brother, etc.) and cut the letters out with that. The font I used is called Bowlby One SC.
Step #3: Once the letters are all cut out, take the paper backing off the letters.
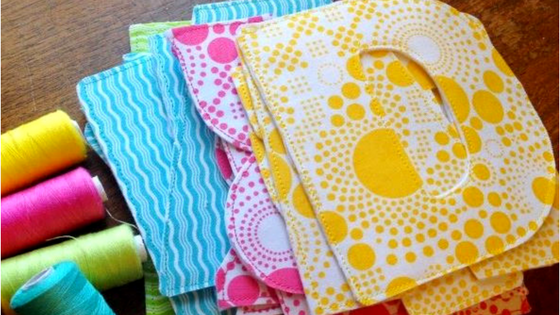
Step #4: Iron the letters to the felt. This will adhere the letters pretty good to the stiff felt.
Step #5: Grab a pair of sharp scissors, put on a good movie and start cutting out the letters. Technically, you could stop here and this project would be a “no-sew” one. My fear was that the fabric would peel away from the felt over time and not look so good.
Step #6: Sew around all the edges of the letters with matching thread.
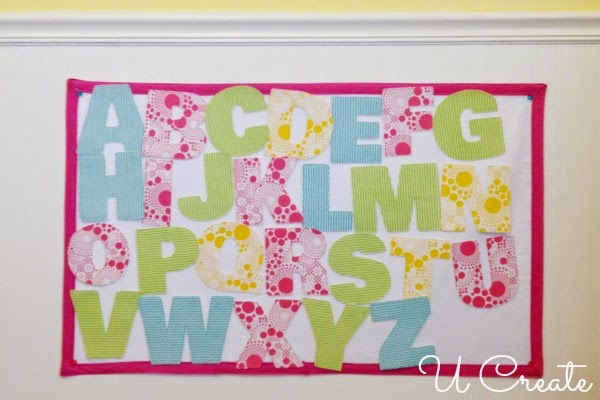
Step #7: Enjoy your finished product.
I made a big felt panel for my girls just by binding a 20×36 piece of felt with double fold bias tape. It hangs in their room so they can play with their new alphabet all they want…I am itching to make more fun stuff for their new felt board.


