Hello friends, this is Jennifer Long from, Bee Sew Inspired, fabric designer with Riley Blake Designs and doll and quilt pattern designer.
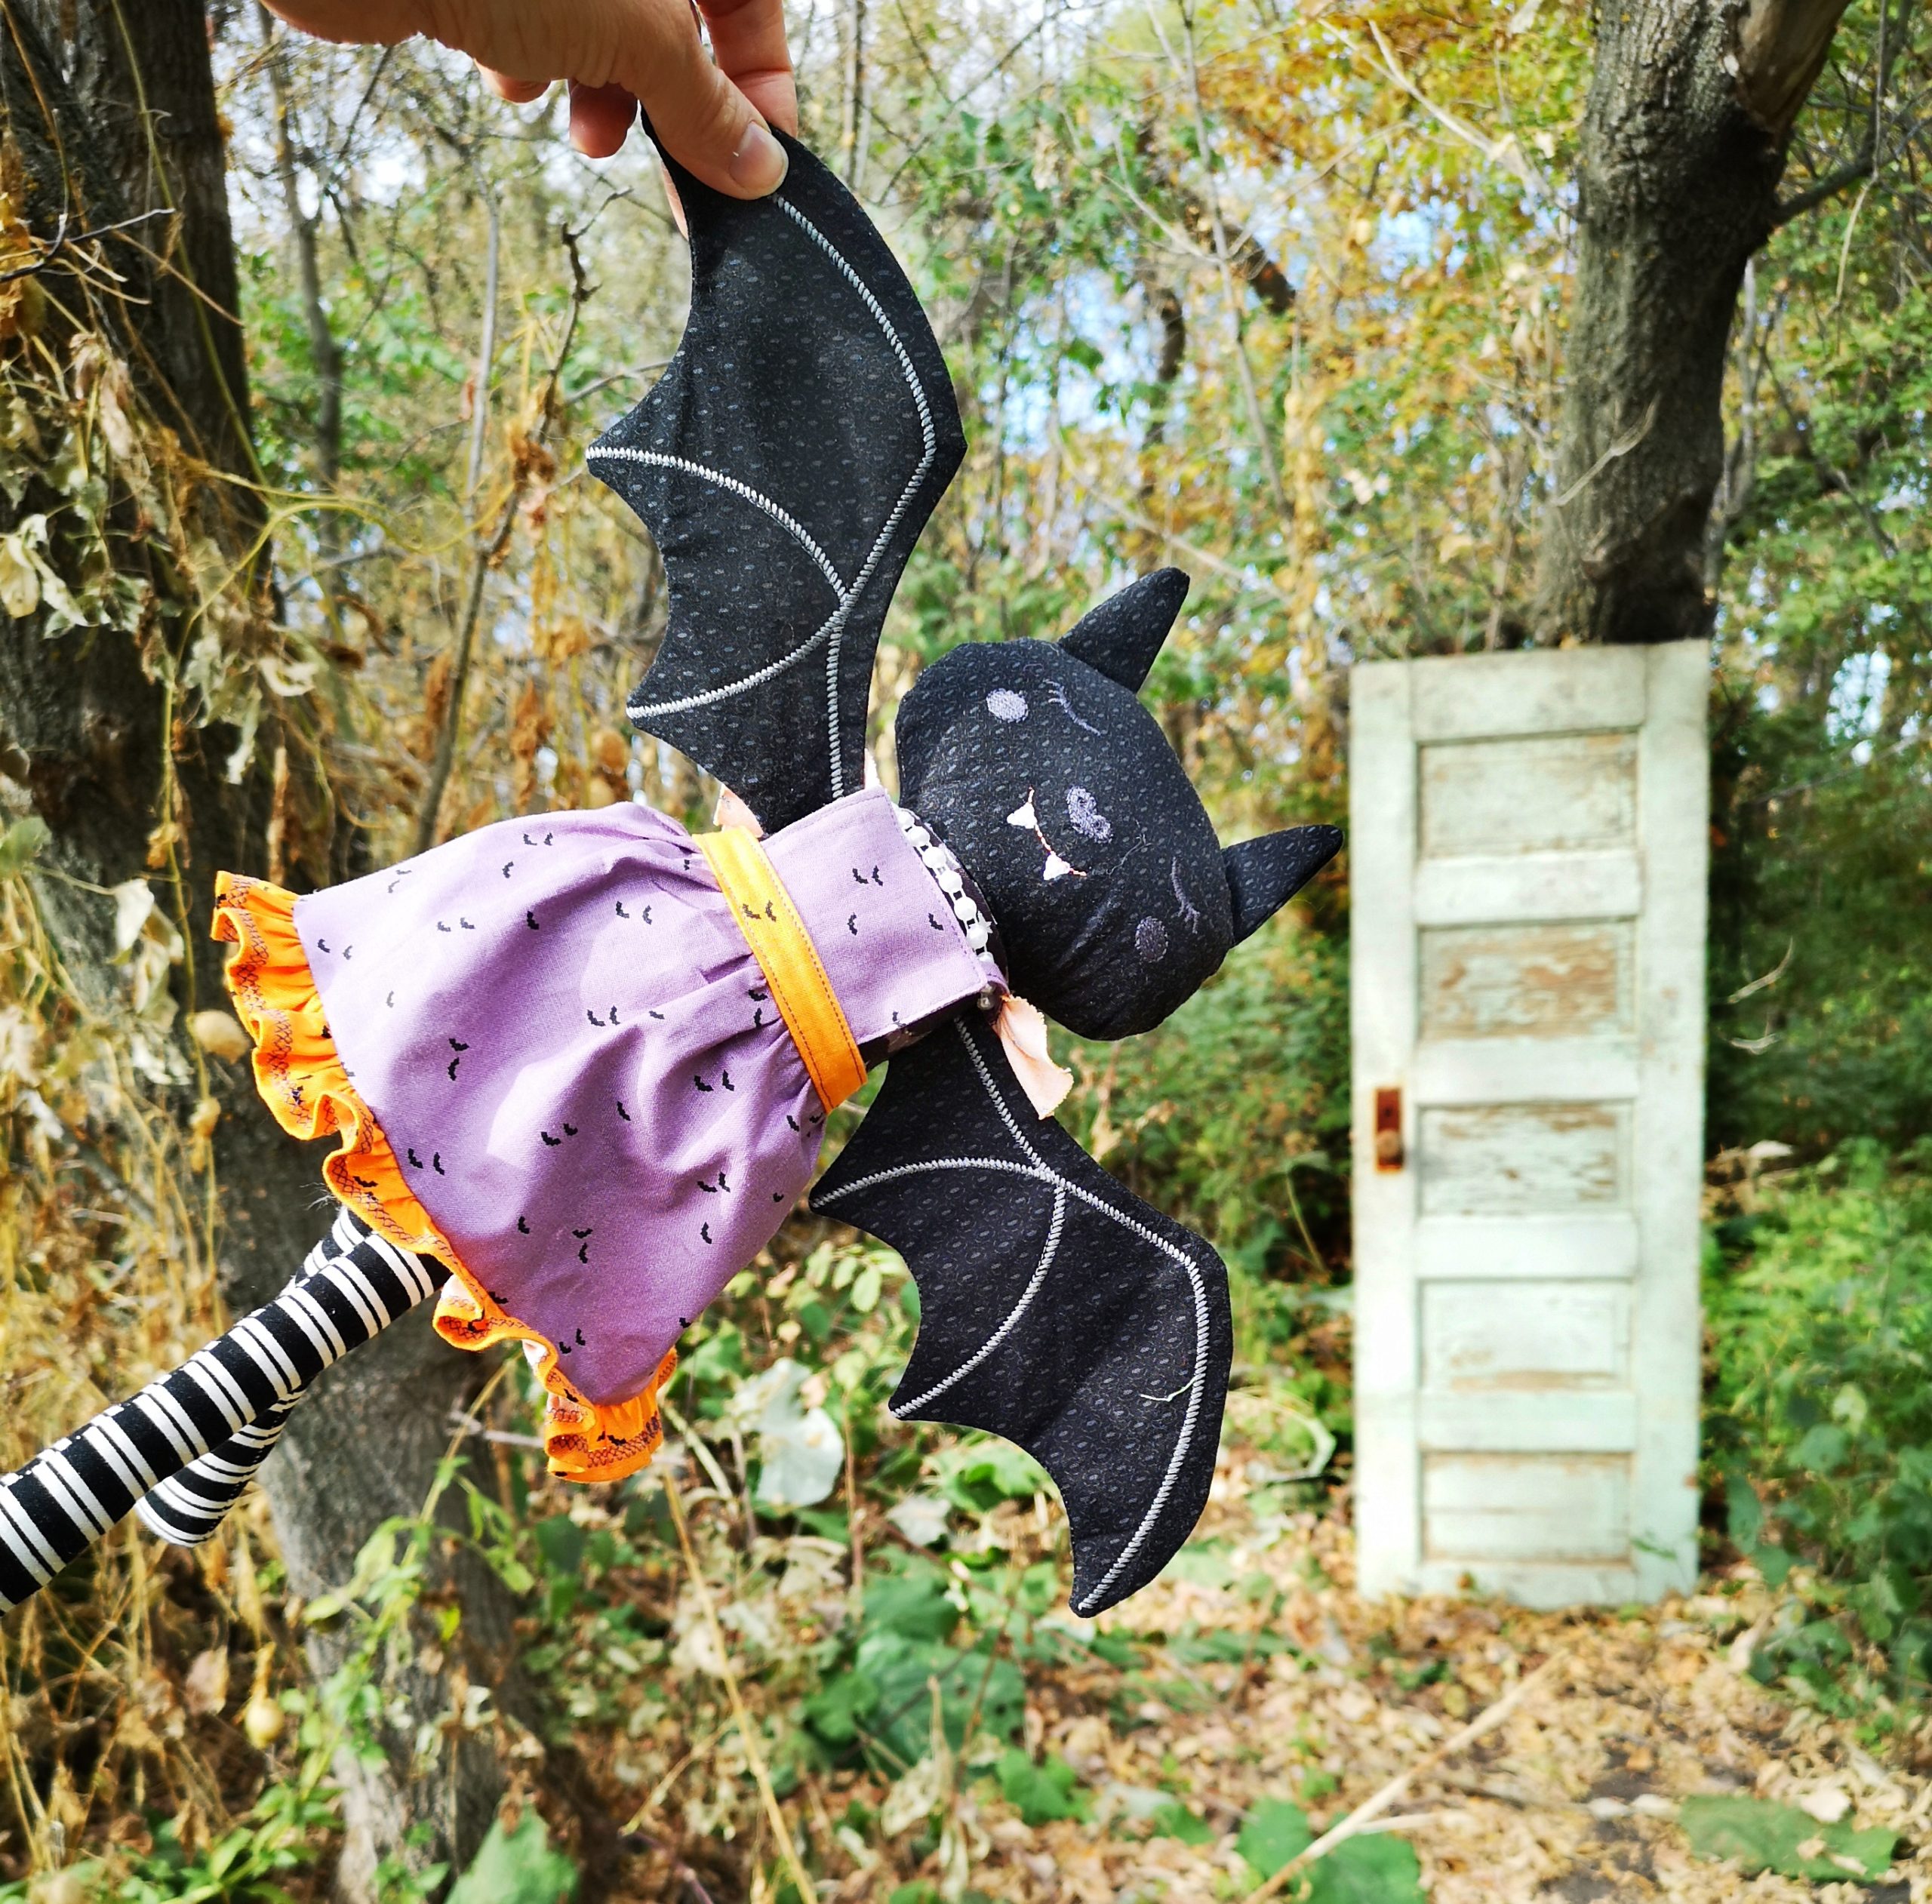
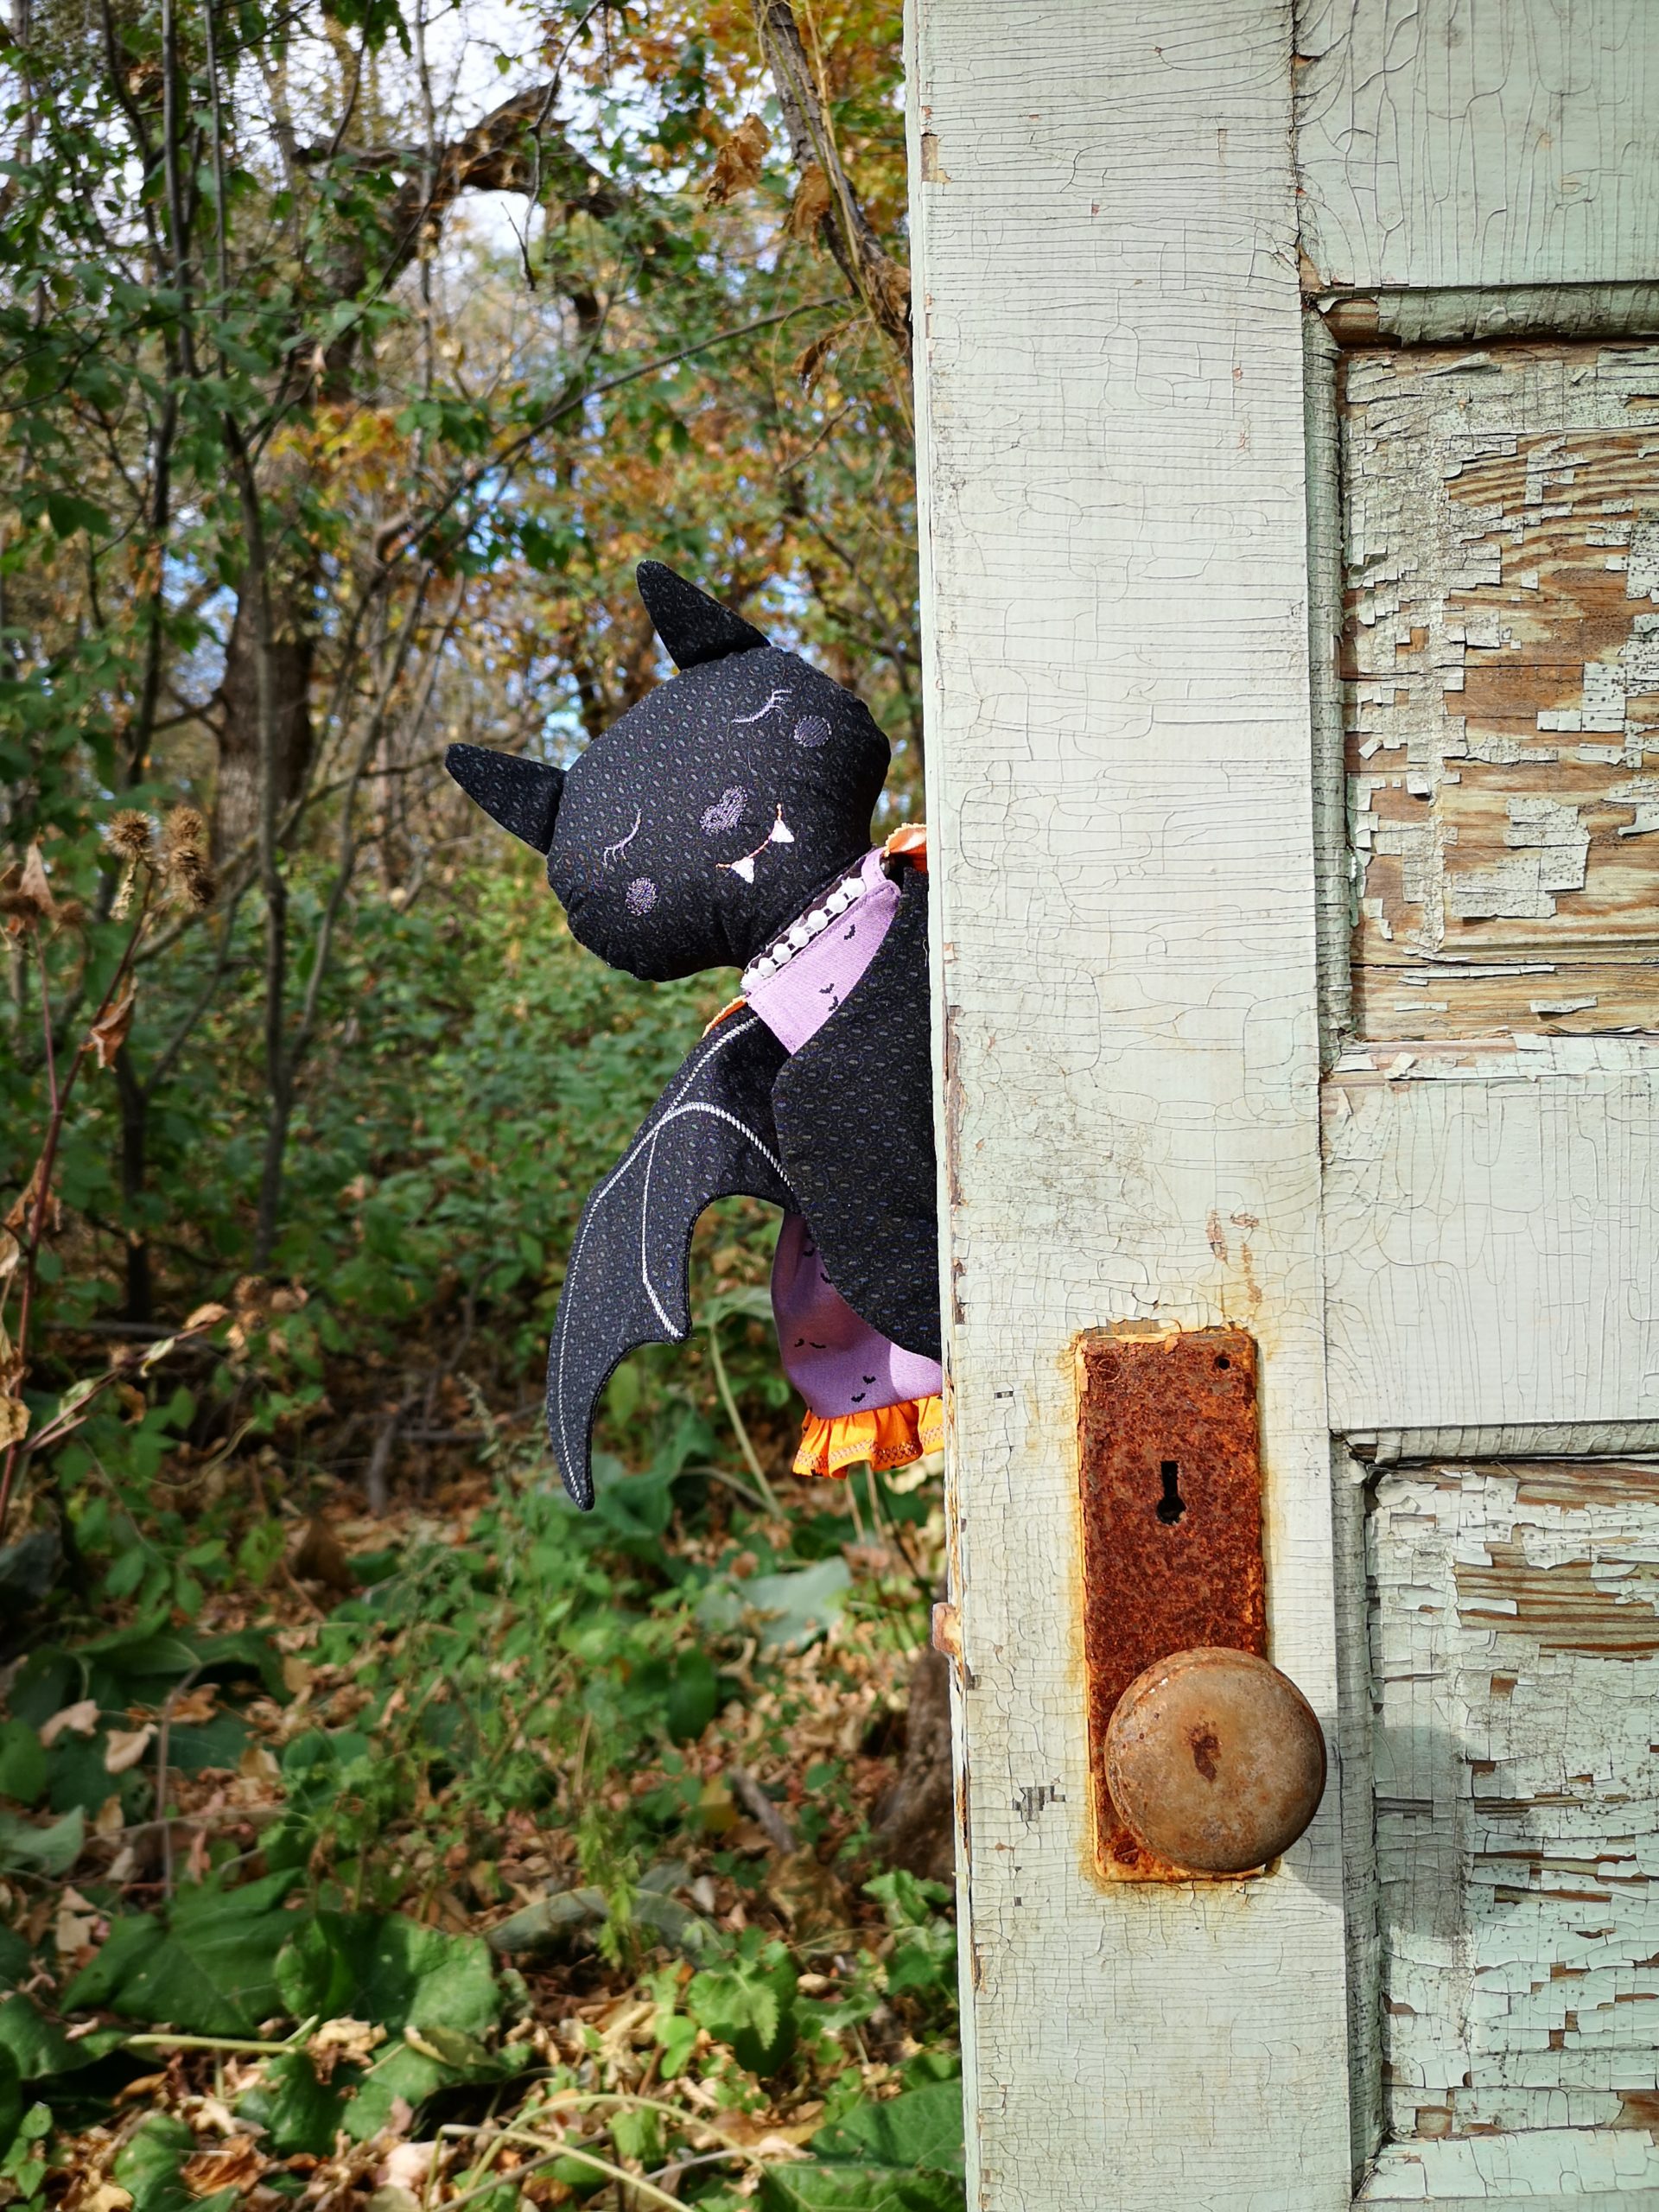
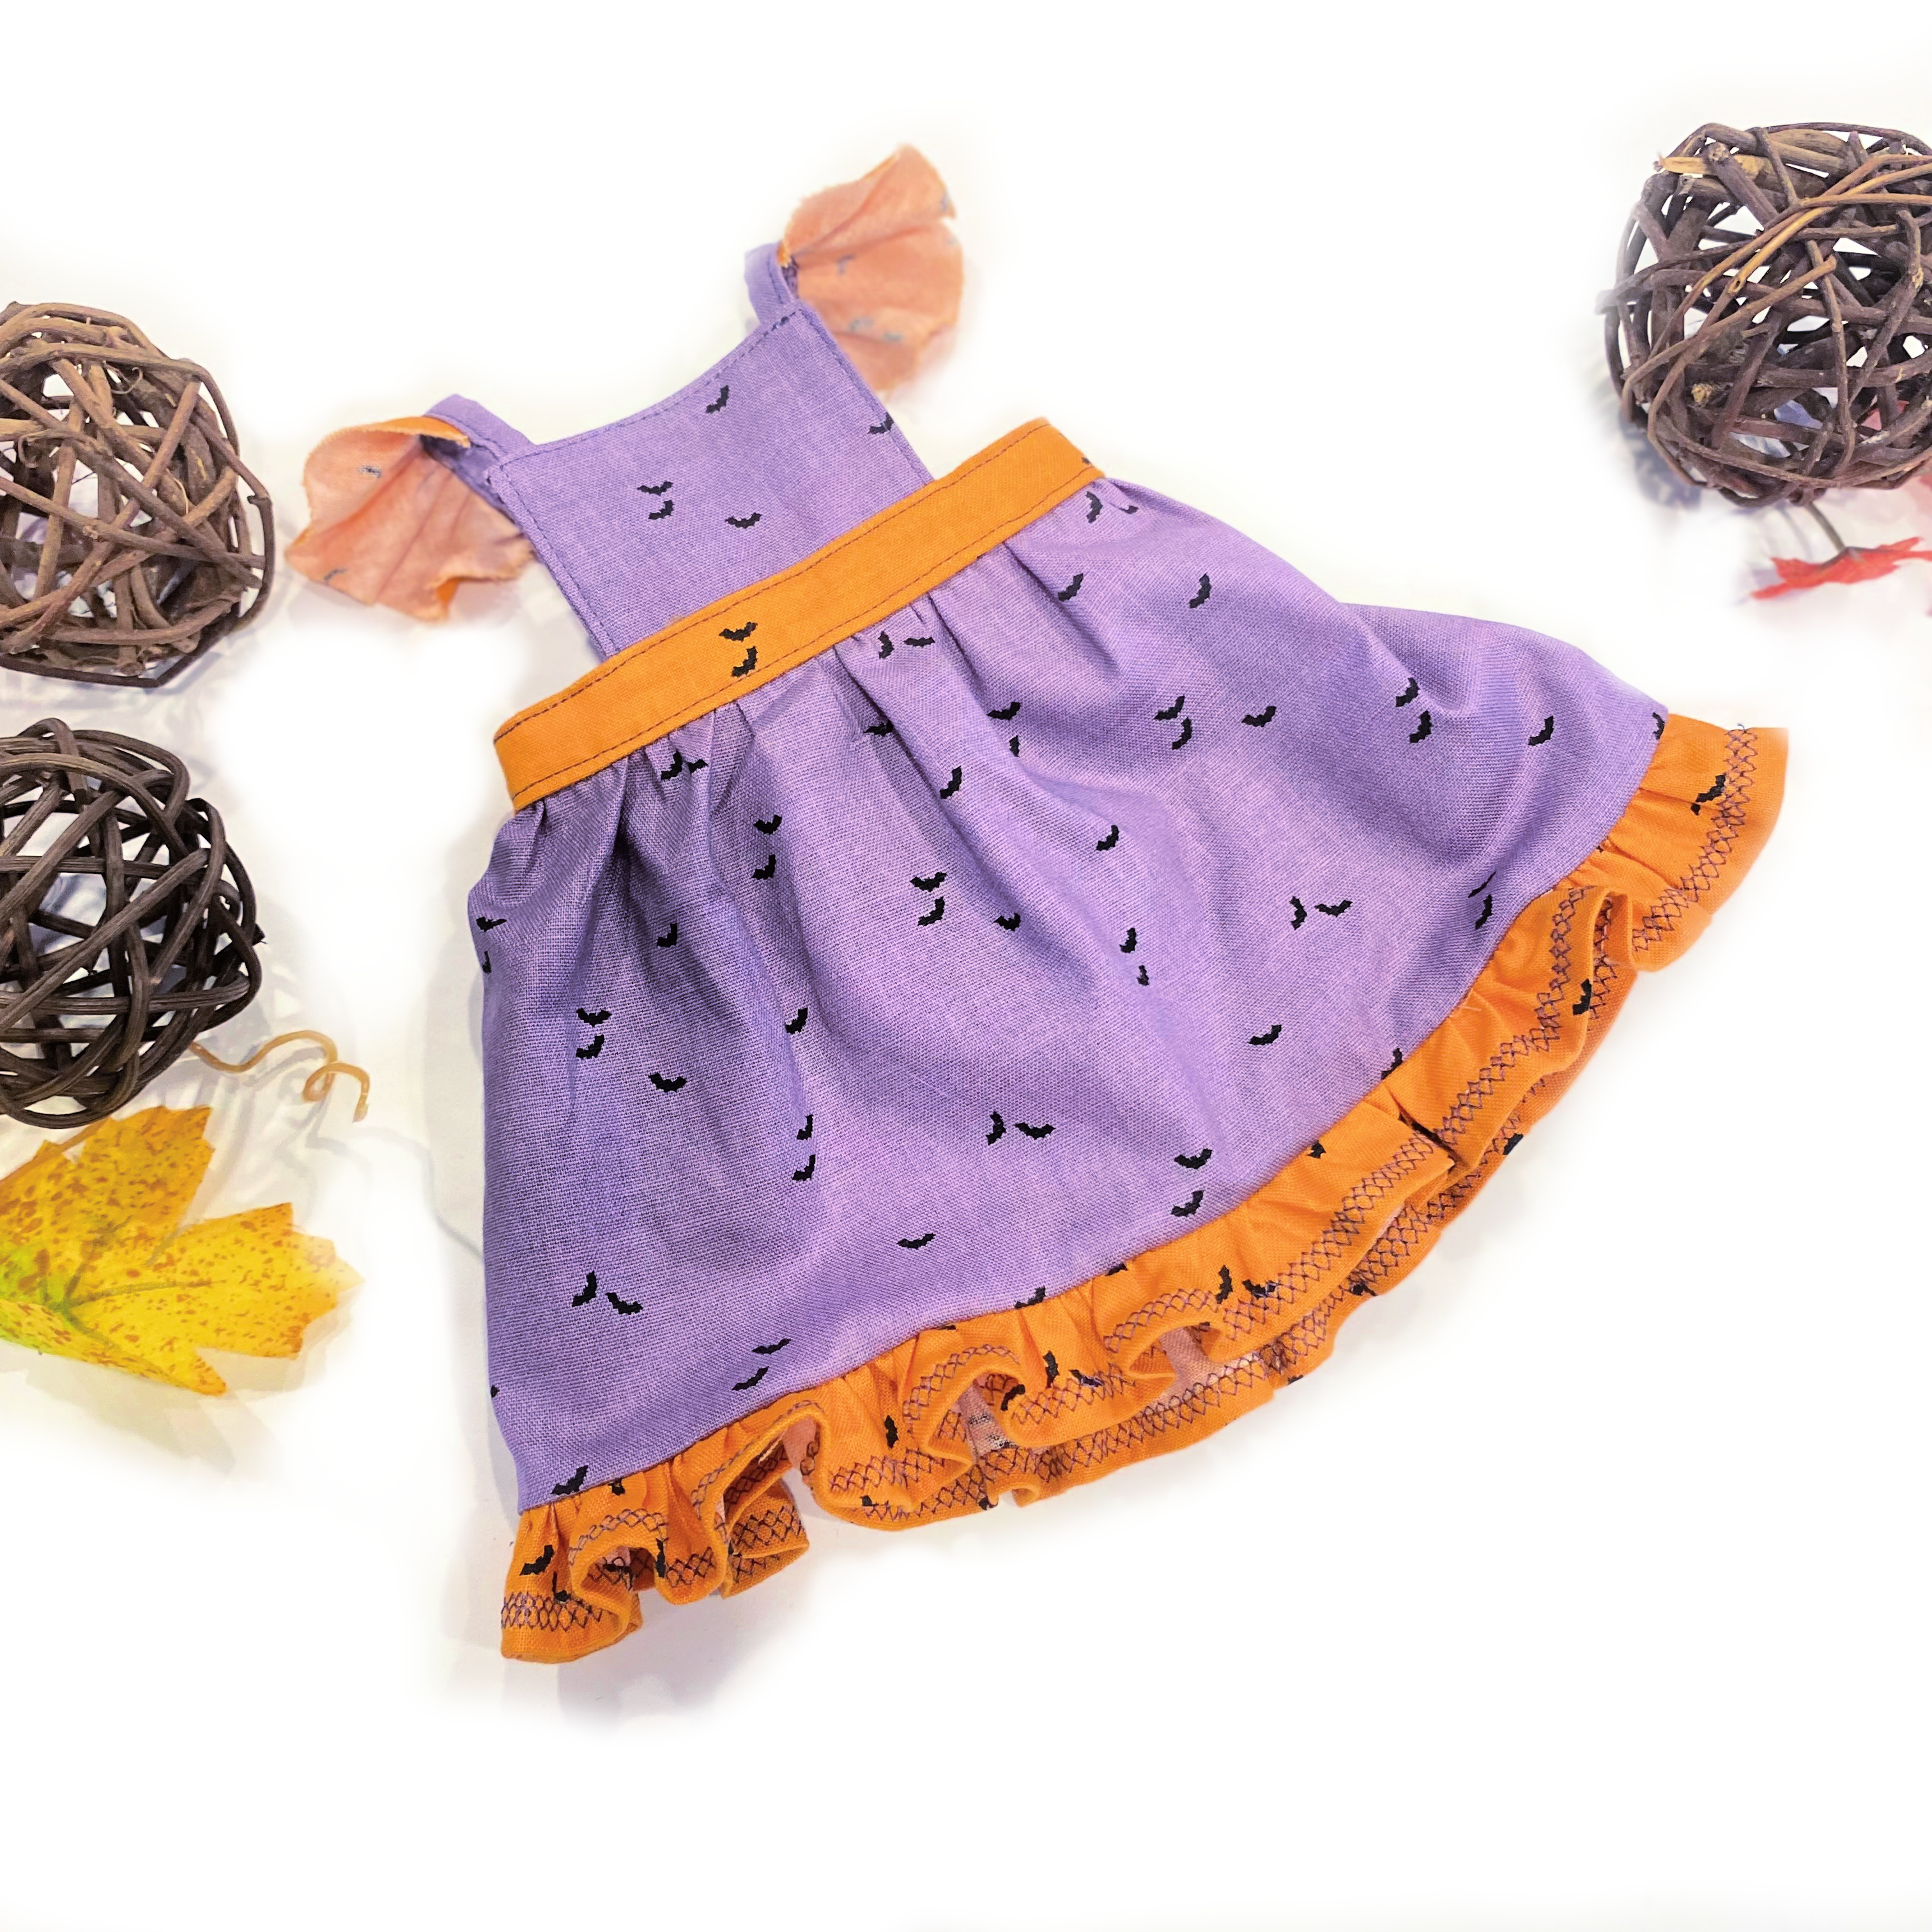
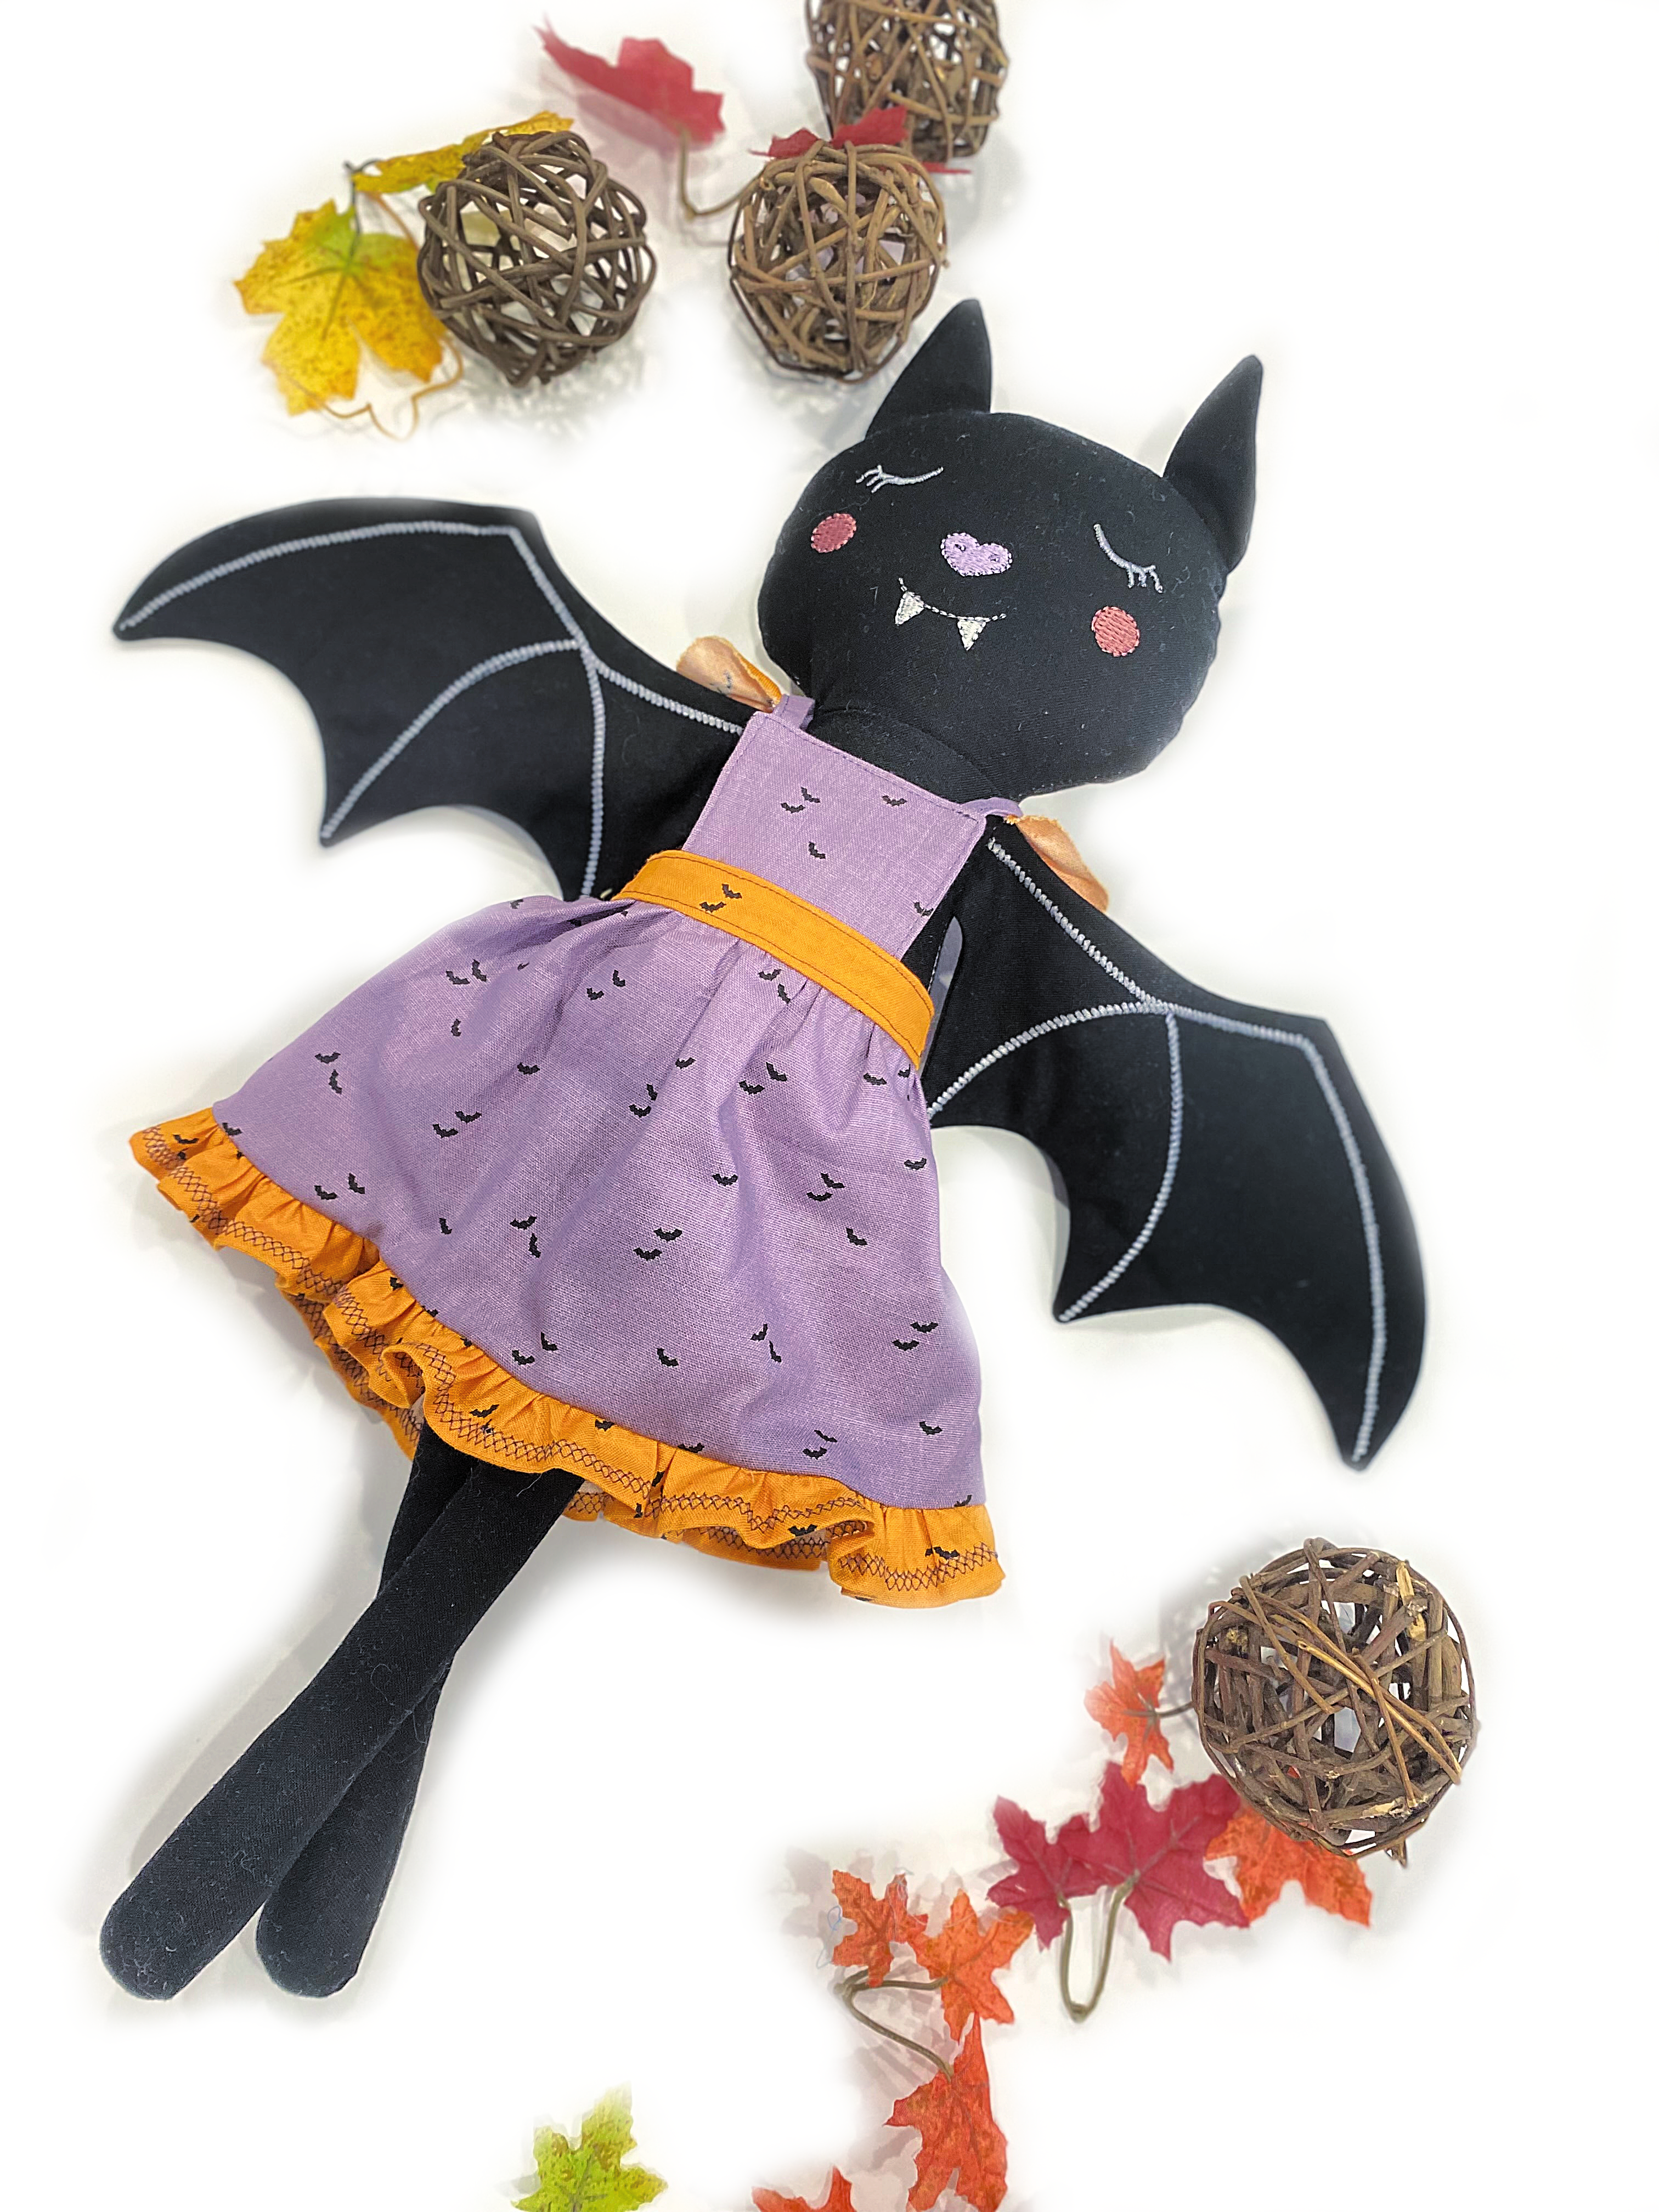
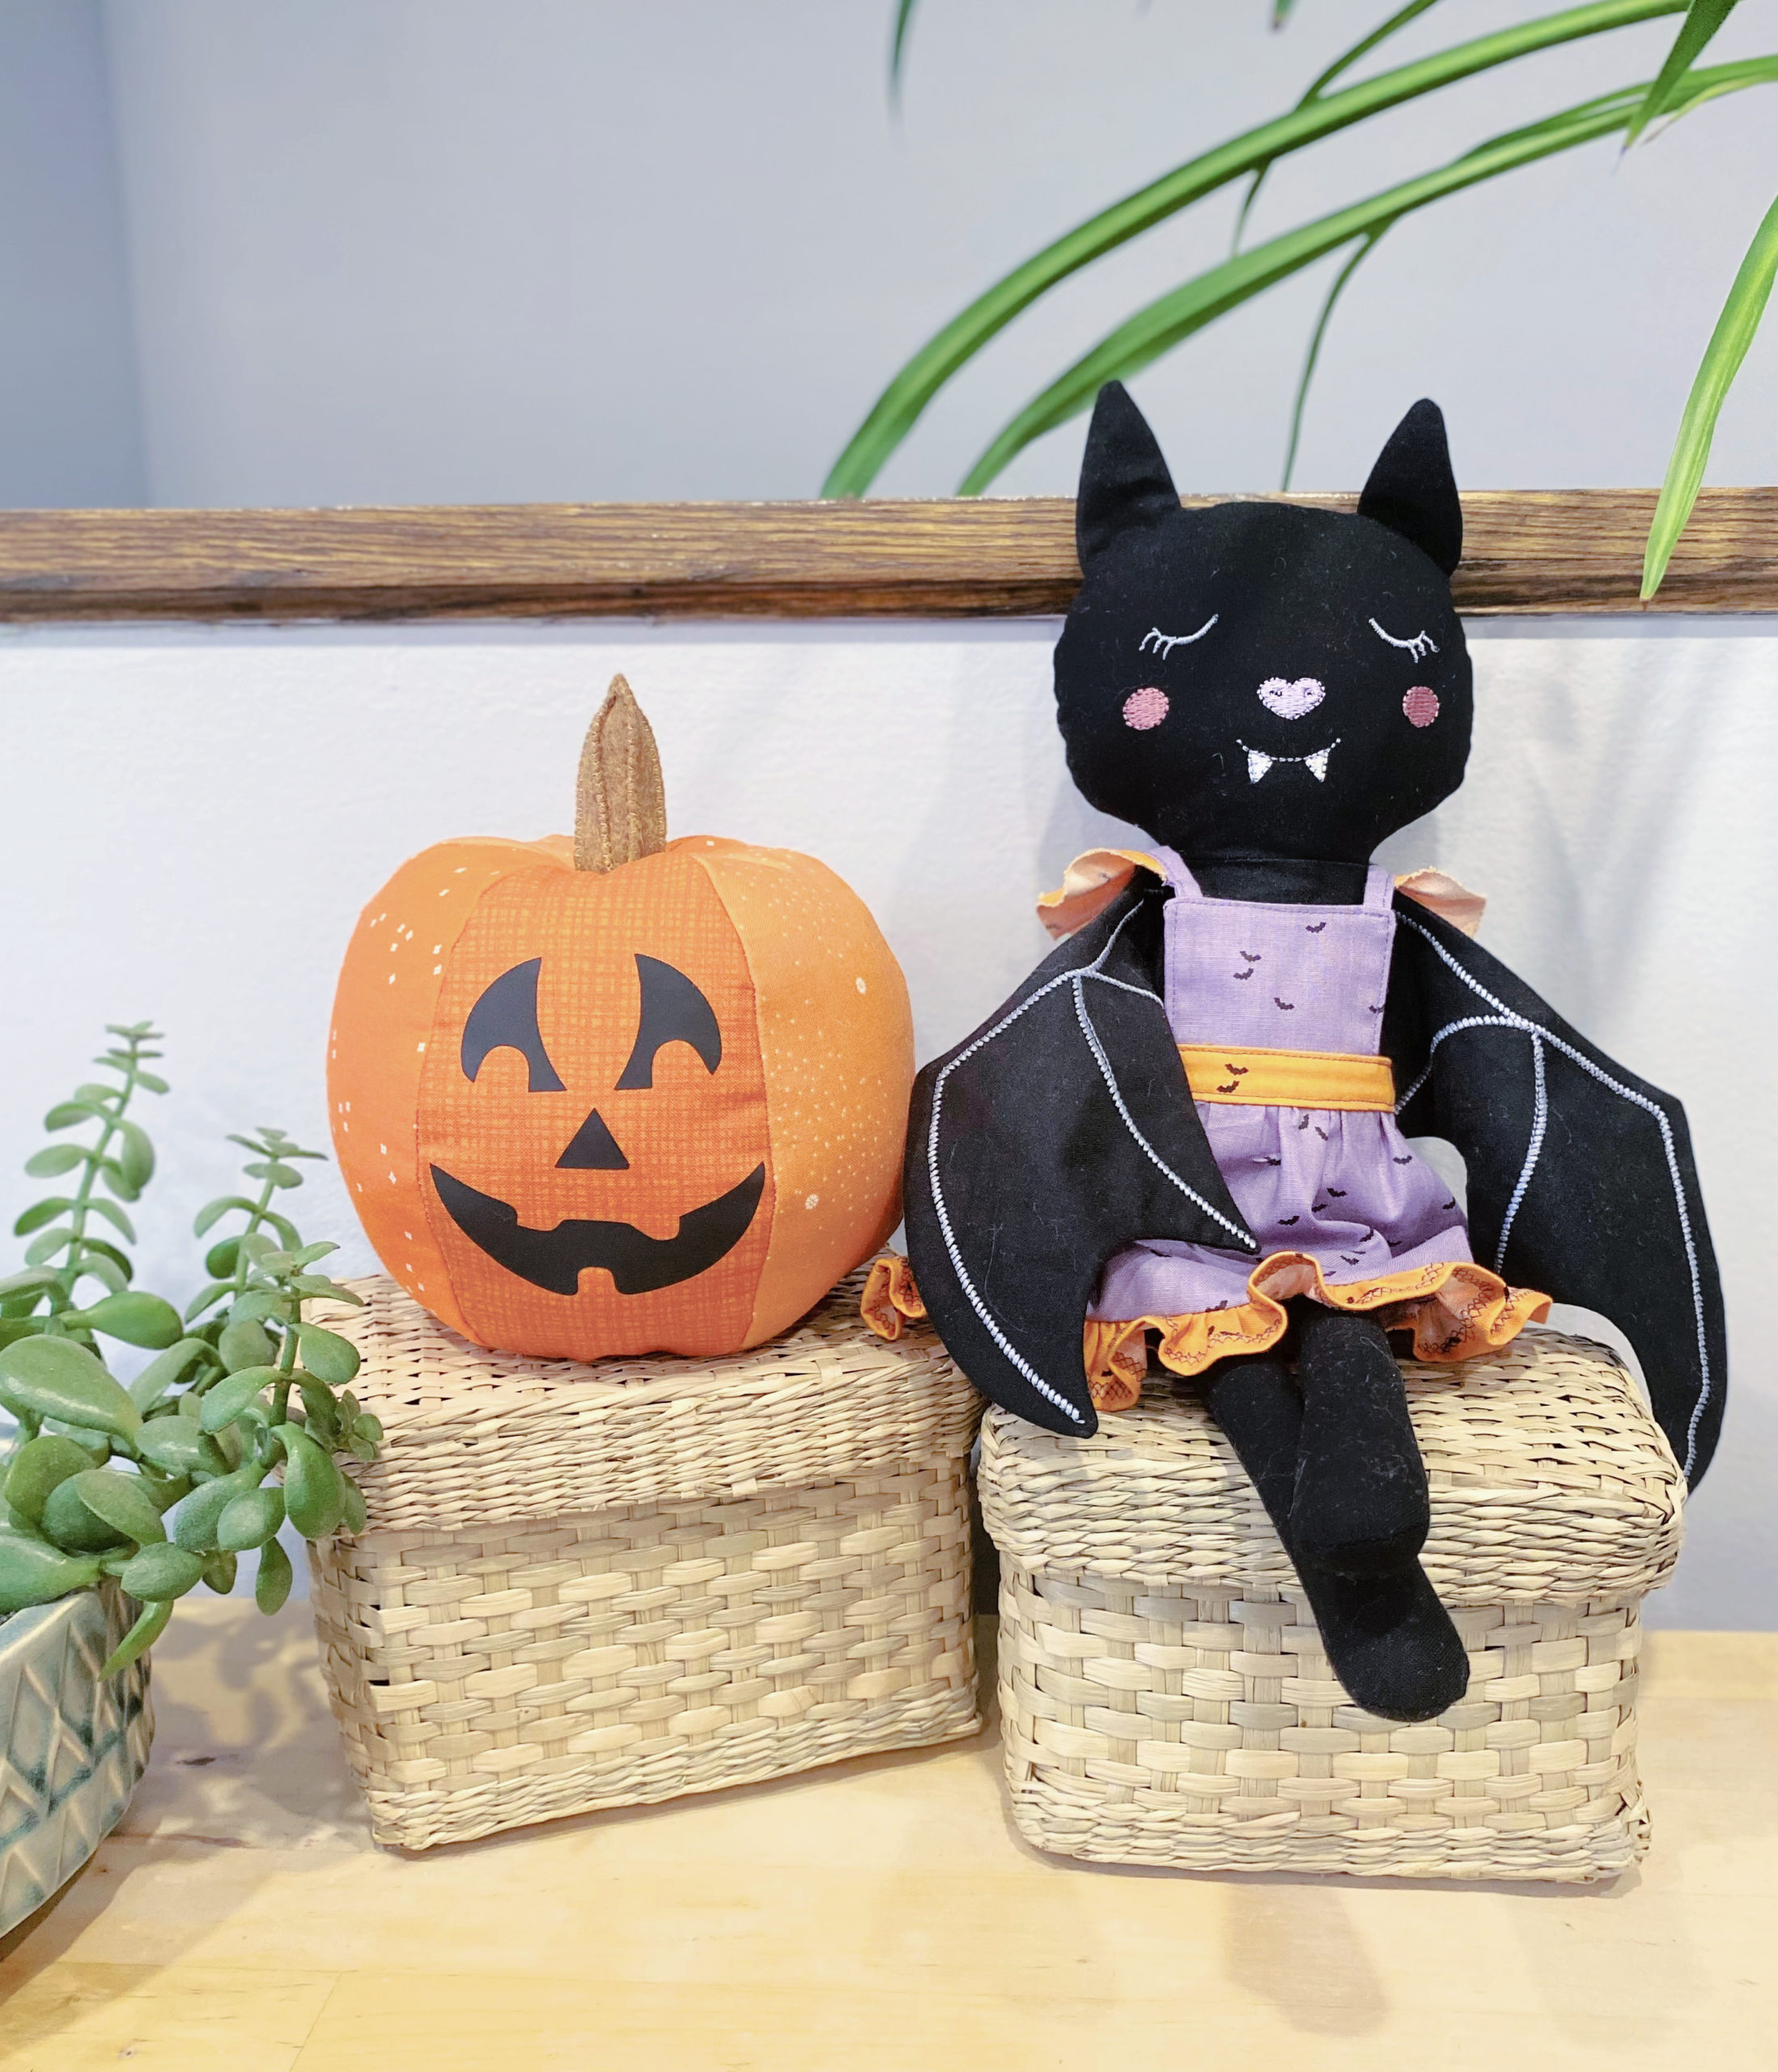
The much-awaited Pinafore Doll Dress is finally here… and what better way to celebrate this new doll clothing pattern by creating a fun tutorial to add a ruffle at the hem line! There are so many possibilities with this clothing pattern and I couldn’t resist dressing the Bee Sew Inspired Bat Doll in this adorable outfit! The Bat Doll pattern is available in BOTH sewing and machine embroidery patterns!
The Pinafore Doll Dress pattern includes templates to fit (3) sizes of Bee Sew Inspired Dolls: 14”, 16” and 18” dolls.

Let’s get creative! Just gather the supplies below, then download the pattern and pdf templates or machine embroidery files. Don’t forget to share your Pinafore Doll Dress on social media using the hashtag #beesewinspired and tag @beesewinspired.
What You Need:
Tools
- Sewing Machine
- Sharp, small scissors
- Iron and ironing board
- Turning tool or knitting needle
- Snap button tool
Materials
- 1/2 yard (50cm) of quilter’s weight cotton (I used Riley Blake Designs Seasonal Basics by Christopher Thompson – The Tattooed Quilter)
- Pinafore Doll Dress Pattern
- Variety of colors of threads
- Scraps of fusible interfacing
- Bobbin thread
- Snap buttons
- Embellishments such as buttons, bows, ribbons, lace etc. (optional)
Instructions:
1. If you haven’t already, become a Bee Sew Inspired – Maker’s Club Annual Member. This gives you access to our entire growing, Maker’s Club library of downloads! Including Quilt – Story Block of the Month patterns, Doll Patterns and Accessories (Sewing and Machine Embroidery versions), PDF templates, SVG cut files and more!
2. Gather all your tools and supplies
3. Download and print out the correct pattern template size for your Bee Sew Inspired Doll you are sewing the clothing for.
4. Cut and label all your fabrics according to the directions.
5. Follow the fully-illustrated, step-by-step instructions without sewing the hem!
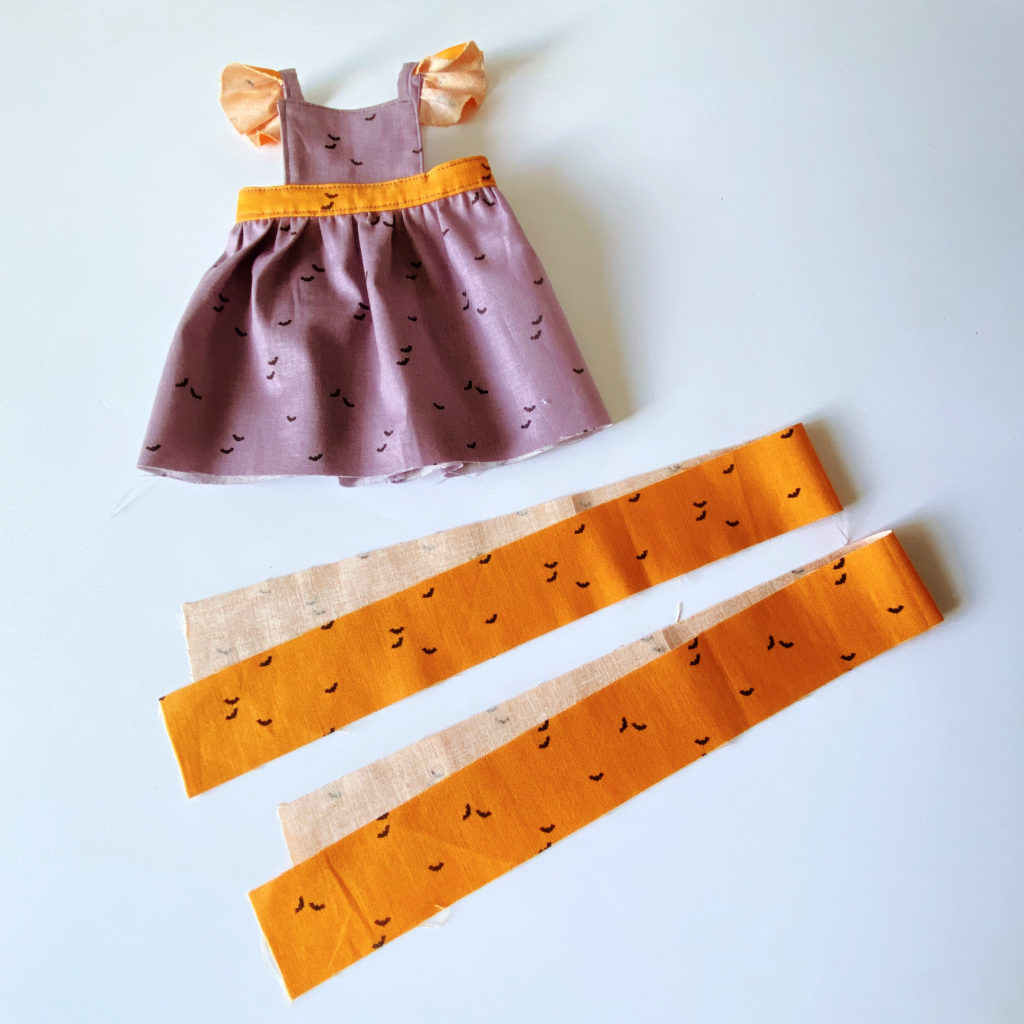
6. Cut out two lengths of fabric 18.5″ x about 2″. Play around with the width of the ruffle to achieve different looks!

7. Match the two short ends with right sides together. Using a 1/4″ seam allowance stitch into place. Finish off the seam allowance using a zigzag stitch or serger. Press the seam to the back.
8. On the top edge of the ruffle at 1/8″ baste a long stitch without backstitching at the beginning or the end. Make sure to leave a long tail on your thread.

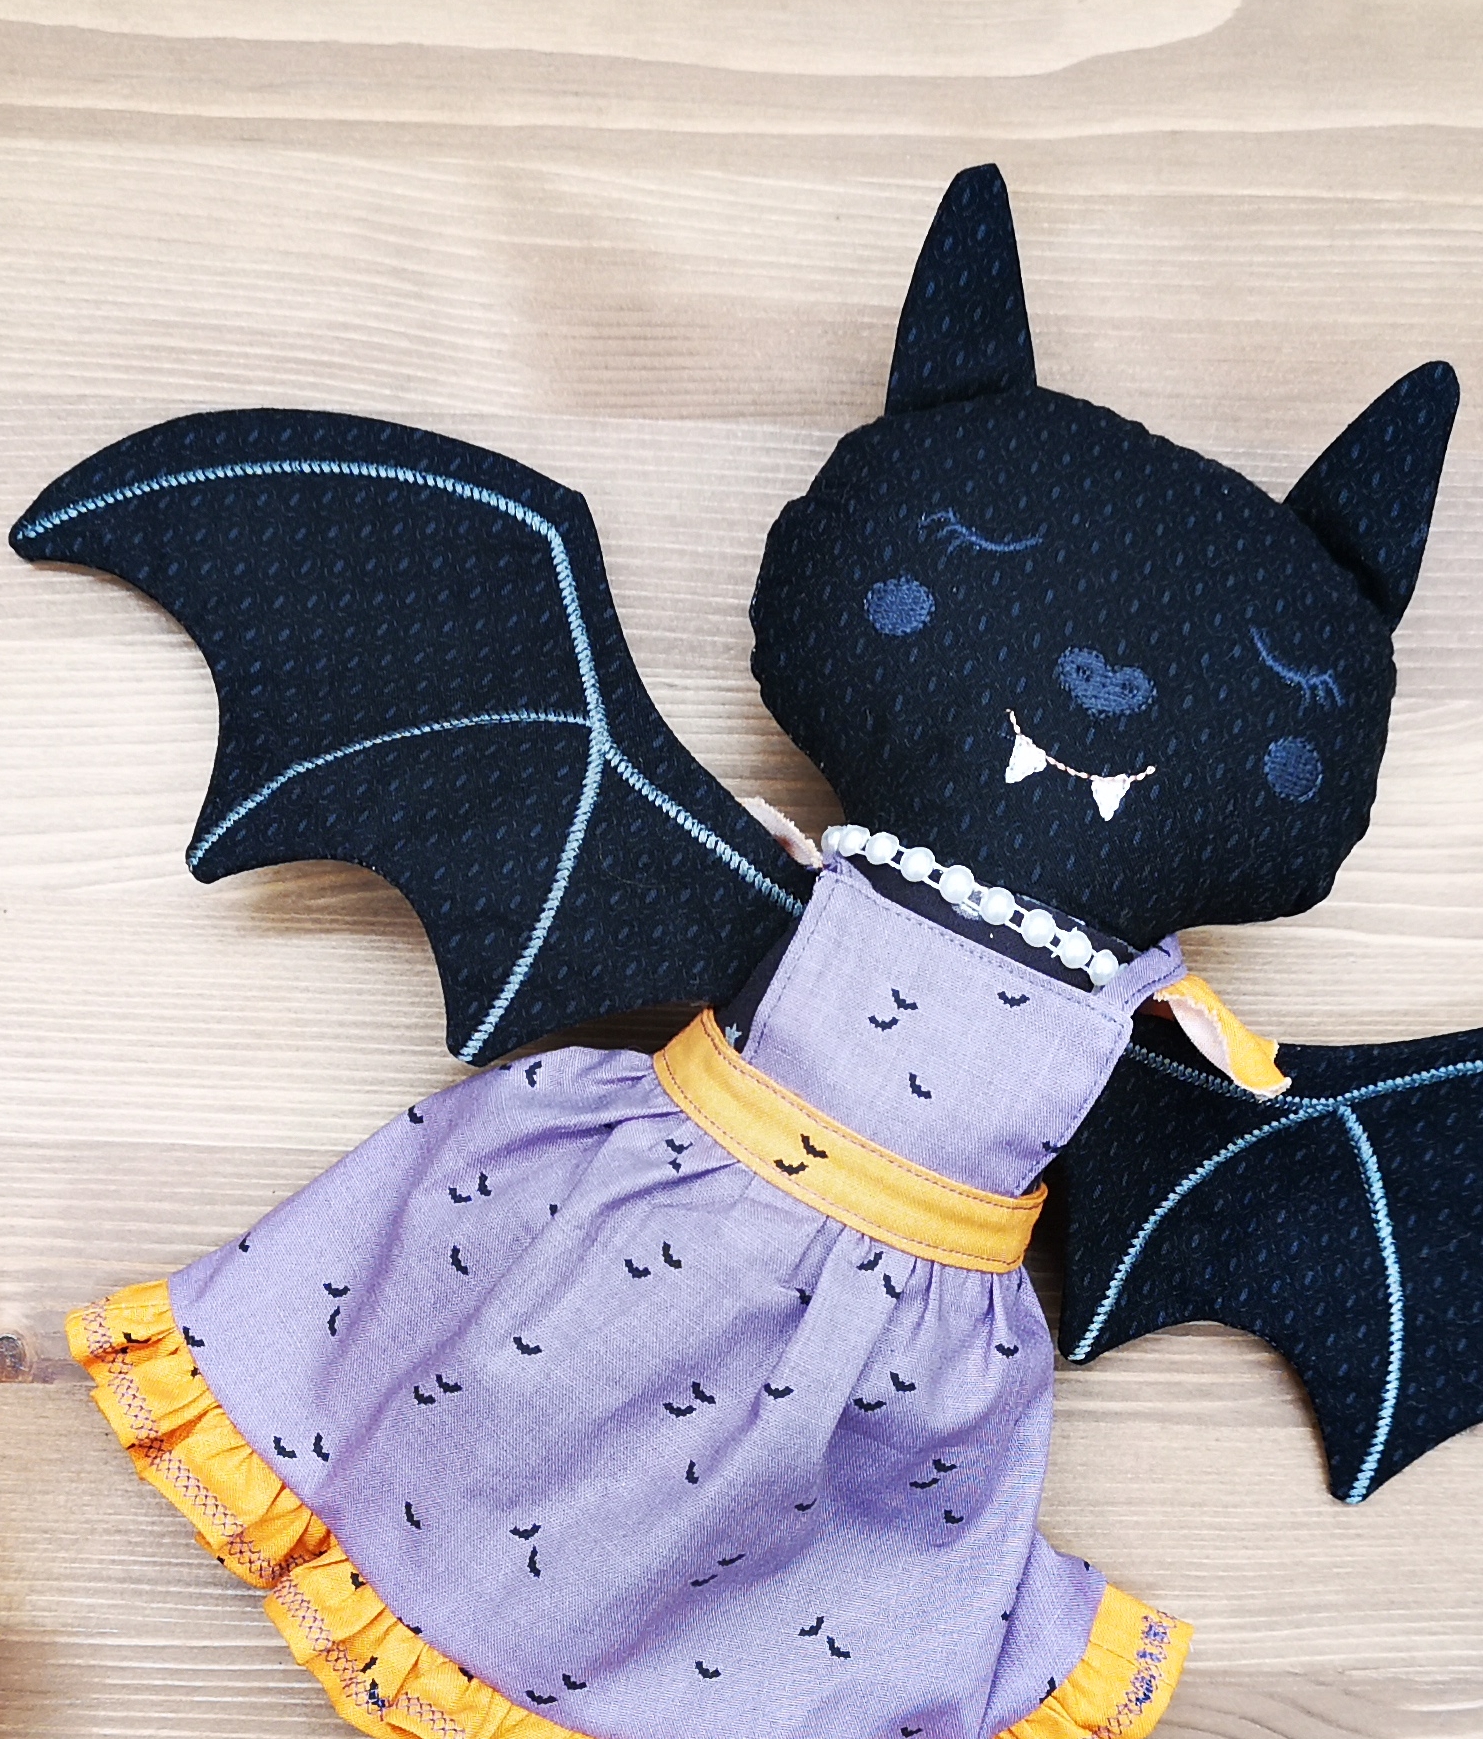
9. Fold the hem 1/4″ and press, Fold once again 1/4″ and press into place. Now is the time to try some of those fancy stitches on your machine! Create a fun hem with contrasting threads and an intricate design.
10. Pull slightly on the bobbin thread to create the gathers. Line up the side seams of the pinafore and ruffle and distribute the gathers evenly and pin in place with right sides together.
11. Using a 1/4″ seam allowance, stitch the ruffle into place
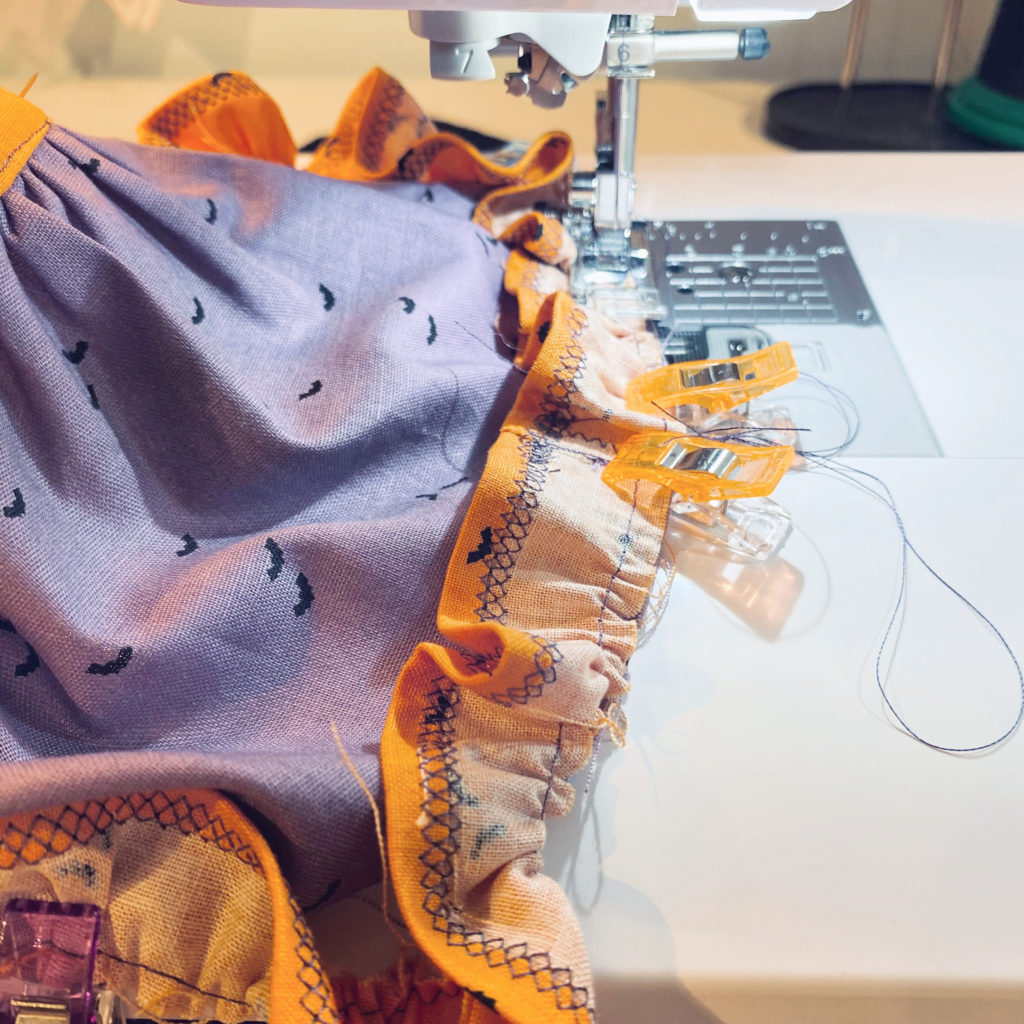
12. Using a 1/4″ seam allowance, stitch the ruffle into place
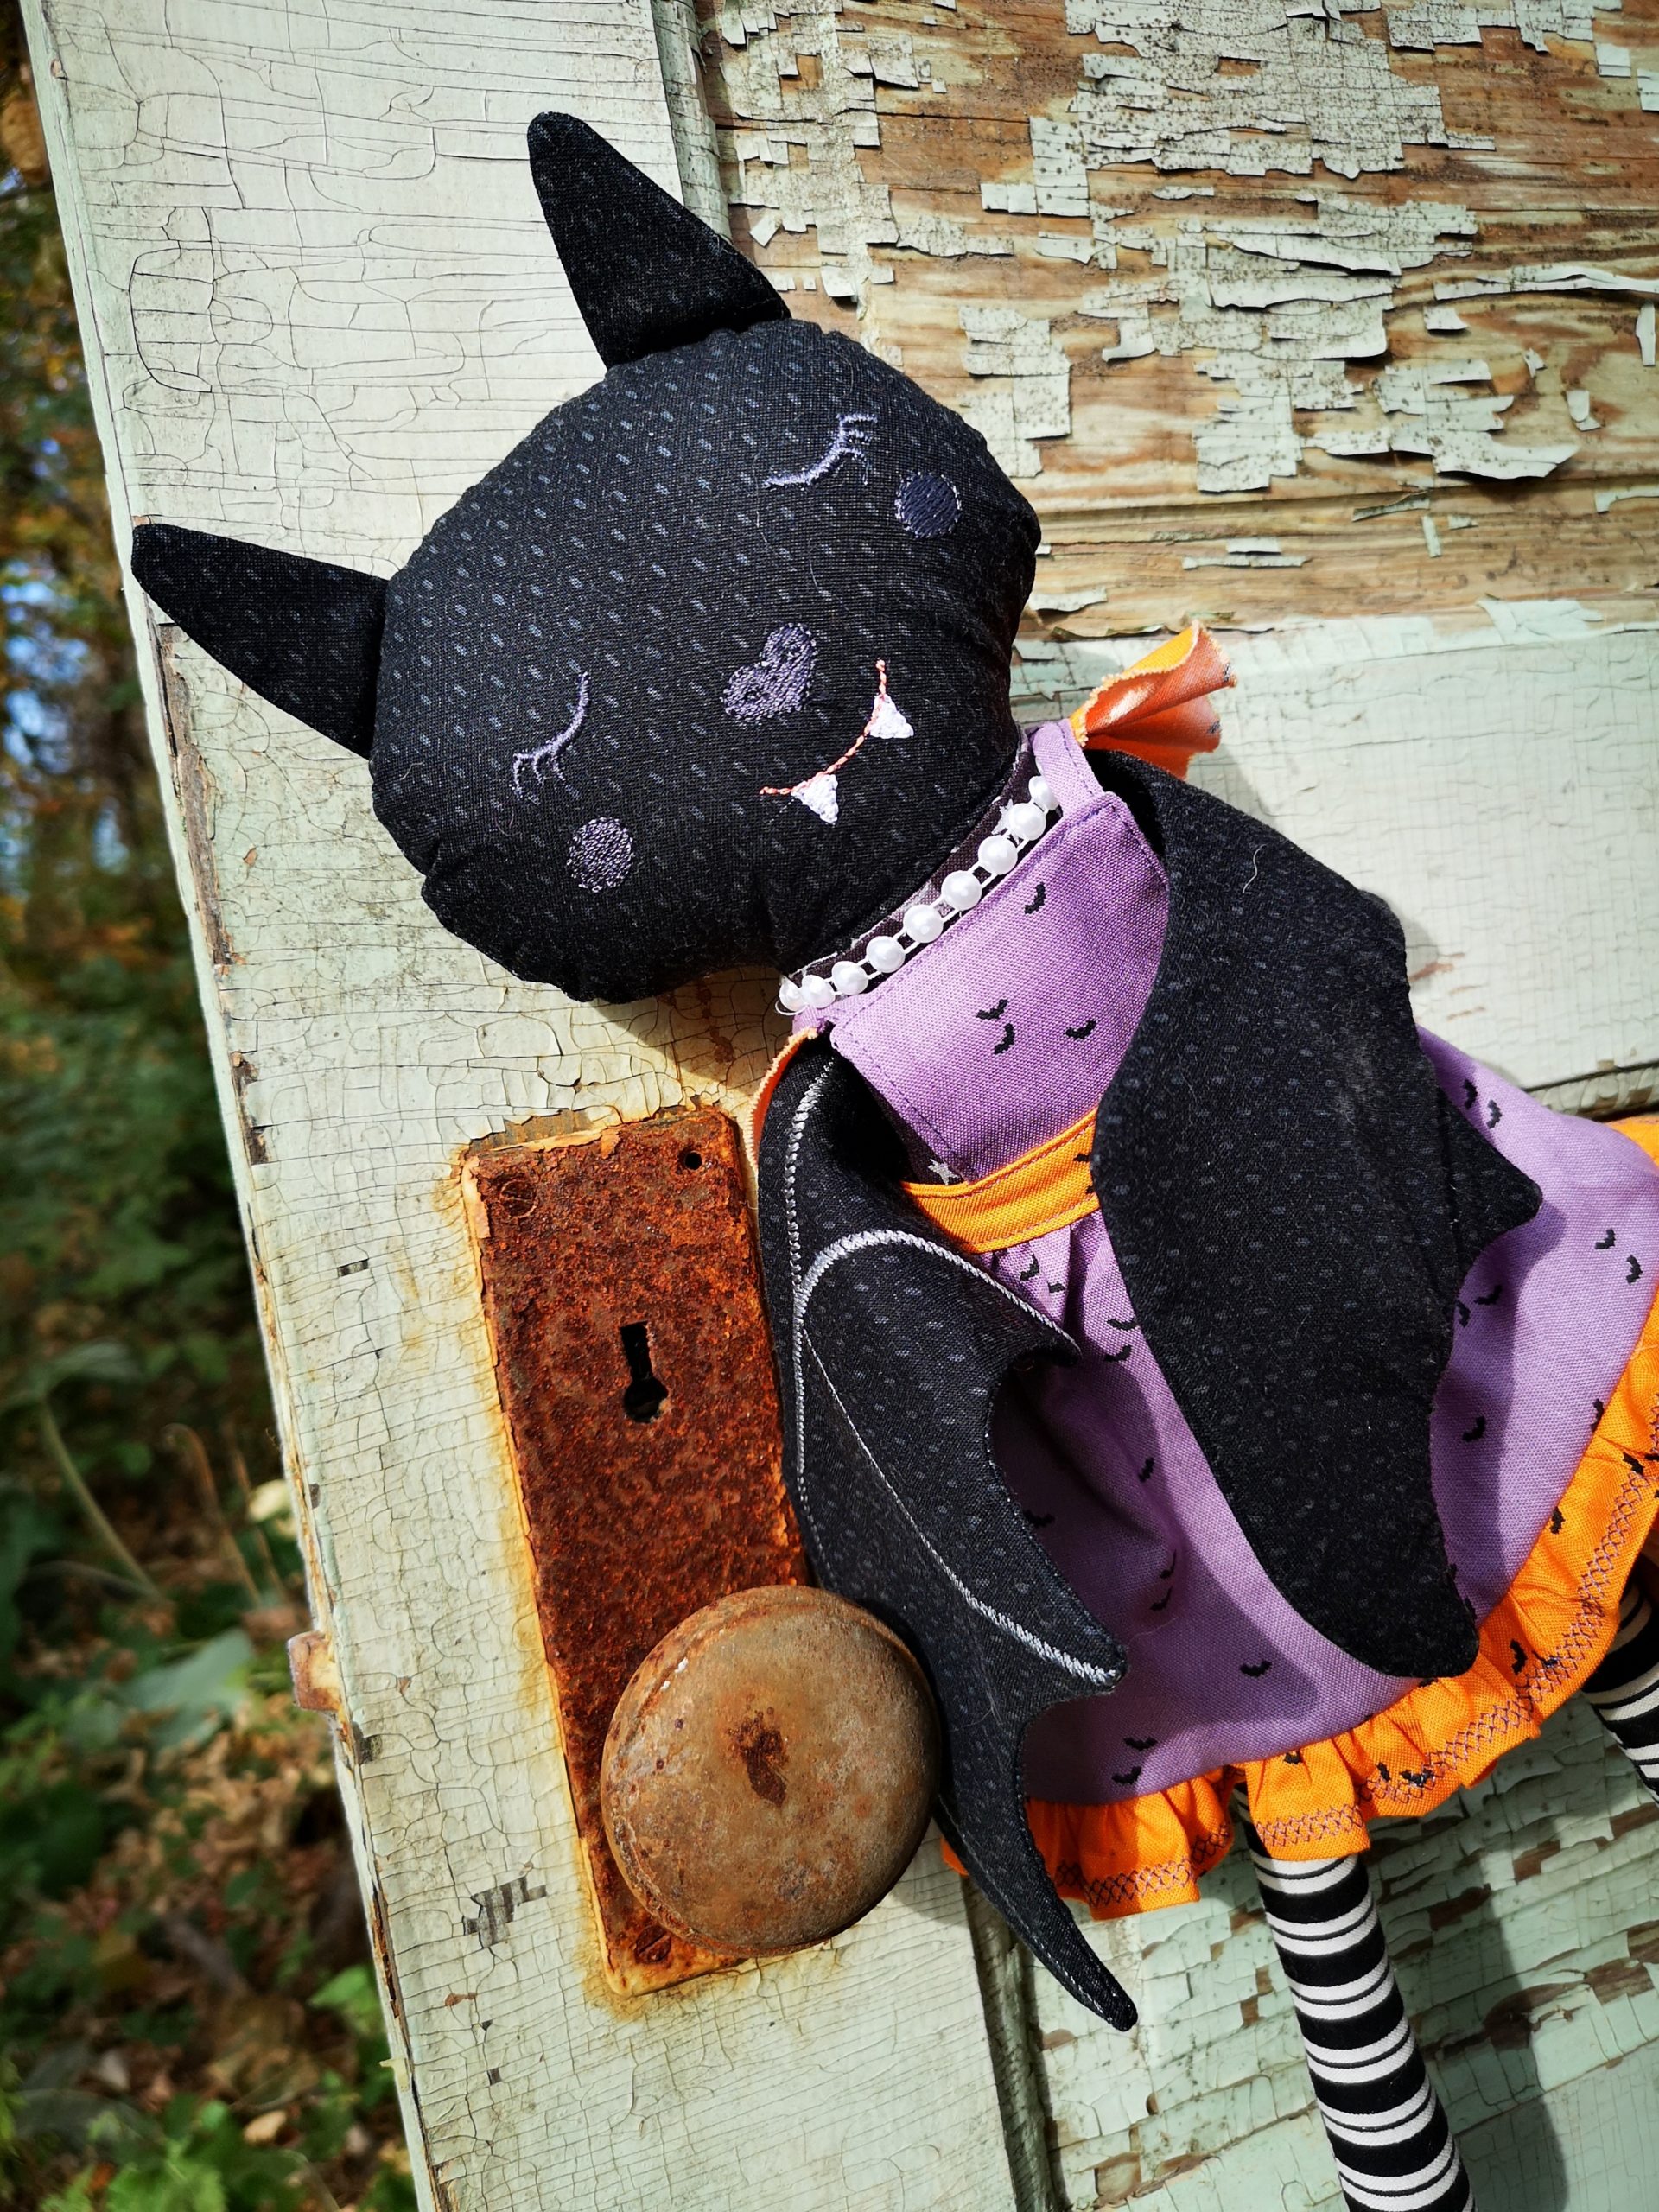
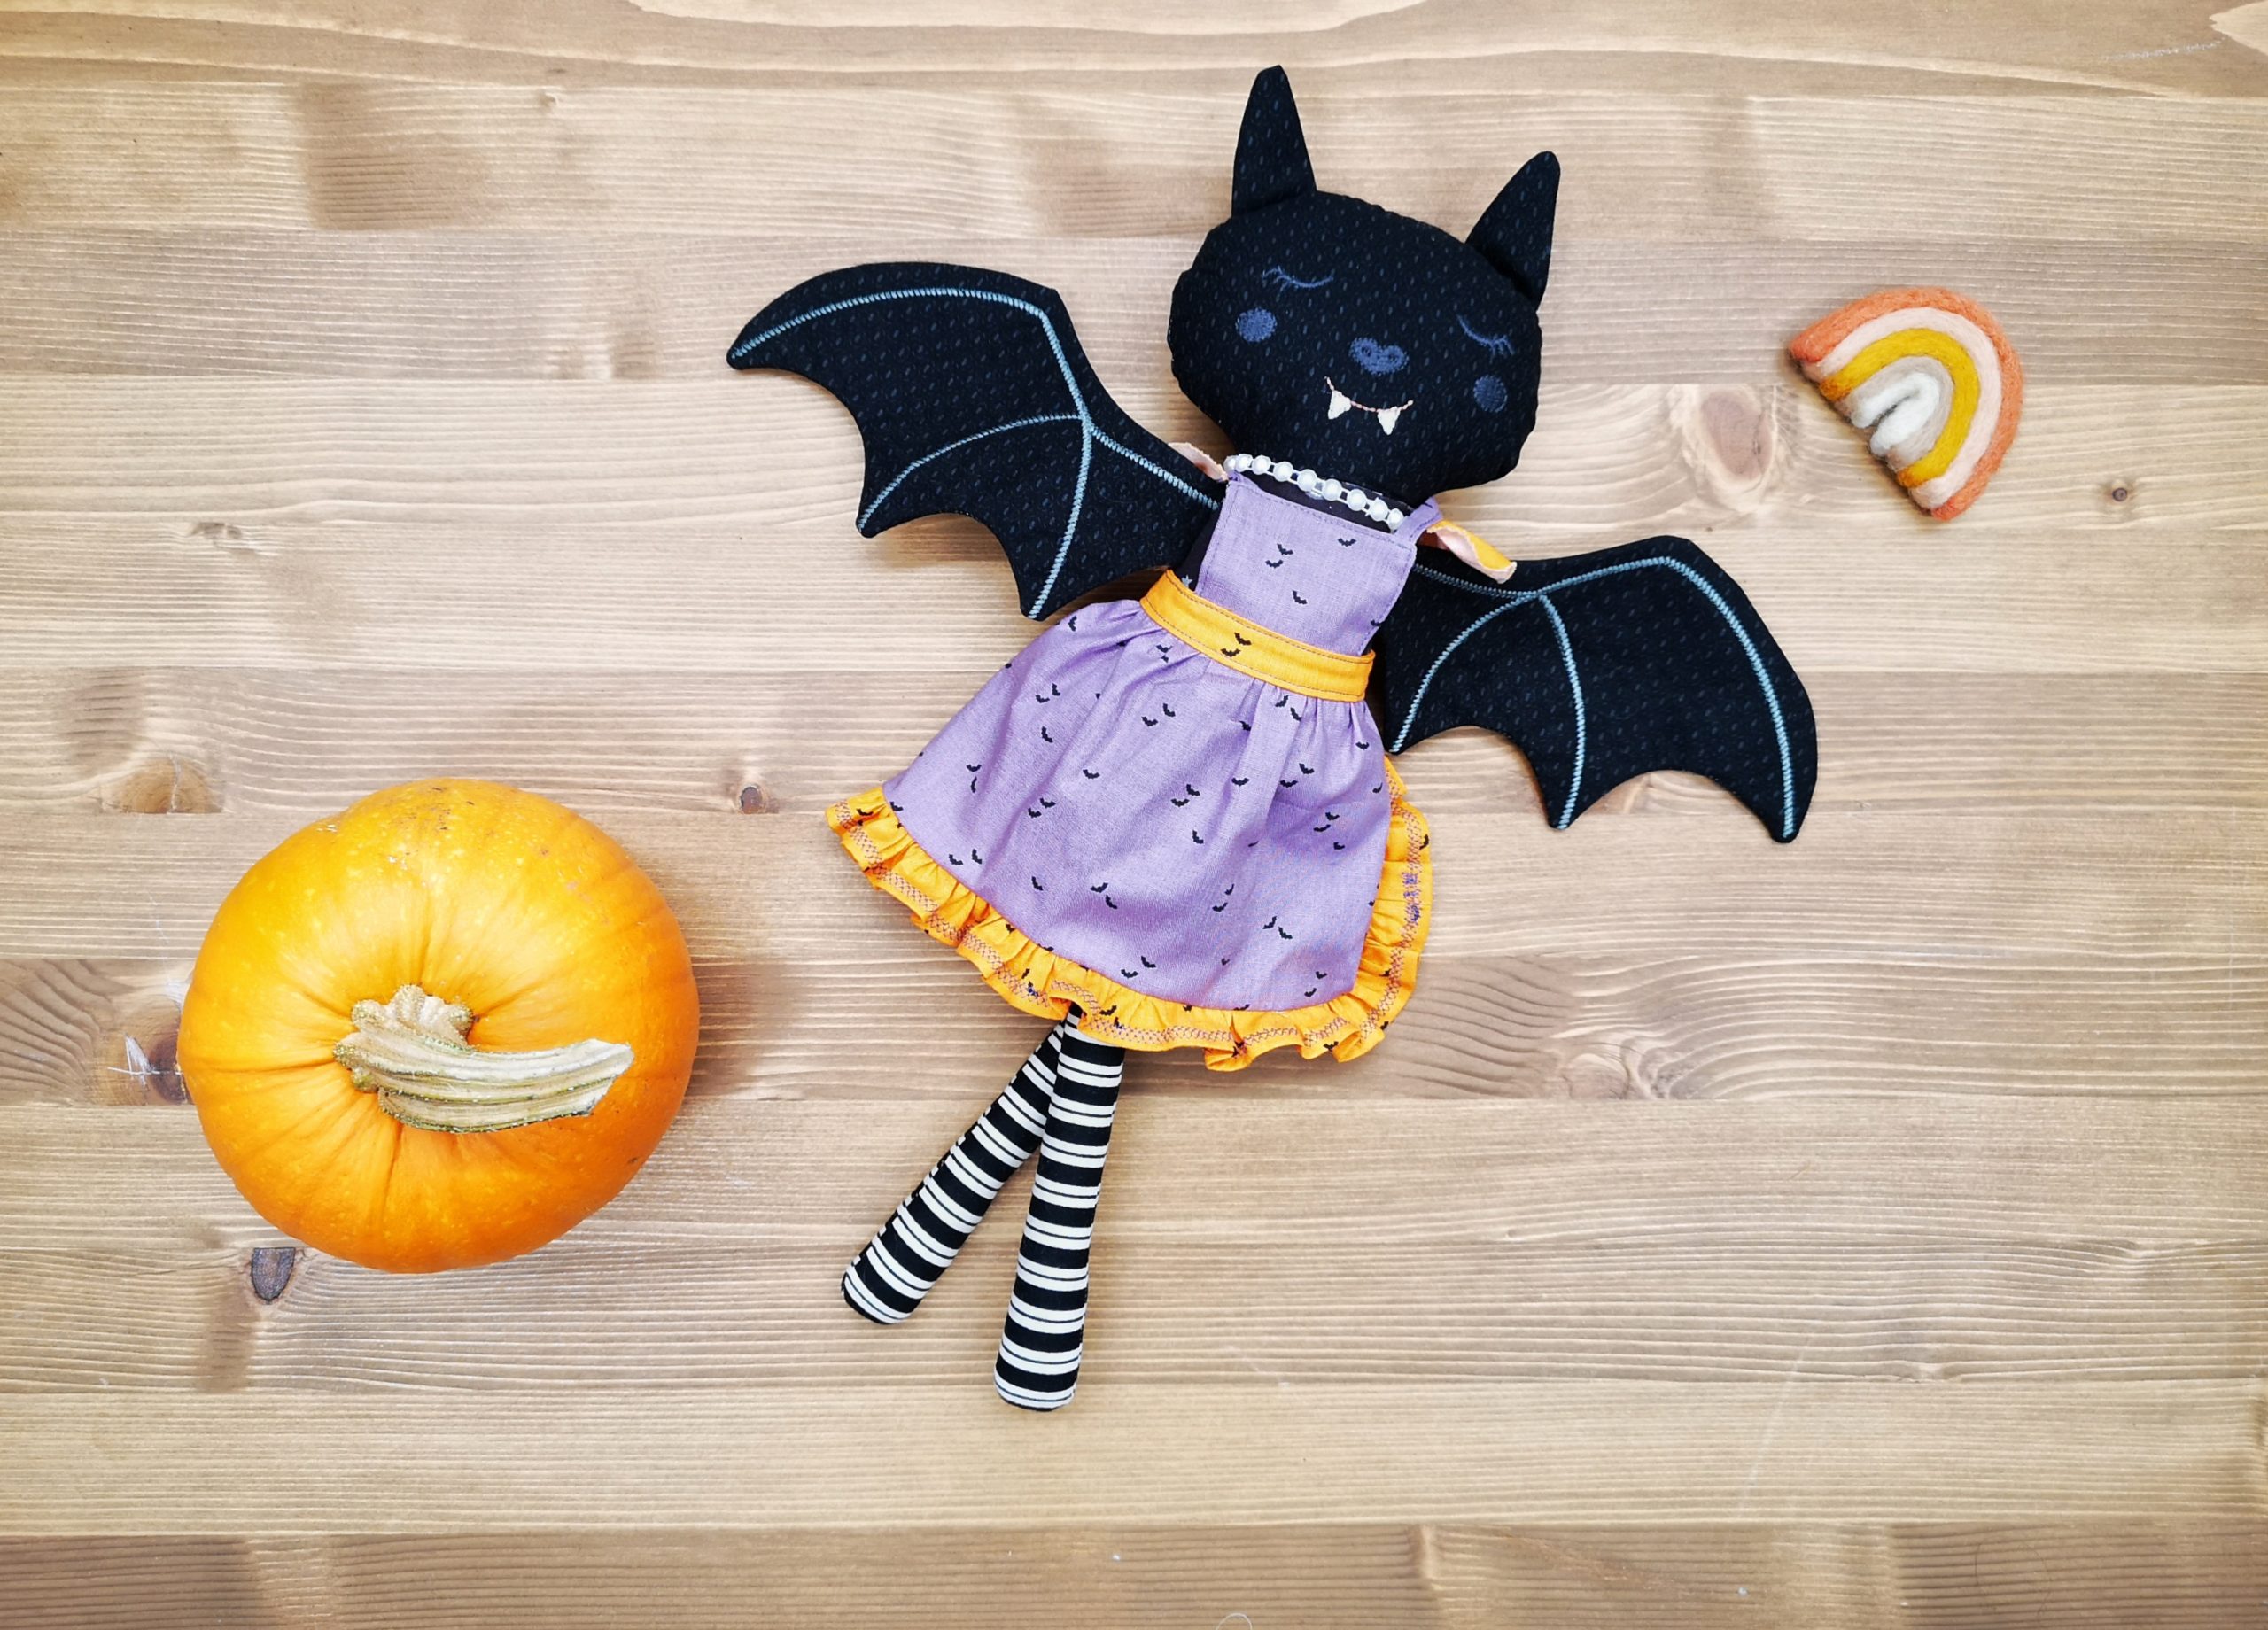
13. Be creative! Use your imagination to add embellishments, embroidery details and texture!
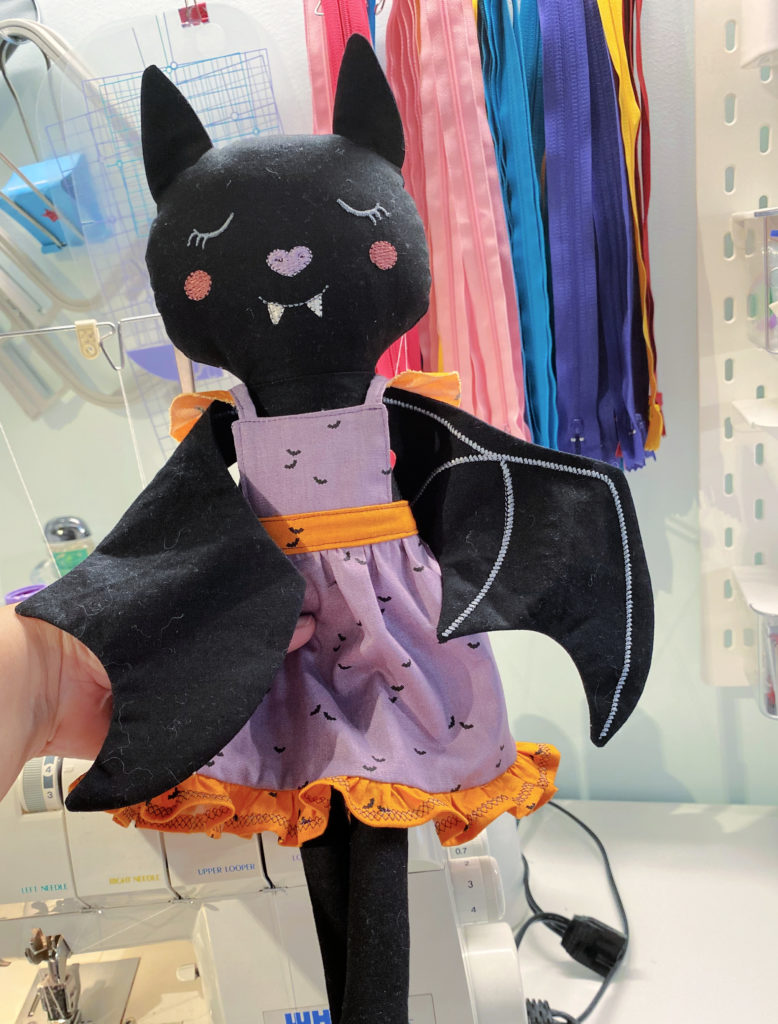
14. Your favorite Bee Sew Inspired doll is now ready for just about any event!
Your Pinafore Dress (with added ruffle bottom) is now complete!
Thank you so much for joining me today on the Riley Blake blog! If you like this tutorial, please consider signing up for my weekly newsletter at www.beesewinspired.com/sign-up
See you next time! Jennifer Long www.beesewinspired.com