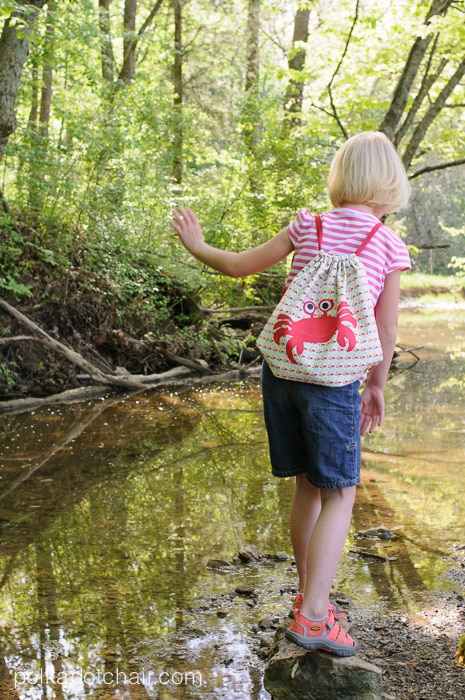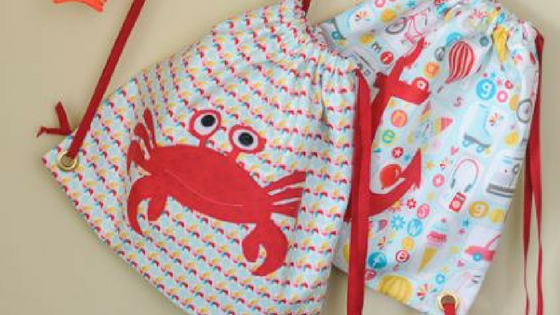
Hello Riley Blake Fabrics Fans! My name is Melissa Mortenson and I blog over at The Polka Dot Chair. You may have seen me here before, I adore Riley Blake and love dreaming up projects for their Design Team.
When I saw this Girl Crazy Collection I immediately had thoughts of summer, with lazy days out by the pool and afternoons spent exploring. I decided to make some super simple drawstring backpacks that would be perfect for kids to tote around their treasures in all summer.
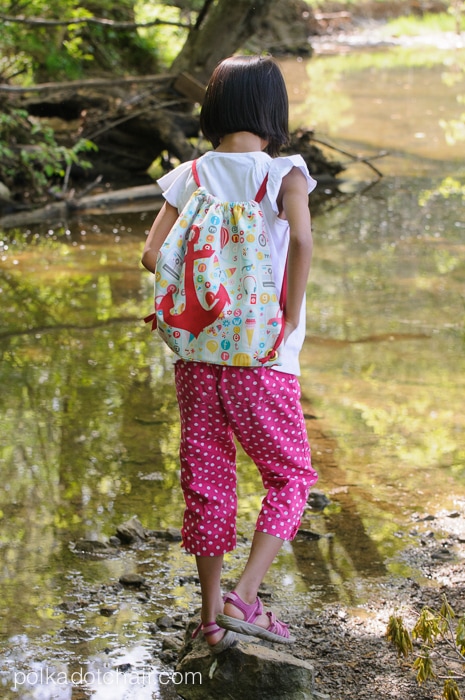
Something light weight that they could carry around whether they are headed to the amusement park or just out for a ride on their bike.
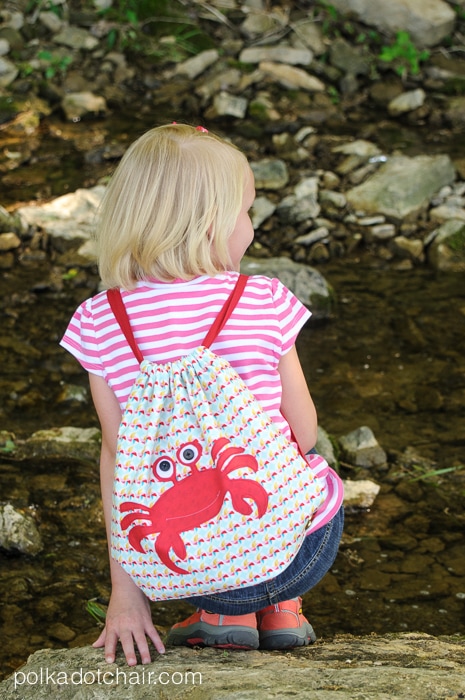
I’ve included free applique patterns for you. To get them hop on over to my blog, The Polka Dot Chair and download them. I’ve also got a few more fun photos to share with you!

To make ONE backpack you’re going to need:
1/2 yard of Girl Crazy Fabric for the outside, cut two pieces 15” x 15”
1/2 yard of Girl Crazy Fabric for the lining, cut two pieces 15” x 15”
Shape Flex Interfacing, cut two pieces 15” x 15”
4 yards of string/trim for the backpack straps
Fat Quarter of Riley Blake Solids for the applique
Heat N Bond Lite
2, 1” grommets
for the crab a scrap of white felt and 2 black buttons
All seam allowances are 1/2” unless otherwise noted
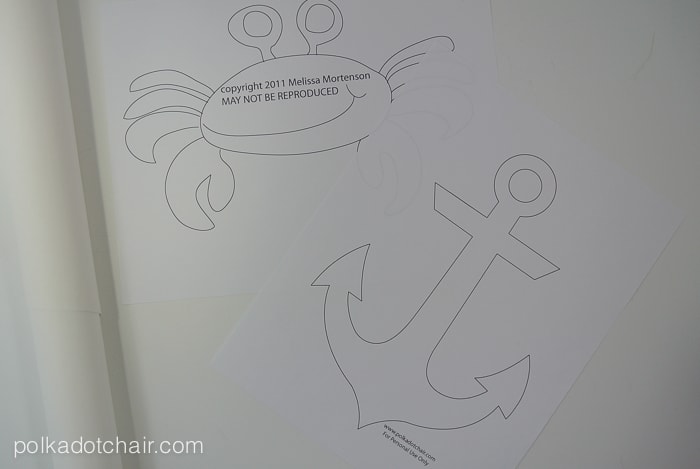
Begin my printing out the applique pattern, that can be downloaded here.
Trace the pattern onto a piece of heat n bond lite (Trace on the paper side of the heat n bond) Remember your image will be reversed after appliqued- it doesn’t matter too much with these shapes, but might if you use another shape.
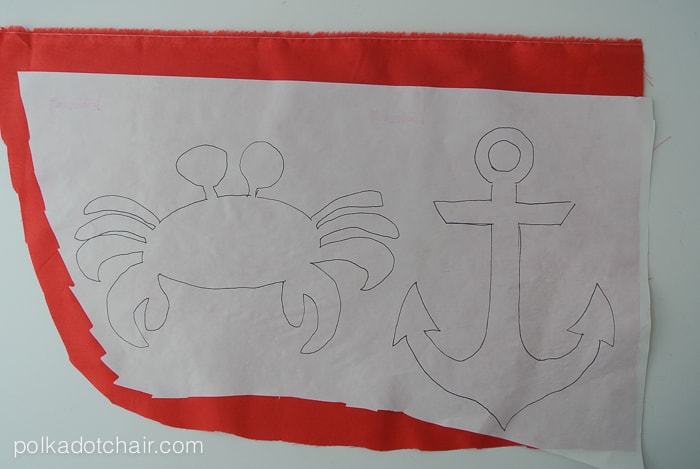
Iron onto the wrong side of the applique fabric
Cut out
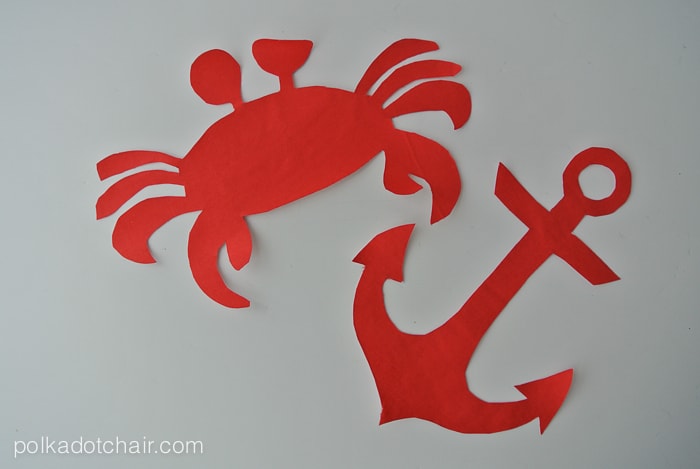
Peel off the backing and apply to the front backpack piece in the desired location. Apply the shape flex interfacing to the wrong side of the two backpack outside pieces.
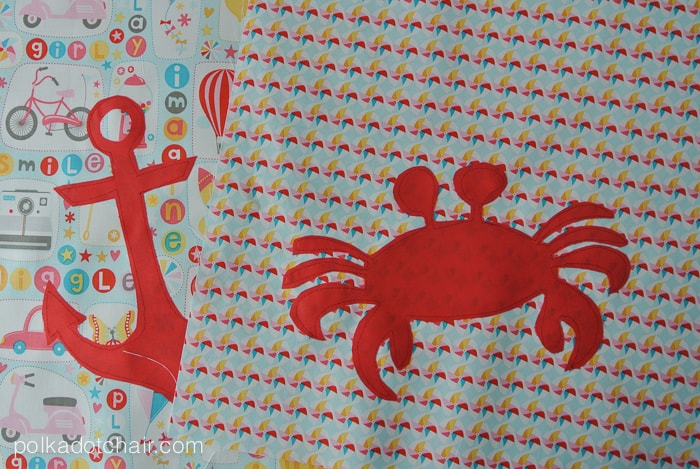
Stitch around the applique with matching thread. To complete the crab, cut out two pieces of white felt for his eyes and sew two black buttons to the center.
Sew the 2 backpack outside pieces together, right sides facing, leaving the top seam open. Press the seams open and clip the corners.
Repeat for the 2 lining pieces.
Slip the lining piece into the backpack outside piece, wrong sides facing.
Pin so that the top edges are even and the side seams match.
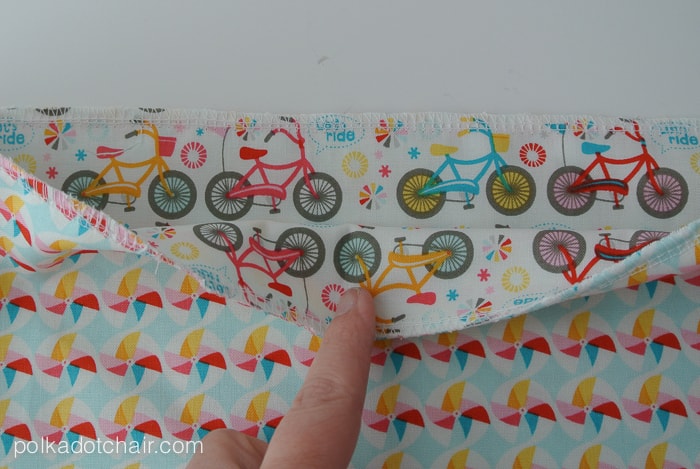
Using a serger (or a zig zag stitch on your machine if you don’t have a serger) serge the backpack outside and backpack lining pieces together.
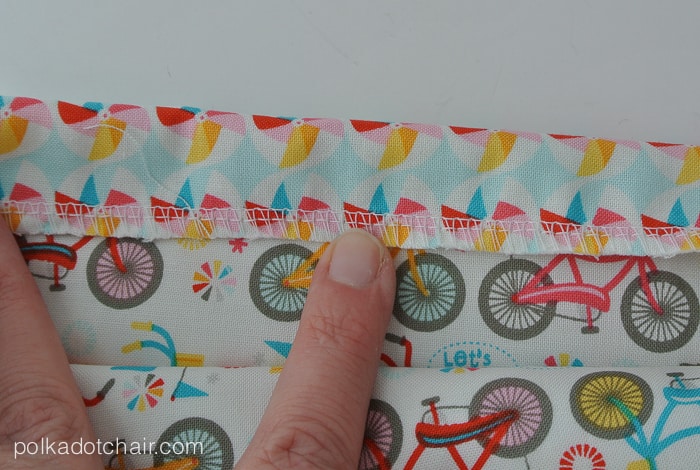
Fold the top edge down 1” and pin. You are folding towards the lining. Stitch along the edge (where the serger stitches are) to form a casing.
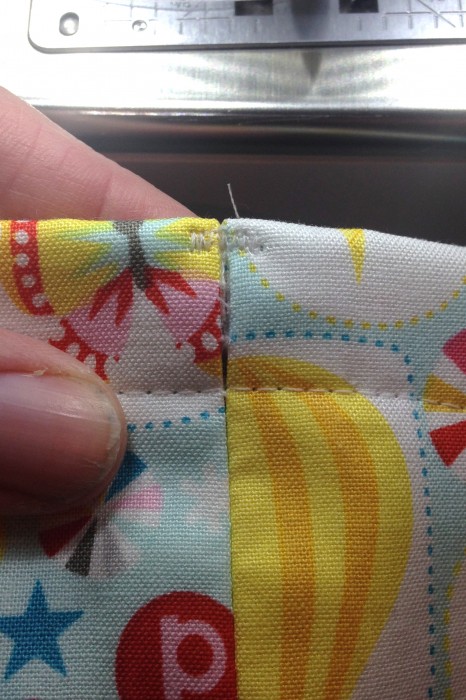
Unpick the seam on the outside of the backpack side seams between the casing stitching line and about 1/8” from the top fold. Reinforce the seam with a bar tack stitch so that it doesn’t unravel any more than this.
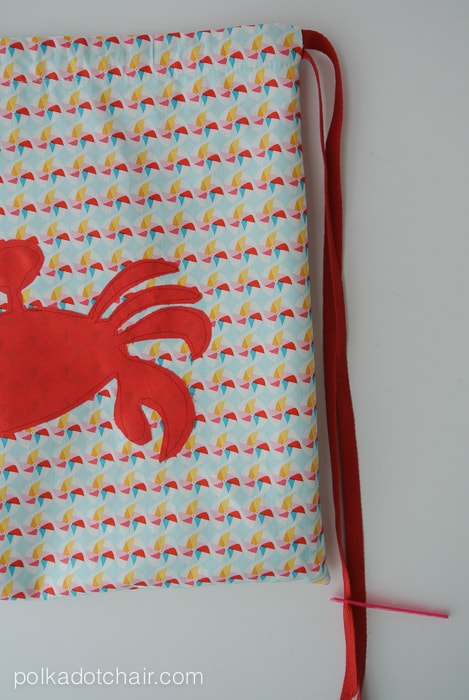
Cut two yards of string for the backpack and string through one side, starting at the opening in the side seam, all the way around until it comes out the same opening. Pull it down so that it extends a little below the bottom of the backpack. Cut both ends the same length about 2” below the backpack bottom corner. To help you feed your string use an elastic shuttle (you can get it at the notions store).
Repeat the same process this time starting and stopping on the opposite side seam of the backpack.
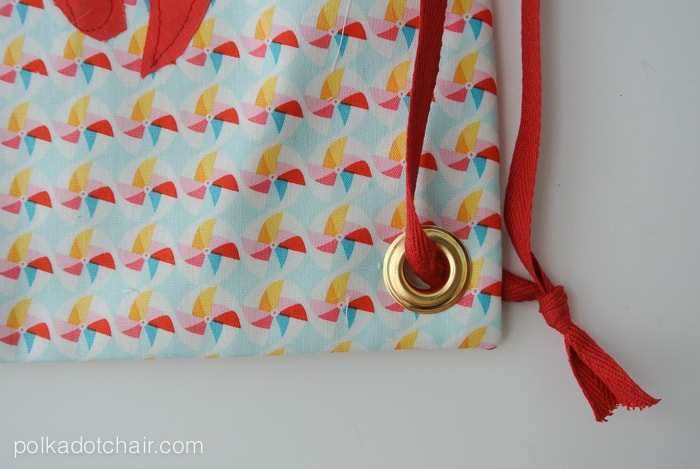
Making sure that your lining is laying flat inside your backpack, set one eyelet in each bottom corner of the backpack through all your layers of fabric (follow the instructions on the package). Loop one string through the eyelet and tie with a slip knot to secure.
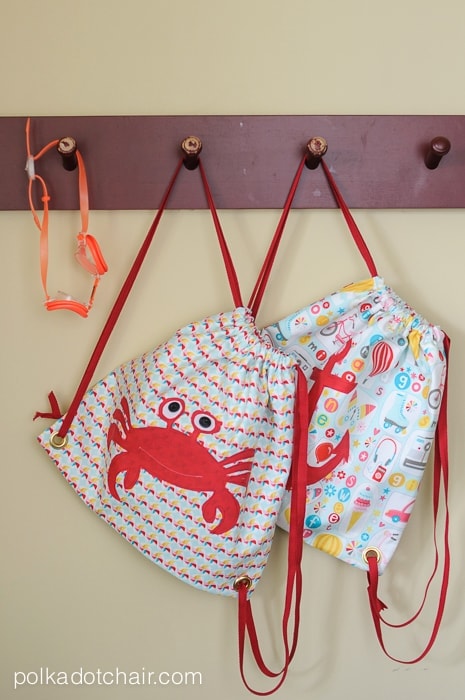
Enjoy! Now you’re ready for summer!!
