Hi friends! I am Alyssa from Hark Quilts (click here for a brief introduction). I’m so excited to share this super quick whole cloth quilt tutorial with you. I make whole cloth quilts all the time and always love the way they turn out. They’re simple, timeless, and—of course—easy!
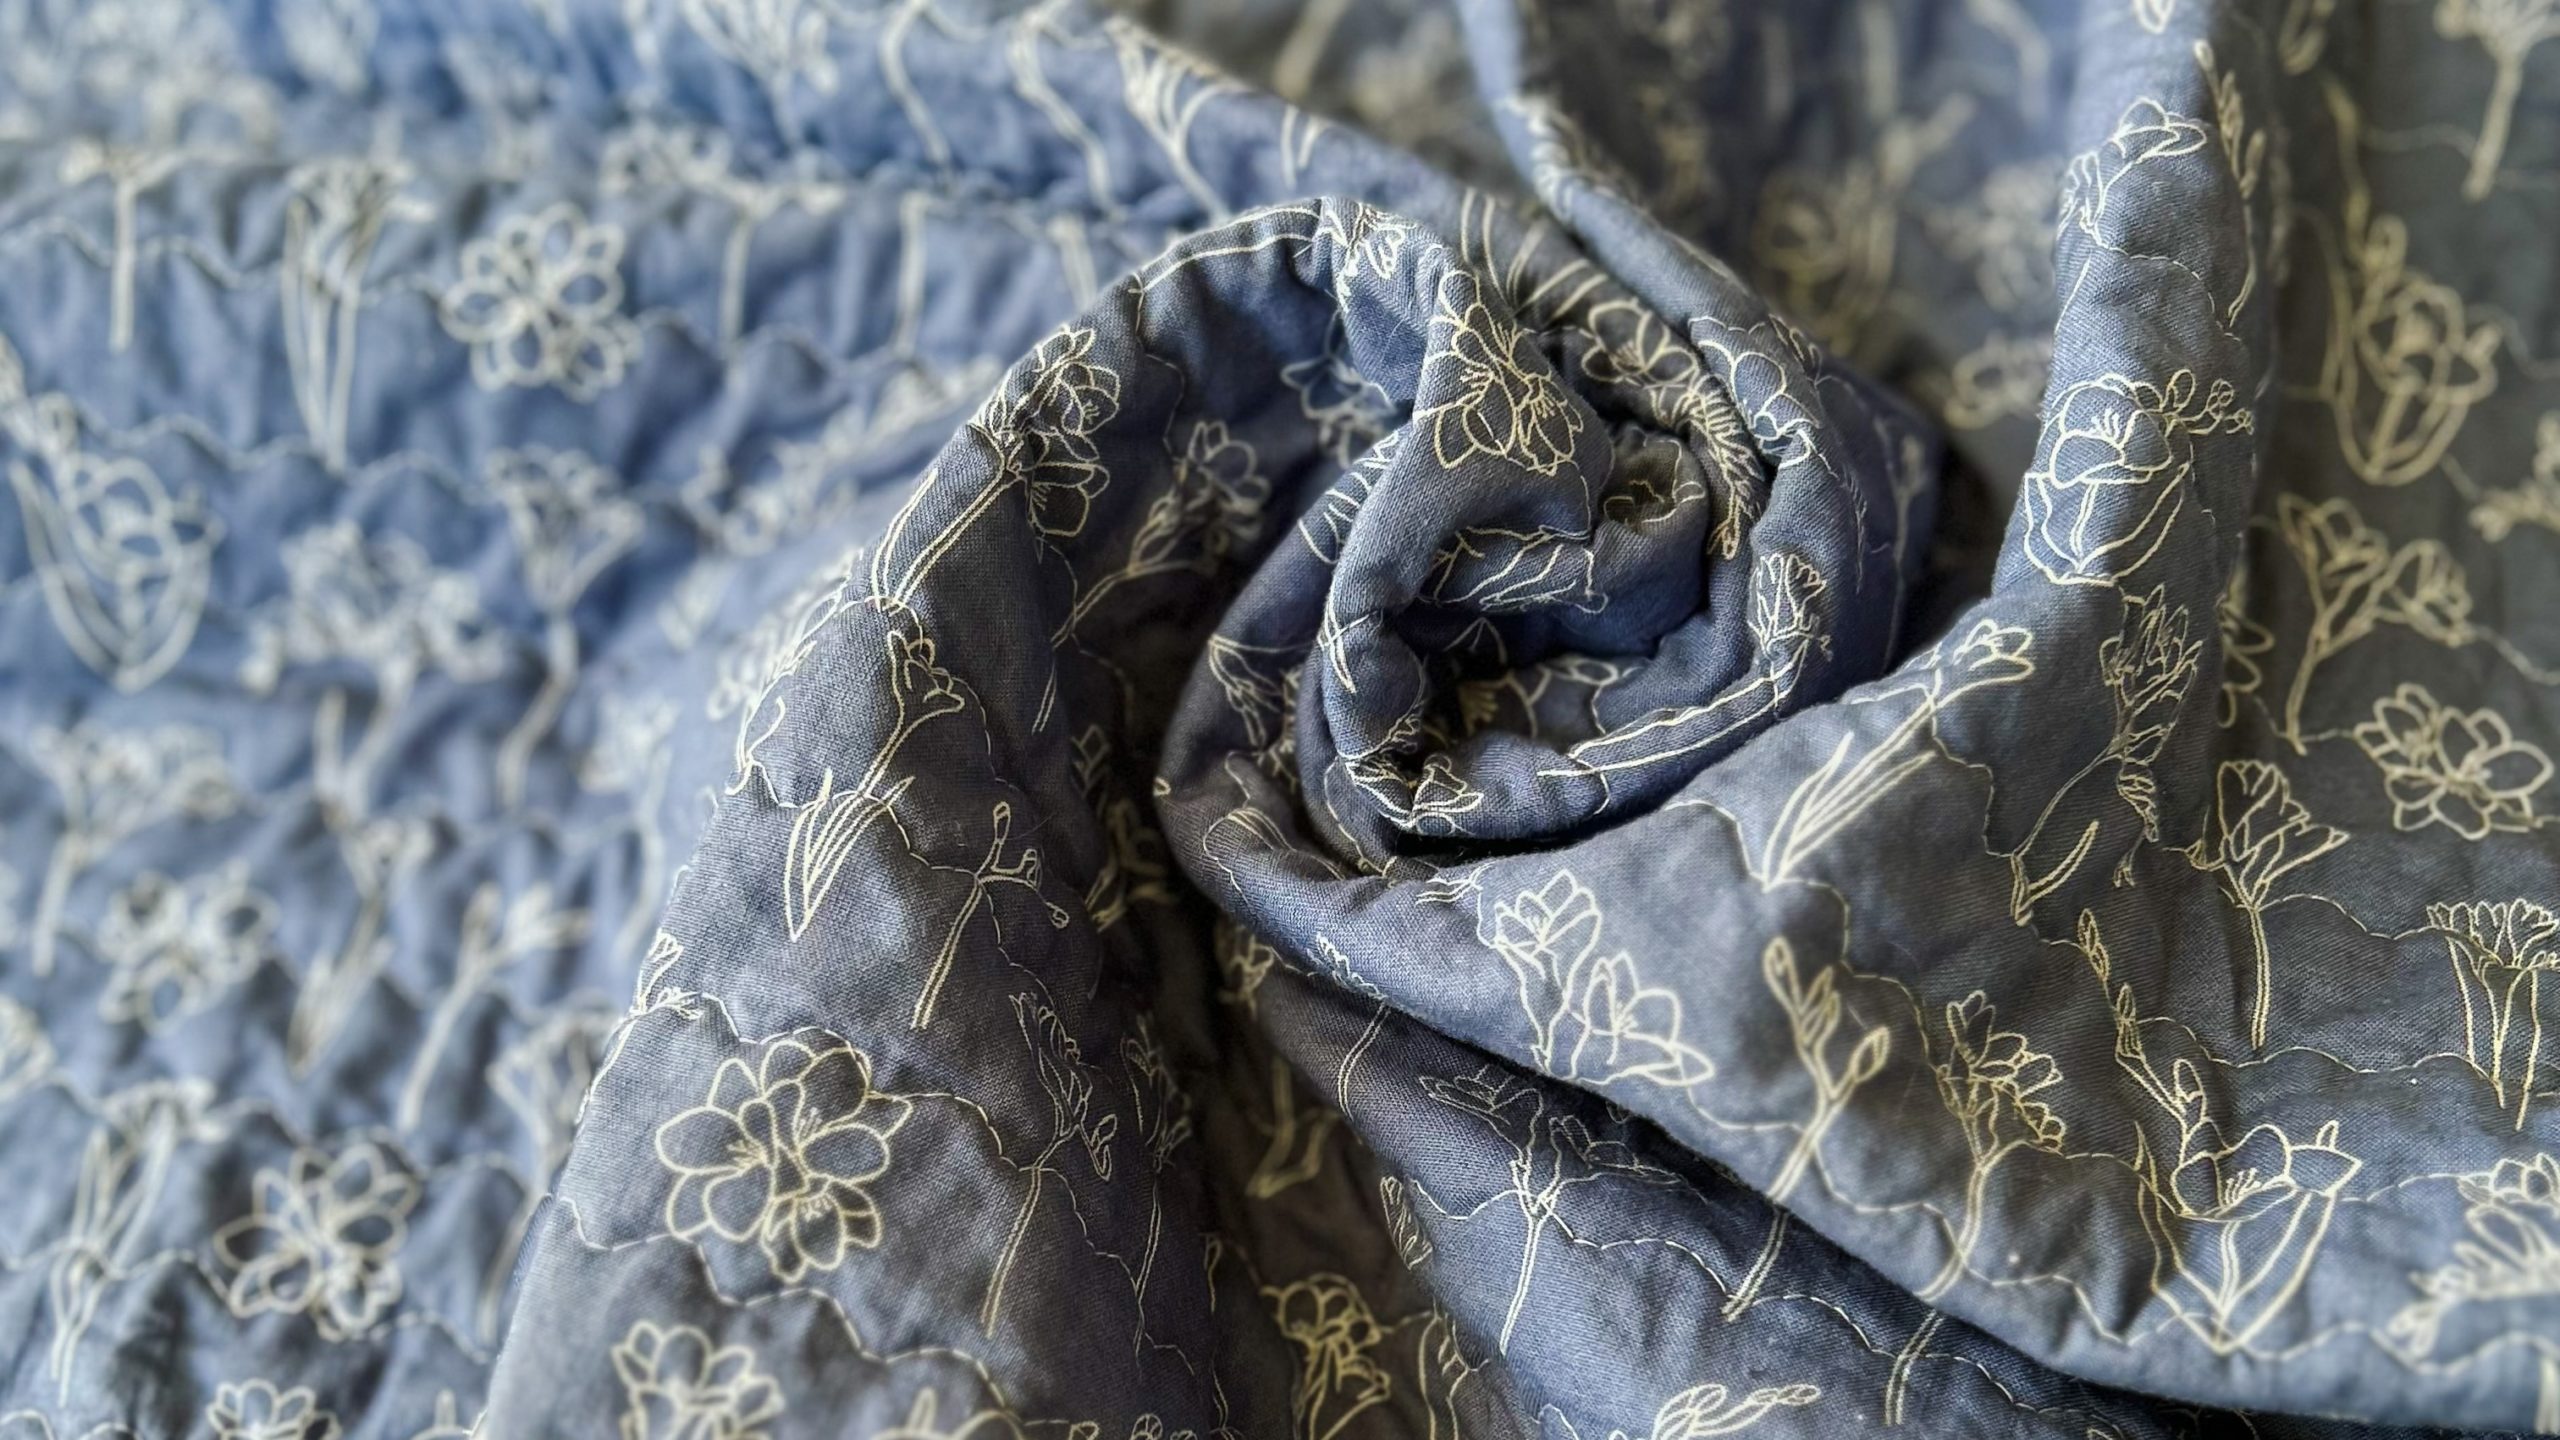
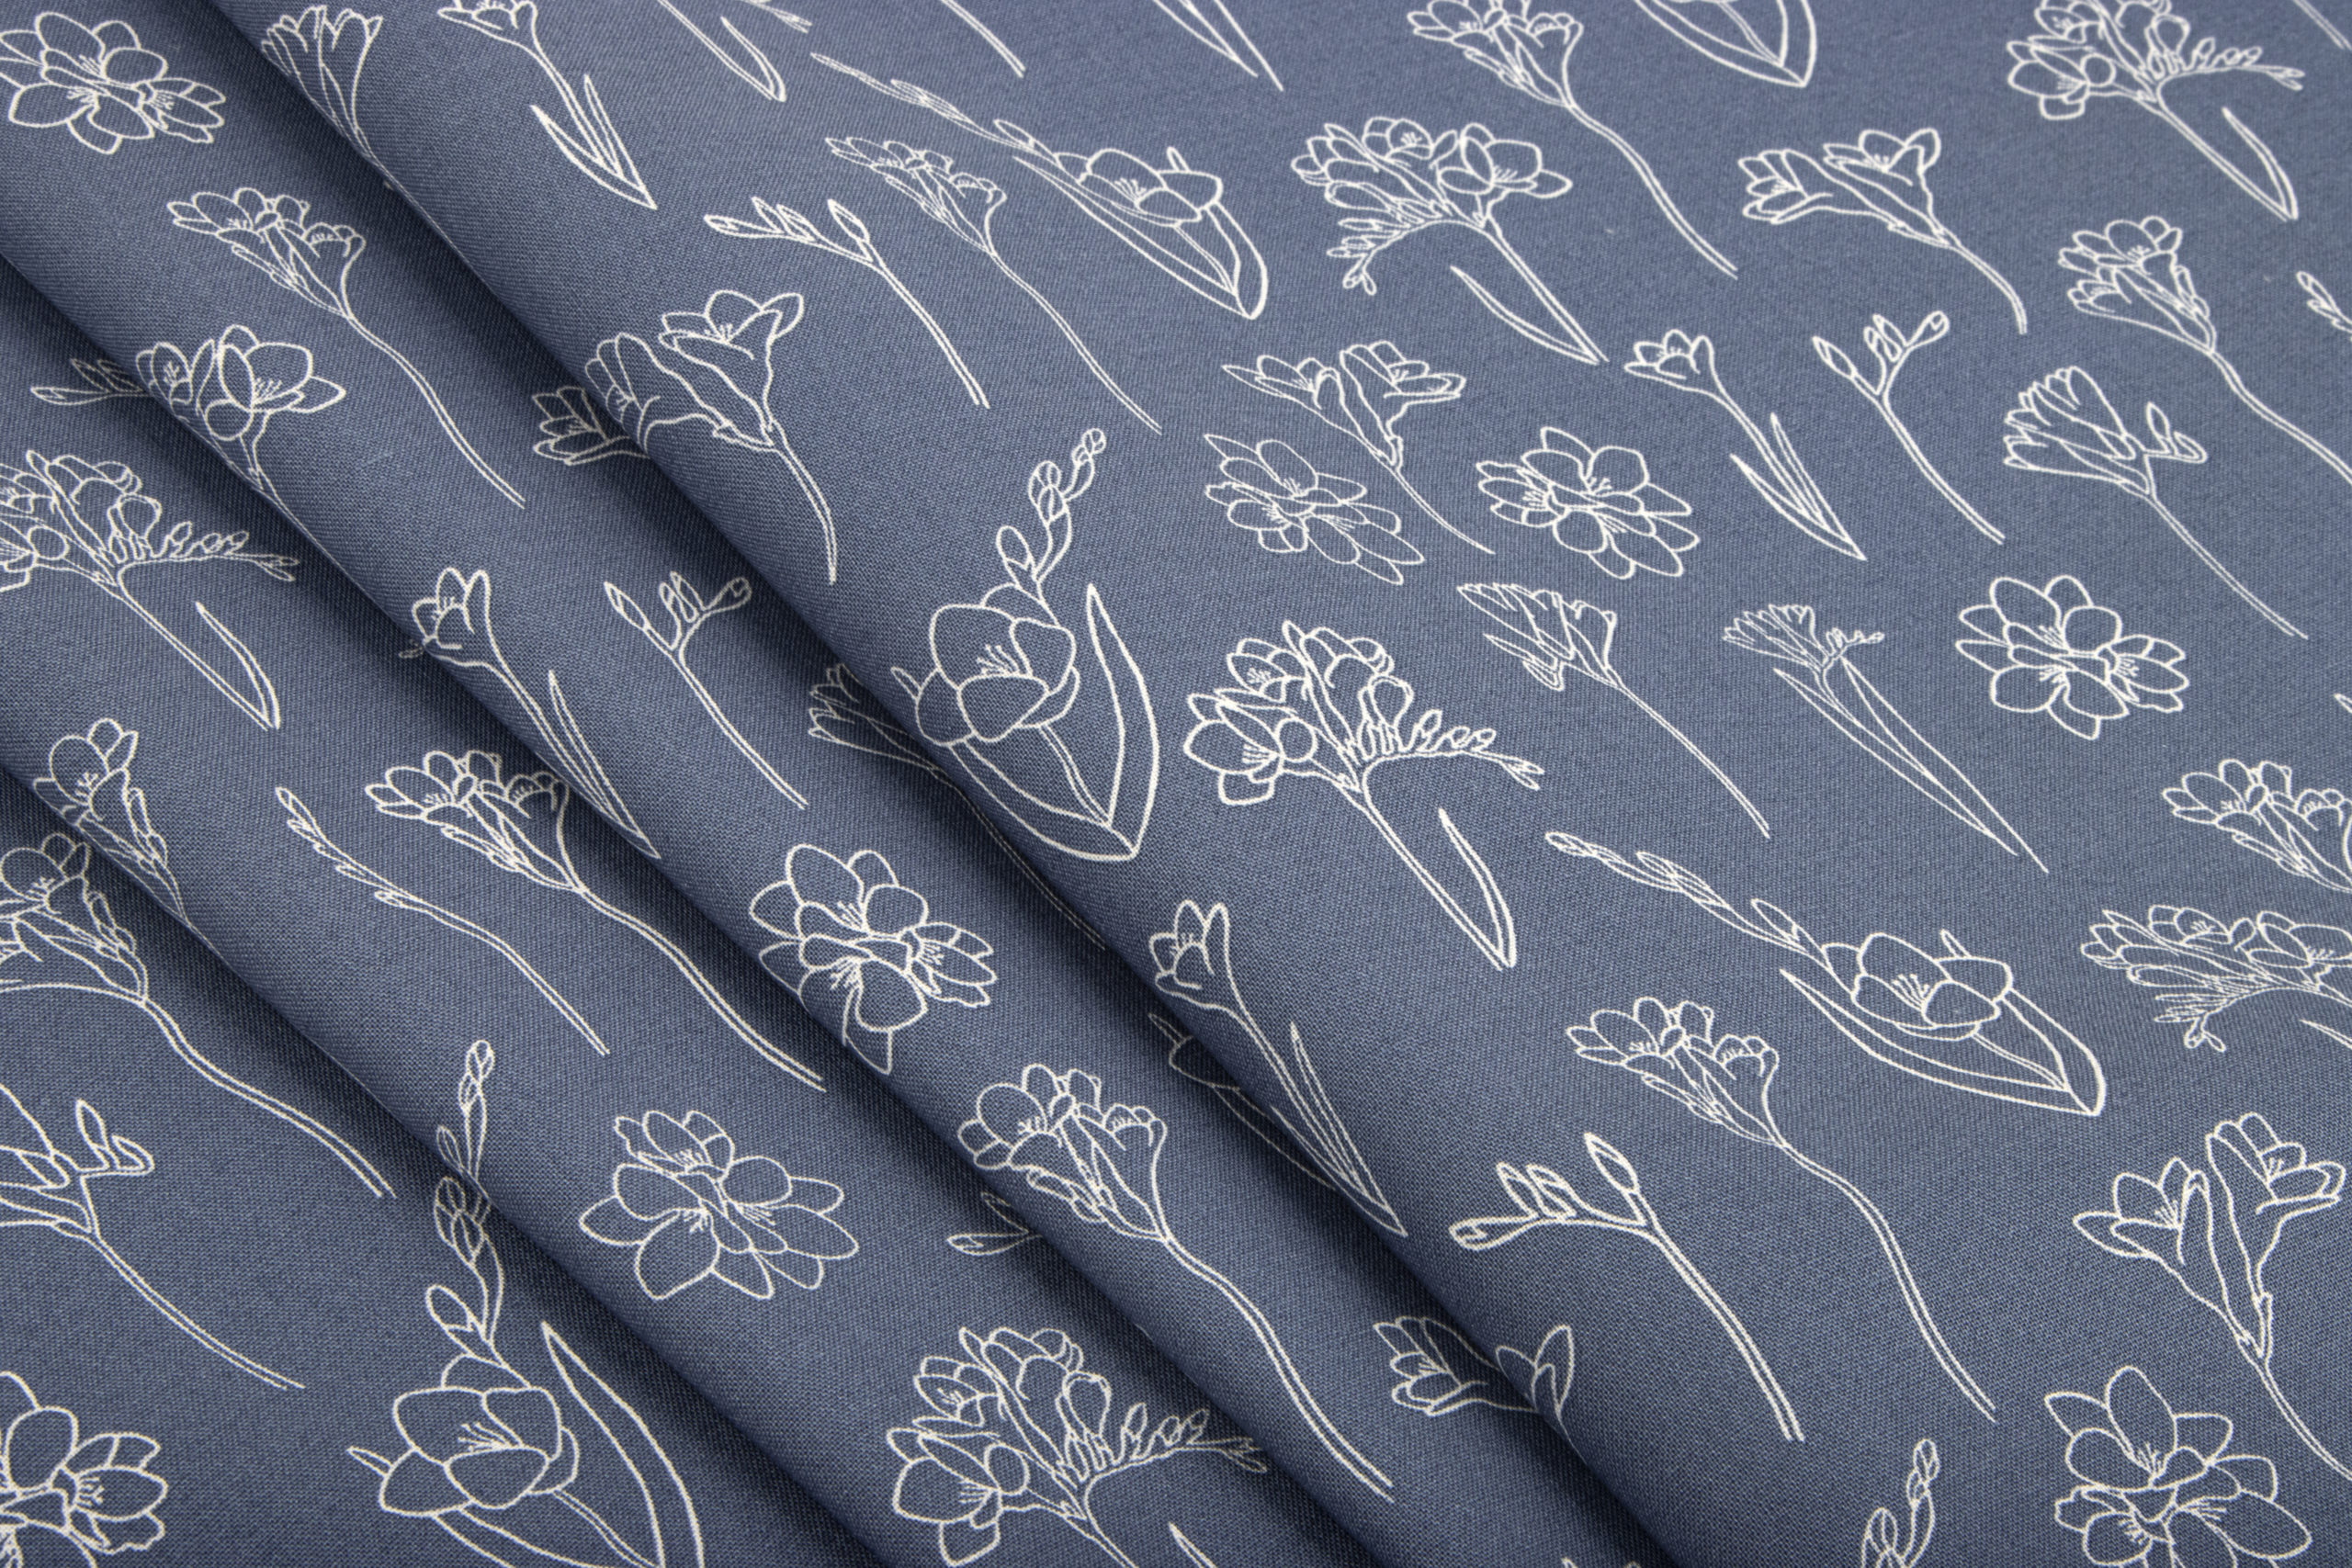
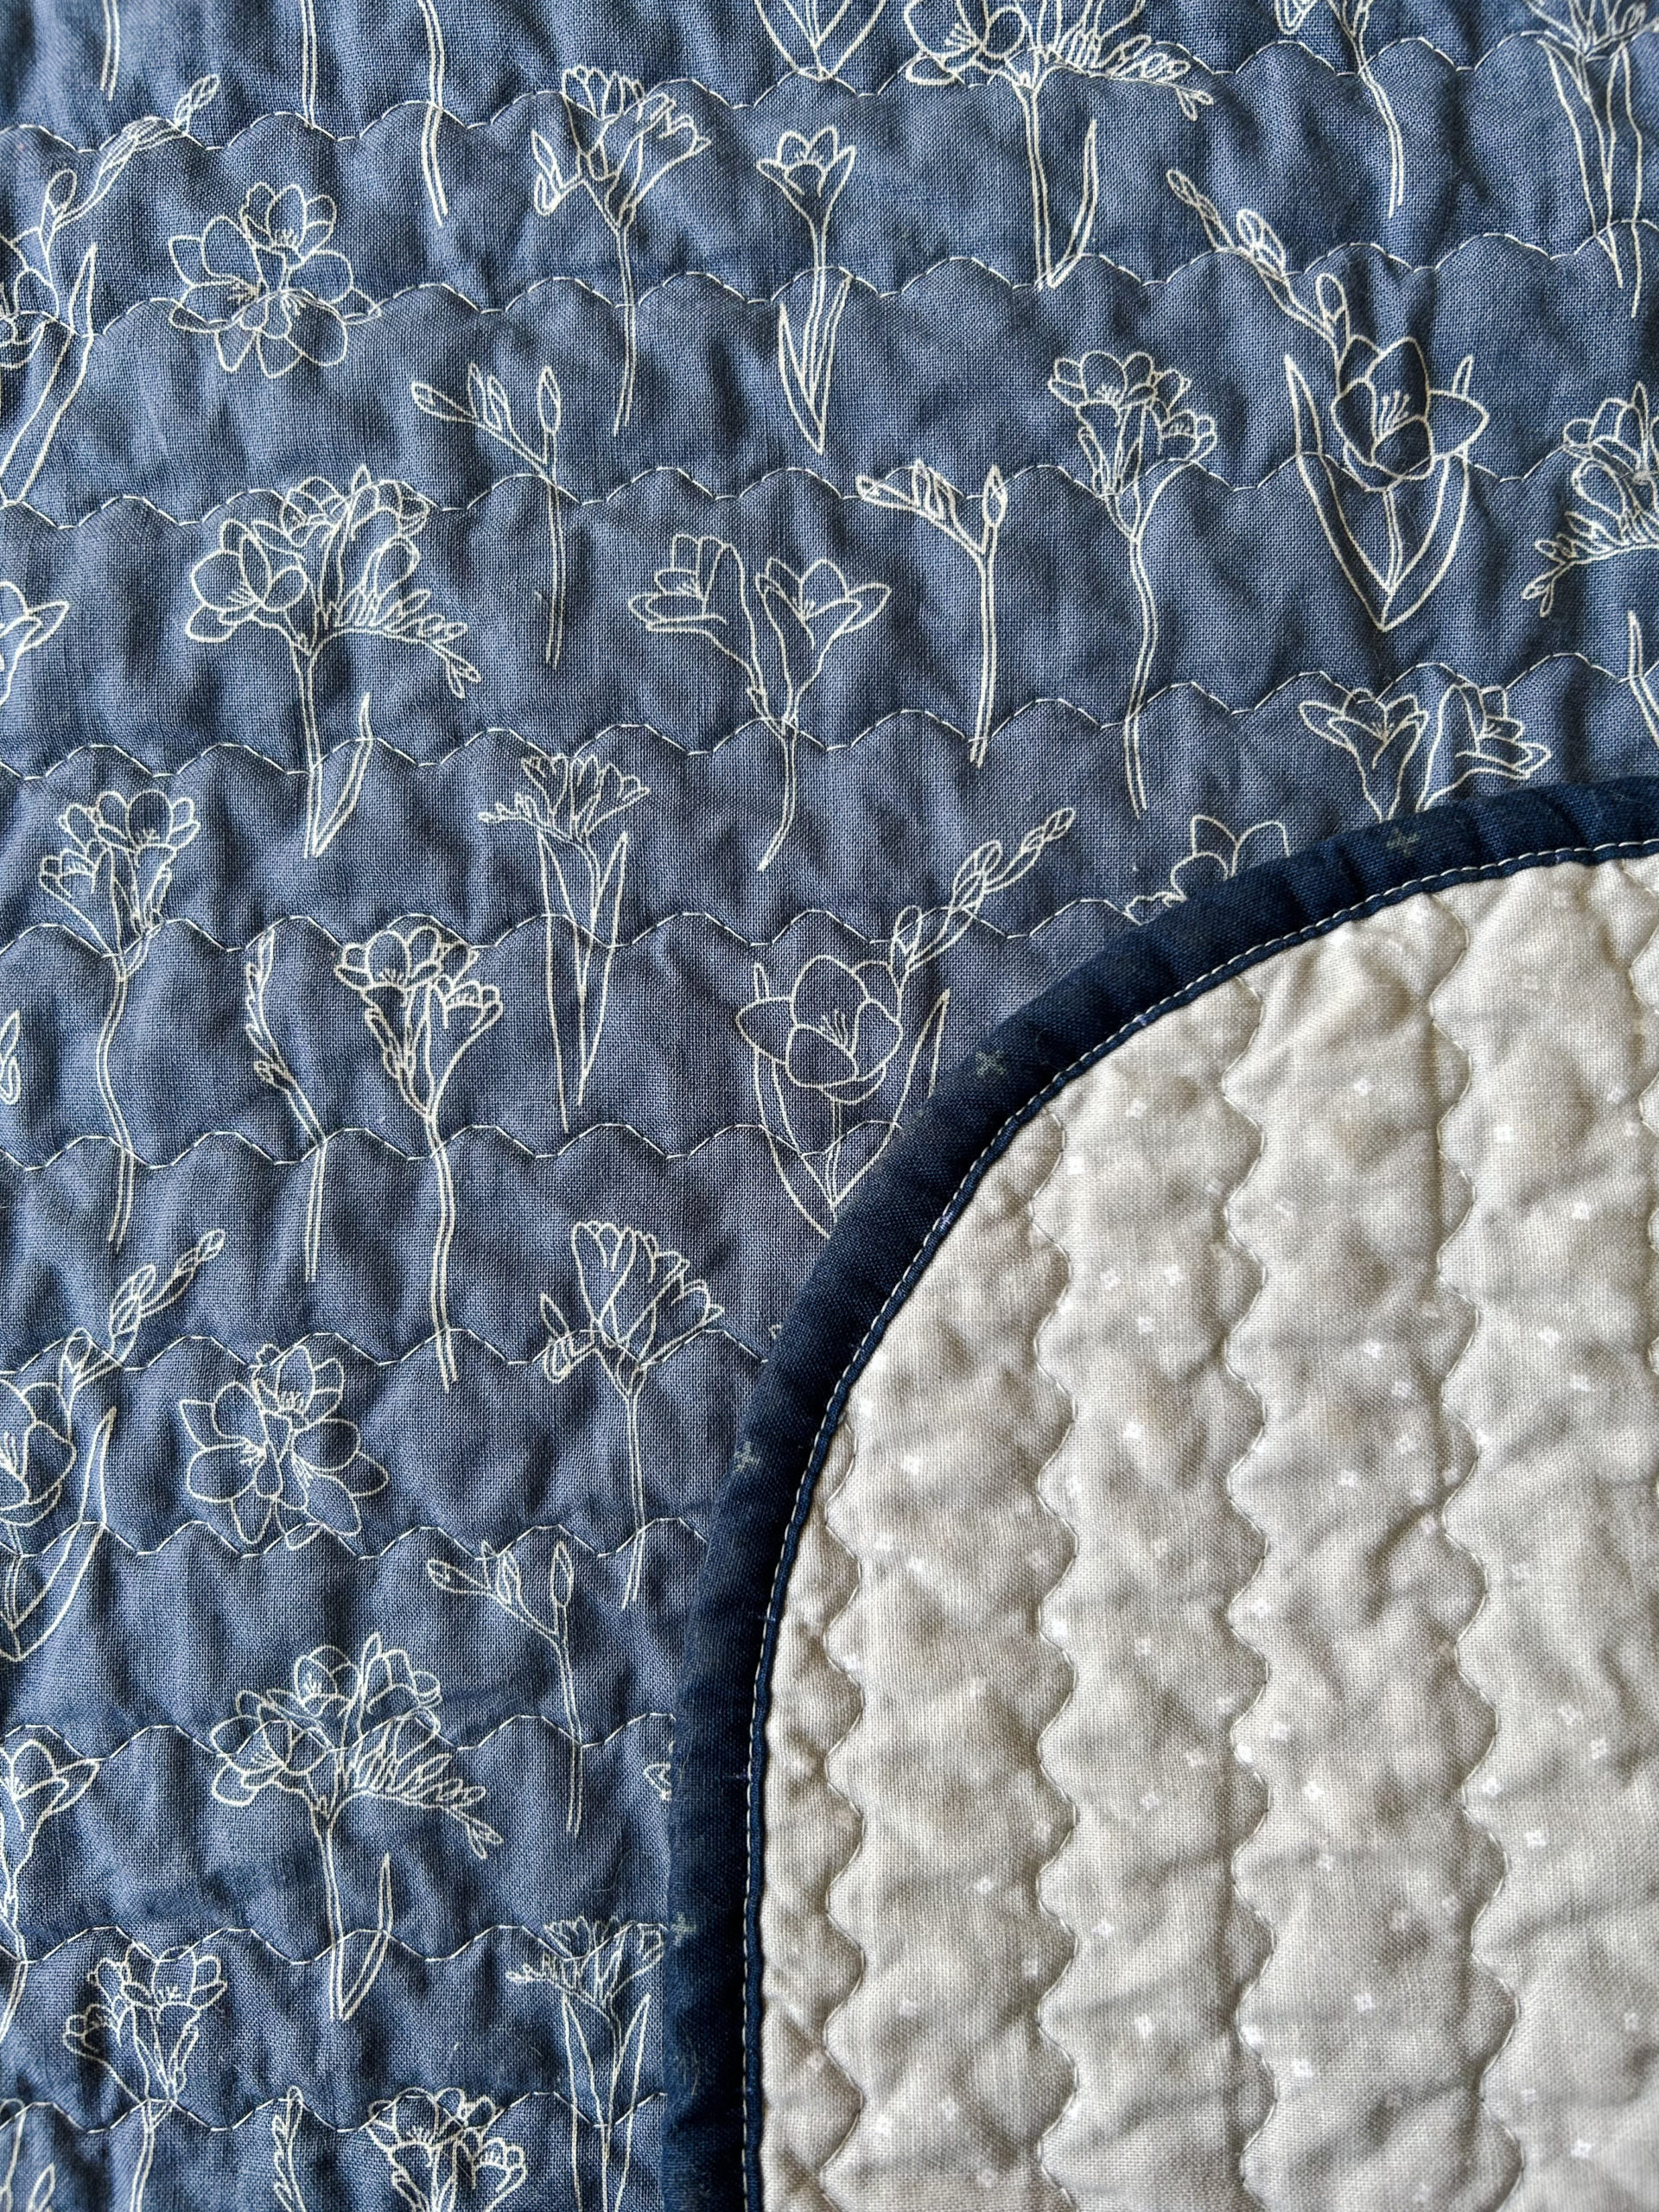
I used this GORGEOUS floral print from RBD’s South Hill collection, designed by Fran Gulick of Cotton and Joy. I cannot over emphasize how pretty this print is! I used two of my favorite RBD basics for the backing and binding (details below).
STEP ONE: Fabric Requirements
- 1 1/2 yard (top)
- 1 1/2 yard (backing)
- 44 x 56 in batting
- 1/2 yard (binding)
Fabrics I used:
- South Hill Freesias Dusk (C12661-DUSK)
- Blossom Silver (C715-SILVER)

STEP TWO: Iron Fabrics
Iron your top and backing fabrics. It’s important to eliminate creases so that the fabrics will lay perfectly flat for basting.
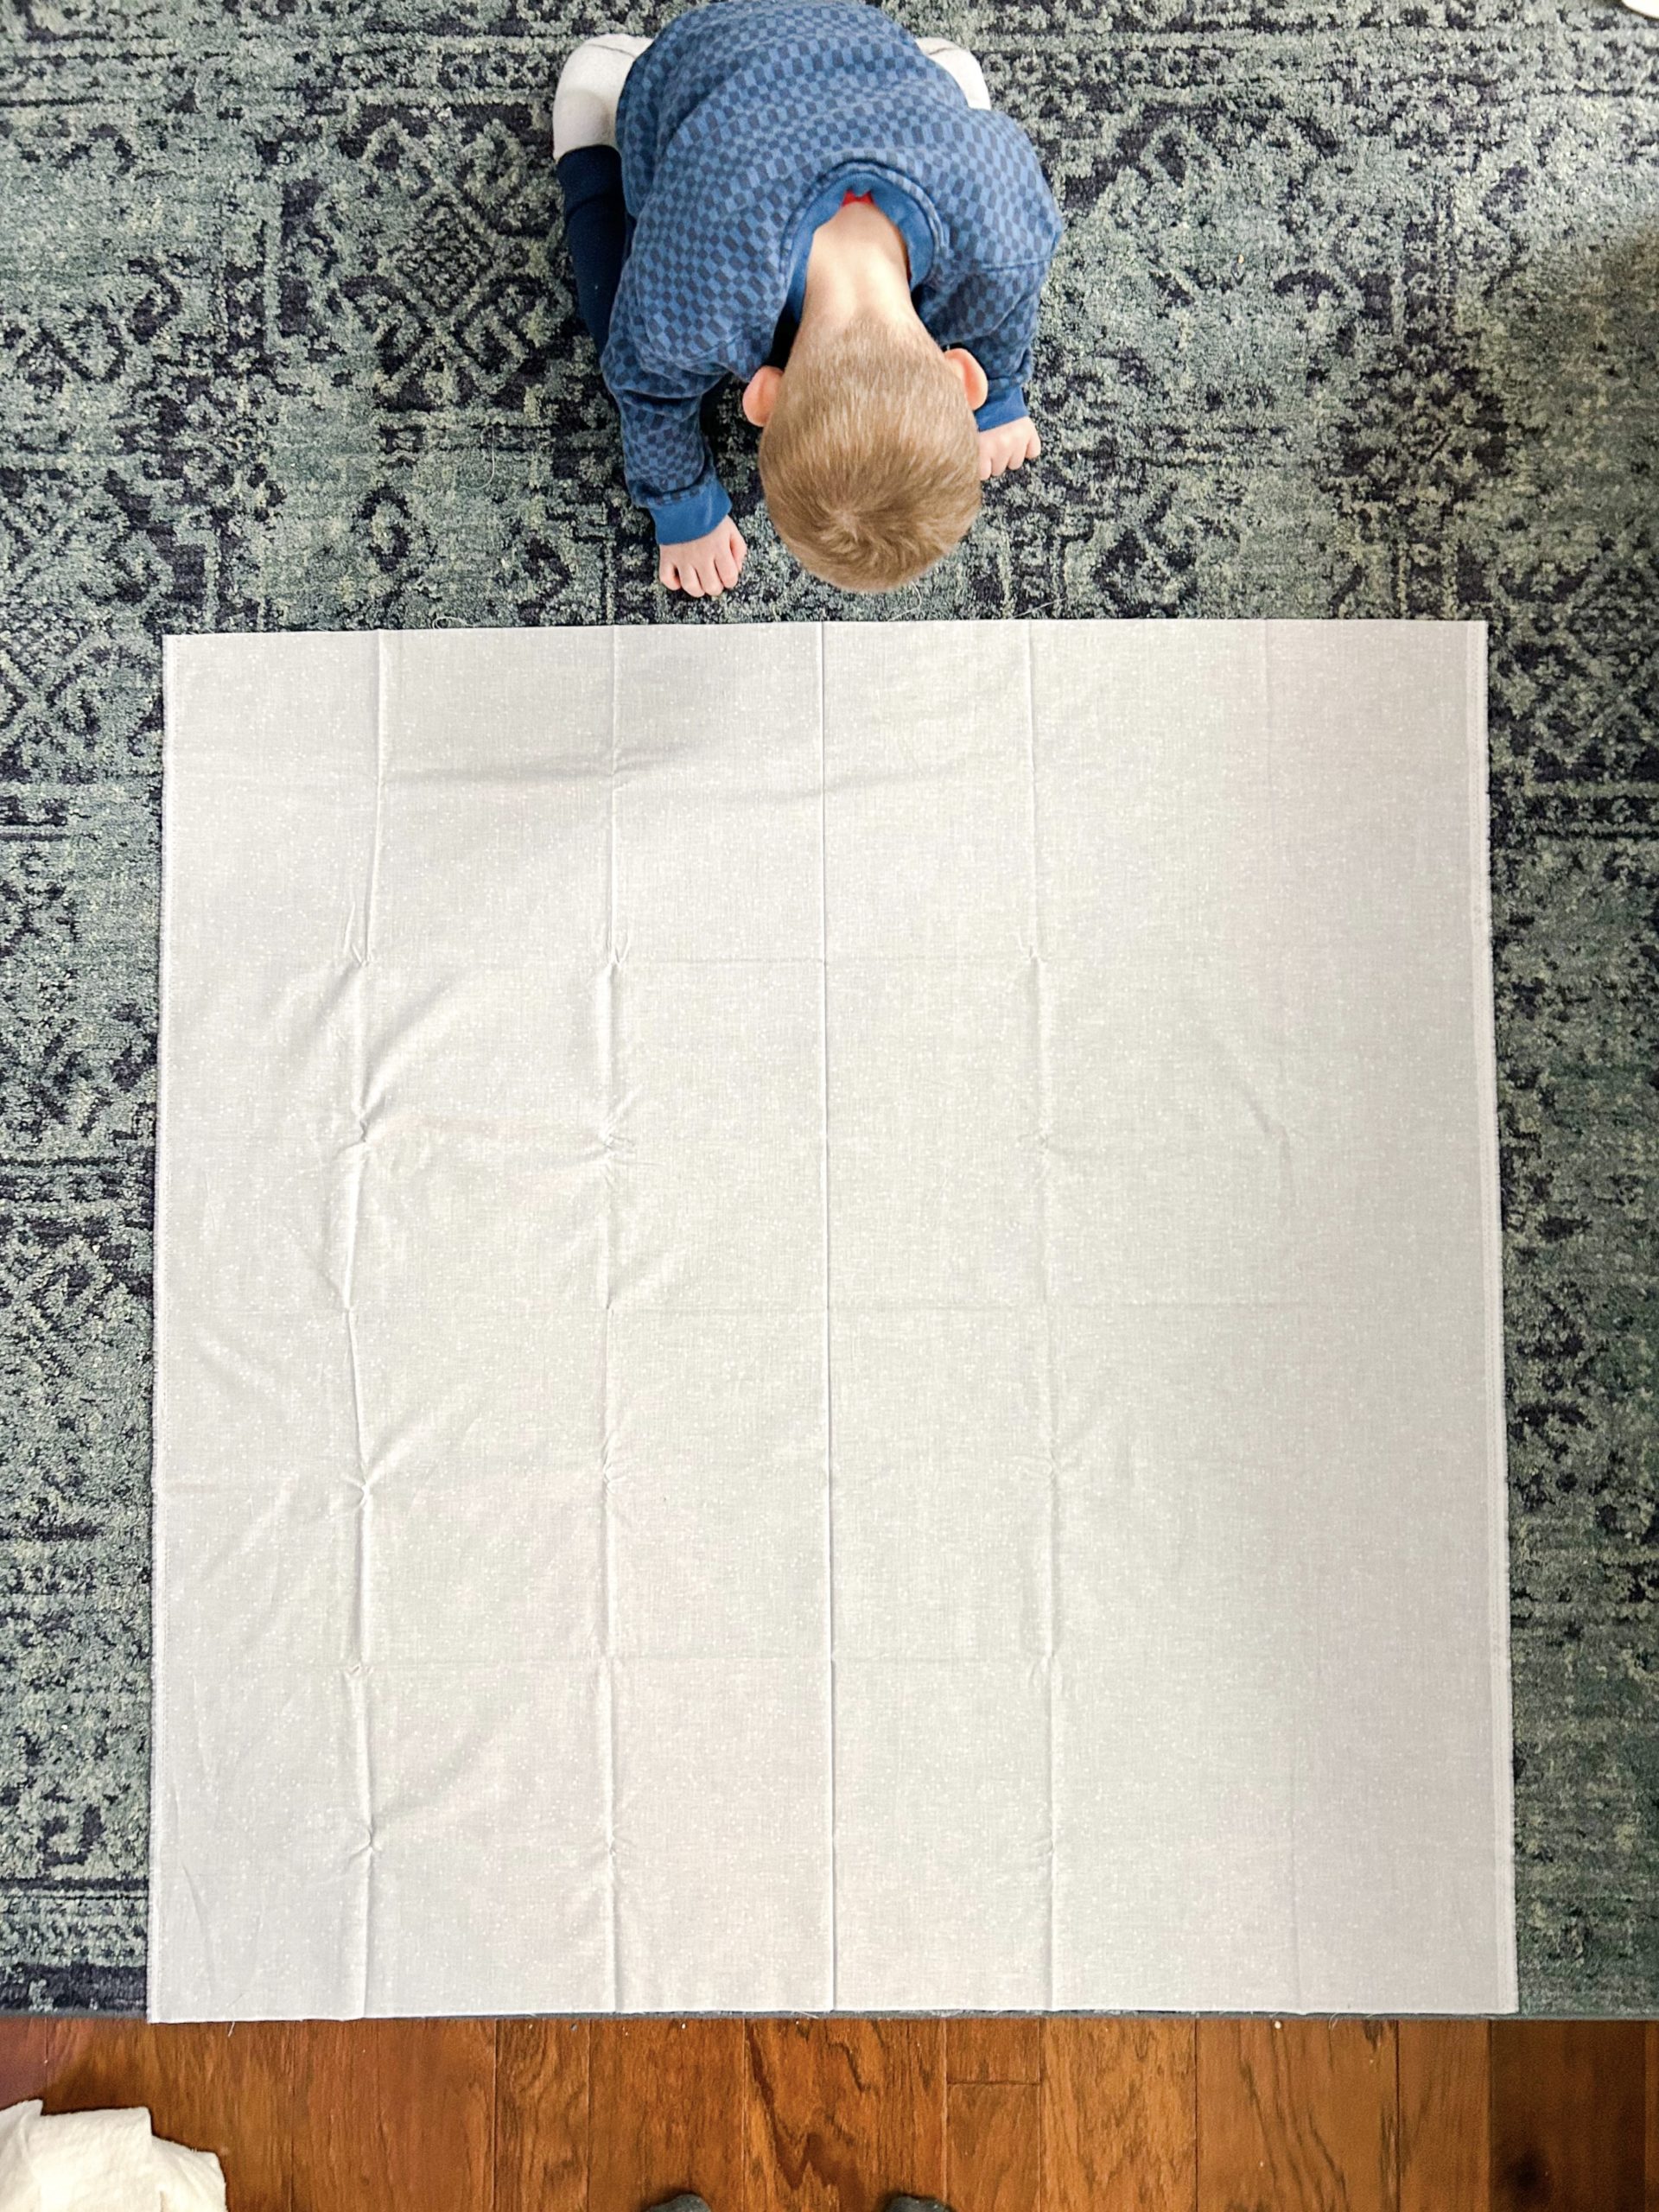
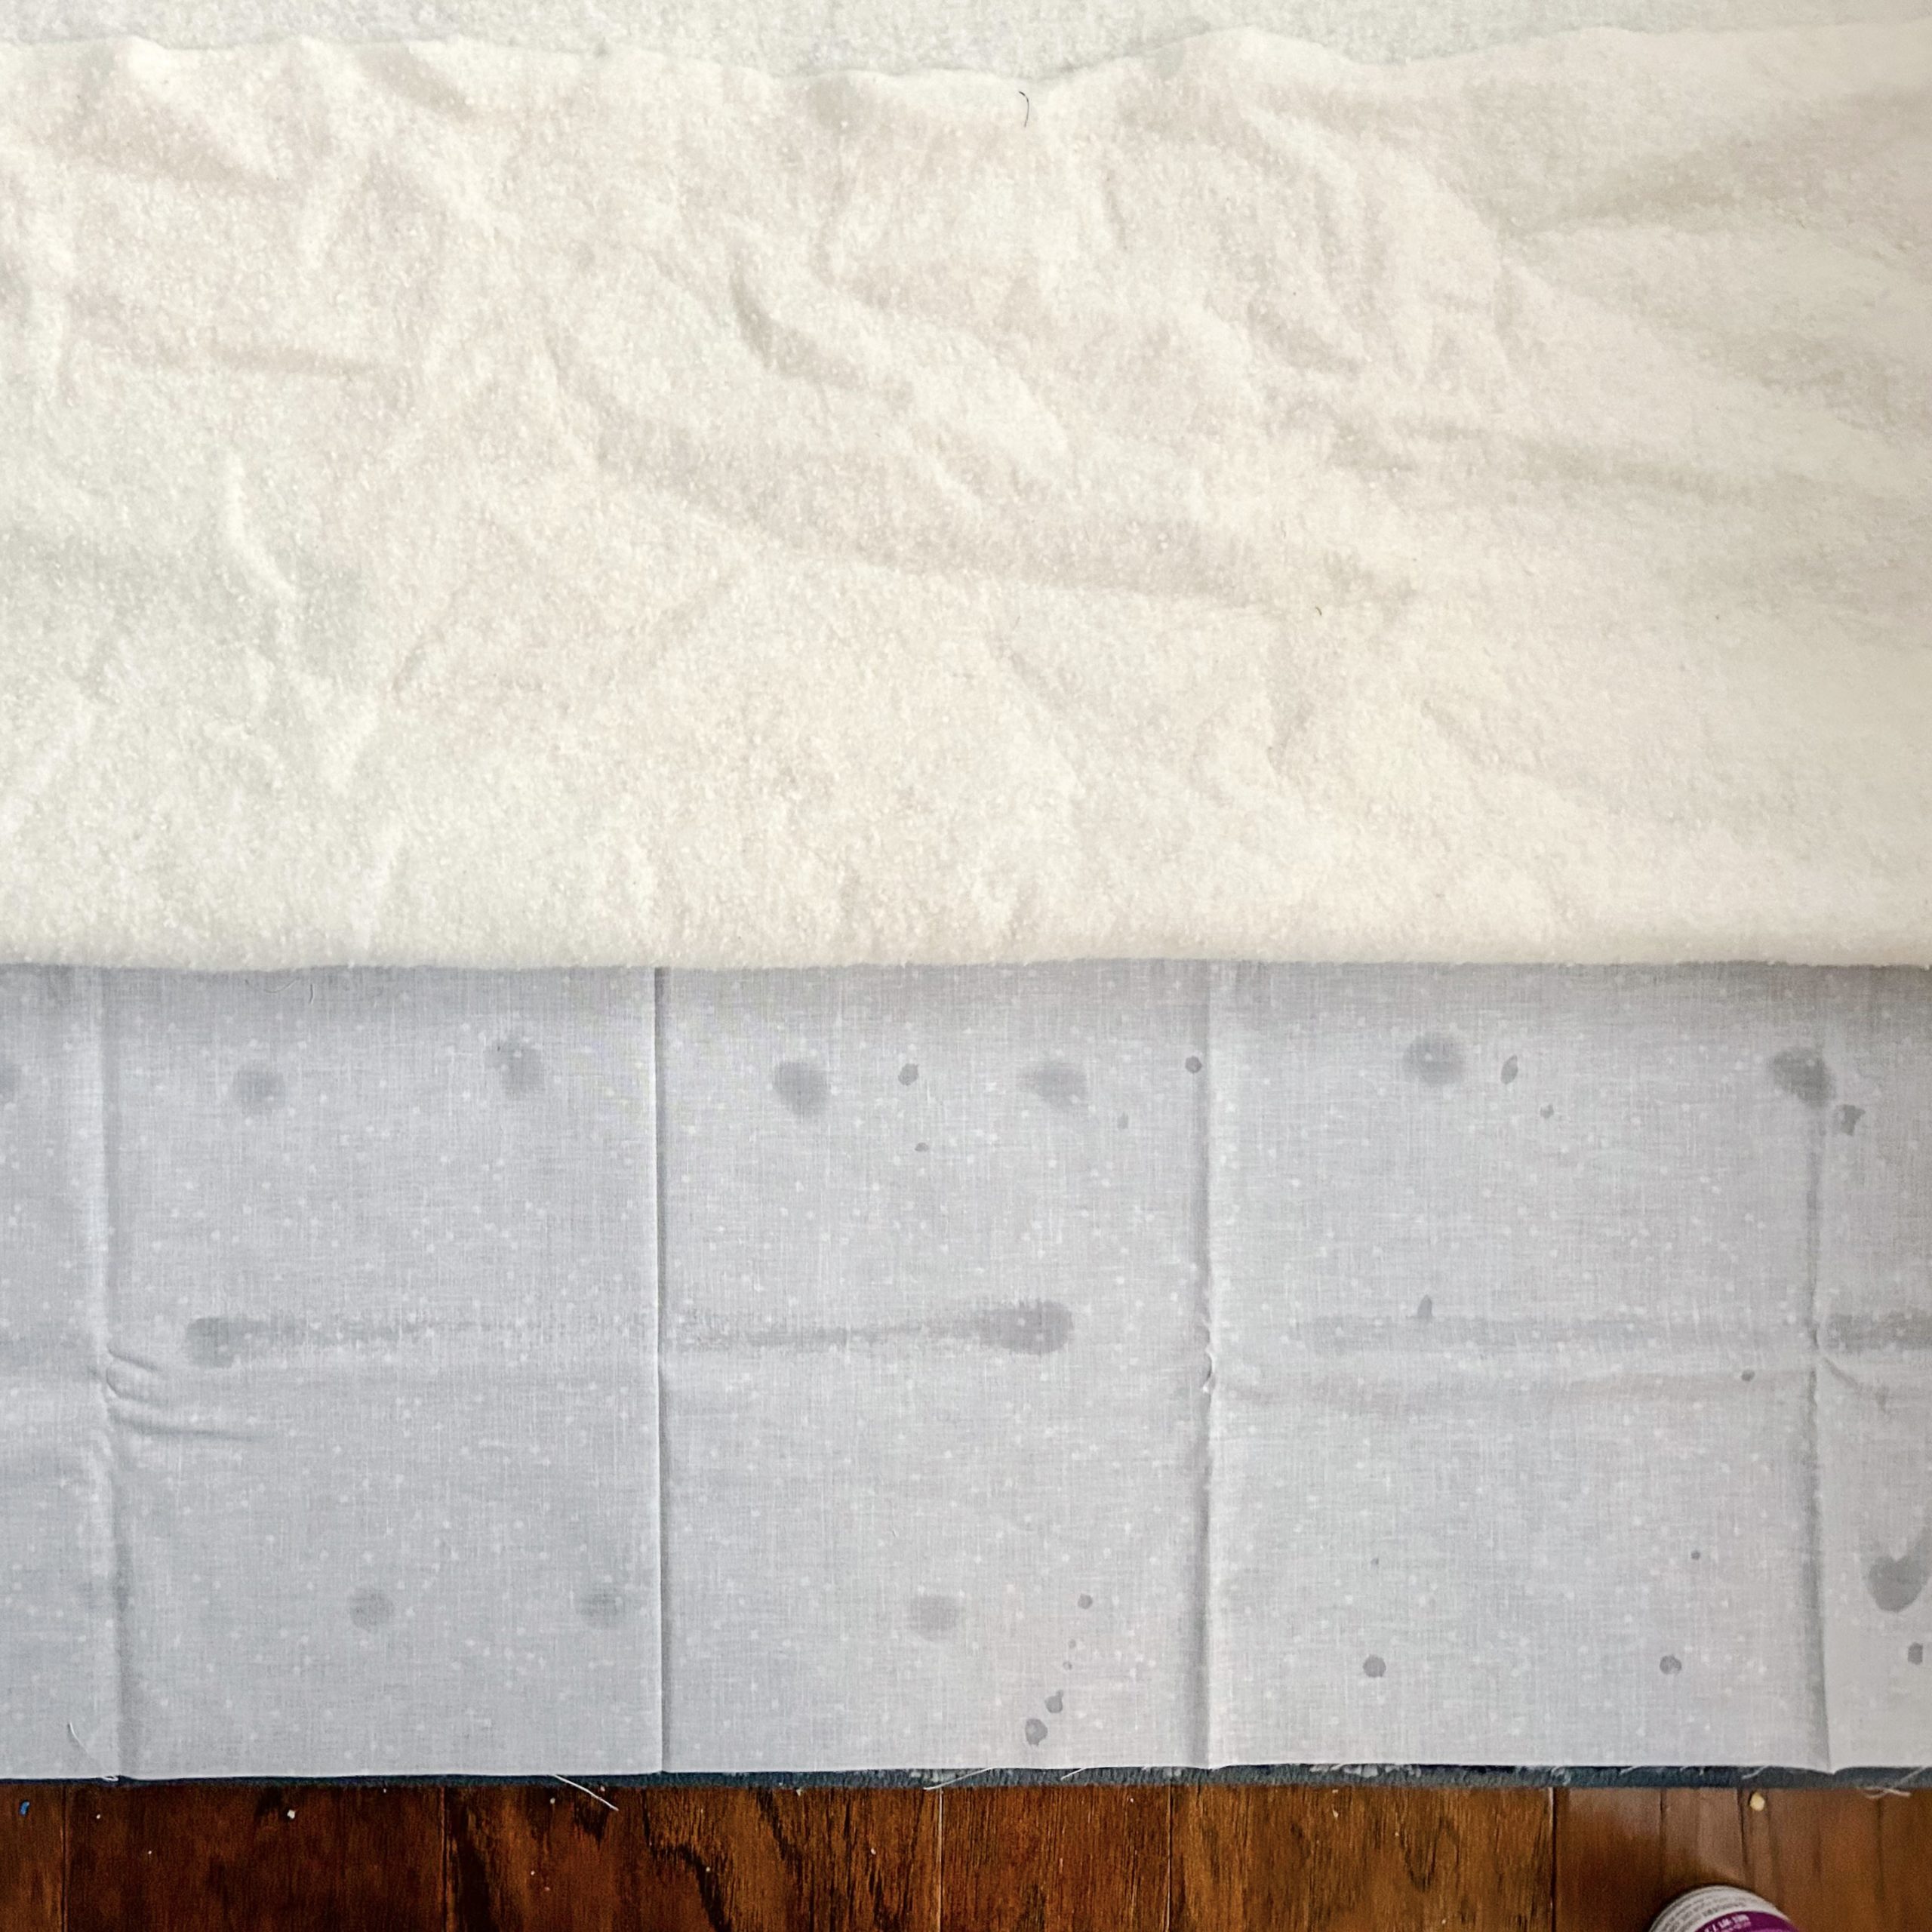
STEP THREE: Baste
Lay backing fabric on the ground right side down. I like to lay it on the carpet, or you can lay it on hardwood or tile and tape the edges down with masking tape.

Lay backing right side down. 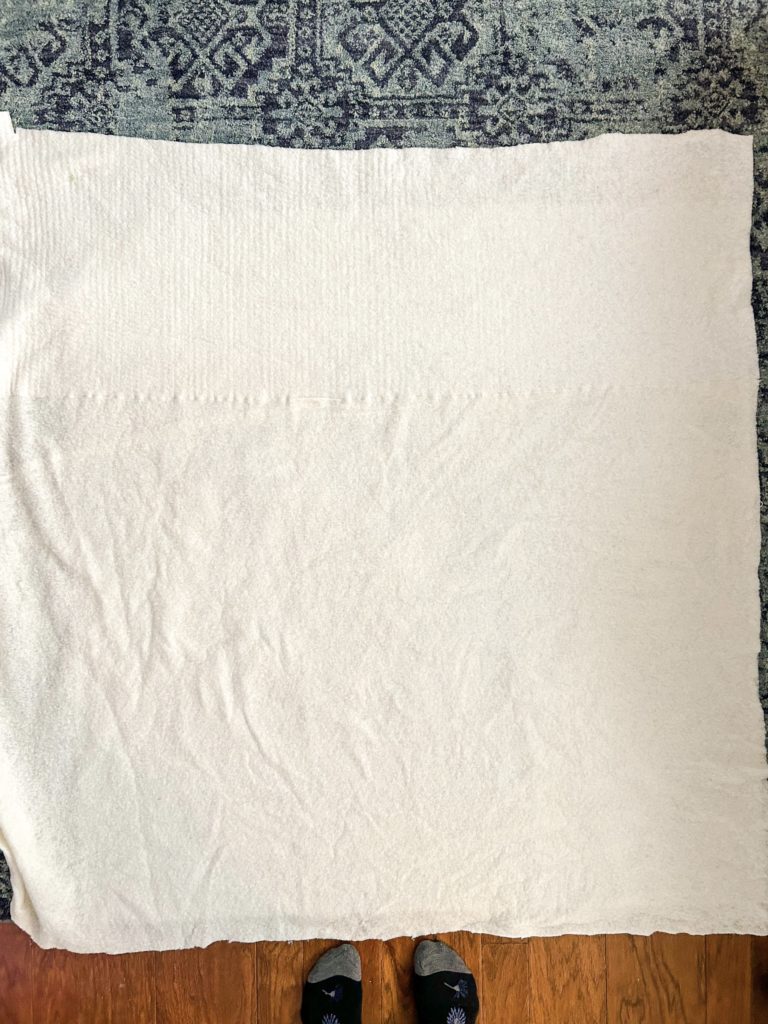
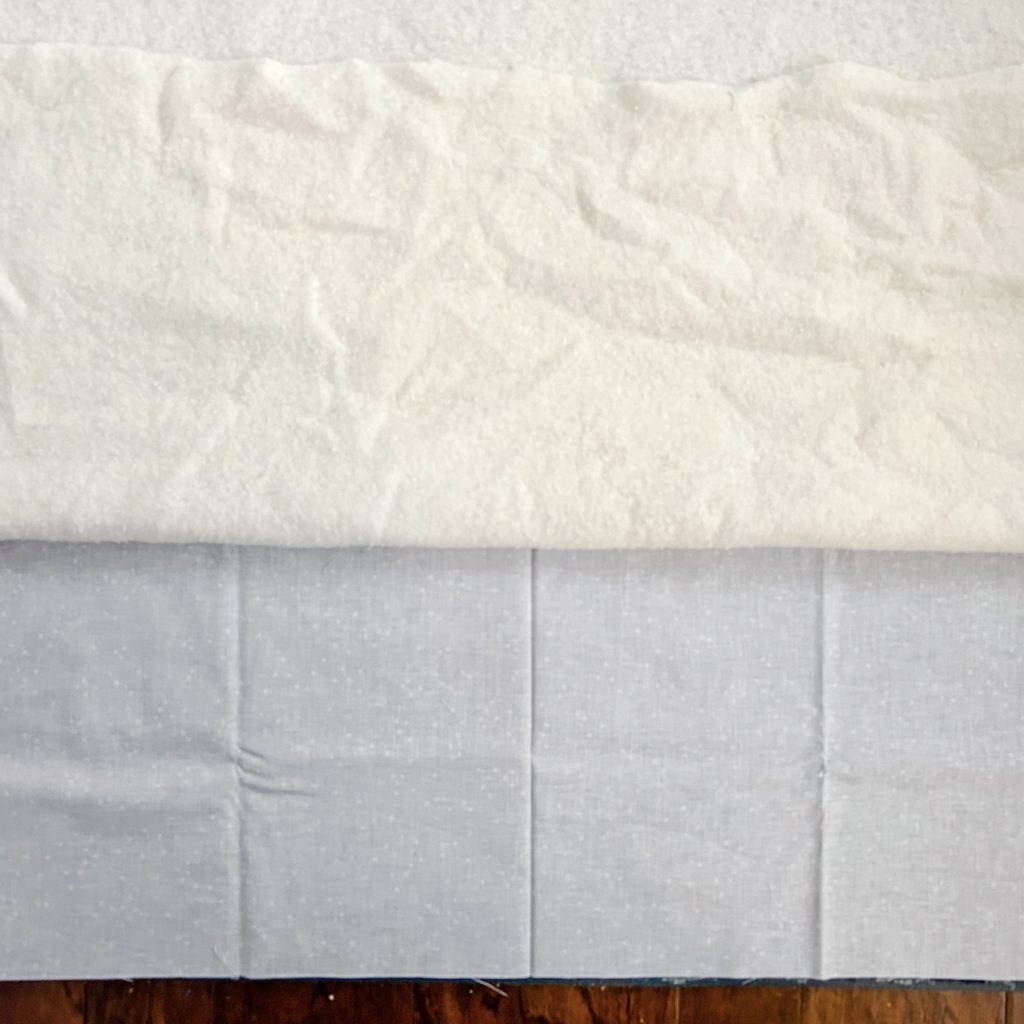
Lay batting down and gently smooth out creases.

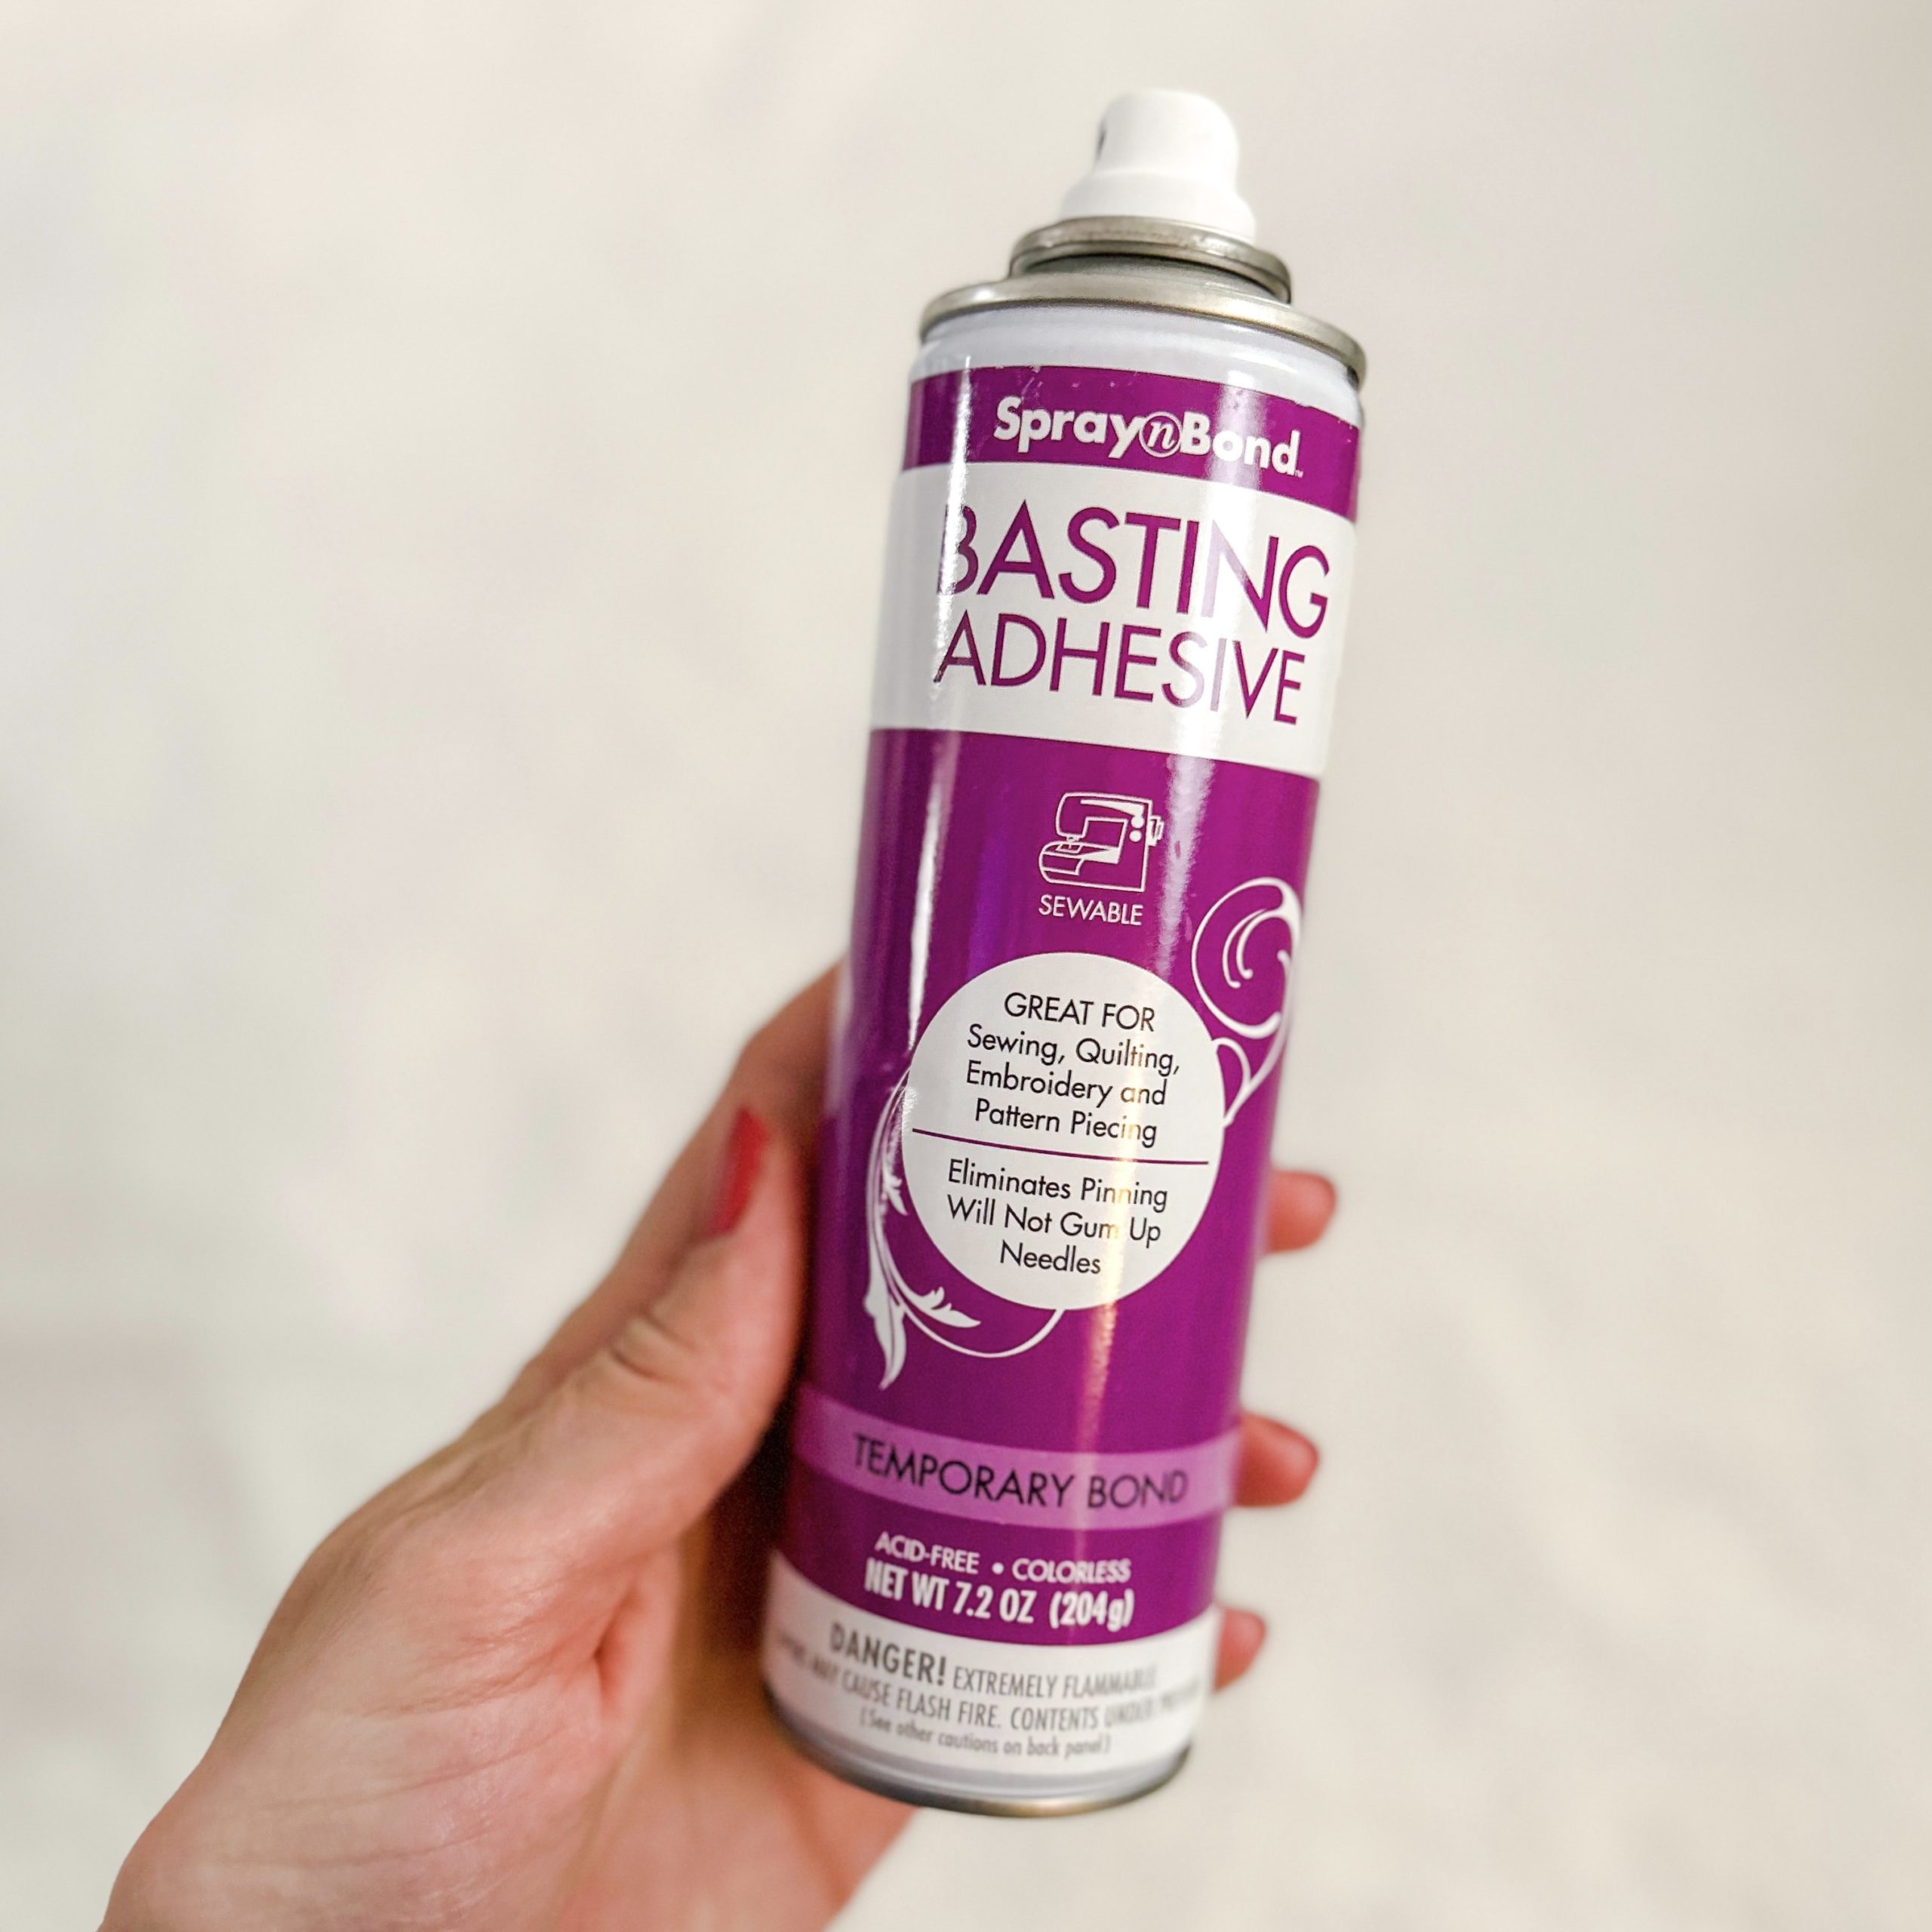
When I make whole cloth quilts I like to use a spray baste. It just helps an already quick process happen even quicker. I used this brand (Spray n Bond) for the first time and I’d give it 3/5 stars. It’s a decent price but it didn’t spray evenly and it dried exceptionally fast.
Peel half of the batting back gently, and smooth out backing again if necessary. Spray the backing with baste spray (I did a zig-zag motion, but as you can see the Spray n Bond dried quickly). I spray baste 6 or so inches at a time, working my way towards the edge of the quilt. Then repeat the process for the other side of the quilt.
Once the batting is basted to the backing, repeat the process for the top of the quilt, this time spraying the batting.
Pull back the batting gently from the backing. 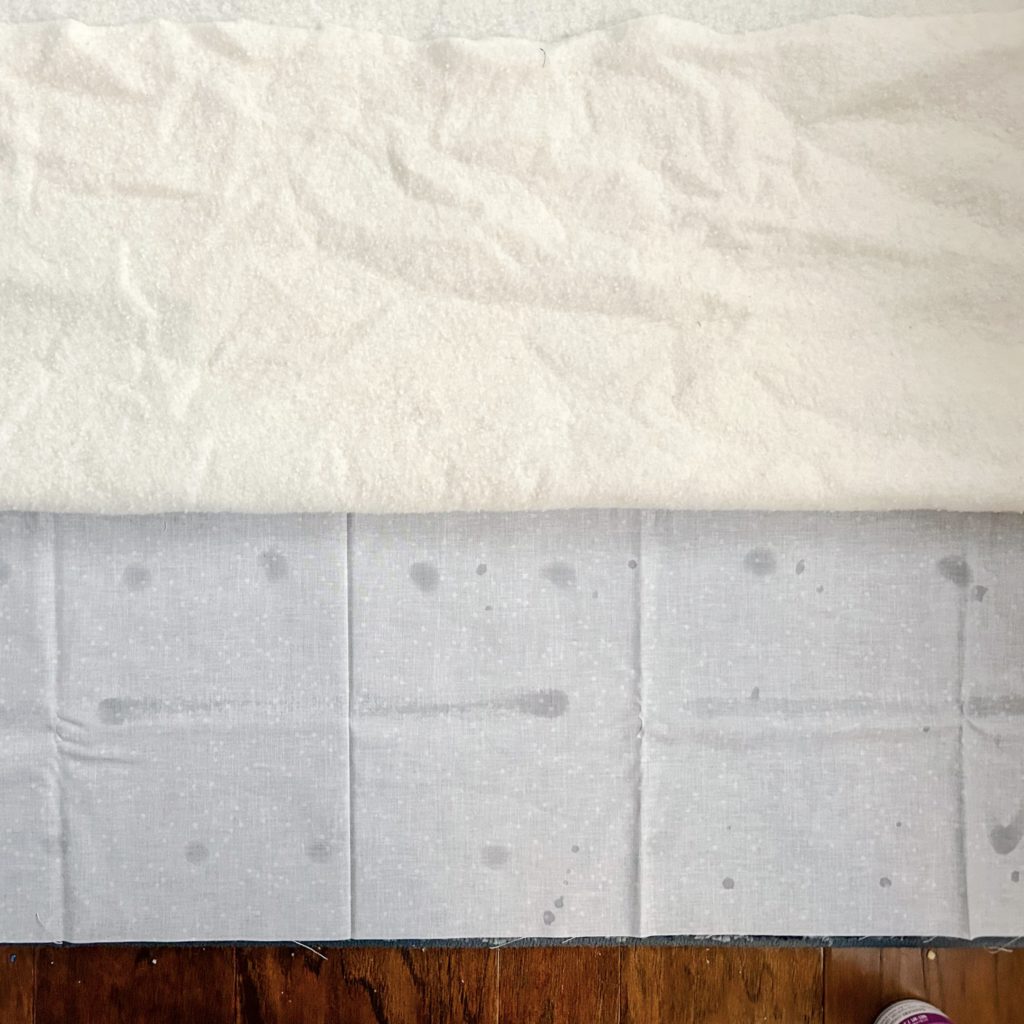
Spray backing with baste spray.

Other spray options:
I’ve used Odif 505’s spray many times and love it. I give it a 5/5 stars. I do not love the high price point, however. Last month I used June Tailor’s spray for the first time and liked it. I’d give it a 4/5 stars because the nozzle kept gumming over.
Links:
- Spray n Bond Basting Adhesive
- June Tailor Quilt Basting Adhesive Spray
- Odif 505 Temporary Quilt Basting Fabric Spray
As always, pin basting is a great way to go. I actually ended up pin basting this quilt because I ran out of basting spray and couldn’t get any more due to a snow storm. I’ve had these Dritz 2″ Curved Basting Pins for years and they’ve worked great for me. Every so often there’s a pin or two that is dull and hard to push through the layers of fabric, but overall they’ve been great.

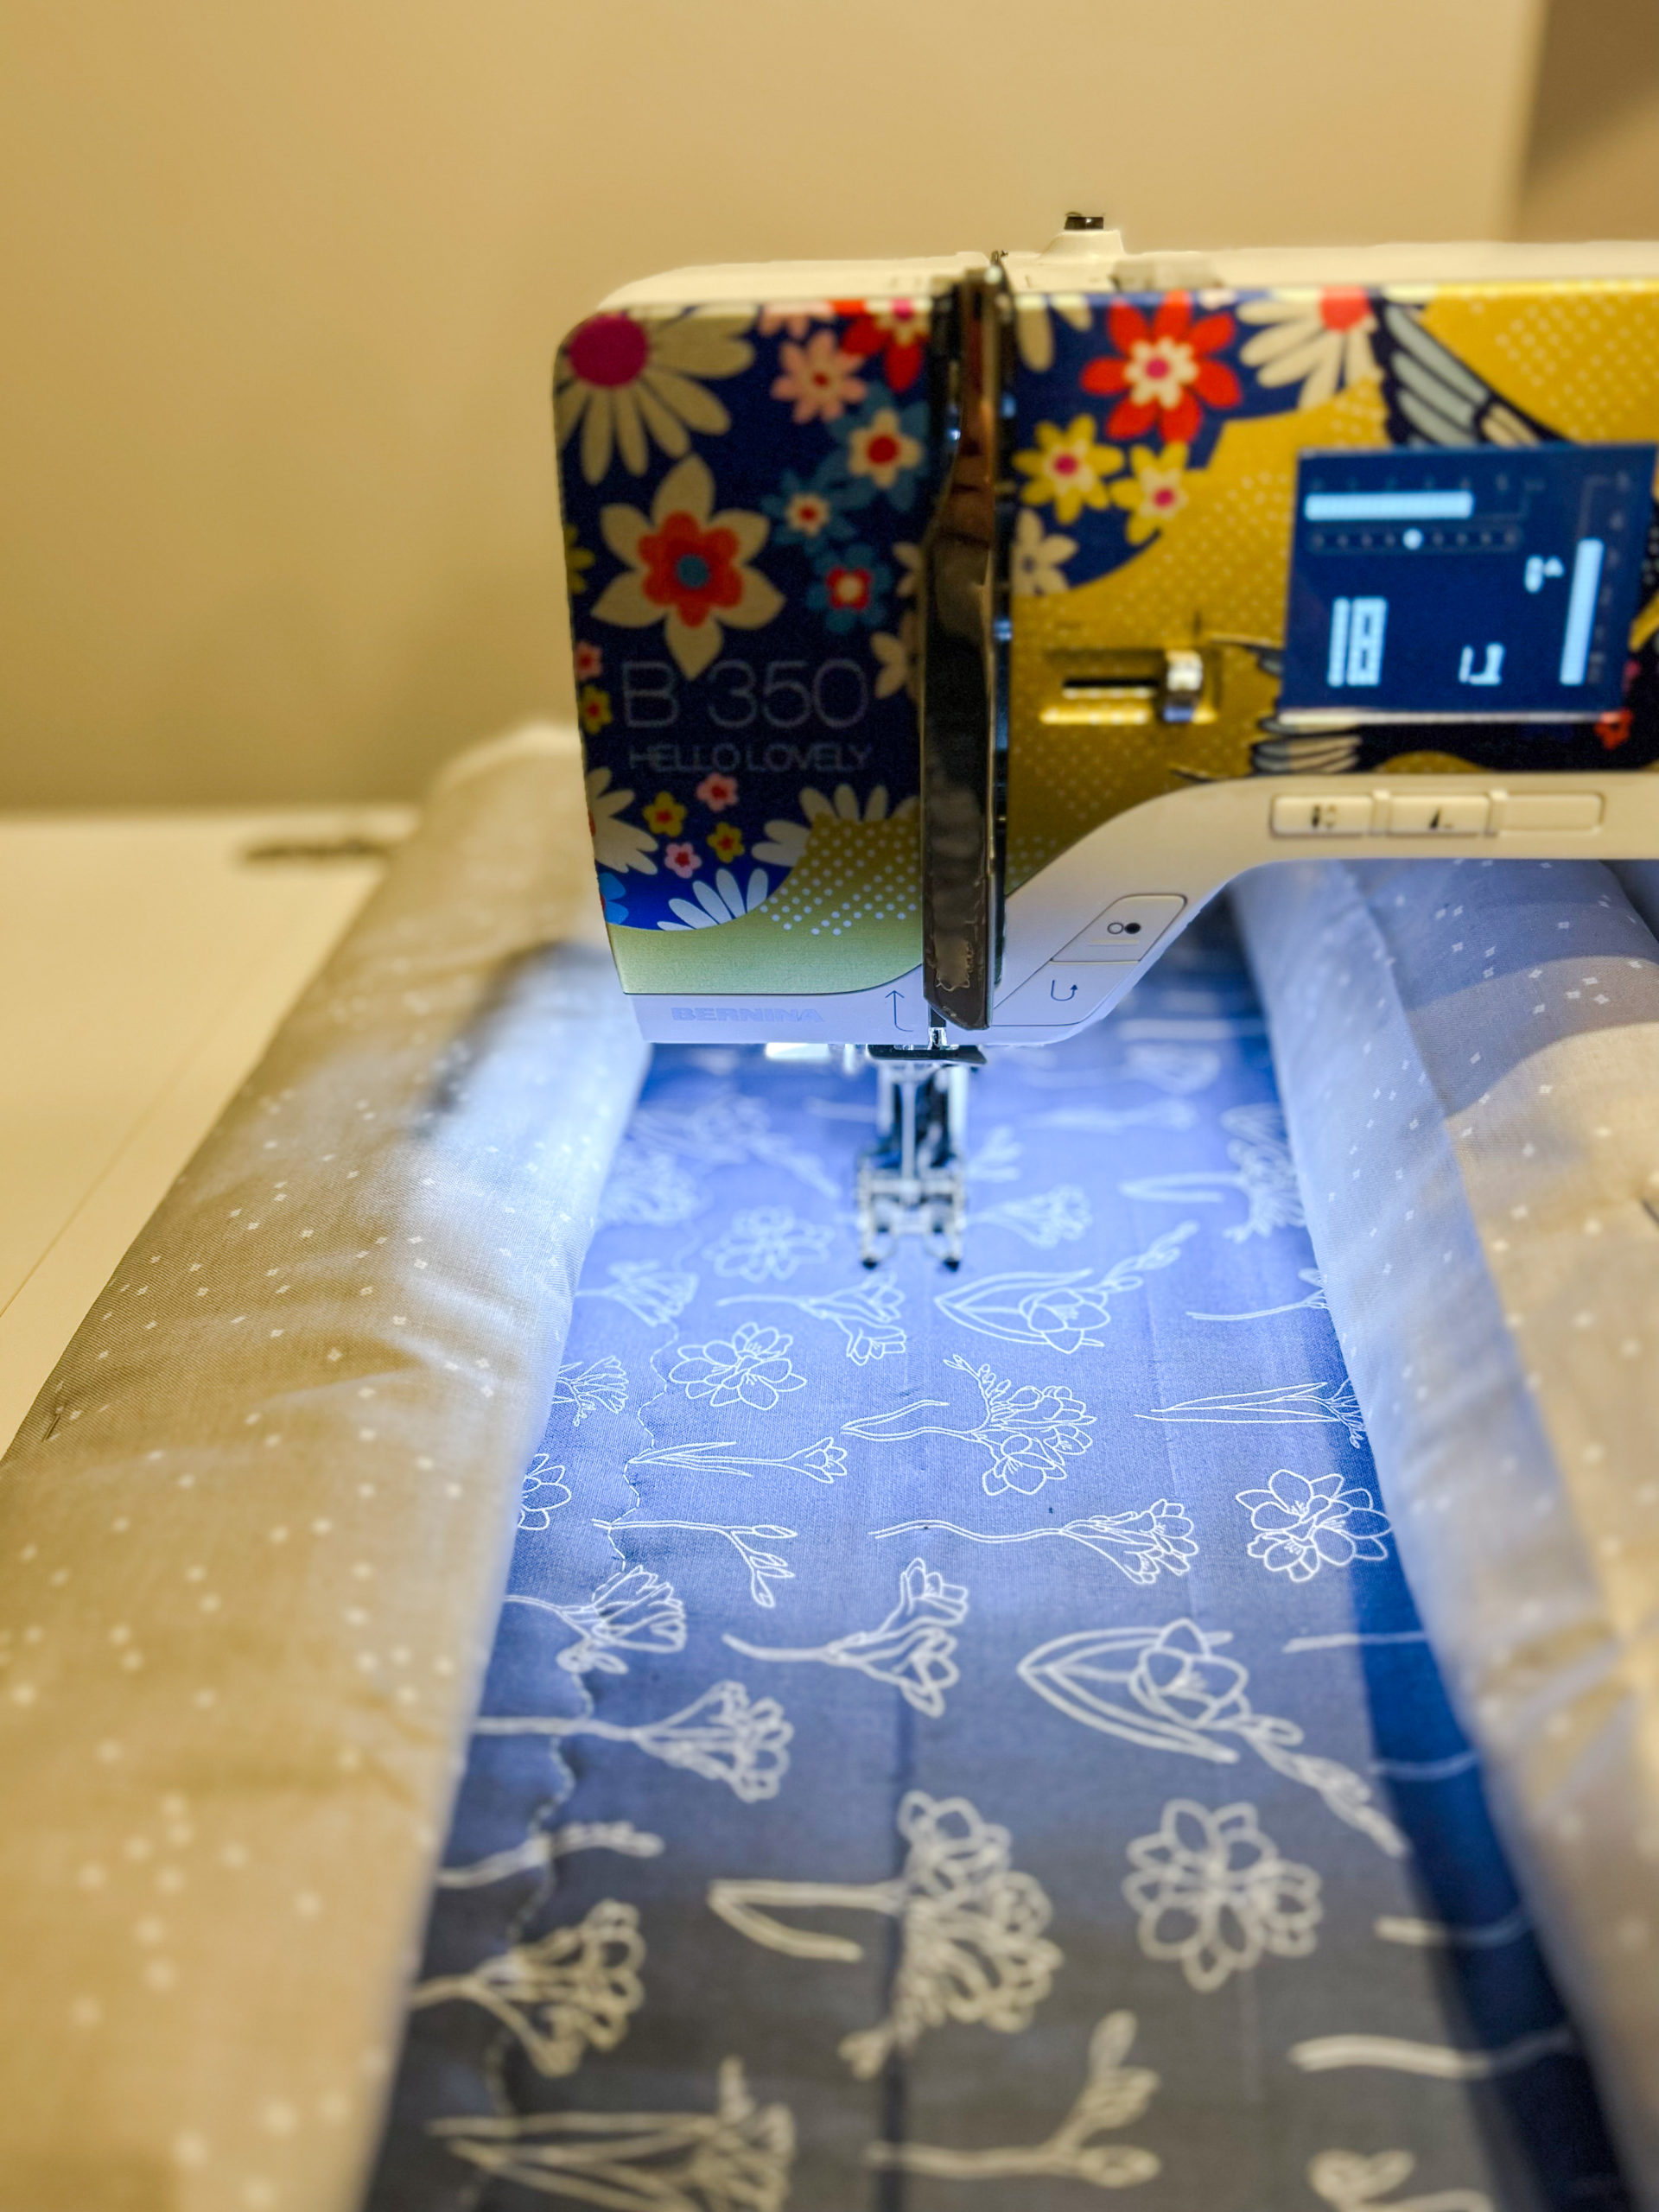
STEP FOUR: Quilt
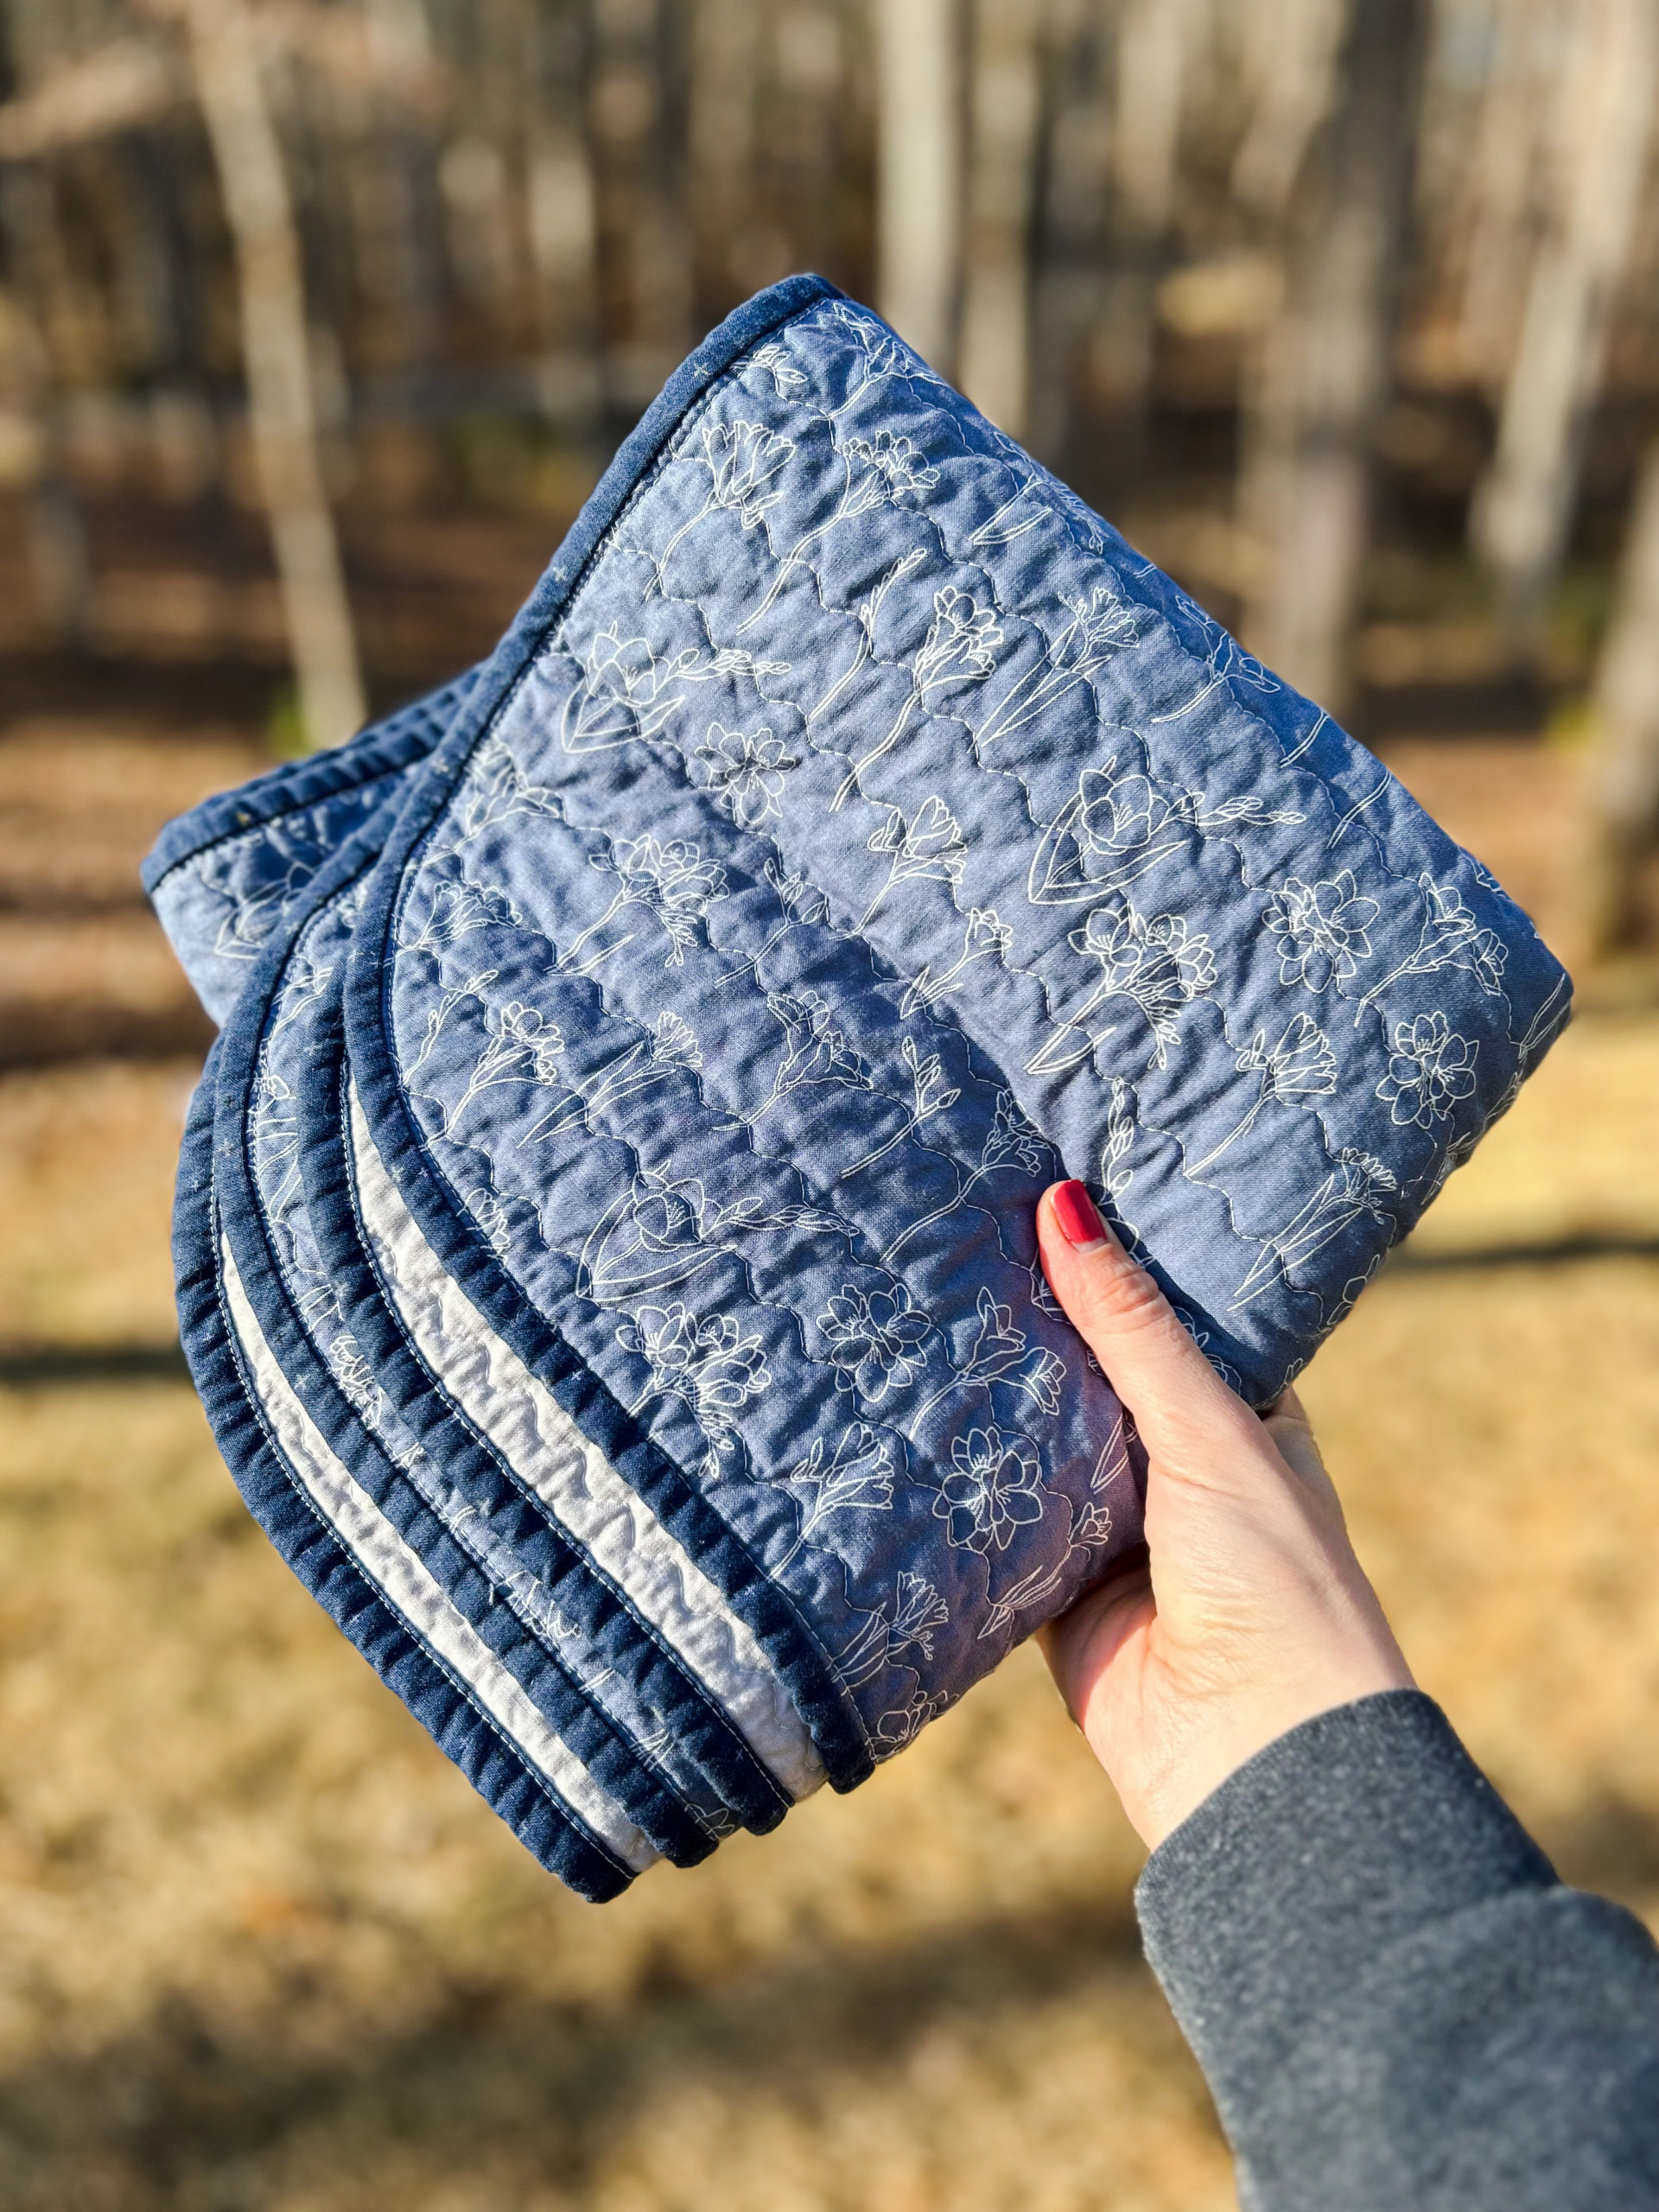
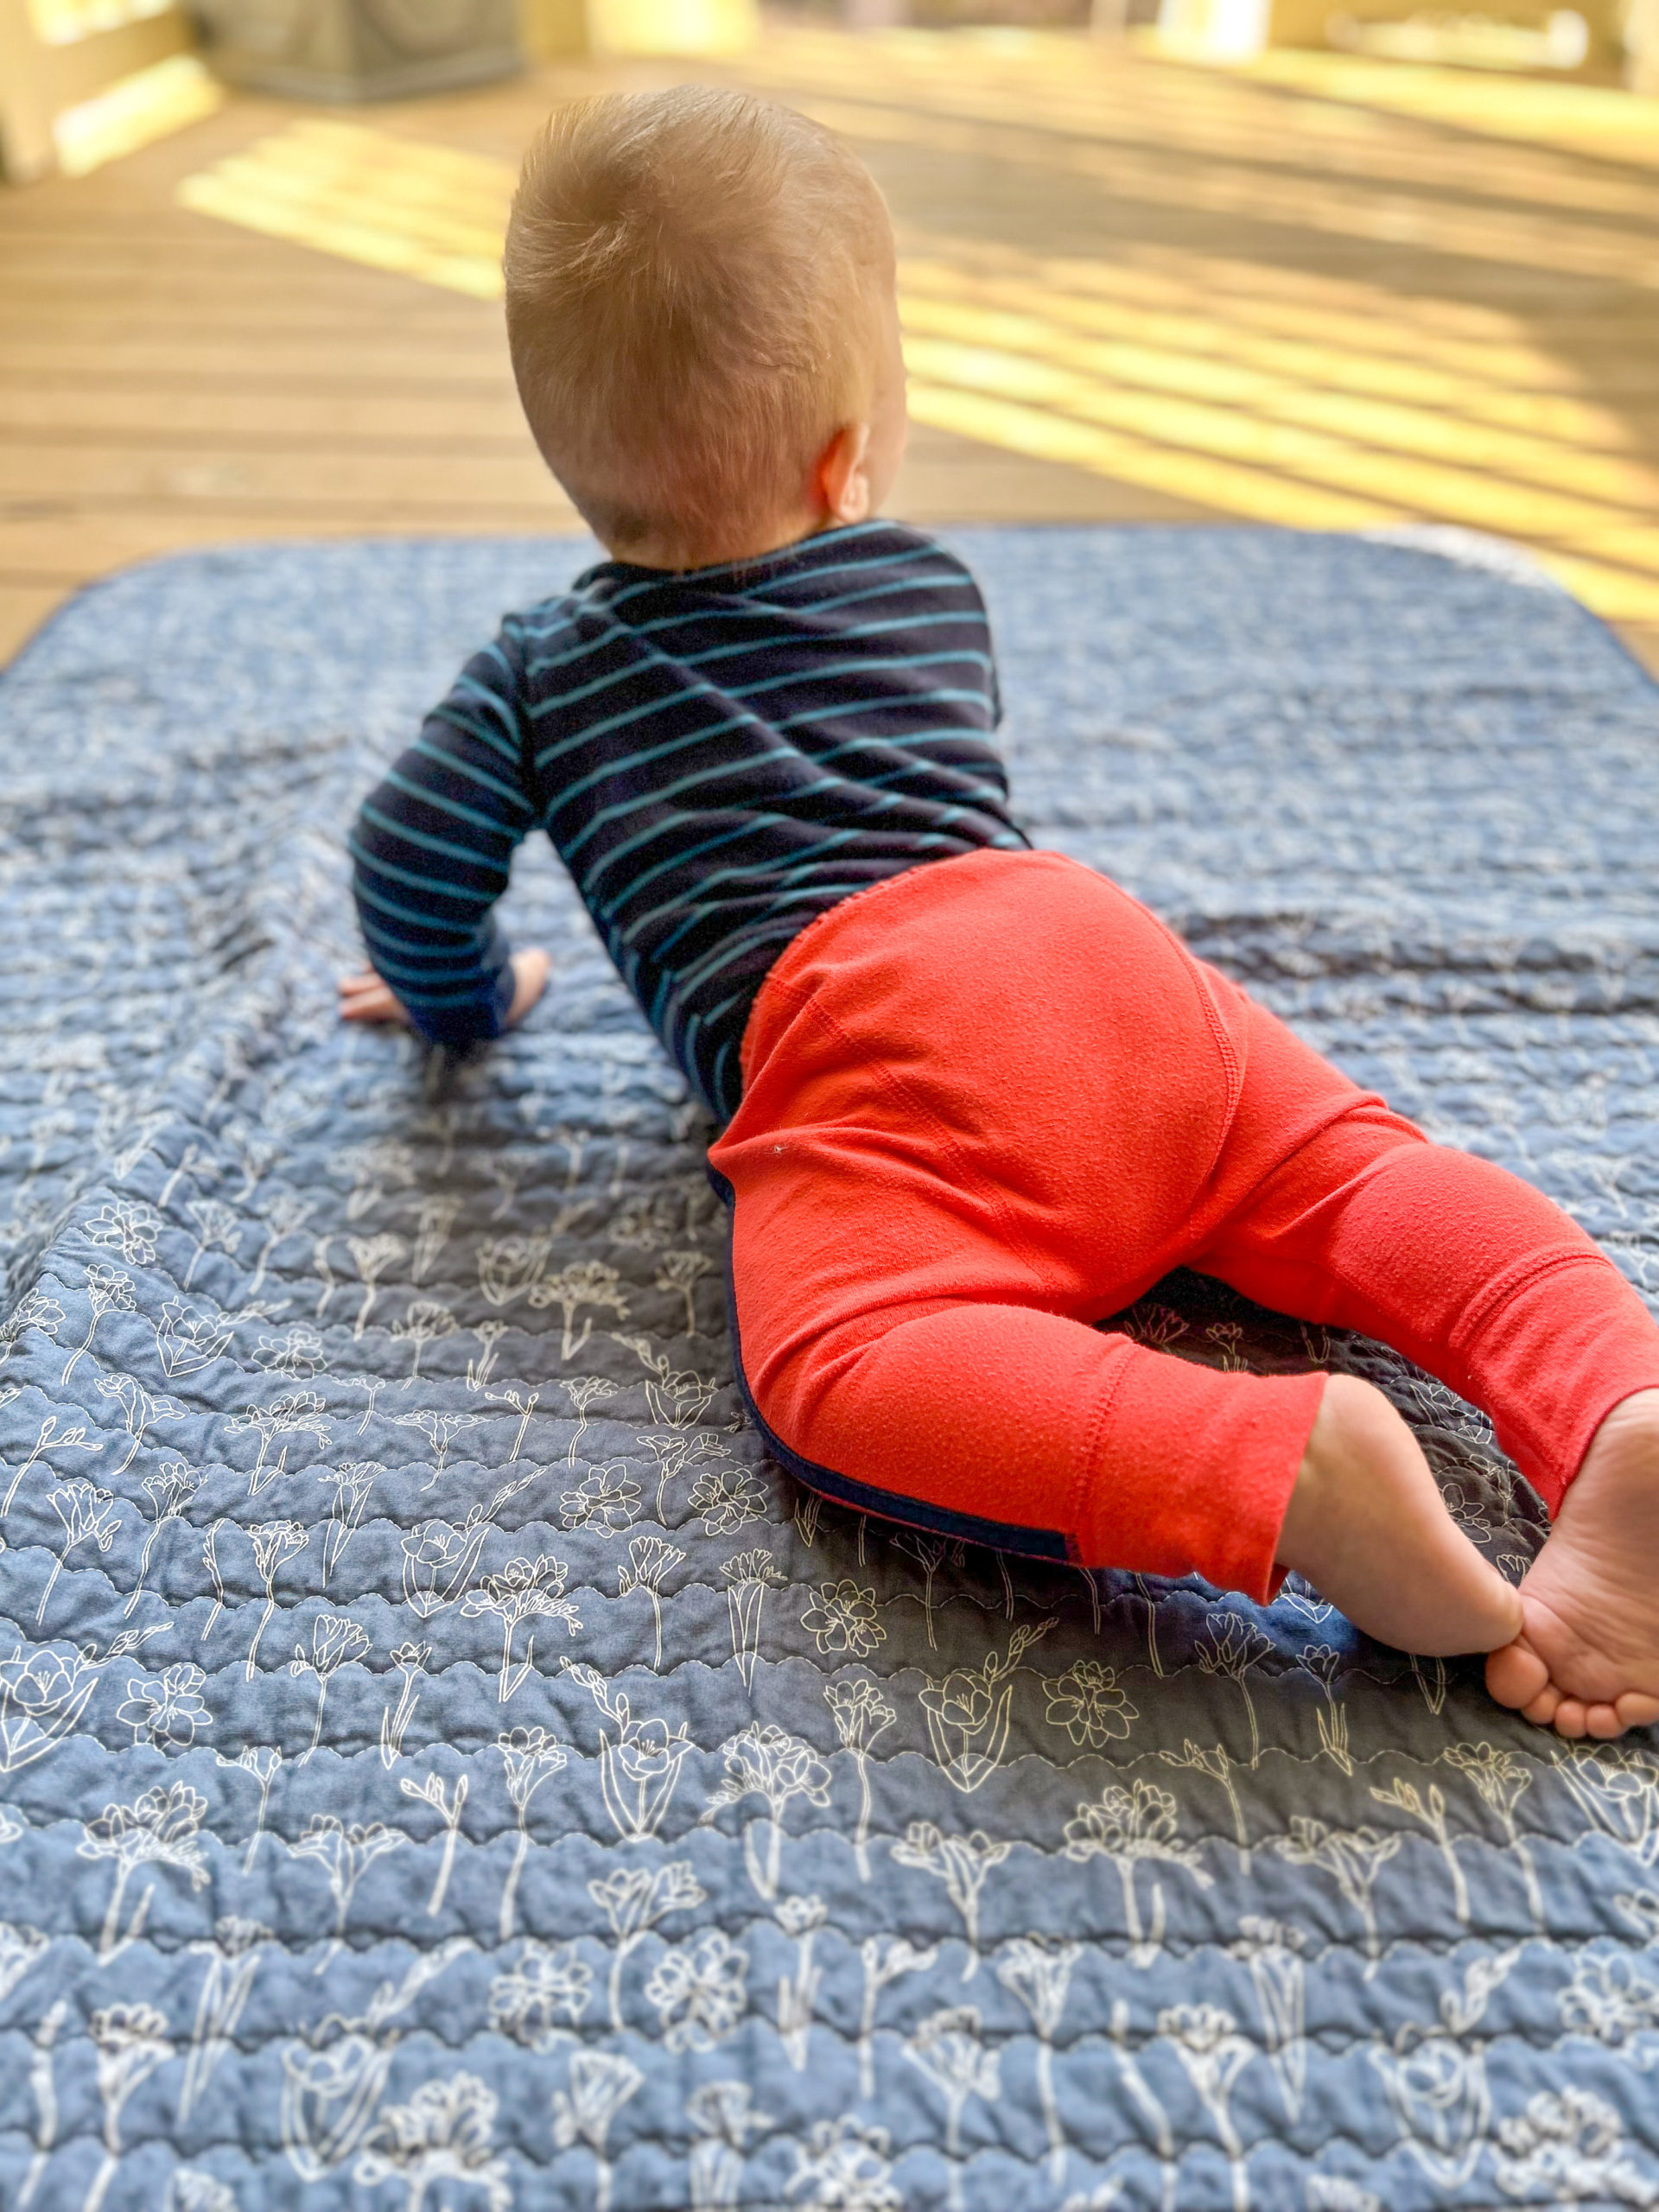
This step is the most straight-forward—quilt! I opted for a curvy stitch this time for the first time ever and loved how it turned out. I lengthened my stitch to almost a 4 and stitched my rows 1″ apart.
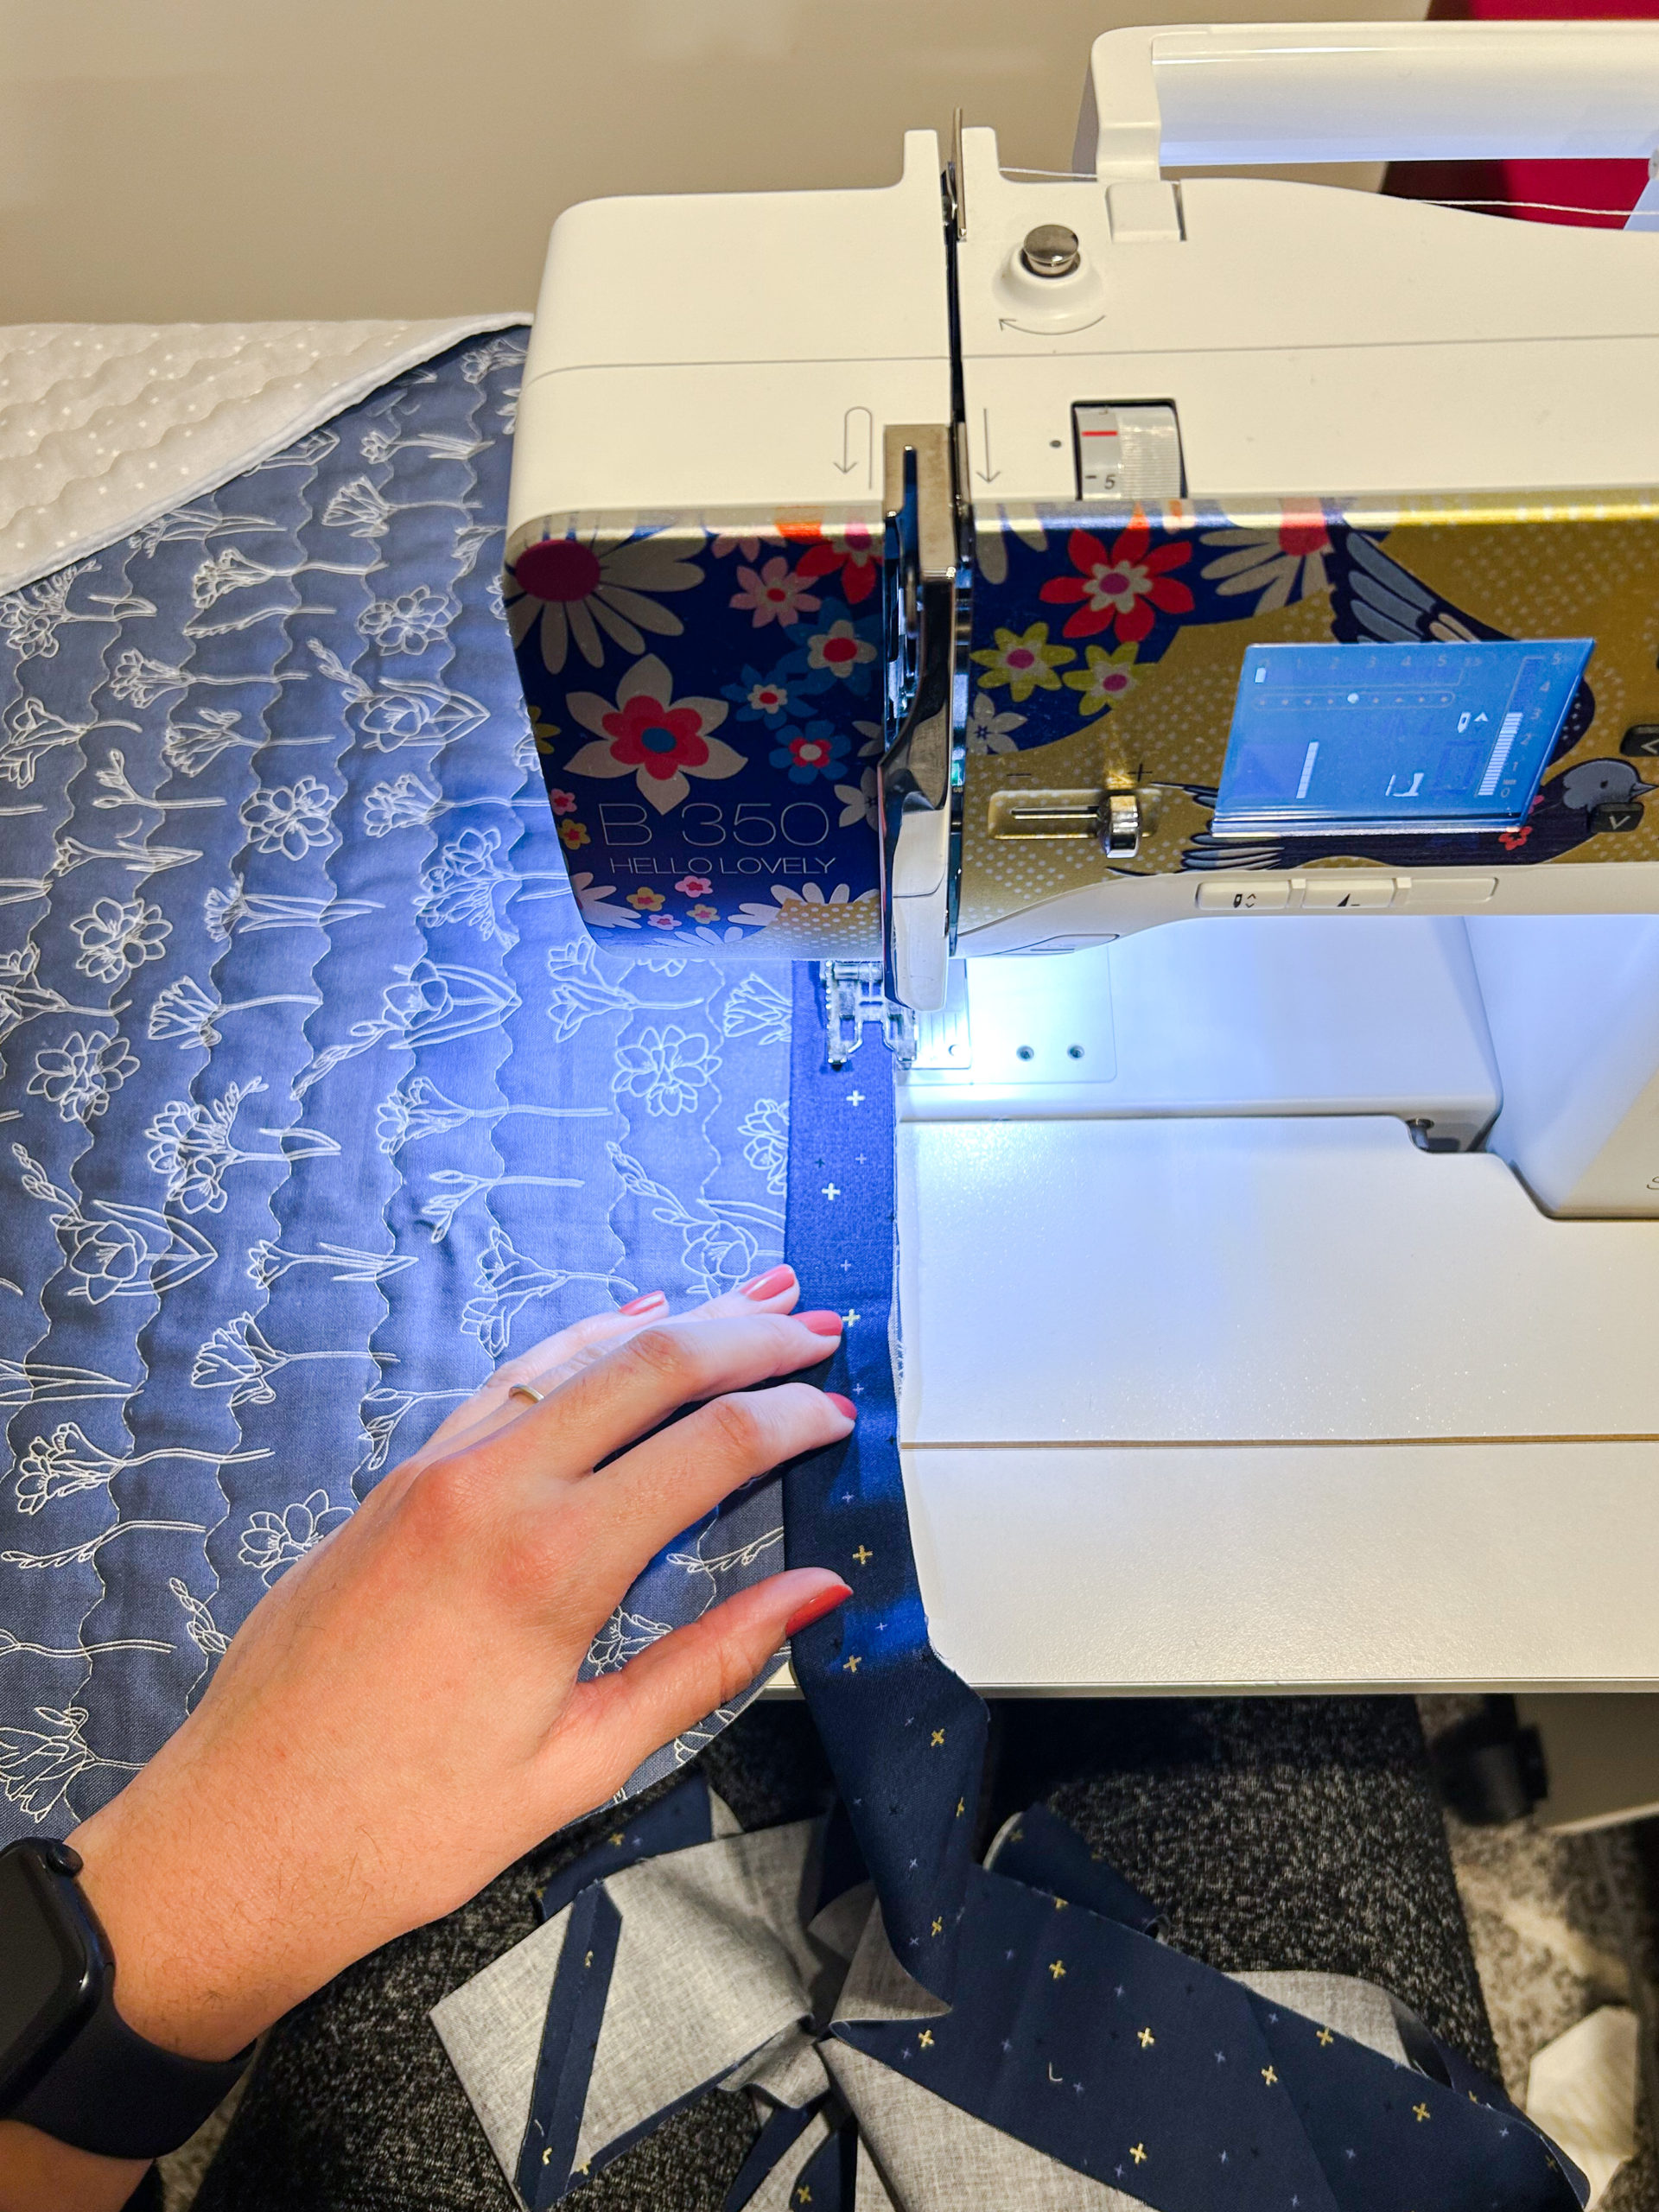
STEP FIVE: Bind
Using a long quilter’s ruler, trim the edges of your quilt to square the edges. Attach the binding.
I added a rounded corner to this quilt by trimming the corners using a mixing bowl.
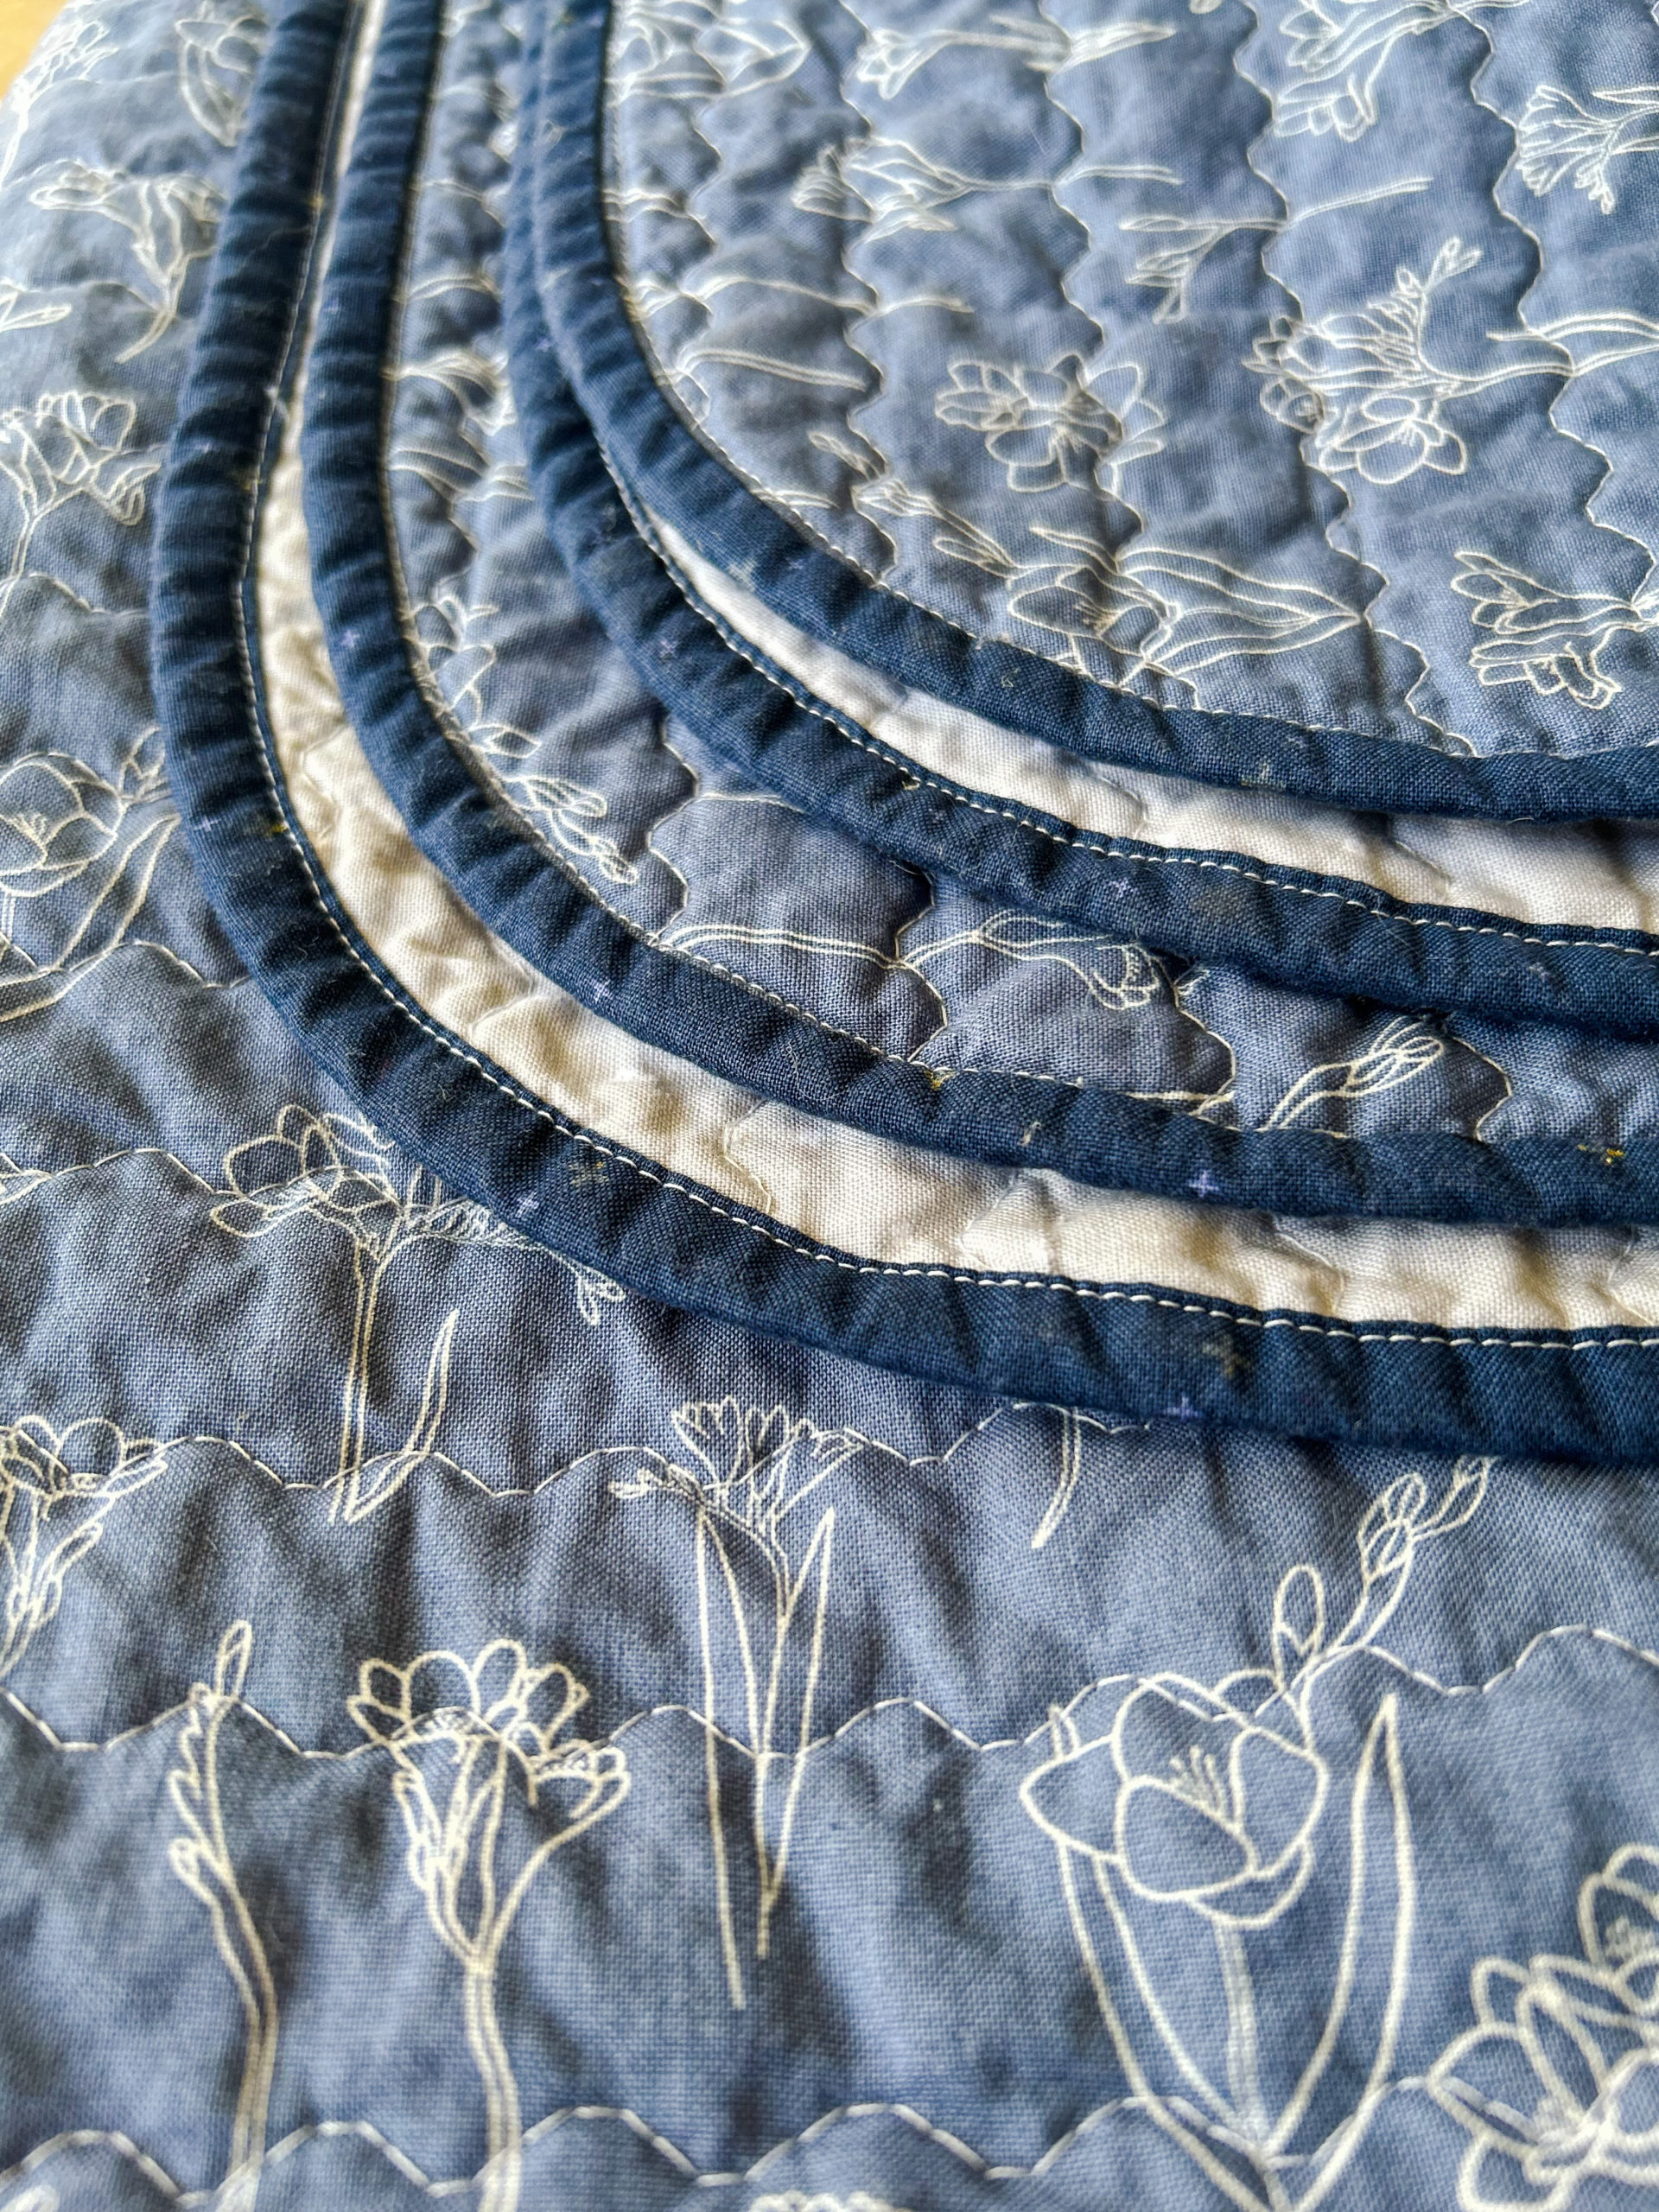
Congratulations! You now have a beautiful whole cloth quilt.
Thanks for following along! Be sure to check out my website, Pinterest, and Instagram.
Happy sewing!