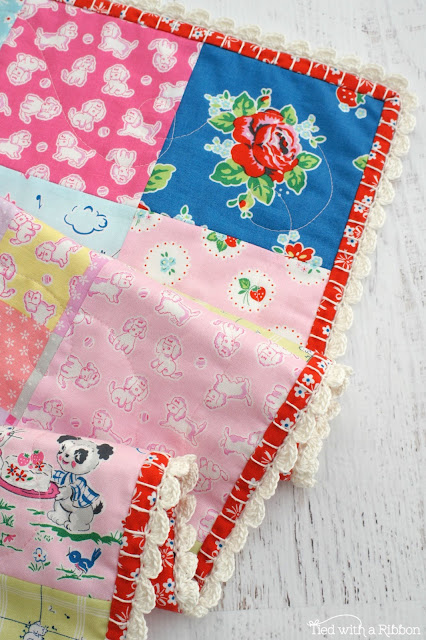
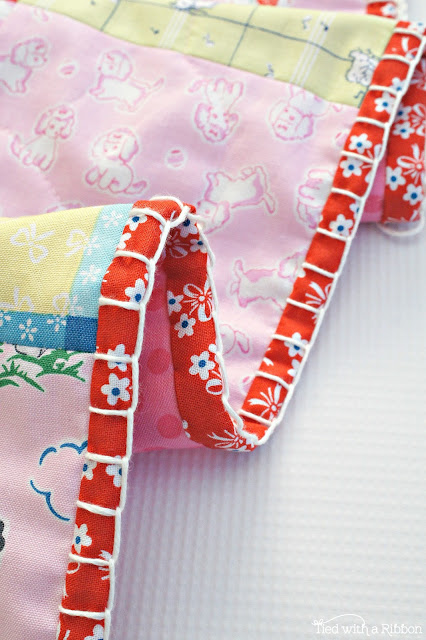
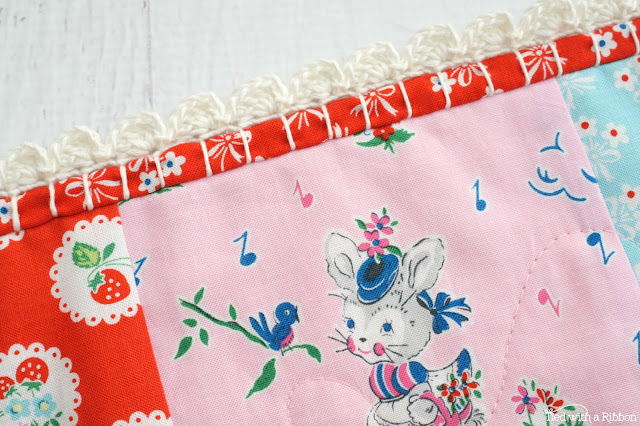
How adorable is Elea Lutz’s latest range – Strawberry Biscuit. With the sweetest of prints and characters this range will be hard to resist. Cute puppies and delicate florals all in the most vibrant of colours make for another stand out collection. Strawberry Biscuit is made for Penny Rose Fabrics (distributed through Millhouse Collections in Australia) and is available now.
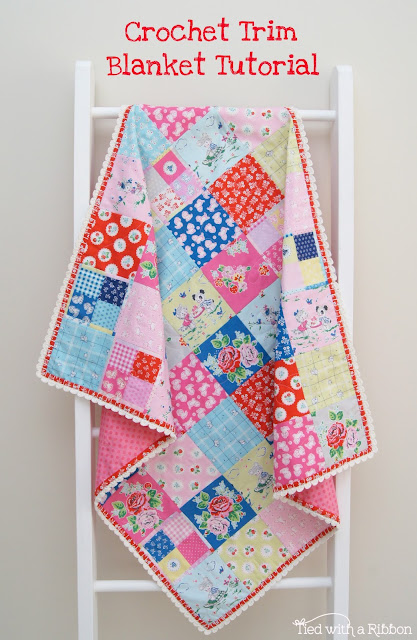
I made a similar Crochet Trim Baby Blanket a while back and thought this would be the perfect project to make and share with for this Tutorial. Crochet look simply stunning against the binding of a quilt – this pattern only has several stitches for the actual crochet so is suitable for a beginner.
Crochet Trim Blanket
32in x 36.5in
Crochet Trim Blanket Requirements
1 x Fat 1/8th Bundle of Strawberry Biscuit
1/4 yd Binding fabric
1 1/4 yd x WOF Backing fabric
40in x 44in Batting (I used Quilt Lite)
Cotton Thread
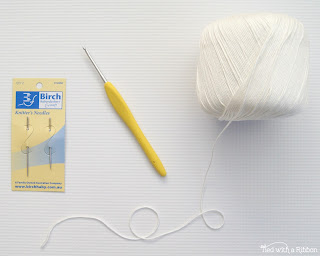
2ply White Cotton Yarn – 50g ball
Size 2.75 Crochet Hook
Knitters Needle
(sharp point with large eye for yarn)
Cutting Instructions
Cut 56 – 5in Squares from your Strawberry Biscuit
(alternatively you could use 2 Charm packs)
Cut 4 – 2 1/4in strips for Binding
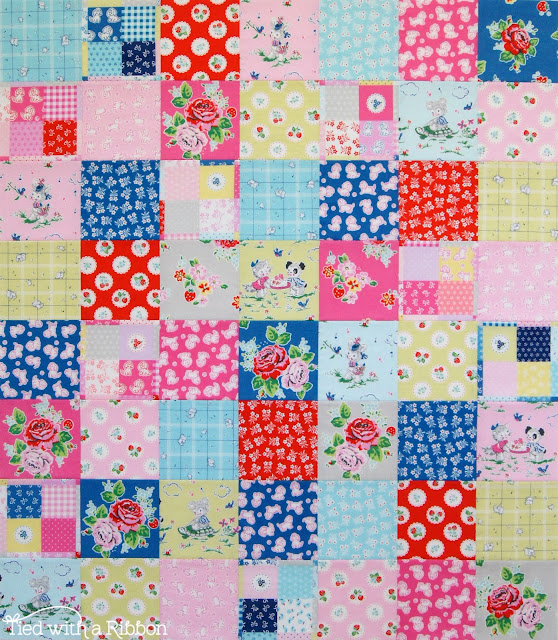
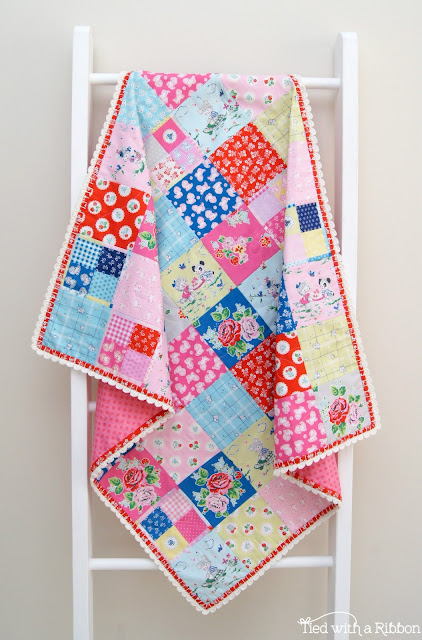
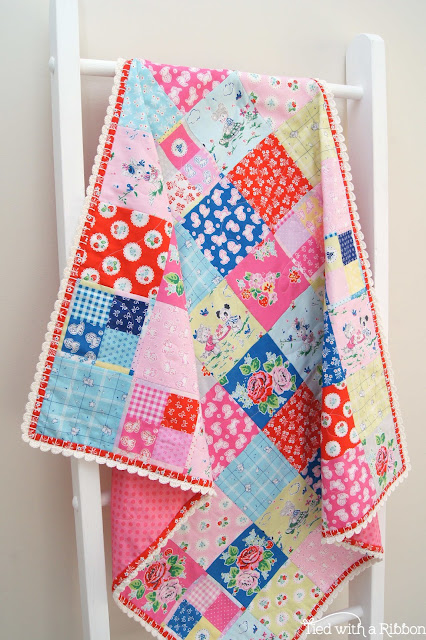
Step 1 – Take your 5in squares and arrange in a 7 x 8 formation. Arrange the prints till you are happy with their placement. Sew each row together, pinning and pressing each row. Sew all the rows together to complete your Blanket Top.

Step 2 – “Sandwich” your Blanket Top with your Batting and Backing fabric.
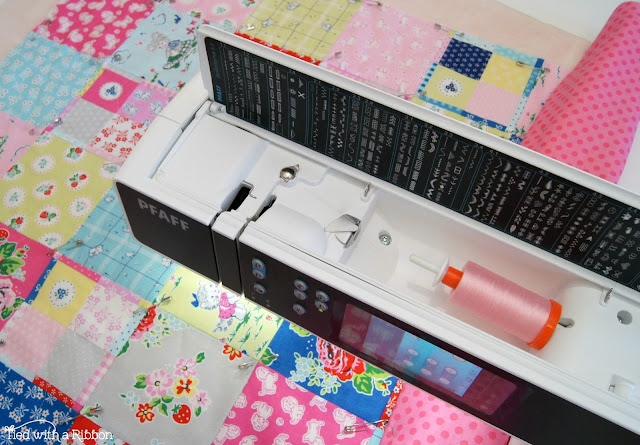
Step 3 – Quilt your quilt. I machine quilted mine with a loopy all over design in Aurifil #2423 .
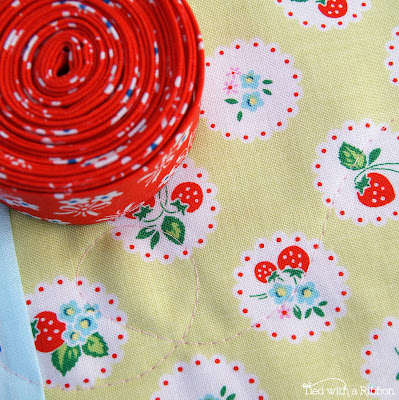
Step 4 – Sew your binding strips end to end and then press in half lengthways with wrong sides together. Sew the Binding to your Quilt top by starting half way along one side of your quilt. Sew the binding strip to the right side of the quilt, metering the corners as you go. Stop about 6in from where you started. Join the ends and cut off the excess. Continue to sew the binding to the quilt top. Trim the batting and backing, fold over the binding and slip stitch into place along the back seam line.
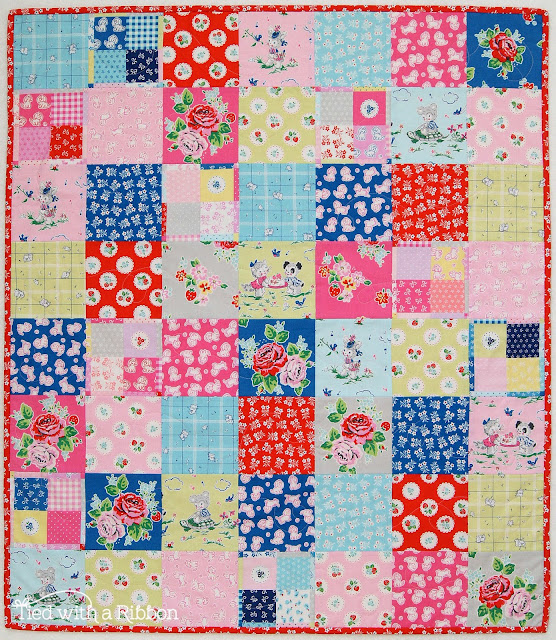
You can of course finish up here if you like – this is such a sweet quilt on its own.
Adding the Crochet Trim (US terms)
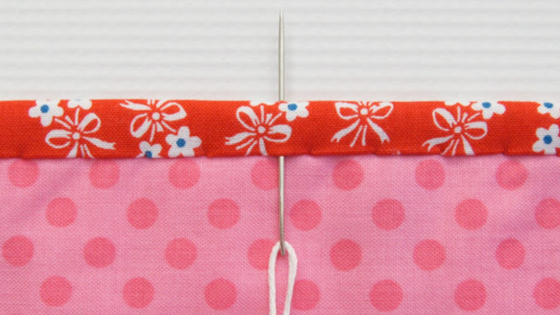
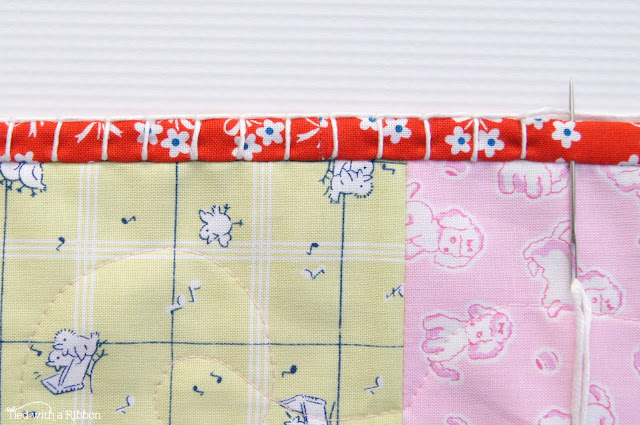
Row 1 – Blanket Stitch
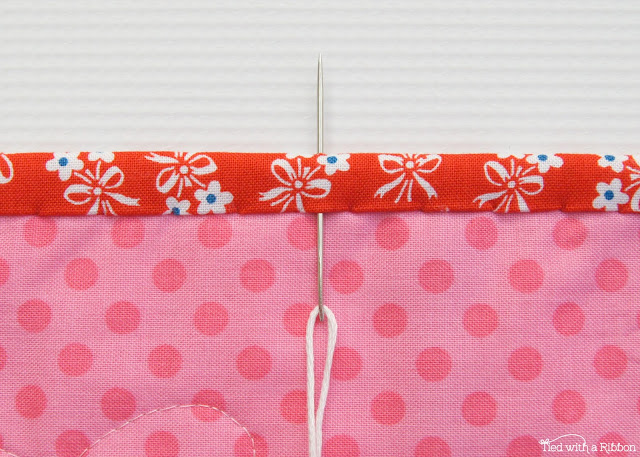
Step 5 – Take your Knitters Needle and a long piece of yarn. Place a knot in one end and thread needle with the other end. Run the needle under the binding from the backing side of your blanket and through the centre of the binding. (this is why you will need a sharp needle) Pull through to secure the knot under the binding.
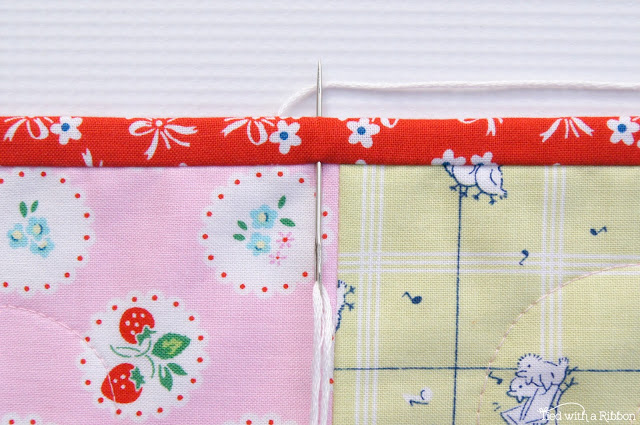
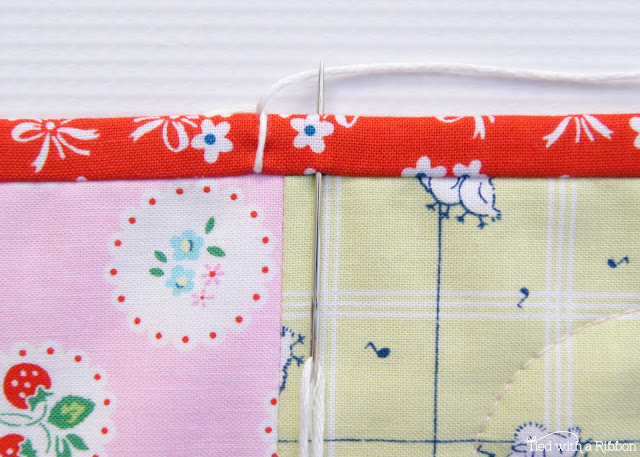
Step 6 – Turn the Blanket to the front and place the needle through the bottom of the binding through the centre about 3/8in up from where you started. Place the yarn behind the needle and pull through the needle to make a stitch. Make sure the stitch runs along the edge of the binding.
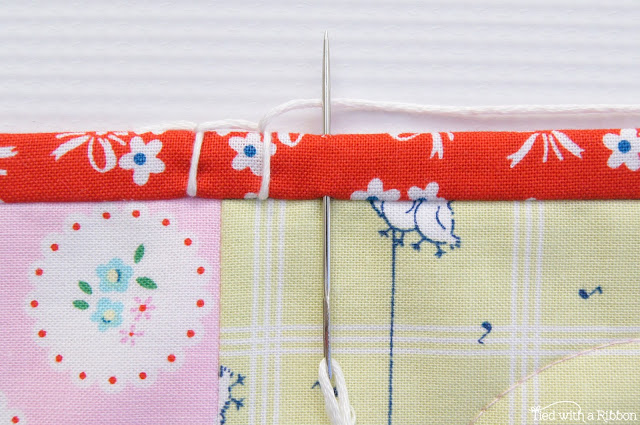
Continue to Blanket Stitch around the entire Binding trim of your Blanket. Finish off back where you stated – ending off and burying the yarn end.

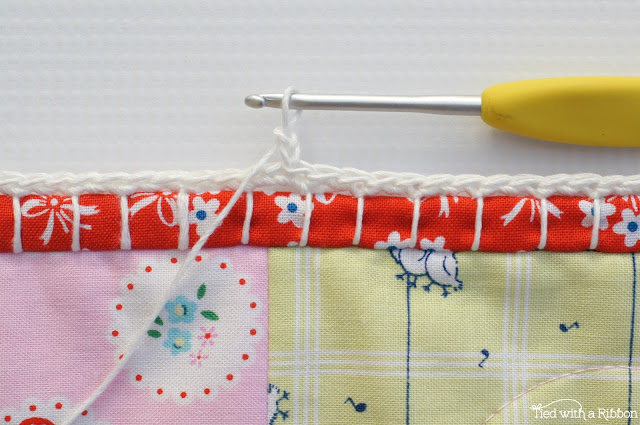
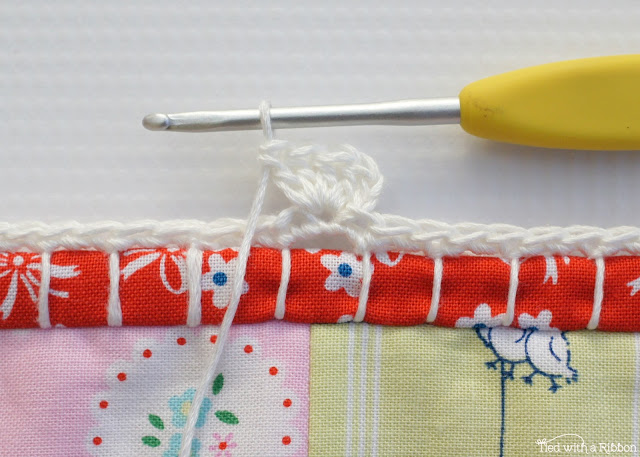
Row 2 – Single Crochet (sc)
Step 7 – Take your crochet hook and yarn and tie the beginning end of through the blanket stitch (use your needle to bury the loose end).
Chain 1
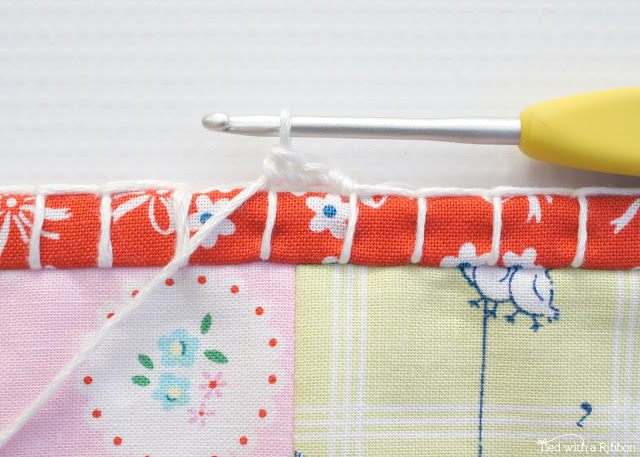
Step 8 – 2 sc along the foundation blanket stitch yarn. Continue to make 2 sc stitches in-between each blanket stitch till you get back to where you started.
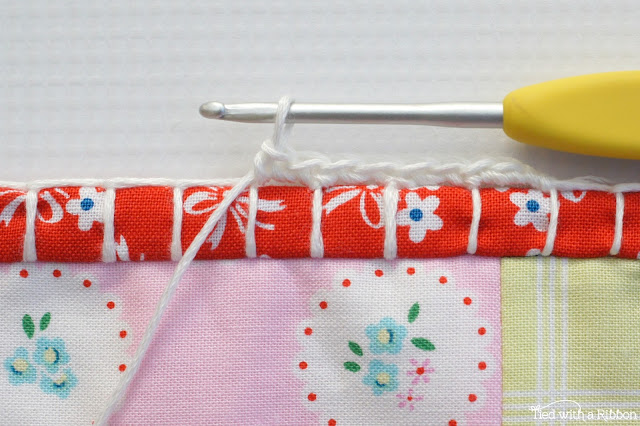
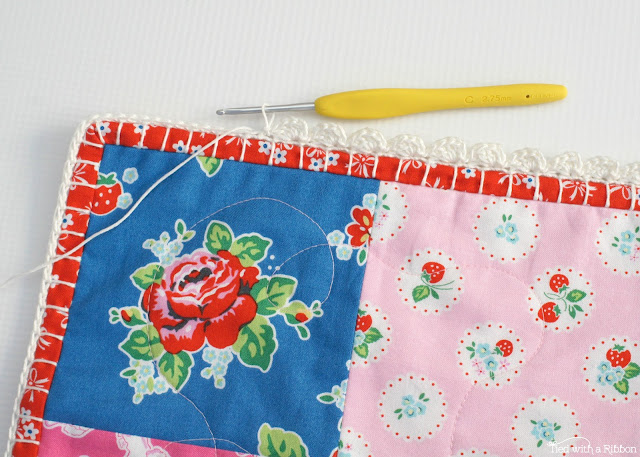
Row 3 – Scallop
Step 9 – When you get back to where you started Slip Stitch into first Chain and then 2 Chain to start scallop row.
Step 10 – 4 Double Crocher (dc) in first stitch (together with 2 chain counts as 5 dc)

Step 11 – Skip 1 stitch and then sc into next stitch.

Step 12 – 5 dc, skip 1, sc 1 – repeat till end.
Crochet Pattern – US Terms
Row 1 – Blanket Stich around Blanket
Row 2 – 1 Chain into blanket stitch yarn and then 2 sc per blanket stitch till end. Slip Stich closed.
Row 3 – 2 Chain, 4 dc (Chain counts as 1 dc), skip 1 stitch, sc into next stitch, 5 dc into next stitch – repeat till end. Slip stitch into back to finish.
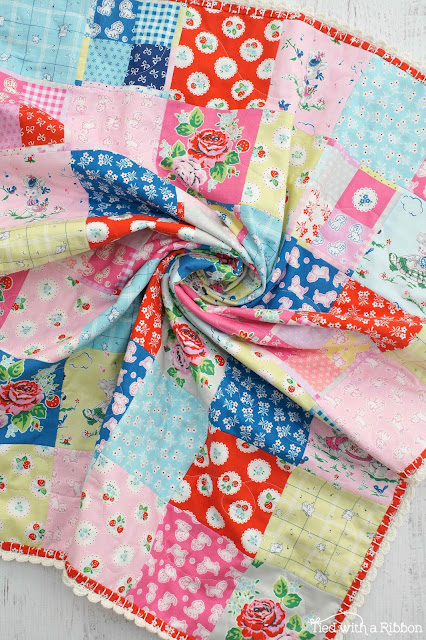

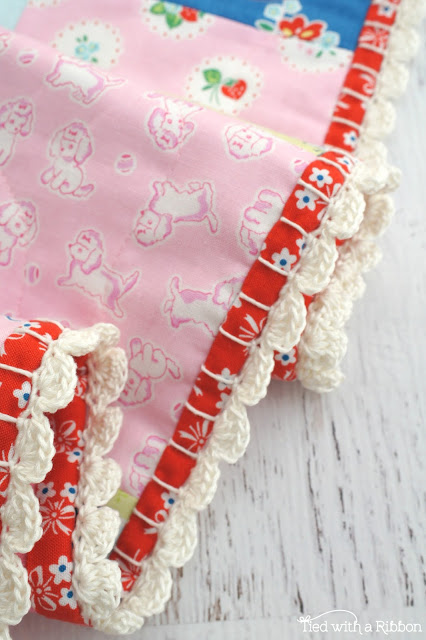
This blanket will make a treasured, handmade blanket for years to come.
Use the Hashtag – #crochettrimblanket
so that we can see the beauties that you make.
Happy sewing
Jemima x