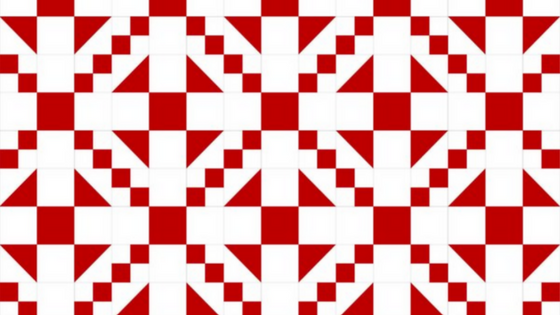
I am so excited about this week’s Traditional Blog Tutorial! #tbt
The Shoo-Fly block is one of the simplest of traditional patchworks. This is a block that a little girl might have made when beginning to learn to sew. It is named after a shoo-fly plant which is a wild plant with domed flowers. It is also commonly called ‘Hole-in-the-Barn-Door.’

Fabric needed:
(I chose a cream and pink from Penny Rose Fabrics’ Victoria collection.)
Half Square Triangles: Two 5″ squares each of two fabrics.
Outside Squares: Four 4.5″x4.5″ squares
Center Square: One 4.5″x4.5″ square

On the back of the two 5″ cream squares, draw a diagonal line from corner to corner. I like to use a mechanical pencil as it always has a nice sharp point.

Place the cream 5″ square right sides together with the pink 5″ square and stitch 1/4″ from the marked line. Repeat for both squares. *Note: If you can’t see the 1/4″ mark on your machine, you could mark another line 1/4″ from the center and stitch on that line.

Turn the 2 squares around and stitch on the opposite side 1/4″ from the marked line. Repeat for both squares.

Cut on the marked center line. Repeat for both squares.

Now you should have four triangles that look like this.

Set the seam and press toward the darker fabric. Repeat for all four half-square triangles.

Here are your half-square triangles!

We are now going to trim the triangle to make them exactly 4.5″. I like to use a square ruler for this with a diagonal line running through it. Place the ruler on the square with the diagonal line on the seam. Make sure that the square goes past the 4.5″ mark on the ruler and past the edge of the ruler. This one is barely bigger than 4.5″ and didn’t need much trimming. Trim two sides.

Turn the half-square triangle 180 degrees so that the cut edges are under the ruler. Line the cut edges up with the 4.5″ mark. Trim the two remaining sides. Repeat for all four half-square triangles.

Now you should have four half-square triangles that are trimmed to 4.5″.

Lay our your squares to make the shoo-fly block. You can see here that this block has 9 parts and is considered to be a 9-patch block even though the patches aren’t all just squares.

Stitch the first two blocks in the top row together. Repeat for all three rows.

Don’t worry about pressing yet – we’ll do that when the row is complete.

Stitch the remaining block to the top row. Repeat for the other two rows.

Now that your rows are stitched together, you can press the rows. Press the seams according to the arrows. It is always easier to press to the plain blocks or the blocks that have less seams. Just make sure that the seams in the center row are opposite of the top and bottom row so that you can butt-up your seams and make your corners lay nicely.

Now that your seams are all pressed, you are ready to stitch your rows together.

Remember to butt-up your seams before you sew, and while you are sewing. You can pin them if desired. You can see that I pinned one of mine. My bottom corner didn’t match exactly, so I unstitched part of the seam and pinned the corner. It made a big difference. Stitch Row 1 and Row 2 together first. Then repeat and stitch Row 3 to 1 & 2.

Press seams. Again, it is easier to press to the rows that have less seams, so I pressed both rows to the center because the center blocks were all plain – no seams.

And there you go: A beautiful Shoo-Fly block. We will do several blocks with half-square triangles, so you will get lots of practice making them.

Here is an example of what a whole quilt might look like with this block and simple sashing.

Scrappy version. Love it!

What if you add an alternating block? The alternating block is just another 9-patch with 4-patch in the corners. Beautiful!

