Time for another Chunky Thread feature!
Doilies, with their infinite variety of intricate designs and pretty lace, have long been a favorite for crocheters to make, and most people are familiar with them as table decorations which also serve a protective purpose. But there are a lot of other ways to use them rather than just under a lamp or on a bookshelf. Today I want to show you a fun way you can update crochet doilies by using them on your sewing projects!
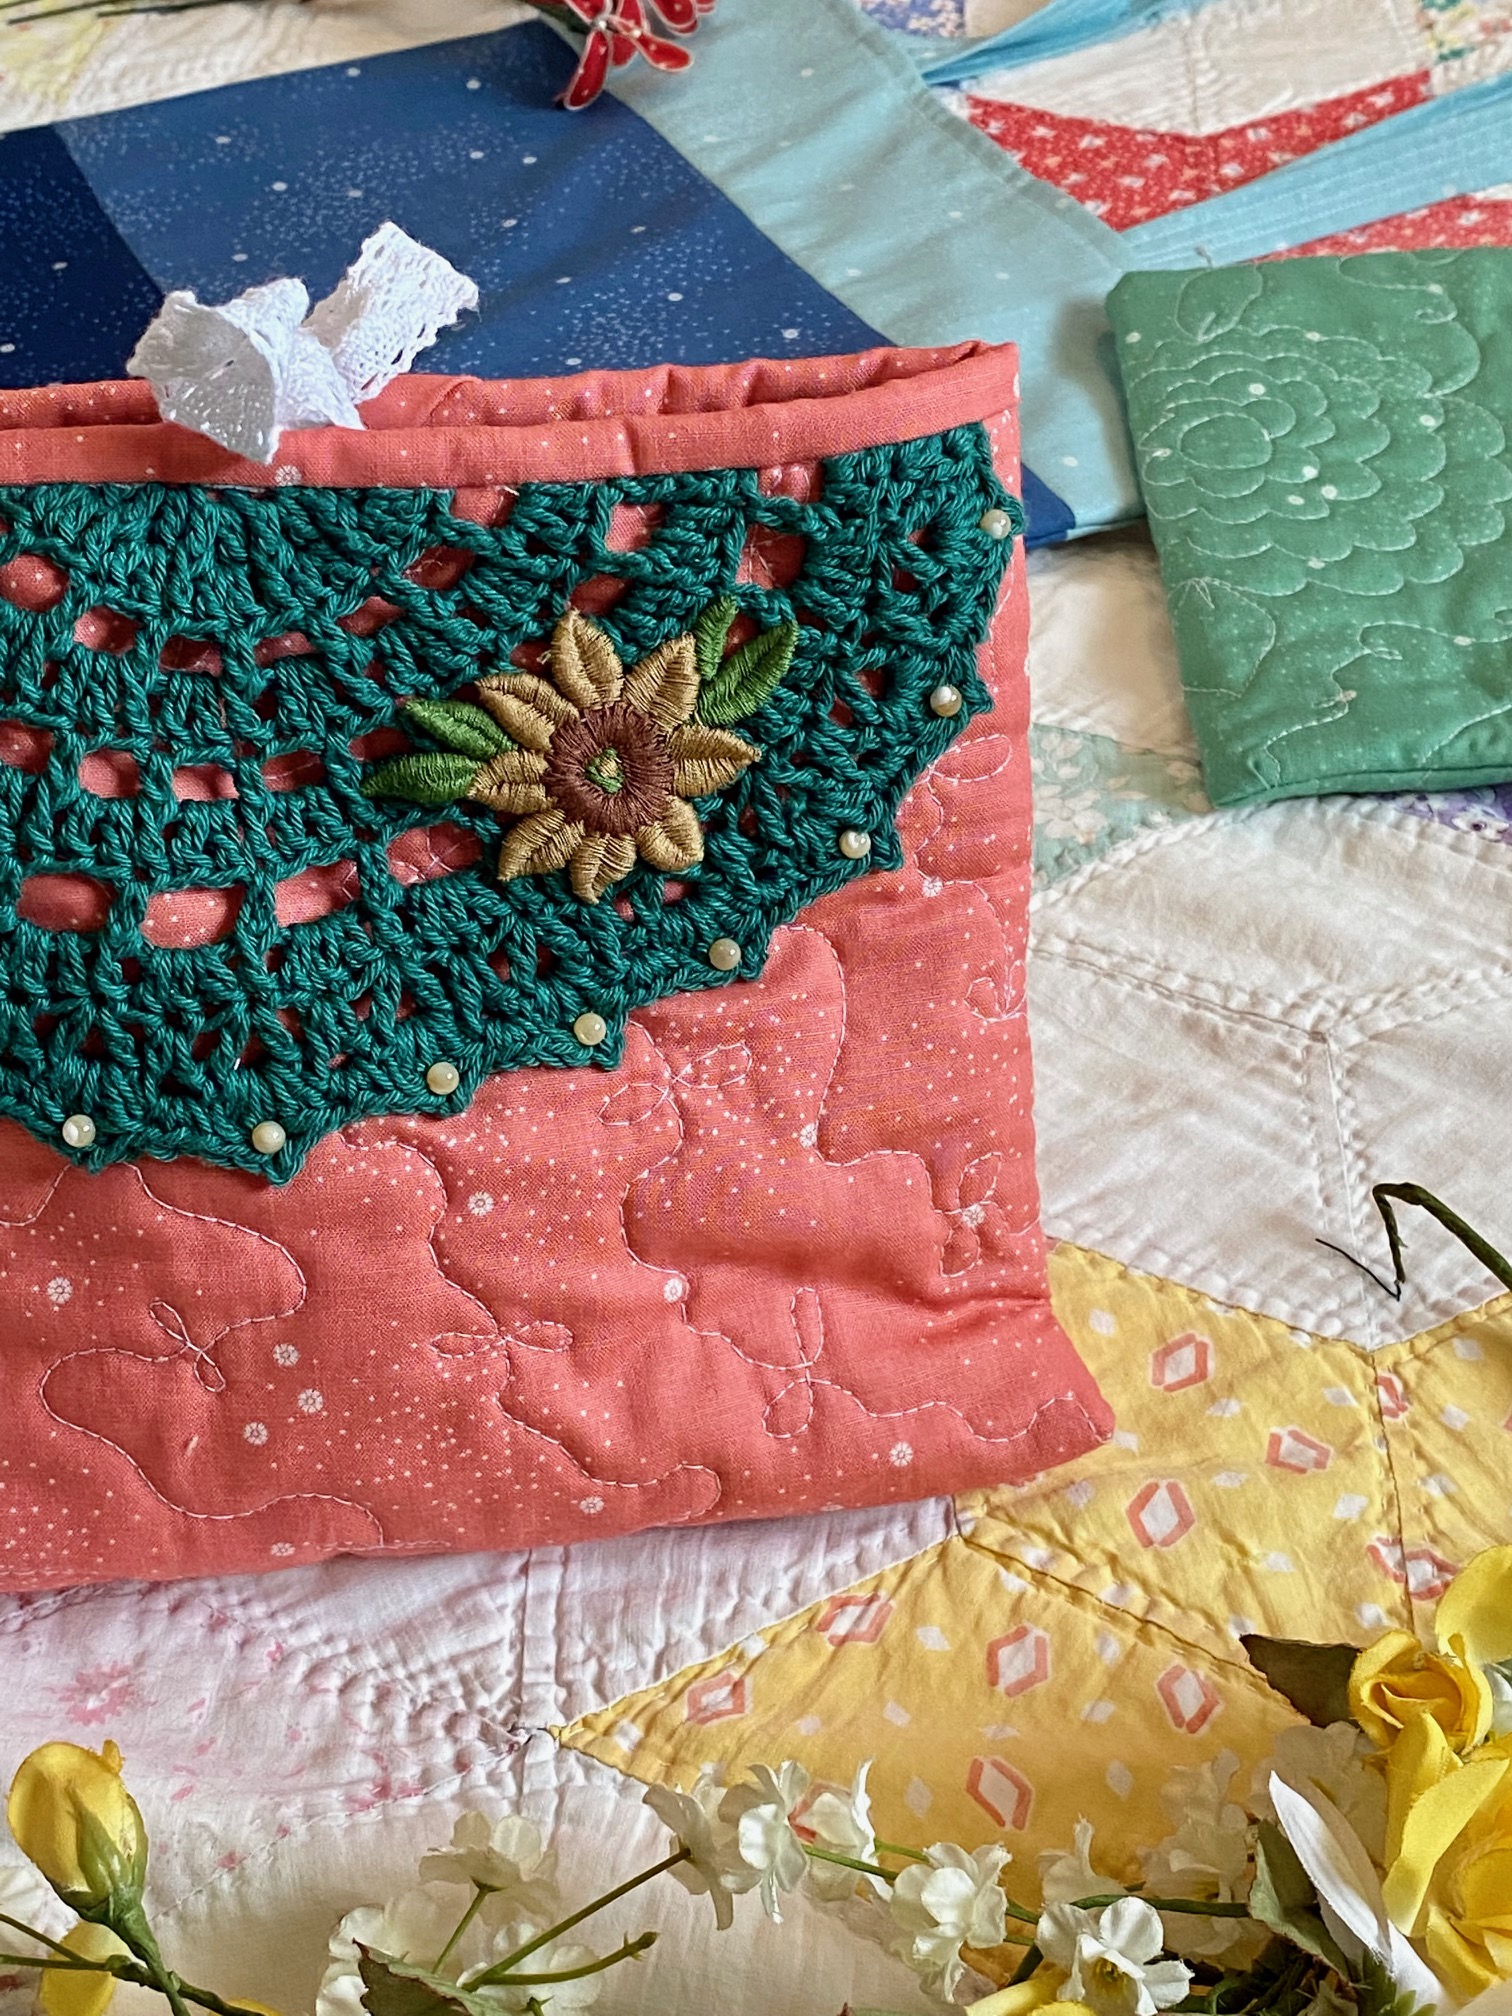
For the tote decoration, I used white Chunky Thread, and made this free online pattern. There are lots of free patterns to choose from online – just keep two things in mind. If you are going to be cutting the doily, avoid very lacy patterns with lots of open spaces.
Also, most of the time doily patterns are written for thinner weights of yarn or thread, so if you use Chunky Thread, the size will be larger than the dimensions given, and the gauge will be off.
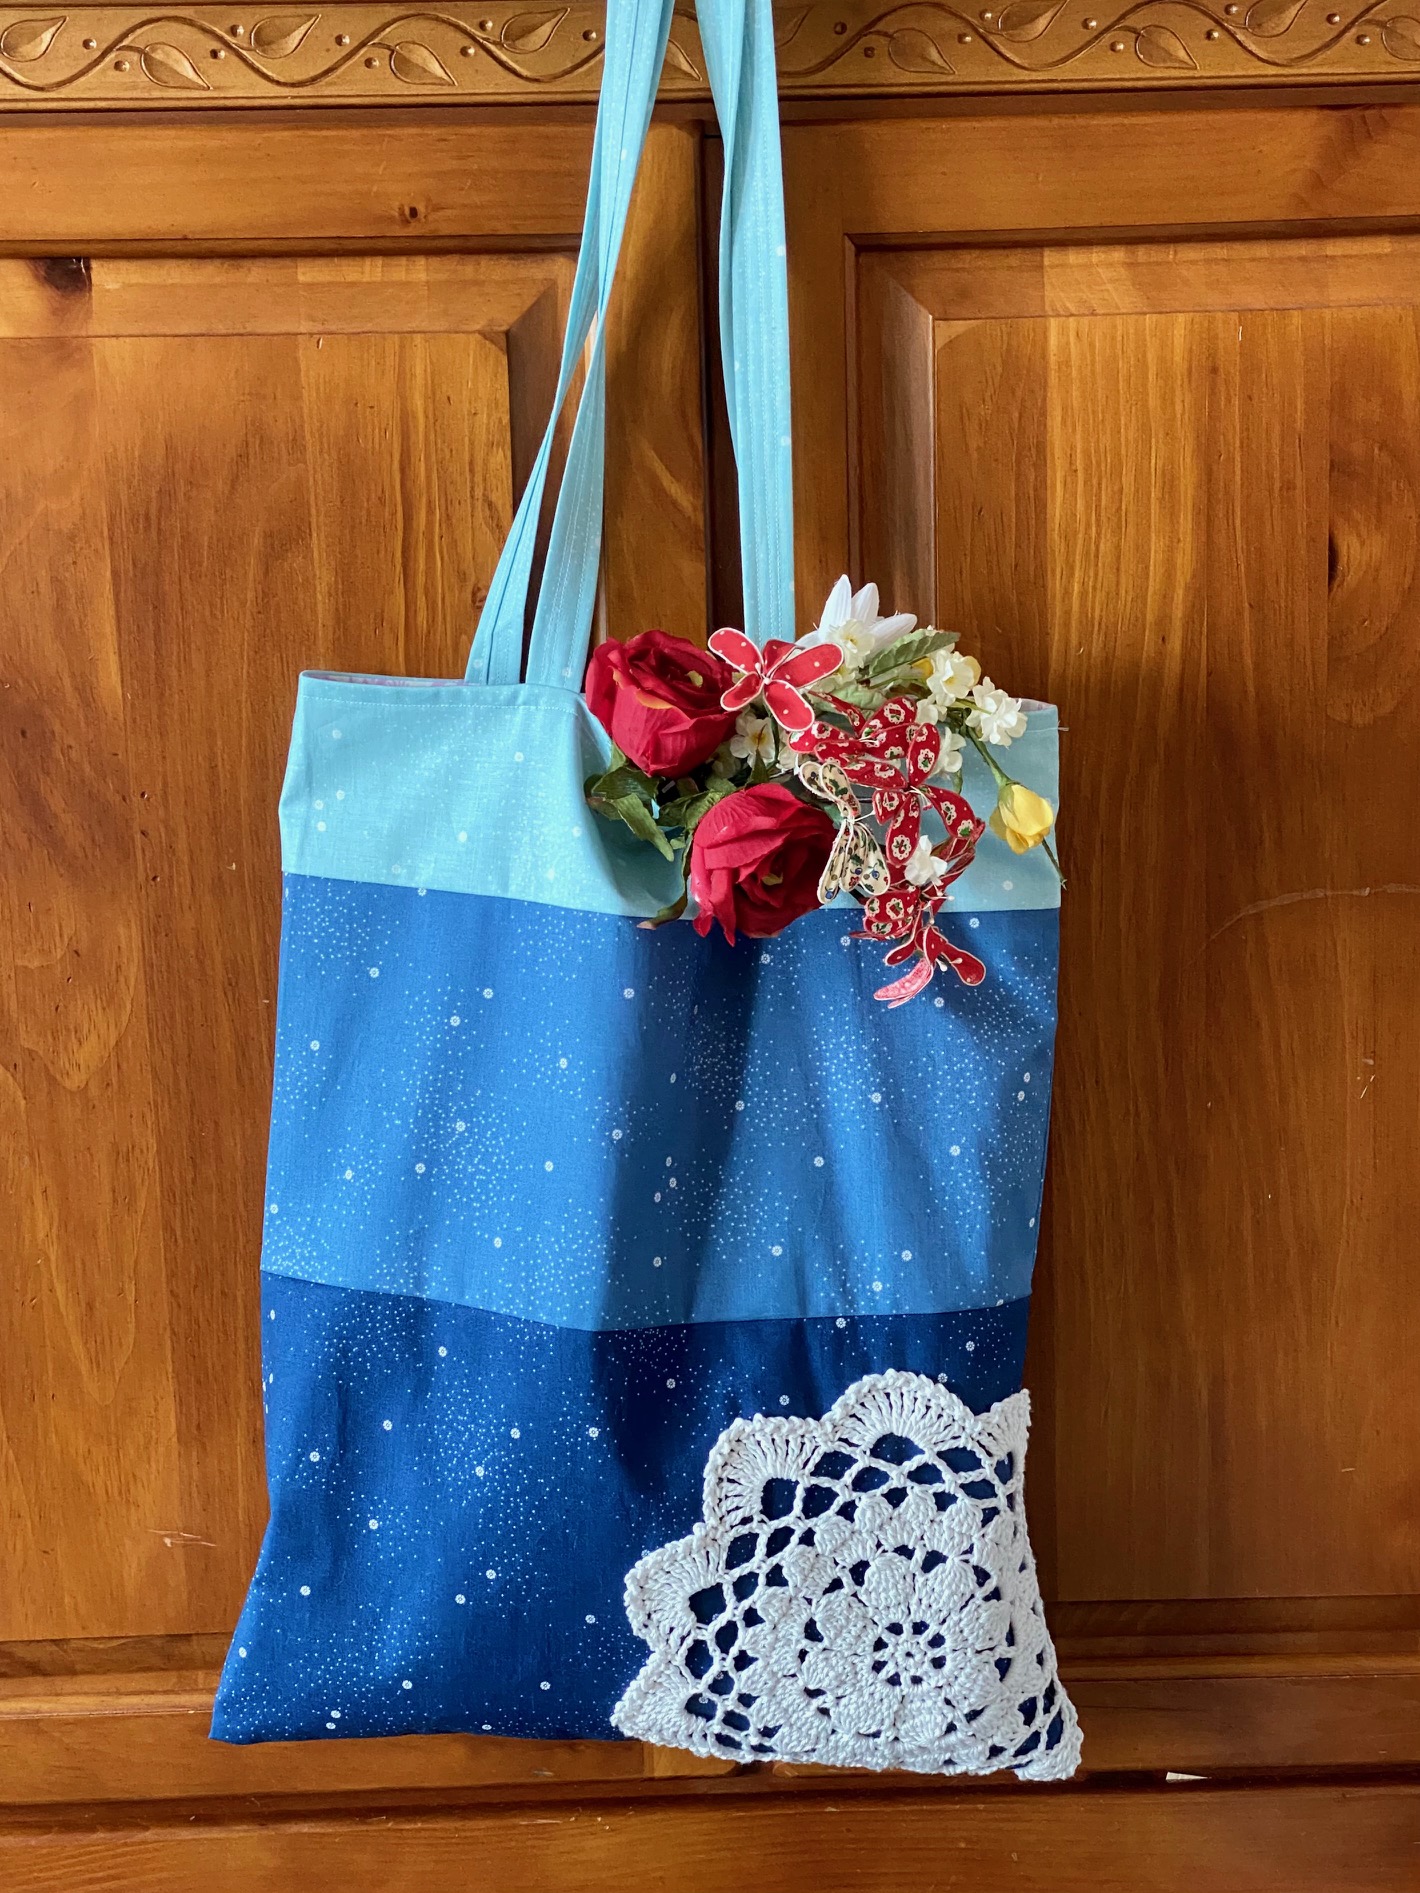
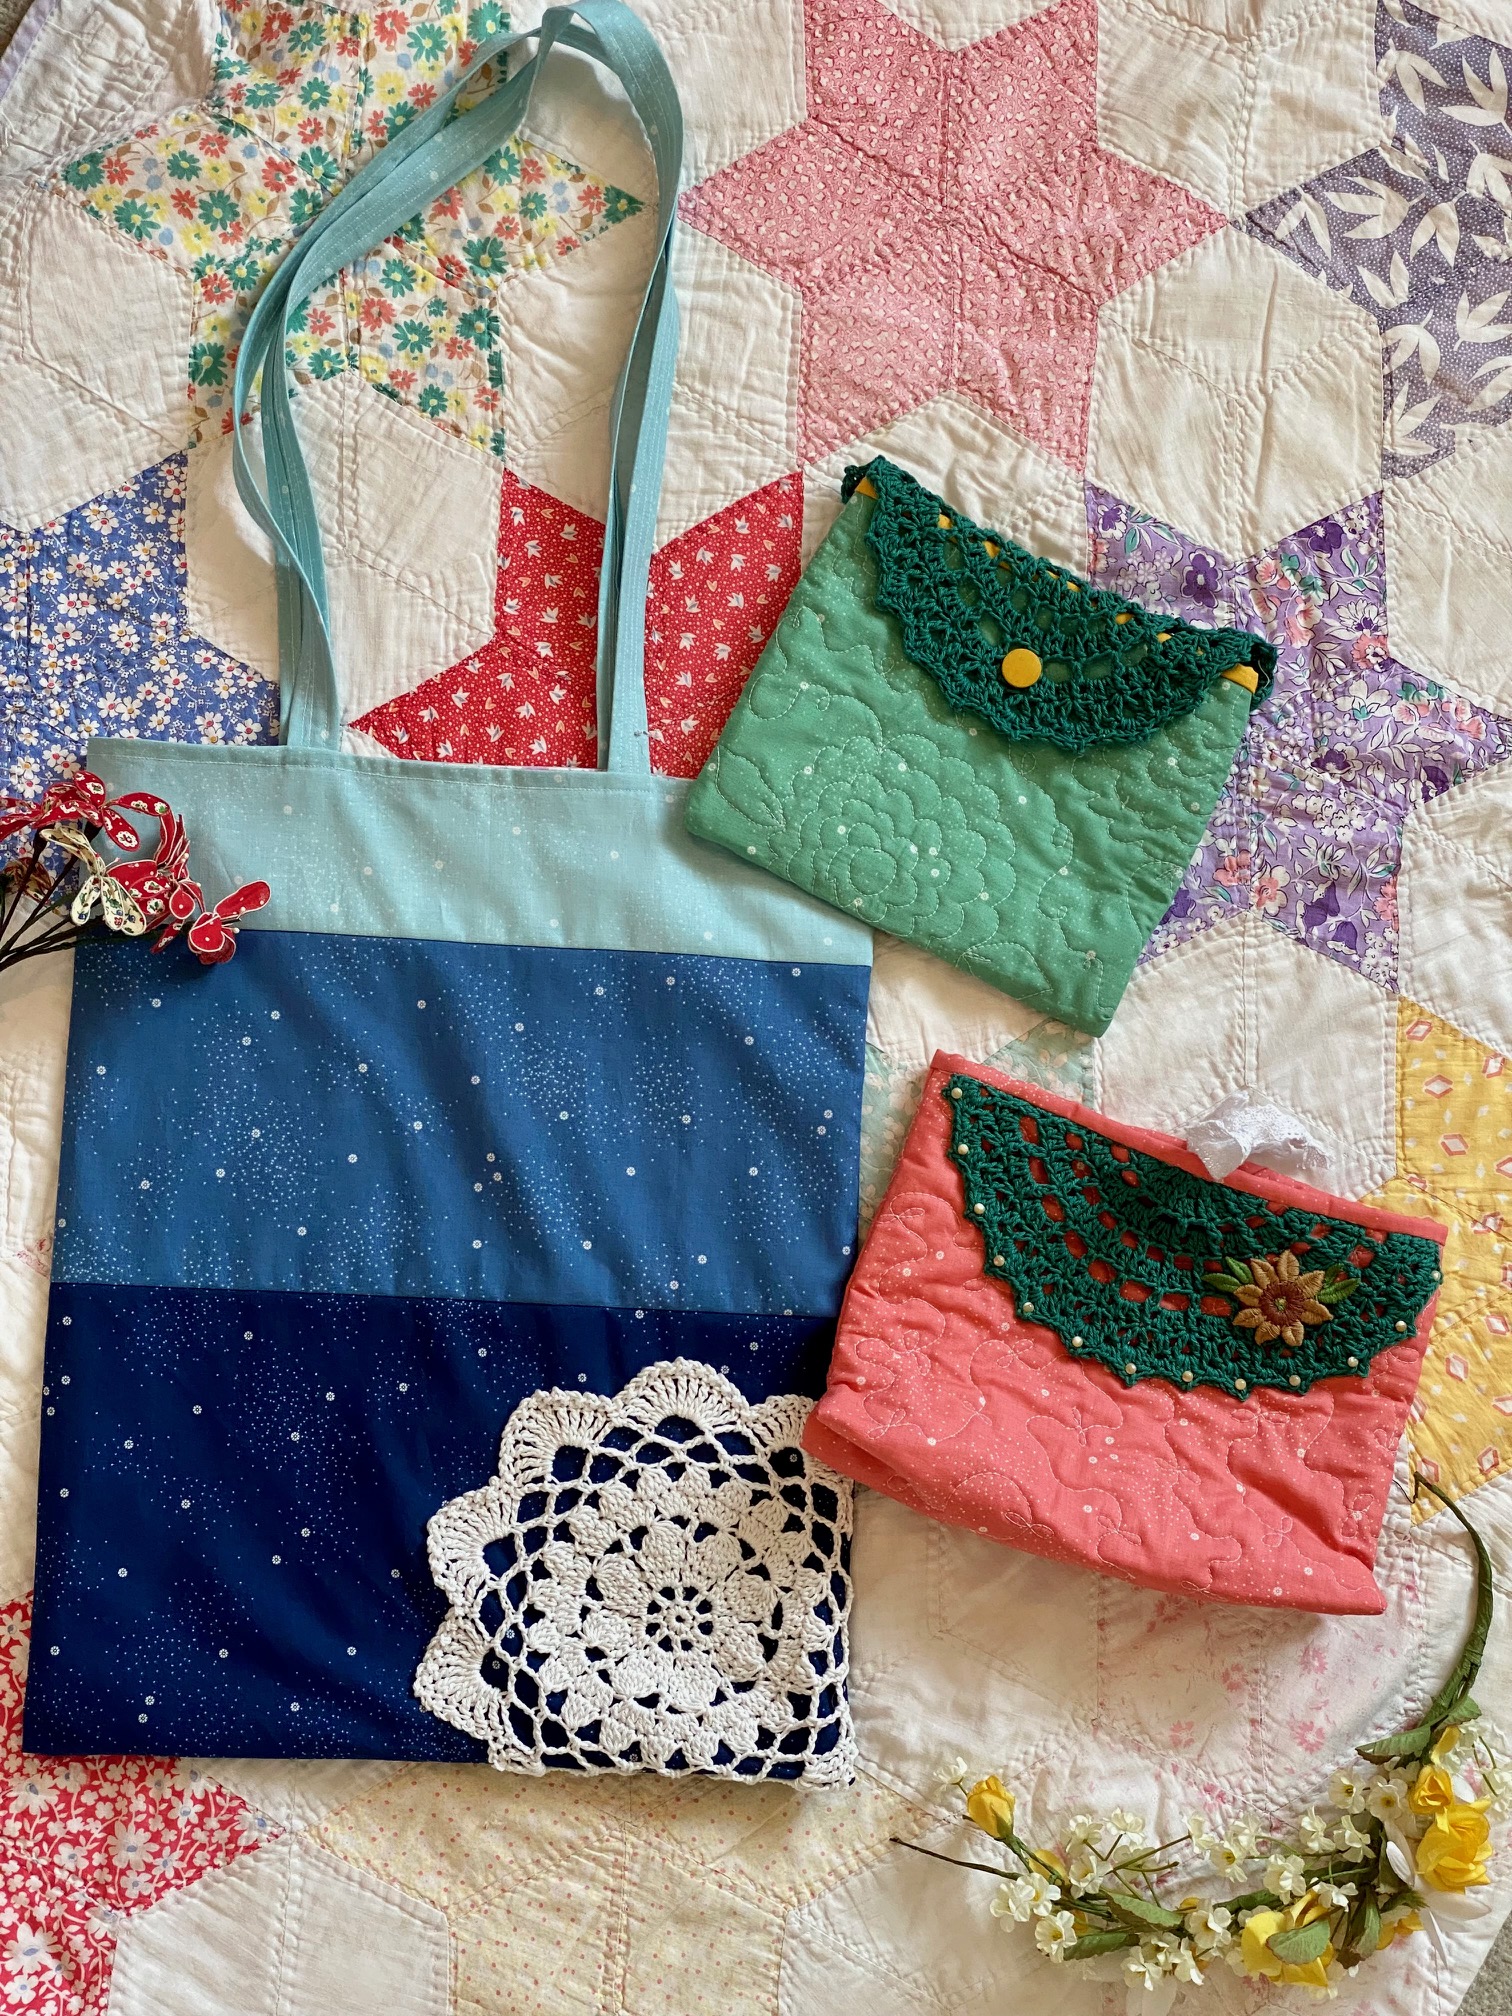
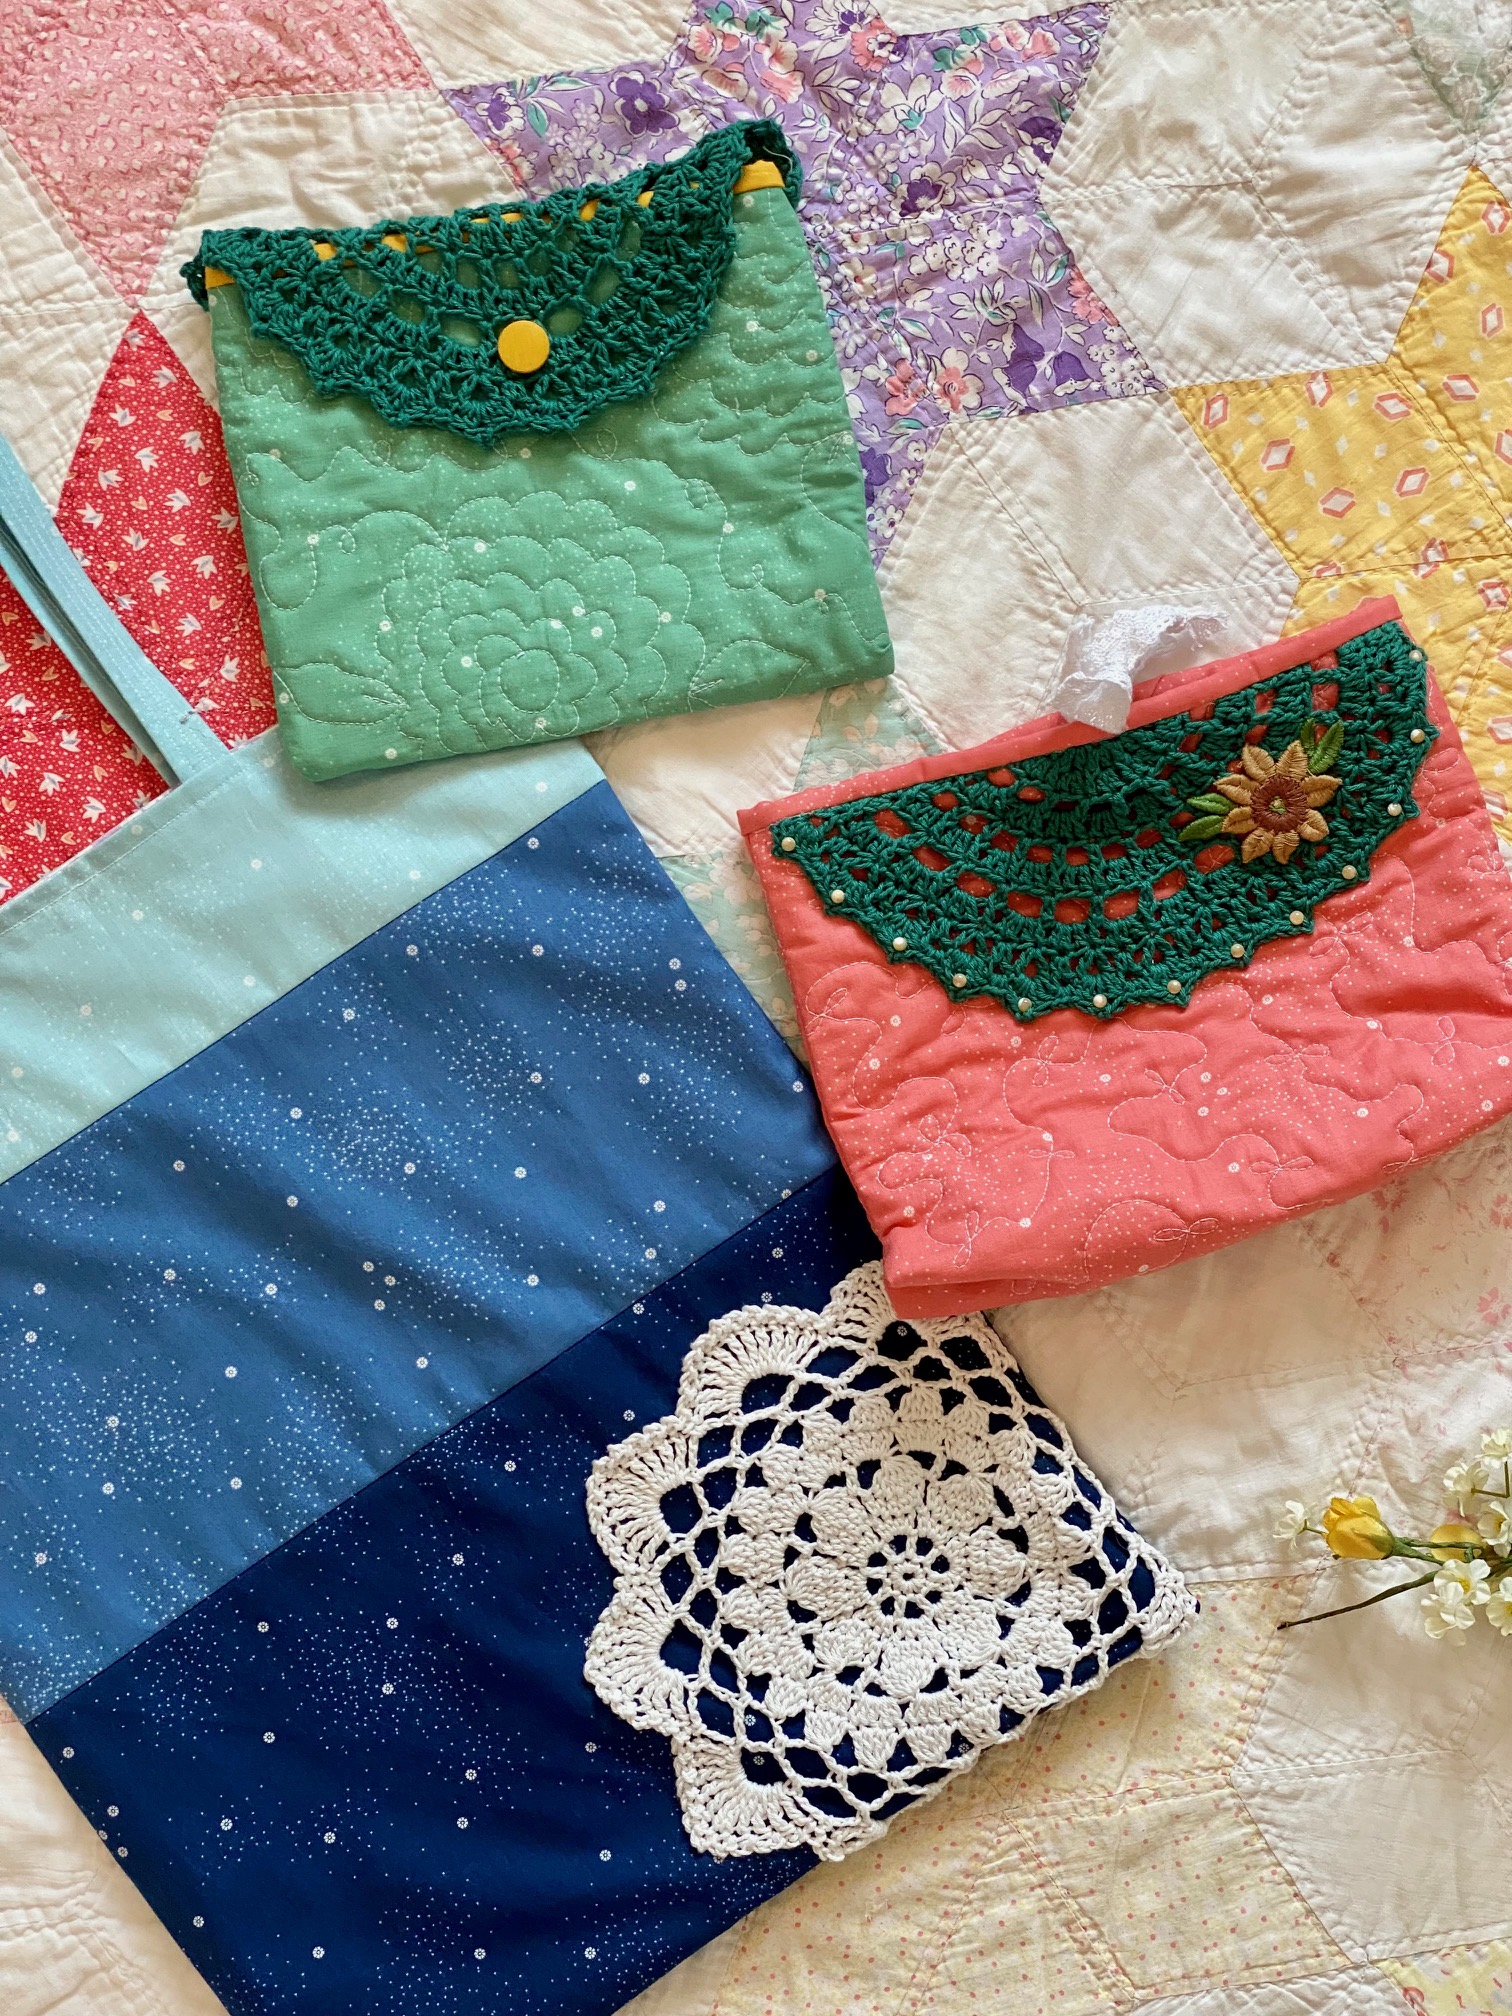
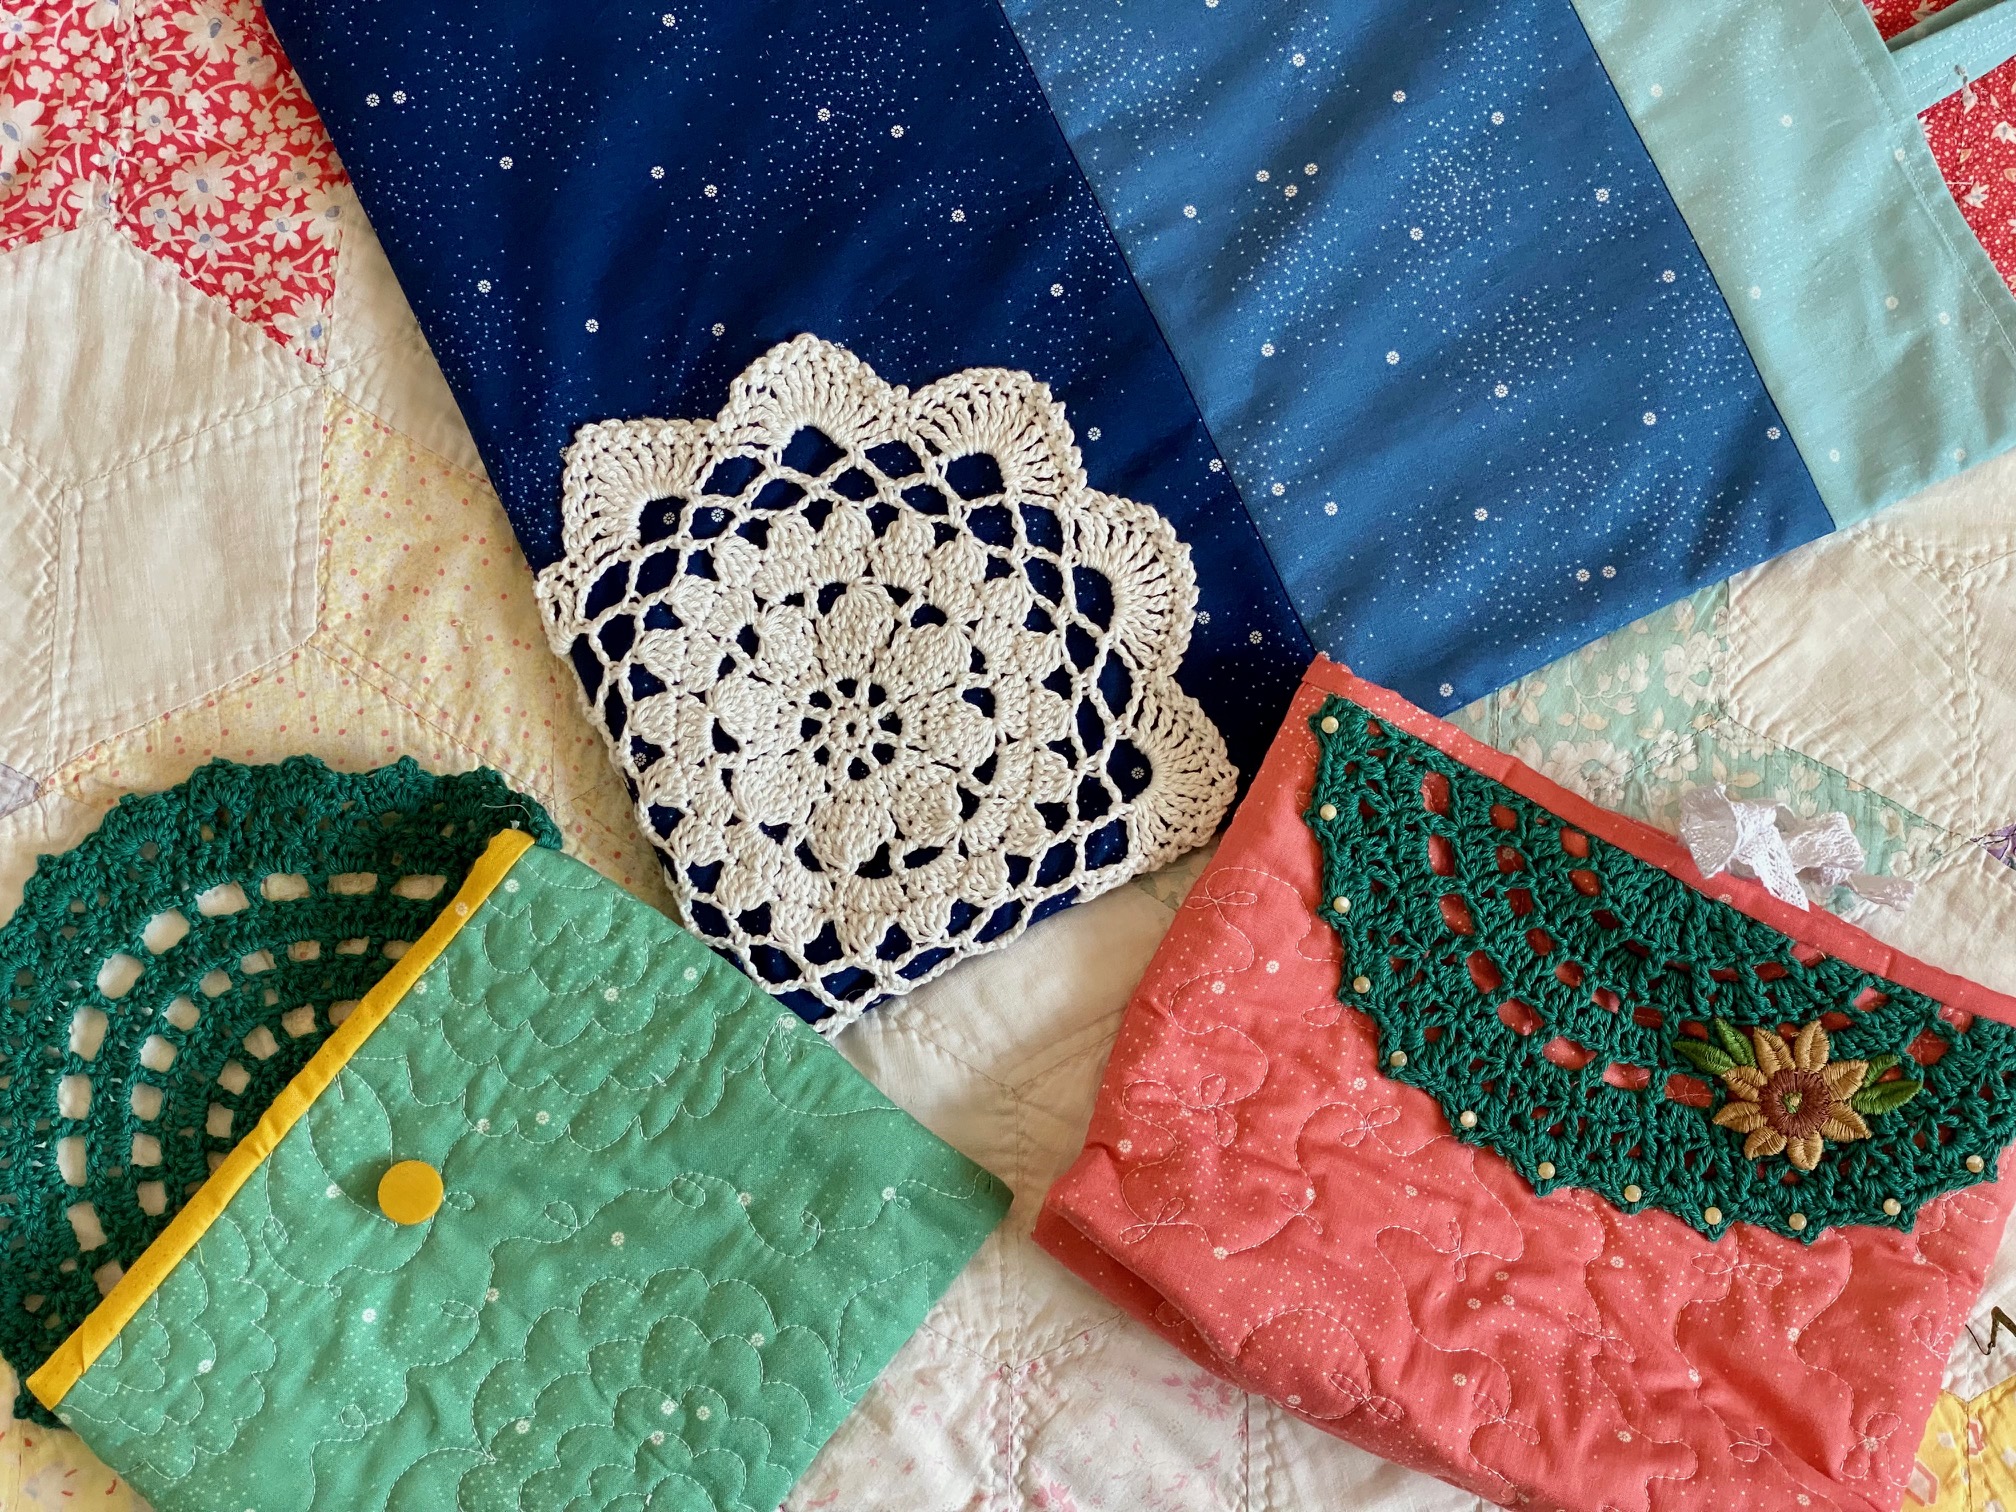
This doily was perfect for an asymmetrical decoration to the front of the tote (stitched with several lovely shades of Dainty Daisy fabric). You simply pin it securely in place on one corner with the edges sticking out past the tote’s raw edge on two sides, hand stitch it down around the edges and center, and then after you sew the seam, trim off the part that sticks through the seam.

For the two bags, I made this free pattern, but stitched it all in one color instead of the two shown. There are so many color options though, and each one would give a different look!

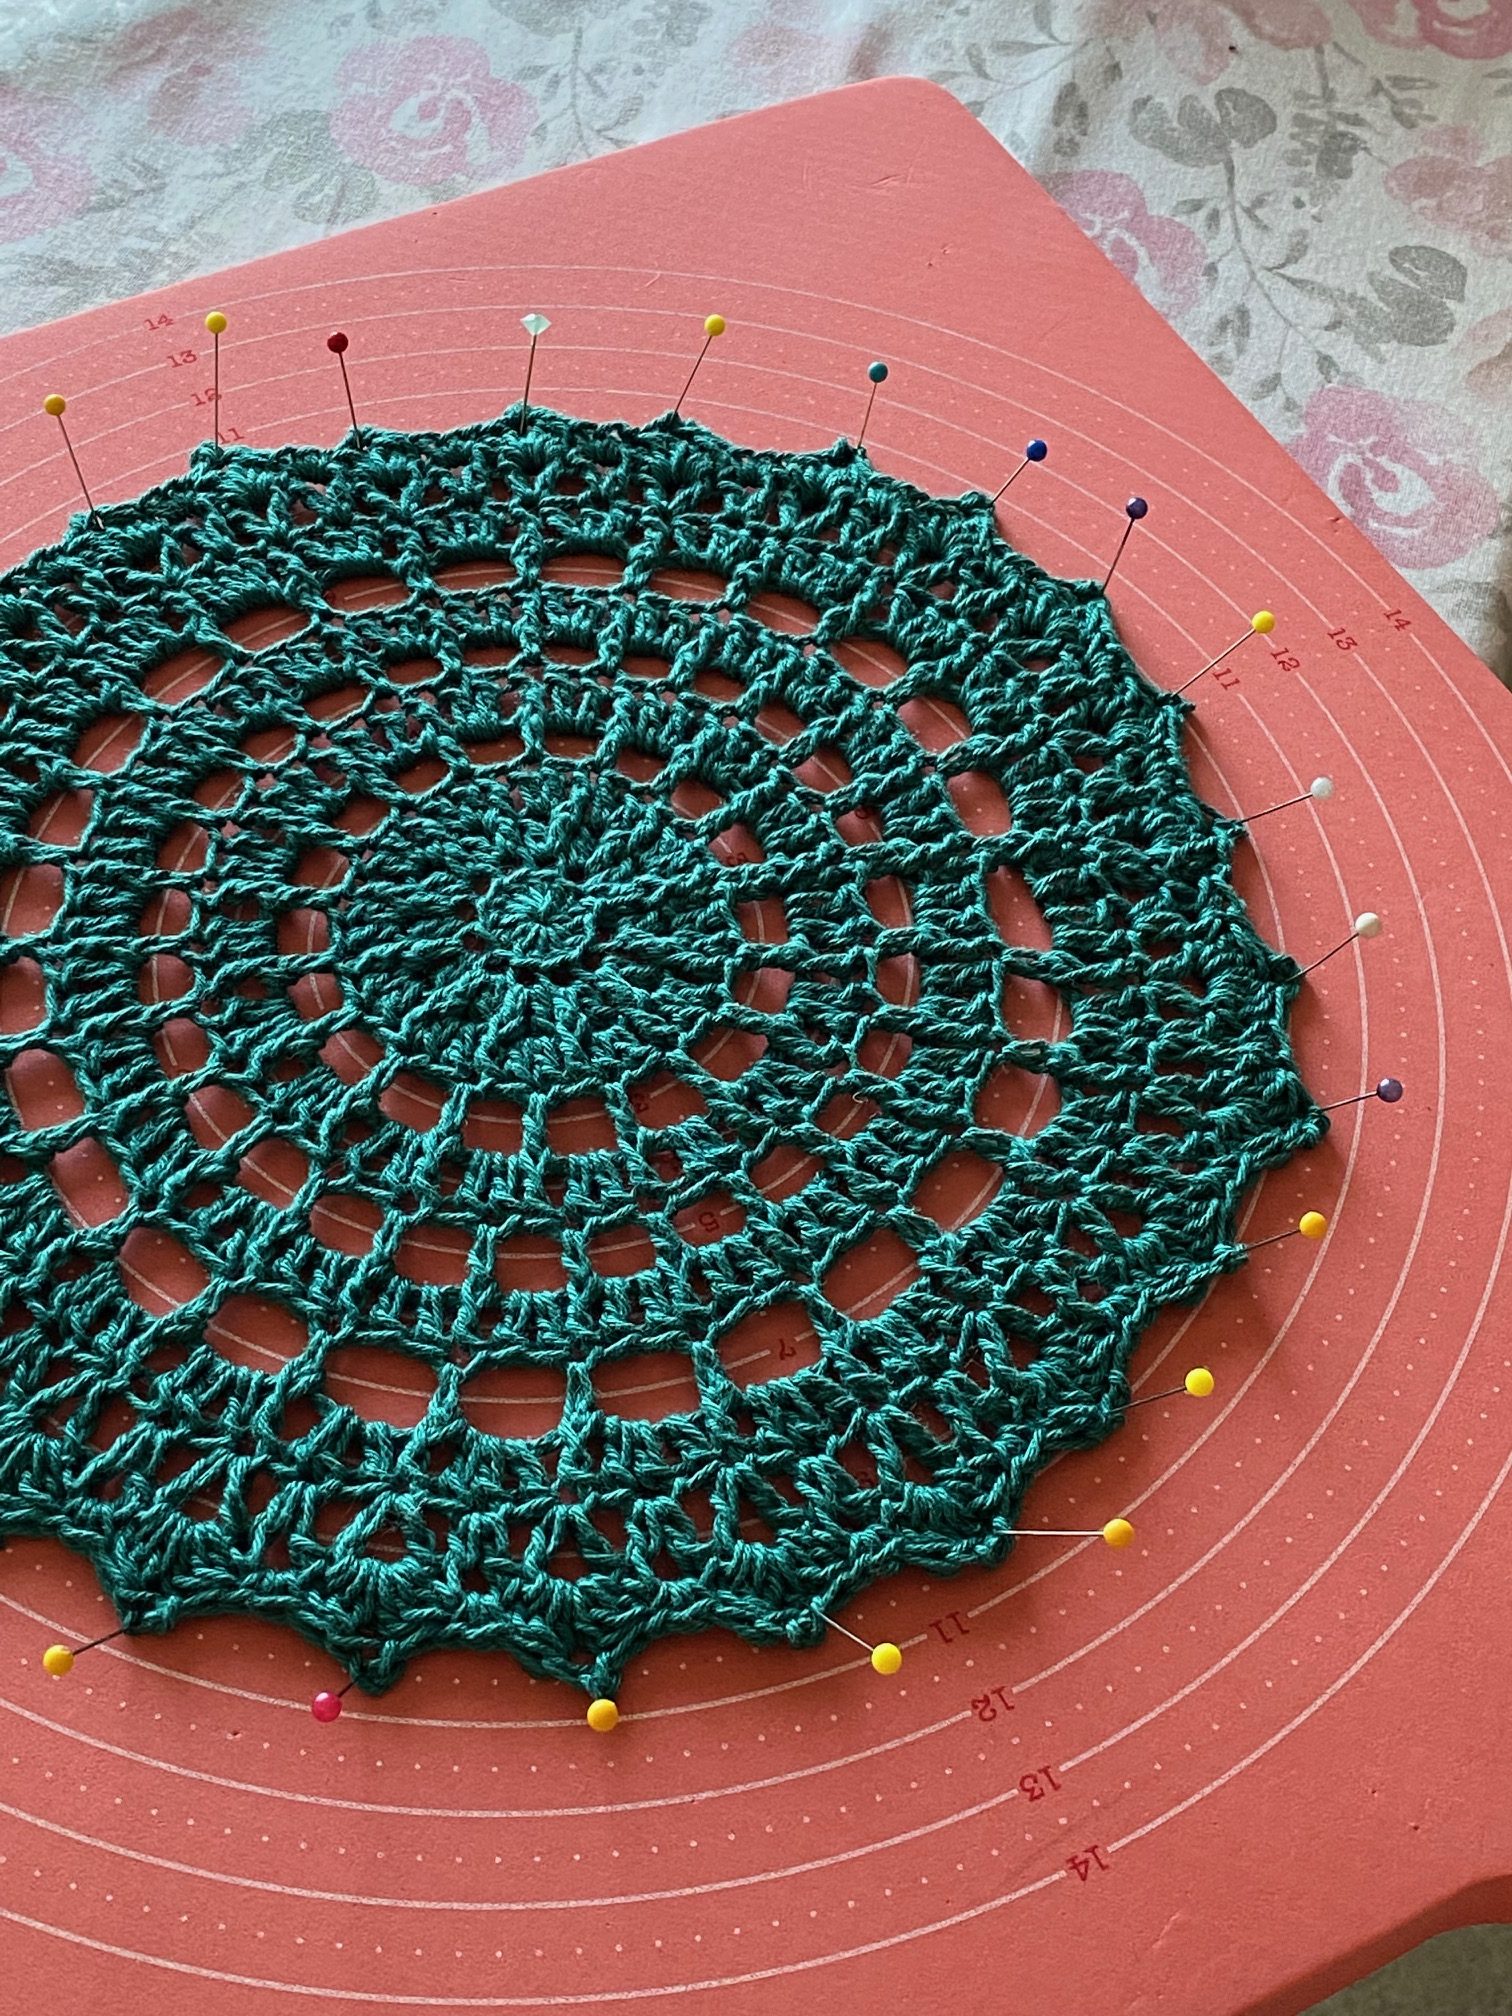
Make sure you block the doilies well!
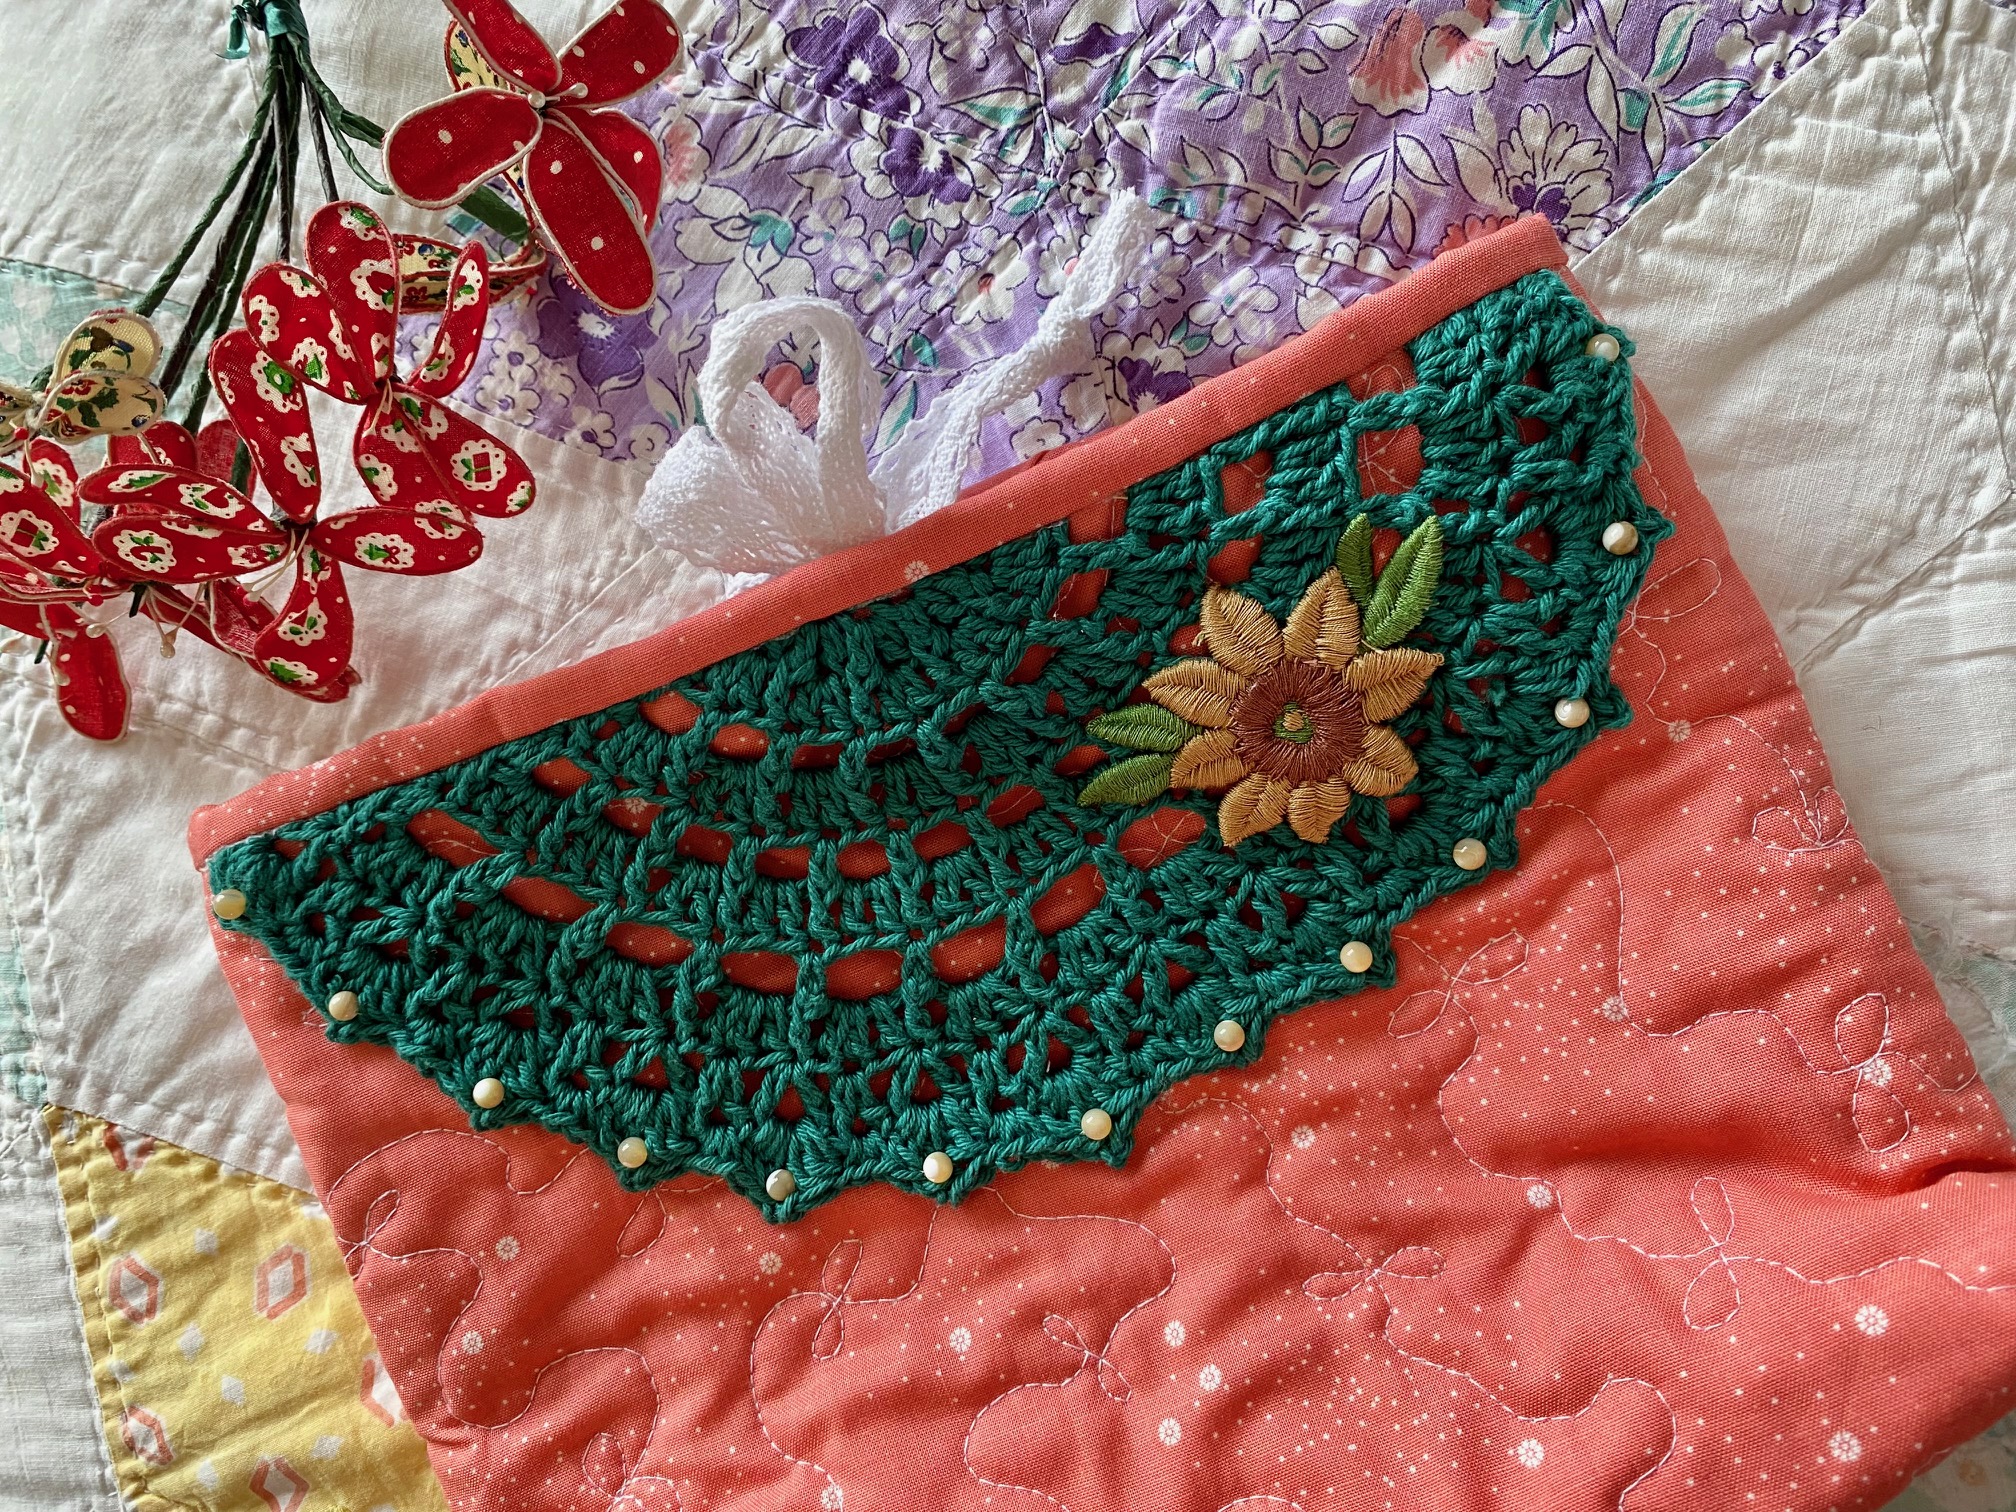
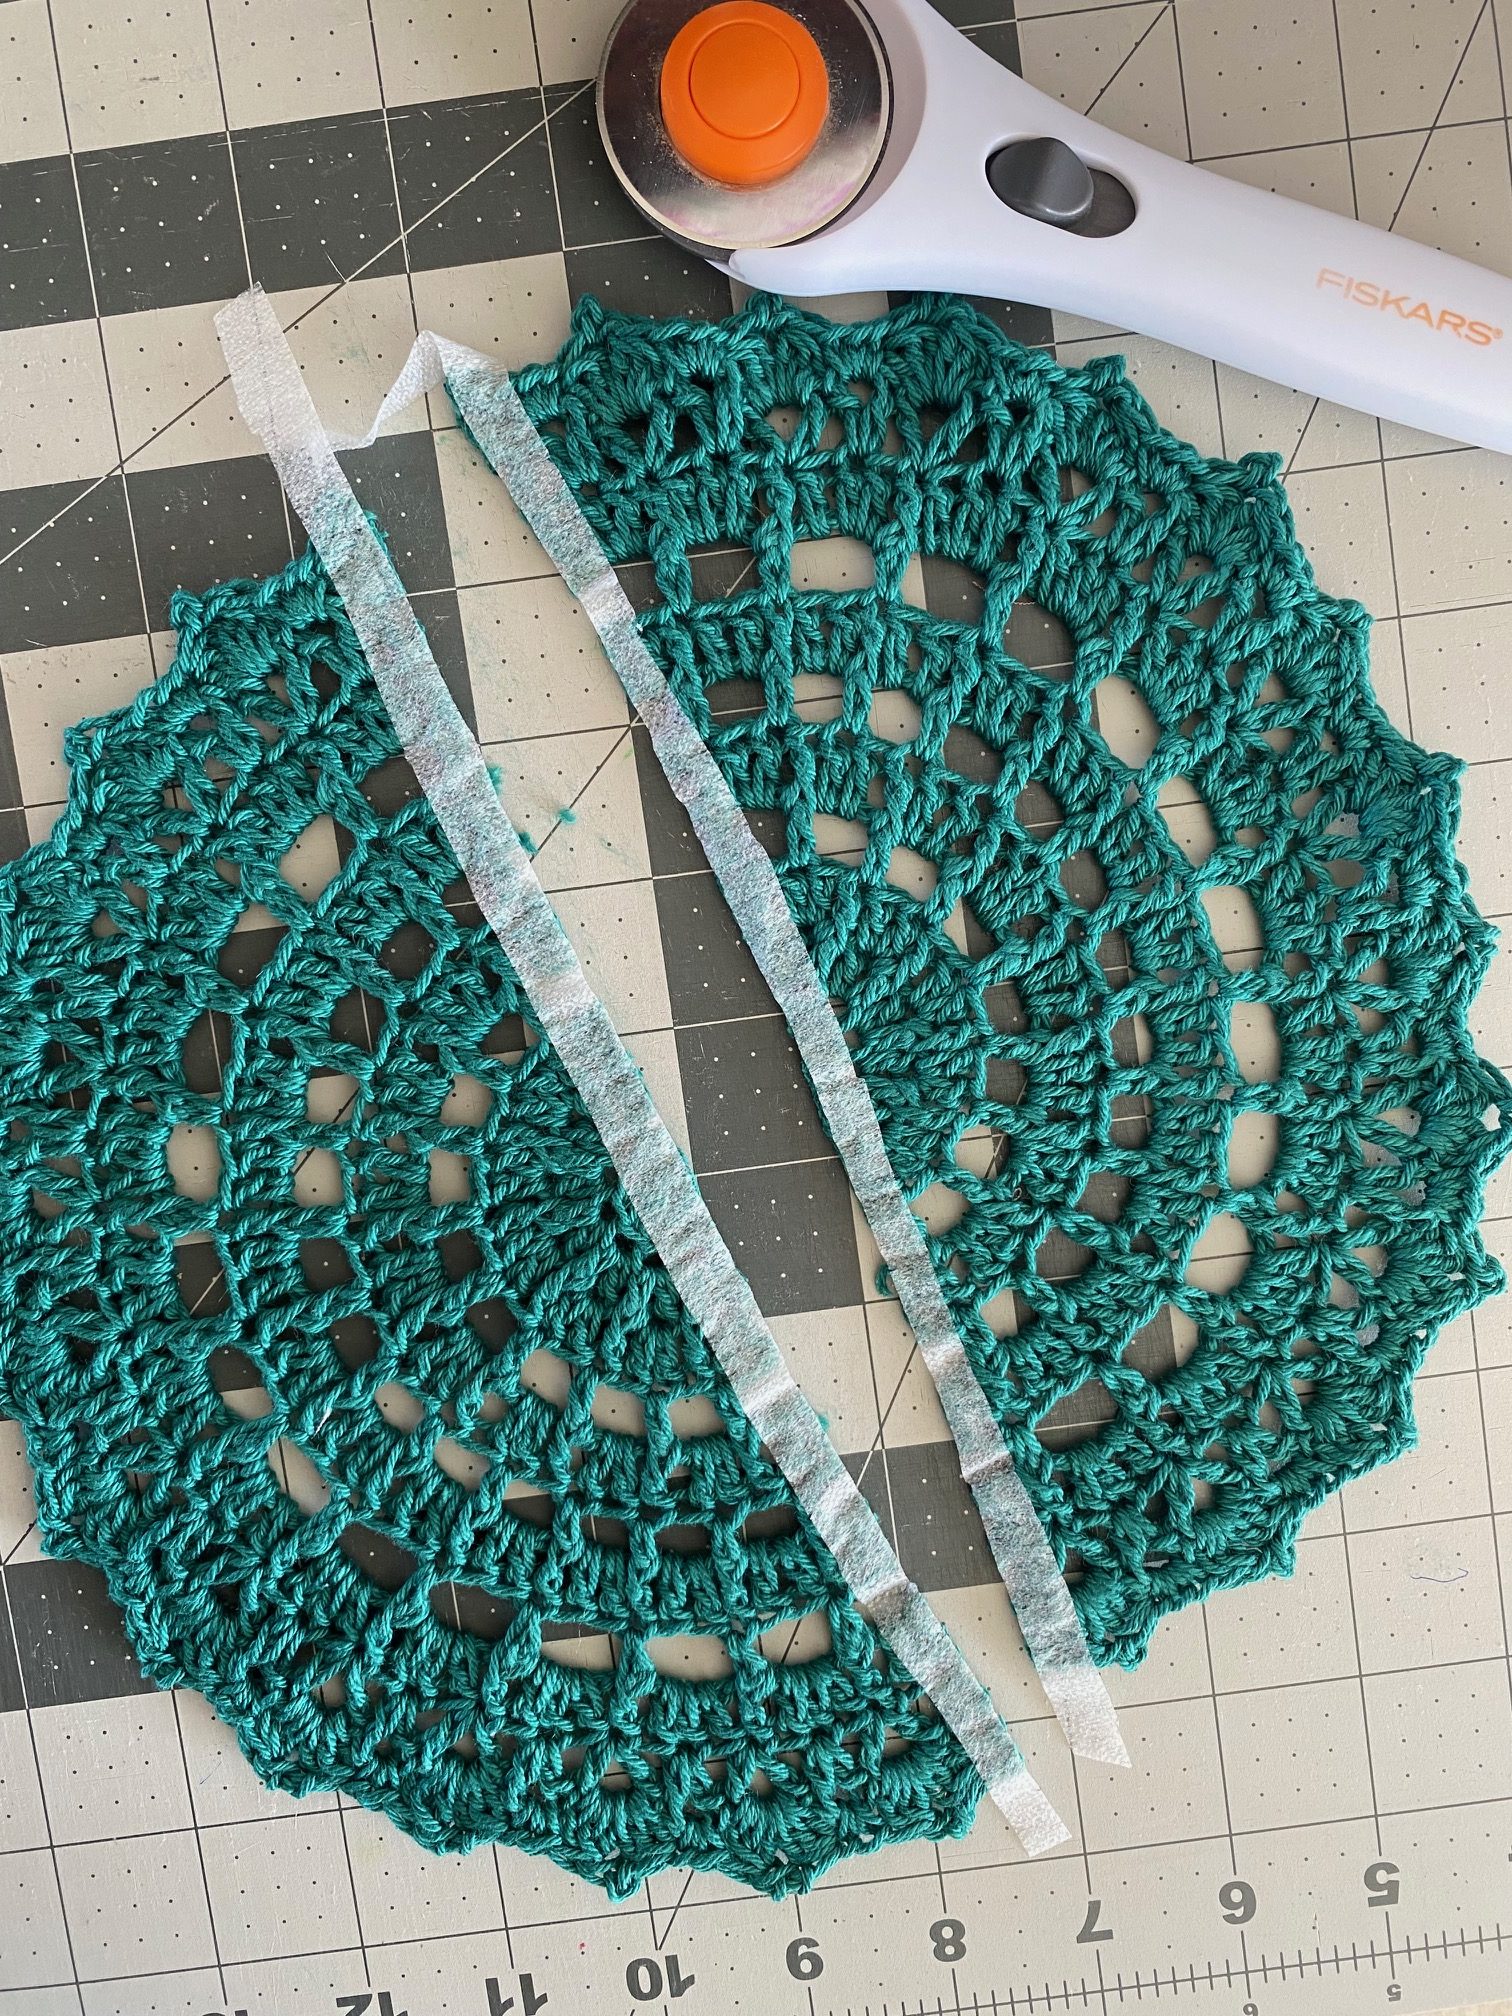
This project needed the doily to be cut in half for two smaller decorations. First I applied a 1/2″ strip of fusible interfacing down the center of the doily, to control the cut ends. It still needs to be handled with care, and as little as possible, but helped a lot to keep it from unraveling.
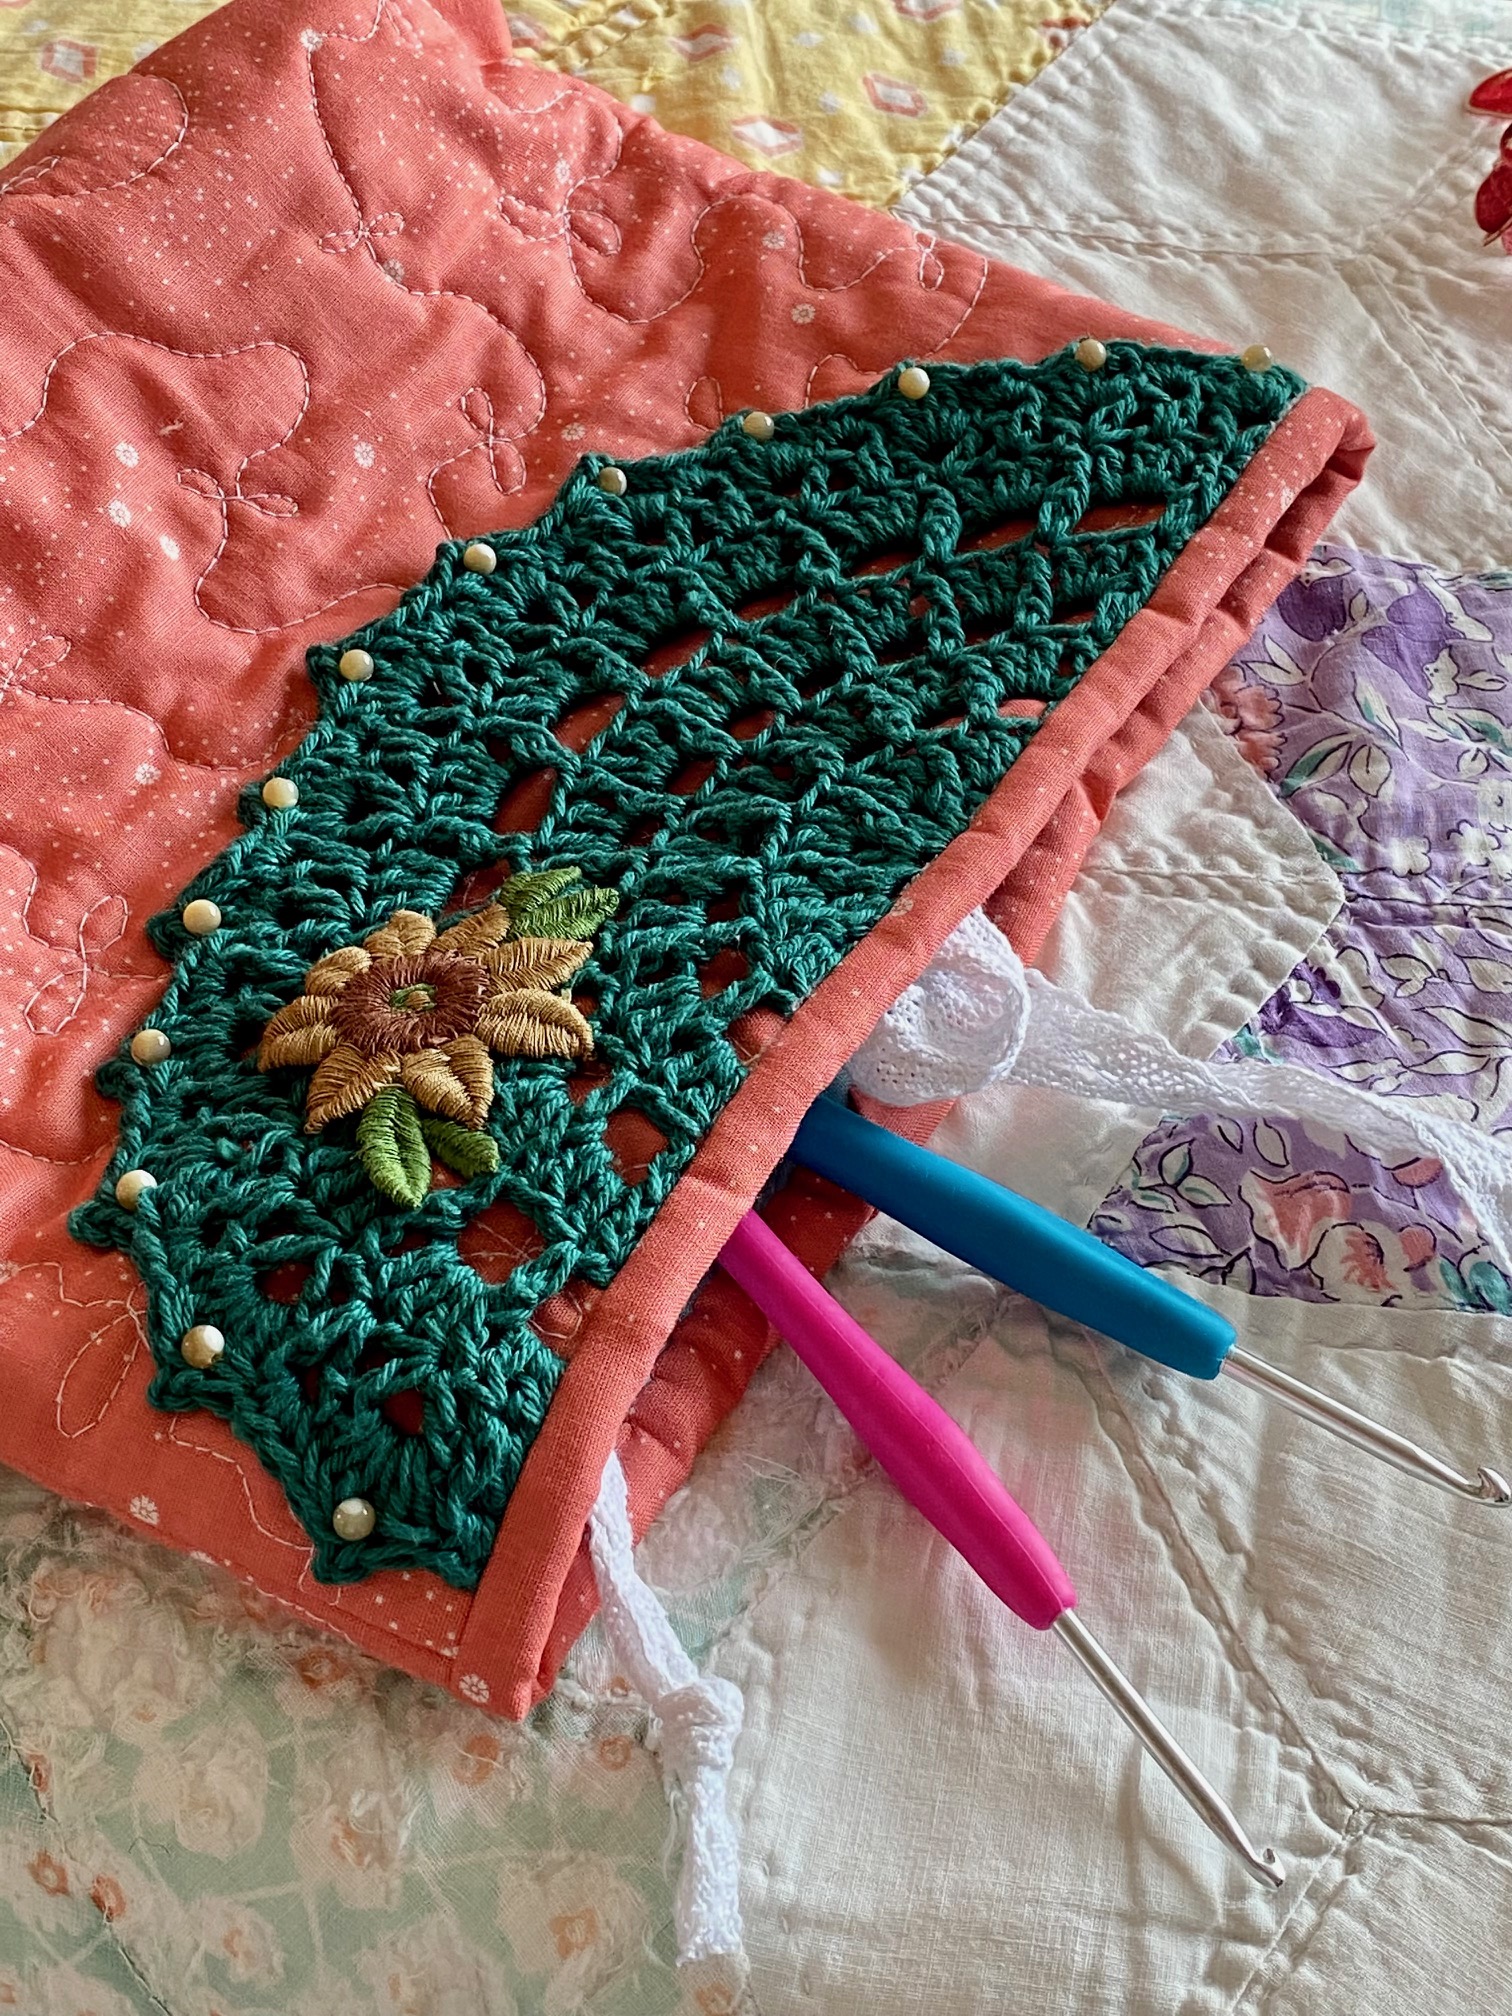
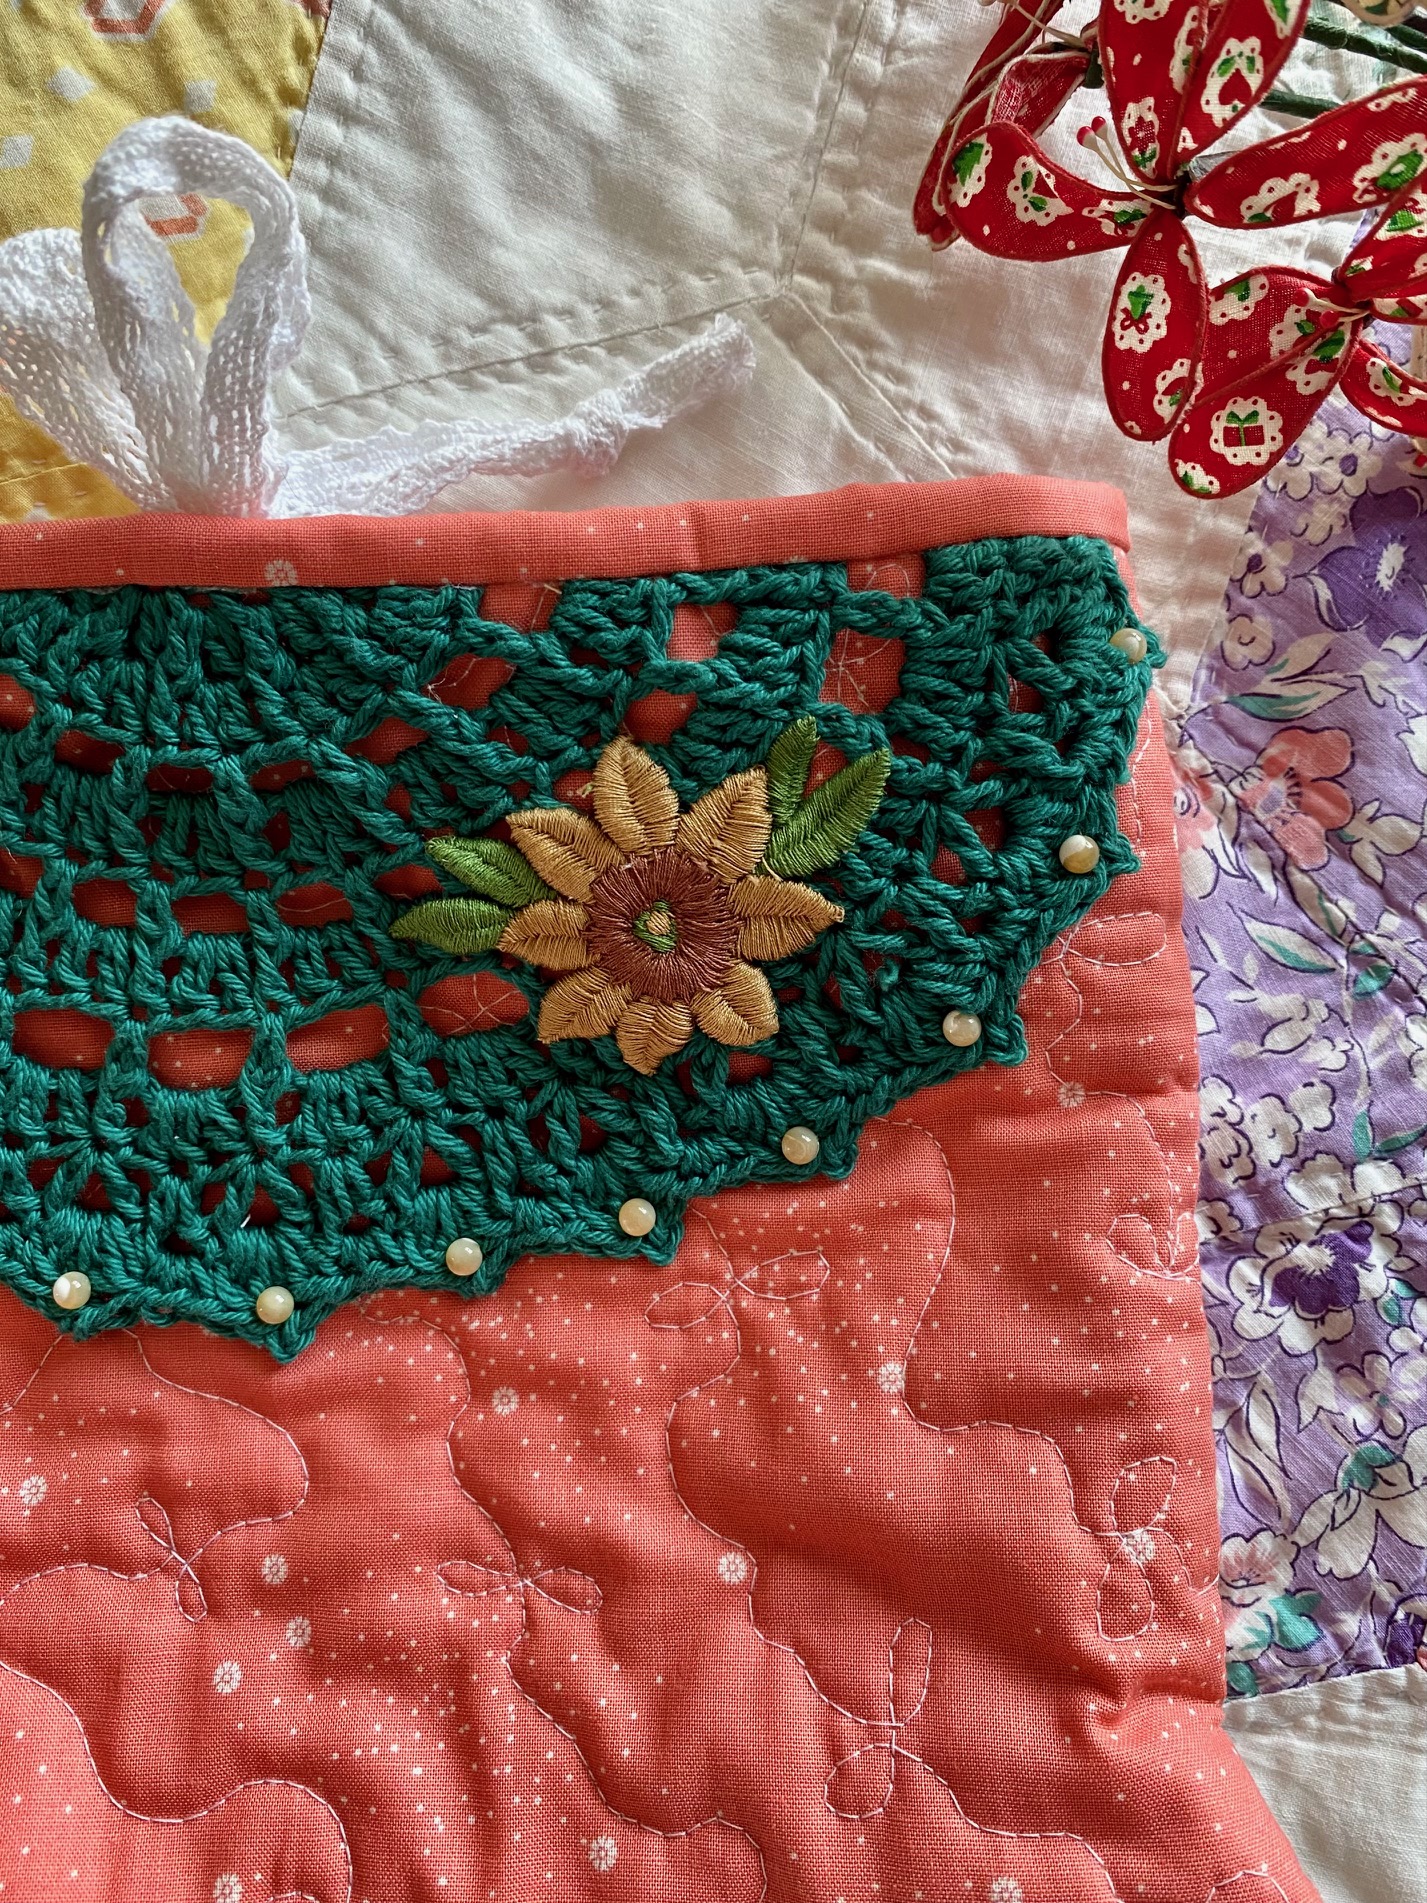
With two halves to use, I chose to use one just as decoration, putting the cut edge into the binding of a bag. You will want to baste it down along the raw before sewing the binding on, to keep the doily from shifting.

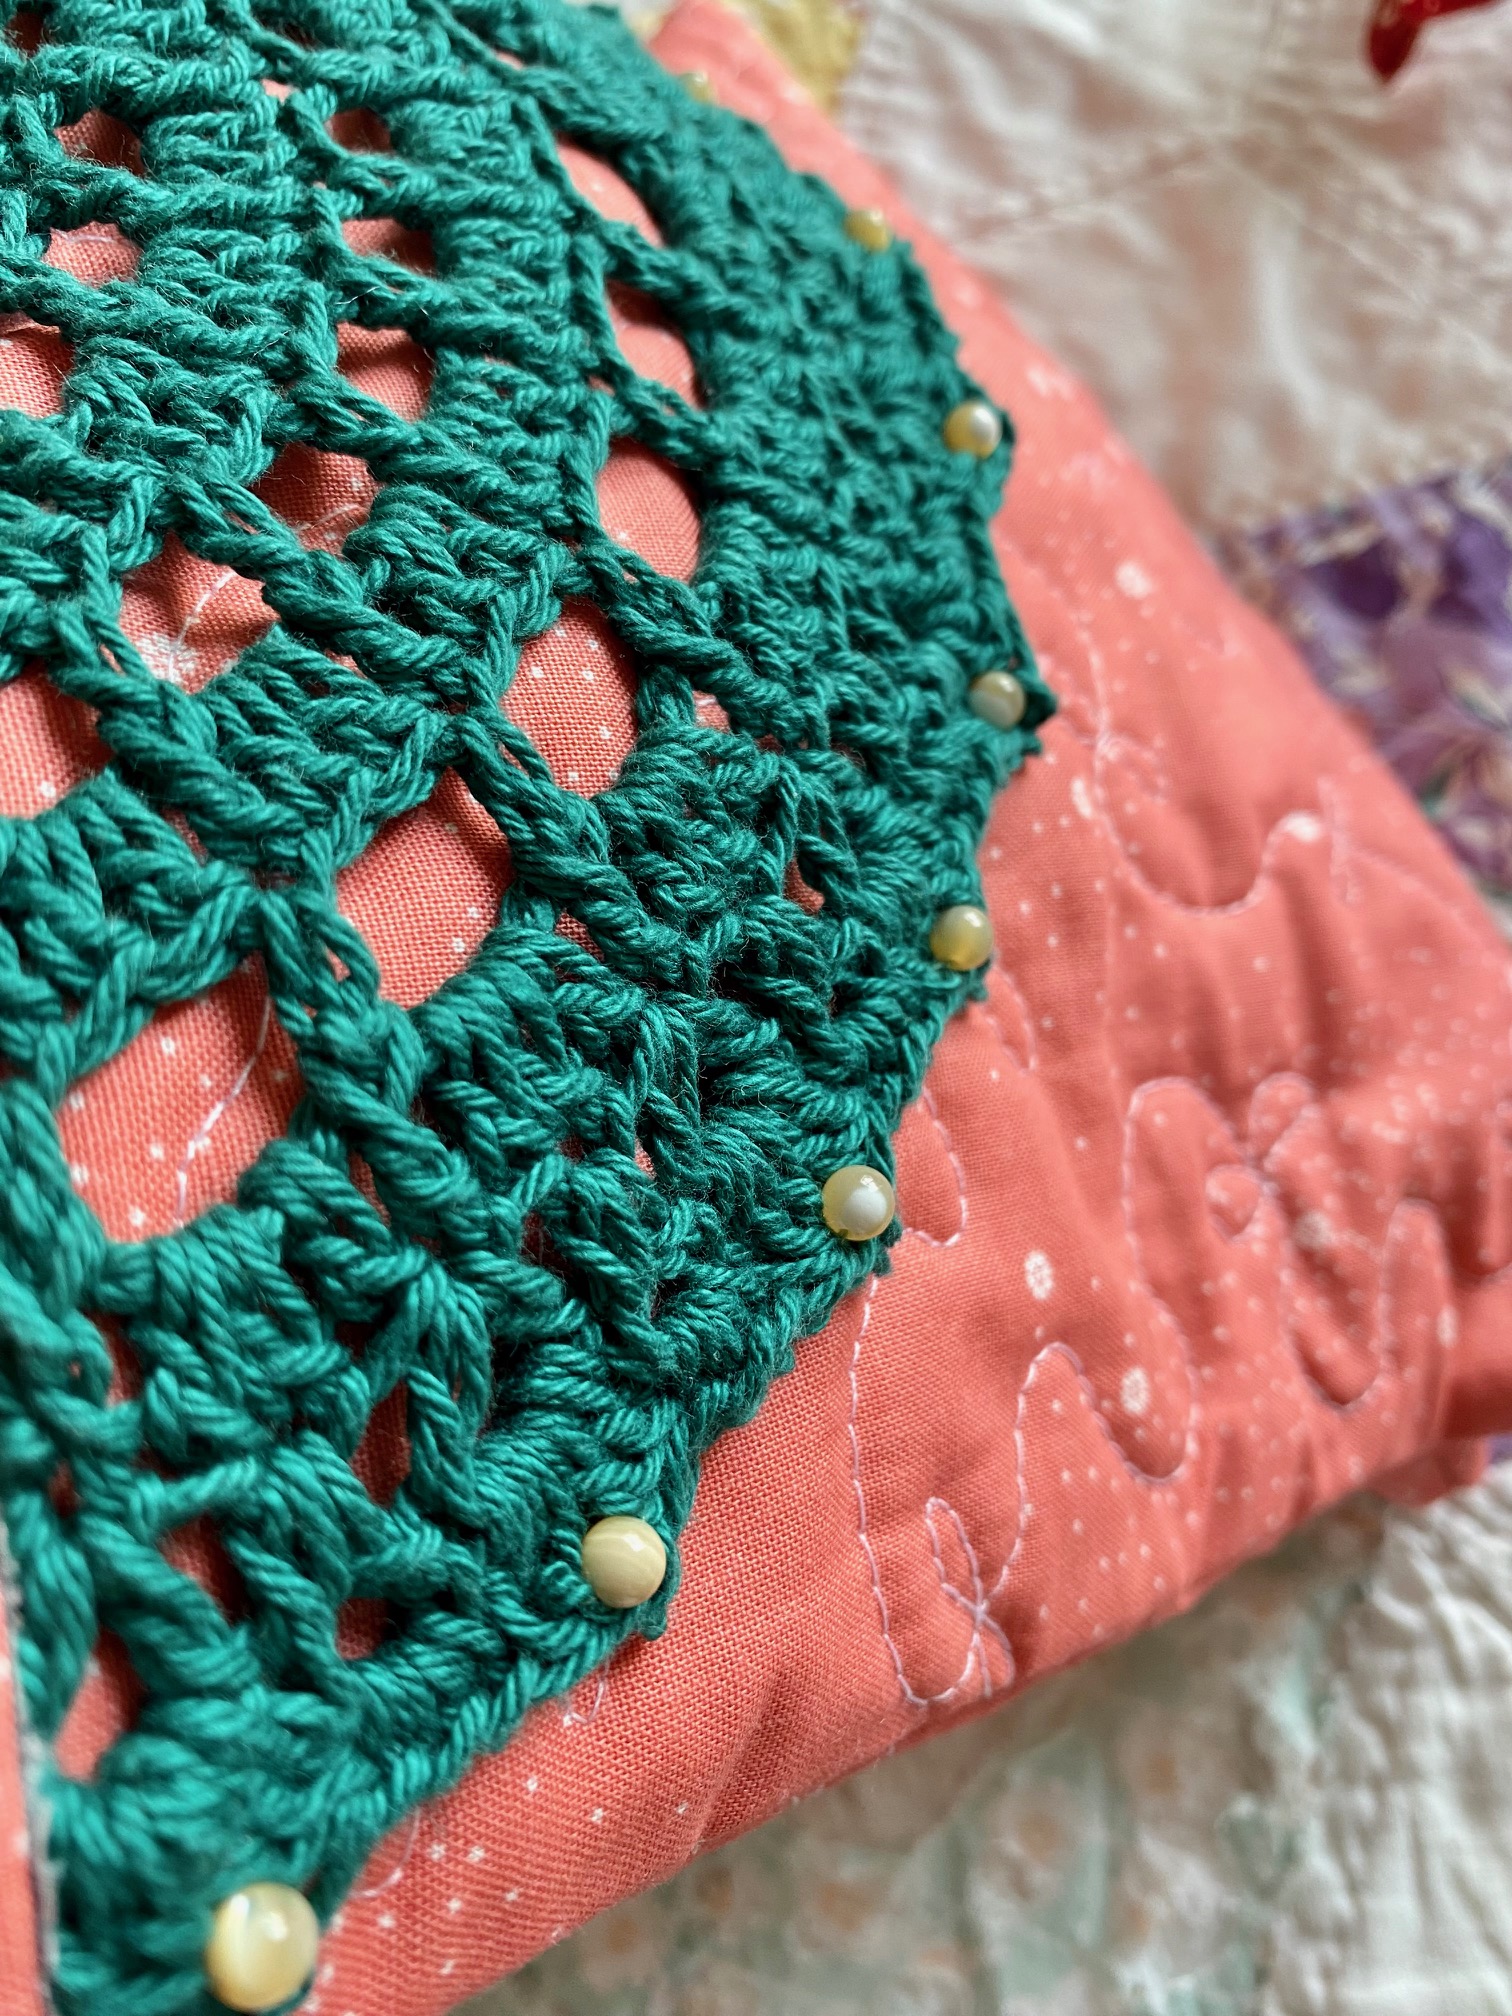
Finish or bind the bag edge just like you would normally. Then tack down the doily edges with needle and thread. I added beads and an appliqué just to make it more fun!
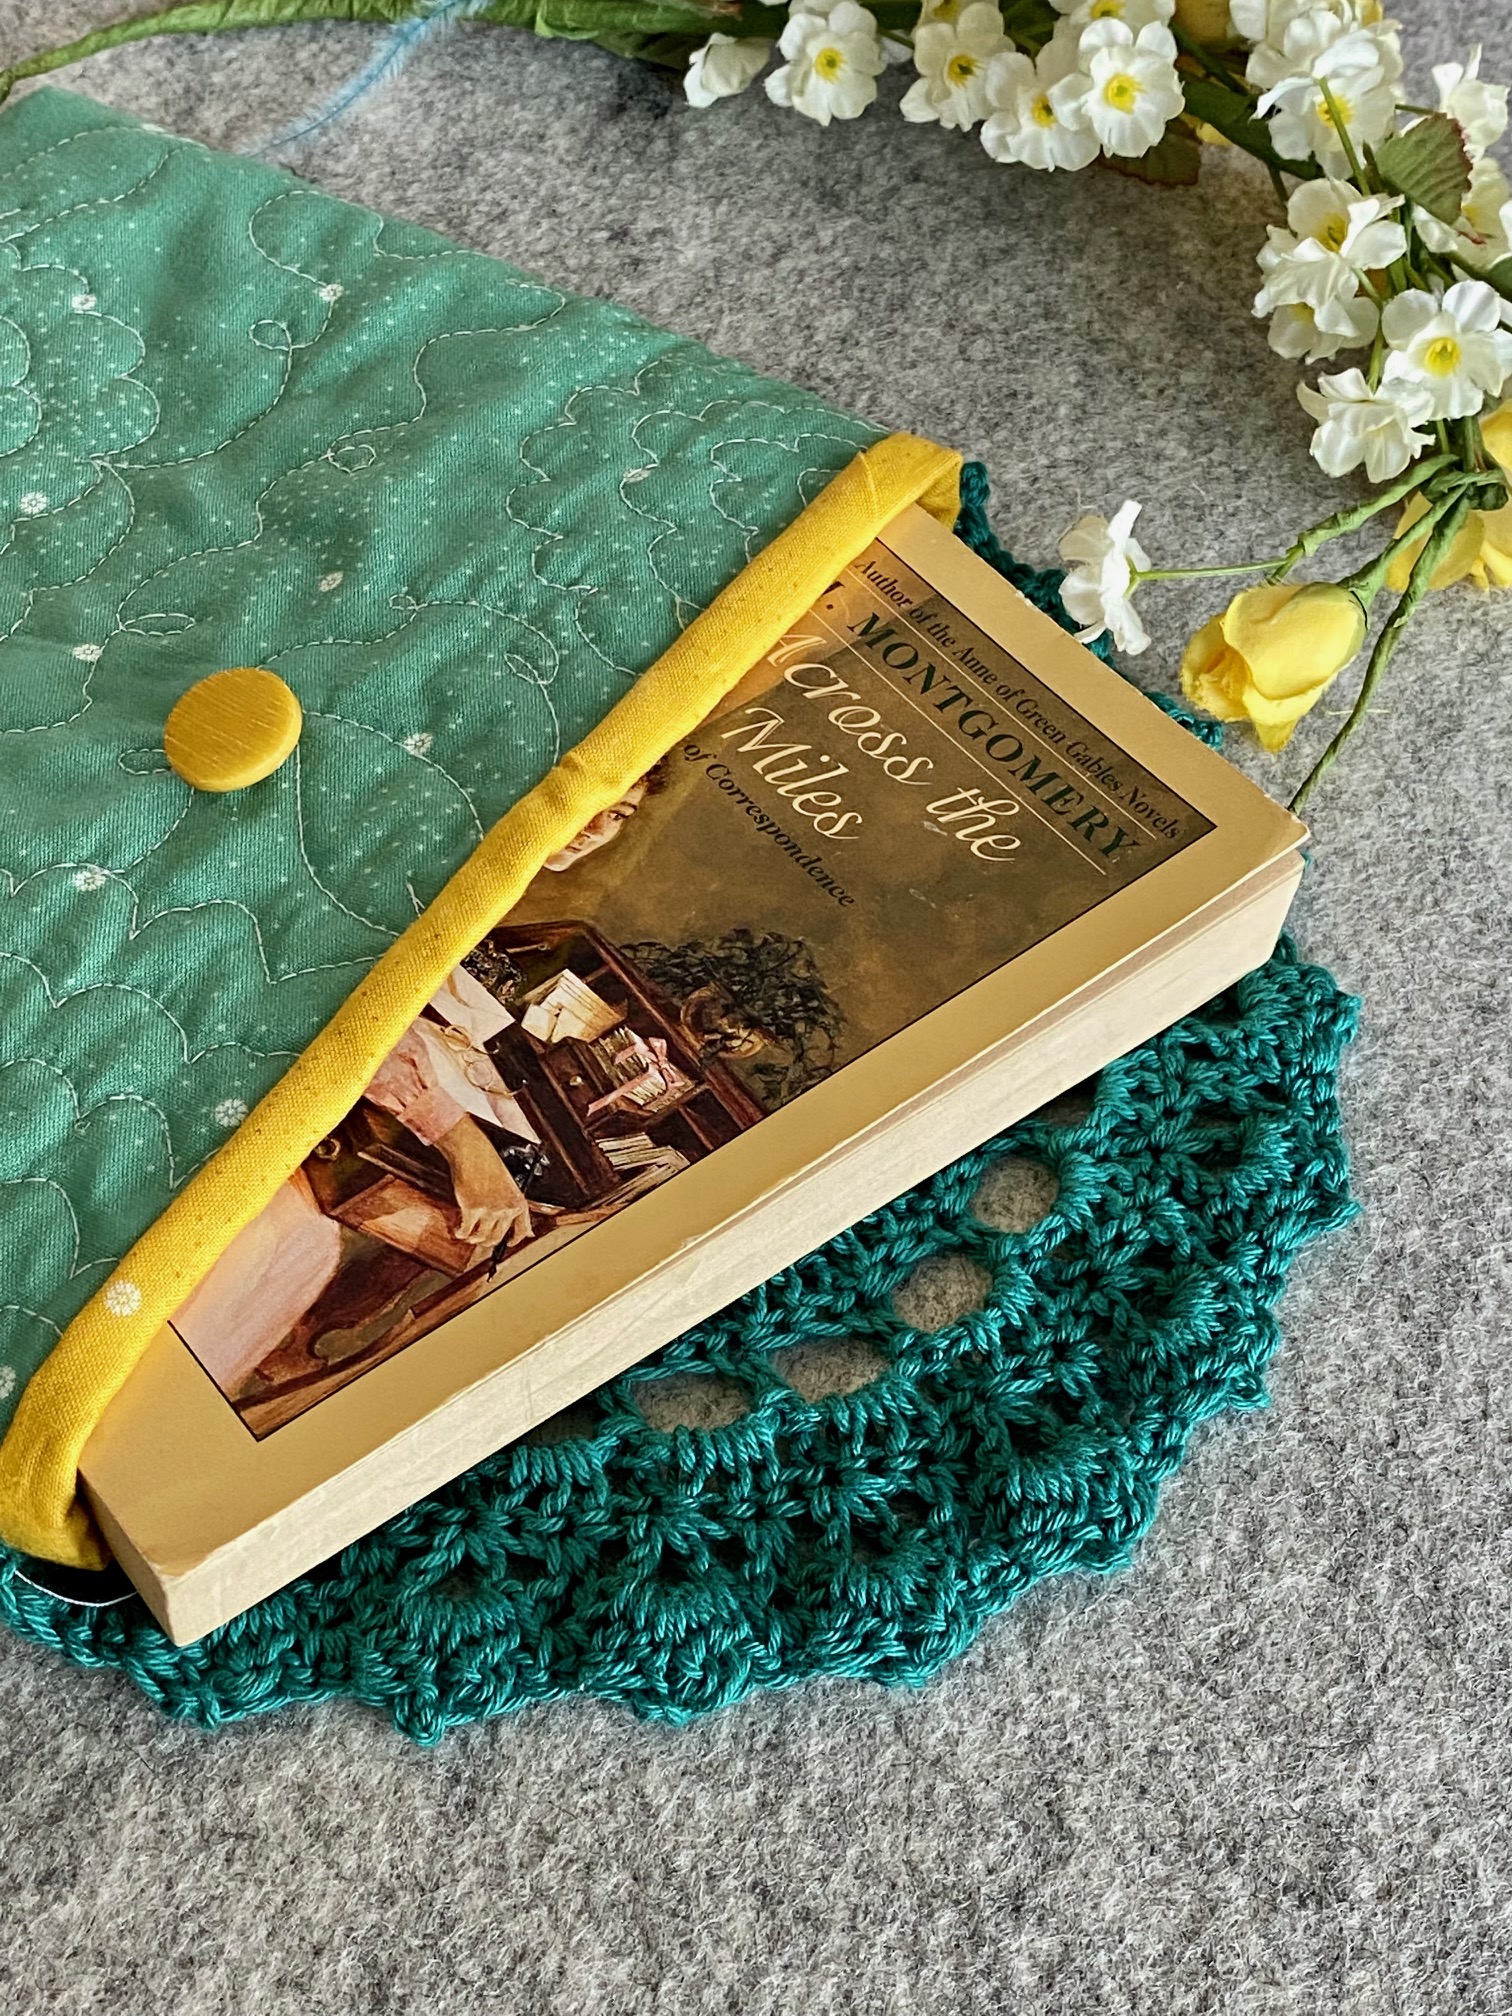
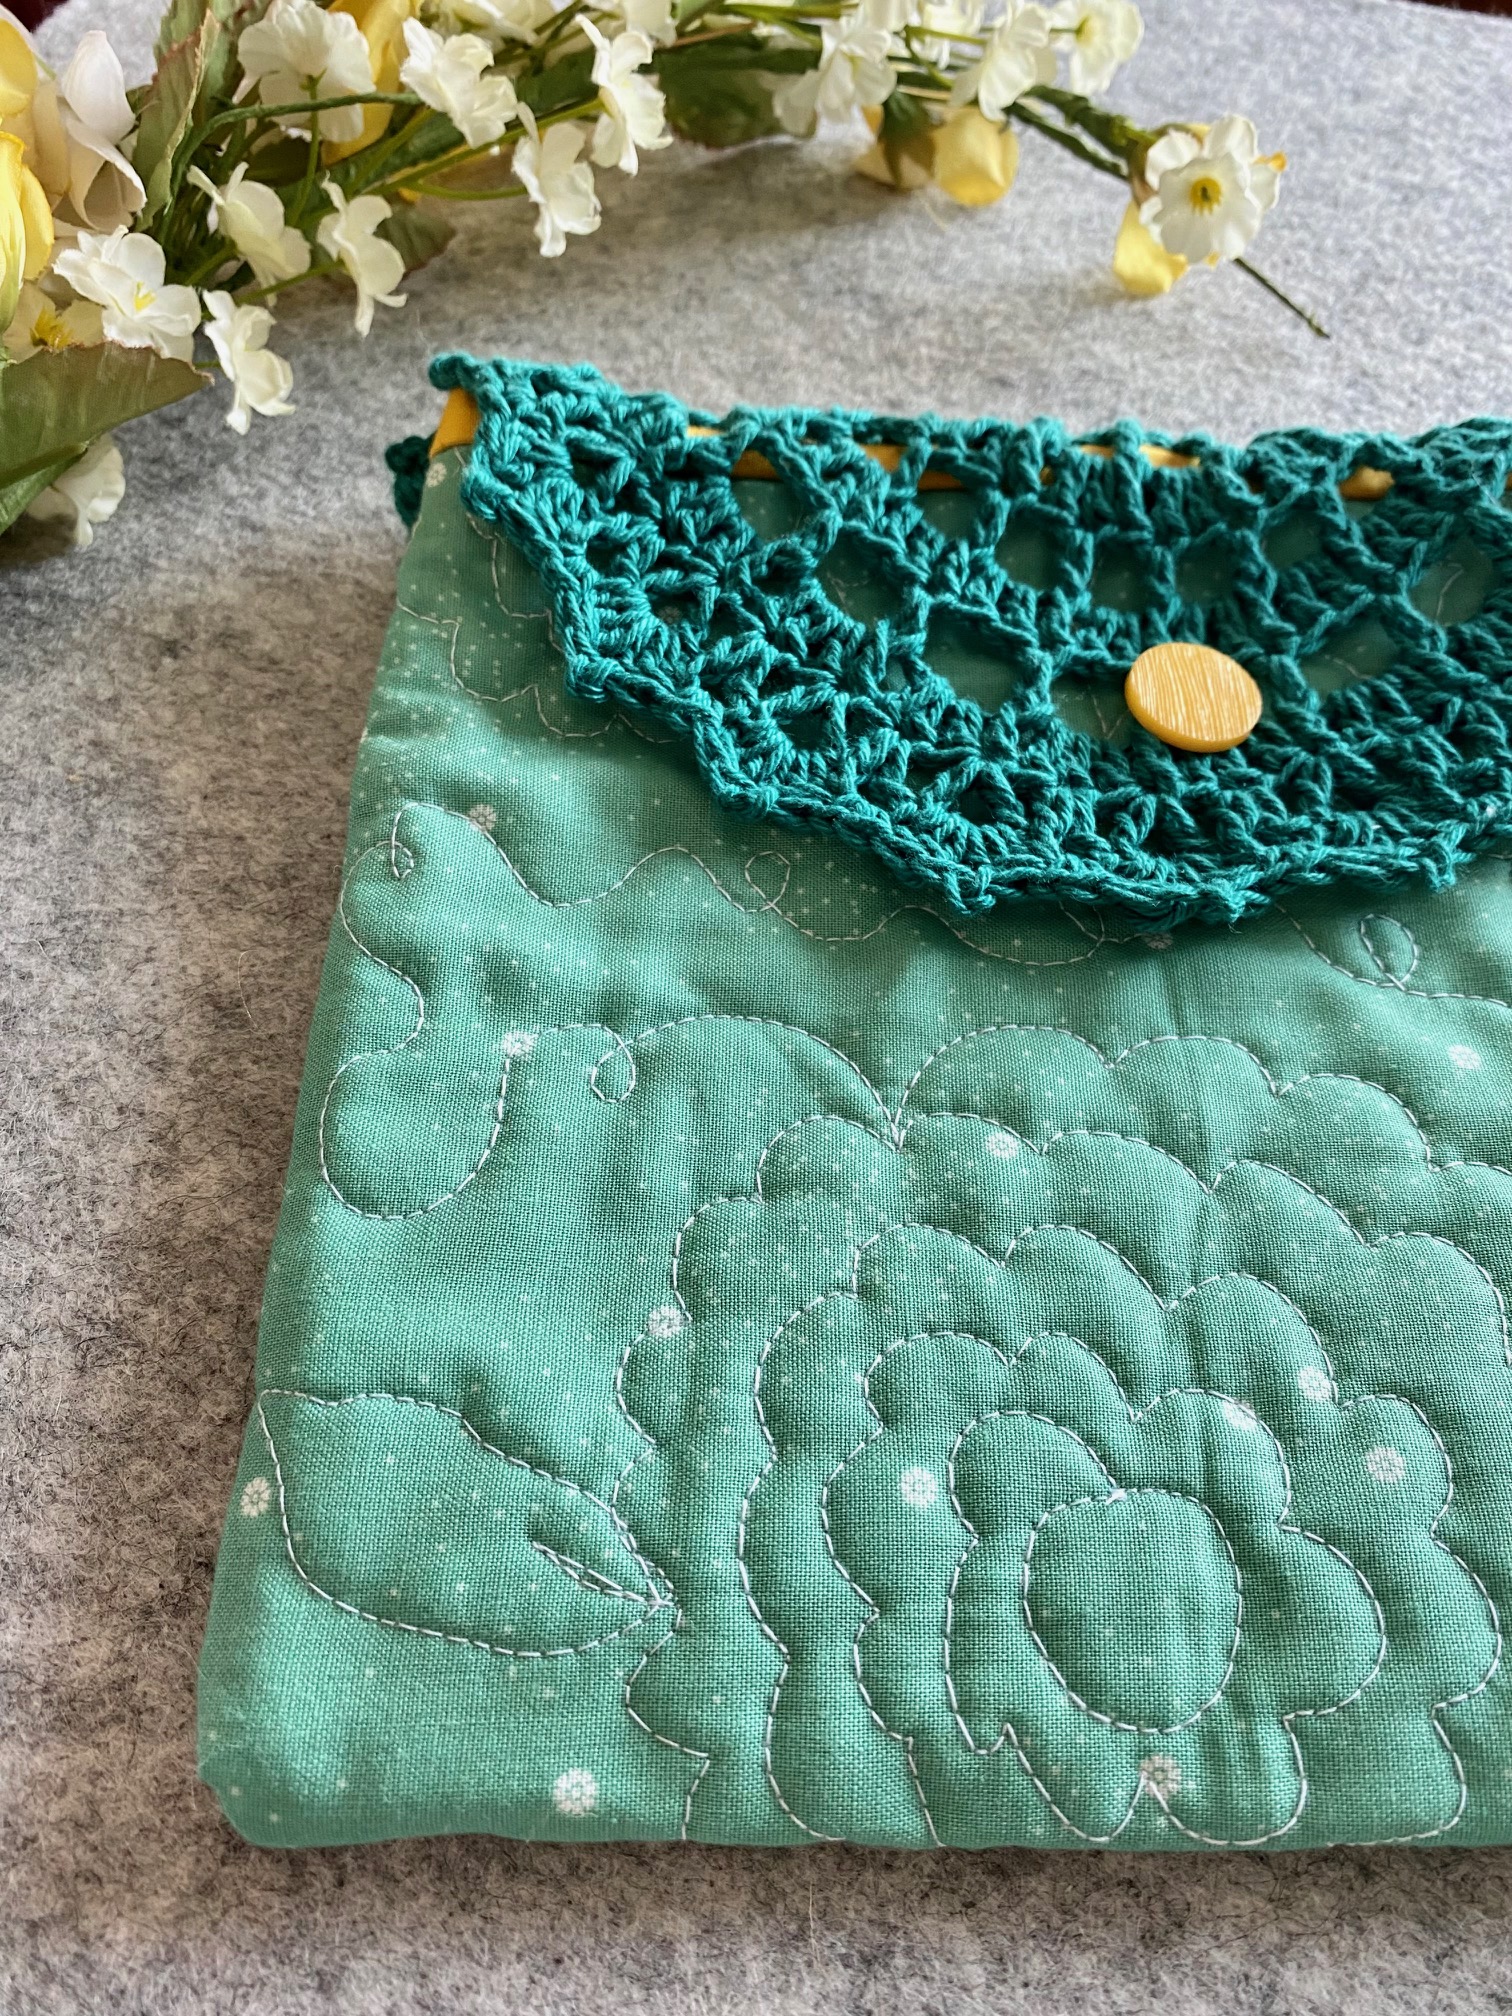
For the second, smaller envelope bag, I attached the doily the same way – only this time I did it right side down on the back of the bag. This means that when I flip it over to the front, I’ve created the closing flap for the bag.

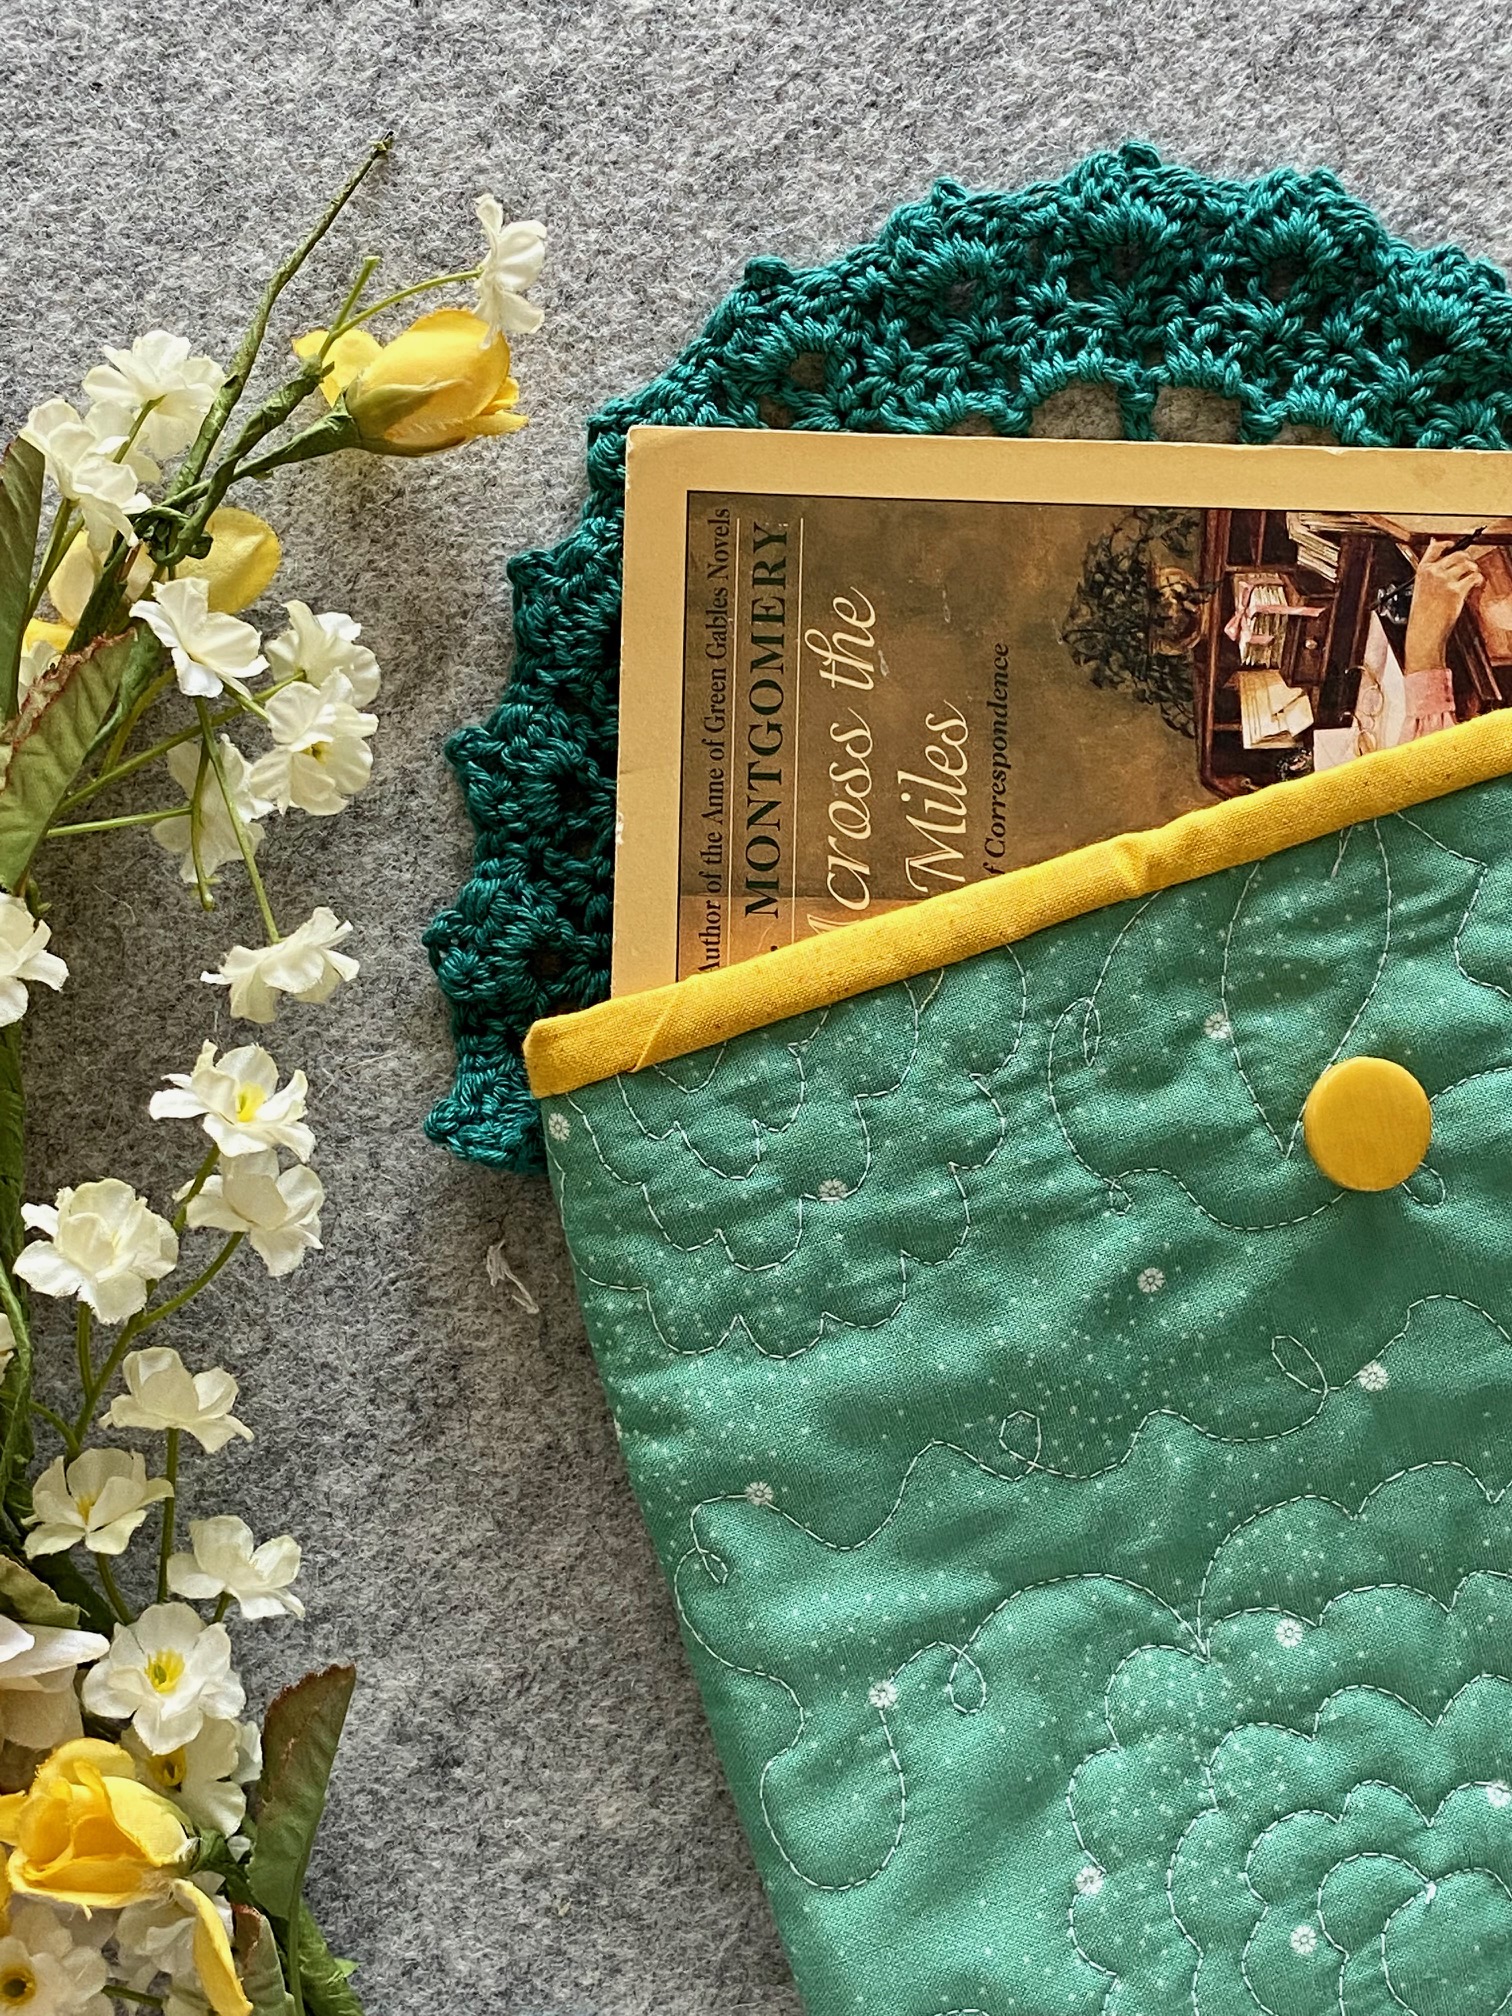
This is an especially useful way to add decoration to your bag! Sew a button under one of the holes, and you’re done.
There are of course many other ways to use doilies, but I hope this inspires you to be creative with them and add a touch of lace to your quilty projects, whether you make them yourself as I did, or recycle vintage doilies!
Have a wonderful spring!
- Kristen from Verity Vintage Studio