We always love a beginner-friendly quilt, and this Easy Giant Patchwork Quilt is about as beginner-friendly as you can get!
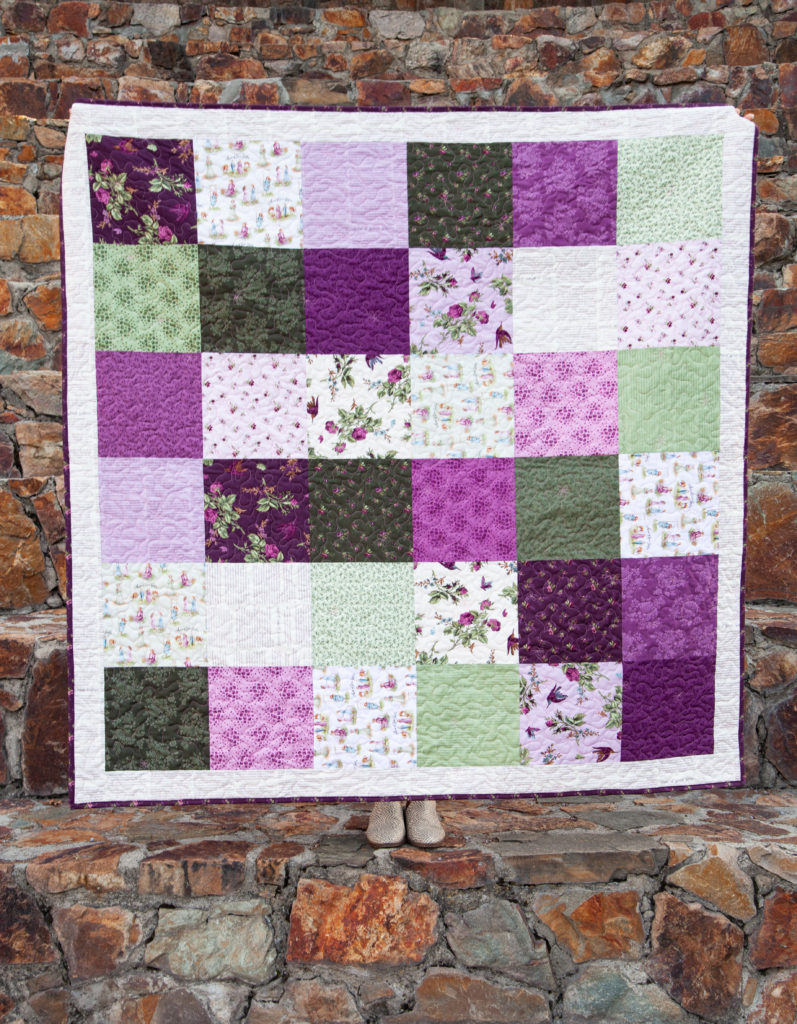
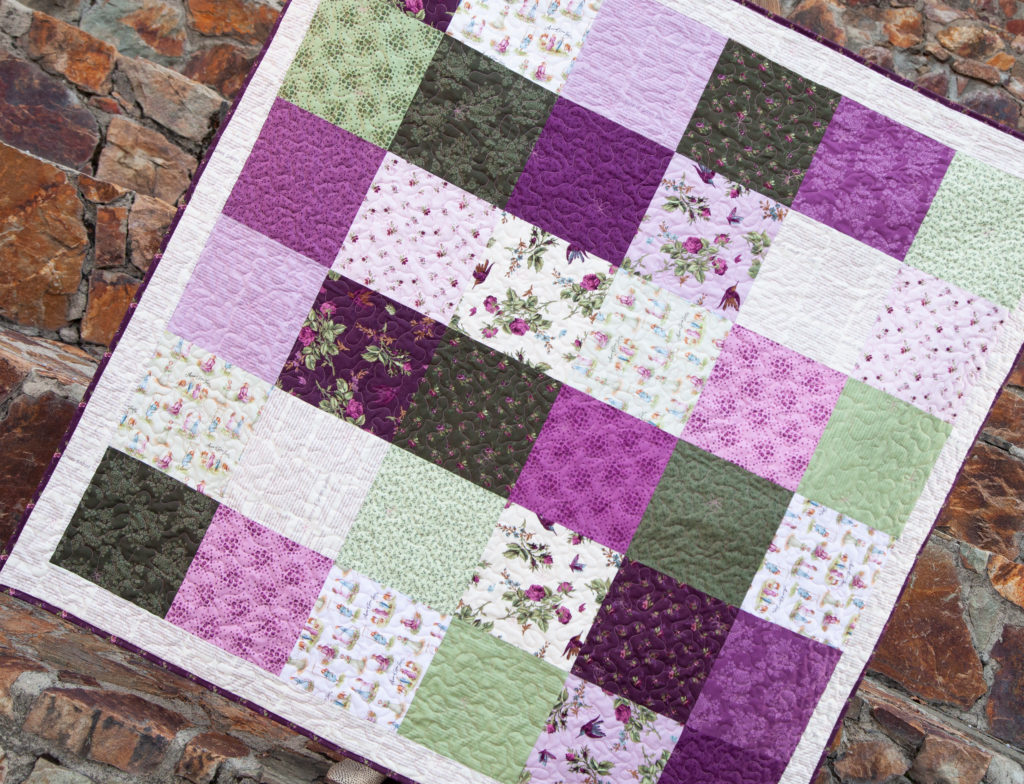
Featuring fabric from the officially licensed Anne of Green Gables collection, this throw size quilt is made up of a simple 10″ stacker and a border. Bam!
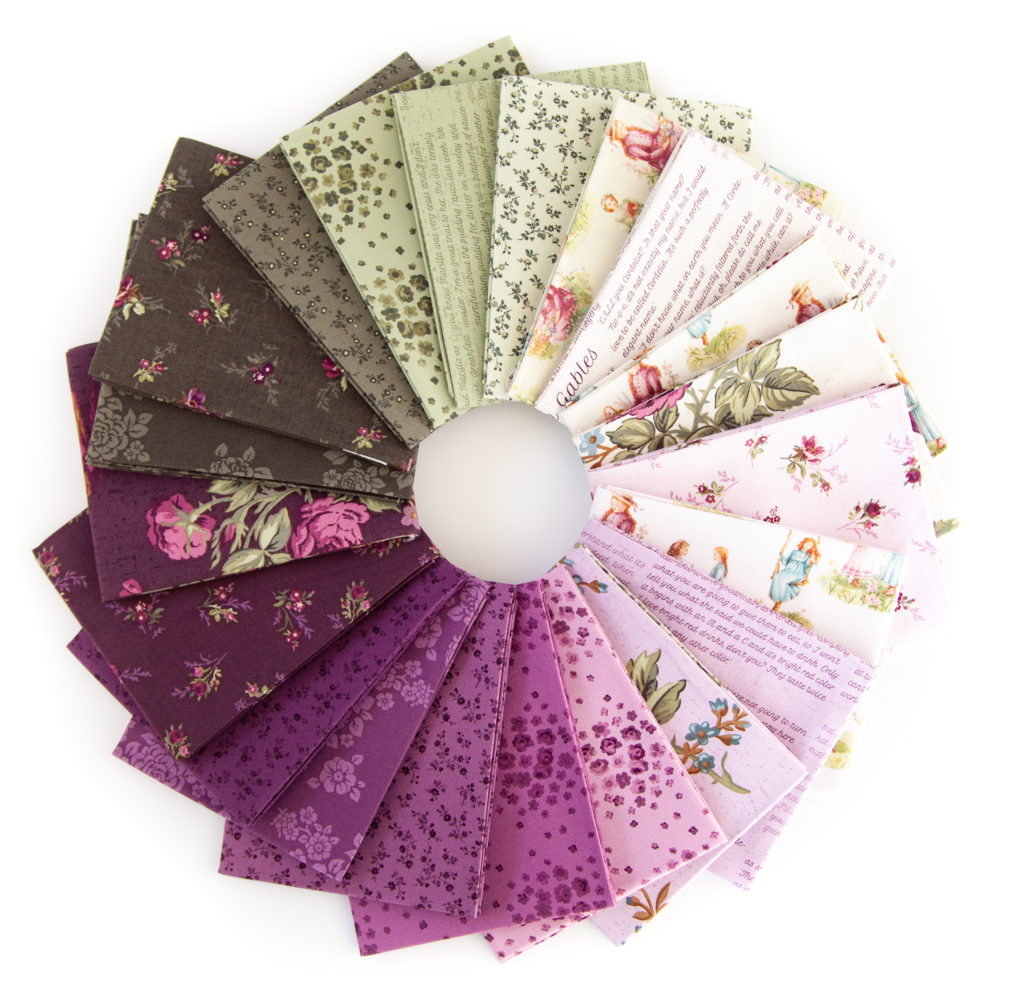
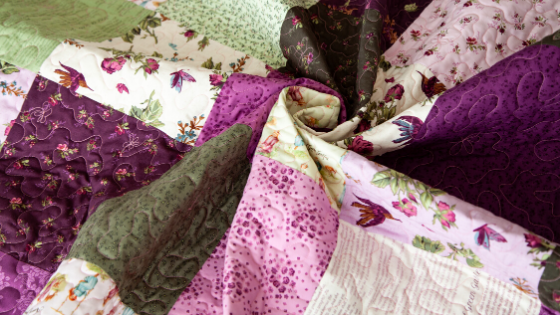
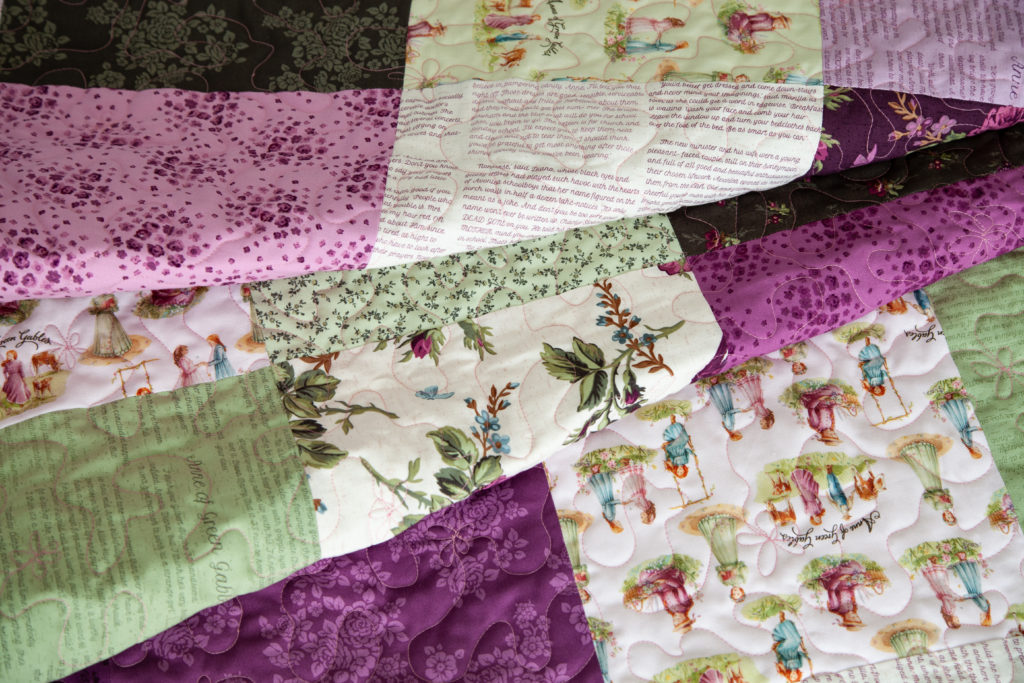
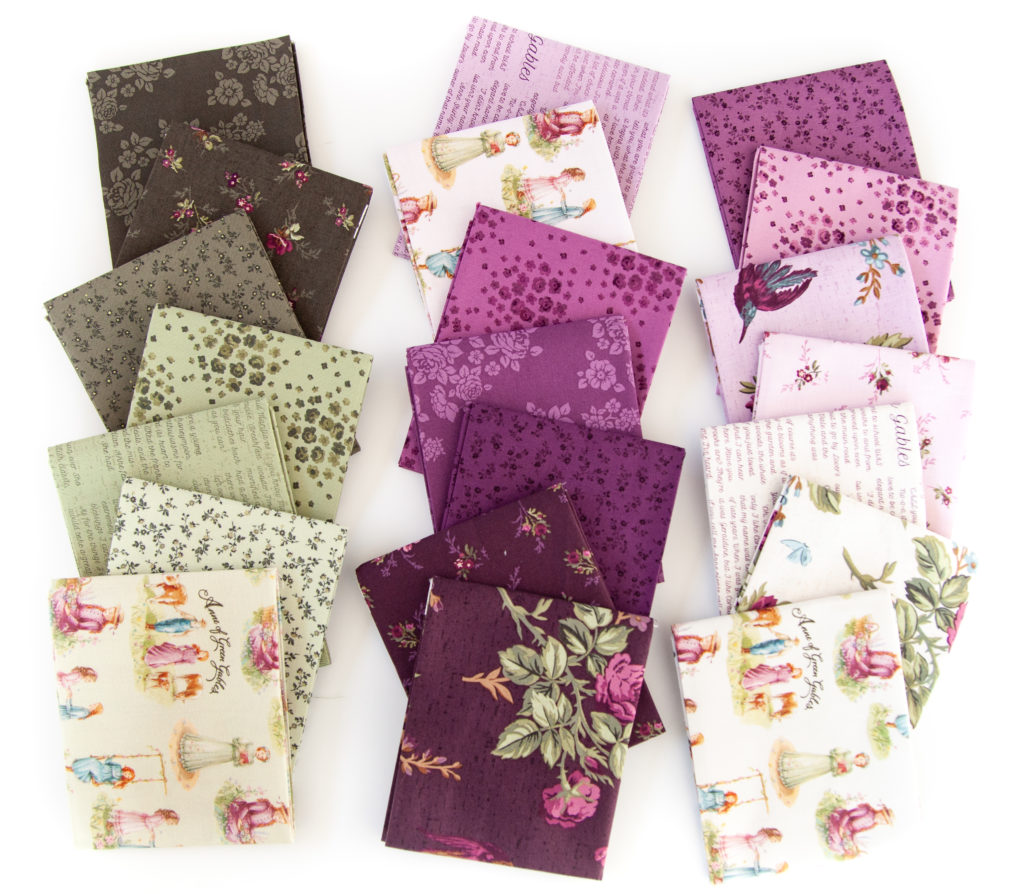
Before we dive into the nuts and bolts of this fast and fun quilt, let’s take a moment to admire the rich colors ranging from deep Eggplant and Forest green to dreamy pale Lavender and Sage. The attention to detail in this fabric line is evident in the beautiful florals, the charming vignettes highlighting characters from the book, and even the delightful text print which features passages from Anne of Green Gables.
Measuring 61″ x 61″, this perfect for throw size quilt. You can make the quilt smaller or larger simply by adjusting the quantity of 10″ squares you use. To make this quilt, you will need:
- 1 – 10″ stacker
- 6 – 3 1/2″ x WOF strips Parchment Text for border
- fabric for binding
- fabric for quilt back
- quilt batting
Lay out your 10″ squares in rows 6 across and 6 down. Arrange them any way you like. One tip I like to use is to be mindful about varying the scale and color of the prints in the line-up so, for example, I don’t end up with two large scale prints, or prints of the exact same color, next to each other.
After you are satisfied with your arrangement, sew your blocks into six rows. Press the seams of each row so they alternate directions. For example, press the seams of the first row so they all face to the right. Then press the seams of the second row so they all face to the left, and so on.
Next sew the six rows together, matching up the seams. Because the seams are facing opposite directions, they should nest together nicely, reducing bulk where the seams meet.
Now it’s time to add the border strips. I like to sew these all into one long strip. Then I sew the border to the sides, trimming them so they are flush with the top and bottom edges, and pressing the seams. Then I sew the border strips to the top and bottom, also trimming and pressing.
Now all that is left is to make your quilt sandwich (quilt back + batting + quilt top). Baste the layers and quilt either on your home machine, or send it off to be professionally quilted.
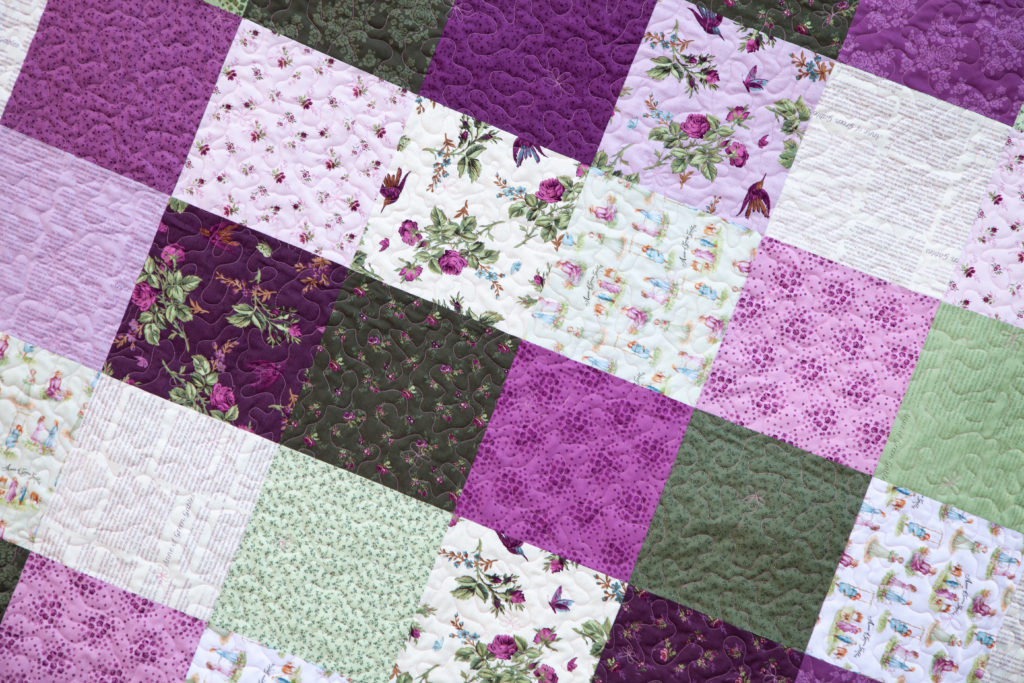
I quilted this on my home machine using a simple, easy meandering design. In this design, I occasionally added small flowers as a fun little echo of the floral fabrics in this quilt.
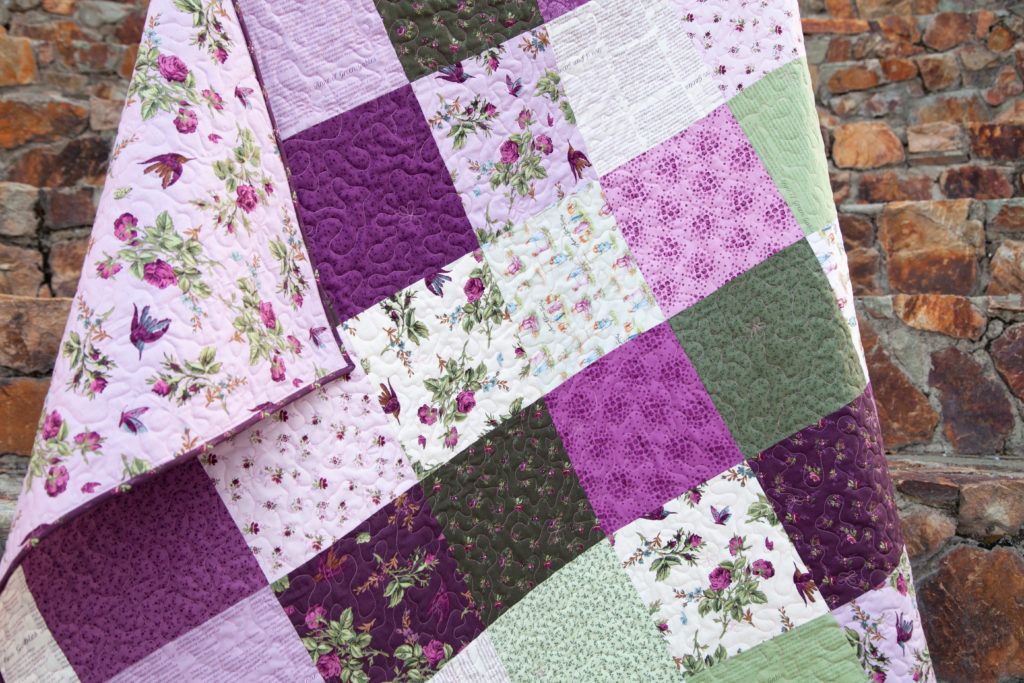
For the quilt back, I used the Periwinkle Main print. The gorgeous victorian-looking floral bouquets and birds just needed another chance to be seen, so featuring them on the back was a must.
I wanted the binding to frame the quilt, so I used the beautiful deep Eggplant Bouquet print for the binding.
And that’s all there is to it! A pre-cut friendly, beginner-friendly quilt? Yes, please! Grab your fabric and make one of these beauties today!
The officially licensed Anne of Green Gables fabric collection is available now at your favorite local and online quilt shops. Pick up yours today and share your makes with us on Instagram using #anneofgreengablesfabric, #rileyblakedesigns, #iloverileyblake, and tag us #rileyblakedesigns.