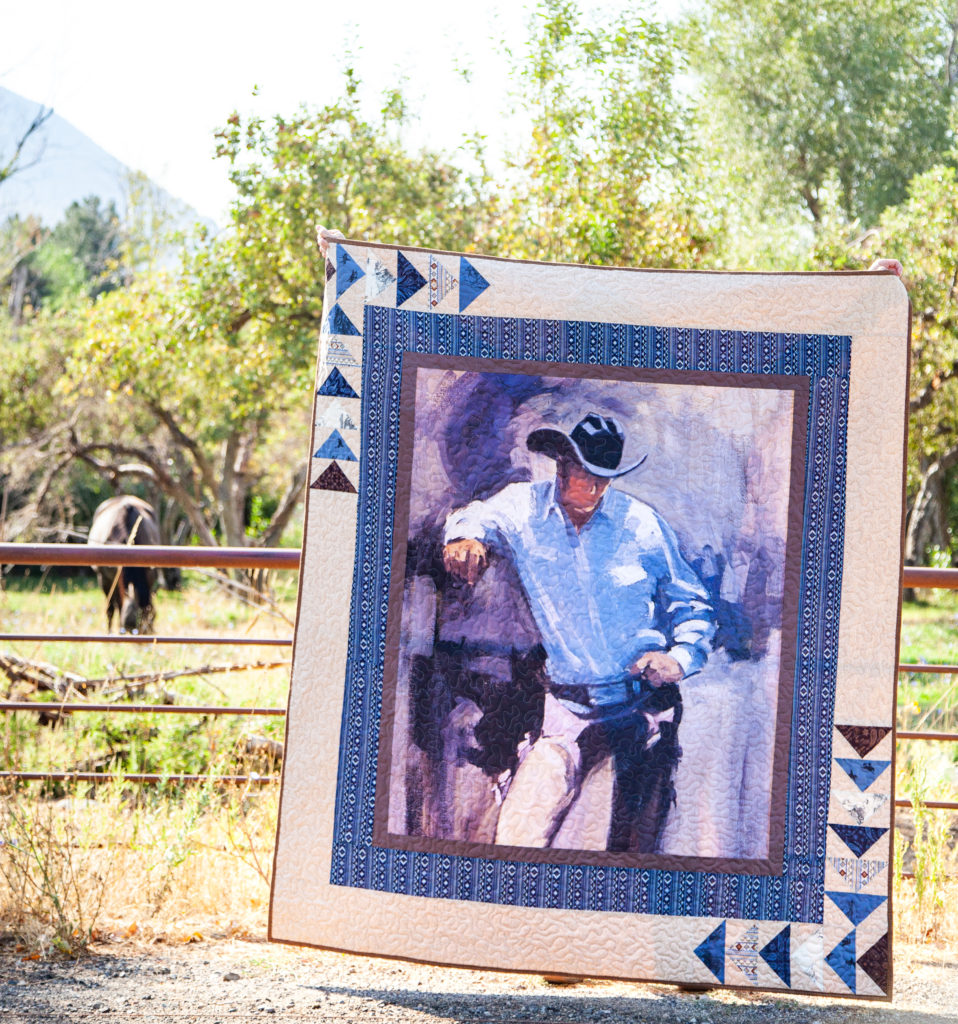
We have a fun and fairly easy quilt to share with you today featuring fabric from the officially licensed Back of the Chutes collection by Hugh Cabot.

Hugh Cabot (1930-2005) gained artistic fame at the age of 22 years after having been appointed by then President of the United States and Secretary of the Navy to serve as a combat artist for the Korean War.
Cabot, awarded with the title of American Master Painter in 2006, is best known for his bold, powerful western landscapes and highly distinctive portraits of the iconic cowboy. His love for the western frontier began at age 12 when he was sent from his hometown in Boston to visit western ranches. By age 14, he was obsessed with the Rodeo, horses, and winning a champion silver buckle. He spent over 20 years studying the way of life of the American Cowboy and perfected southwestern and frontier subjects as a painter, illustrator, and sculptor.

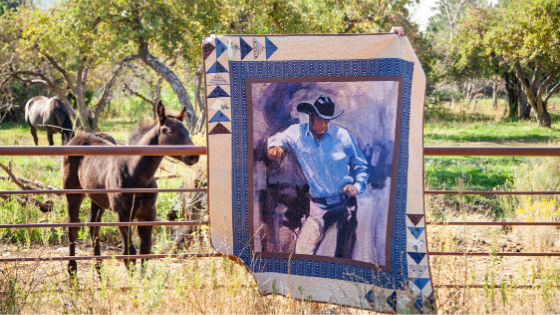
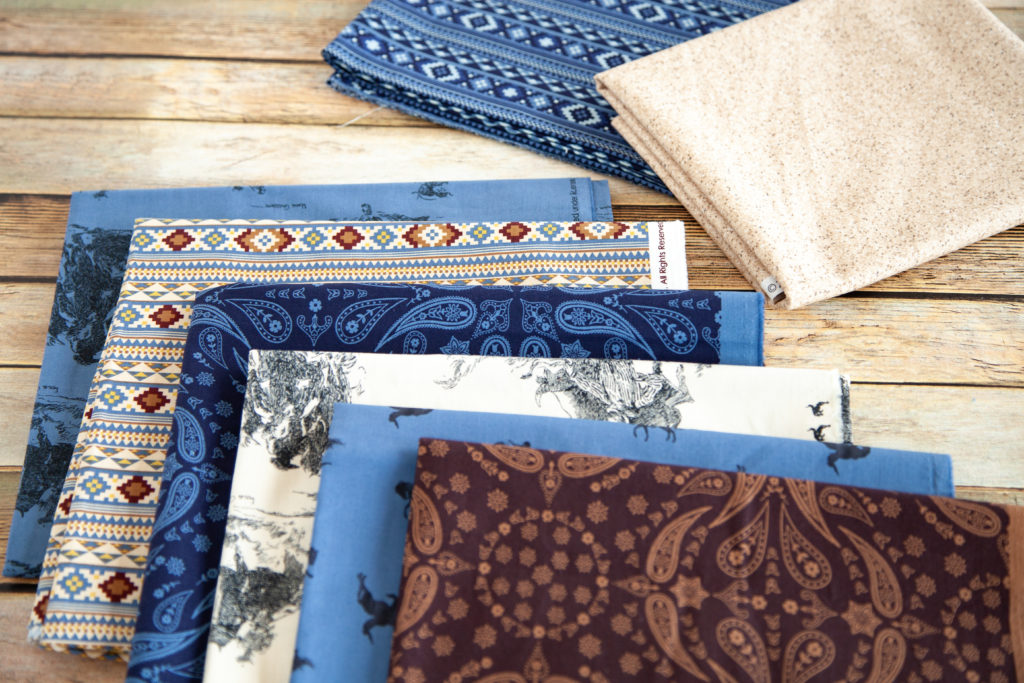
We used this panel, titled “Back of the Chutes,” as the focal point of our quilt. The panel measures 36″ x WOF. The painting was done in broad brush strokes in a cool blue, brown, and even a wee bit of purple color palette.
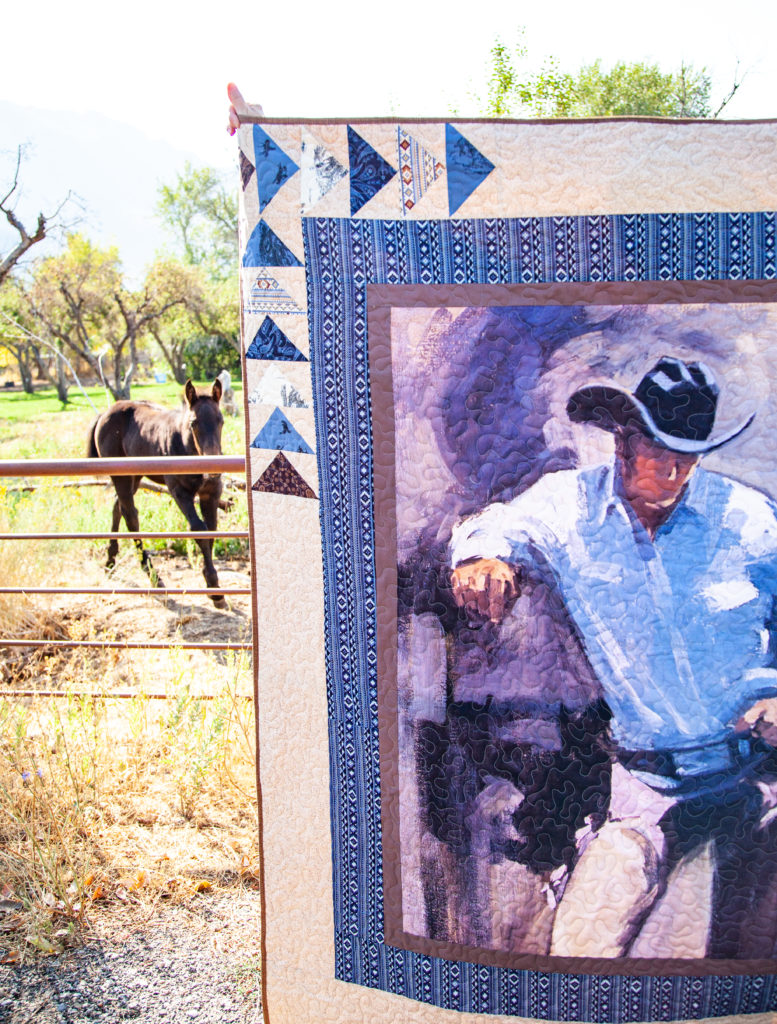
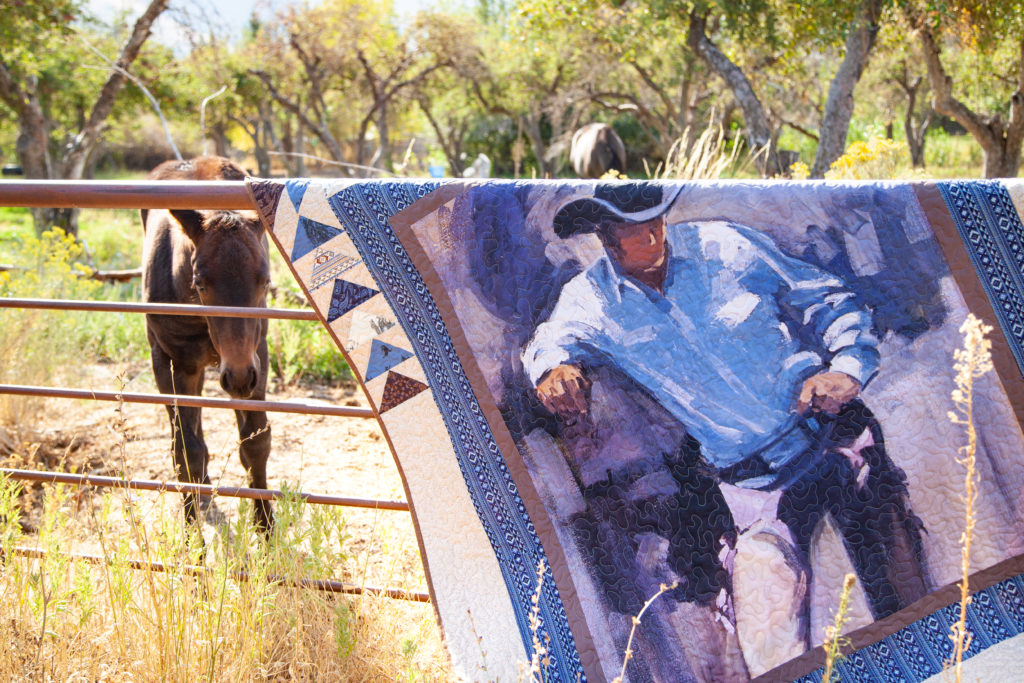
As we were photographing the quilt, this curious little one left her mother’s side to see what we were up to.
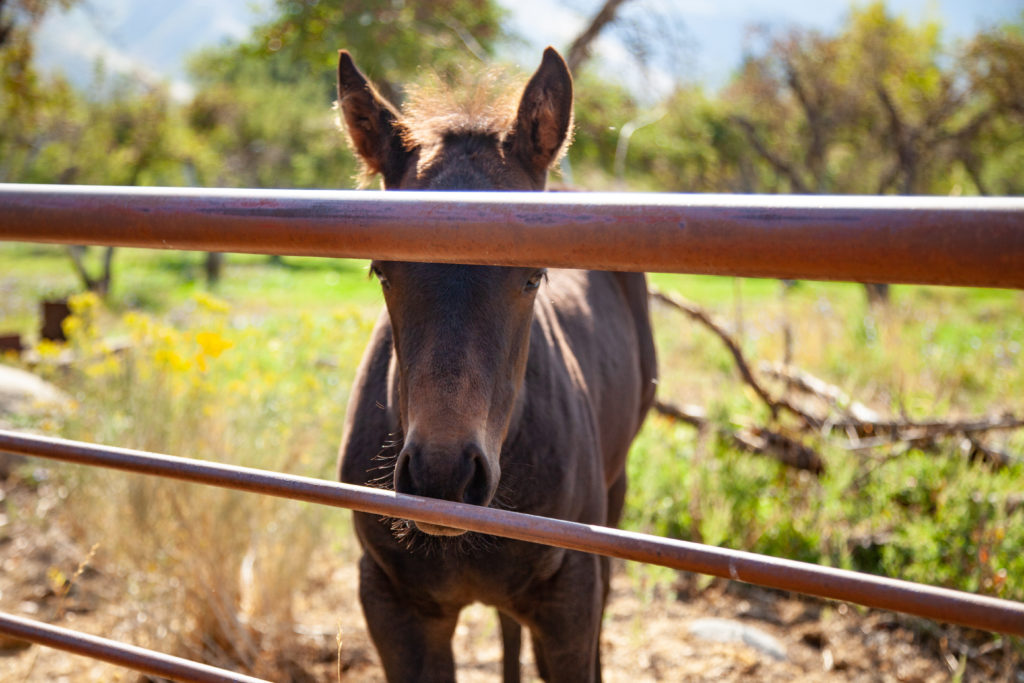
She even posed for a few pictures!
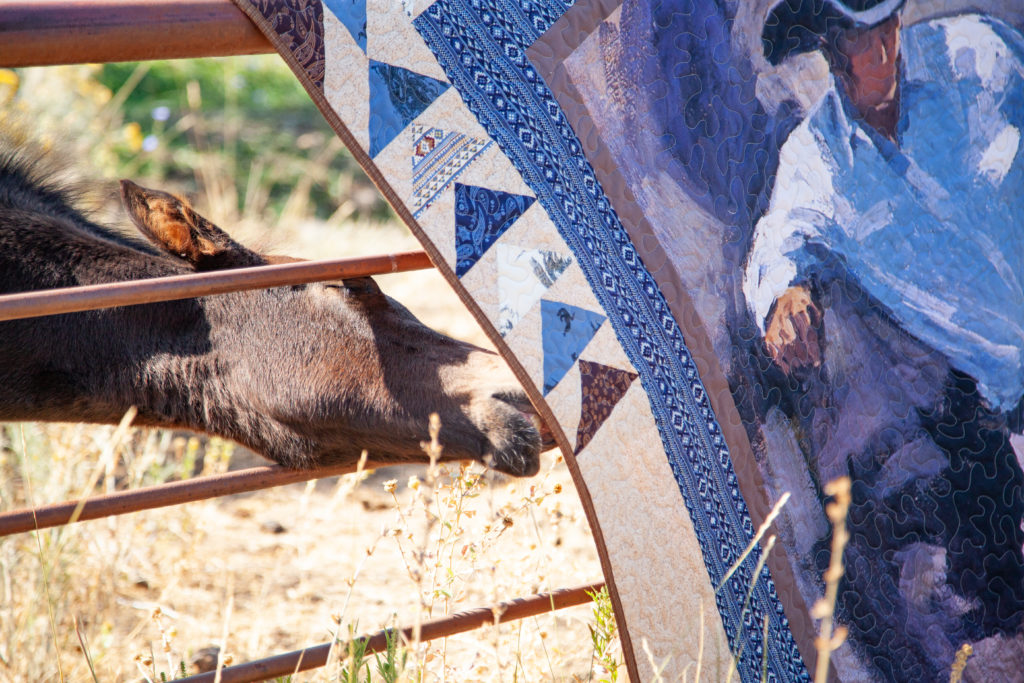
It was all sweet and cute until she tried to take a bite out of our quilt!

What a love! This quilt has three borders. The inner border is Confetti Cotton Raisin, a soft, purplish shade of brown. The blue border is the Back of the Chutes Denim Stripe. The outer border is primarily our Trento Mushroom Basic with some fun flying geese added at two opposite corners.
The instructions for this quilt will be very basic. You can easily take the basic idea and make any adjustments you like for a one-of-a-kind quilt.
To make the quilt you will need:
- 1 Back of the Chutes fabric panel
- 4 – 2″ x WOF strips Confetti Cotton Raisin (for inner border)
- 5 – 4 1/2″ x WOF strips Back of the Chutes Denim Strips ** If you want to have the borders all facing one direction like my quilt, you will need more yardage.
- 4 – 6″ x WOF strips RBD Basic Trento Mushroom
- 1/4 yard each – Back of the Chutes Main Denim, Main Parchment, Stripe Parchment, Bandana Chestnut, Bandana Navy, Broncos Denim
- 1/3 yard Trento Mushroom
- batting
- fabric for the quilt back
- fabric for binding
Begin quilt assembly by sewing your first two borders to the panel. The most common way of adding a border is to sew a strip to each side of the panel. Press. Then sew a strip to the top and bottom of the panel. Press. Trim edges so they are flush with the quilt top.
Repeat with the blue border, however, you will need to add some fabric from your 5th strip to the sides. After adding the extra fabric, position the strip so the joint seam isn’t too close to the top or bottom, sew, and press, trim edges.
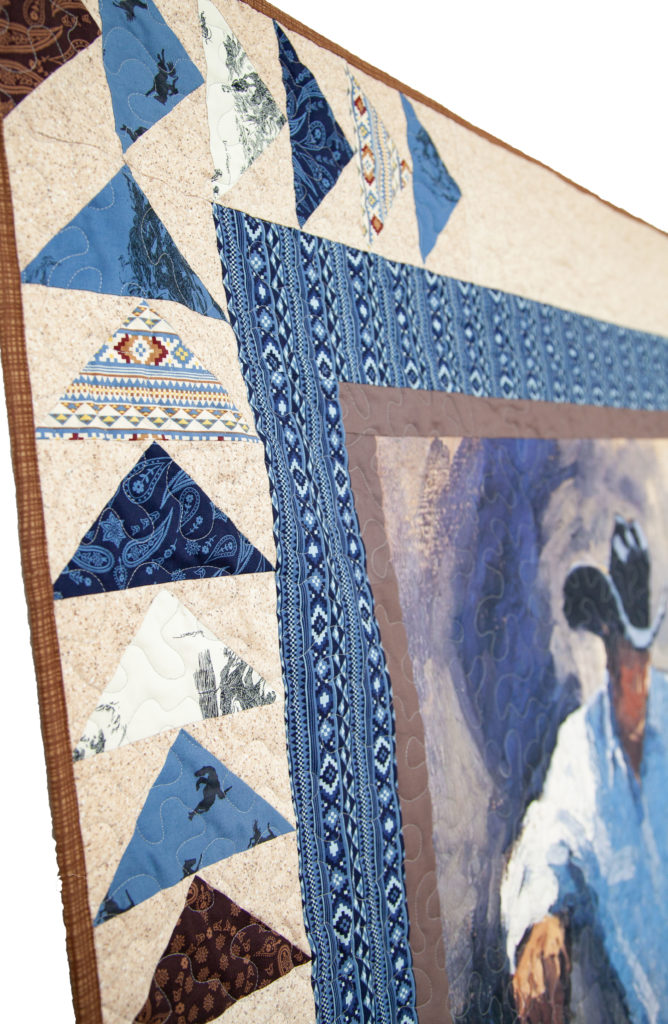
For the outer border, you will first need to make your flying geese. I used this easy tutorial and printable chart from DIARY OF A QUILTER to make mine. Referring to her chart, disregard the Sawtooth Star portion. You will be making the finished Flying Geese Unit that measures 3″ x 6″.
Cut one 7 1/4″ x 7 1/4″ Goose from each of your six Back of the Chutes prints.
Cut twenty-four 4″ x 4″ “Sky” squares from your Trento Mushroom fabric.
Make the Flying Geese using Amy’s fast flying geese tutorial. Trim to 3″ x 6″. Sew them together in any order you decide. I alternated the brown and cream prints with the denim blue prints. I kept the same order for each strip. Sew four strips made up of 6 flying geese units.
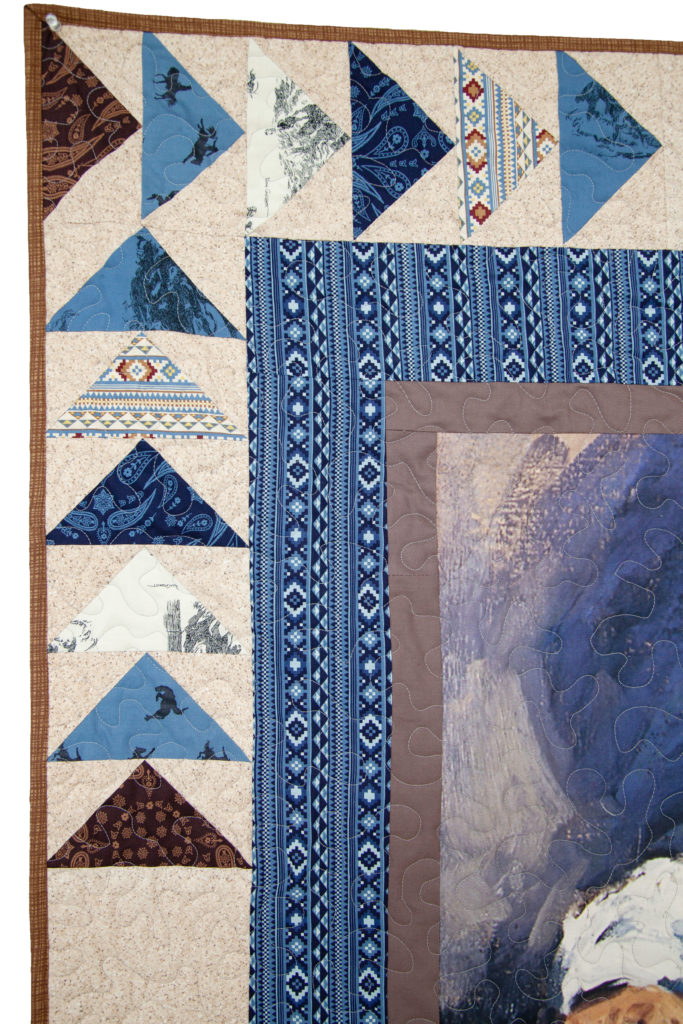
Now sew a 6″ x WOF to the bottom of a flying geese strip. Repeat for the other side border strip. Press. Sew these border strips to each side, aligning the top of they flying geese strip to the top of the panel on one side, and the bottom of the panel on the other. See the image above or below for reference.
For the top and bottom strips, you will sew the 6″ x WOF Trento strip to the TOP of the flying geese strip. Press. Attach by aligning the end of the flying geese strip with the edge of the quilt. Your seams should also align – the side seam of the 2nd/3rd border and the seam between the 2nd/34d flying geese unit. Again, see above image for reference.
Trim the extra Trento so the edges are flush with the quilt top.
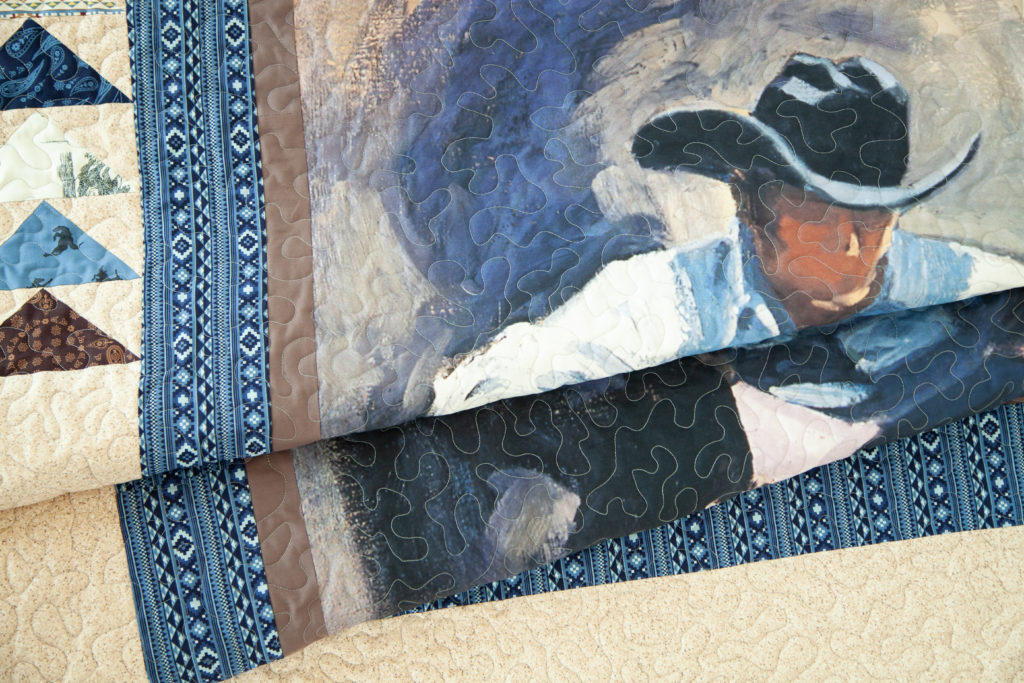
Now that your quilt top is finished, make your quilt sandwich (quilt back + batting + quilt top), baste, and quilt. You can quilt on your home machine, or send it off to a professional quilter. I quilted this on my home machine with a simple all-over meandering design. I used a light gray Aurifil thread, which seemed to do well with all of the different colors in this quilt.
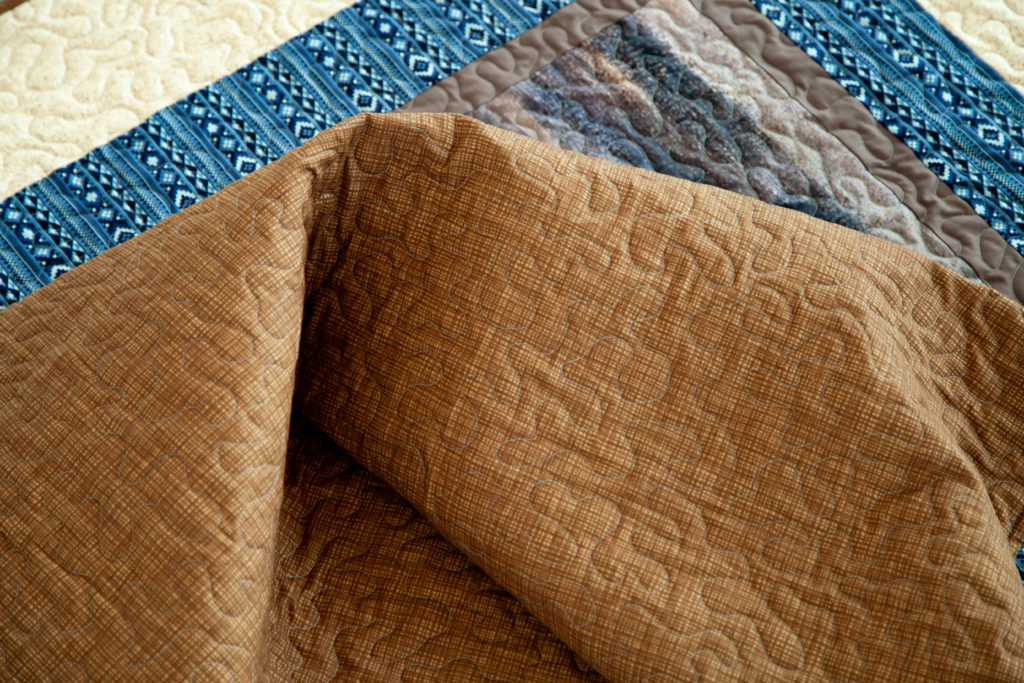
I used Sandy Gervais Texture Basics in Chocolate for the quilt back and binding.
This was such a fun, fast quilt to make, and the end result is so cool, don’t you think? With the holidays coming up, this would be a great gift idea!
The officially licensed Back of the Chutes collection by Hugh Cabot, is available now at your favorite local and online quilt shops. Pick up yours today and share your makes with us on Instagram using #backofthechutesfabric, #rileyblakedesigns, #iloverileyblake, and tag us @rileyblakedesigns.
Happy Trails & Happy Quilting!