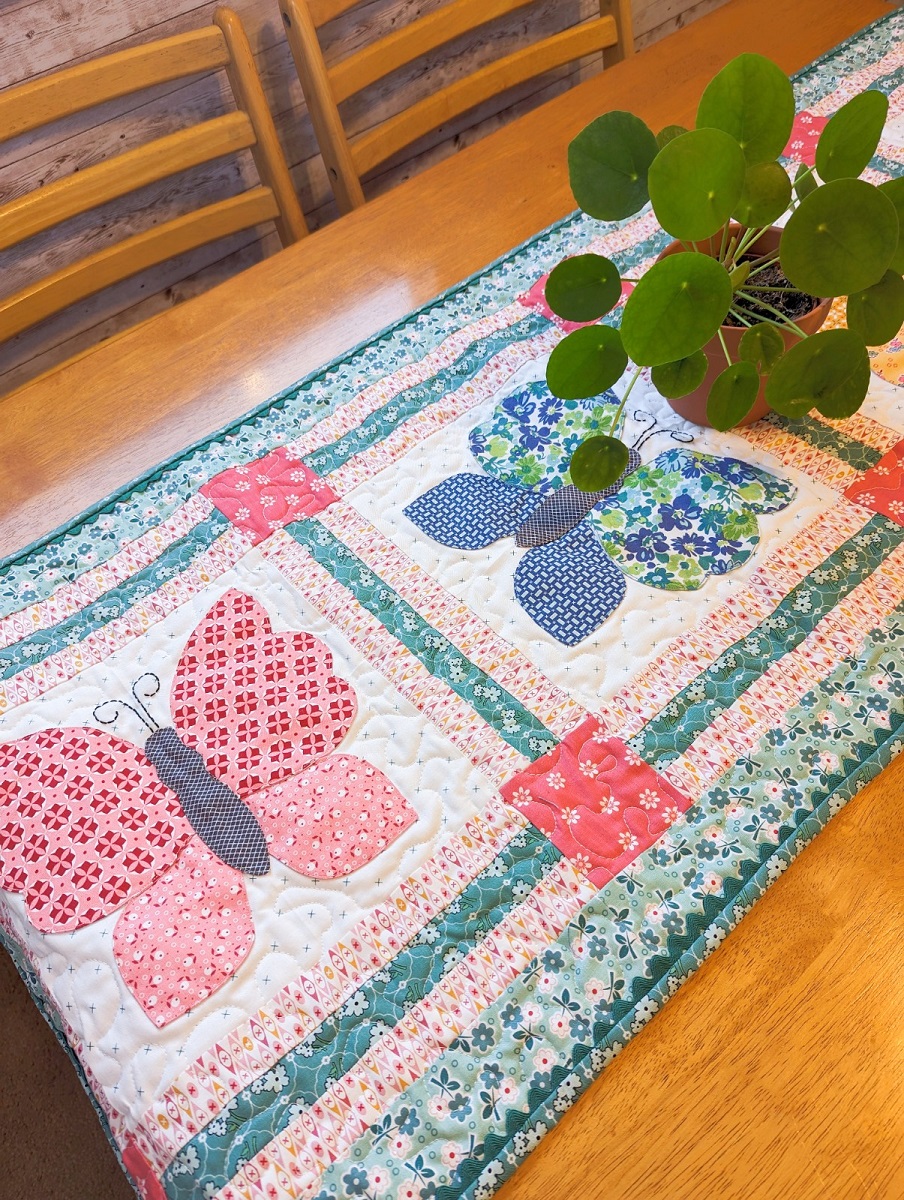
Hello hello! It’s Daisi Toegel from Flower Sew. In this post, I am thrilled to share the applique table runner I made using the Bee Vintage fabric collection by Lori Holt of Bee in my Bonnet for Riley Blake Designs.
I am fascinated with all colors and prints in every collection by Lori Holt and it’s fantastic to be here to share about this project. The Sew Simple Shapes I use in this project are Bee Vintage pack, shapes P22, P48, and P49, which make the butterfly block!
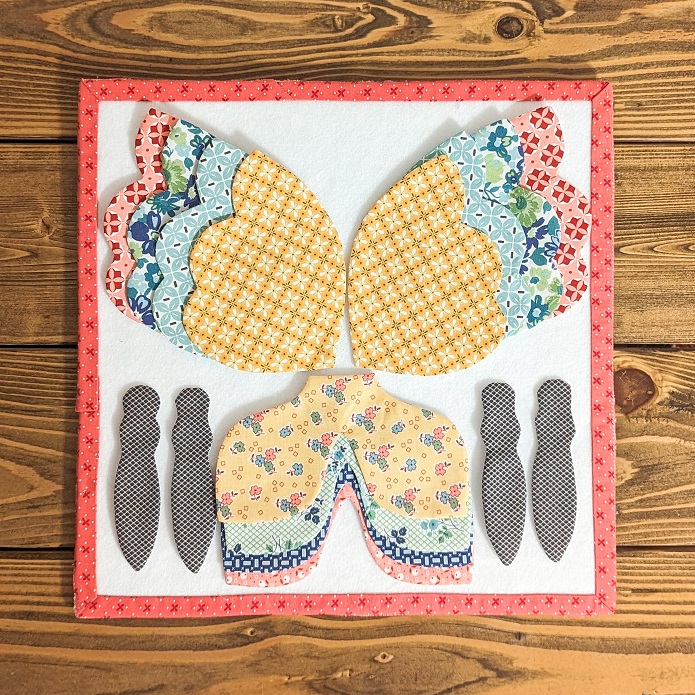
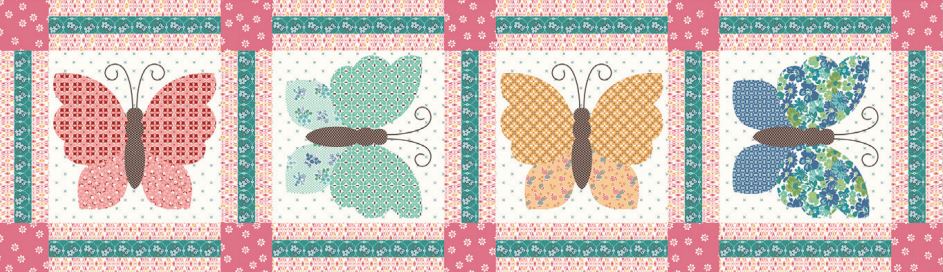
I picked 4 combinations of blues, greens, yellows, and reds to make 4 butterflies. For this step, I used one 10″ Stacker. I prepared all shapes using Lori Holt Stabilizer and sewed them by machine.
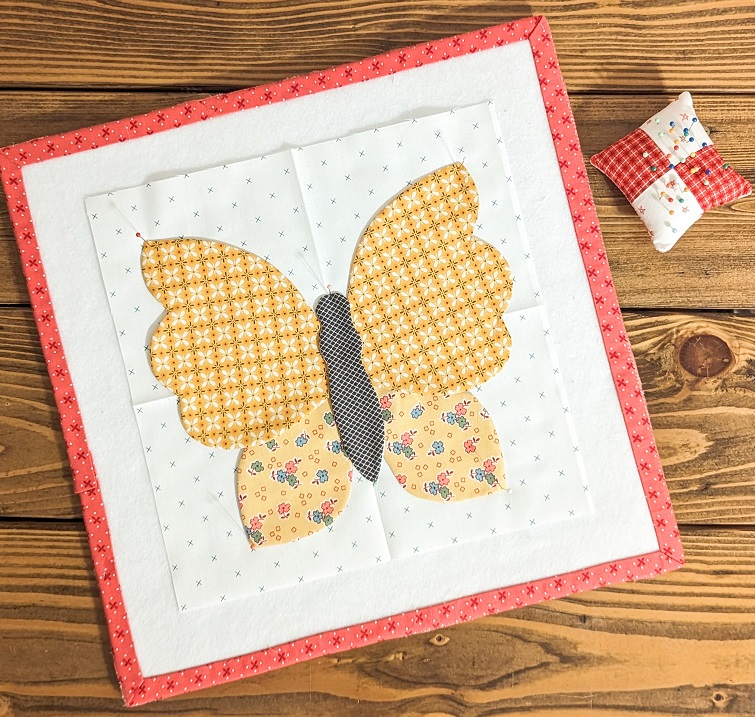
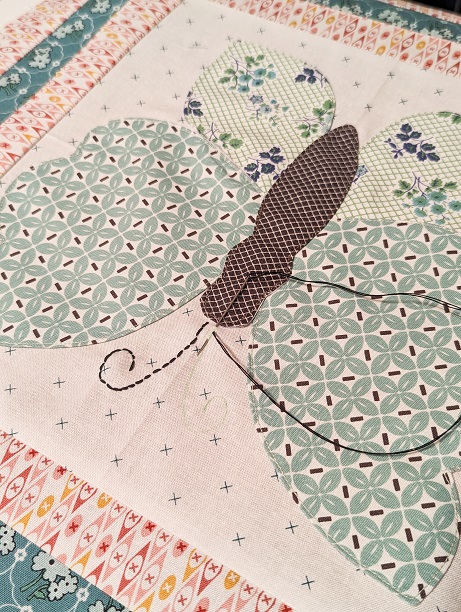
I cut (4) 10.5″ squares for each block background and pressed each one both vertically and horizontally, so I could align the shapes. I used machine applique, my stitch length was set to 2.0 and I sewed it 1/8″ far from the edge.
First, I started with the bottom wings, then the top wings, and finally the body. If you hand applique this, the order doesn’t apply as you will first glue the shapes in place and then hand applique around the entire shape as one.
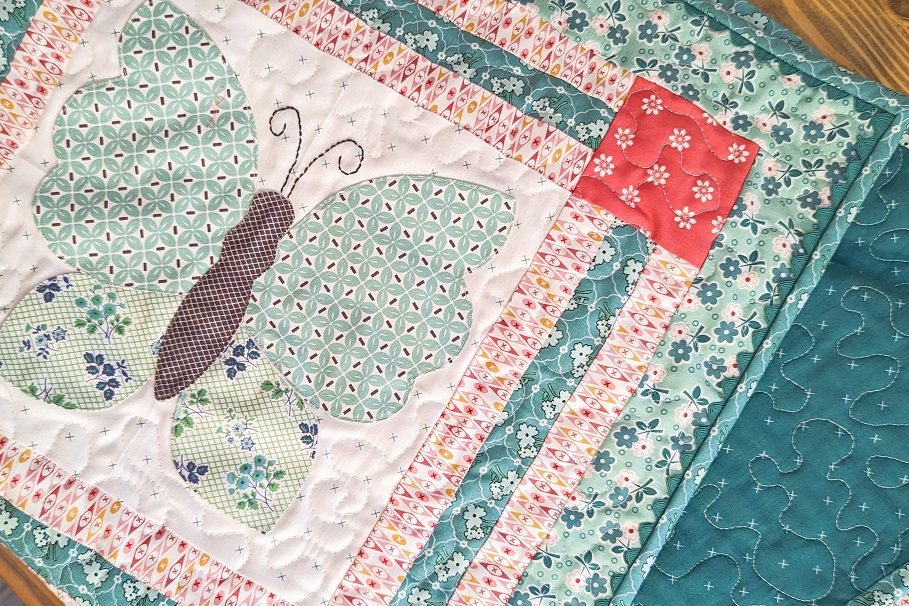
For the block’s border, I cut color 1 (pink): (7) 1 1/2″ x WOF strips; sub-cut (26) 1 1/2″ x 10 1/2″ strips. Color 2 (dark green): cut (4) 1 1/2″ x WOF strips; sub-cut (13) 1 1/2″ x 10 1/2″ strips. Color 3 (pink squares): cut (1) 3 1/2″ x WOF strip; sub-cut (10) 3 1/2″ squares.
First, sew the strips in sets of C1+C2+C1, make 13 sets. Then sew 3 strips that form the pattern: top sashing strip + butterfly strip + botton sashing strip.
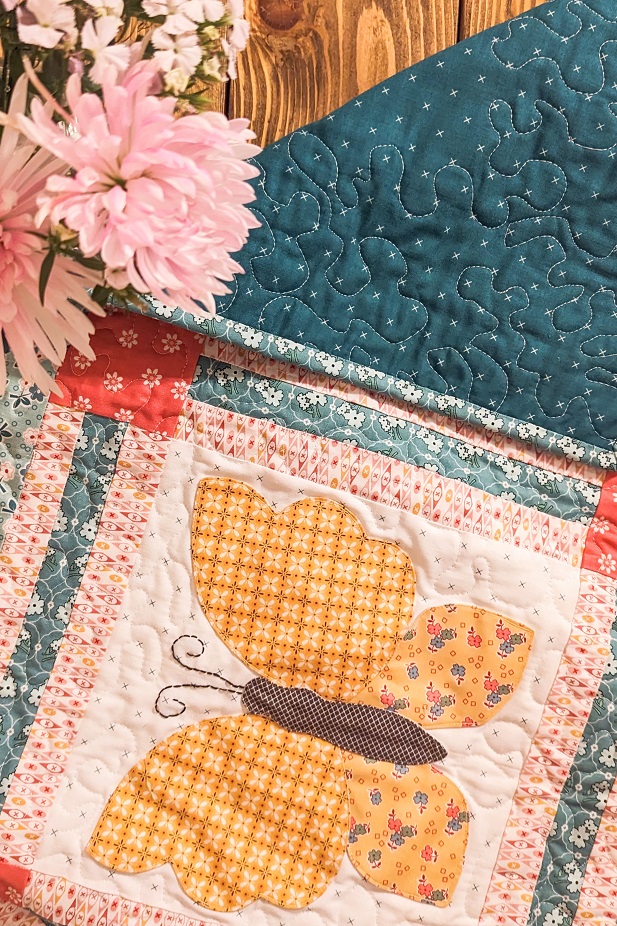
To make the antennas, I used a heat erasable pen to freehand trace it, then embroidery floss to make backstitches.
I added a 2.5″ border, but it’s completely optional. I cut (4) 3″ x WOF strips, joined two pairs of strips to make 2 long strips, and I sewed the border first on the longer edges, top and bottom, cutting the excess of the strip, then sewed the border on the sides.
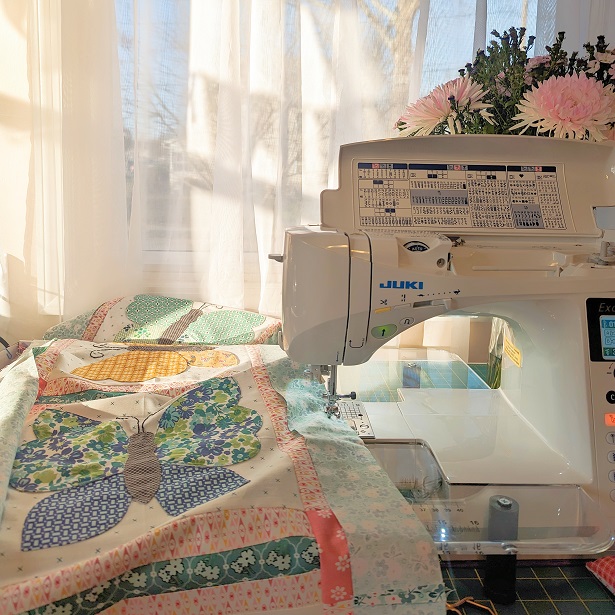
For finishing the project, I wanted to quilt it using a design that would match the theme, so meandering seemed to be the right one to go, and I imagined the butterfly flying movements. It’s very simple to free-motion quilt meander style as you can do it in any domestic sewing machine if you have the free-motion presser foot. For a relatively small size project like this, it also makes it good for practicing as you don’t have to entirely quilt it since you’ll be skipping the applique areas if you do it like mine. You can definitely quilt on top of it though, absolutely up to you.
Of course, I wouldn’t forget to use Lori Holt Large Vintage Trim to add a sweet detail to my project. I sewed the trim before sewing the binding, just simply cut four pieces of the same exact length of each of the four sides and sew.
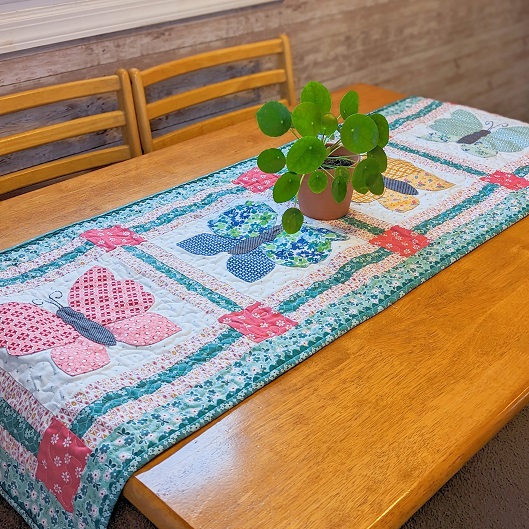
And this is my Bee Vintage Table Runner! I hope you have enjoyed this post and feel inspired to create for your home, imagine all the different projects you can make using all the different gorgeous Bee Vintage Sew Simple Shapes!!!
Happy quilting!