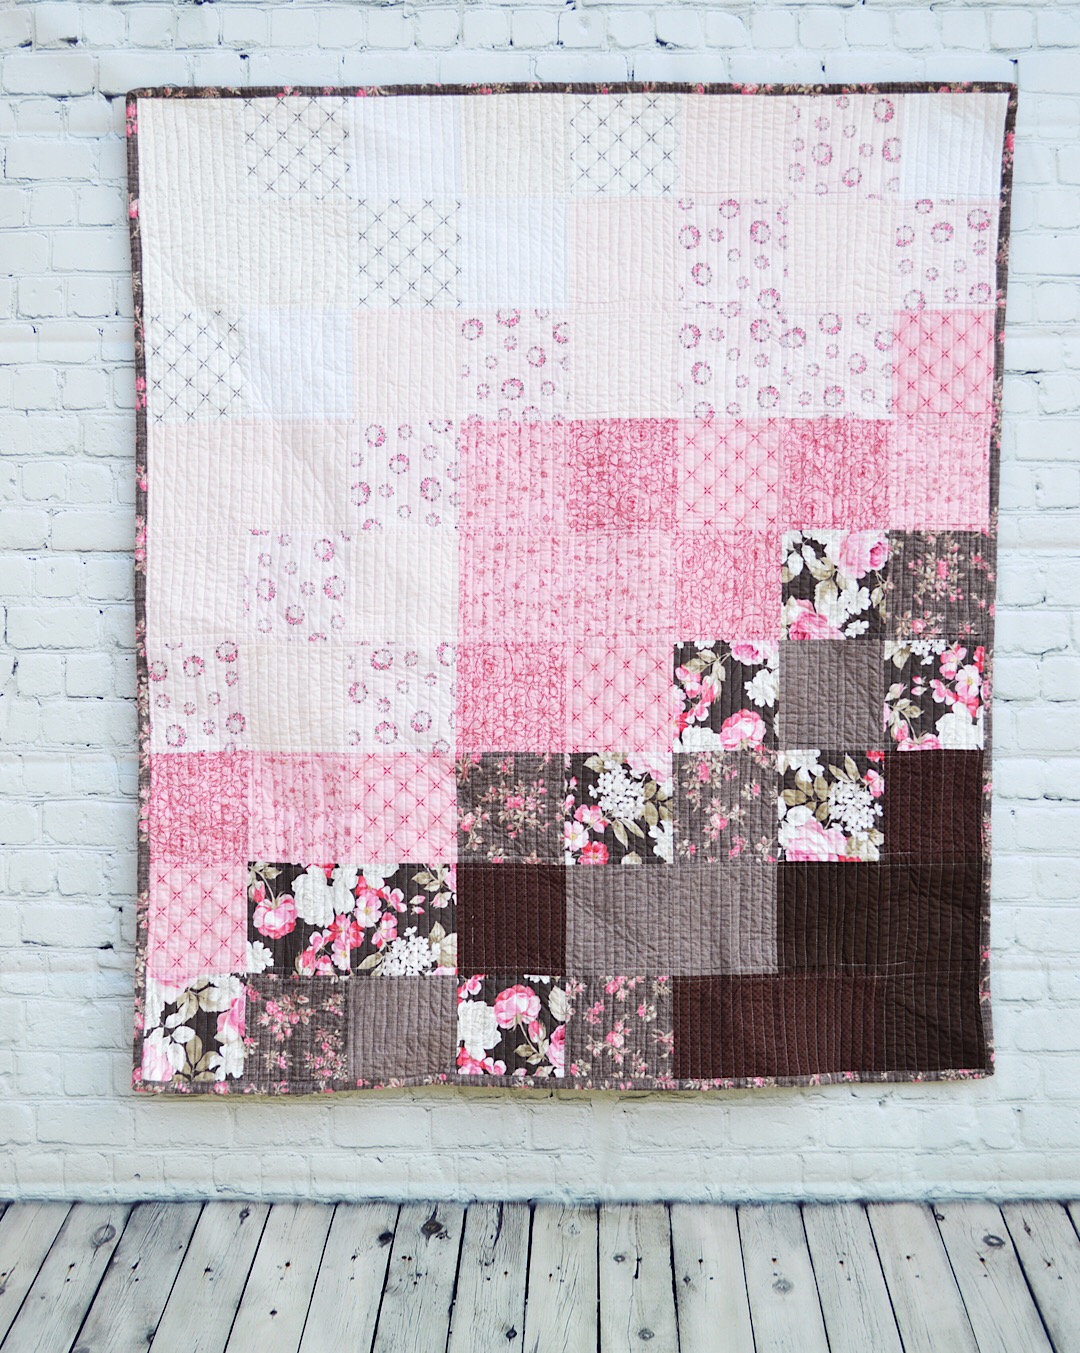
There is something about a pink and brown color palette that brings to mind images of decadent chocolate and strawberry deliciousness. The muted tones of pink and brown in the new Penny Rose collection, English Rose really do look lovely enough to eat! So we’re calling this sweet little baby quilt “Chocolate Mousse.” Very fitting, don’t you think?

This is a beginner-friendly, super simple patchwork quilt. The beauty of patchwork quilts is that they are so simple to make, and yet you can make each quilt unique simply by taking care in how you arrange the squares of fabric.
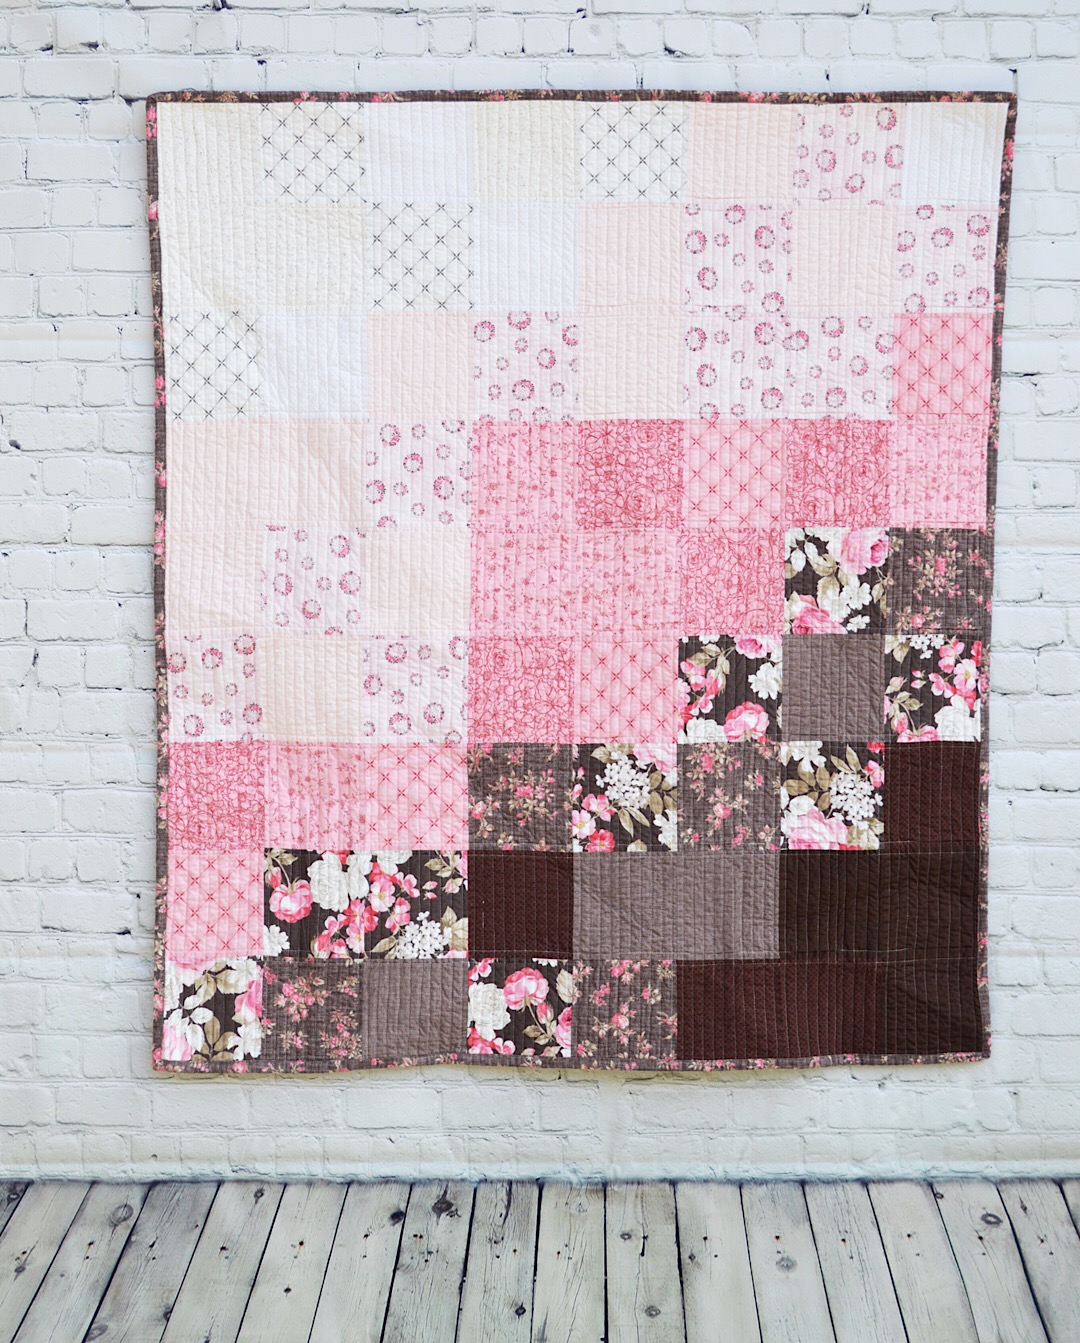
For this quilt, I decided to create a gradient effect by arranging the colors from light to dark. Gradient quilts are certainly nothing new, so I don’t want to make it appear I am reinventing the wheel here, but rather I will demonstrate how to create the gradient look with this specific fabric collection.
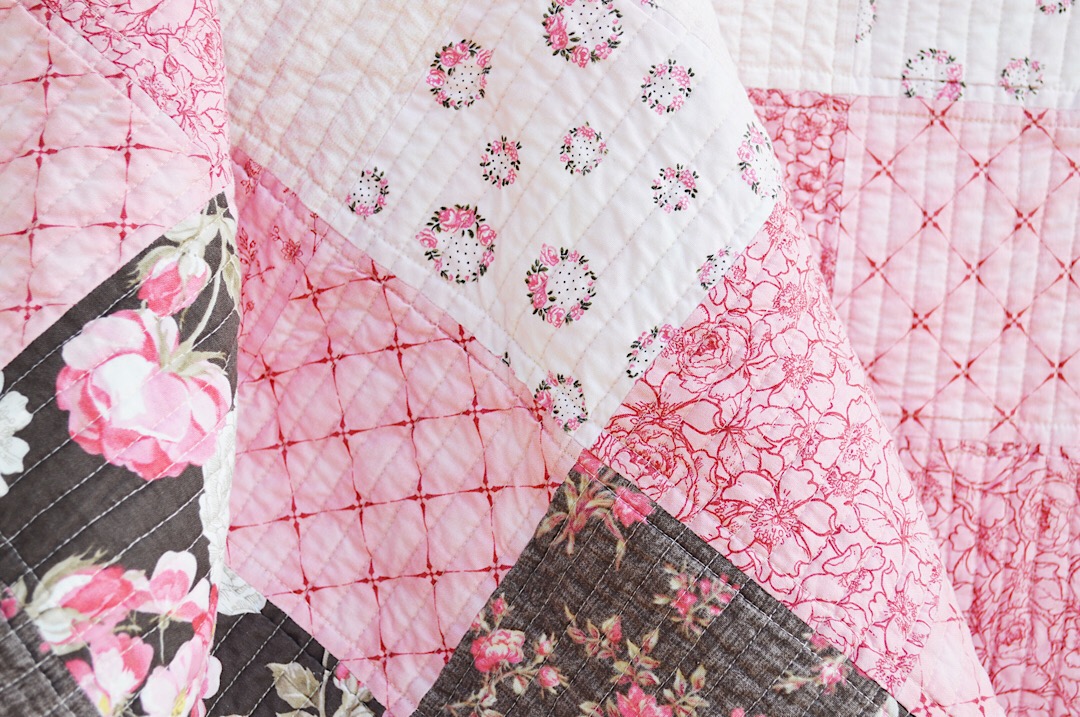
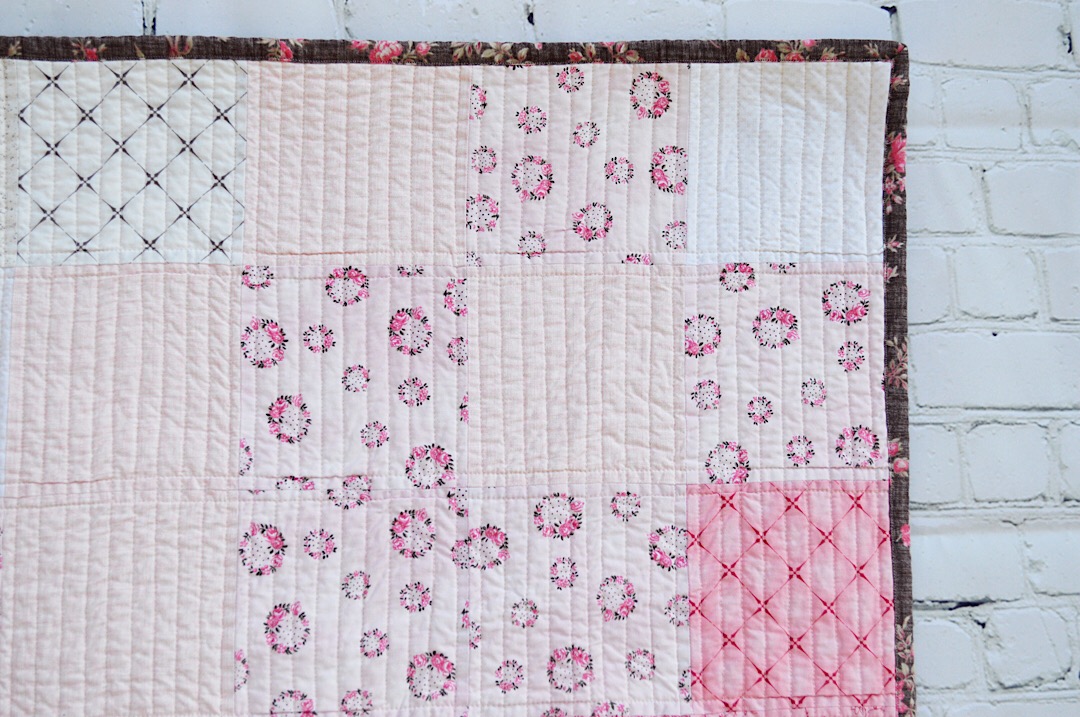
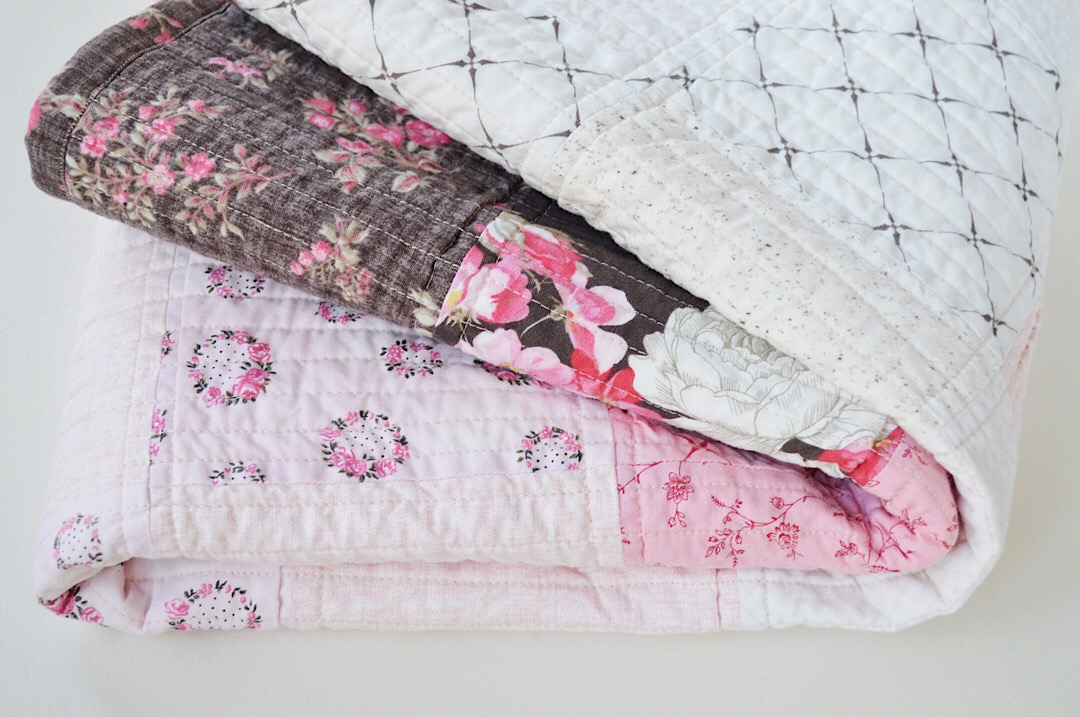
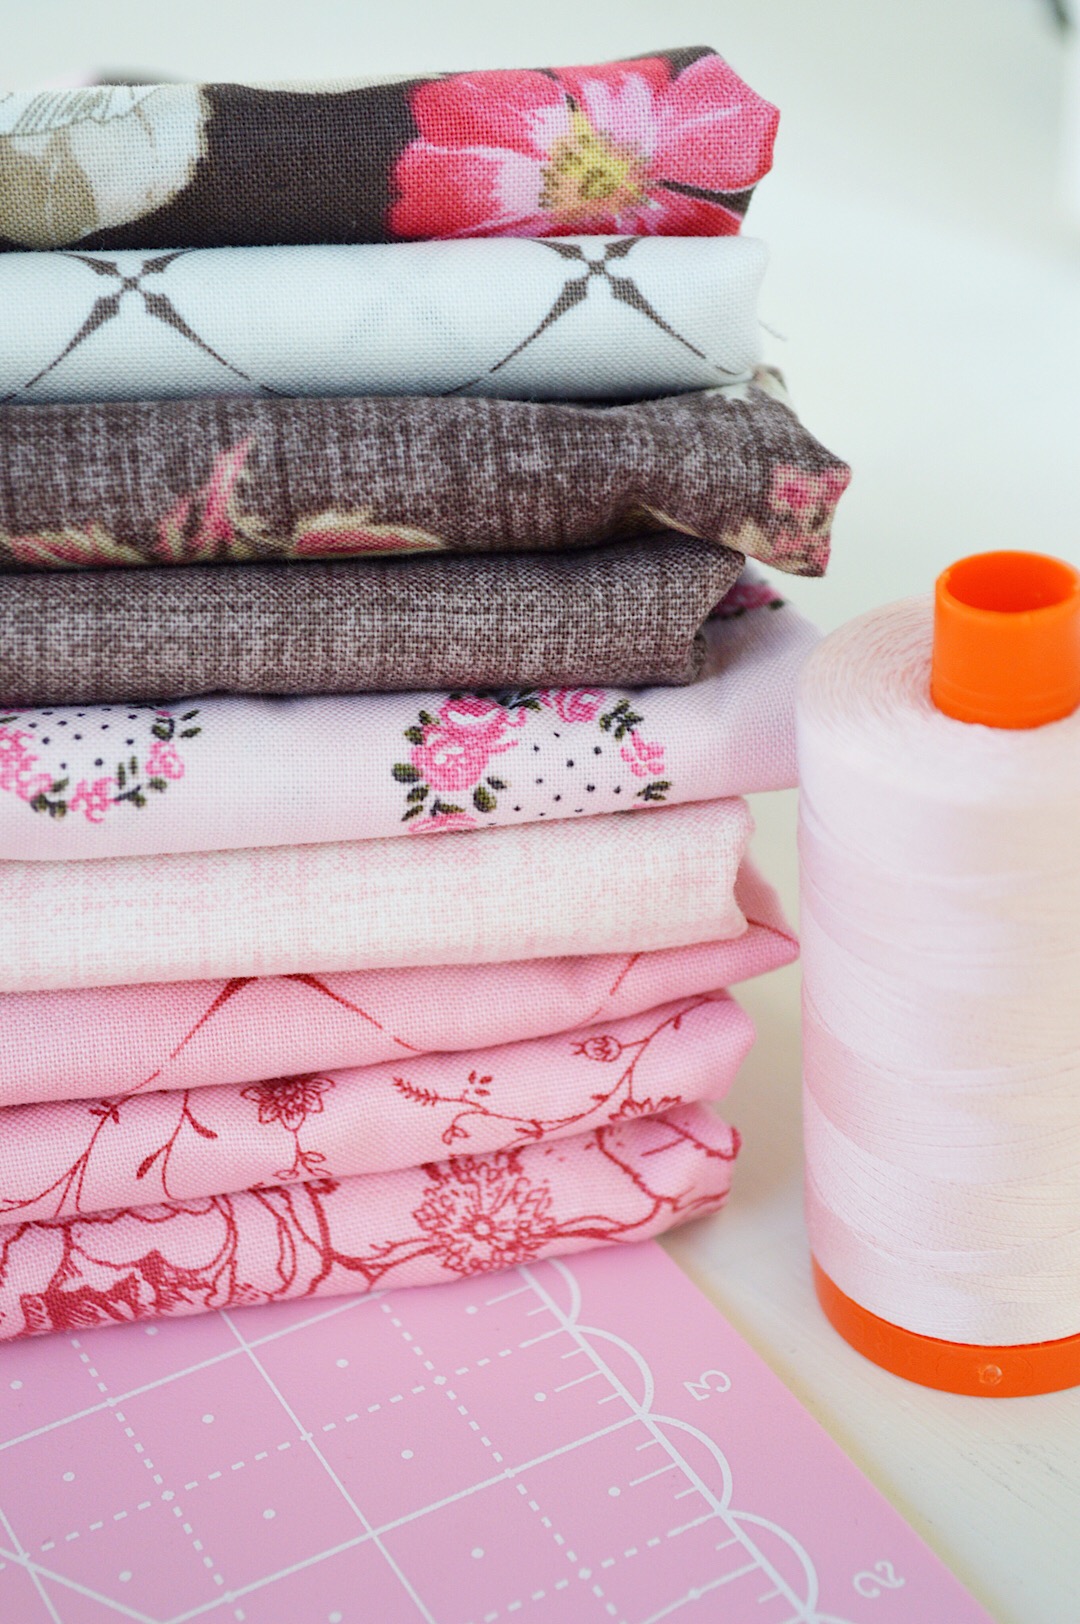
English Rose lends itself beautifully to the gradient look because of the soft transition in the prints from cream, to pale pink, to medium pink, and then finally to the lighter and deeper shades of brown.
The pale pinks in this collection are absolutely beautiful. Maybe it’s because I have dessert on my mind, but if I were only to use the cream and pale pinks, we would have a truly lovely and elegant “peaches & cream” palette.
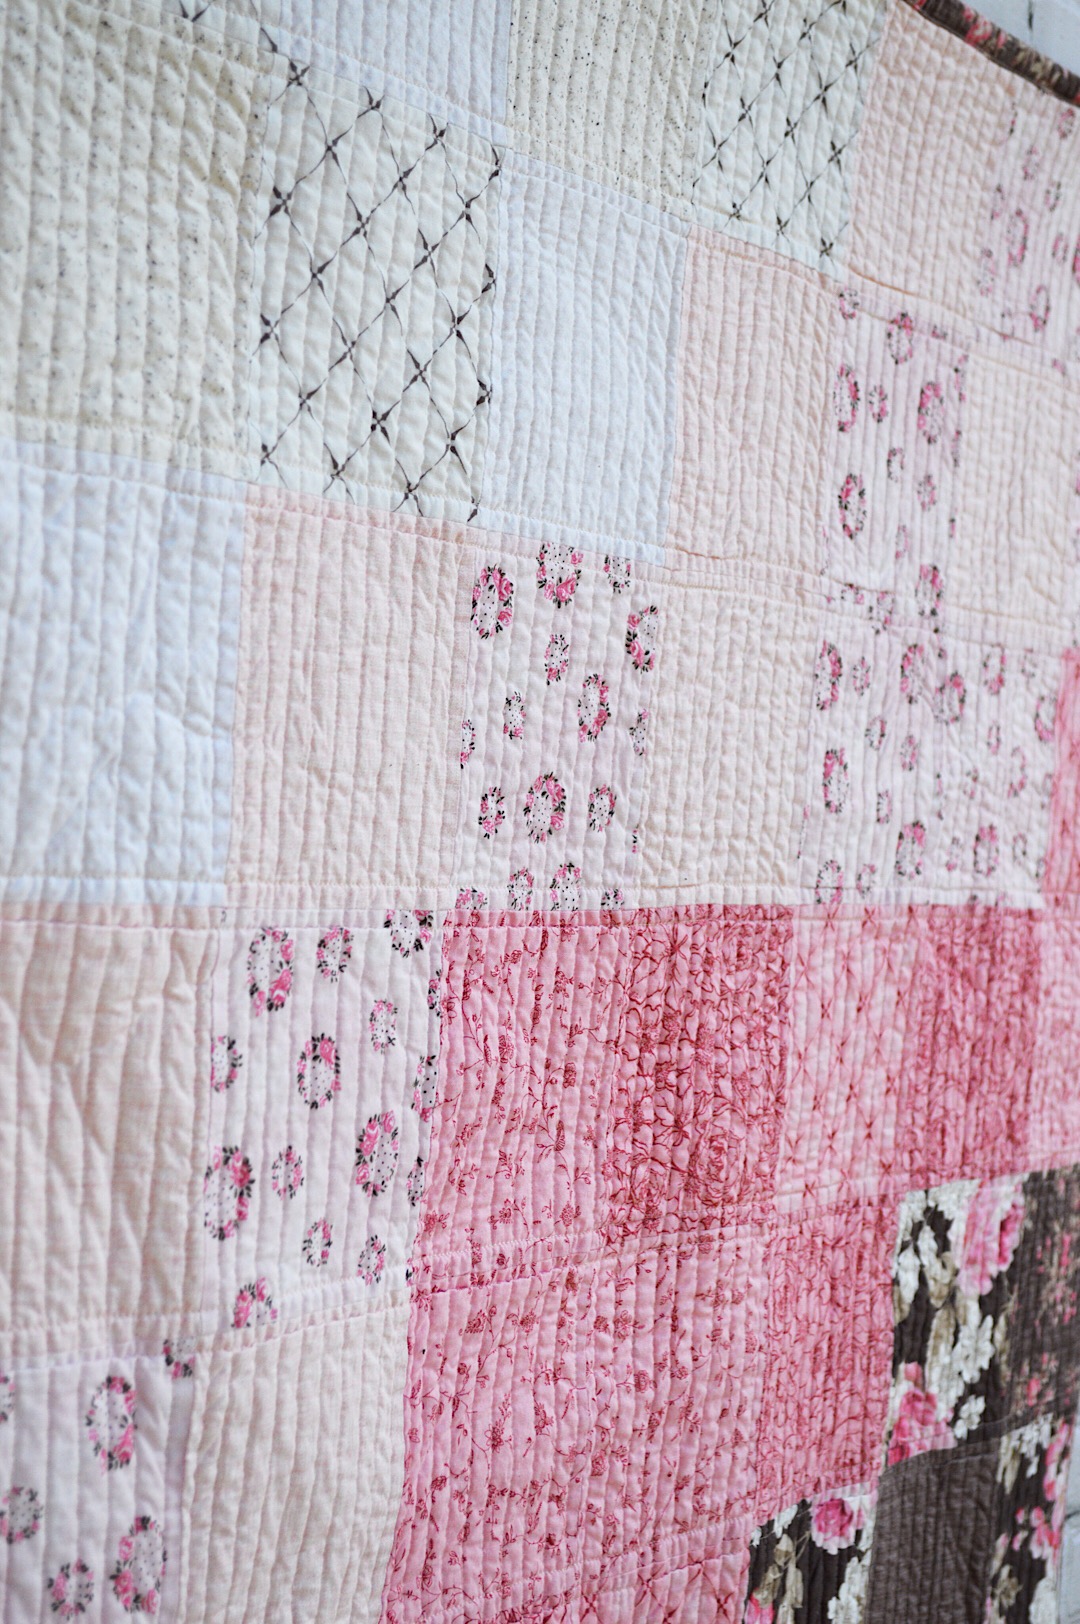
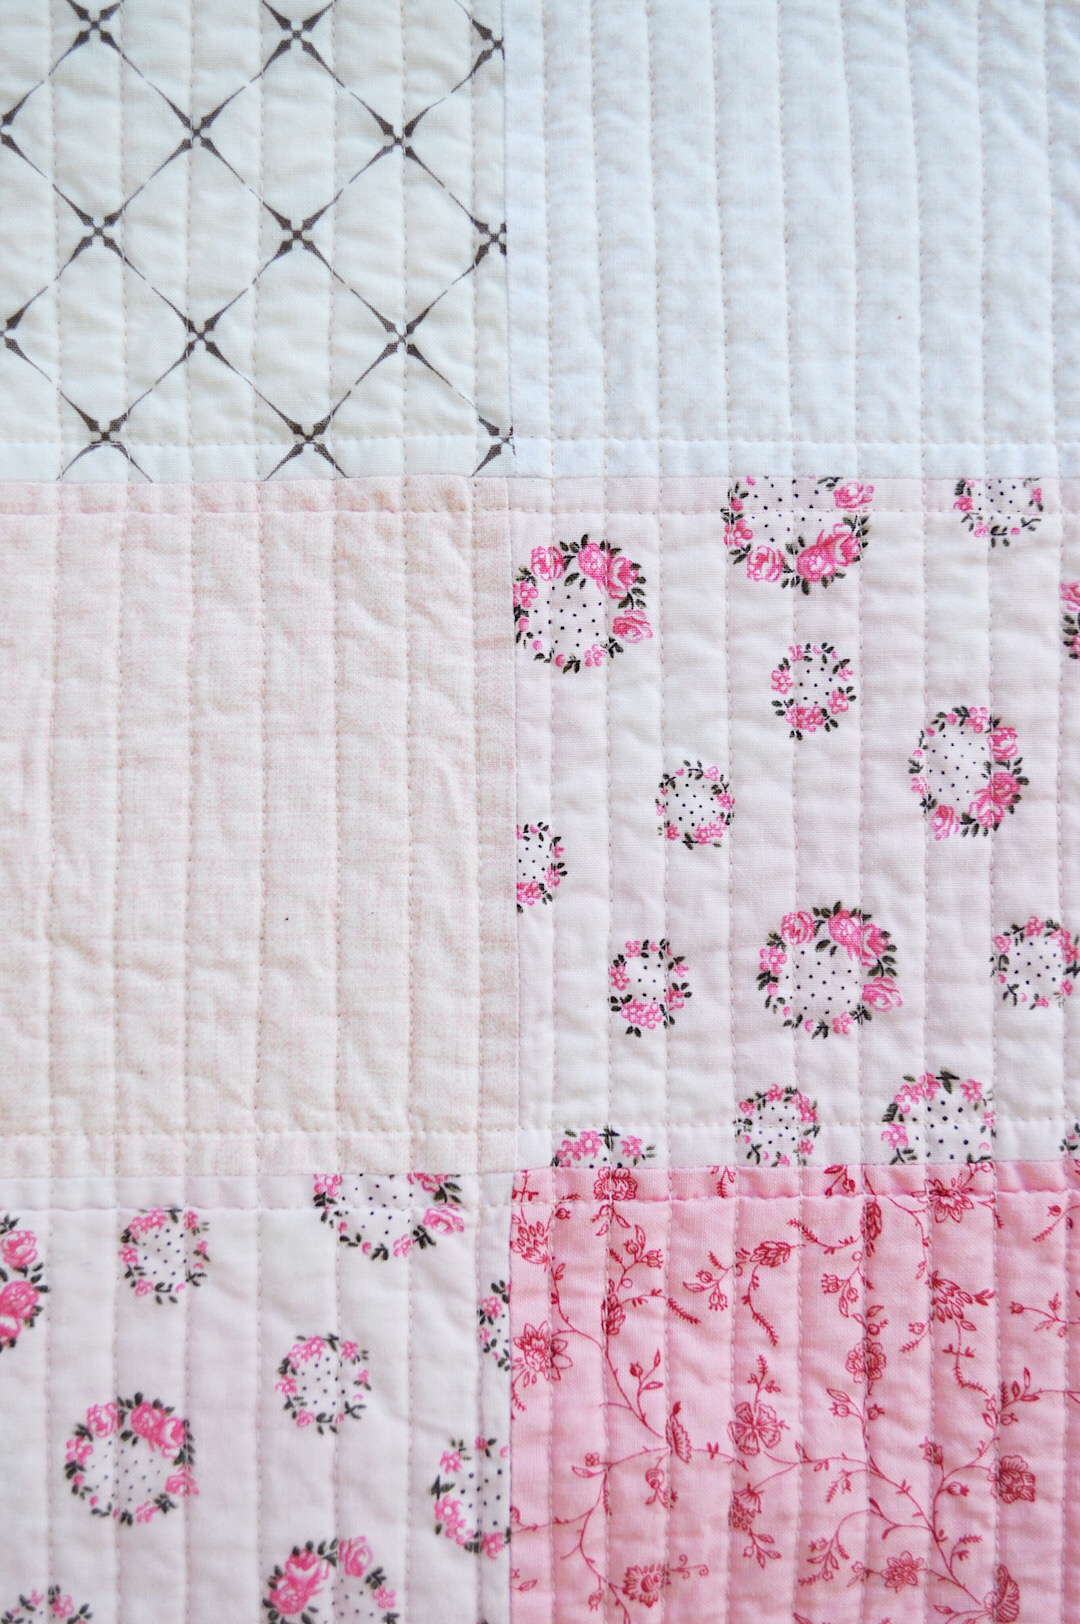
Here is a close up of the pale pink corner. Notice that in spite of my best efforts, I did end up with some kinks in my quilting. I’ve said it before and I’ll say it again – that’s really okay! Little imperfections in our projects are just fine. I like to say they give it character. Each project we create adds one more notch on our learning curve. Imperfections push us to ask questions and explore new techniques. So I choose to embrace these hiccups as part of the process.
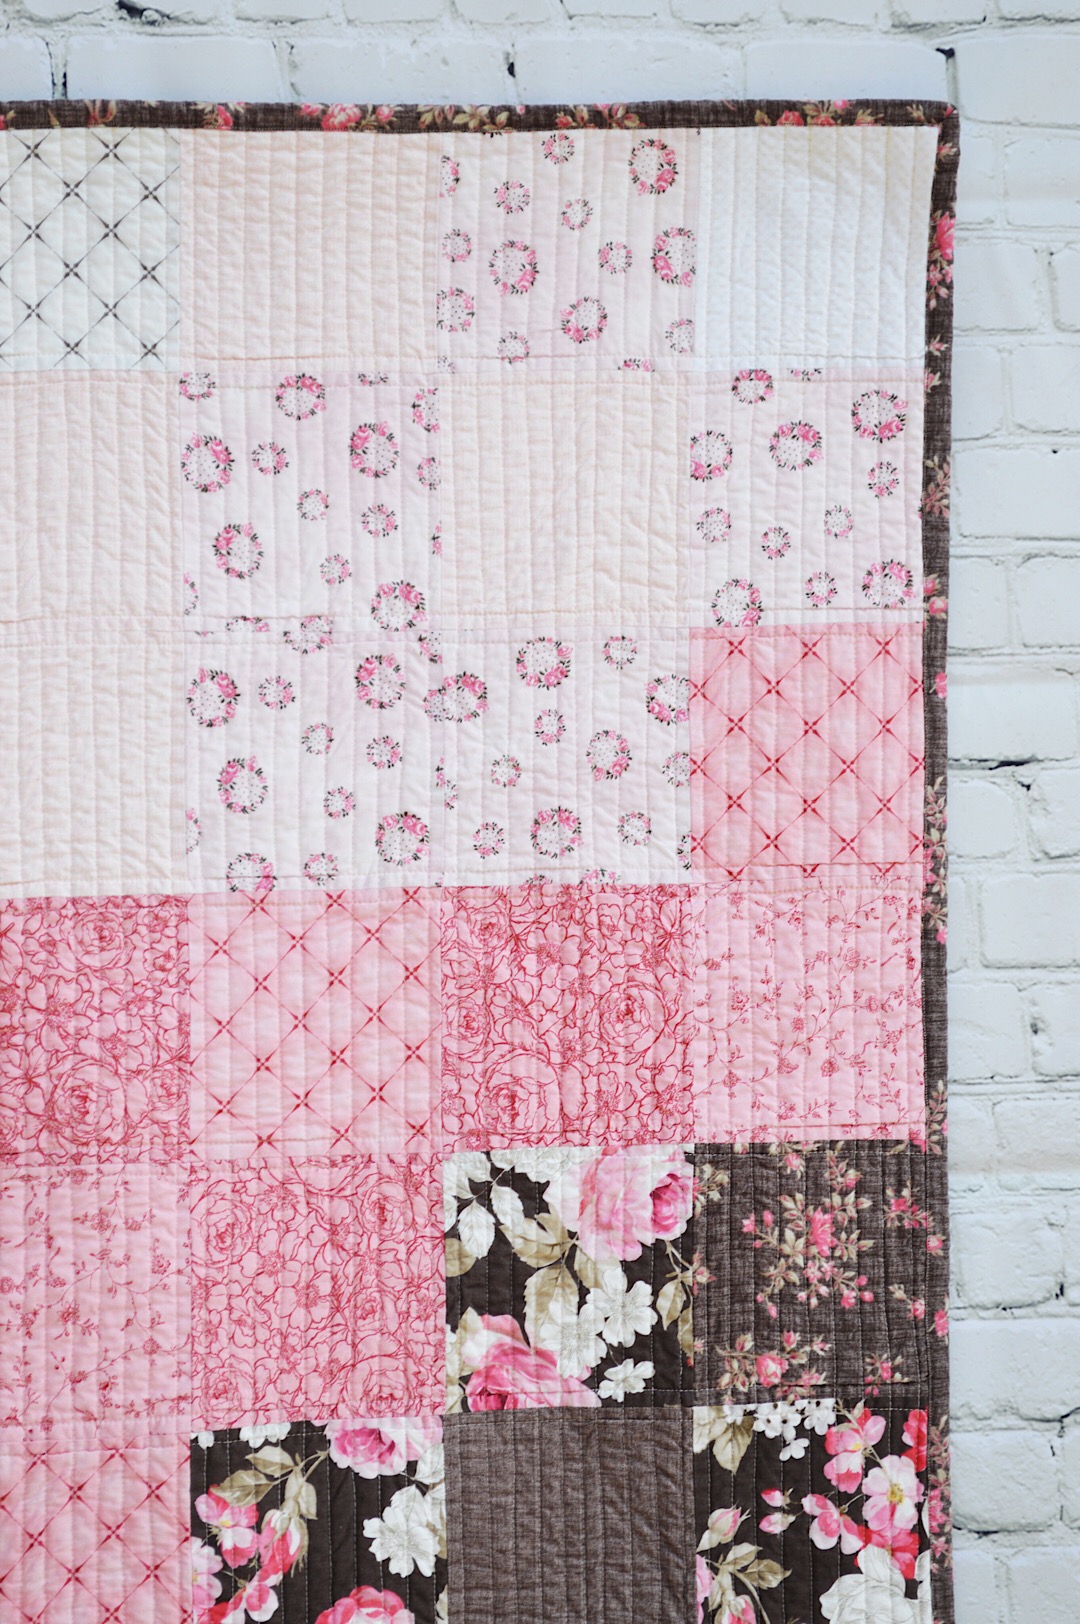
And quite honestly, when you step back a bit, the mistakes are pretty hard to spot!

I incorporated some Riley Blake Designs basics into the quilt as well. The Trento Snowcap and the Cream Kisses were a great addition to the cream corner of the quilt. I also used Confetti Cottons “Brownie” and Brown Kisses in the chocolate corner of the quilt to deepen the gradient effect.
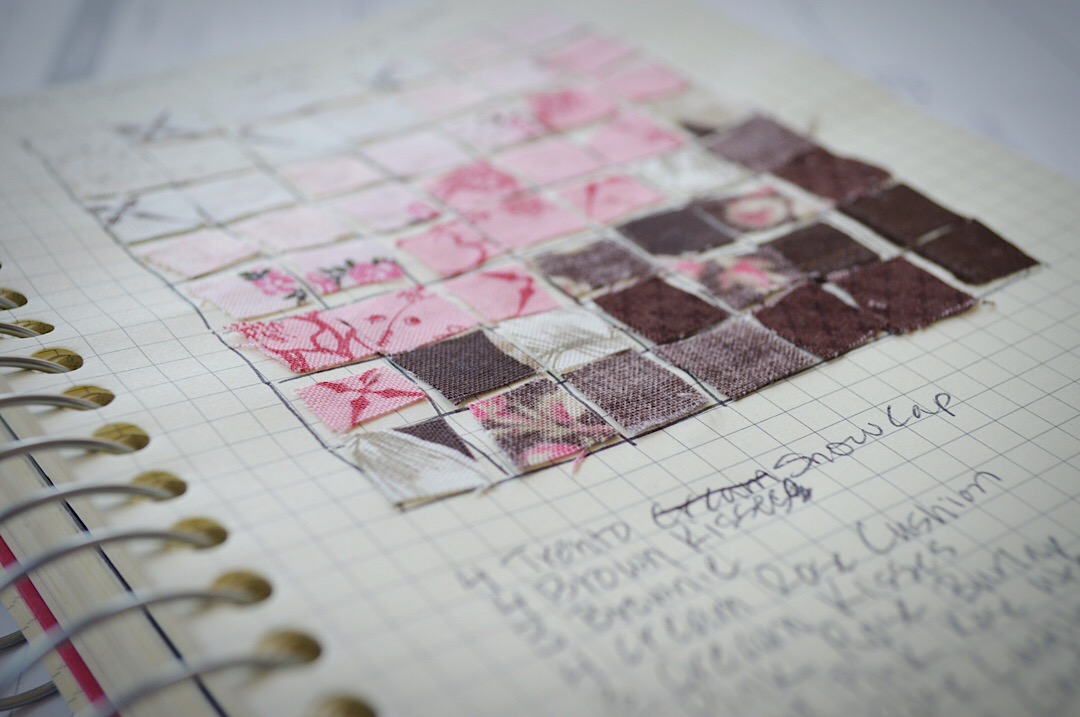
To make this quilt, I first sketched out a simple grid and started gluing tiny scraps of fabric in place. This gave me a general idea of how the finished quilt would look. I find this step is key for me in visualizing my project before I actually start cutting into fabric. Once I actually cut my squares, I realized the quilt was too small, so I added a vertical and horizontal row, but this was a very necessary starting point for me.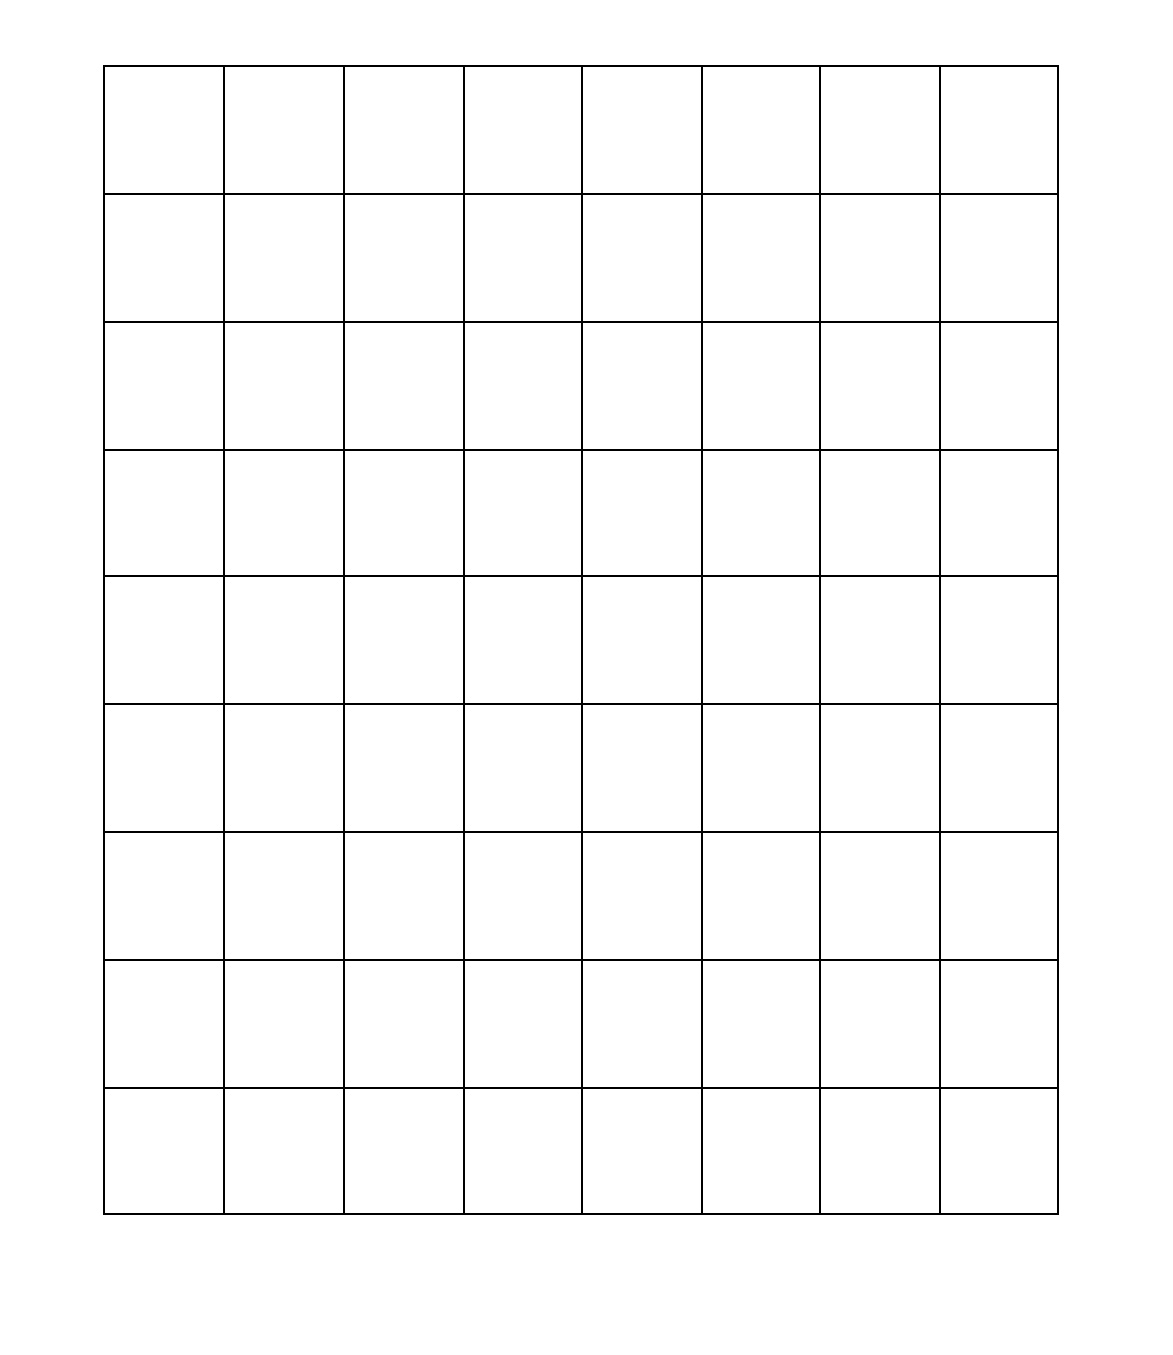 You can map out your own quilt with this simple Downloadable Planning Sheet. The quilt is made entirely of 5.5” squares, and the finished quilt measures approximately 40”x45”. I use a 1/4” seam allowance.
For this project I cut 5.5” squares in the following quantities:
- 4 – Trento Snow Cap
- 4 – Cream Rose Cushion
- 4 – Cream Kisses
- 10 – Pink Rose Burlap
- 10 – Light Pink Rose Wreath
- 5 – Pink Rose Cushion
- 5 – Pink Rose Garden
- 5 – Pink Rose Vine
- 9 – Brown Rose Main
- 5 – Brown Rose Bunches
- 4 – Brown Rose Burlap
- 4 – Brown Kisses
- 3 – Confetti Cotton – Brownie
I also used about 1/2 yard of Brown Rose Burlap for the binding.
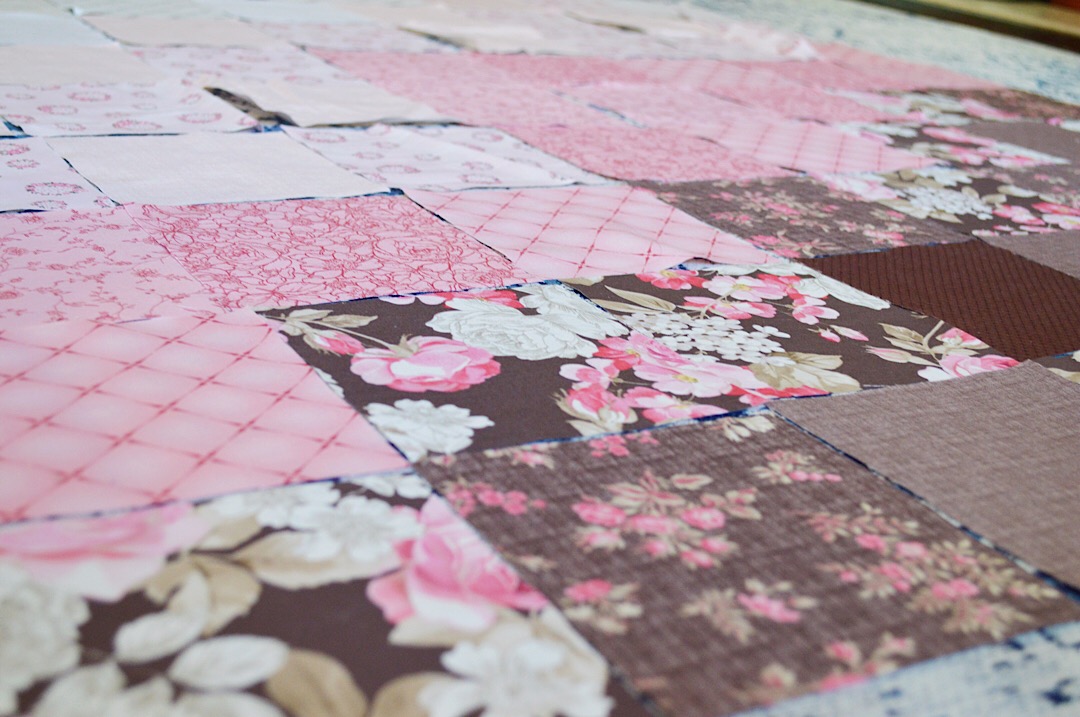
Begin by laying out your squares. Using the diagram is great, and a helpful way to visualize before starting out, but don’t be afraid to move squares around if you find the layout isn’t exactly what you envisioned. This is where you can play around with and finalize your design. For this quilt, you will need to lay out the squares 8 across and 9 down – 72 square total.
Begin sewing your rows. Starting with Row 1 (top row), sew the square together, using a 1/4” seam allowance. Once the row is complete, press all of the seams in one direction.
Repeat for Row 2, only now you’ll want to press all of the seams in the opposite direction. This way, when the two rows are sewn together, the seams will butt up to each other nicely, reducing bulk.
Continue the same pattern until all of your rows are sewn, pressing seams toward the opposite direction each time. For example: Row 1 – press all seams to the right, Row 2 – press all seams to the left, Row 3 – press all seams to the right, Row 4 – press all seams to the left, and so on.
When all of the rows are sewn and pressed, you can begin sewing the rows together. Sew Row 1 and 2 together. Press the seam open.
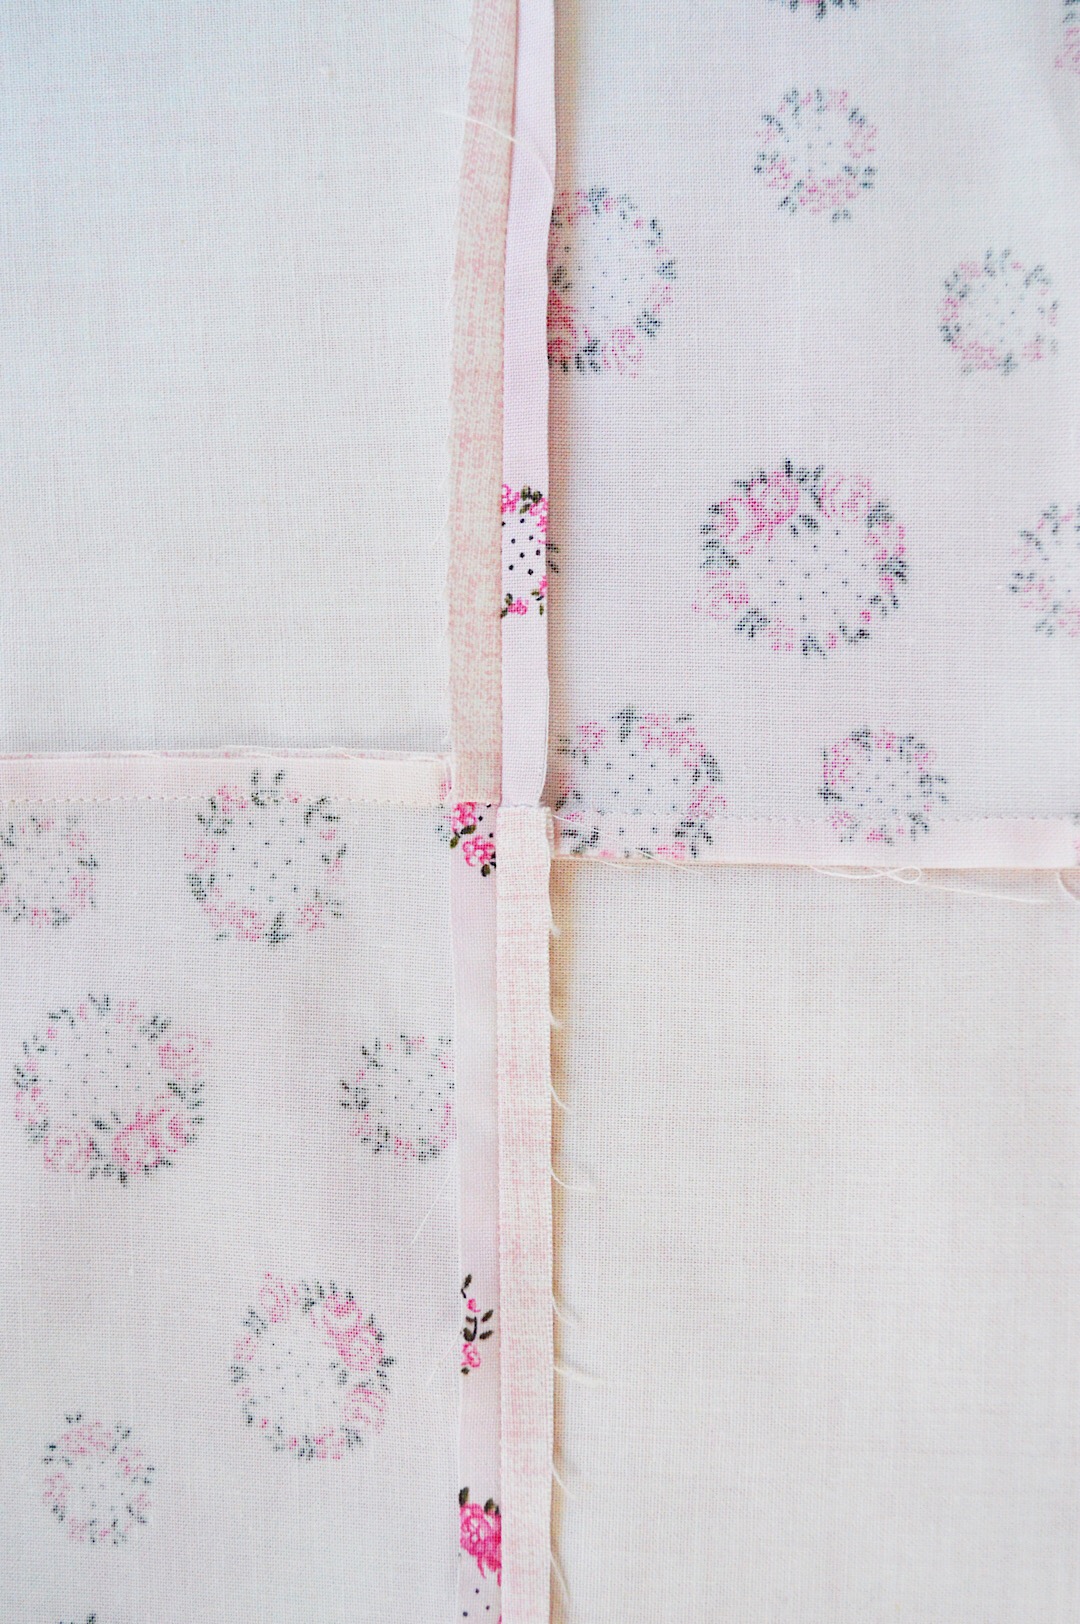
Above you can see my two rows are sewn together. The seams for the squares are facing opposite directions, and my long seam connecting Row 1 and Row 2 is pressed open.
Continue until all of your rows are sewn together.

I decided to try wall basting this quilt to see if it would reduce the puckers I always struggle against. Yes, it did reduce puckers, although it wasn’t perfect. I think with more practice, I could perfect the technique a bit more for even better results. There are many tutorials online discussing this technique. It is really just spray basting, but with the three quilt layers taped to the wall. I was able to manage the taping by myself because this was just a baby quilt, but if it were any larger, I would definitely need an extra pair of hands to help. My overall impression is that the spray basting made the quilt much easier to manage when quilting on my machine. I didn’t worry about fabric shifting around at all, so I had very little trimming to do at the end and my quilt stayed true to size.
After you have finished basting, you can hand quilt, machine quilt, or have it professionally quilted. Next, add your binding and you are done!
I’m a huge fan of simple patchwork quilts. By simply playing with color and placement, there is tons of room for creativity and expression. The same quilt layout can go from modern to traditional just by changing your fabric choice. This is what is so fun about quilting!
The beautiful English Rose collection is available now at local and online quilt shops, so get yours today! Share your projects with us on Instagram with #rileyblakedesigns #pennyrosefabrics.
Happy Sewing!