Christmas in July? Yes, please! Carta Bella released it’s newest collection, Christmas Delivery, and we are in love! The collection features fun little vintage delivery trucks carrying trees and packages, along with plaids, florals, snowflakes and text – all in vibrant, traditional Christmas colors!
Holiday meals are a huge part of the Christmas season, so I decided I would make a nice, long, and somewhat improvised table runner.
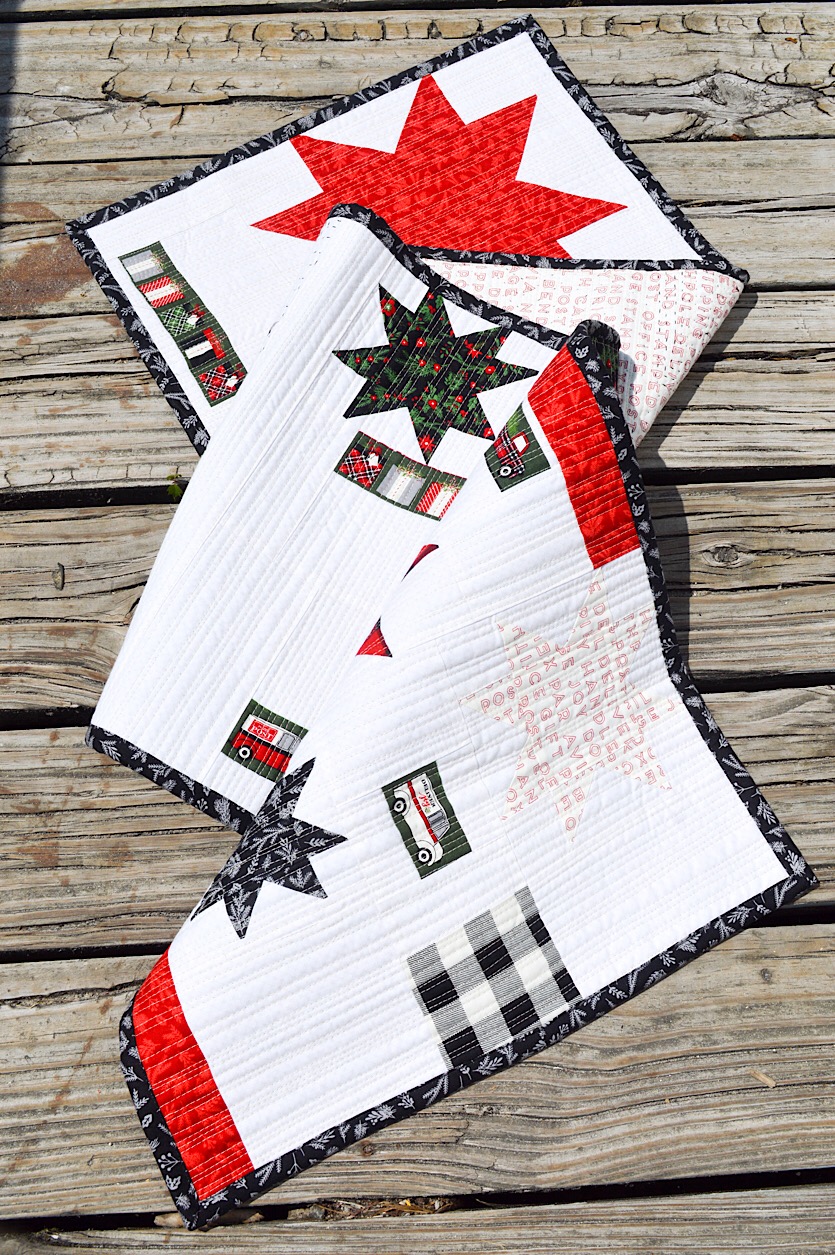
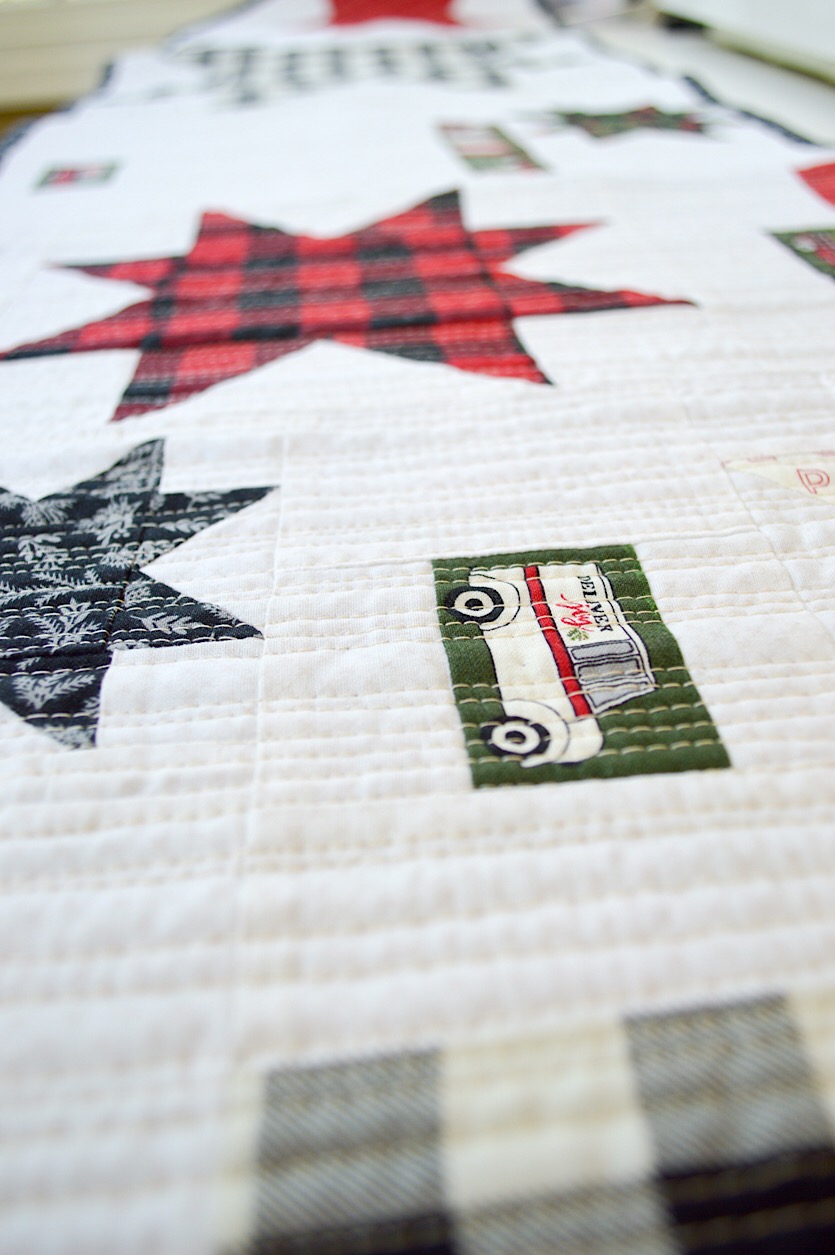
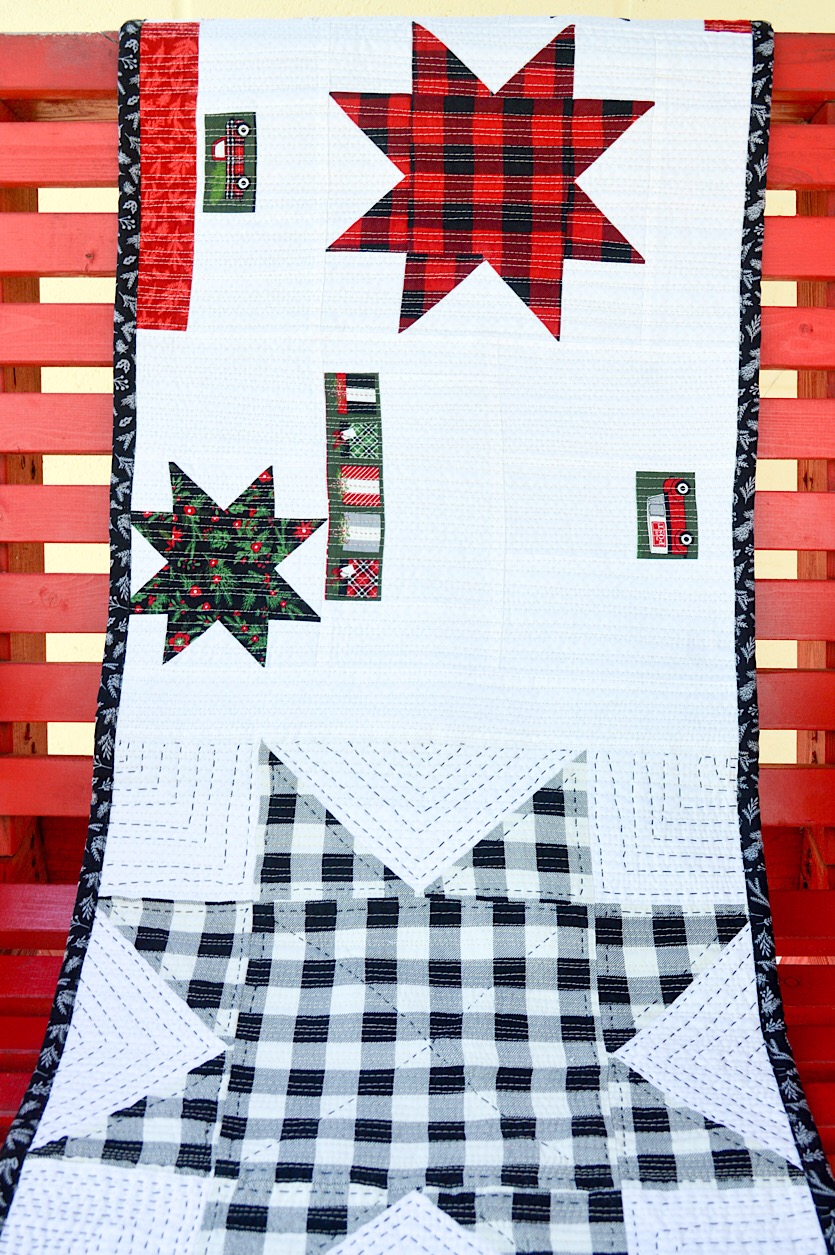
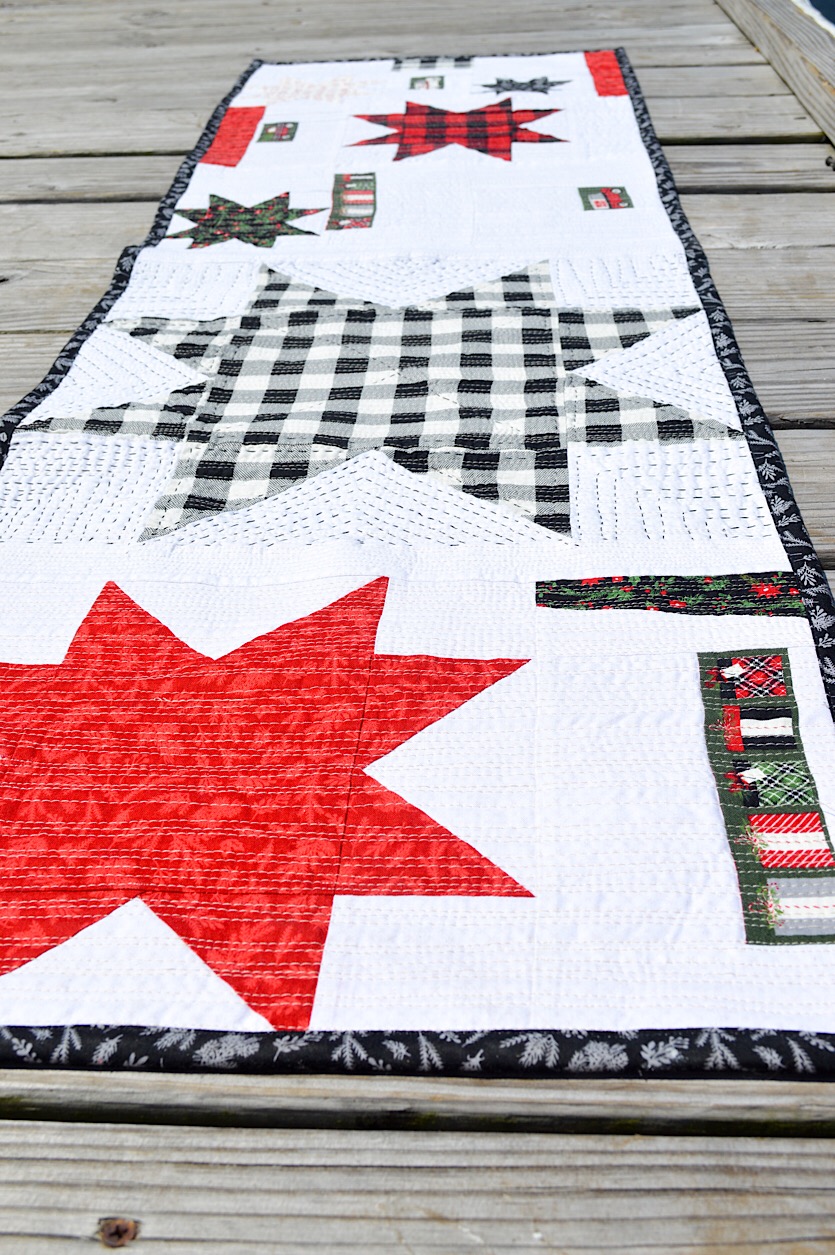
I combined simple sawtooth star blocks in various sizes with random patches of prints from the collection, along with fussy cut cars and packages.
The end result is bit of farmhouse mixed with a bit of modern for a fun, fresh one-of-a-kind table runner.
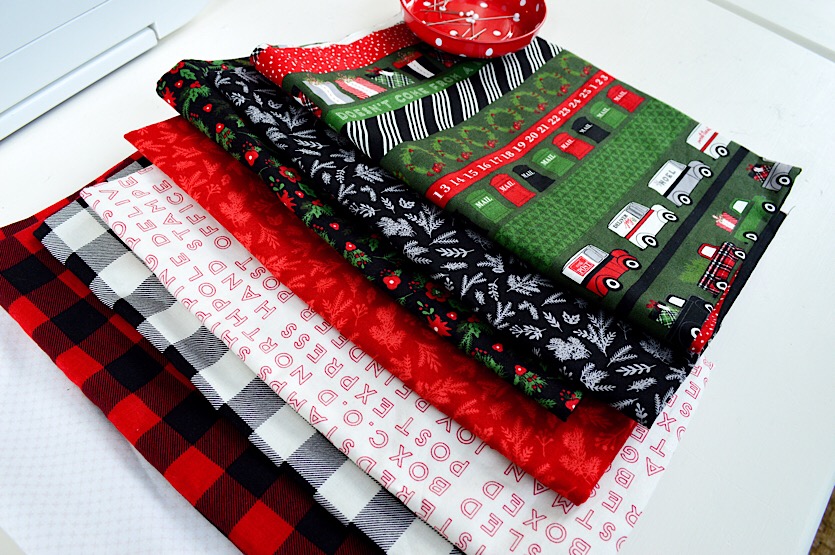
I picked out a sampling of fabrics from the Christmas Delivery collection to play with. The Christmas Plaids are my absolute favorite!
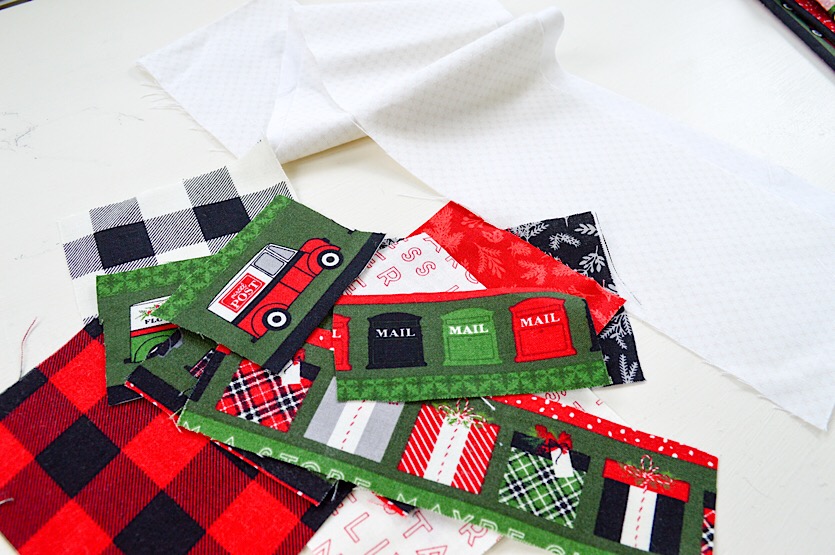
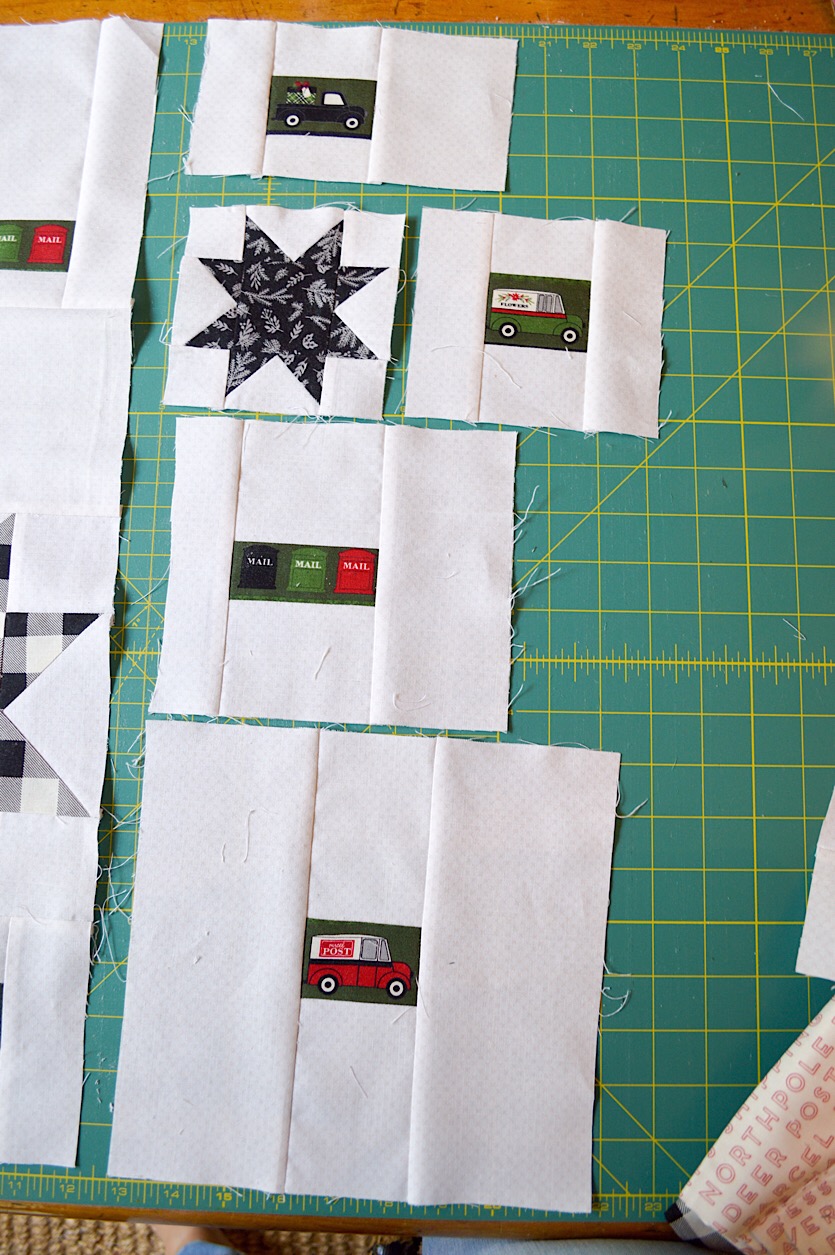
To start this project, I fussy cut a few little trucks and strips of packages and mailboxes from the Christmas Stripe print. To do this, I simply used my ruler to measure and cut about 3/8” past the edges of the image you want to cut.
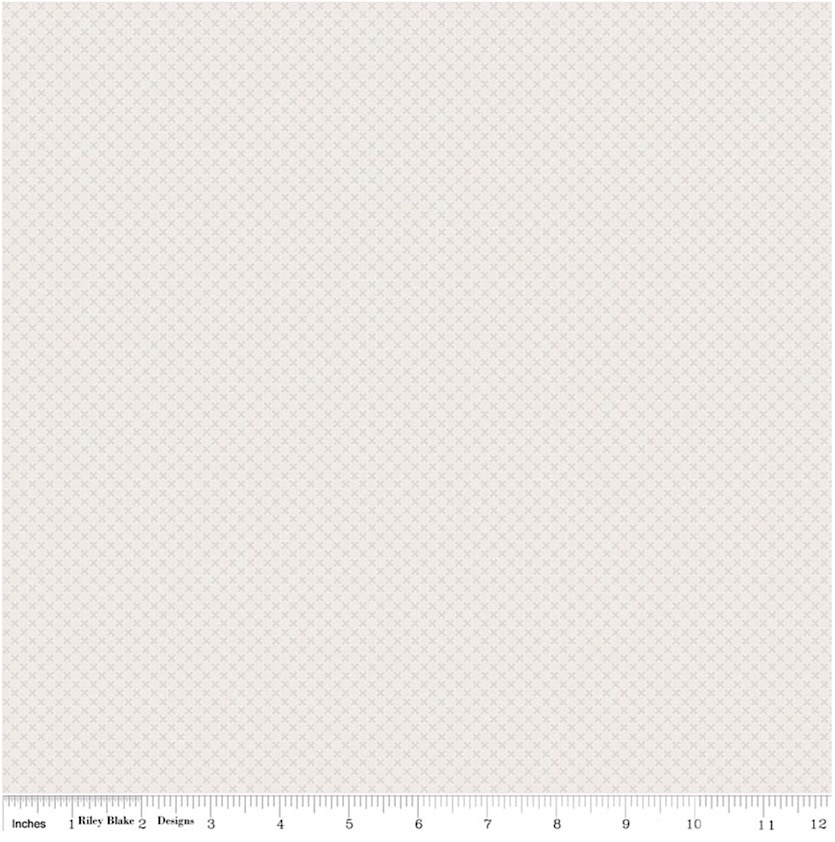
Next I cut several strips from the Riley Blake Kisses collection. I used the cream kisses fabric, which worked beautifully with Christmas Delivery. These strips can be random widths and lengths.
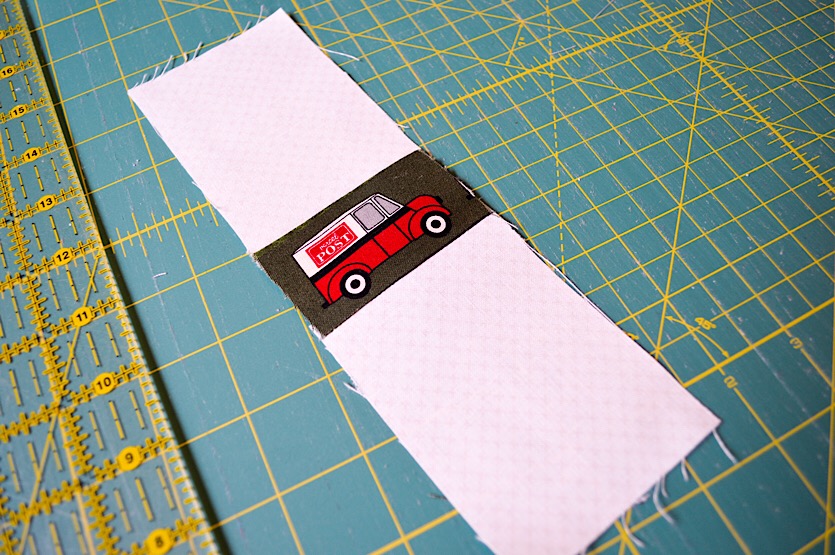
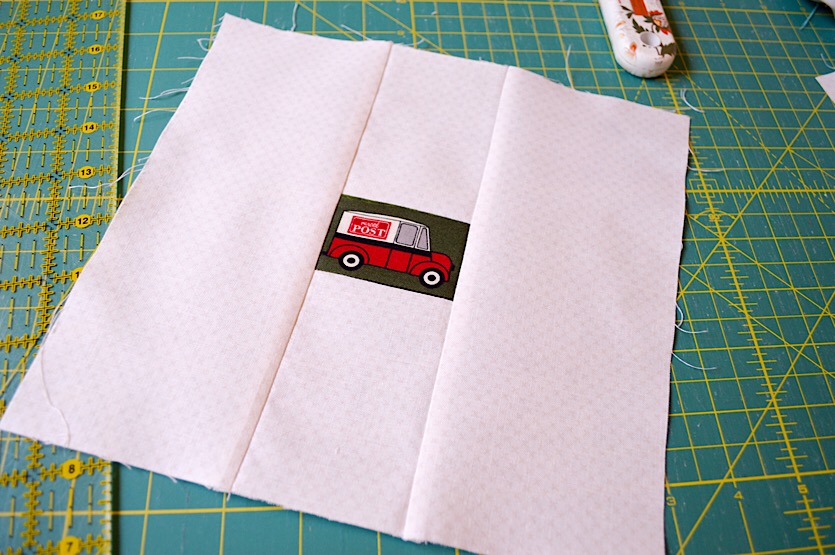
Next sew a bit from the Cream Kisses to the top and bottom of your fussy cut piece. Press.
Add a strip to each side. Press. Continue making these little blocks until you feel like you have enough for your project. Set these aside for now.
Next, you’ll want to make several sawtooth star blocks. I used THIS EASY TUTORIAL from Diary of a Quilter. I made a 4”, 5”, 8”, and 16” block.
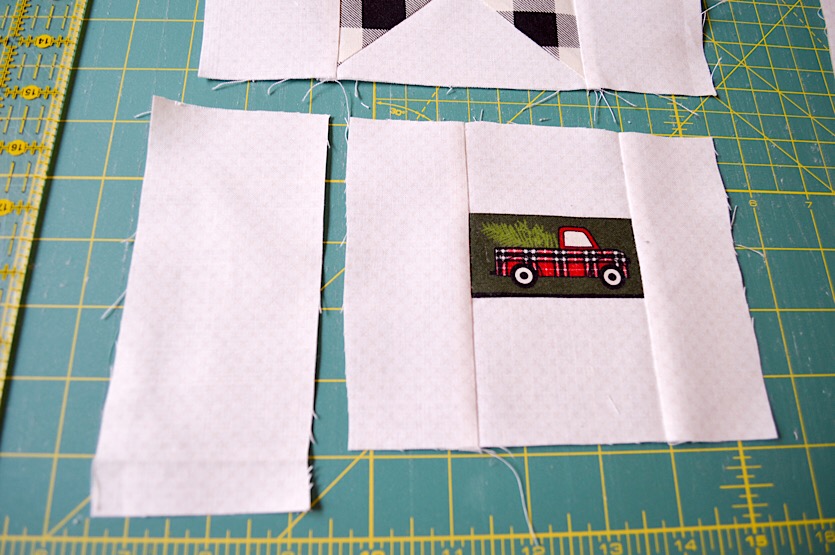
After you have finished making your stars and fussy cut blocks, start arranging them on a table. Using the widest block as my guide, I added strips of Cream Kisses to the other blocks until they all matched the width of the widest block.
For example, if I wanted this little truck block to be the same width as the star block above it, I would just add a strip of Cream Kisses. Press the seams, and trim so it matches the width of the star.
The rows can be as tall as you want. You could make all of these fun blocks into a quilt, or anything else. For my table runner, I made each row almost as tall as my cutting mat, which is 24”. If you have a smaller table, simply adjust the size to what you need.
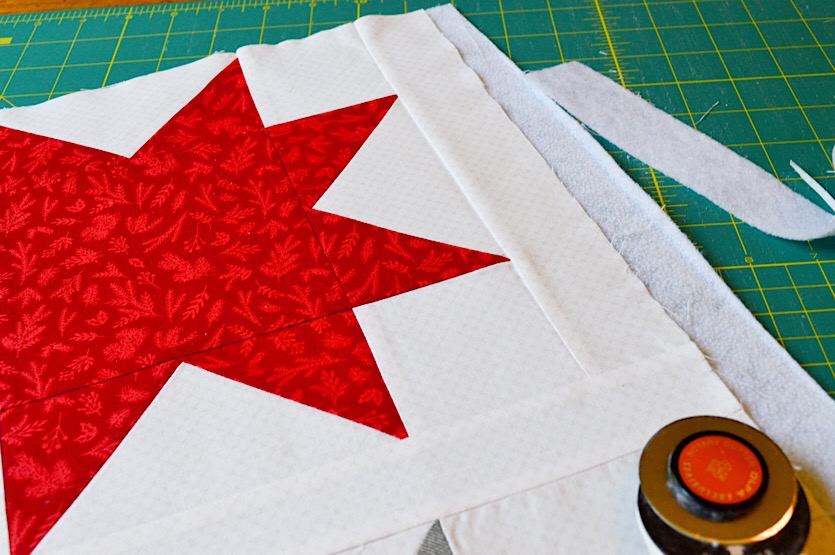
Sew your rows together until you have the length you want. Back with quilt batting or fusible fleece and fabric for the quilt back. If using fusible fleece, like I did, you’ll want to press the quilt top to the fleece and trim the excess edges before adding the fabric to the quilt back. Now you are ready to start quilting!
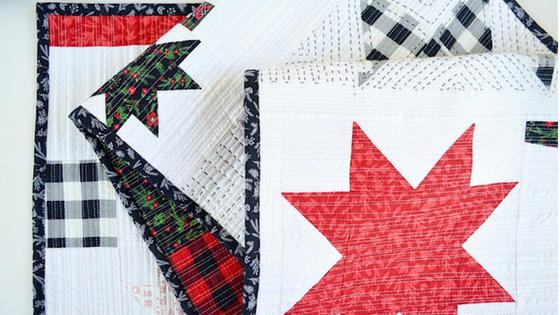
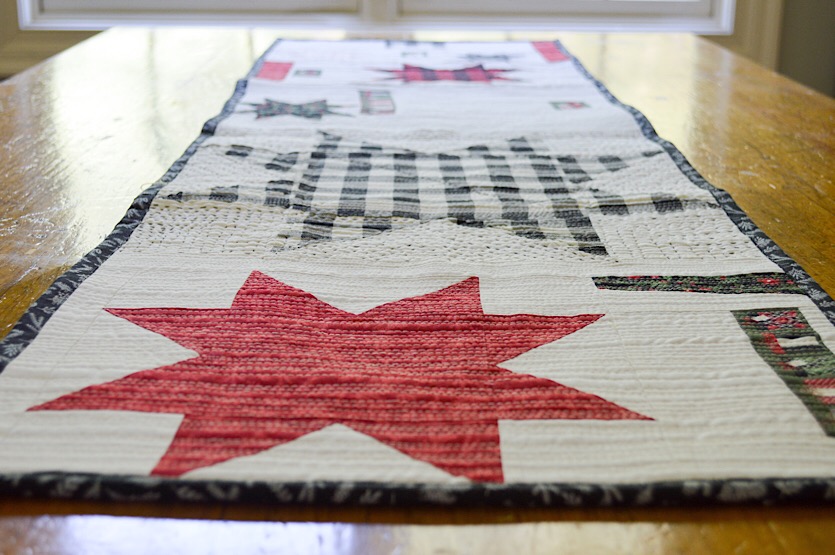
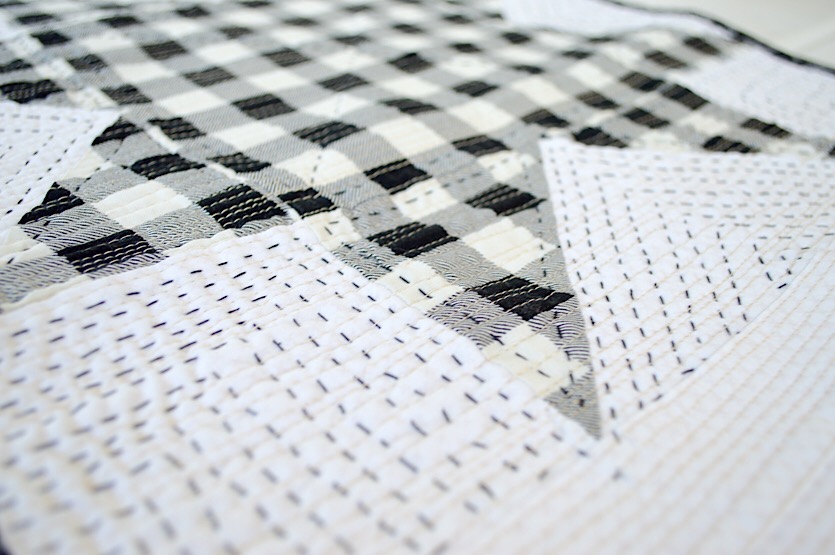
Before I started machine quilting, I decided to use black thread to do a little hand quilting on my large Christmas Plaid Star. I wanted this to have a very homespun feel, so I purposely made my stitches and rows uneven. I really wanted to try my hand at pick-stitching because I didn’t want big black stitches showing on the back of my table runner. Pick-stitching is where you take a normal stitch on top, but grab just a teeny tiny bit from the back fabric. It takes a little practice, but I love how it looks!
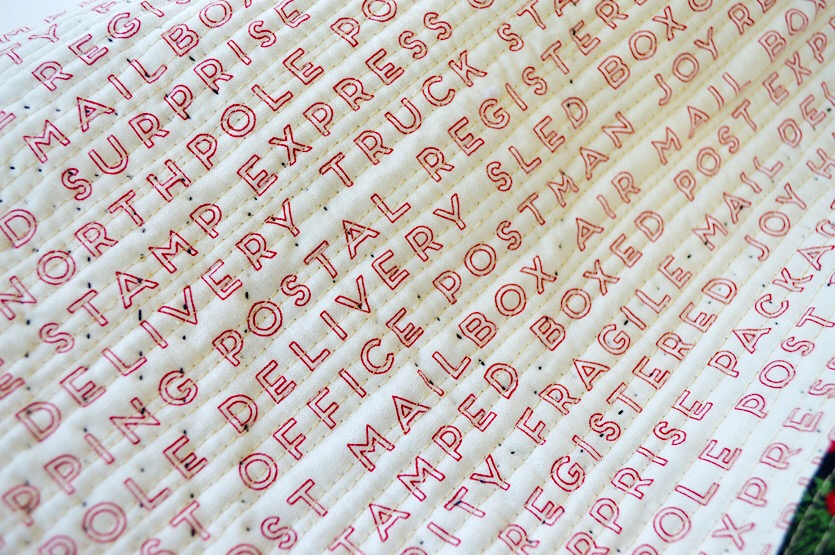
Here is the back. You can see just tiny specks of black rather than the longer stitch you would expect to see.
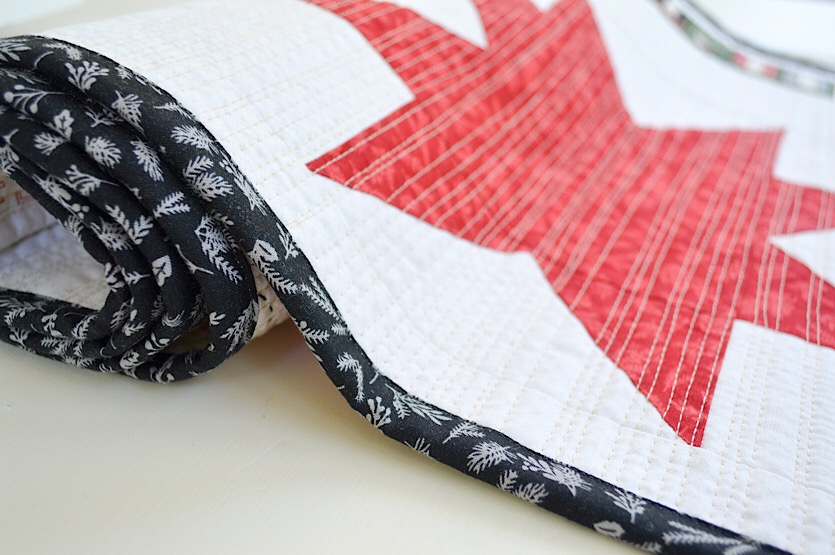
I decided to straight line quilt this table runner with the rows super close together. This is my preferred method of quilting a table runner or placemat because the tight rows help it to lay flat. Continuing with the homespun look, I did intentionally sew the rows at uneven widths.
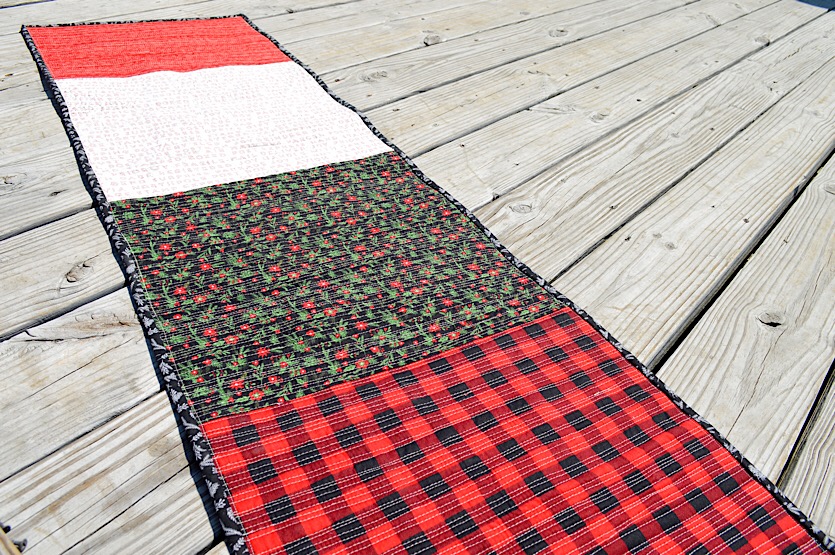
For the back, I pieced together my leftover scraps. Love those colors!
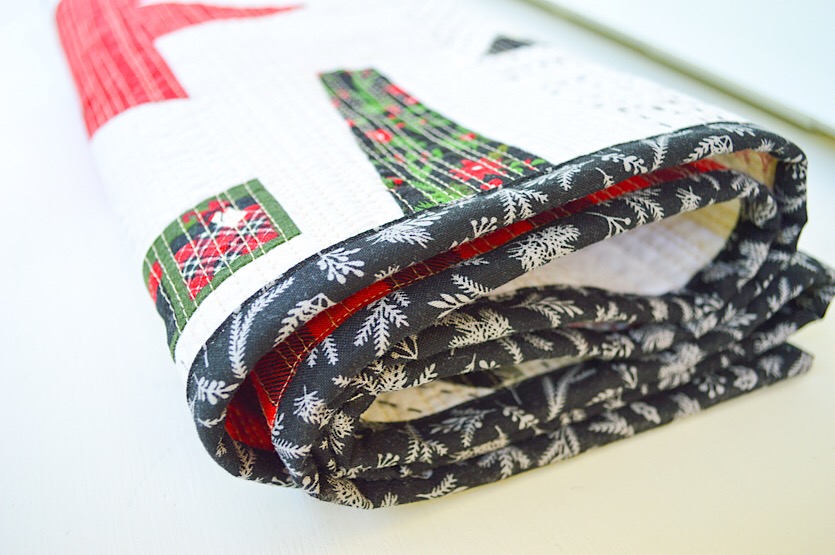
I used Black Christmas Sprigs for the binding, which frames the project beautifully.
Lately, I have been breaking out of my comfort zone by forcing myself to experiment on more improvised pieces, and it has been such a fun learning process! Each project leaves me with new ideas and and ways to improve.
Christmas Delivery is available now at your favorite local and online quilt shop, so pick up yours today and share your projects with us on Instagram @rileyblakedesigns.com!
Happy Quilting!

