Today we’re playing with Delightful, the newest collection by talented designer, Gerri Robinson.
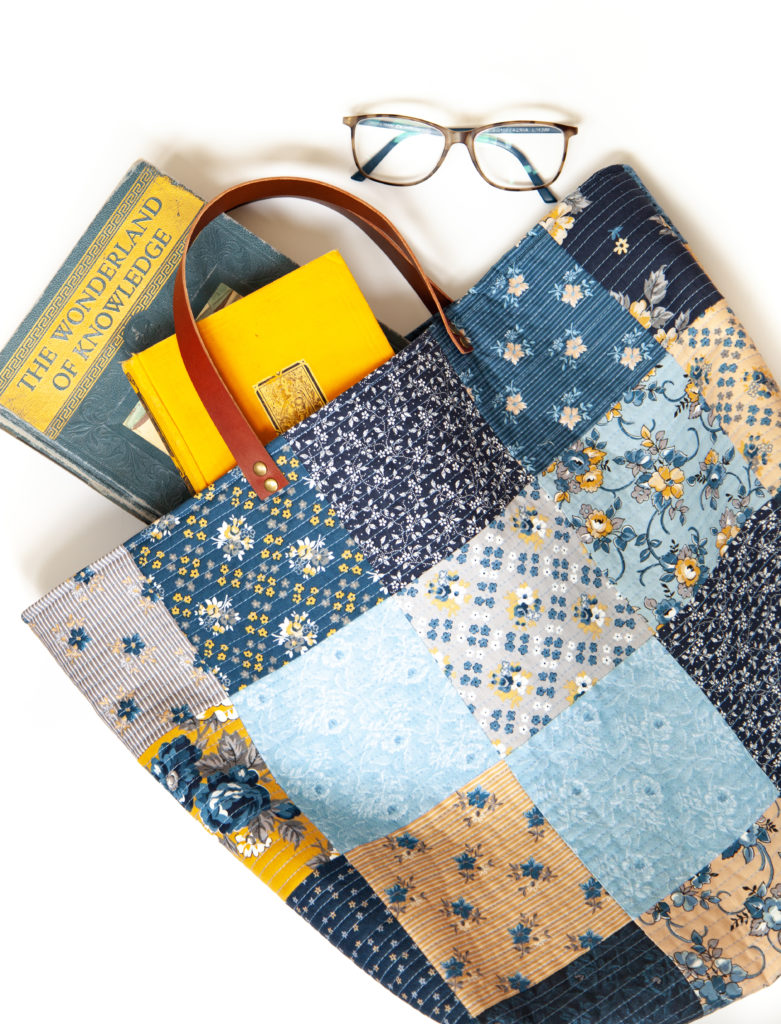
With a 5″ stacker and some yardage in hand, I decided to whip up a simple Patchwork Tote generously sized for a trip to the market, beach, library, or just about anywhere.
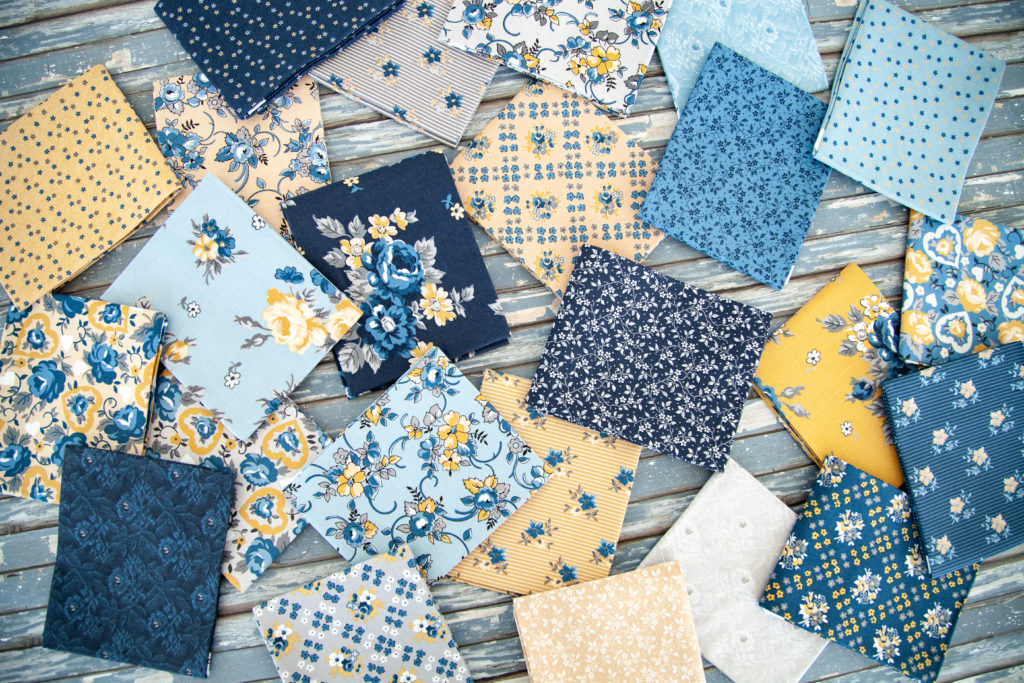
Delightful is the perfect collection to use for a patchwork tote. Its varying shades of blue floral prints have a vintage denim feel to them, and the splash of bold gold and soft gray adds the perfect contrast to all of those beautiful blues.
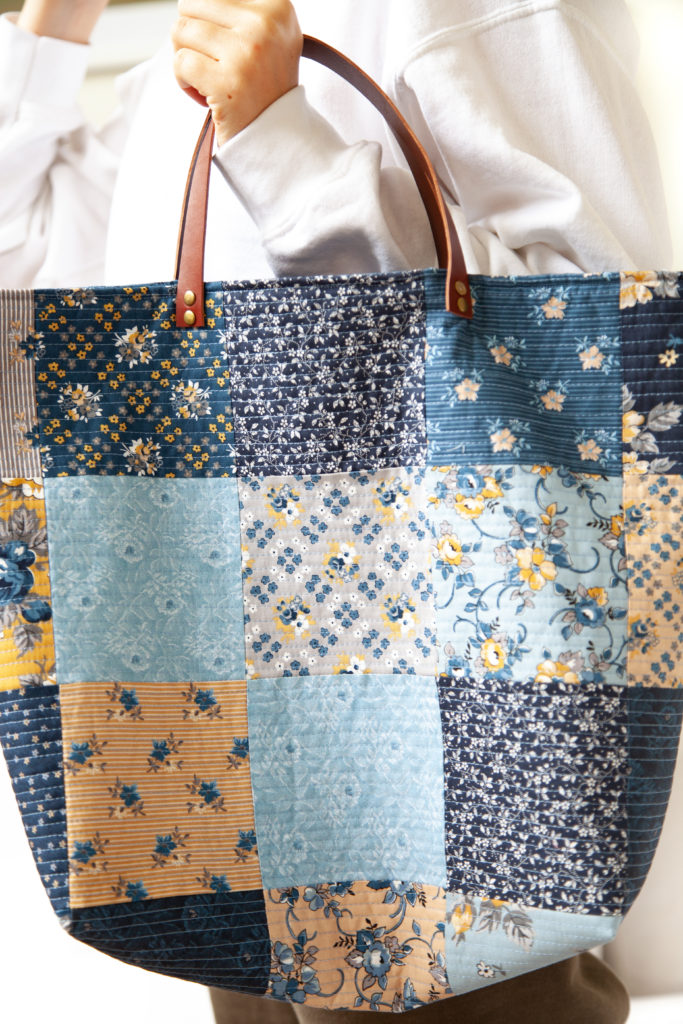
To make this tote, you will need:
- 1 – 5″ stacker Delightful
- 2/3 yard fusible fleece
- 2/3 yard coordinating fabric for the bag lining.
- 2 – 1″ wide x 28″ long leather handles (or you can make fabric handles)
- Leather Rivets (I used rivets found here)
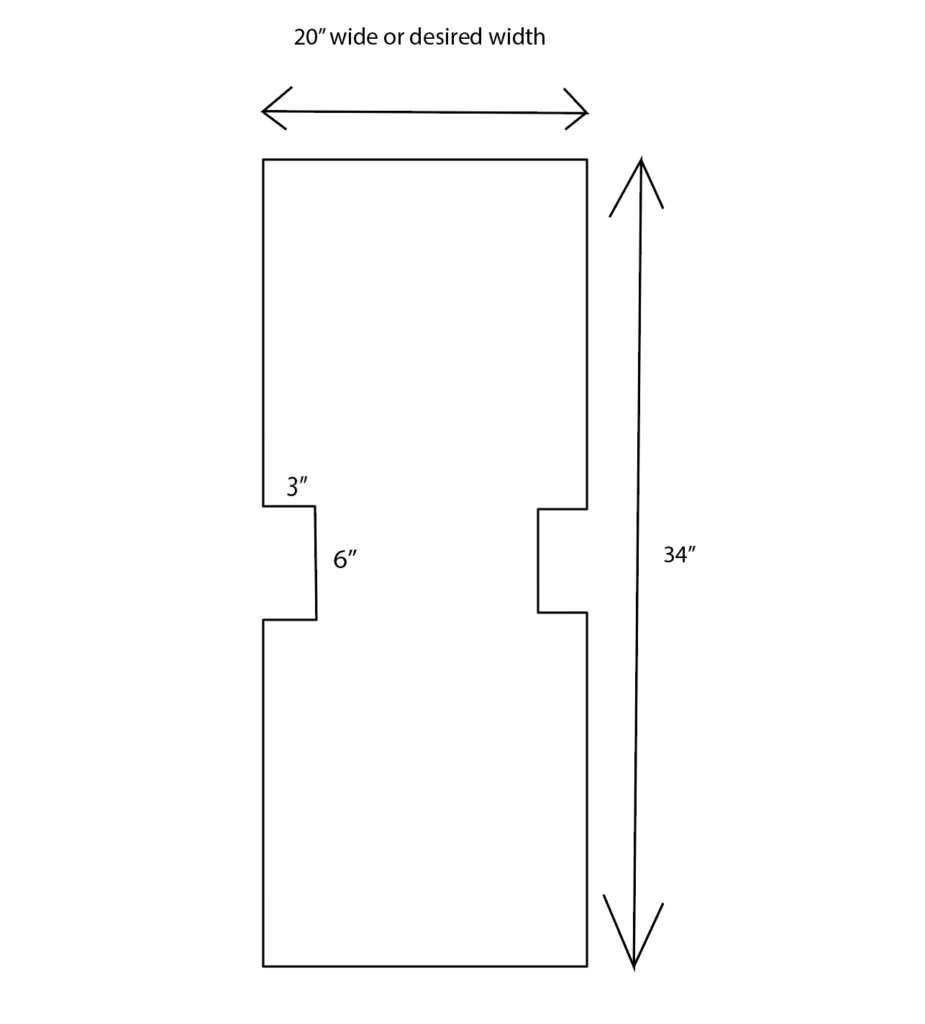
Sew together your patchwork squares to make a rectangle that measures at least 20″ x 34″ shown above. I was about 2″ short on one end, so I added a bit from my yardage to make up for it. This is a scrappy bag, so adding a piece here or there isn’t a problem.
Lay out your patchwork rectangle at cut according to the measurements above. Repeat for the lining fabric and fusible fleece.
Press glue side of fusible fleece to the wrong side of your patchwork rectangle. After adding the fusible fleece, I quilted straight lines spaced 1/4″ apart over the entire surface, you can quilt this any way you like — make it your own!
Fold patchwork rectangle in half, right sides together. Sew along each side seam using 1/2″ seam allowance. Press seams open.
Make boxed corners. I used the second method shown HERE.
Repeat these steps for you lining EXCEPT you want to leave a 7″ opening on one side seam so you can turn your bag right side out later on.
When your outer bag and lining are complete, nest the outer bag inside the lining with right sides facing. Sew around the bag opening using 1/2″ seam allowance.
Turn bag right side out through the opening in the side seam of the lining. Stitch the lining side seam opening shut by machine or by hand. Press the bag opening so the lining lays nice and flat on the inside of the bag. Top stitch around the bag opening.
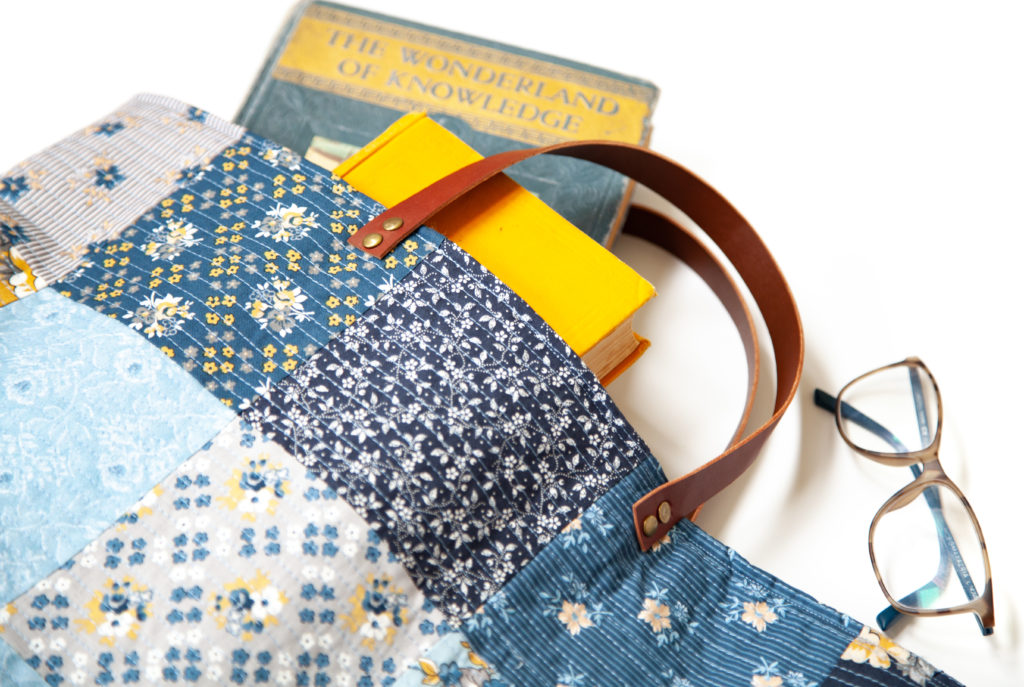
To attach the leather straps, you can sew them on if your machine can handle it. In which case, you would sew a rectangle, and then sew an X through the rectangle for extra reinforcement. Or, if your machine can’t sew through leather, you can use rivets. These are super easy to install, and you can find a great tutorial for this HERE.
I only had 16″ straps on hand, so they are a bit short for this roomy market size tote. I recommend sizing up to 28″ straps if you want to wear them over your shoulder, or use any length you are comfortable with.
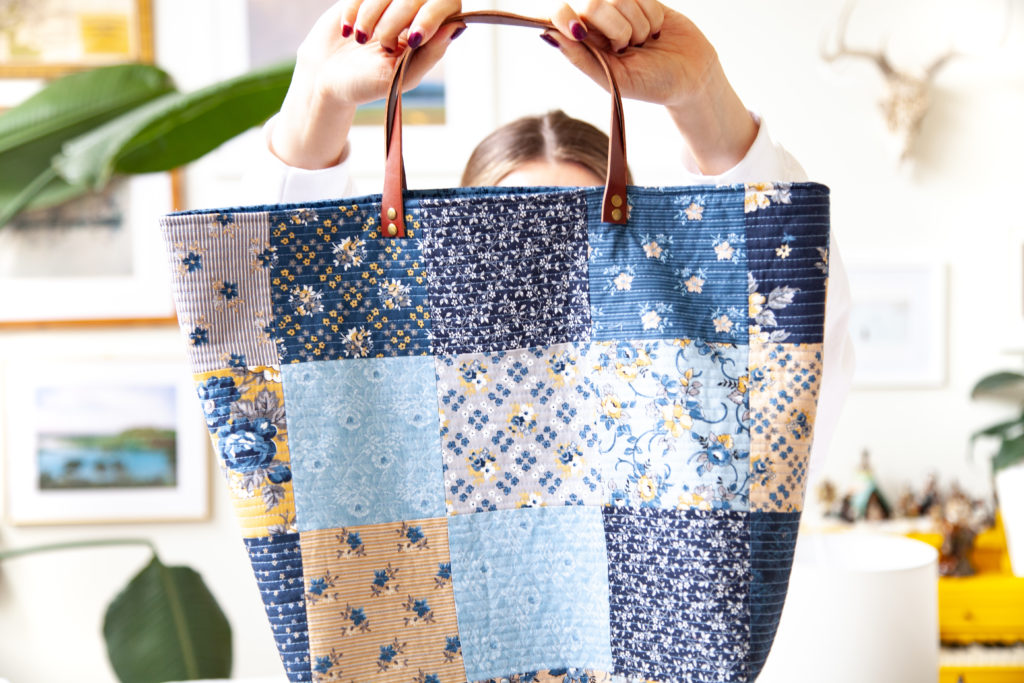
Once you make this bag, you’ll realize you can adjust the measurements to any size you want. The steps will remain the same no matter what size you make. Easy! This is a project that can be whipped up in an afternoon. Make one for yourself and another for a gift!
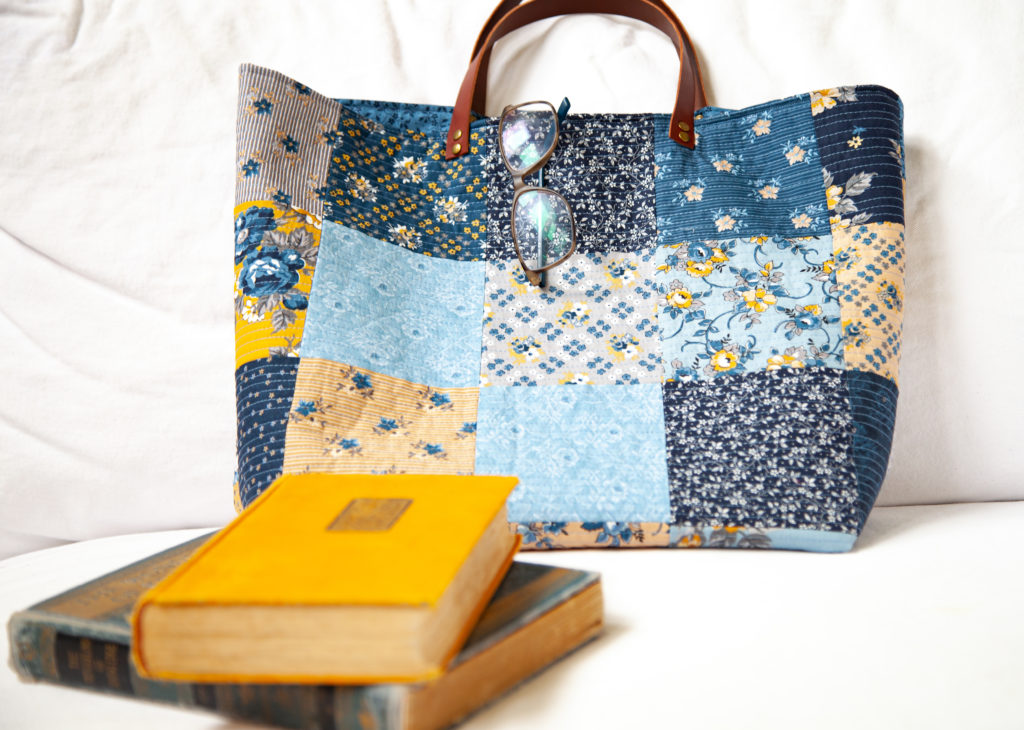
Delightful, by Gerri Robinson, is available now at your favorite local and online quilt shops. Pick up yours today and share your makes with us on Instagram using #delightfulfabric, #rileyblakedesigns, #iloverileyblake, and tag us @rileyblakedesigns.

2 Comments
Pingback:
April 17, 2021 at 3:52 pmPingback:
June 10, 2023 at 1:49 am