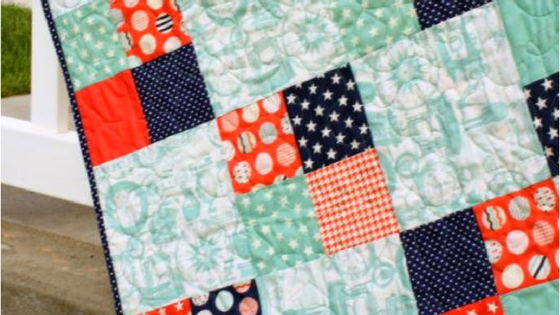
This is one of my favorite go-to quilt patterns for a quick baby quilt. It works really well to show off a main ‘focus’ print contrasting with a variety of prints in scrappy four-patch blocks.

For this quilt I am using the new Riley Blake Trendsetter Collection, in stores now. I really love the color palette in this collection. The collection includes some versatile basics like the stars and the mini houndstooth print. I’m especially smitten with those multi-print circles. I added in some coordinating solids in Seafoam and Coral as well as the Navy Swiss Dots for variety.

This quilt design is great for showing off a big print and then pairing it with a variety of fabric that contrast well. I chose the big toile-looking print in mint for the ‘background’ squares and then used the navies, corals and a few of the mint pieces as the contrast. (I personally chose to avoid the other light-background fabrics as they didn’t contrast as much with the toile.)

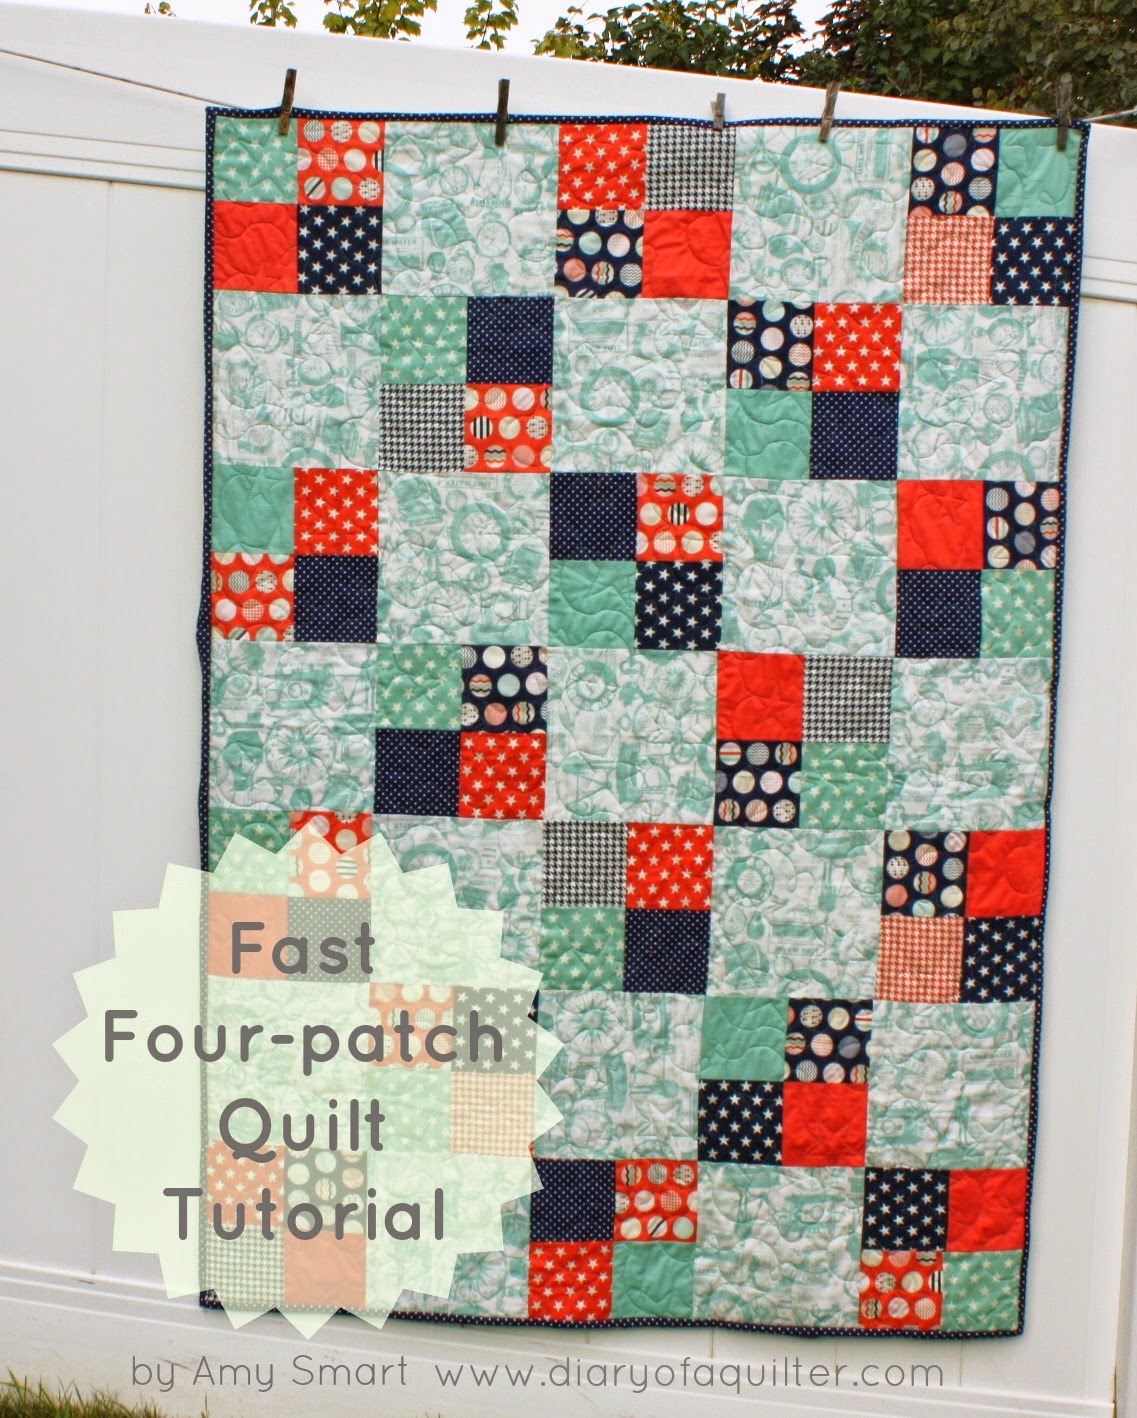
Finished quilt: 40″ x 56″
Fabric requirements:
1 1/4 yard background print
At least 8 different 1/8 yards for contrasting four-patch blocks (you can use more if you want) OR a couple of packages of 5″ precut squares
1 3/4 yard backing*
3/8 yard binding
*this yardage will be tight on the sides (selvage edges). If you’re a careful quilter, it should be enough. If you want more wiggle room get 2 1/2 yards.
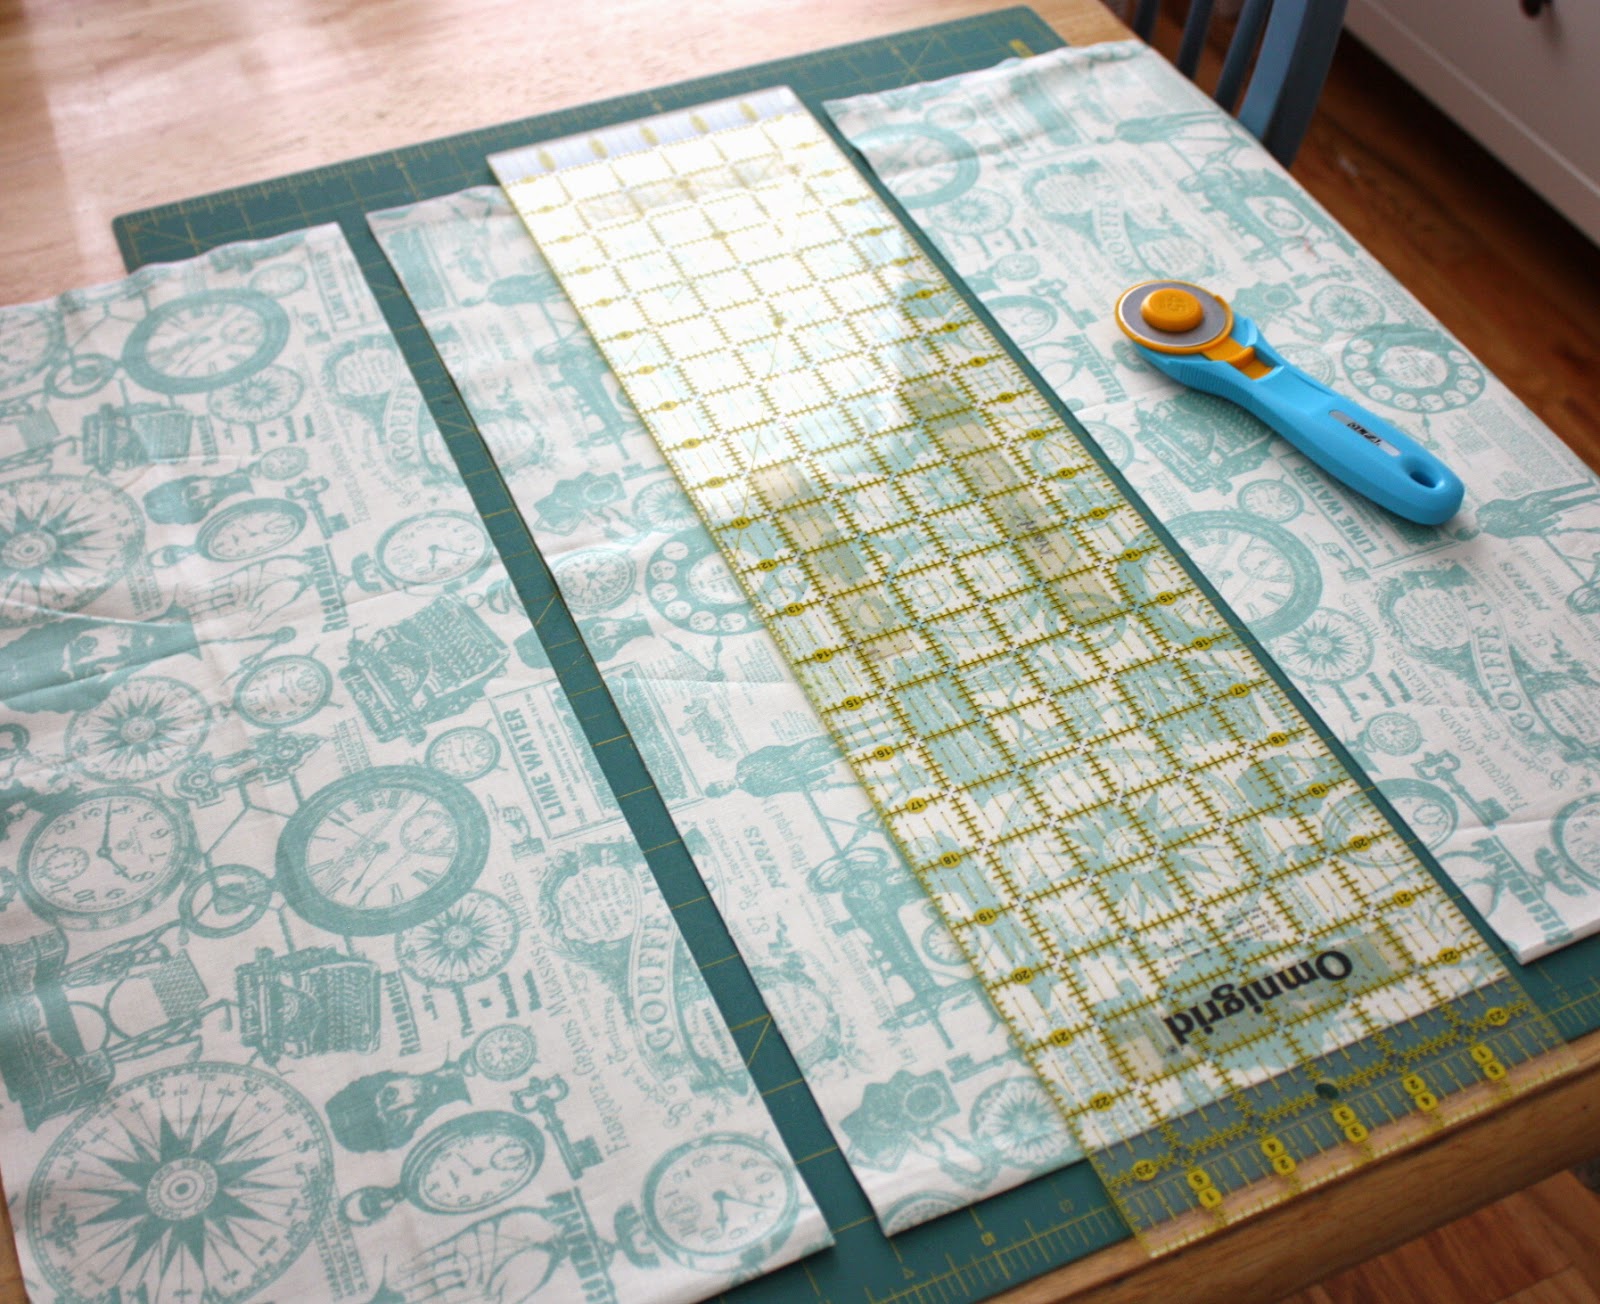
Cutting:
From background print cut 5 strips 8 1/2″ x width of fabric.
Sub cut into 17 squares 8 1/2″ x 8 1/2″.
From four-patch prints cut 72 squares, 4 1/2″ x 4 1/2″
From binding fabric cut 5 strips 2 1/2″ x width of fabric

Match 72 squares up into contrasting pairs. Sew squares together using a 1/4″ seam.

You can chain them through quickly without even cutting the thread. Press seam to one side.

Match each pair with a contrasting pair and sew together to create 18 four-patch blocks. Press seam to one side.

Layout quilt blocks into seven rows of five blocks each. Start with a four-patch block in the first row and an 8 1/2″ square block in the second row. (see photo.)
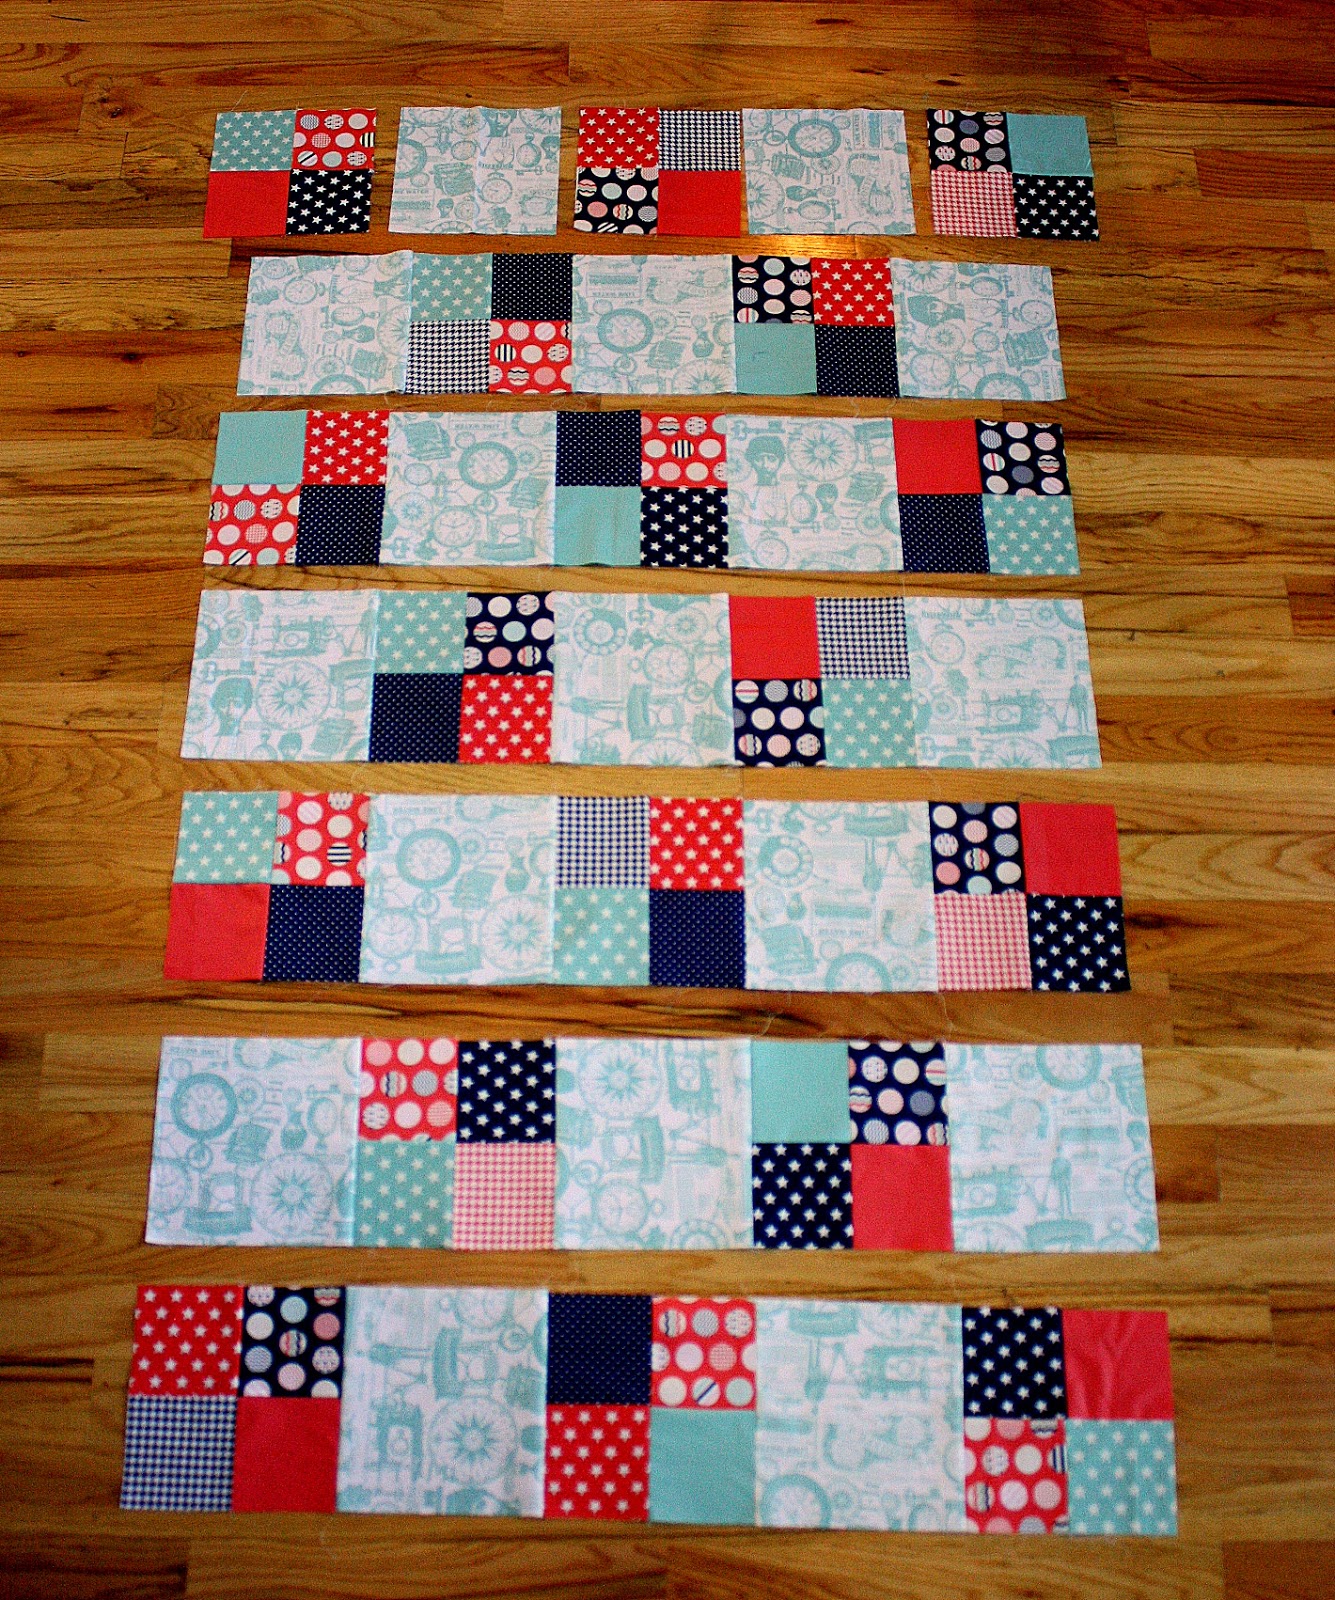
Sew squares into rows, pressing seams toward the 8 1/2″ square blocks. This will create nesting seams when you go to sew the rows together and make the assembly much easier as well as matching up points. Sew rows together and press seams all the same direction.
Layer quilt top with batting and backing and baste together. Quilt as desired. I pieced my back using prints from the collection.

Sew 2 1/2″ x of strips end to end to create binding. Binding tutorial here.
And voila! A super quick – and very cute – crib quilt! For other sizes of this quilt – including a baby quilt and a twin size, visit my blog post here.
For other simple quilts and tutorials visit me at Diary of a Quilter. Thanks for having me!