We have a seriously easy and totally stunning quilt to share with you today!
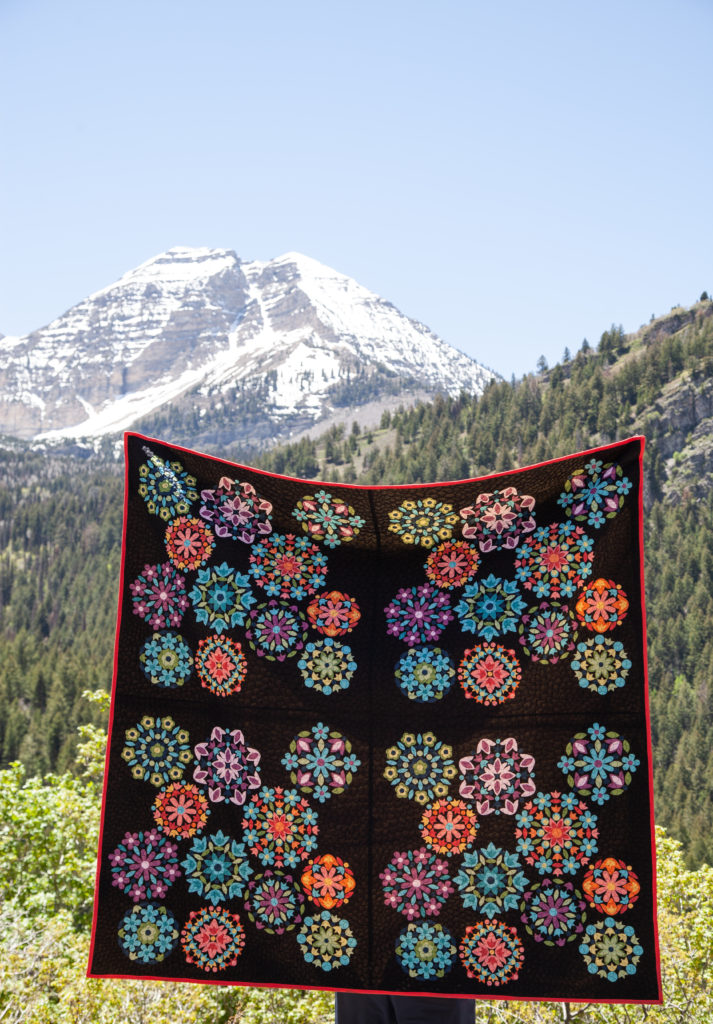
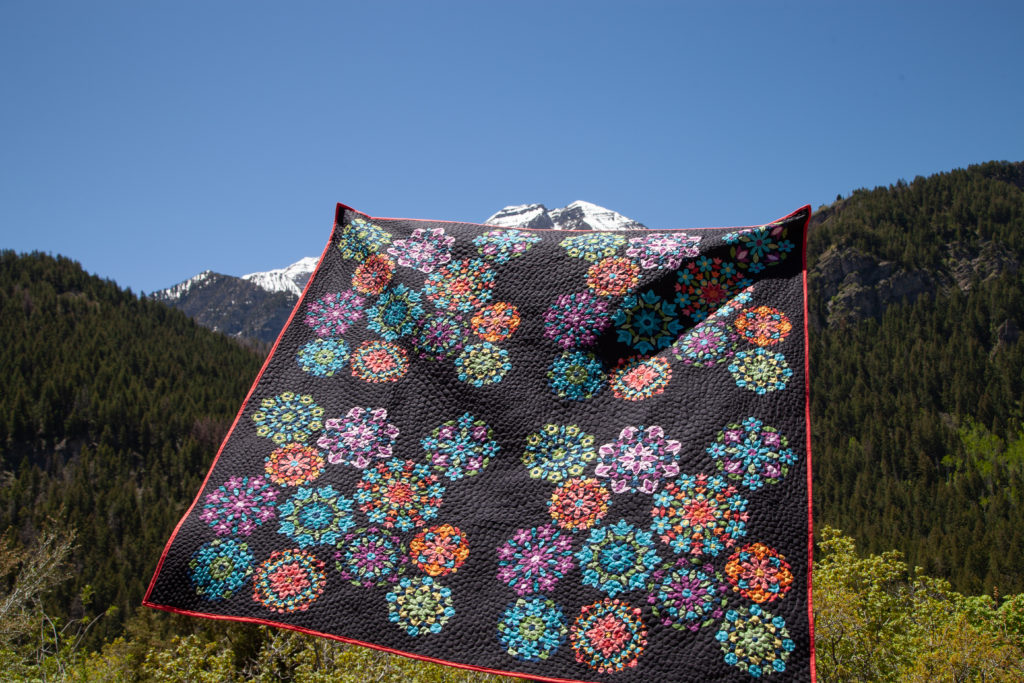
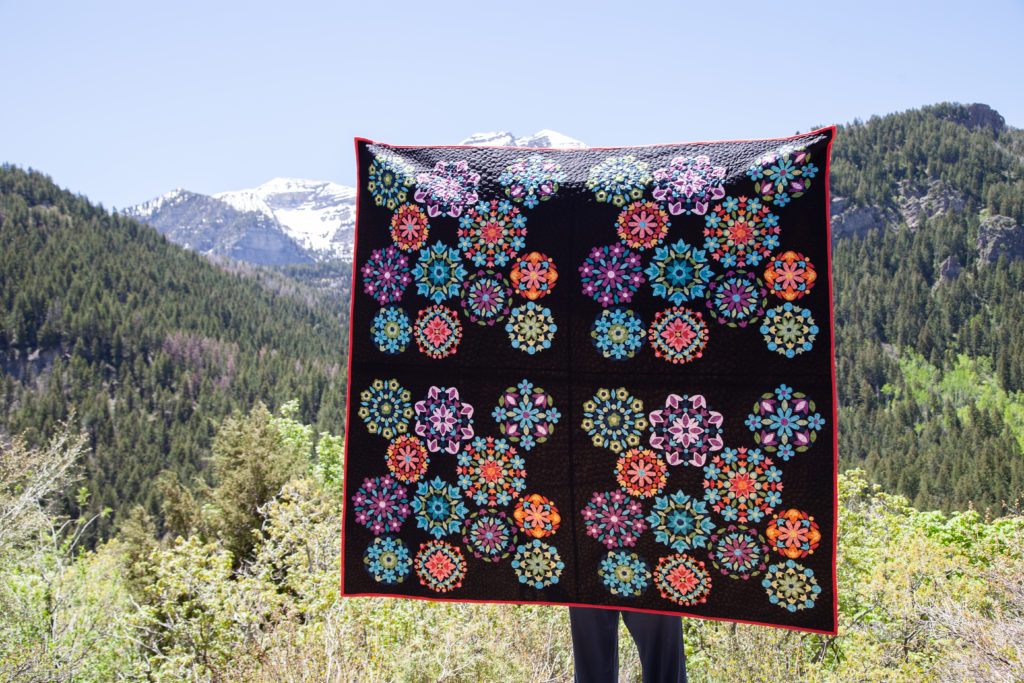
This gorgeous quilt is made of four fabric panels. Can you believe it?! The panels are part of the Gem Stones Bright Rosette panel collection designed by Gerri Robinson of Planted Seed Designs and PSD2. The finished quilt measures approximately 70″ x 70″.
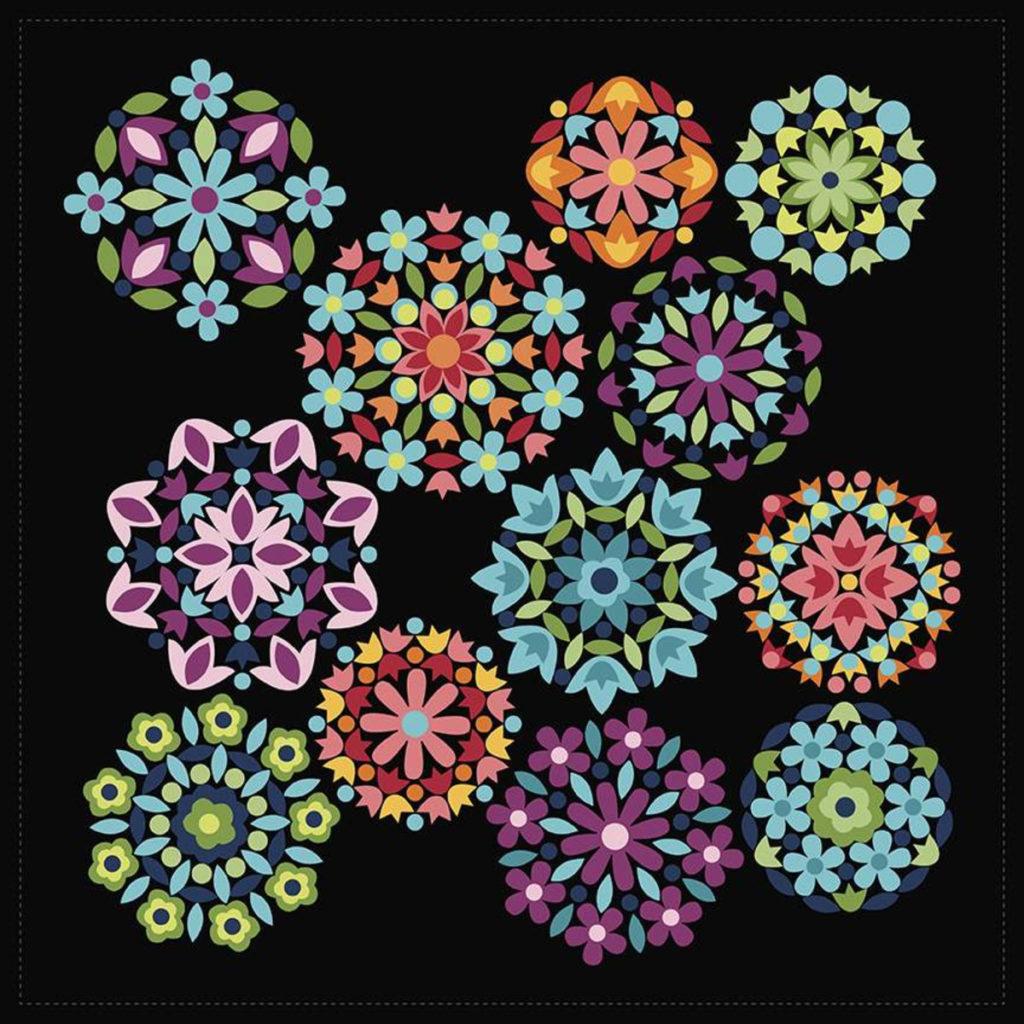
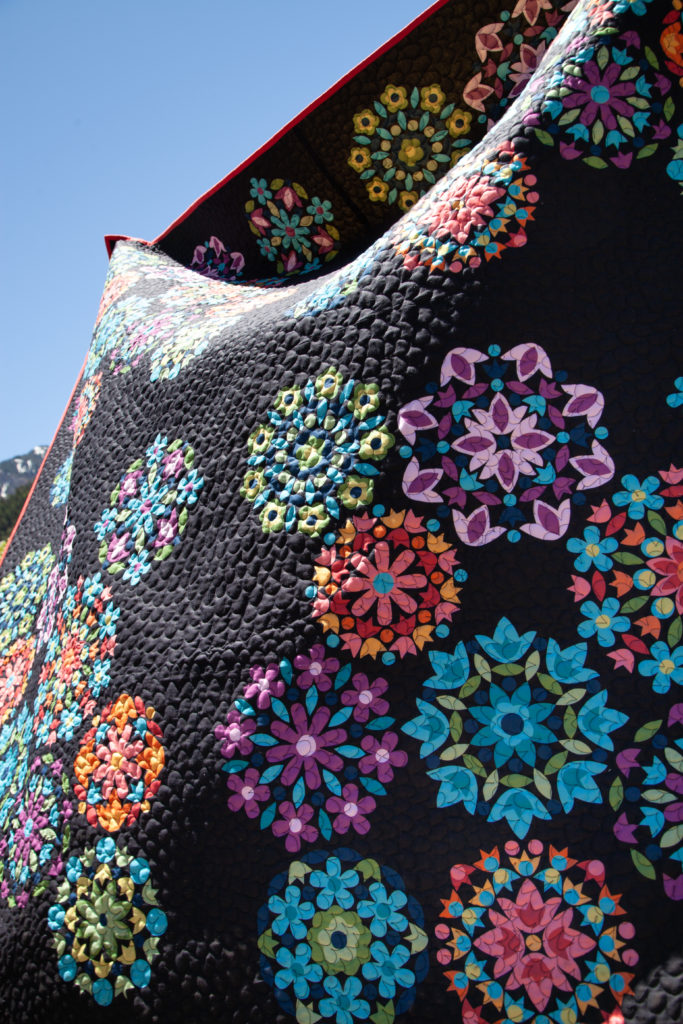
The Gem Stones Bright Rosette collection is a mini collection of three 38″ x 38″ panels in black, cloud, and silver. Here you see the black panel. The contrast of the black backdrop makes these brightly colored rosettes really pop. FABulous!
The panels are meant to coordinate with Gerri’s Gem Stones Bright fabrics, or with Riley Blake Basics. You can turn these panels into quilts by adding borders, or combining them like I did here. You can also use the panels to make pillows, bags, table runners and so much more!
Need a tutorial? Here you go!
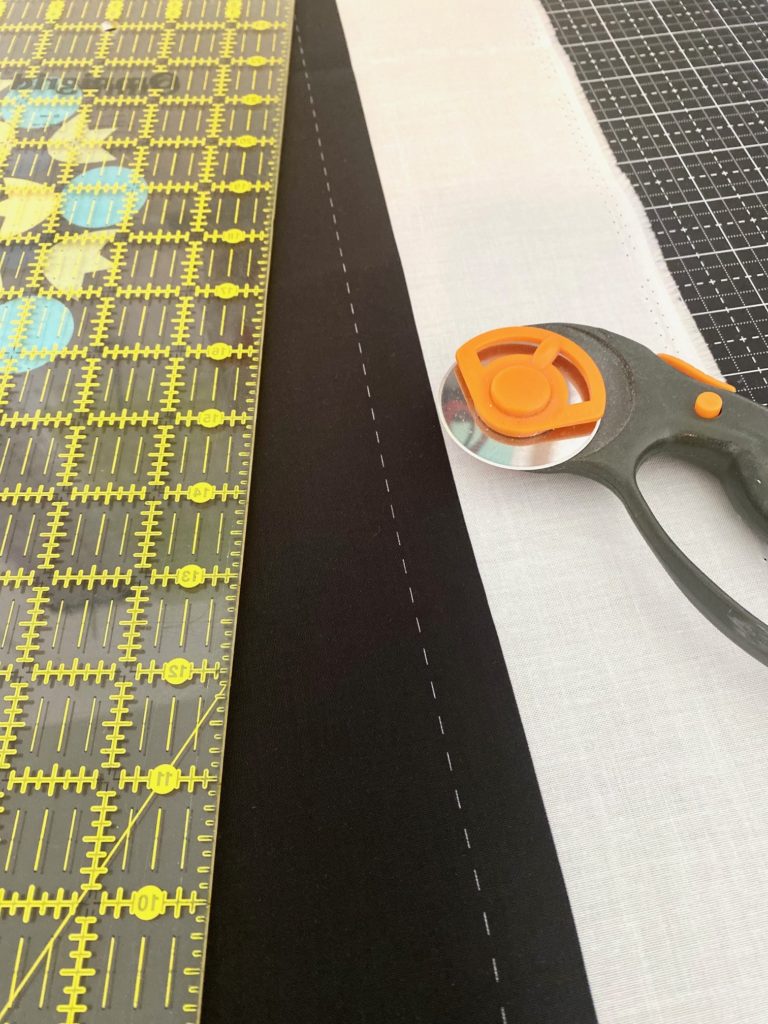
Cut along the dashed line that you see bordering each panel. Then arrange the four panels how you like. I kept all of my rosettes facing the same direction, but you can have them facing each other, or facing random directions. Lay them out and decide what looks best to your eye.
Sew the top two panels together, pressing the seam to one side. Sew the bottom two panels together, pressing the seam to the opposite side.
Sew the two rows of panels together (the seams are pressed opposite, so they should nest nicely here). Press this long seam open.
That’s it! You can add pretty borders if you want, but I left it as-is for a super modern look. If you are quilting this on your domestic machine, make your quilt sandwich (quilt back, batting, quilt top) and baste all three layers together. Quilt it using any design you are comfortable with.
I opted to expand on the rosette motif with my quilting. This design is EASY, fast, and forgiving. I started out with a small circle in the center. The circle measures about 1-2″ diameter. Then I just began quilting the “petals” following around the circle. The petals started out pretty small, but I did let them gradually get a little larger as the flower expanded.
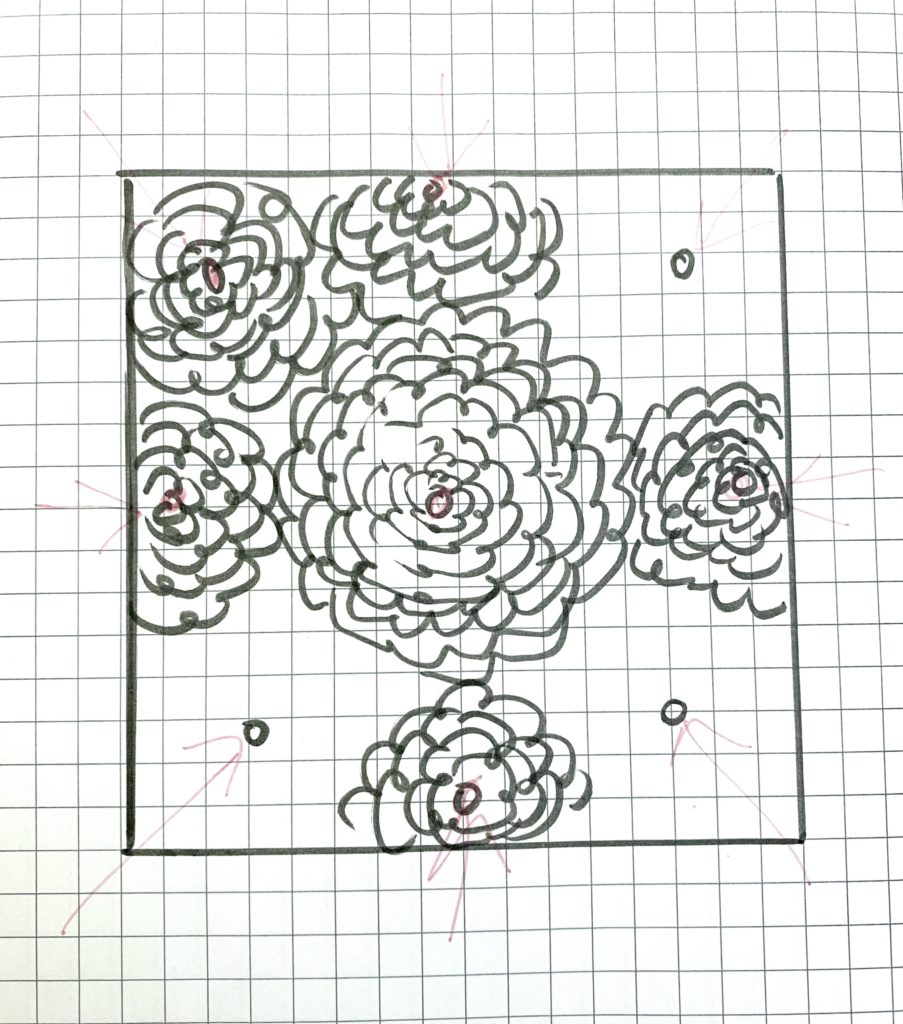
I grew the center circle until it looked like I could fit 1/2 of a same size flower on each side, as well as above and below it. Take a look at my very rough sketch. You can see the center flower and the half flowers on the top, bottom and sides. Notice for the top, bottom and sides, I located the starting circle close to the edge. I didn’t measure as I went, but in the actual quilt, I placed those starting circles about 12″ from the edge of the quilt.
Once I had expanded the top, bottom, and side flowers to the point that the petals were touching the center flower, I stopped.
At this point, I began adding a flower to each corner section. The red arrows indicate approximately where I placed the starting circle for the corner flowers. Then I added petals just like I did for the others.
When these were done, I simply filled in the blank areas with more petals until everything was completely filled in.
At first glance, this looks complicated and intricate. I promise you it’s not. If you can quilt a U shape, you can quilt this design.
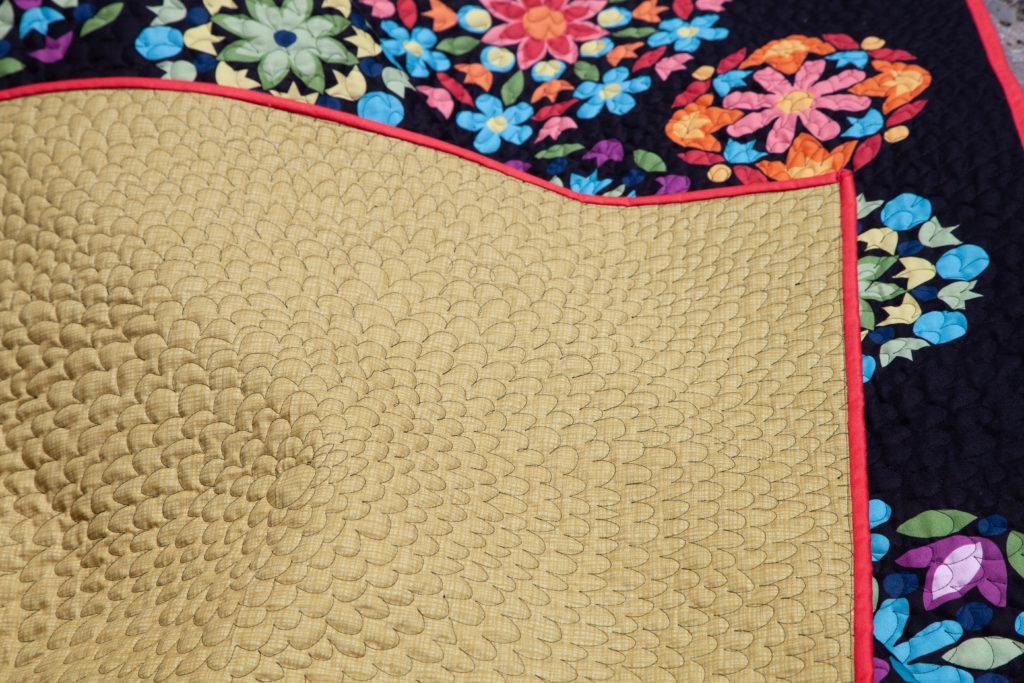
Looking at the back of the quilt, you can see just how imperfect these little petals really are. Think of it as scribble on a paper. That easy going, whimsical look is what you are going for here. Nothing is uniform, it is all just very freeform.
I used black thread on the for the top and bottom of the quilt. It might be tempting to use a lighter thread to match the lighter fabric on the quilt back, but I wouldn’t advise it. No matter how good the tension is on your machine, a lighter thread will almost always show through the top when the fabric is black like this one is.
I actually love how the black thread shows on the back. The design really shows here, and it makes the entire quilt back look very artistic.
The fabric I used for the quilt back is Texture Basics by Sandy Gervais in Citron.
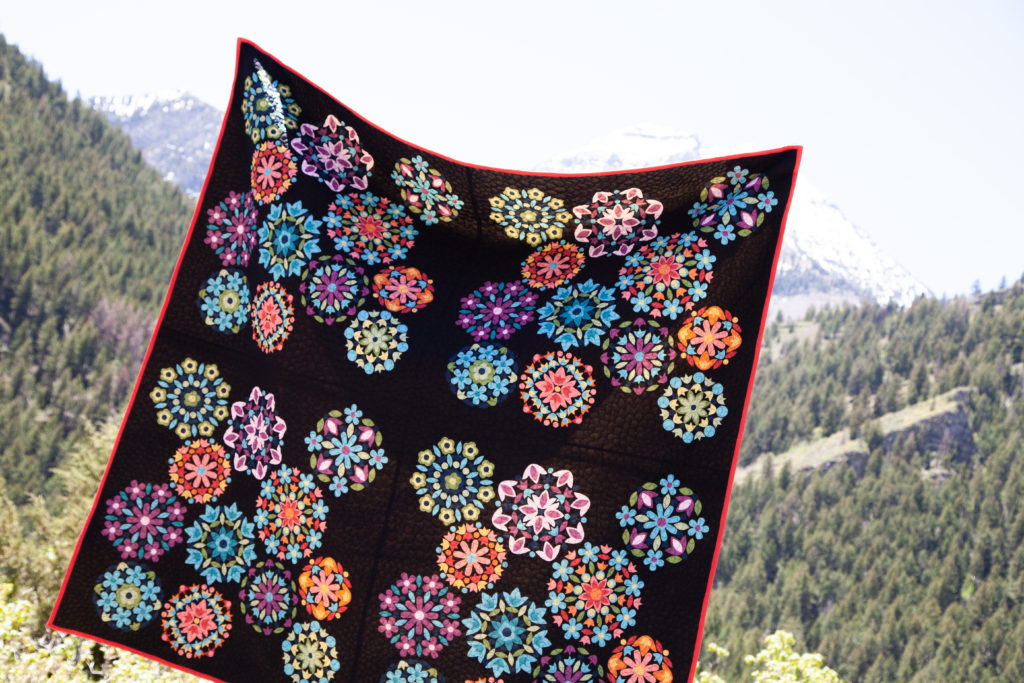
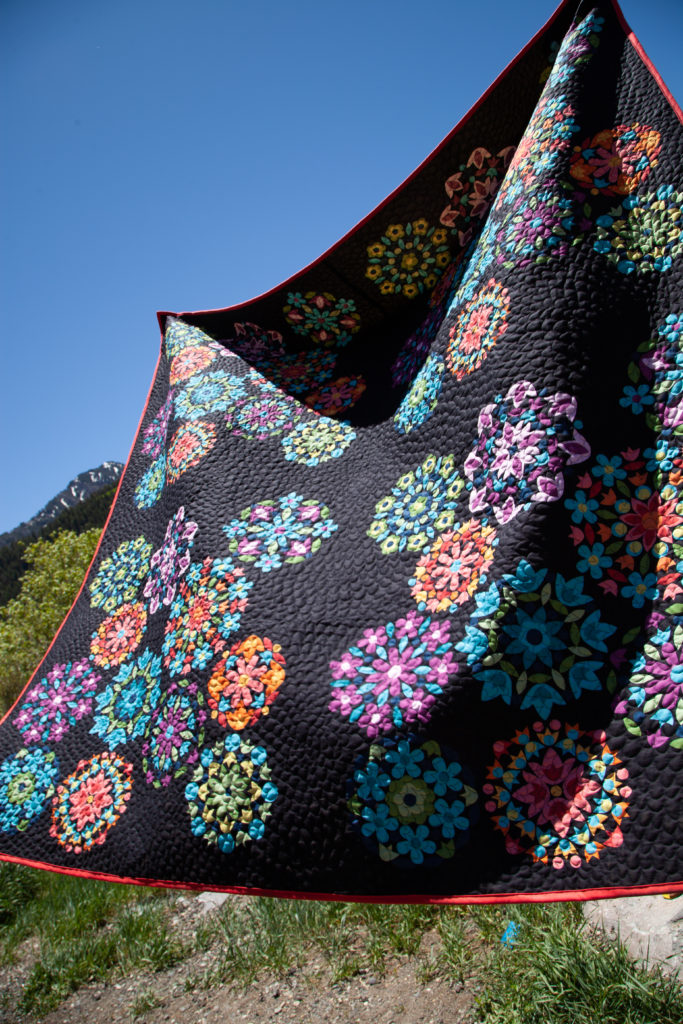
When the sun hits the quilt just right, you can see all of those little petals. They add such a deliciously bubbly texture to this quilt!
For the quilt binding, I used Riley Blake Confetti Cotton in Cayenne. I love how the bright Cayenne frames this quilt.
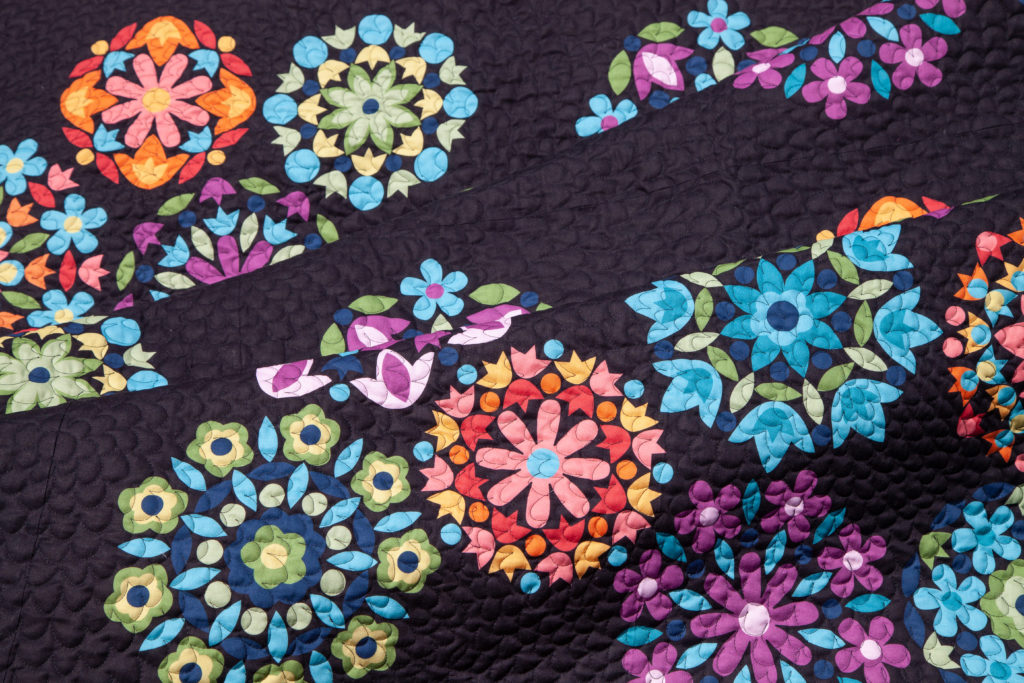
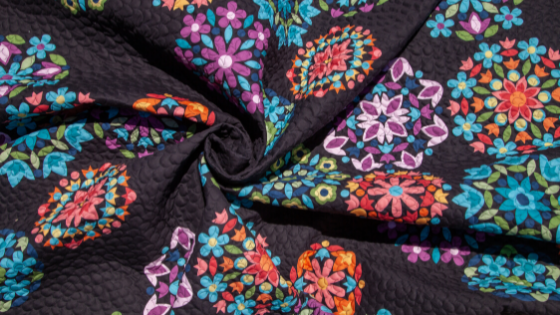
And here is a closer look at those beautiful rosettes. The colors are bold, bright and loaded with happiness. I had so much fun working with these panels, I am already dreaming up more project ideas!
The Gem Stones Bright Rosette Panels are available now at your favorite local and online quilt shops. Pick up yours today and share your makes with us on Instagram using #gemstonepanel, #rileyblakedesigns, #iloverileyblake, and tag us @rileyblakedesigns.