
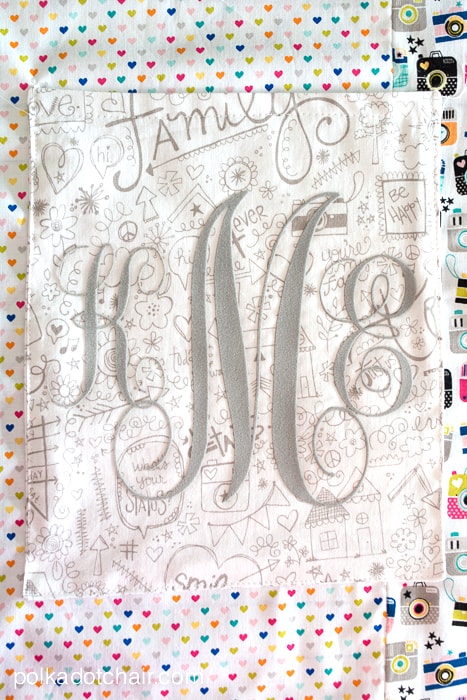
Hey there Riley Blake Fans!! It’s Melissa Mortenson of the Polka Dot Chair Blog, here again to share with you another fun sewing tutorial. When I saw the new Snapshots Fabric Line I knew right away that I wanted to work with it, I have two teenage daughters and this fabric is perfect for them.
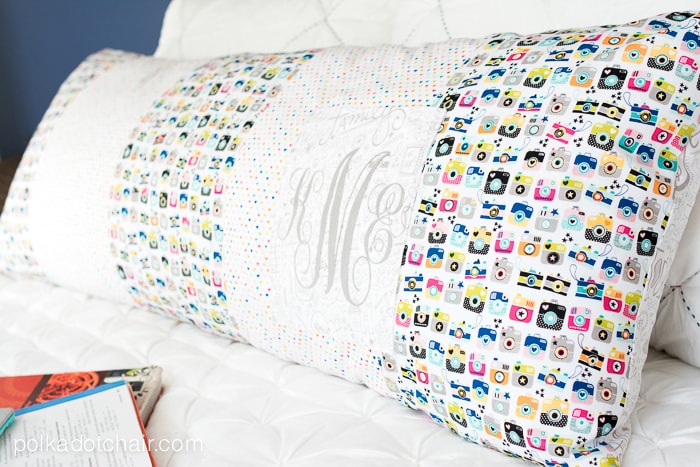
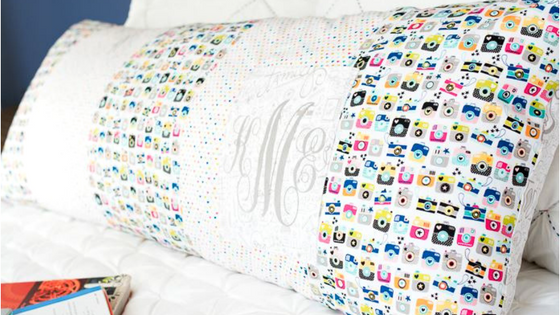
My oldest daughter is headed off for her second year of college. On her list of “wish I had last year, time to buy this year” was a body pillow. Last week we picked one up at the store to lug out to her new apartment. The only problem with the pillow was that it had a boring white cover on it. With about and hour, some cute fabric and a sewing machine, I was able to quickly remedy that problem.
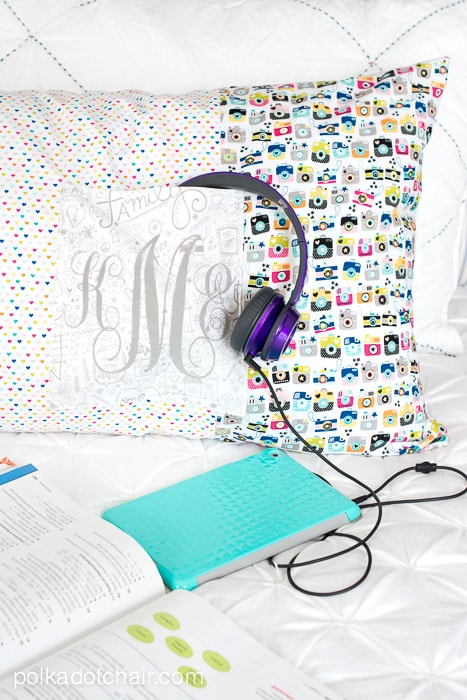
This GIANT pillow cover features a zippered back (to make it easy on and easy off) and a pocket in the front, which is just the right size for an iPad mini or a favorite book.
Supplies:
*1 yard each of 3 different prints for the pillow front and back
*18″ zipper
*50″ x 19″ Body Pillow Form
*Optional: Iron on letters (cut yourself at home or purchase at a craft store)
Cut:
*5 fabric pieces each 11″ wide x 20″ tall from the first two fabrics.I cut 3 pieces out of one print and two pieces out of a second print.
*2 fabric pieces each 20″ tall x 26″ wide from the 3rd fabric for the back of the pillow.
*2 pieces 8 1/2″ wide x 10″ tall for the pocket in the front (I used the same fabric that was on the back).
Construction: All seam allowances are 1/2″ unless otherwise noted.
Sew the 5 pieces of 11″ x 20″ fabric together along the 20″ sides, alternate prints. Press seams open.
Sew the two 8 1/2″ x 10″ pocket pieces of fabric together, right sides facing around all 4 sides, leave an opening in the bottom to turn the pocket right side out. Clip the corners of the pocket and turn right side out and press. Top stitch along the top edge. If desired apply iron on letters to the pocket.
Pin the pocket to the sewn pillow front in the desired location. Stitch around 3 sides to secure, make sure you back stitch at the top and bottom of the pocket.
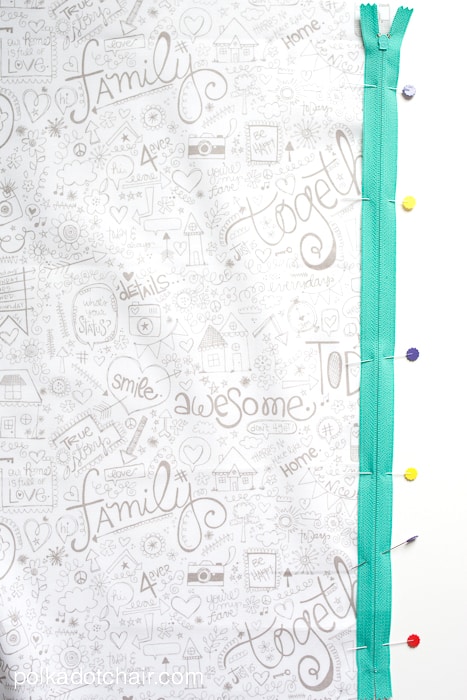
Pin the right side of the zipper to the right side of one of the 20″ x 26″ pieces of fabric, along the 20″ edge. The raw edge of the fabric will be flush with the edge of the zipper. Using a zipper foot on your machine, stitch zipper to fabric. Just a note, an 18″ zipper will be a bit shorter than the fabric, just center the zipper, you’ll make up the difference in the seam allowance later.
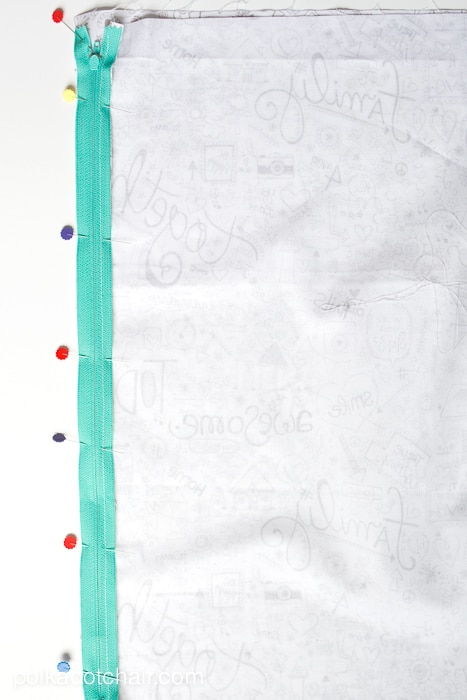
Pin the right side of the other side of the zipper to the right side of the other 20″ x 26″ piece. Sew in place. Press seam allowances away from the zipper and top stitch along the sides of the zipper. Unzip the zipper. Pin the pillow front and back pieces, right sides together. If necessary, trim the pillow back a bit so that it’s the same size as the pillow front piece. Sew around all 4 sides. Clip corners. Make sure you back stitch over the sections of the seam where the zipper is for extra durability when taking the cover on and off the pillow.
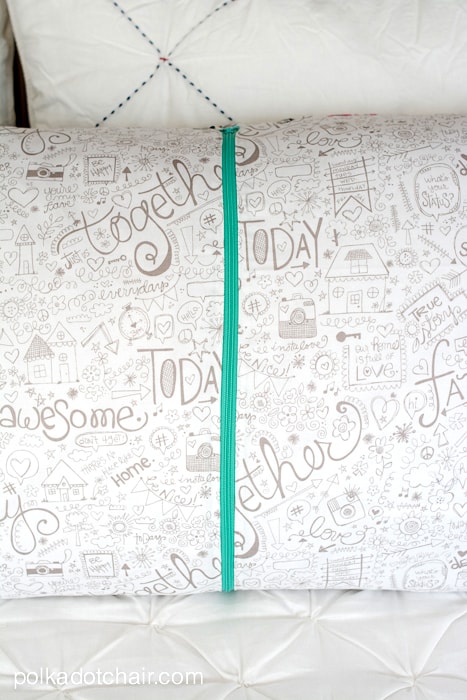
Turn the pillow cover right side out and you’re done!
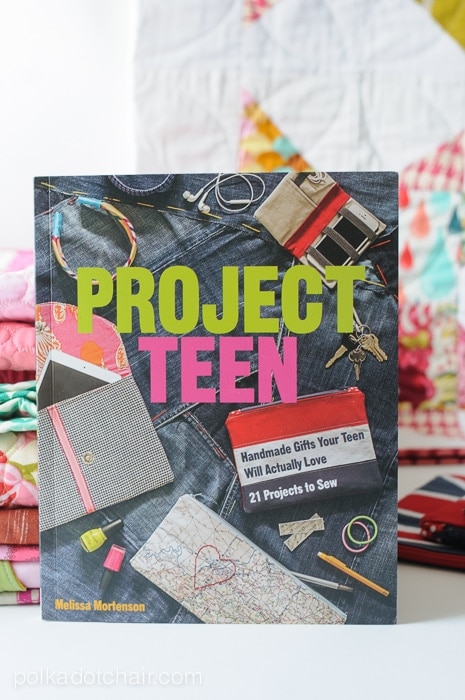
I also have a bit of exciting news to share with all of you! I wrote a book!! And it was just released YESTERDAY!! If you enjoyed this project or the other projects that I’ve shared here before, then I think you’ll love the projects in the book. It’s called Project Teen and is full of handmade gifts to make for teens and tweens! Who says you need to stop sewing for kids when they get older!? There are also quite a few projects for those of us that are “teens at heart” too… For more info, you can click over to my blog…