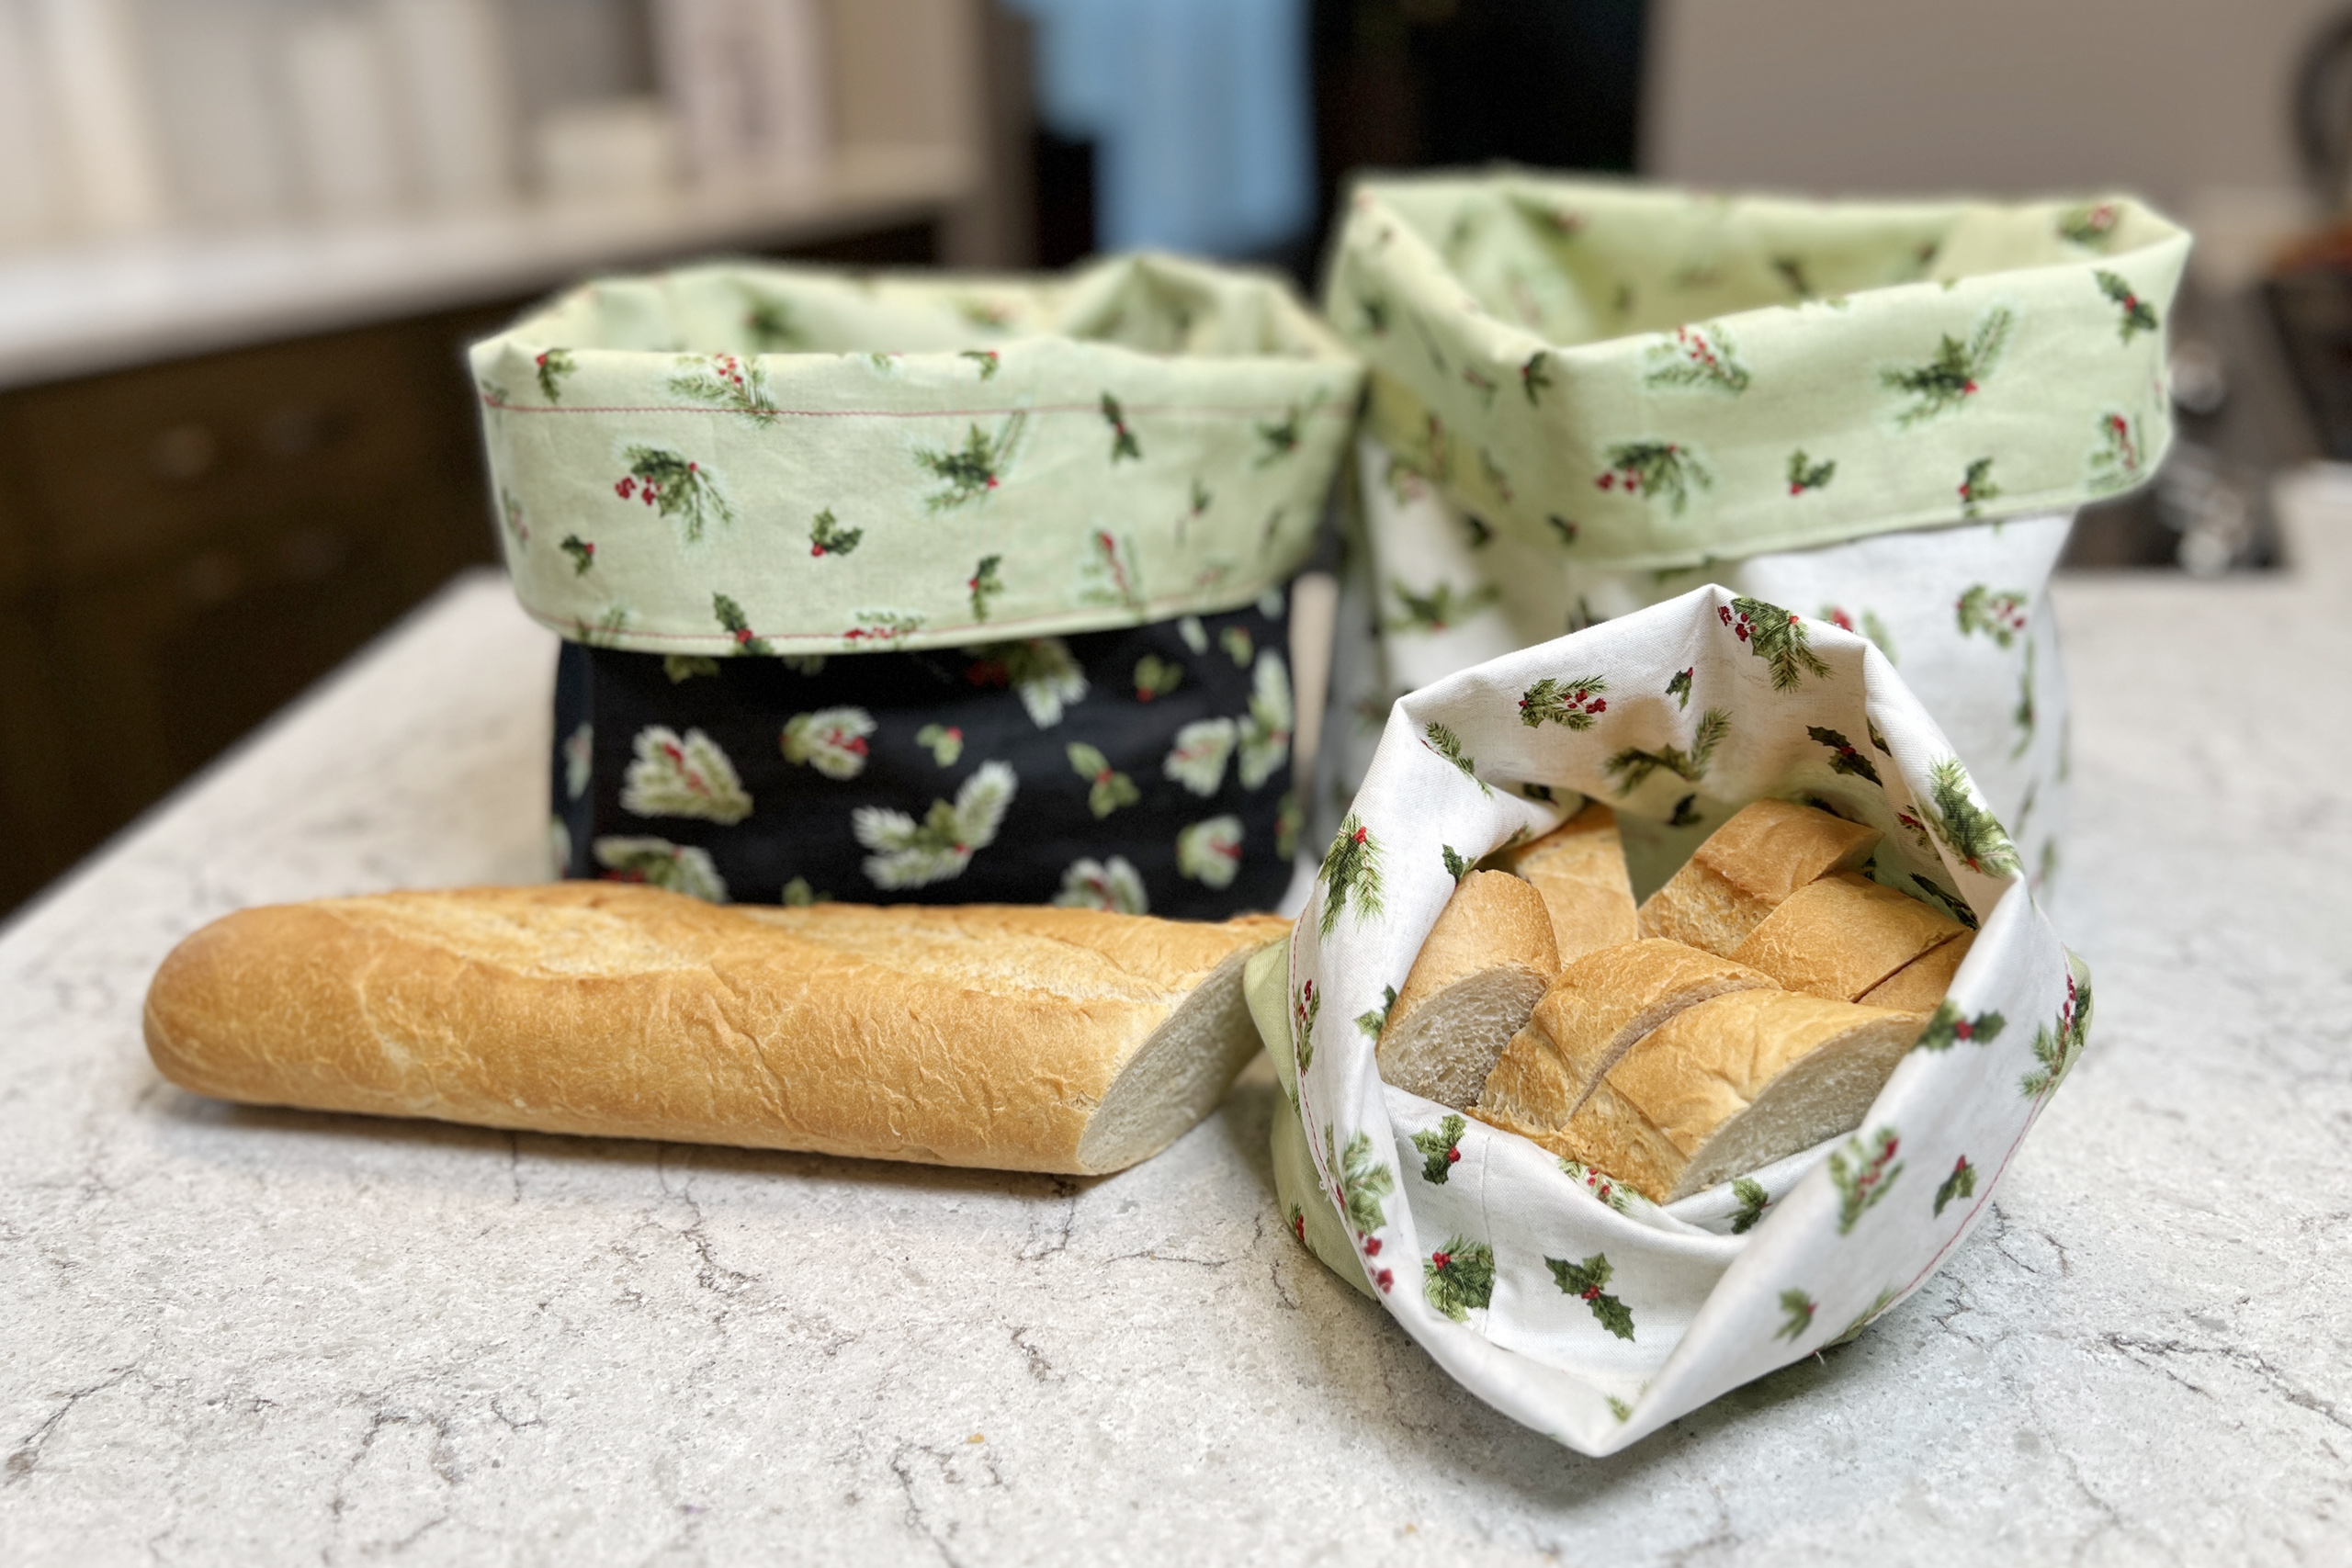
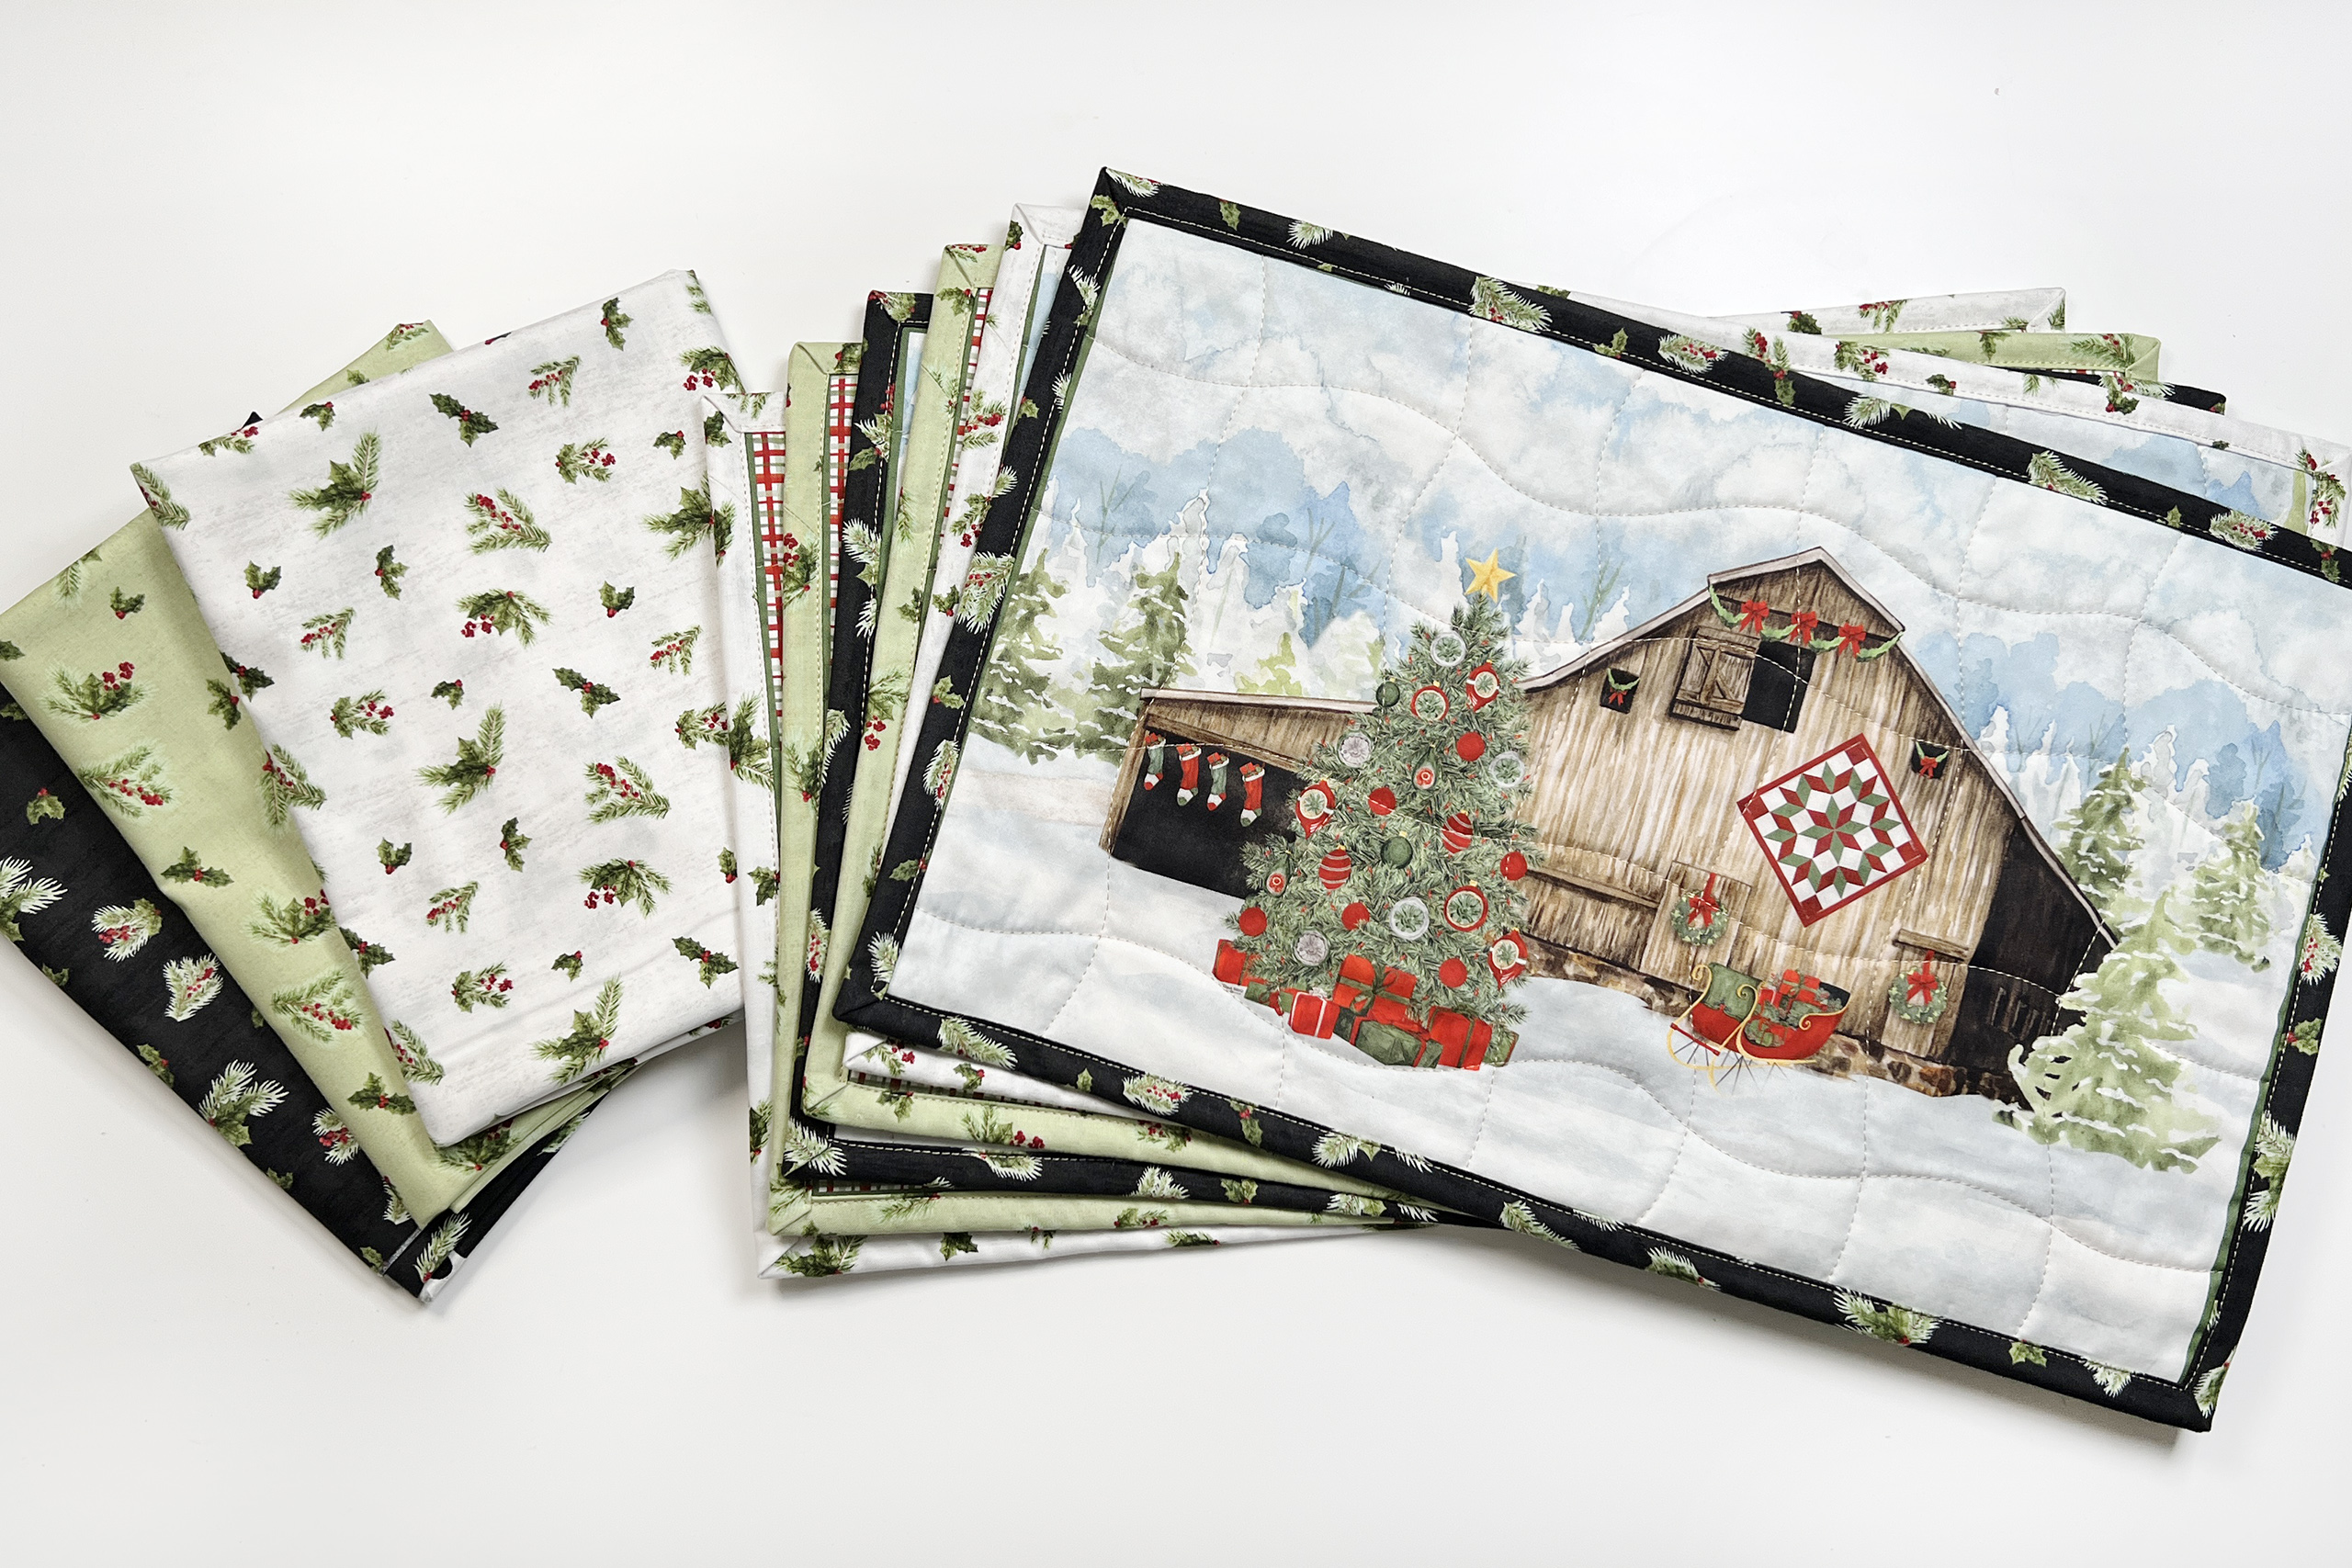
Hi! This is Tara Reed – a fabric designer for Riley Blake, artist and crafter at TaraReed.com and on Instagram. I recently went to Paris and fell in love with the floppy fabric bread baskets filled with delicious french bread. I decided these would be perfect to make with the December prints that coordinate with the Monthly Placemat Panel program I’ve designed.
While the coordinates are obviously perfect to use with the placemat panel images, they stand alone for other projects as well!
These bread baskets are even faster to make when you use the Circle Rulers by Lori Holt on the Round Rotary Cutting Mat by Sue Daley – both from Riley Blake as well. I think all future projects will be designed around the sizes of these templates because they are a dream.

I had a few goals in mind when creating this fabric bread basket tutorial:
I want it to be an easy and relatively quick project that will be great for beginners, make a wonderful gift or be something to sew and sell.
If you are a quilter these baskets are a great way to all those quilt batting scraps you have around.
When finished, these bread baskets can be used with either fabric showing and look really cute if you fold the top down a little to have a cuff of the interior fabric. If your bread or rolls are warm, let the fabric cover the top to keep the heat in.
When they get dirty just throw them in the wash! These would be great for cookies as well.
IMPT NOTE: If you want to be able to use these in the microwave be sure to use everything that is 100% cotton. (fabric, batting, thread, etc)
SHORTCUTS TO SPECIFIC TOPICS:
00:00 Fabric Bread Basket Tutorial
00:06 Supplies
01:19 Cut your fabrics
02:25 How to cut the perfect circle
04:23 Quilt the bottom
04:38 Sew the sides
05:22 Clip sides to bottoms
07:26 Sew sides to the bottoms
08:27 Sew 2 pieces together
10:56 Final touches
12:00 Ideas for use
12:29 Get the free template
That’s it! So cute and easy. The part that takes the longest is pinning or clipping the sides to the circles. I decided to make a few for gifts so I did all my clipping while watching tv to make it seem less tedious.
These aren’t JUST for bread! Use them for cookies, as a gift bag, even add some pizazz to your poinsettia! The 9” is perfect for a 6” potted poinsettia. This would be a great hostess gift that they can keep on the plant or use as a bread basket. So many things you can do!
I’d love to hear how you will use these and see what you make (tag me if you post on instagram or Facebook).
Happy Sewing & Bon Apetit!
🥖🧵 Tara Reed