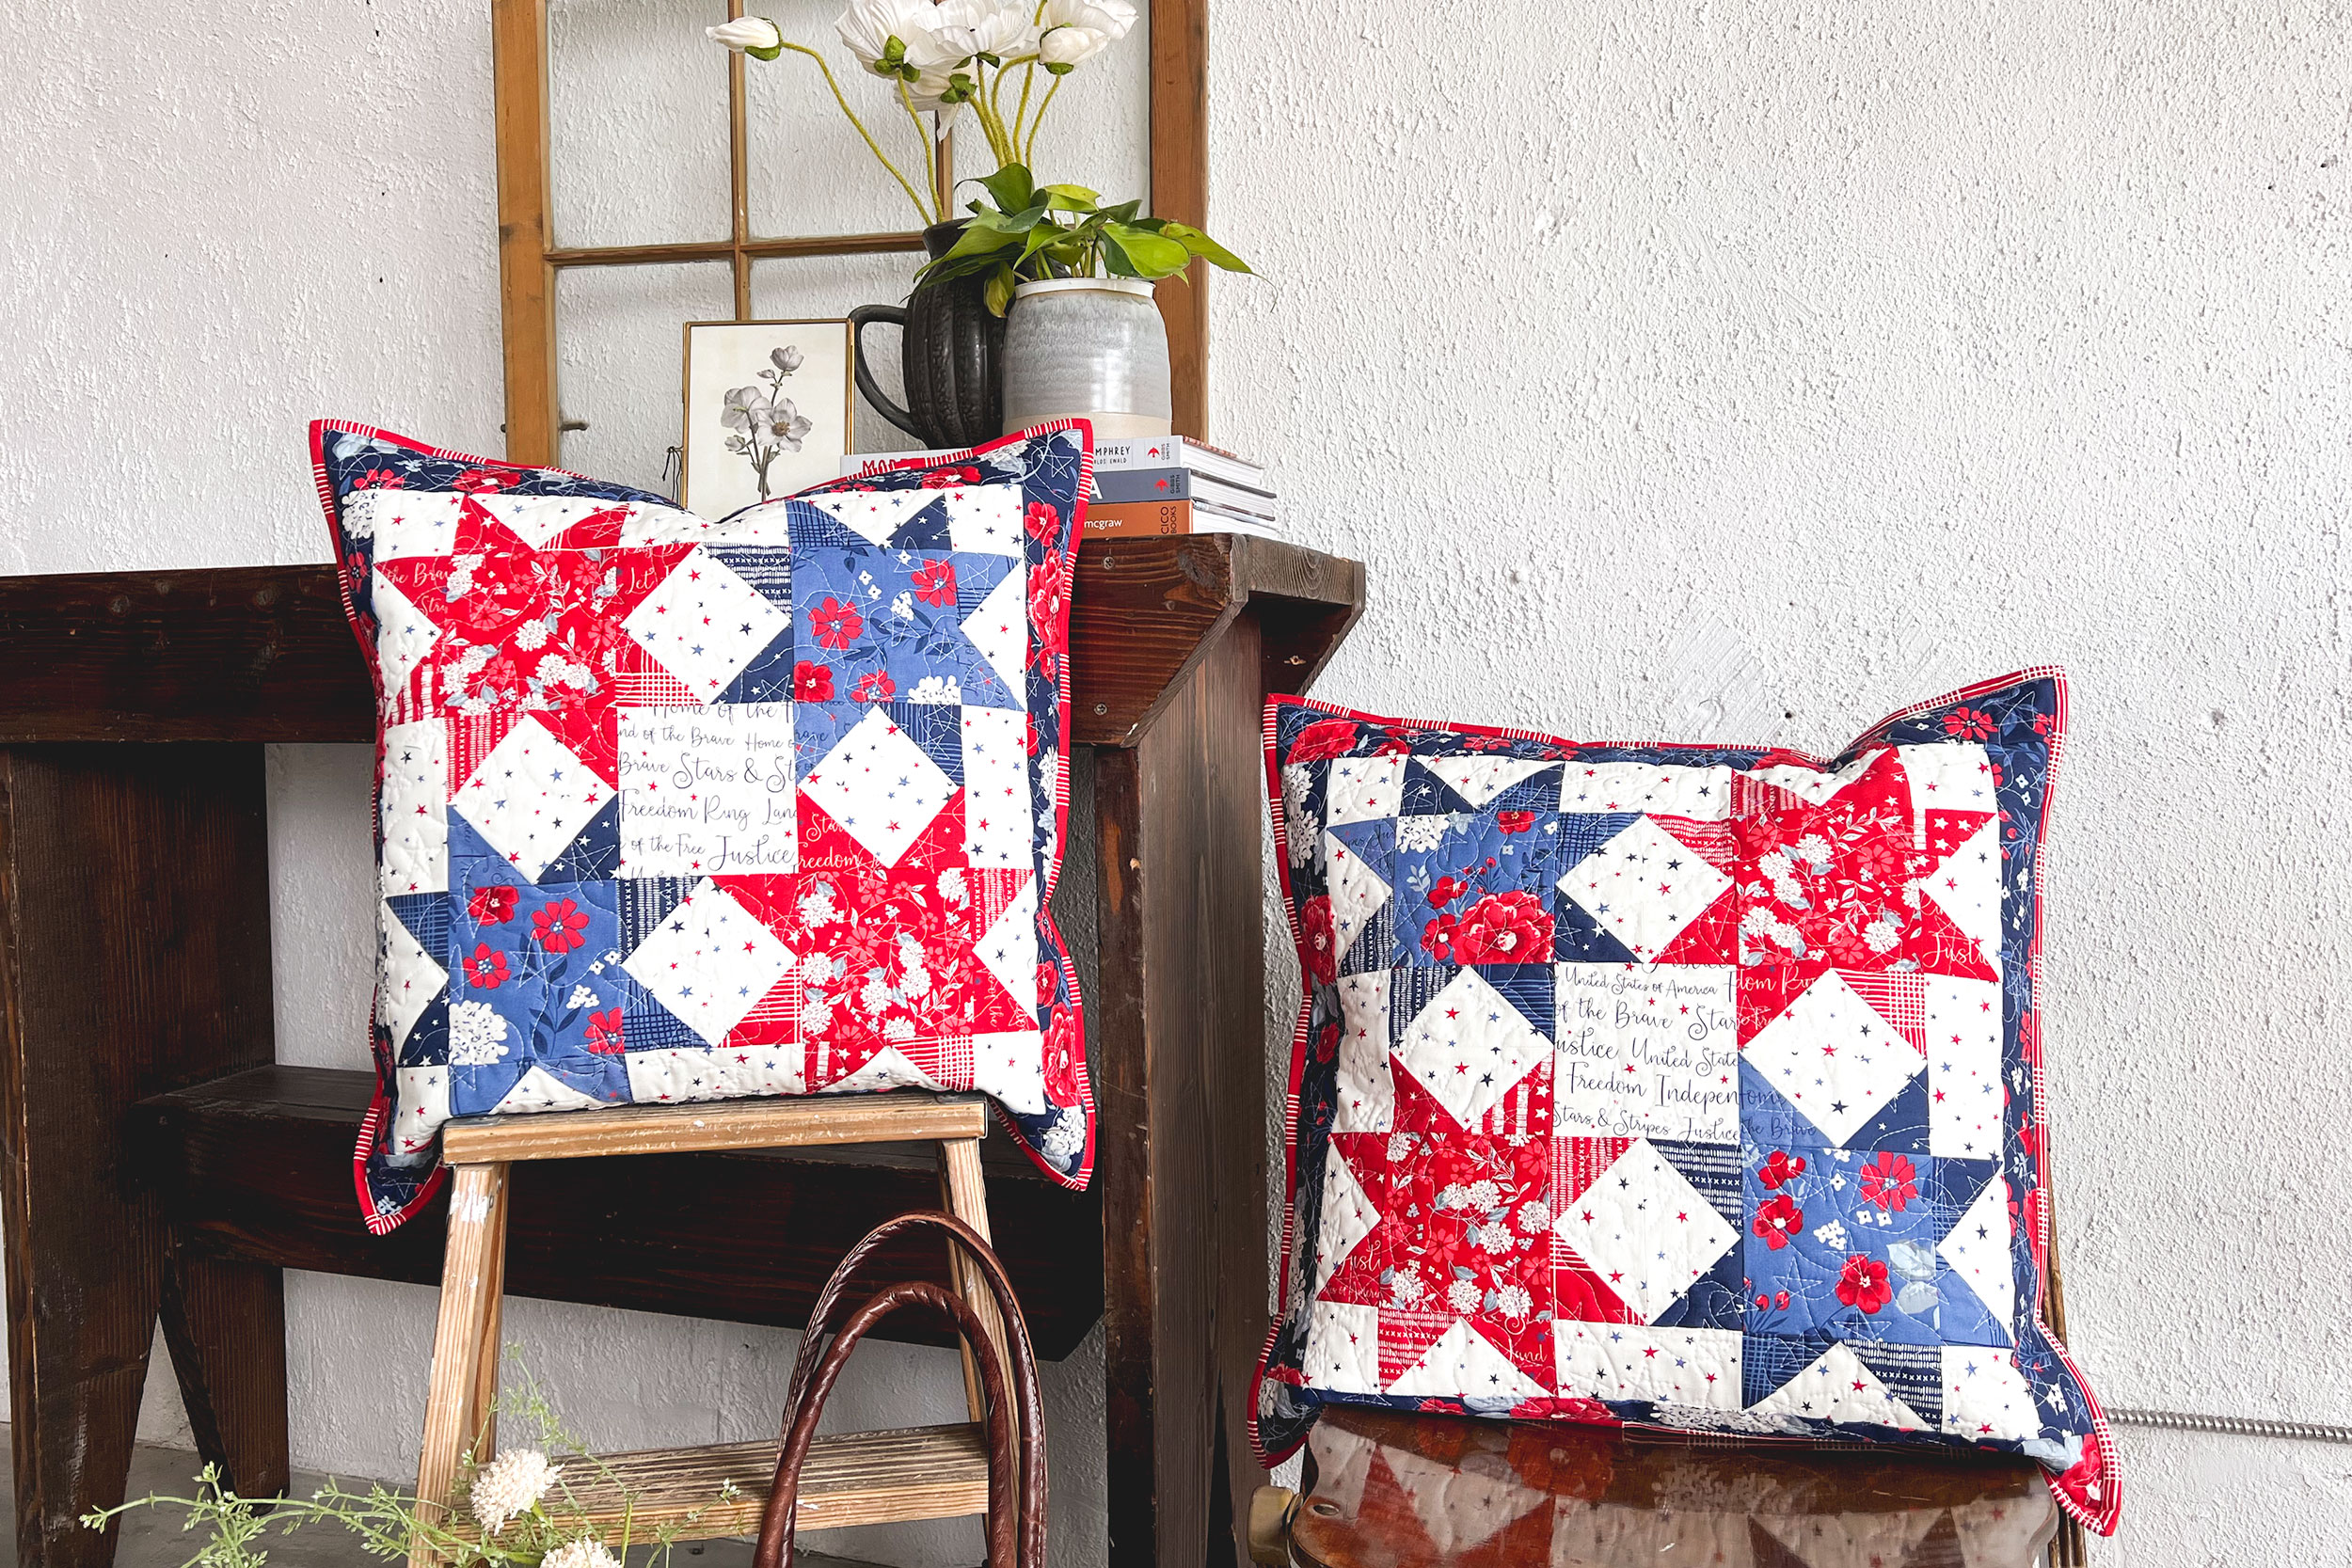

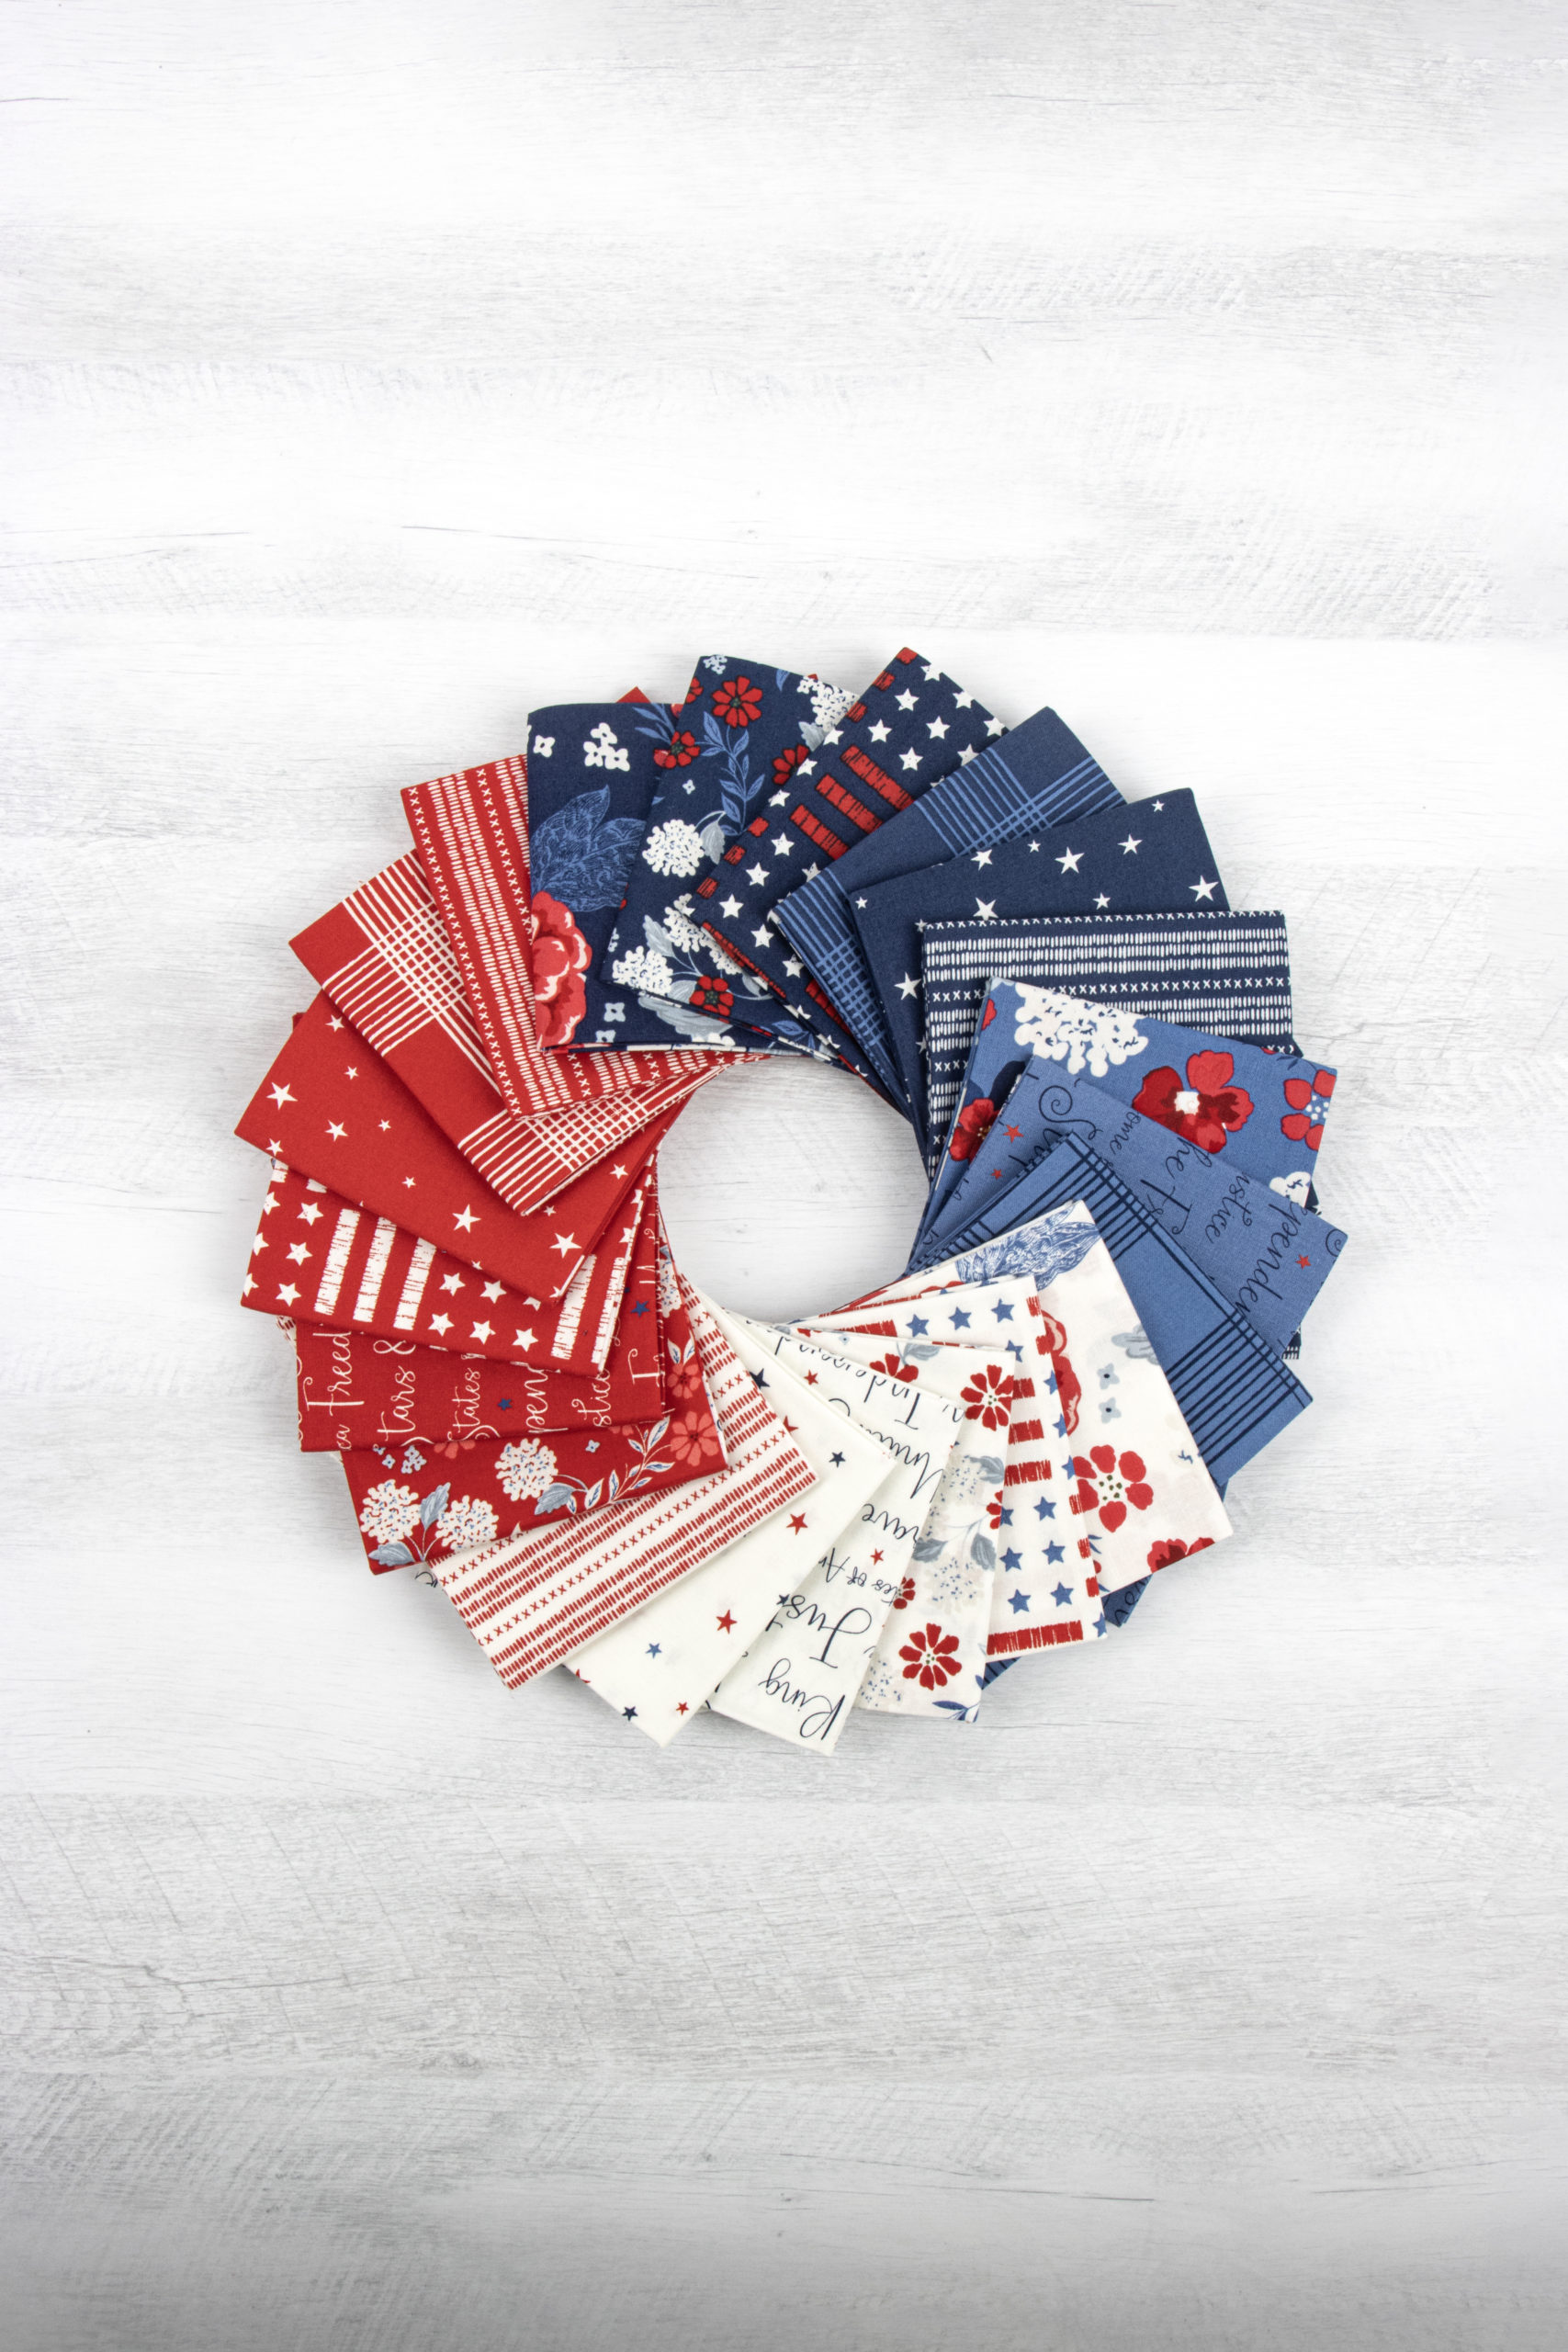
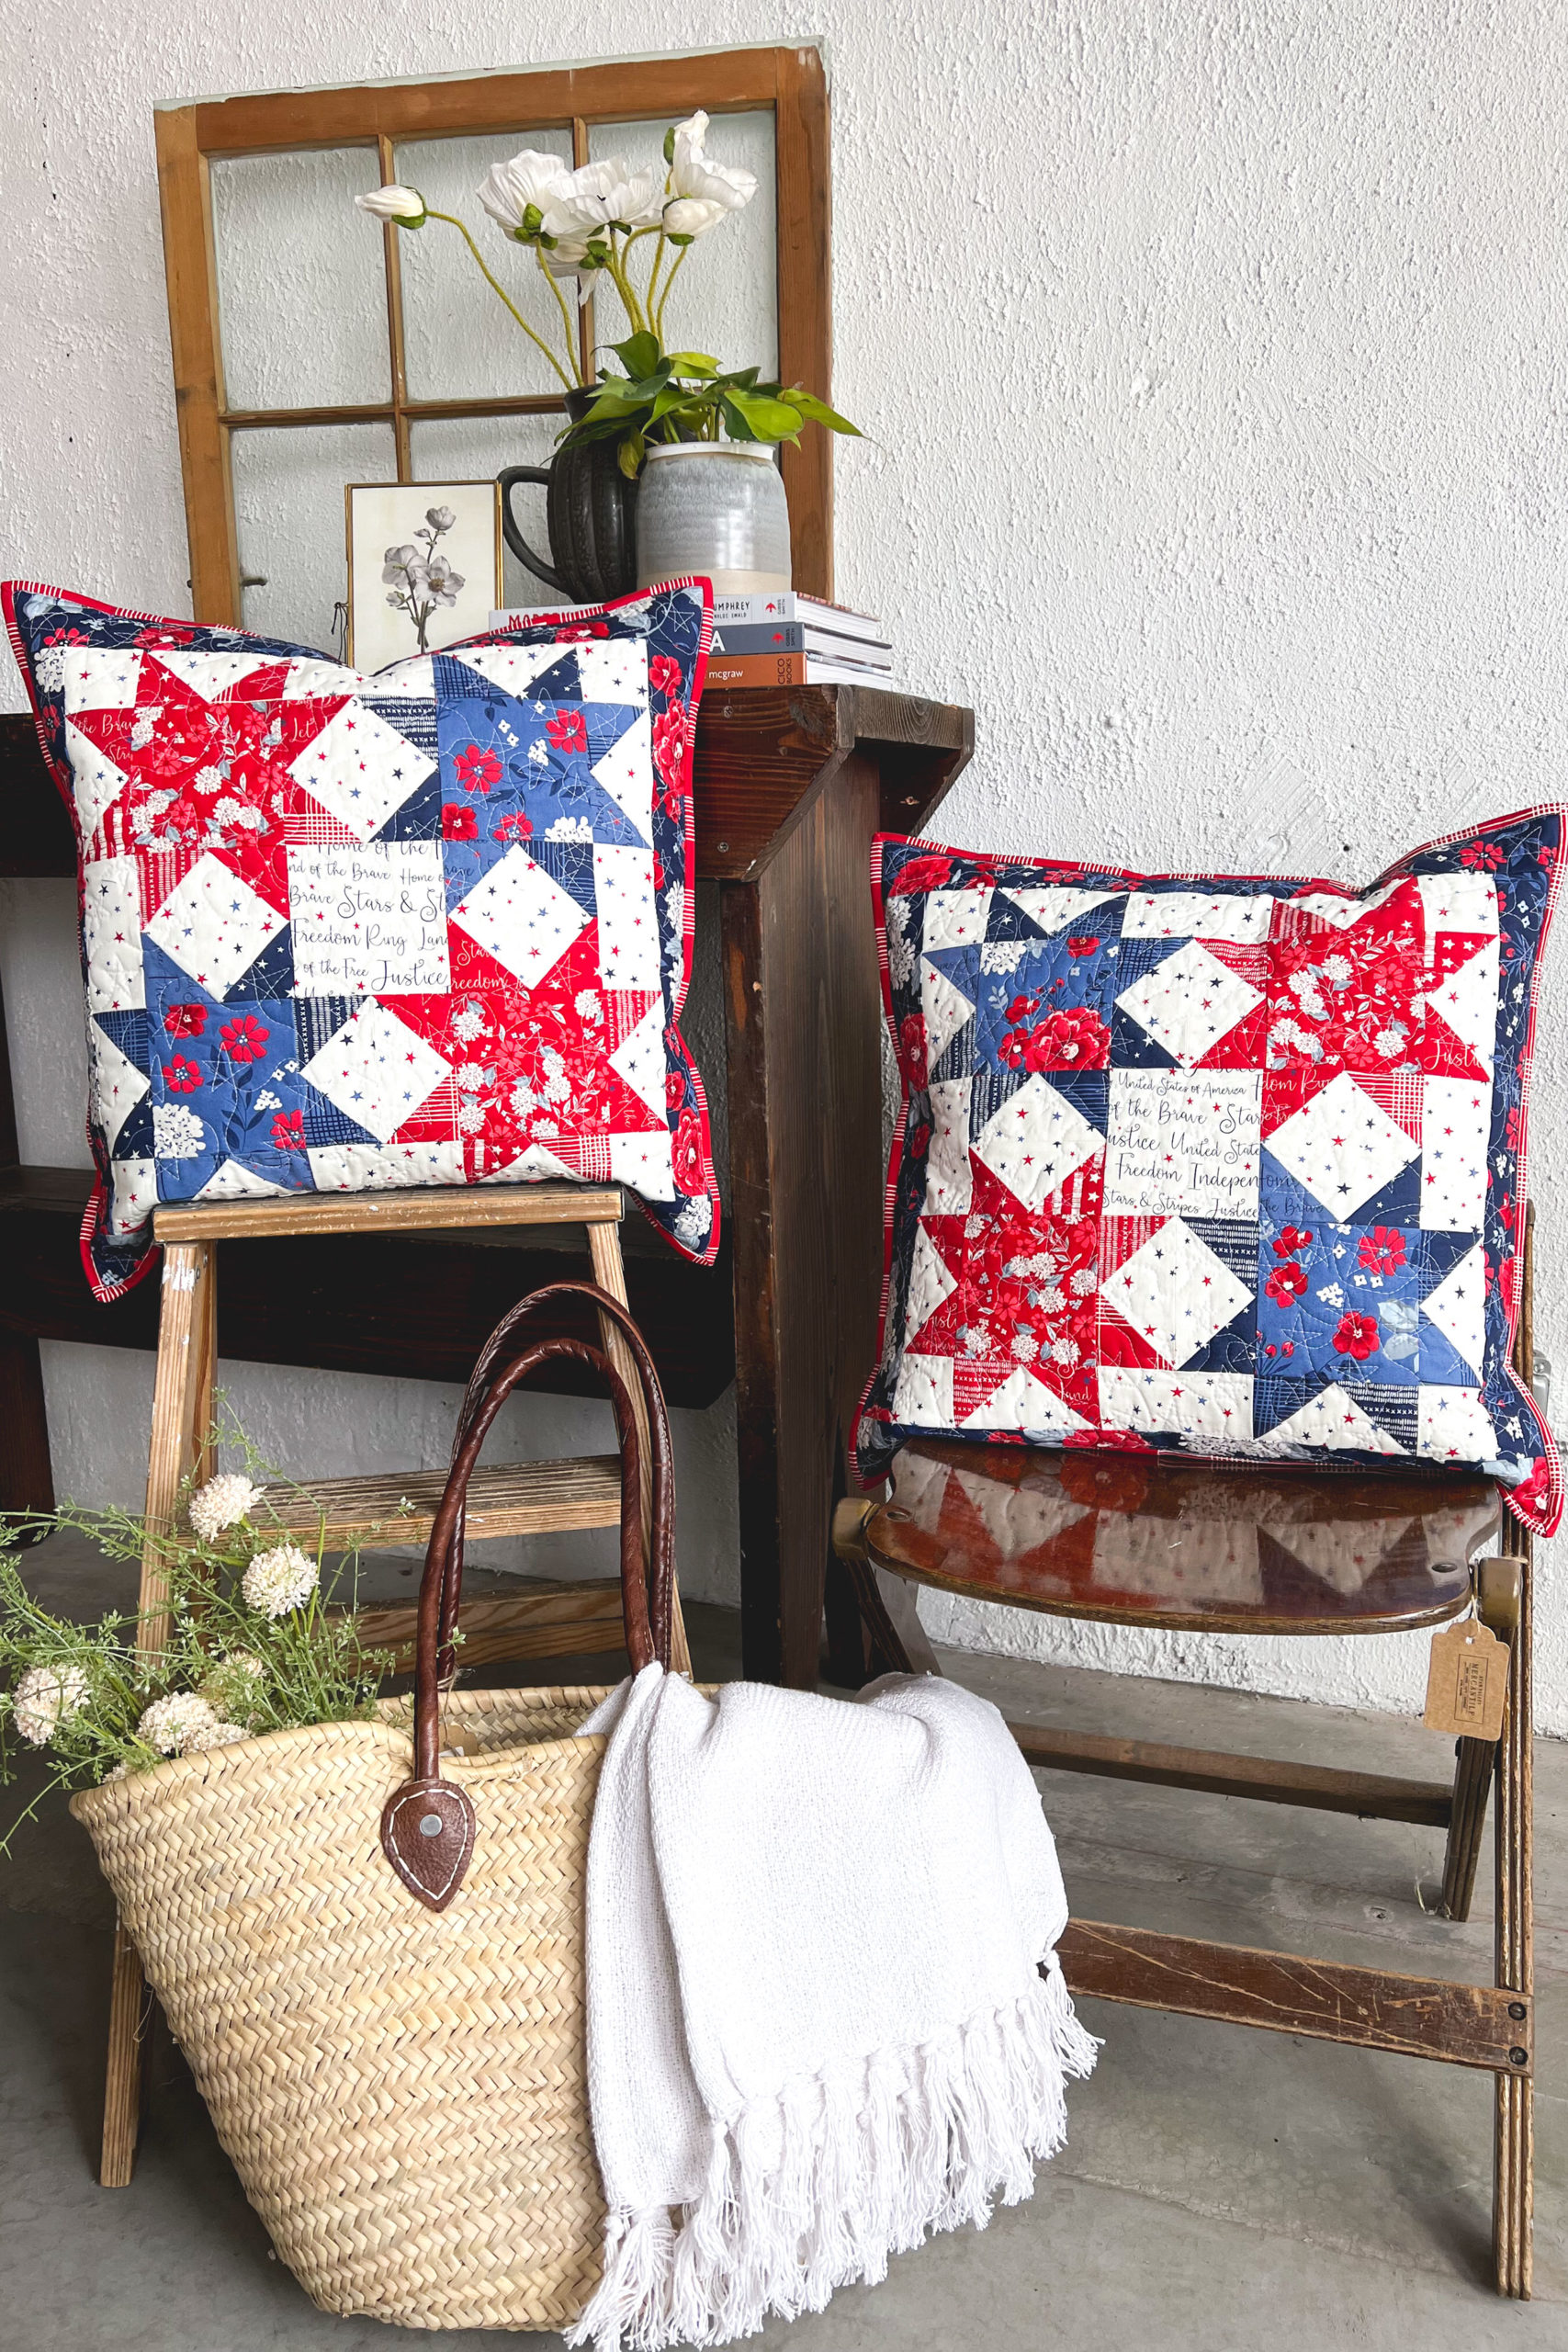
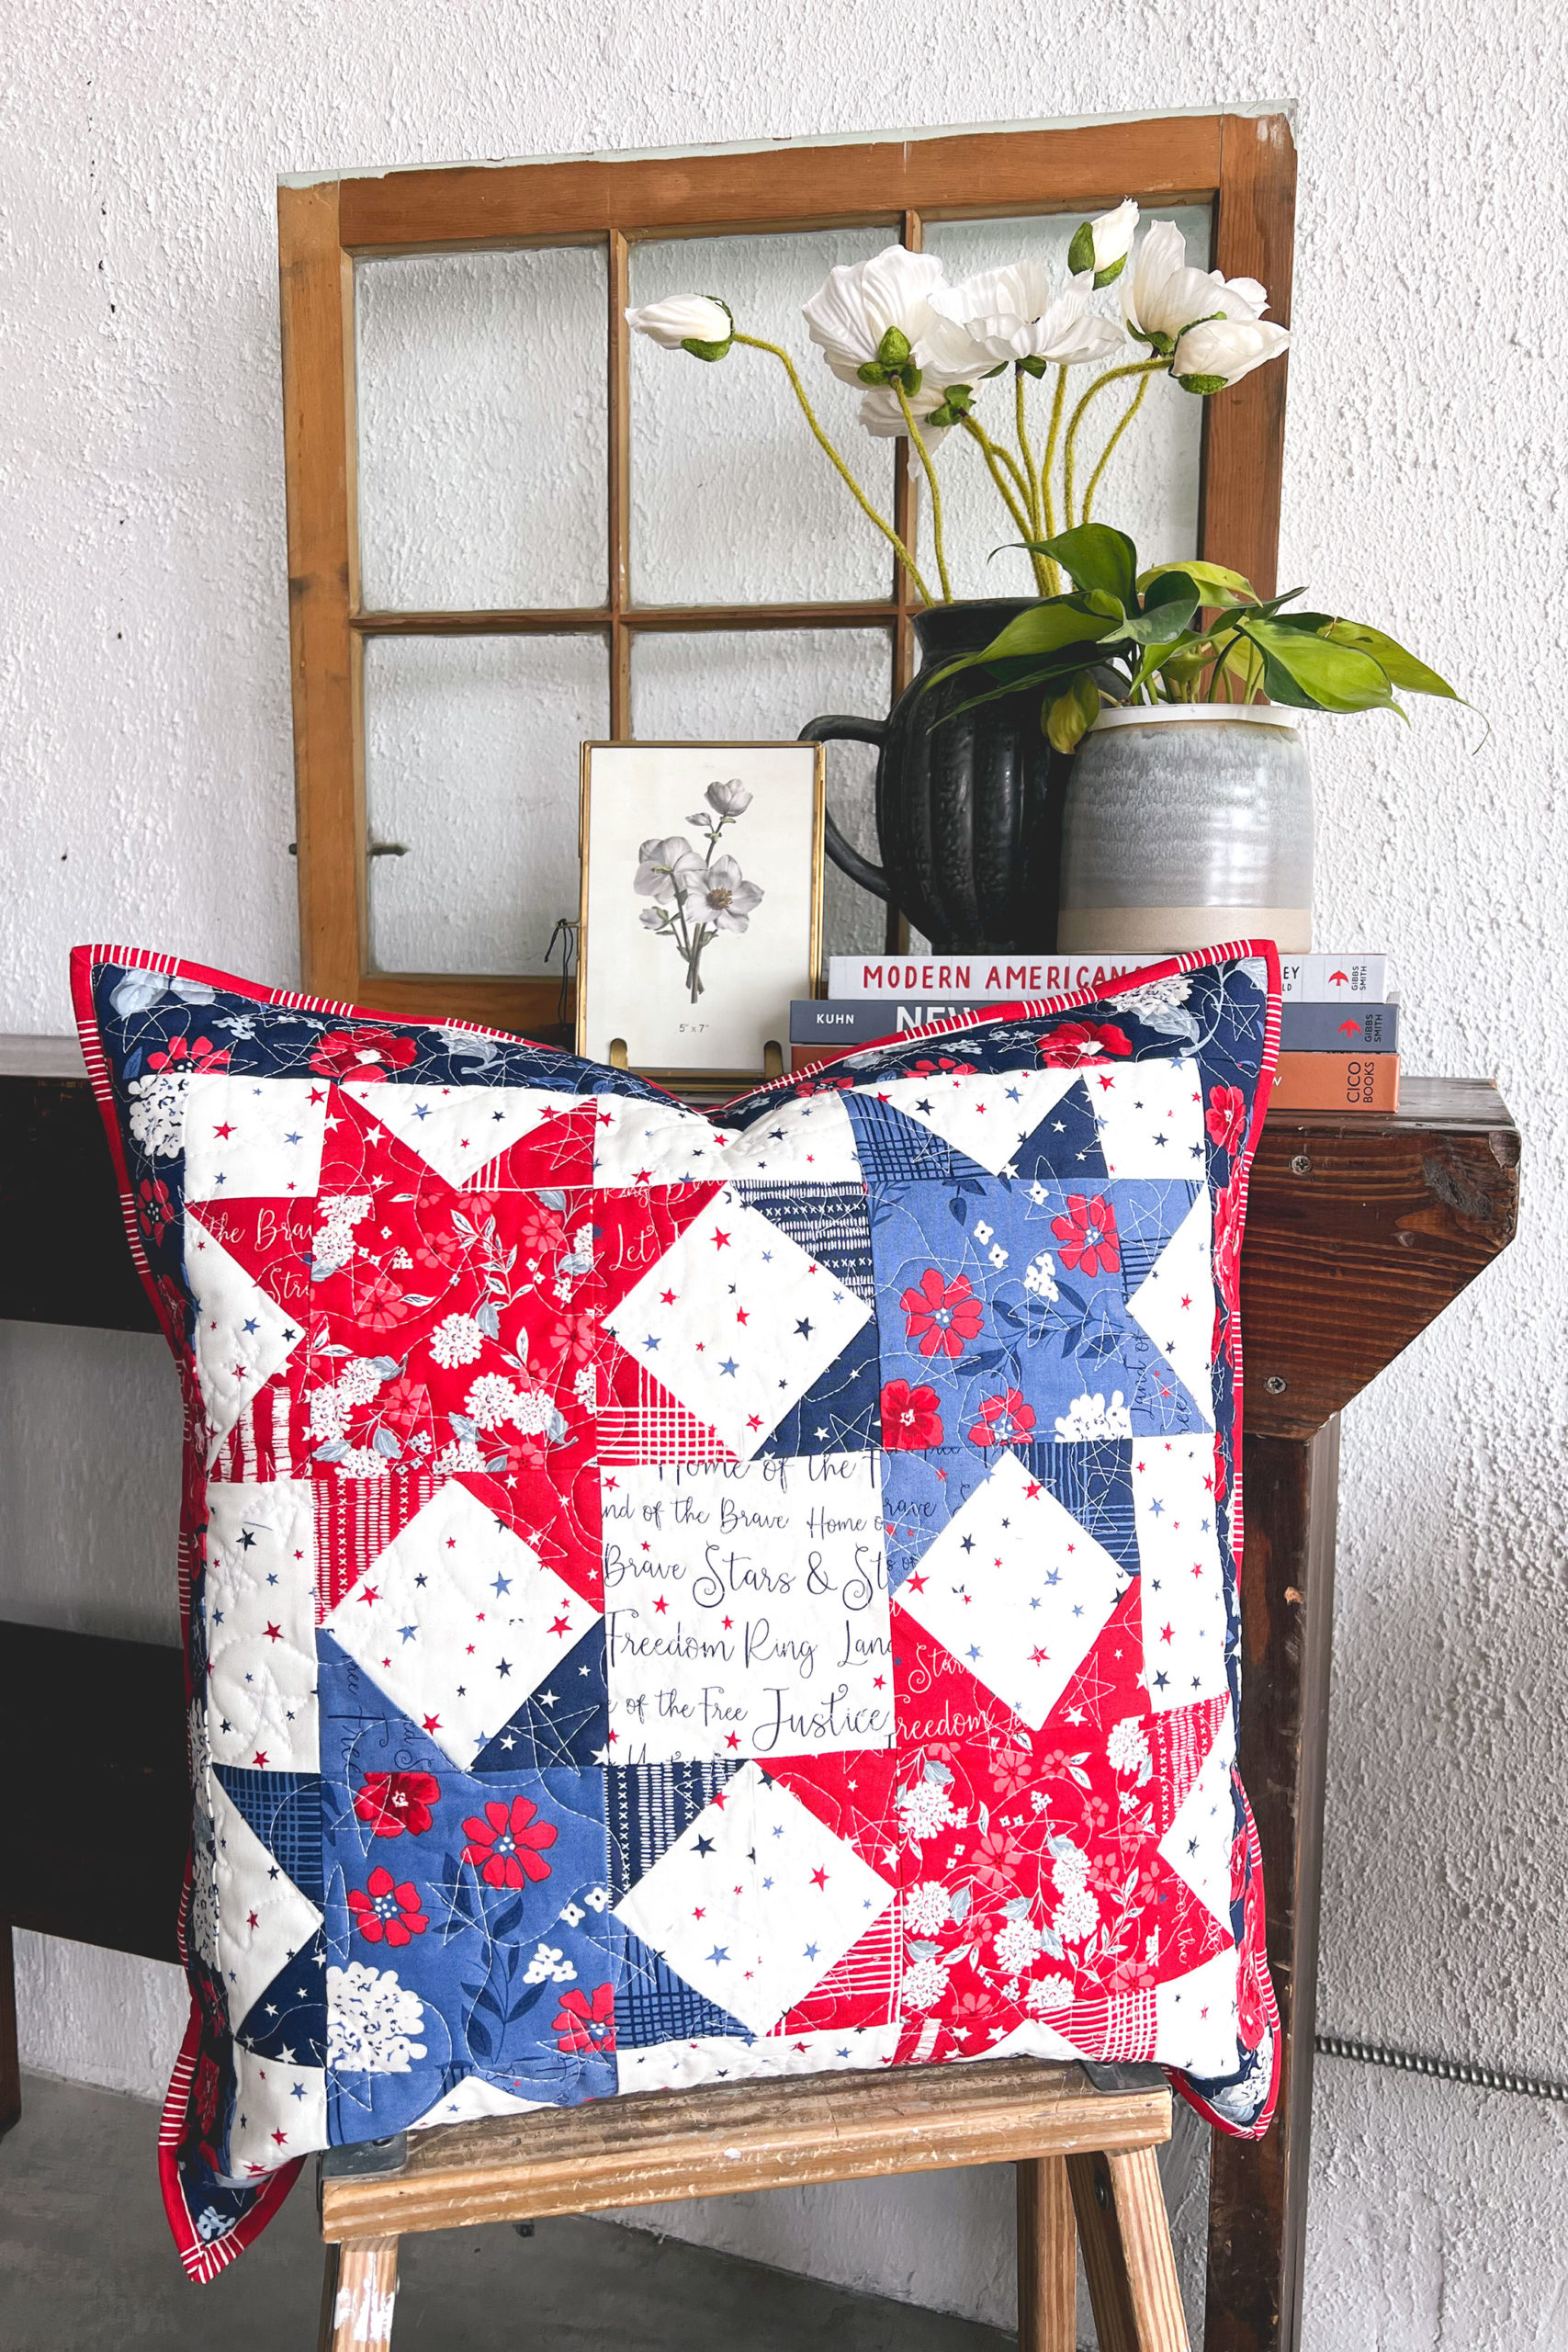
Seasonal pillow covers are one way I like to bring some fun into my home decor. And turning a mini quilt into a pillow makes for fun and unique pillows. This Land of the Brave fabric is a beautiful fabric line that has a strong patriotic feel without carrying the theme too far. With florals and fantastic blender prints this is gorgeous line.
How to make your own Starry Pillows
These Starry Pillows are made using my Springtime Showers mini quilt tutorial that is a free pattern on my blog. I have a PDF version of the pattern available in my Etsy shop as well that includes both the umbrella and strawberry applique patterns I have created for this mini quilt. The mini quilt finishes at 20″ square so it’s a perfect size for turning into a pillow.
Cutting Notes for Starry Pillows
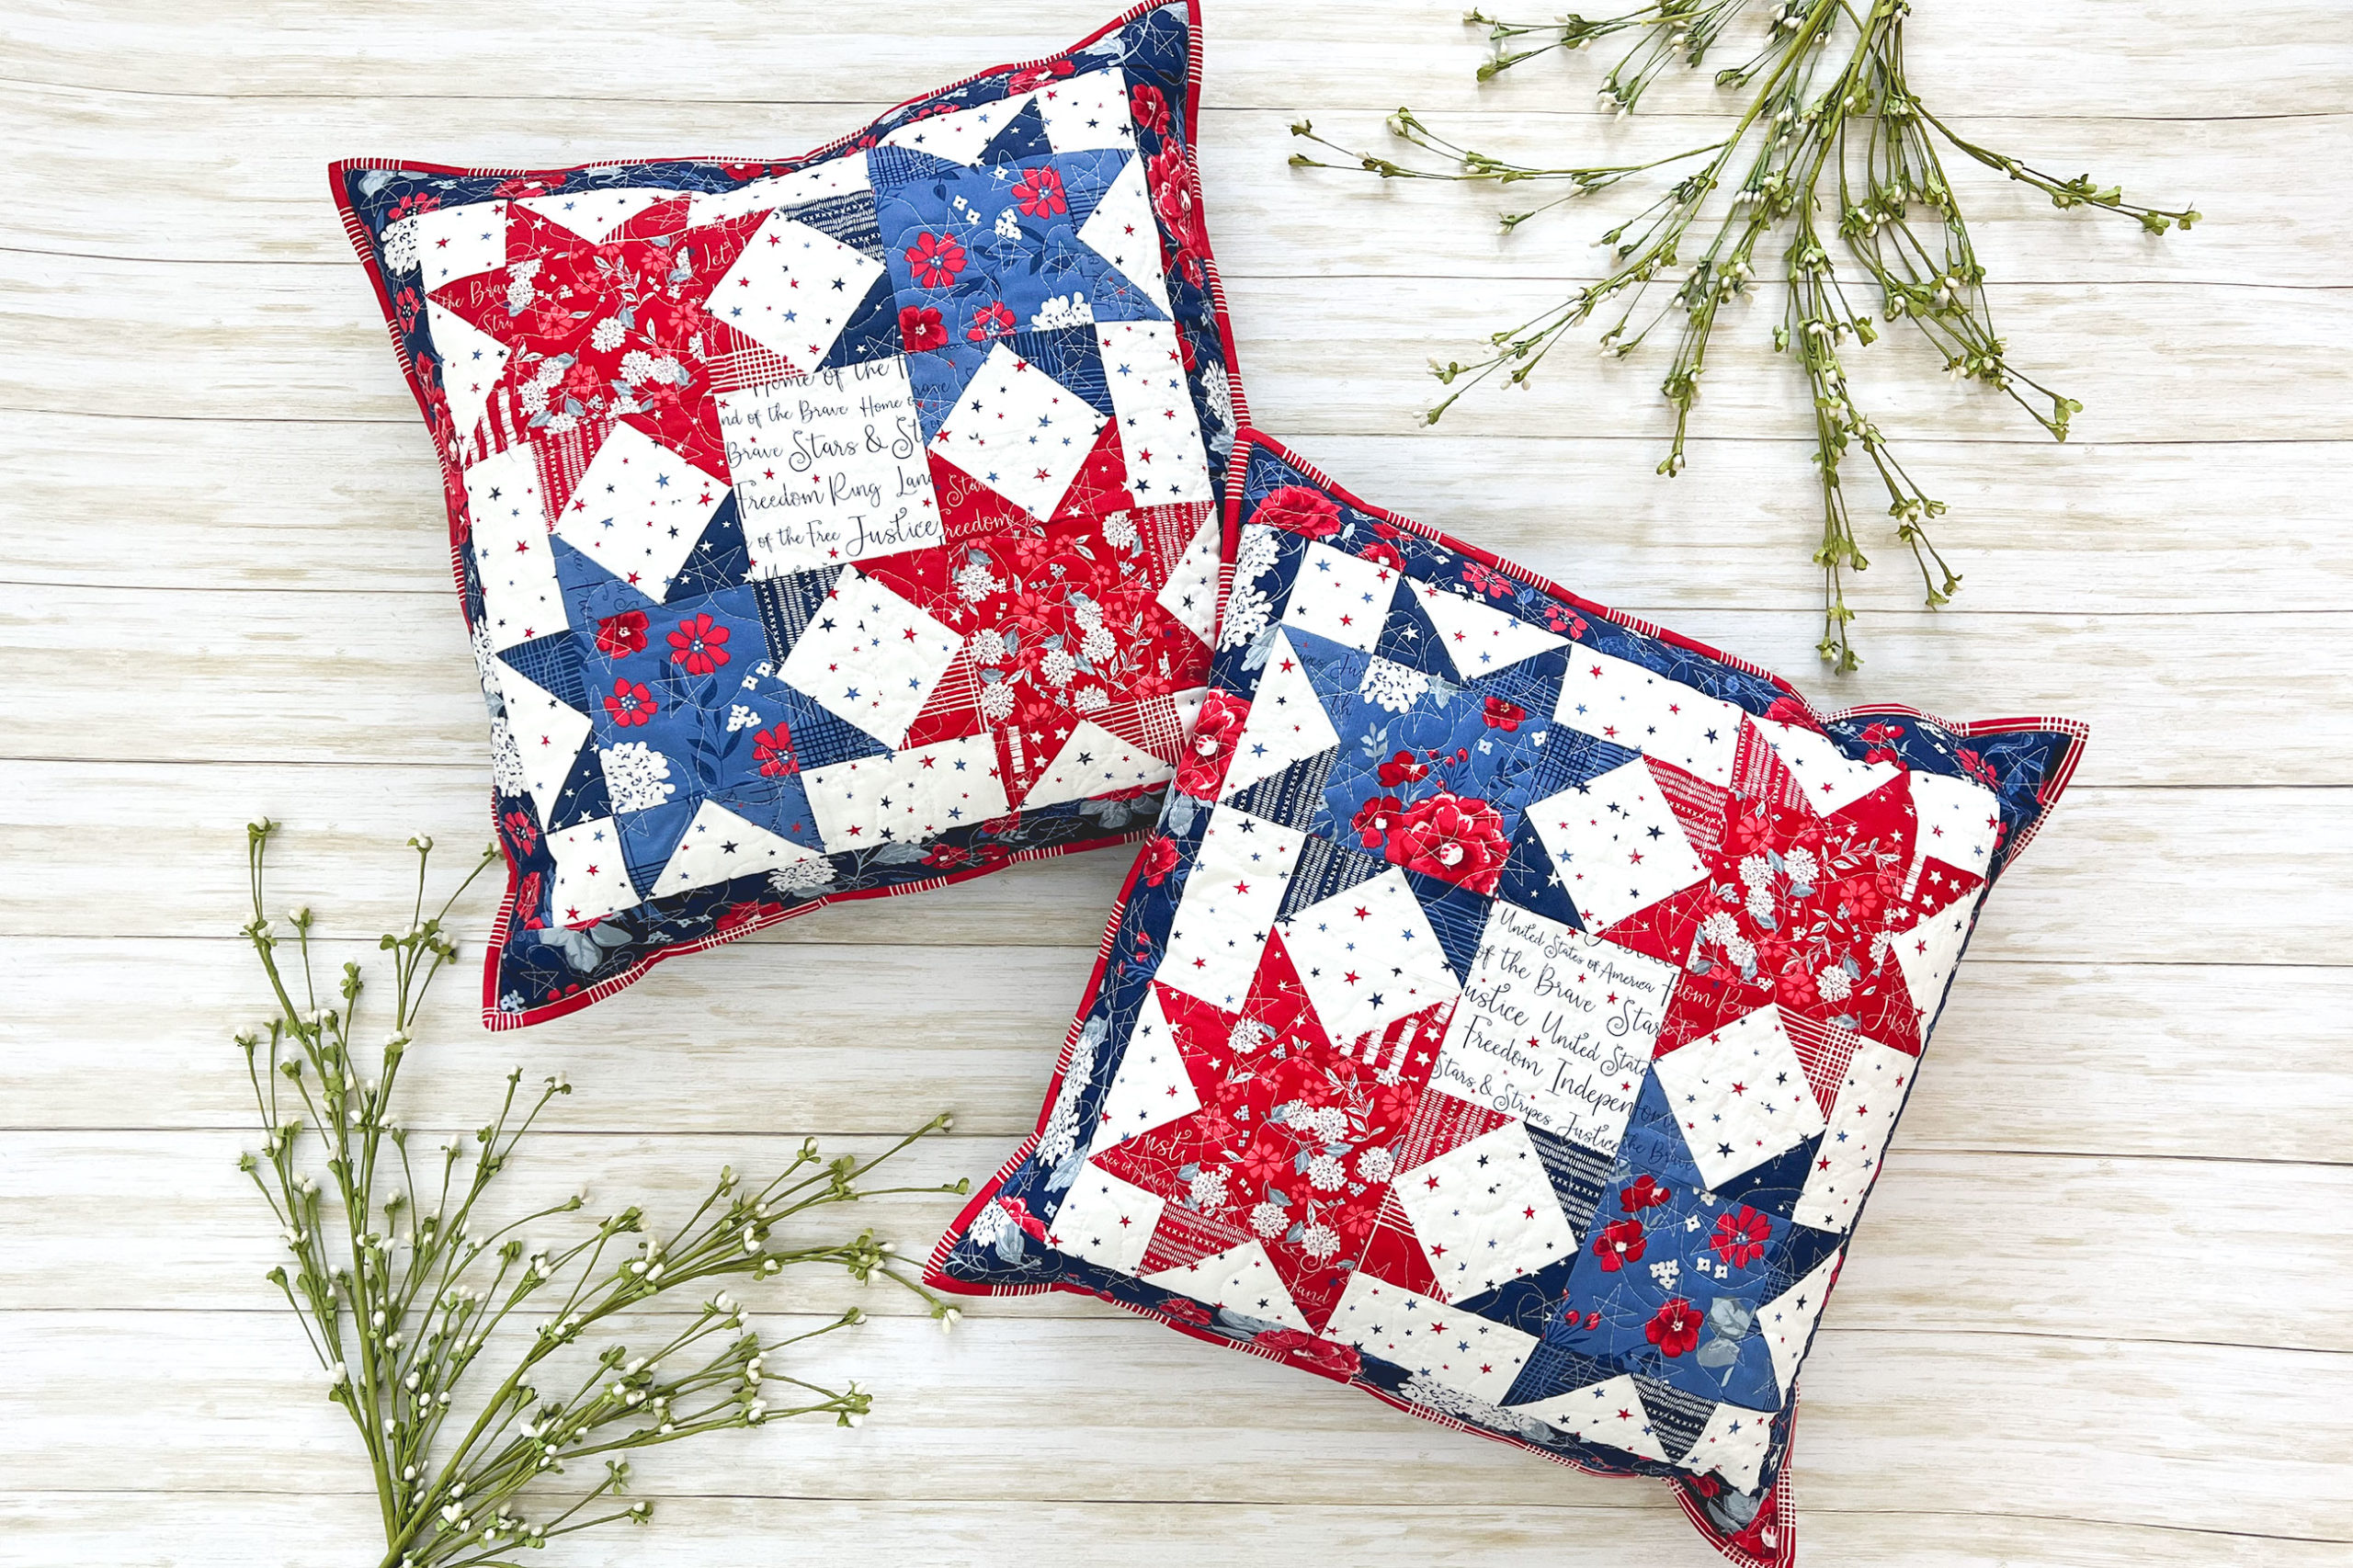
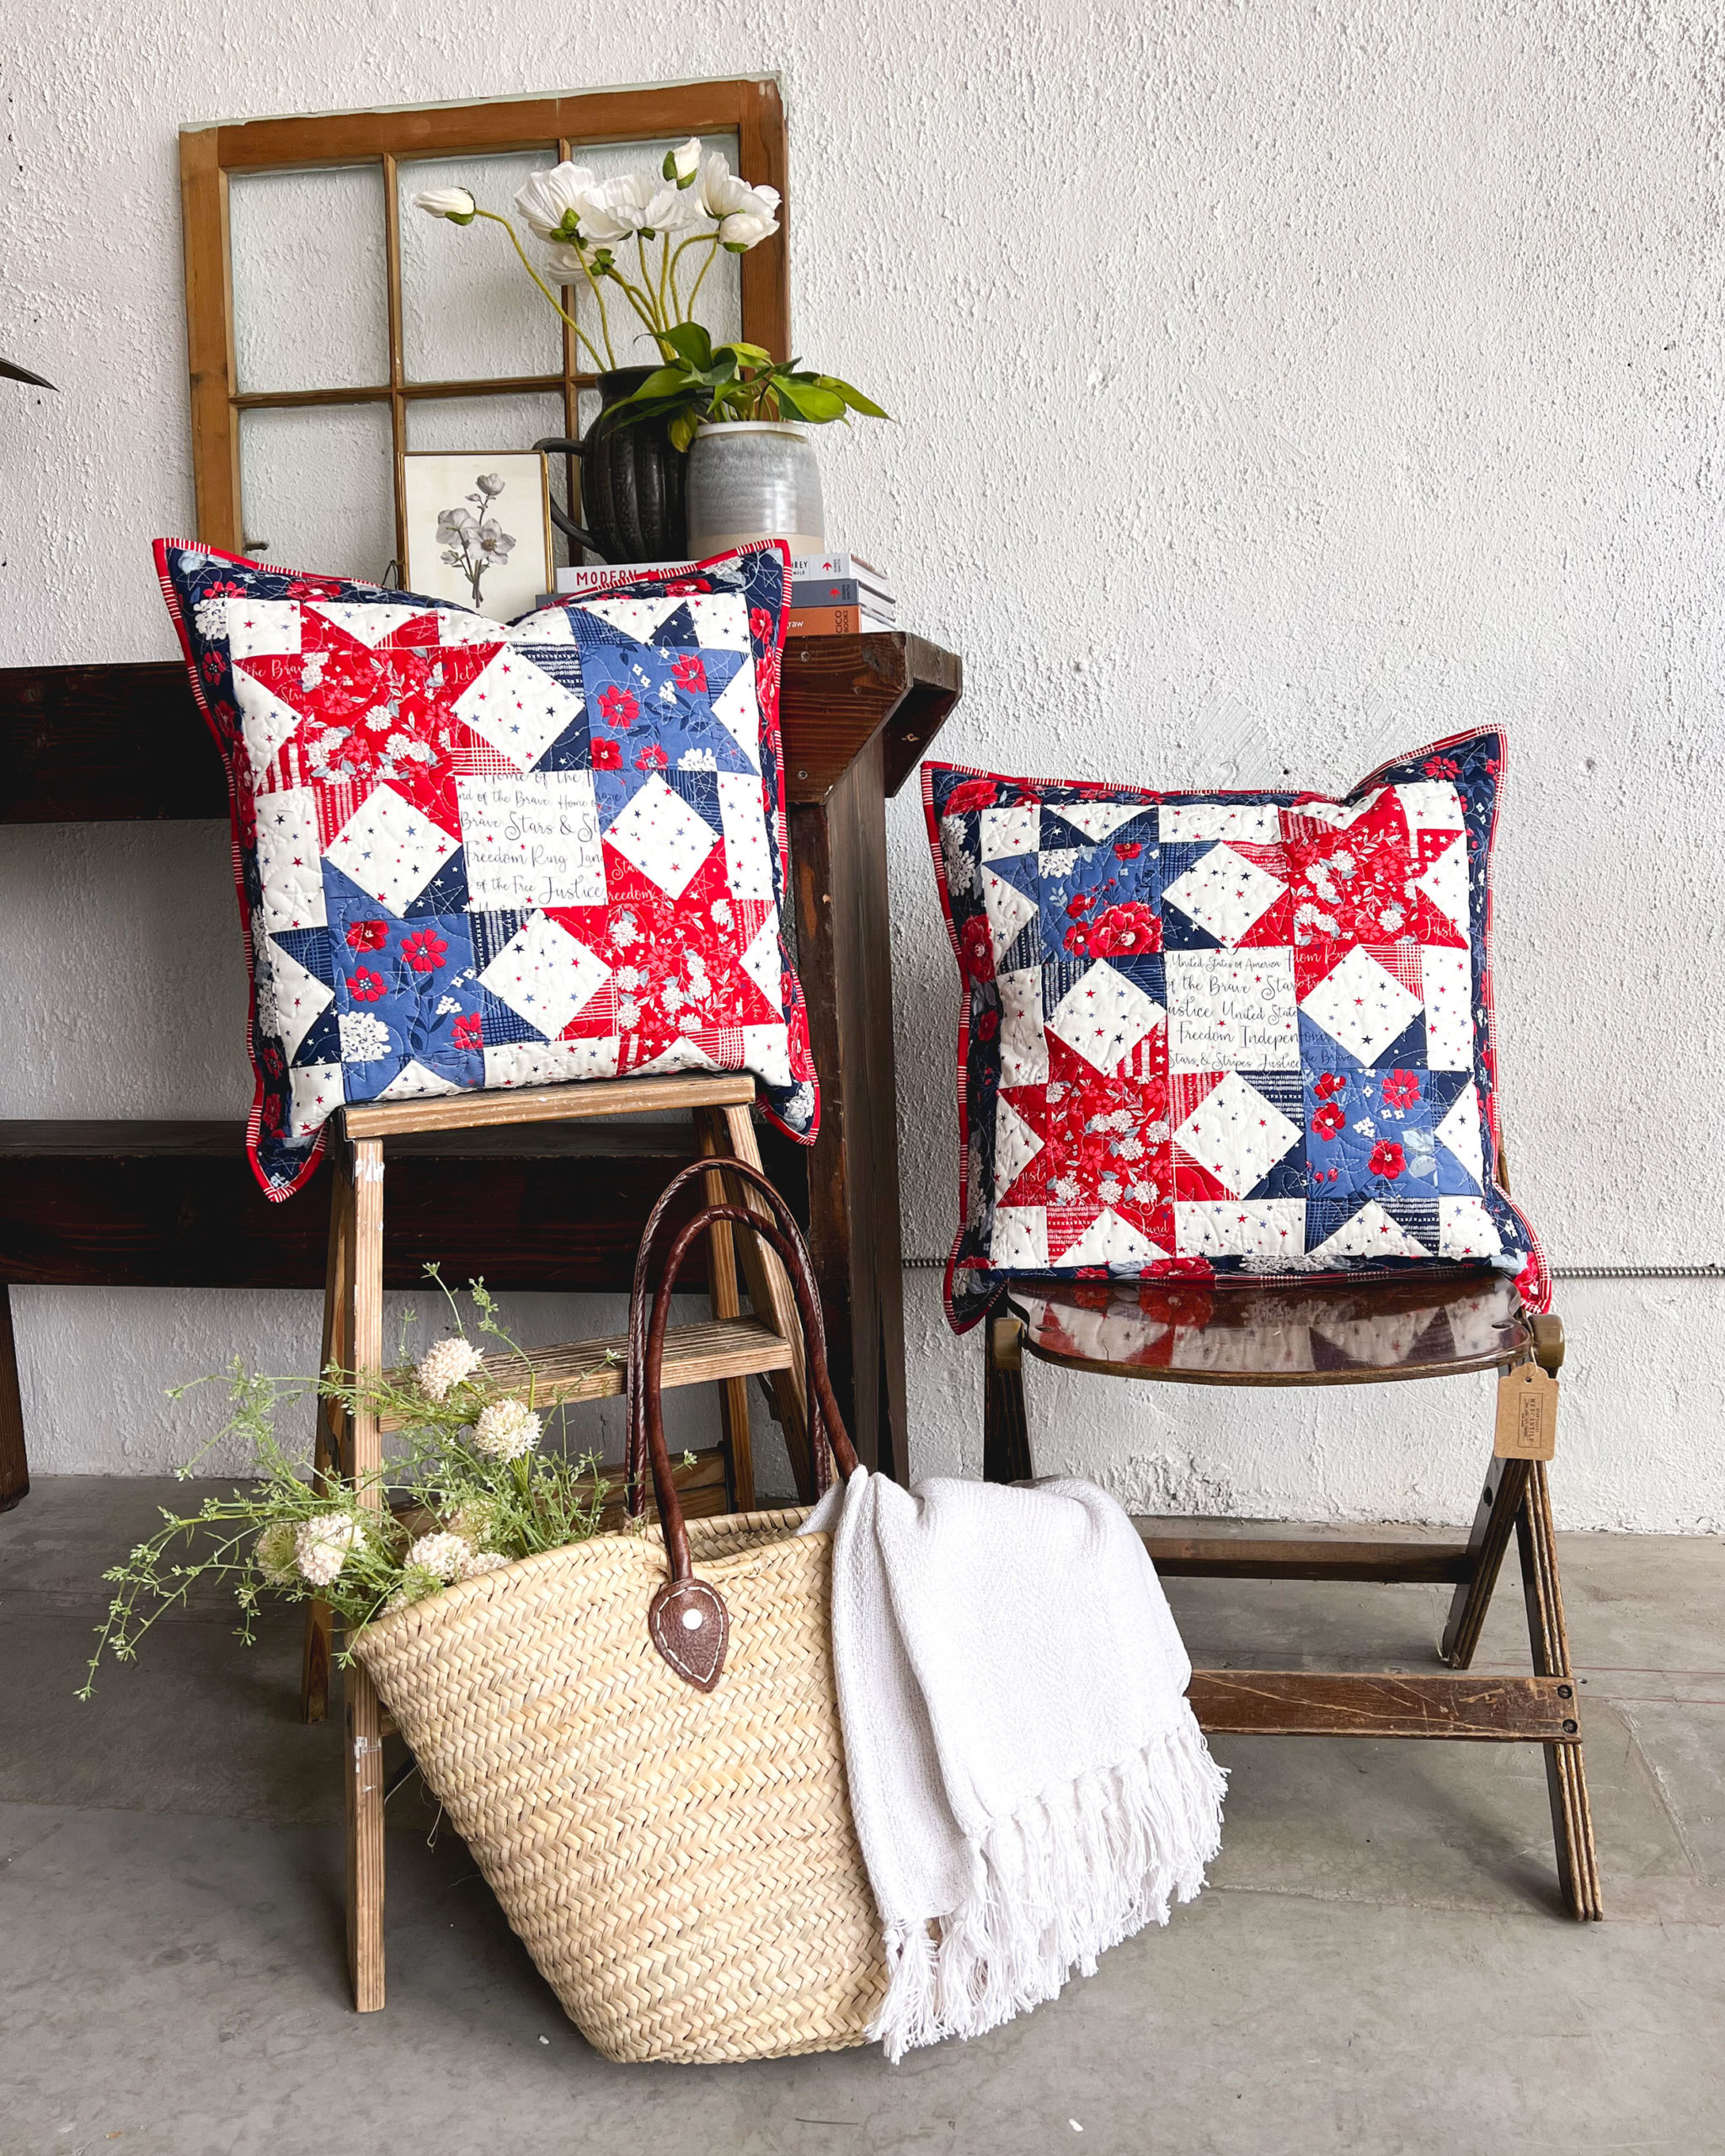
To create the two color star version of the mini quilt: I divided up the 16- 3″ squares into two groups of 8- one red and one blue. I wanted to let the floral fabrics shine as the center of the stars so I cut four of the applique background blocks from them- again two red and two blue. The fifth applique background square was cut from the white text print and gives just a little directionality to the project. The rest of the cutting is as directed (including binding)
For the pillow back, I used my Hidden zipper pillow back method and cut 2- 10 1/4″ (h) X 20 1/2″ (w) pieces for the backing, one- 2 1/2″ X 20 1/2″ (w) strip for the zipper cover and 2- 1″ (h) X 2″ (w) pieces for the zipper ends. You will need at least an 18″ zipper for each pillow.
Assembly Notes for Starry Pillows
Create the sawtooth stars as directed in the tutorial, keeping the reds together and the blues together. Then create the mini quilt as indicated in the tutorial. Quilt the mini quilt as desired.
Before adding the binding, sew together your pillow back. Place the pillow back WRONG sides together with the mini quilt/ pillow front and baste together all the way around. Pay attention to the zipper flap to make sure it isn’t folded up as you baste these together.
Once they are basted add the binding on as you normally do.
The best part? These pillow covers are removable- making them easy to store and wash as needed. I love swapping them out for each season/holiday. They are so fun and squishy!
For more tutorials I hope you will follow along on my blog or Instagram @AmeroonieDesigns. Until next time friends- Happy Sewing!!