Hello, Sharon here from Lilabelle Lane Creations.
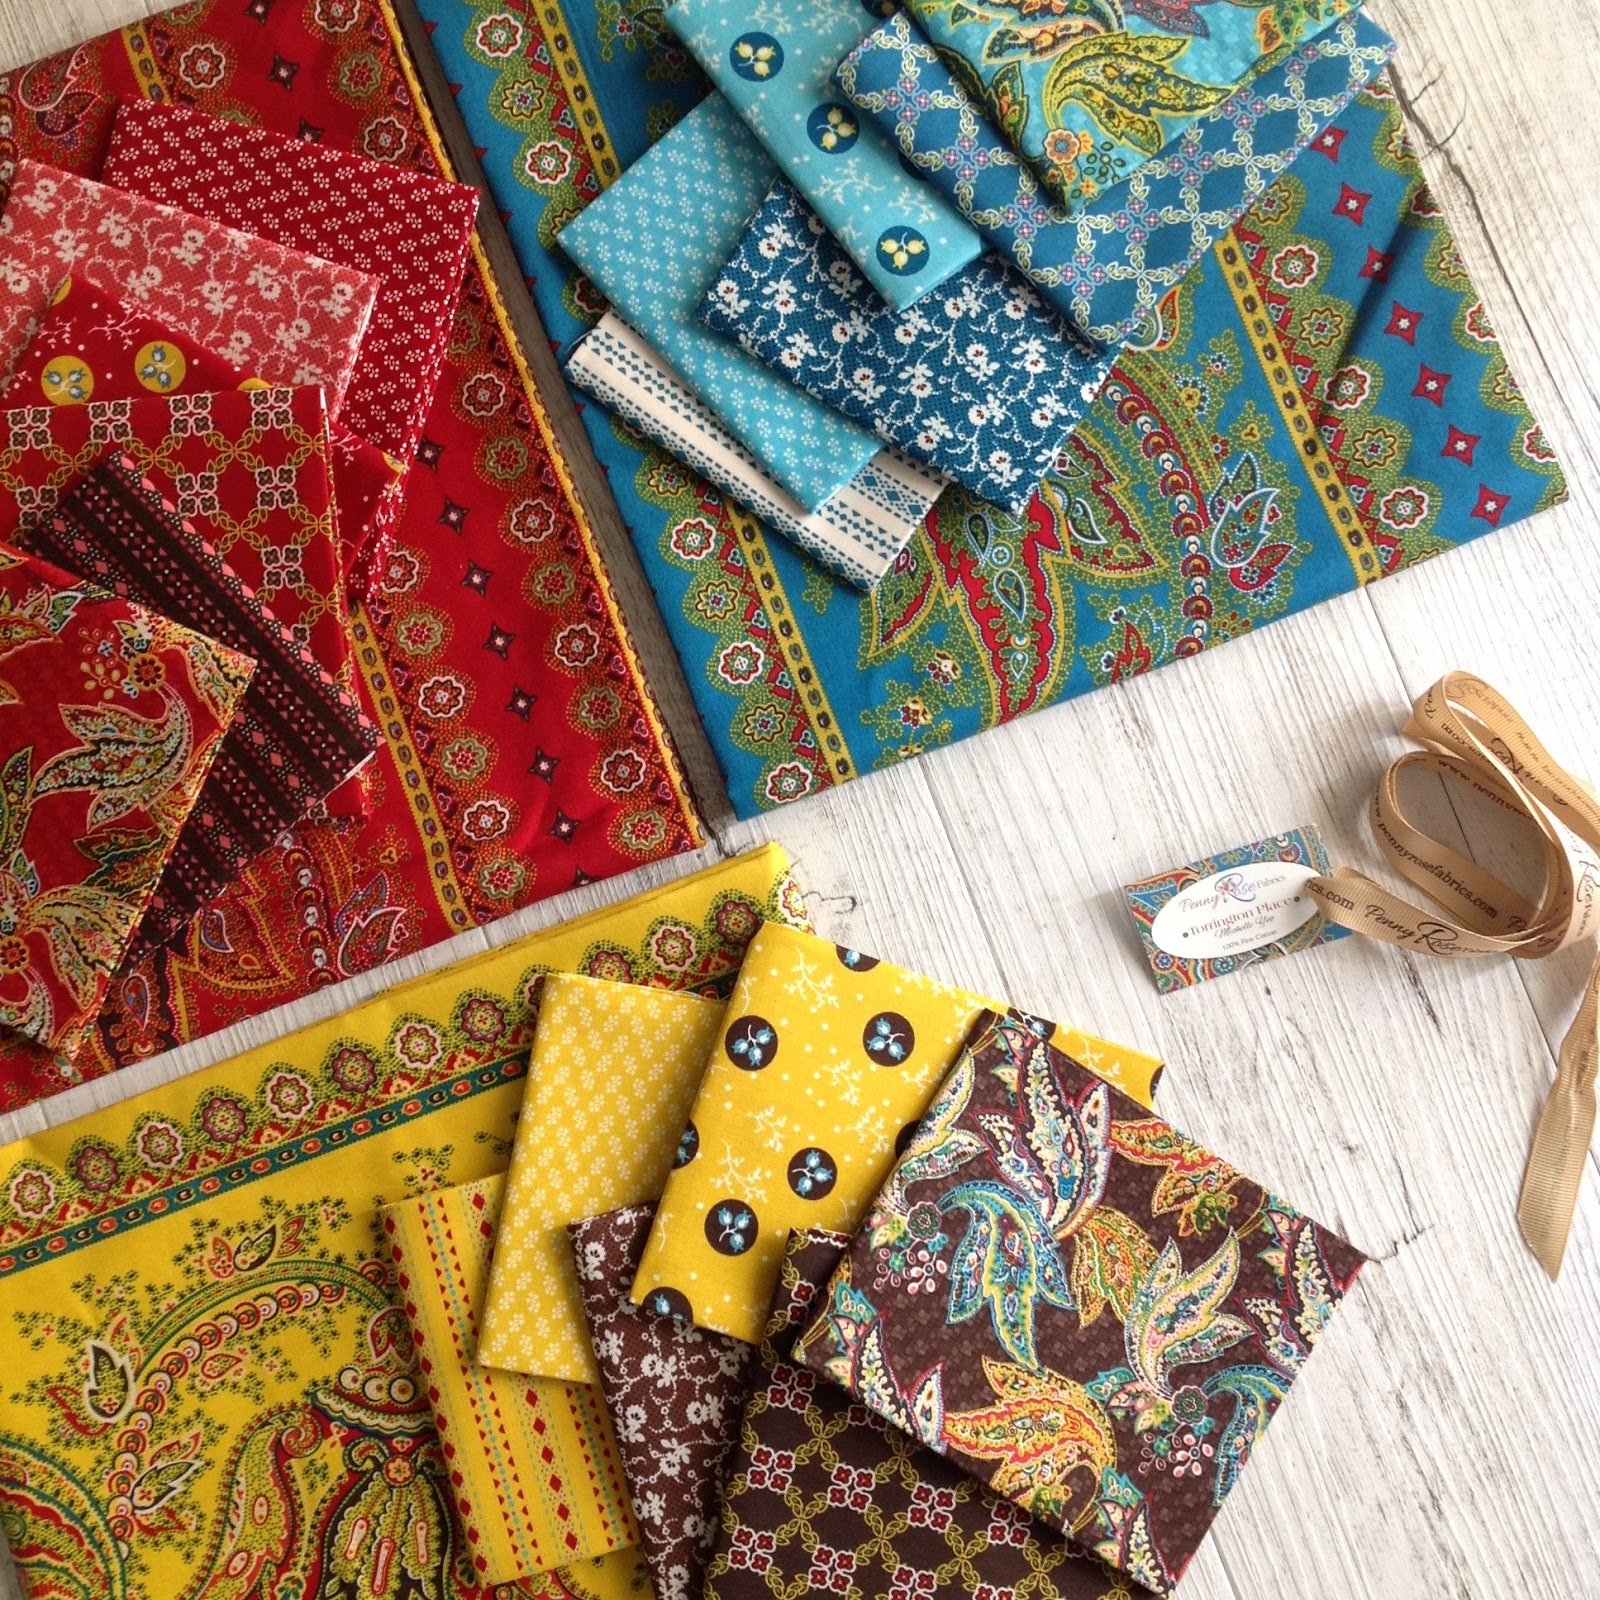
Today I would like to share with you what I have been up to with Michelle Yeo’s debut line, Torrington Place
for Penny Rose Fabrics.
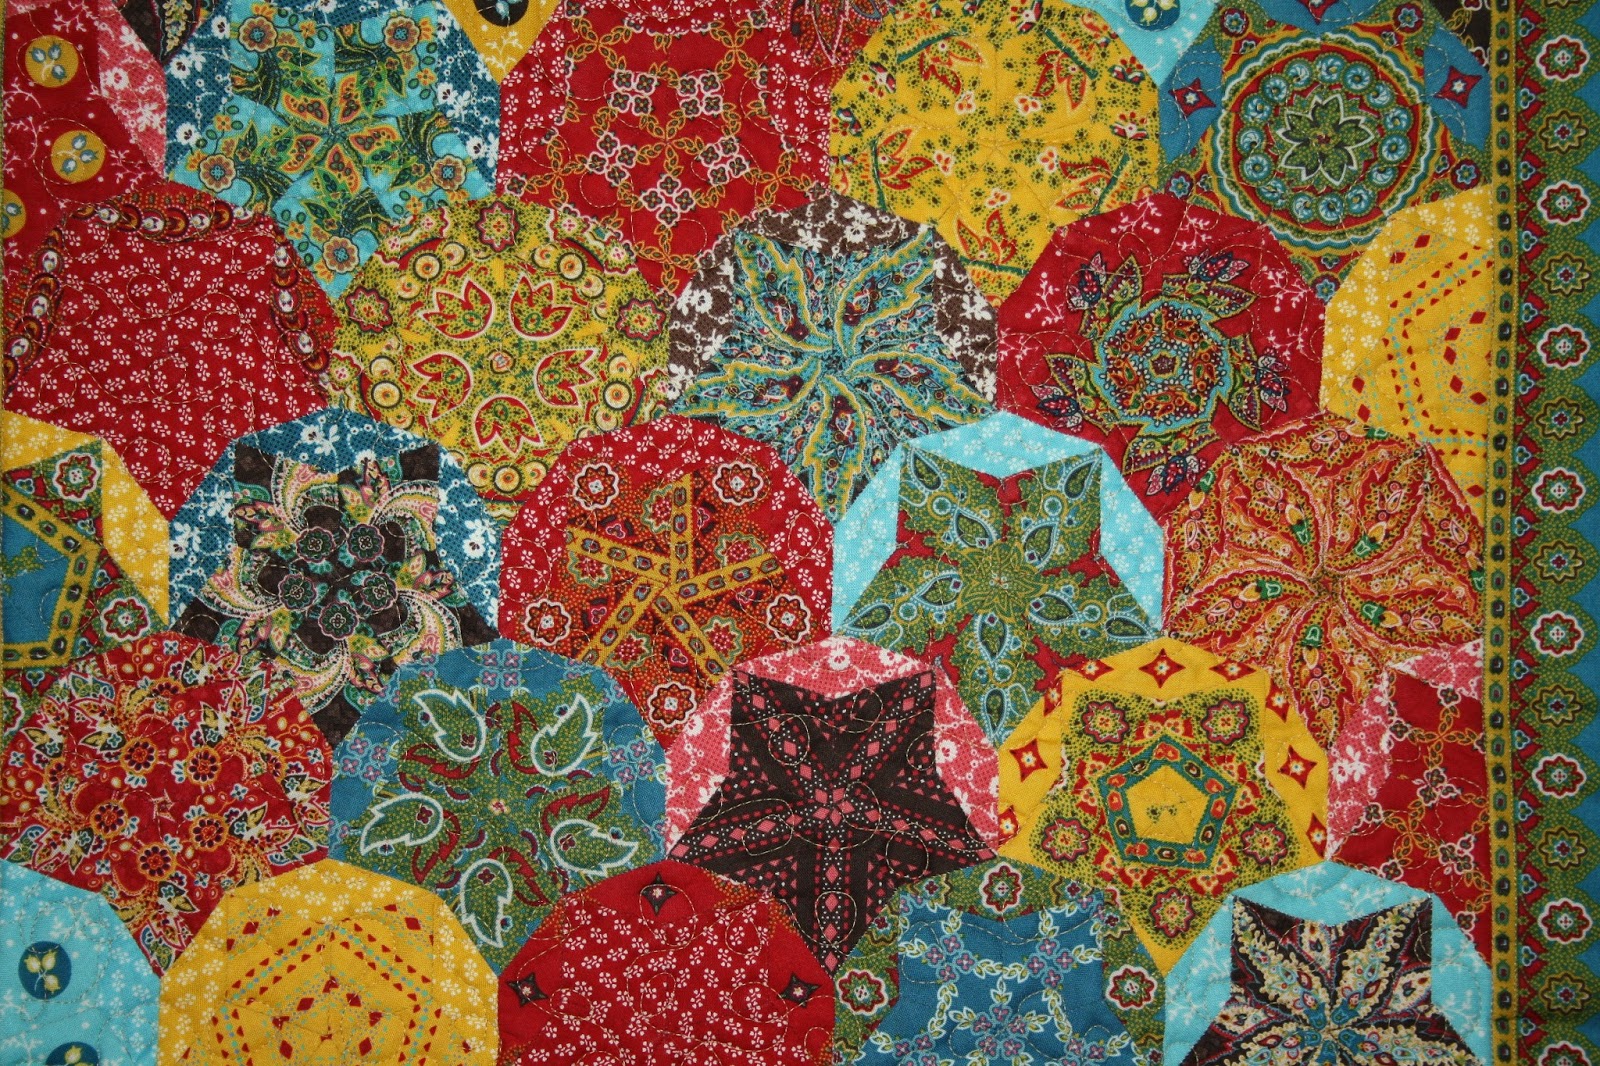
As soon as I saw this fabric it just screamed at me to be fussy cut.
Just look at all that amazing detail Michelle has but into this fabric and then there is the bold bright Reds, Blues and oh my, that Yellow!
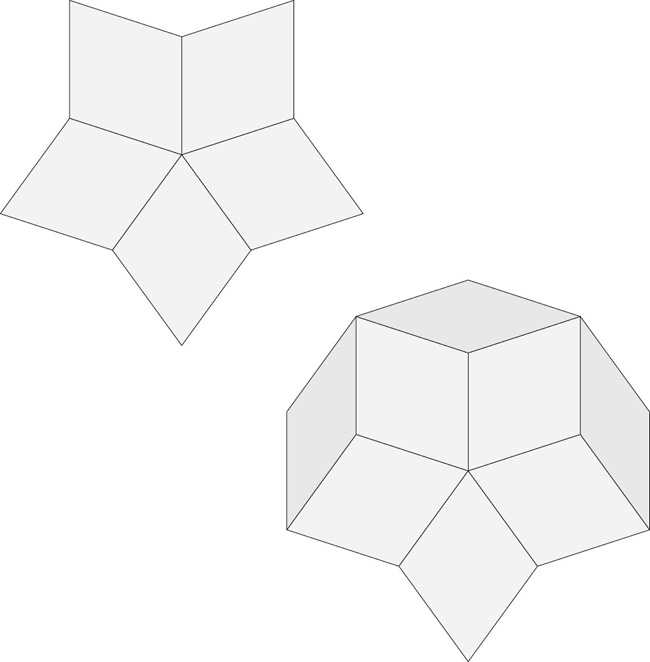
For this project I am playing with English Paper Piecing and the shapes I am using are a 5 point star and a 10 point star. If you have made the La Passacaglia quilt you will already have these shapes on hand. We are just using them differently 🙂
Please note that for this tutorial I am not going to cover how to Fussy Cut or English Paper Piece but I will show you how to turn your EPP panel into a Mini Quilt or Table Topper or of course you could grow your project much bigger and make a quilt using this same method.
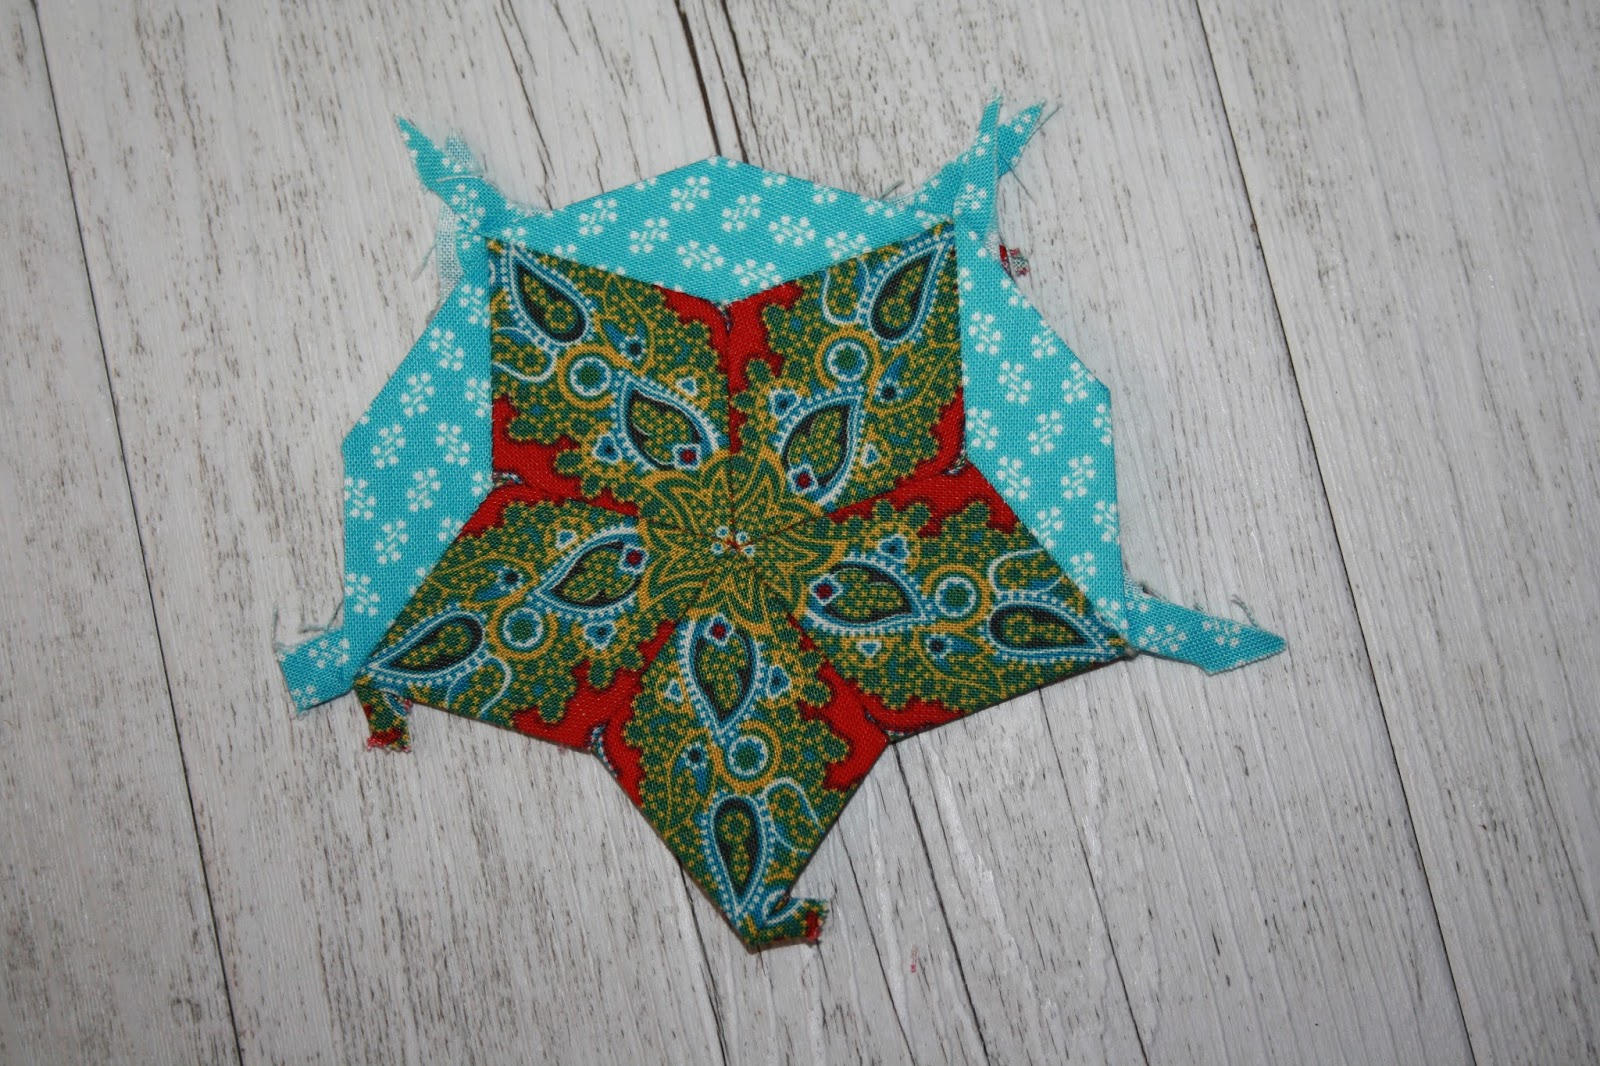
For this project we are making pieced Clamshells.
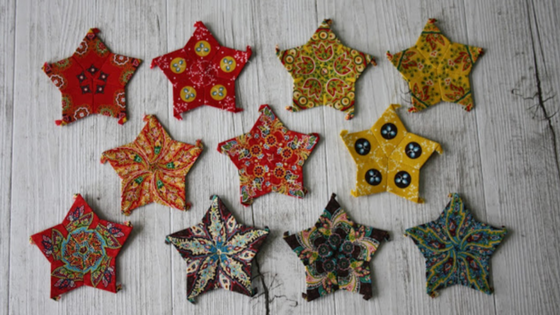
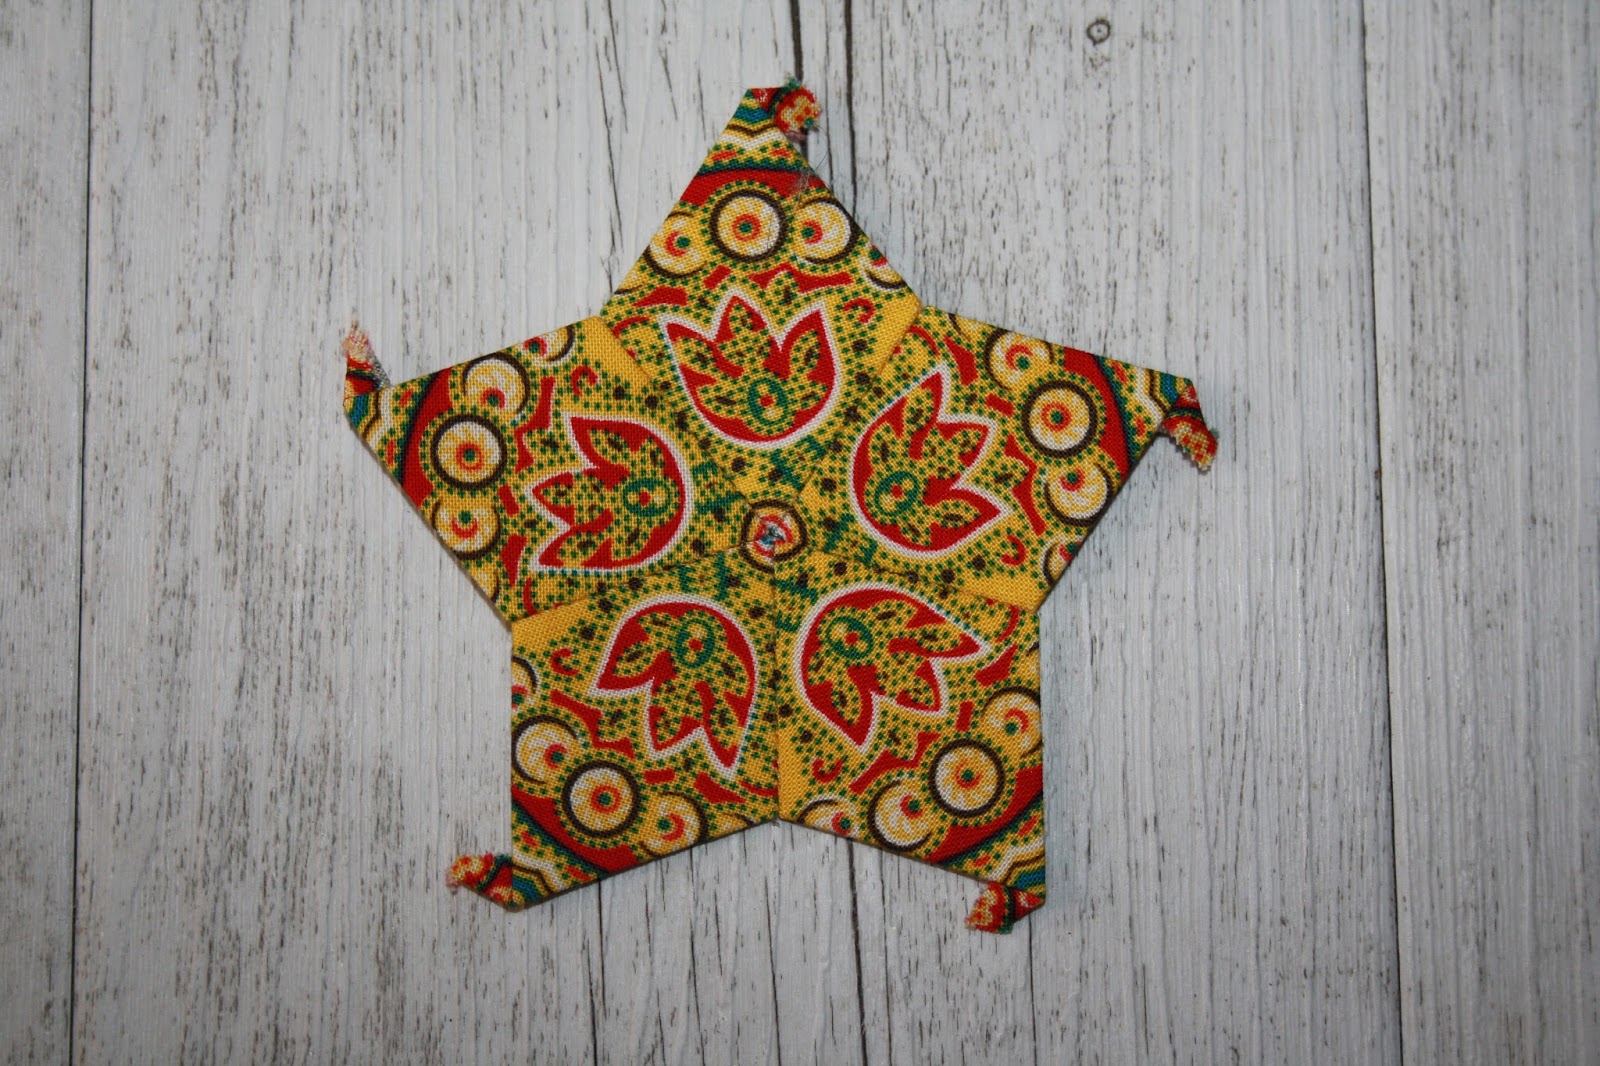
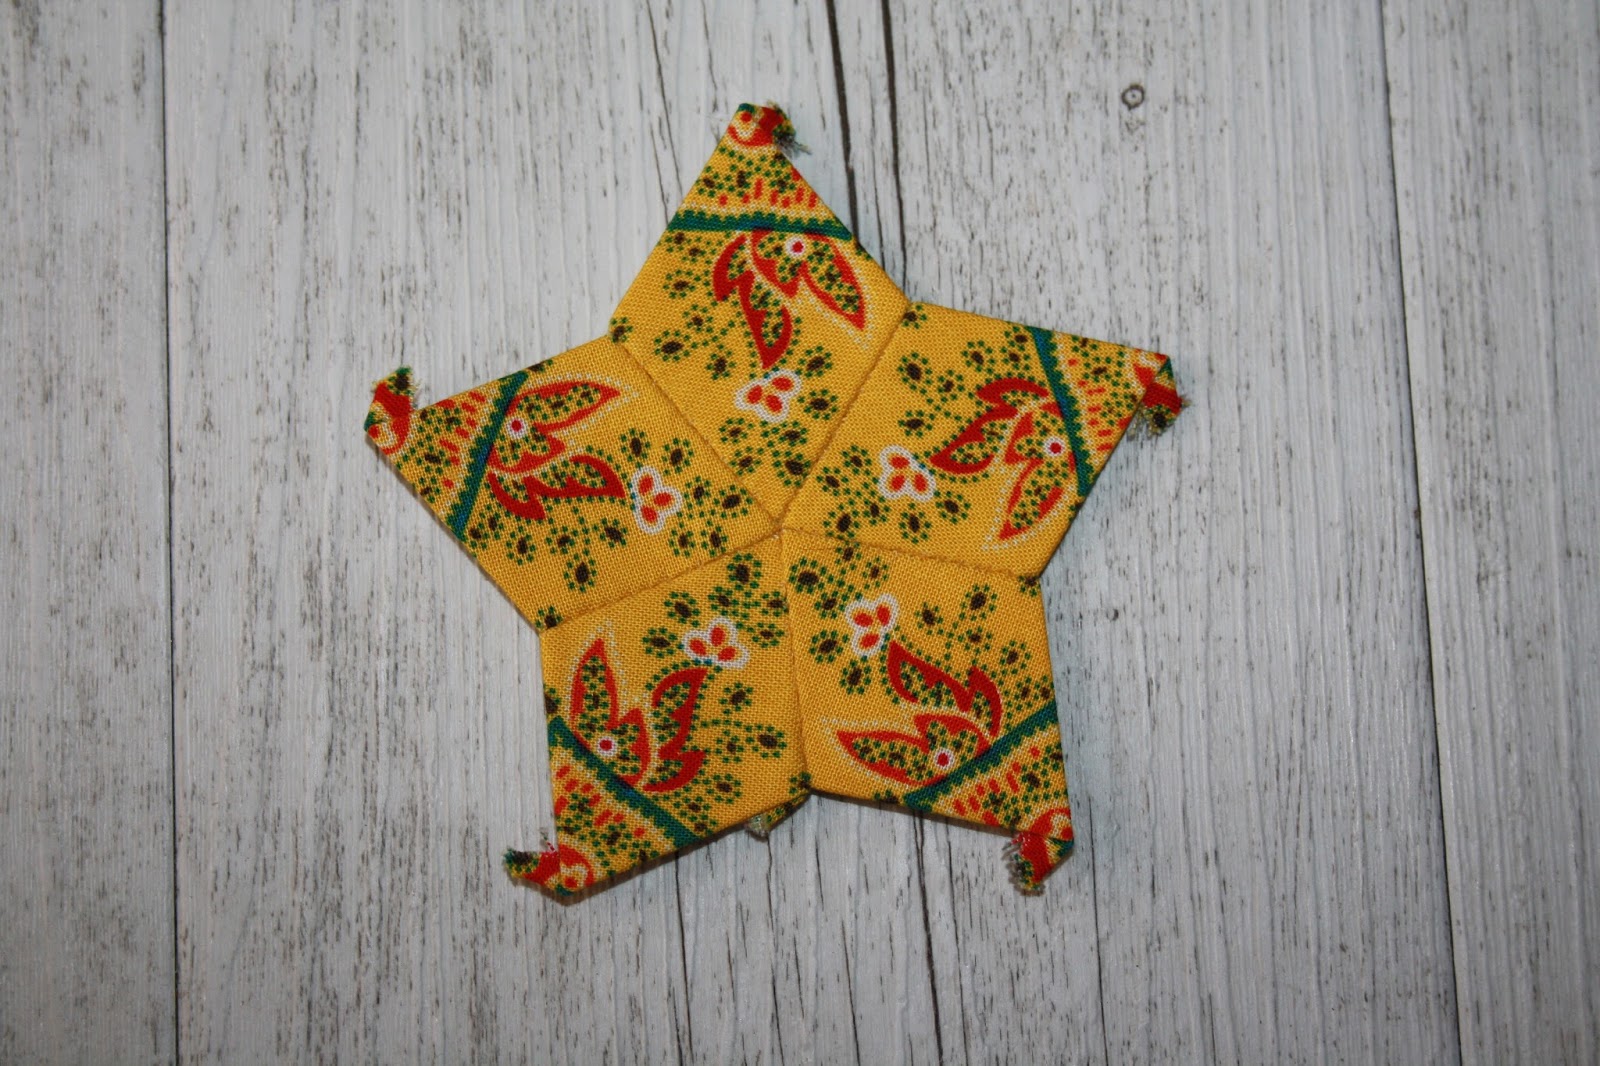
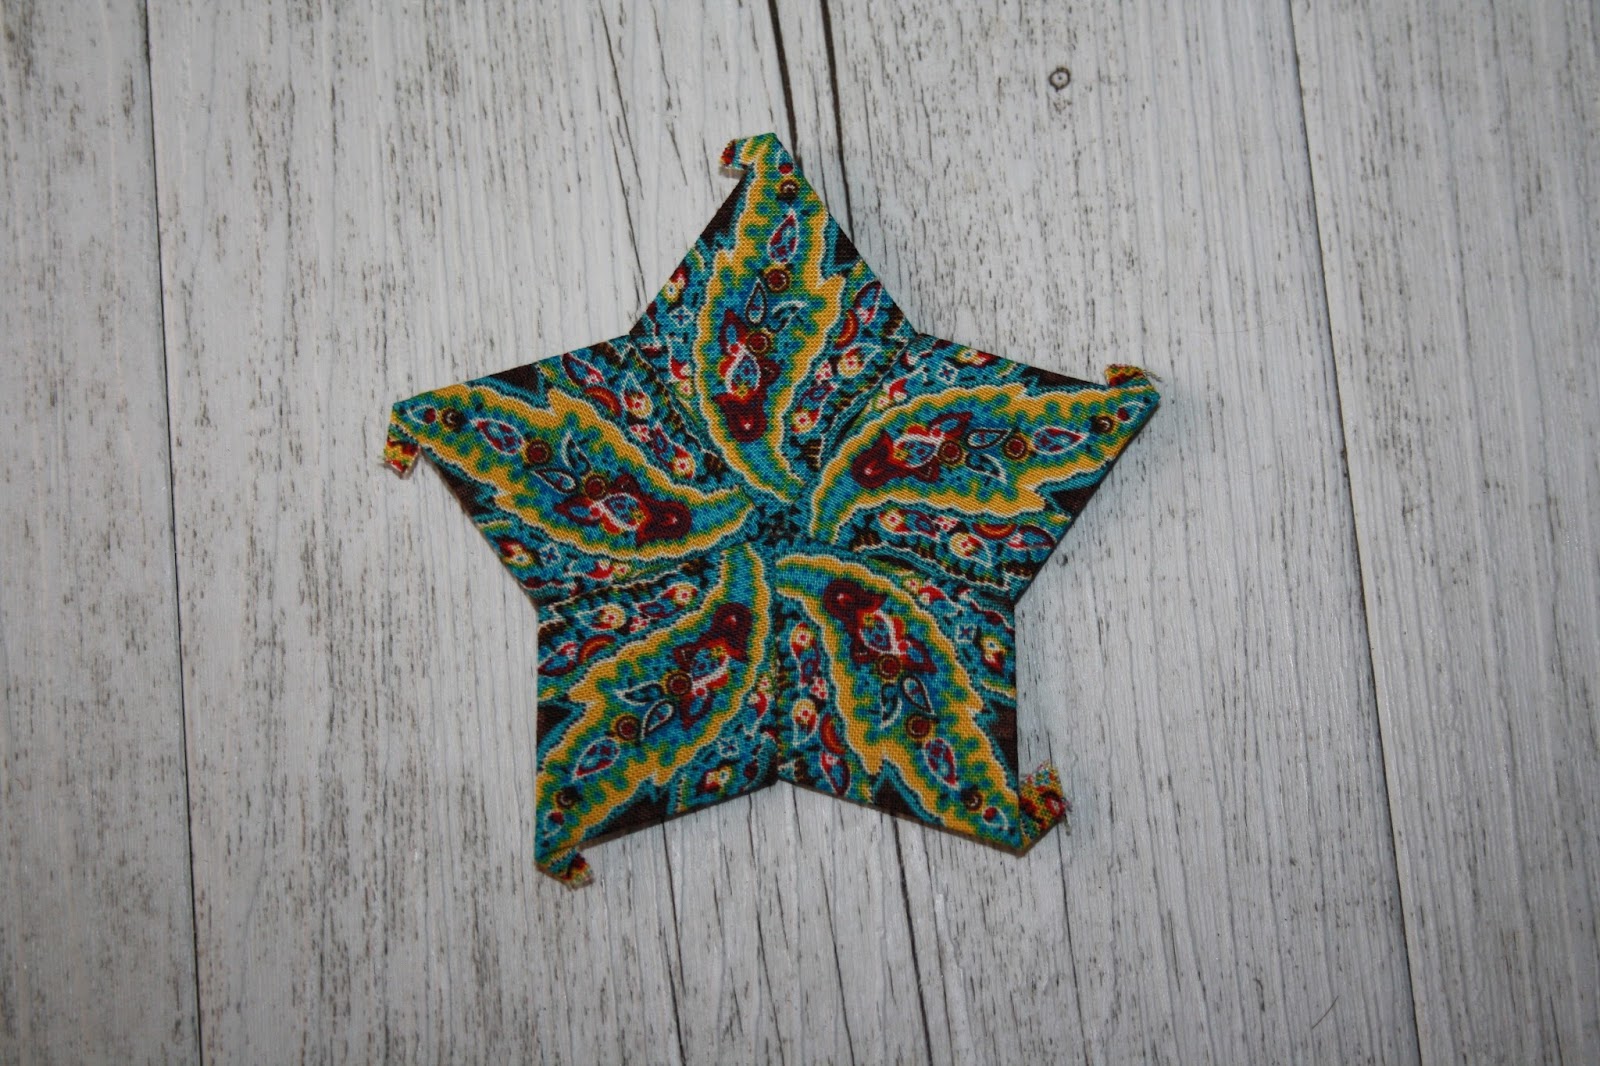
Start by fussy cutting and piecing your 5 point stars.
I personally love piecing 5 point stars. So many variations can be achieved when fussy cutting.
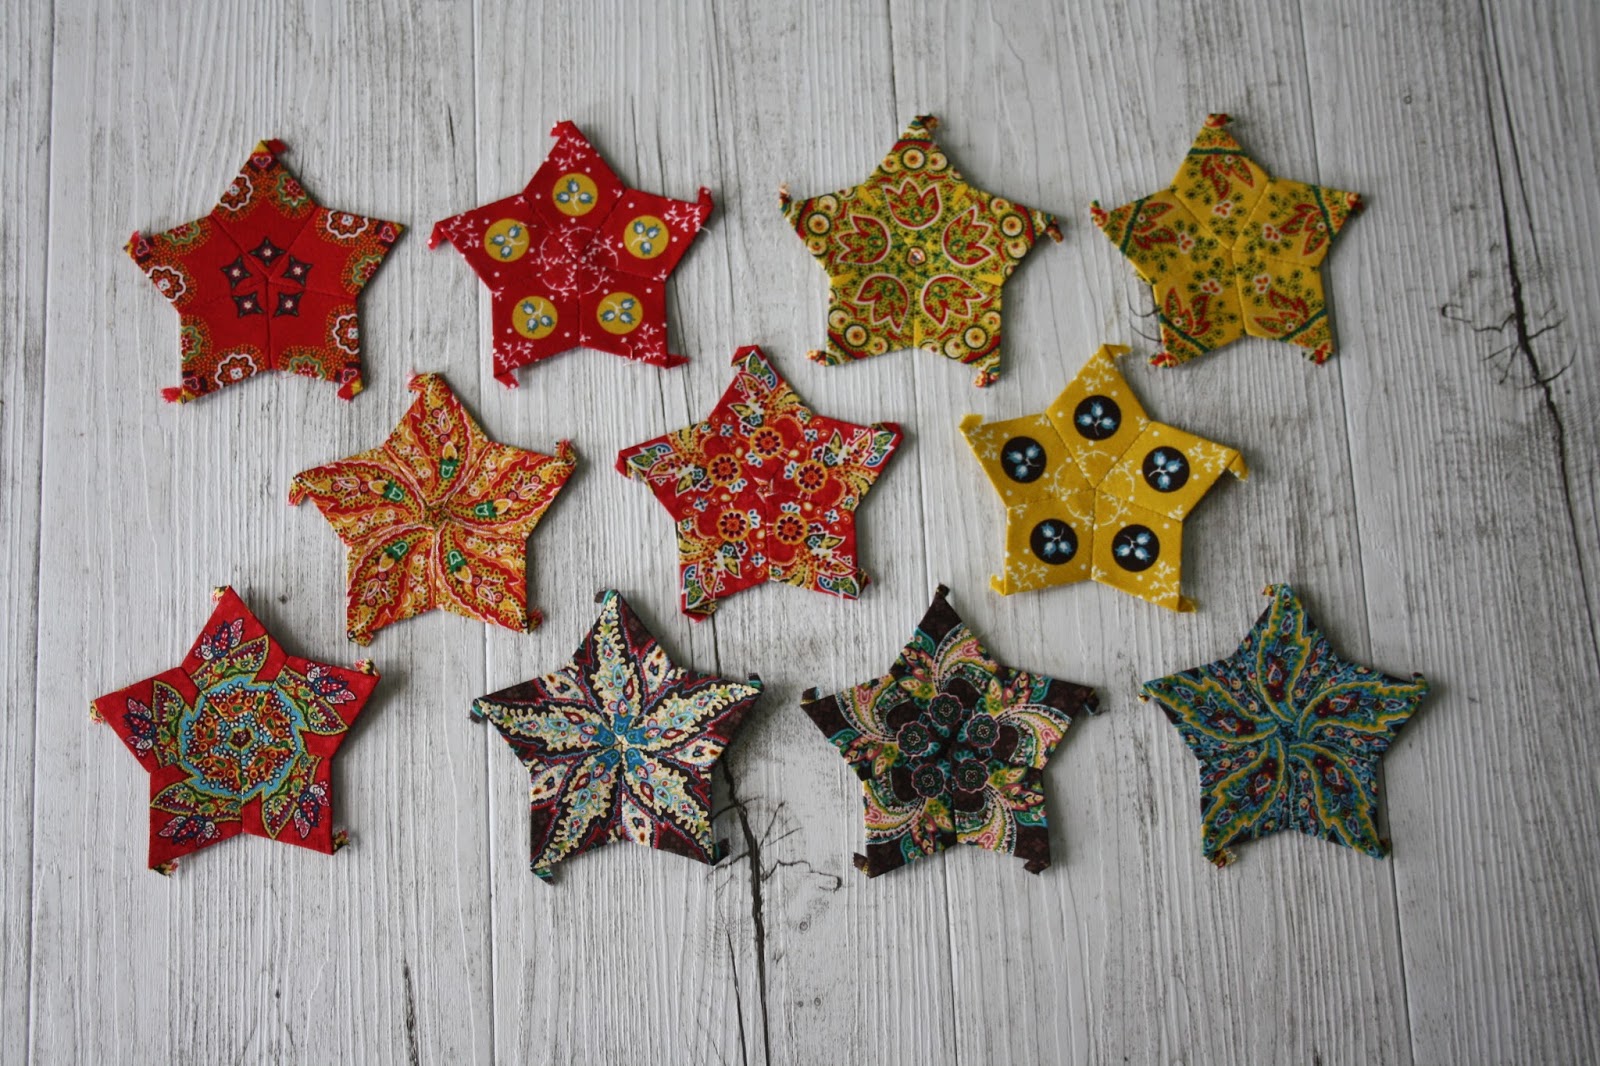
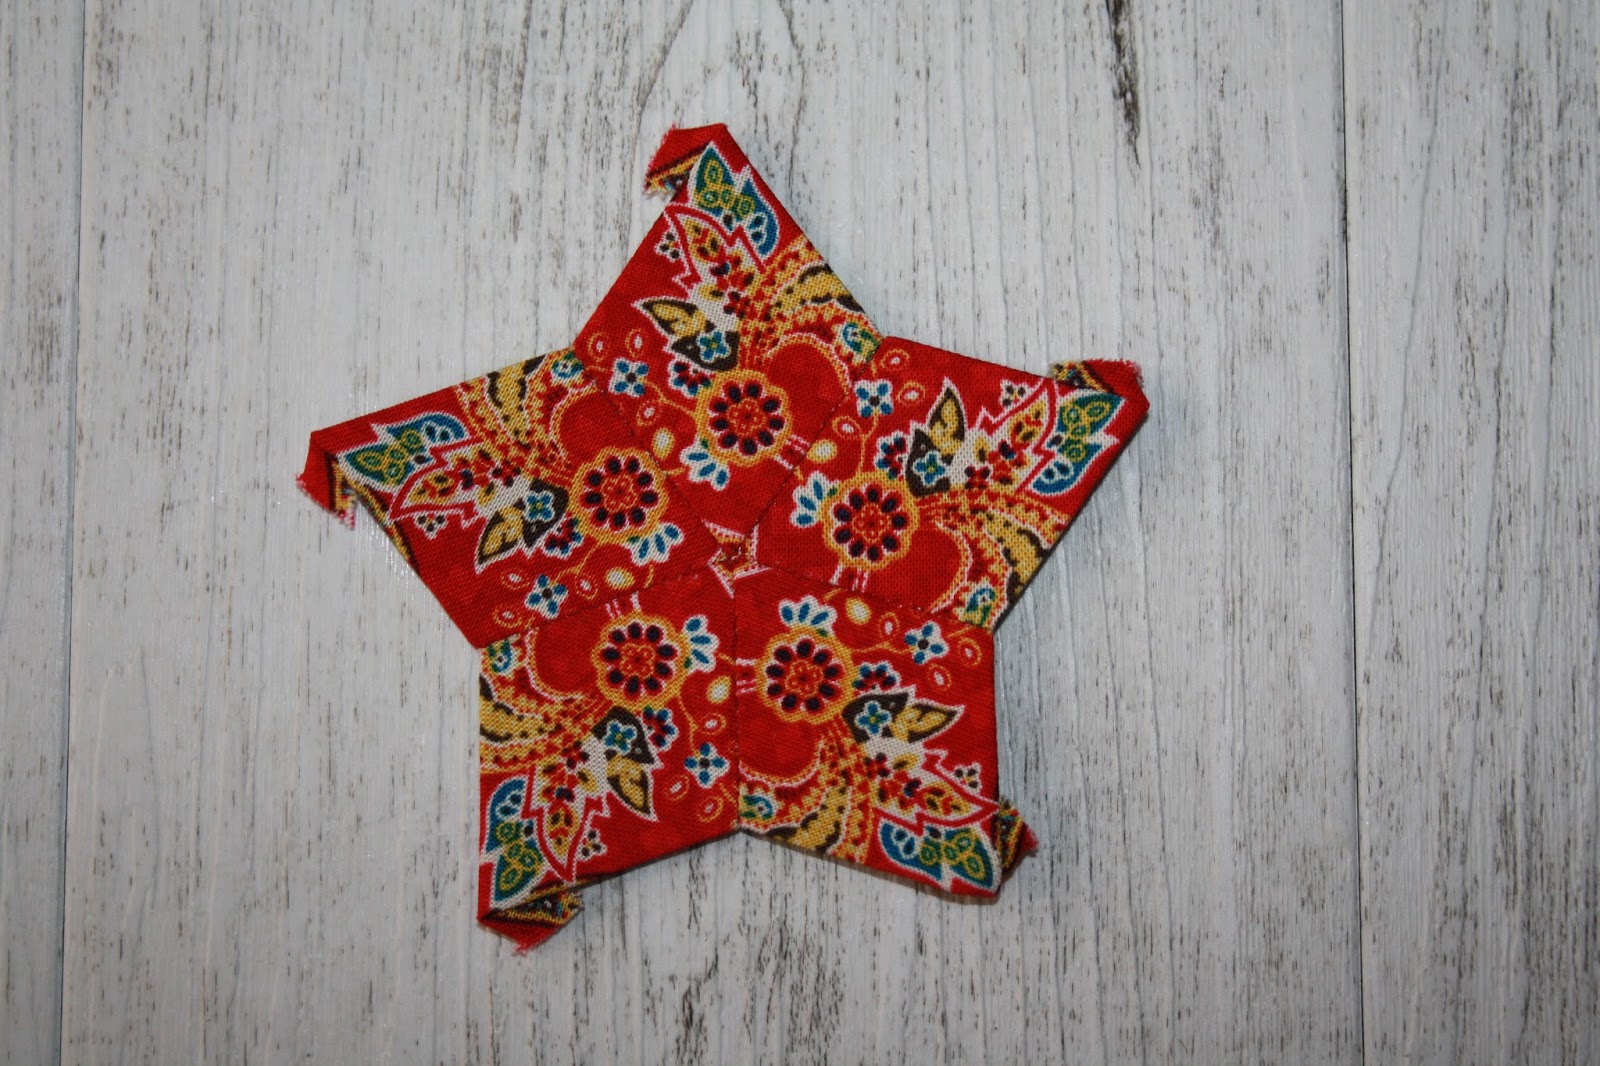
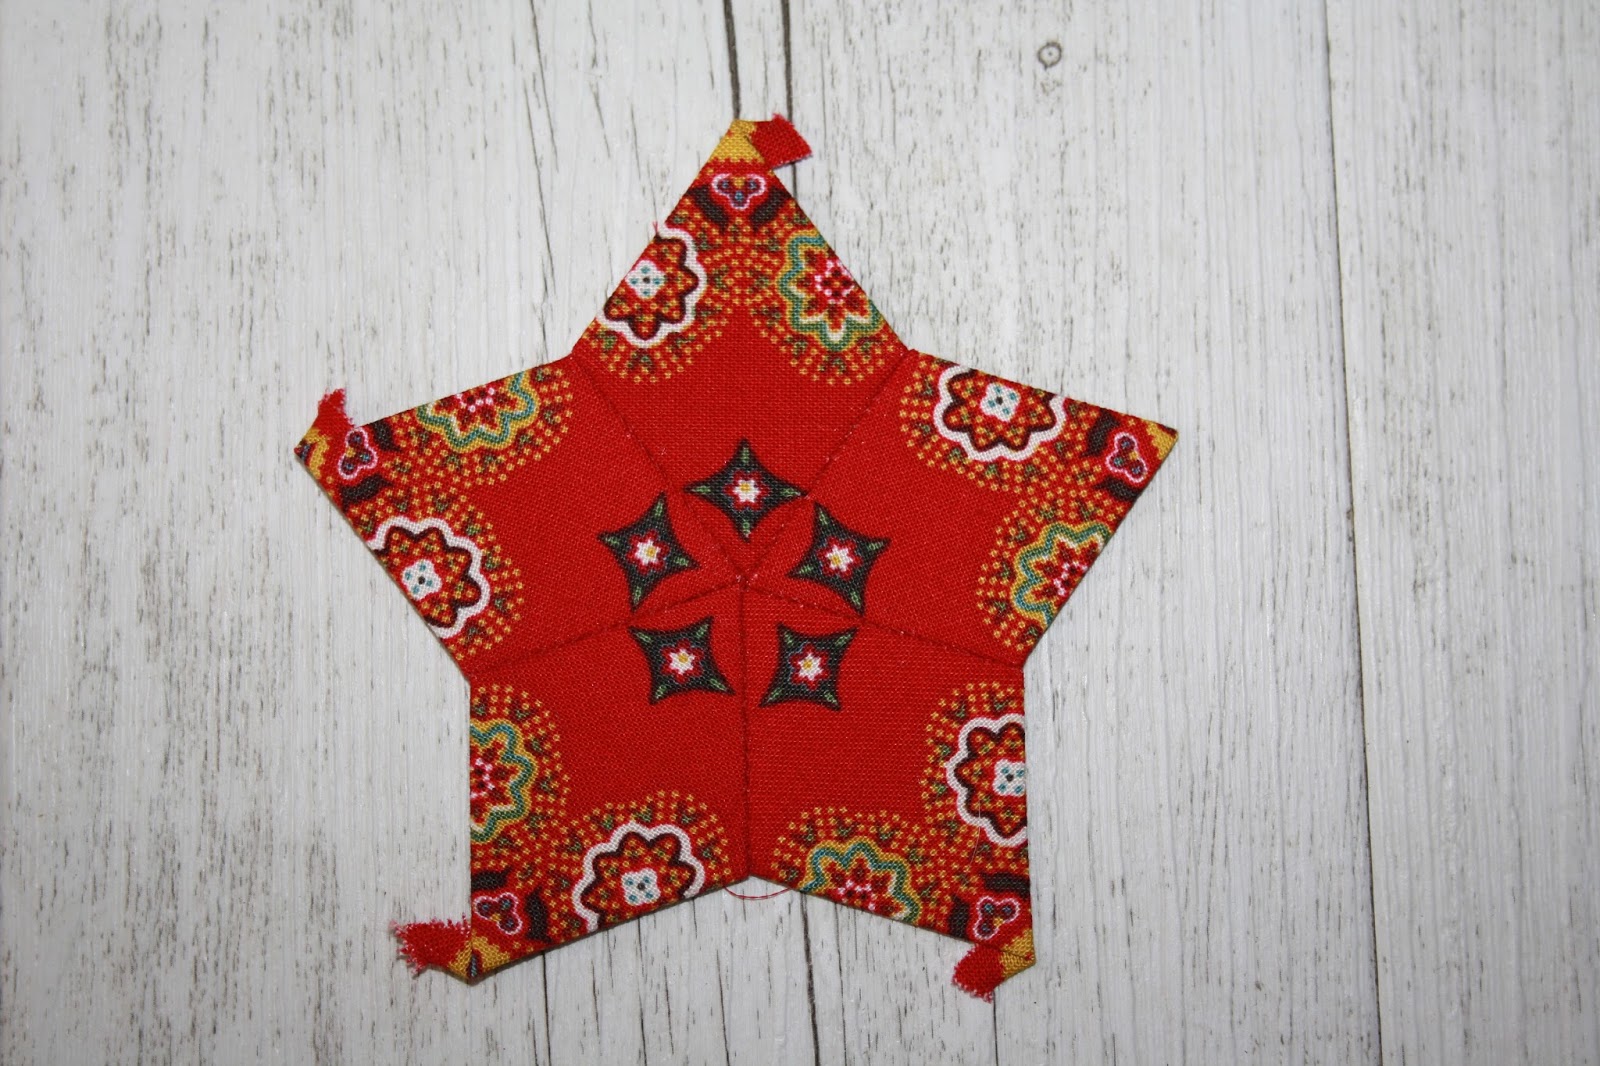
Here is a closer look at some stars. Each star is made from the same part of the fabric, cut on repeat.
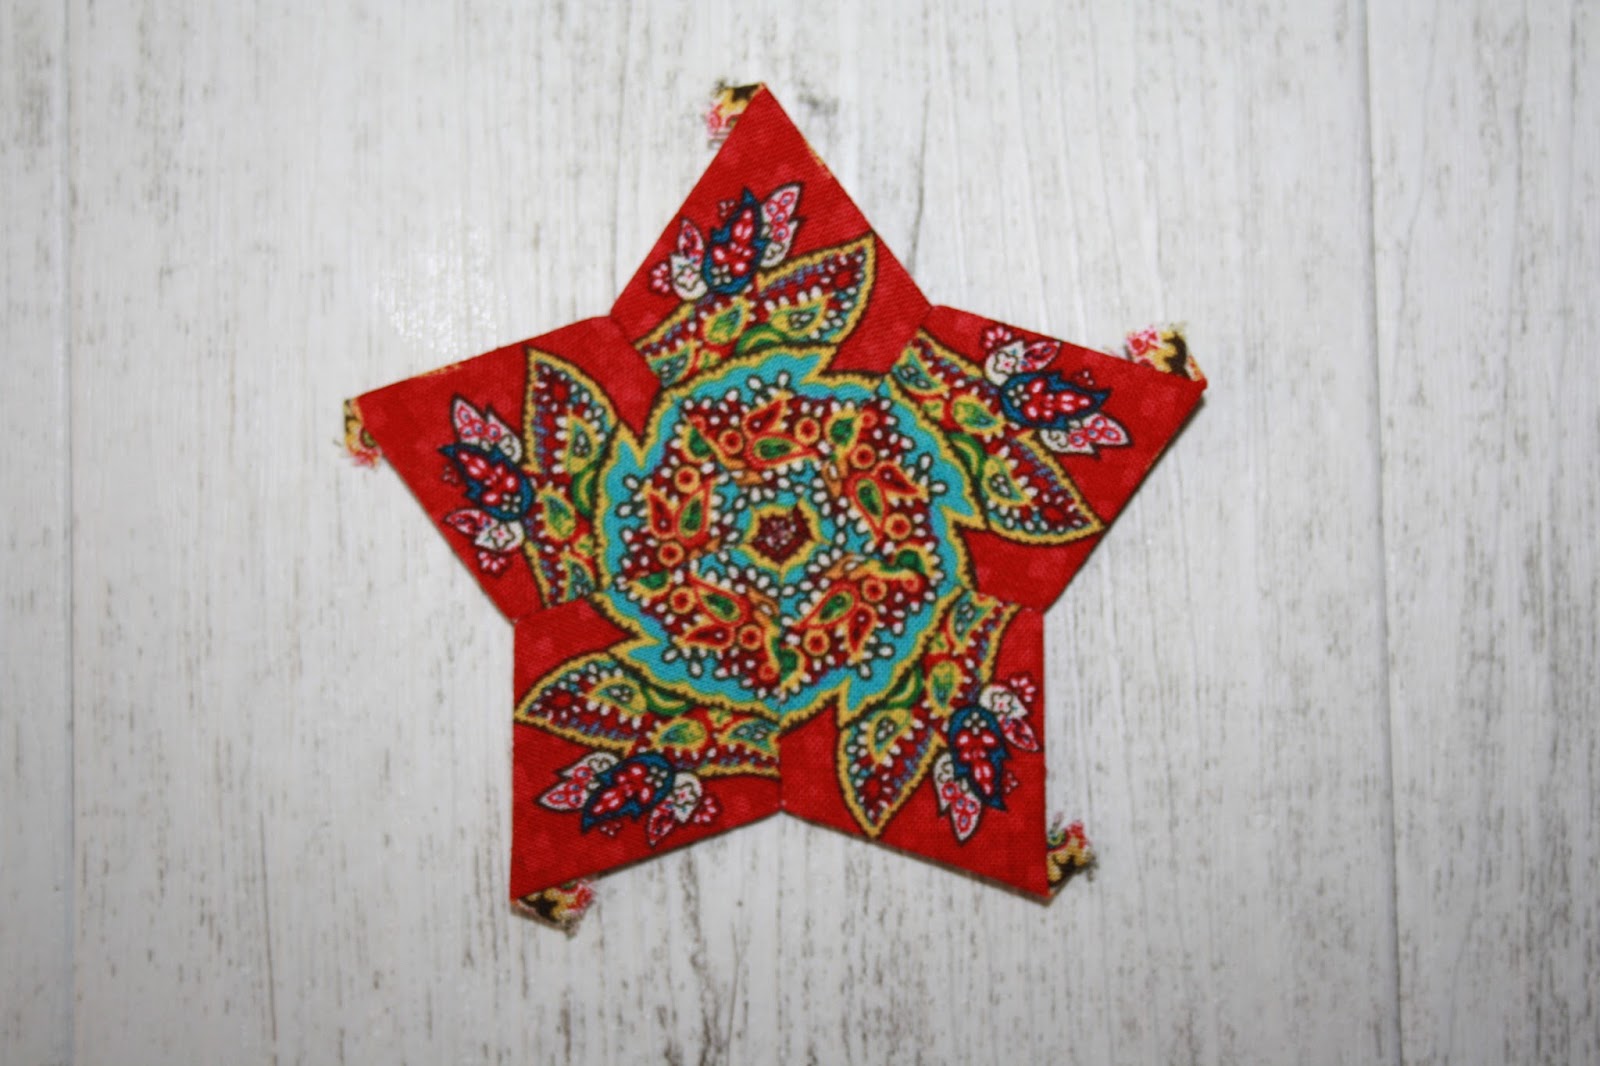


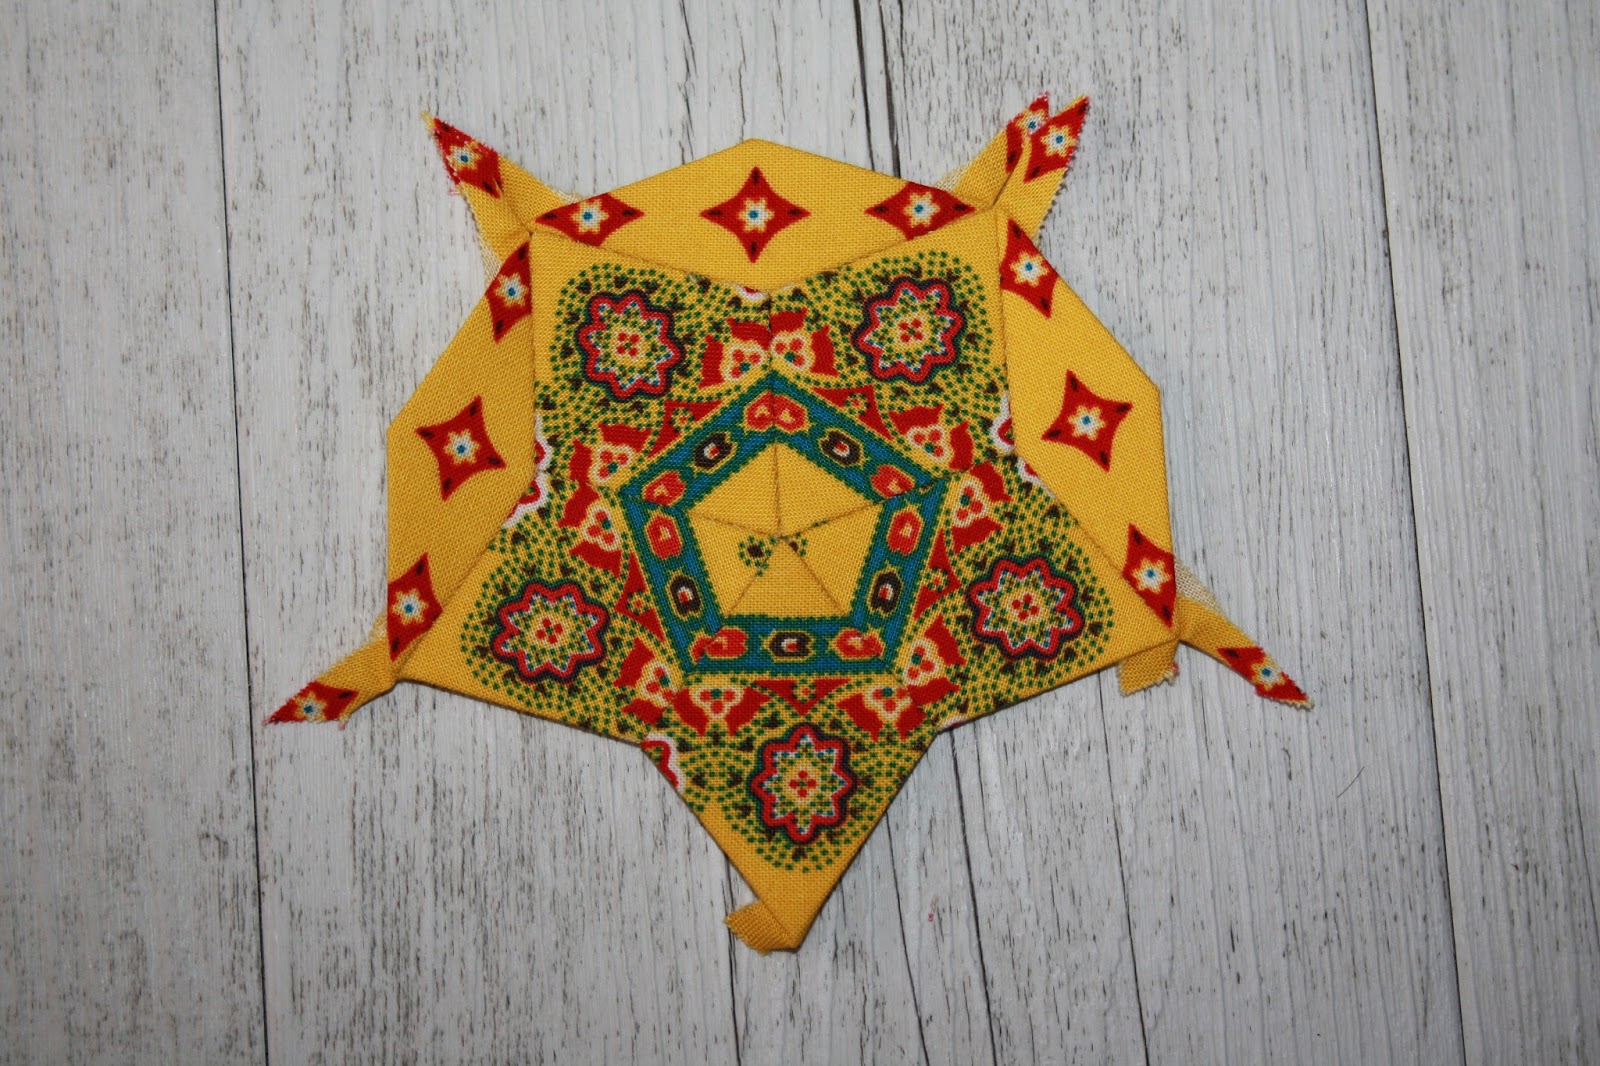
Once you have pieced your centre you add three 10 point stars.
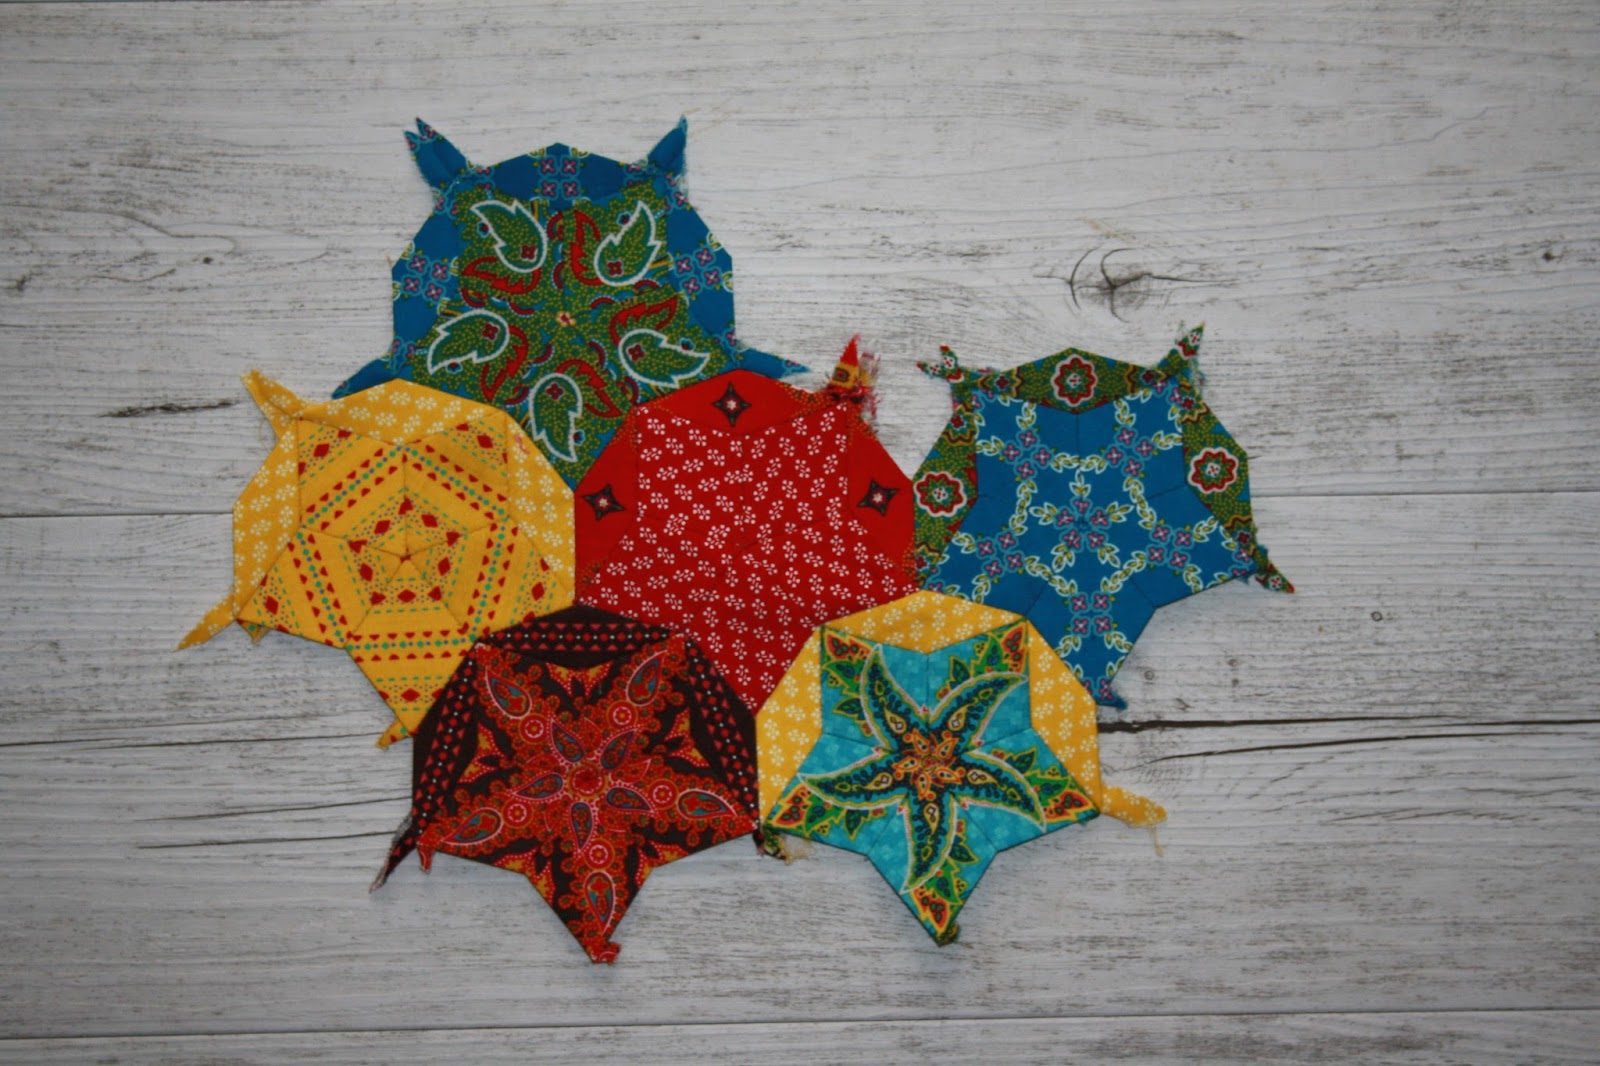
Play with the fabric. Co-ordinate some and contrast some. It adds to the overall look of your project.
Here are just a few examples.


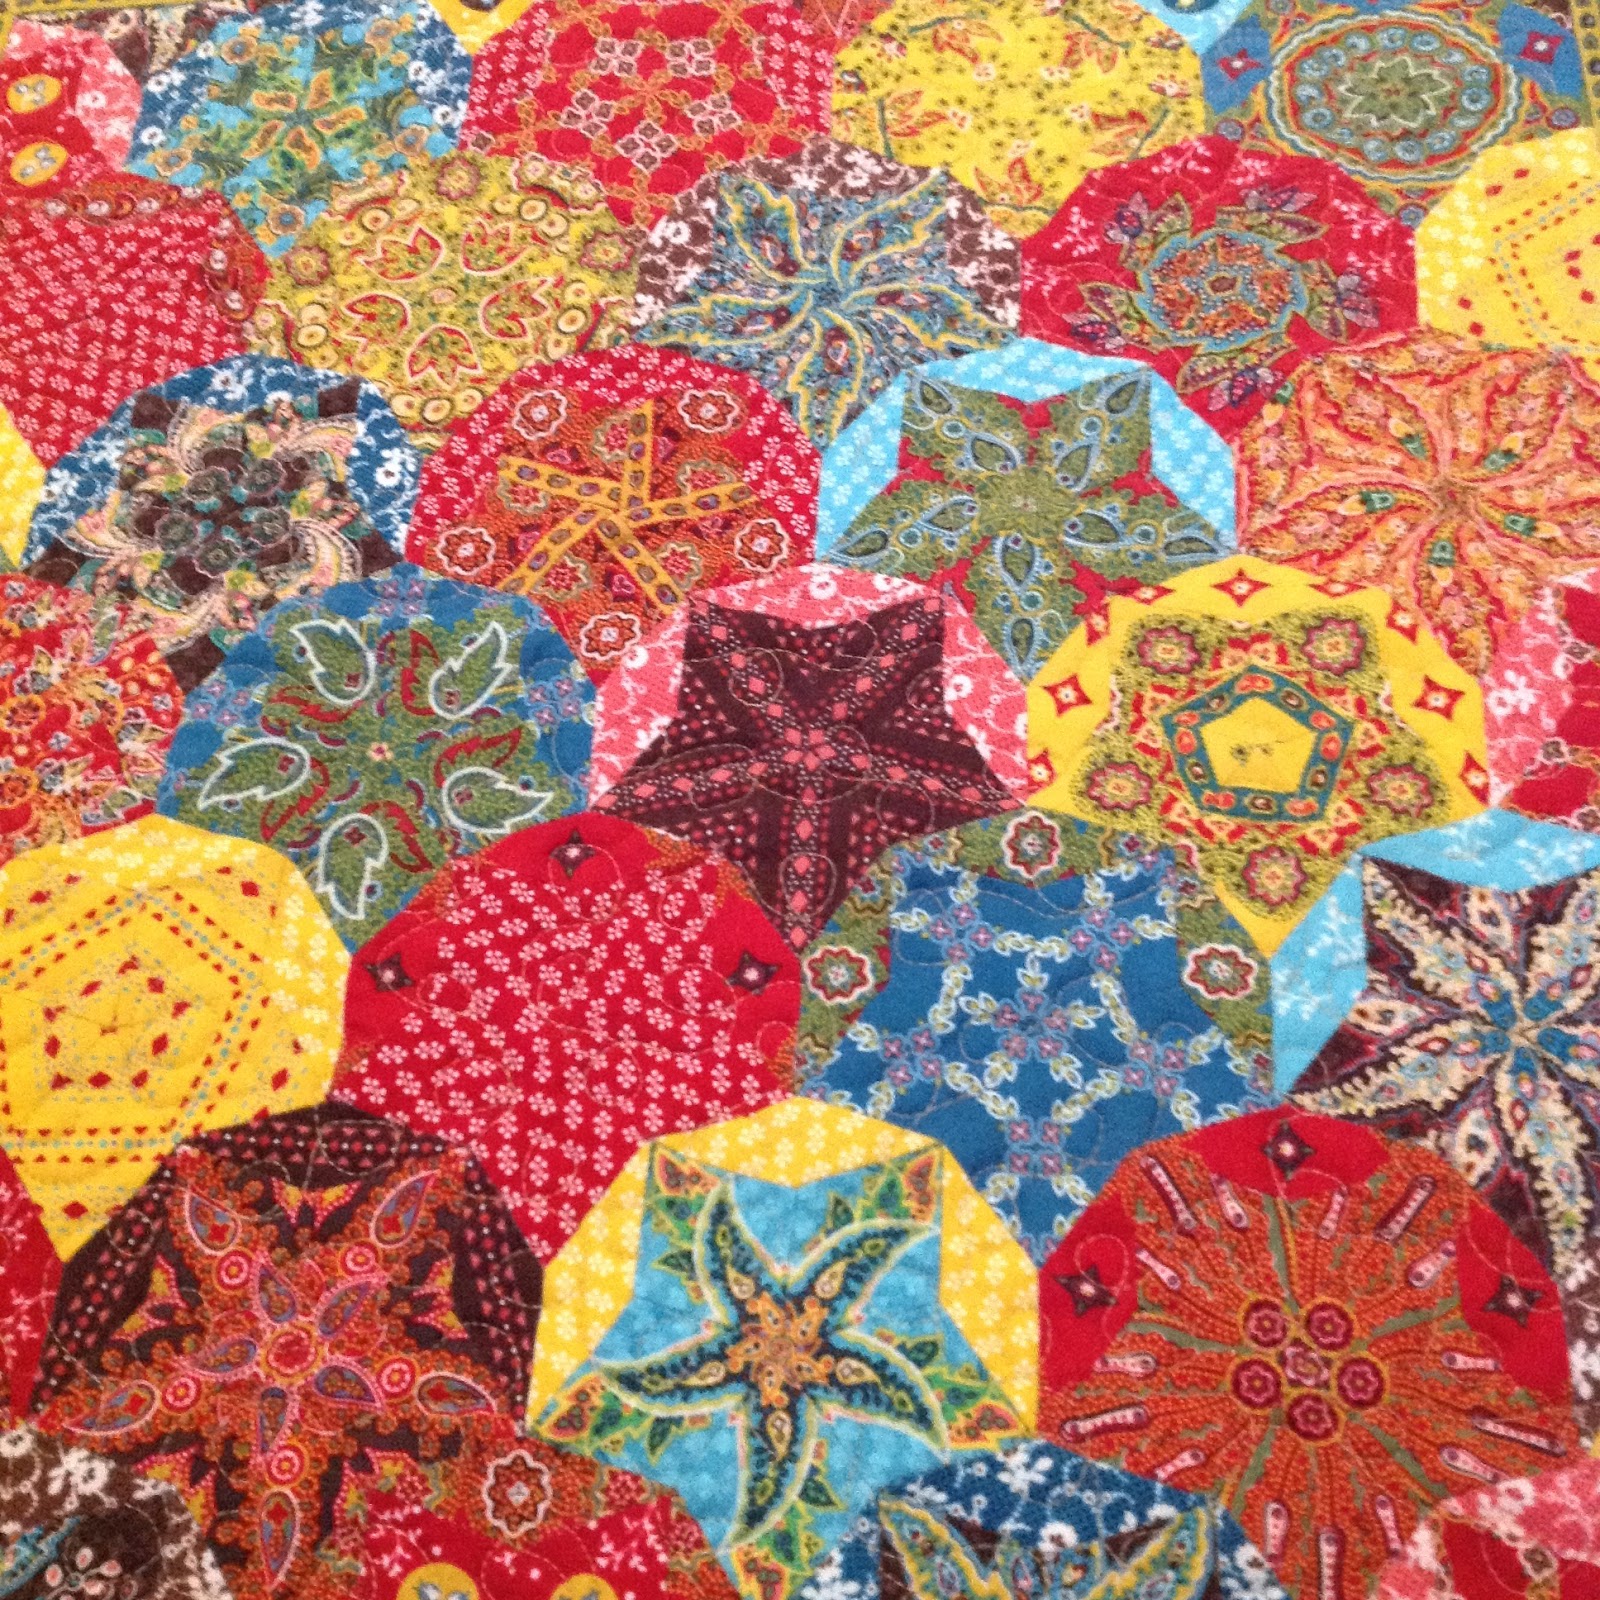
Once you have started to build your collection of pieced clamshells lay them out in a pleasing manner and begin to join them.
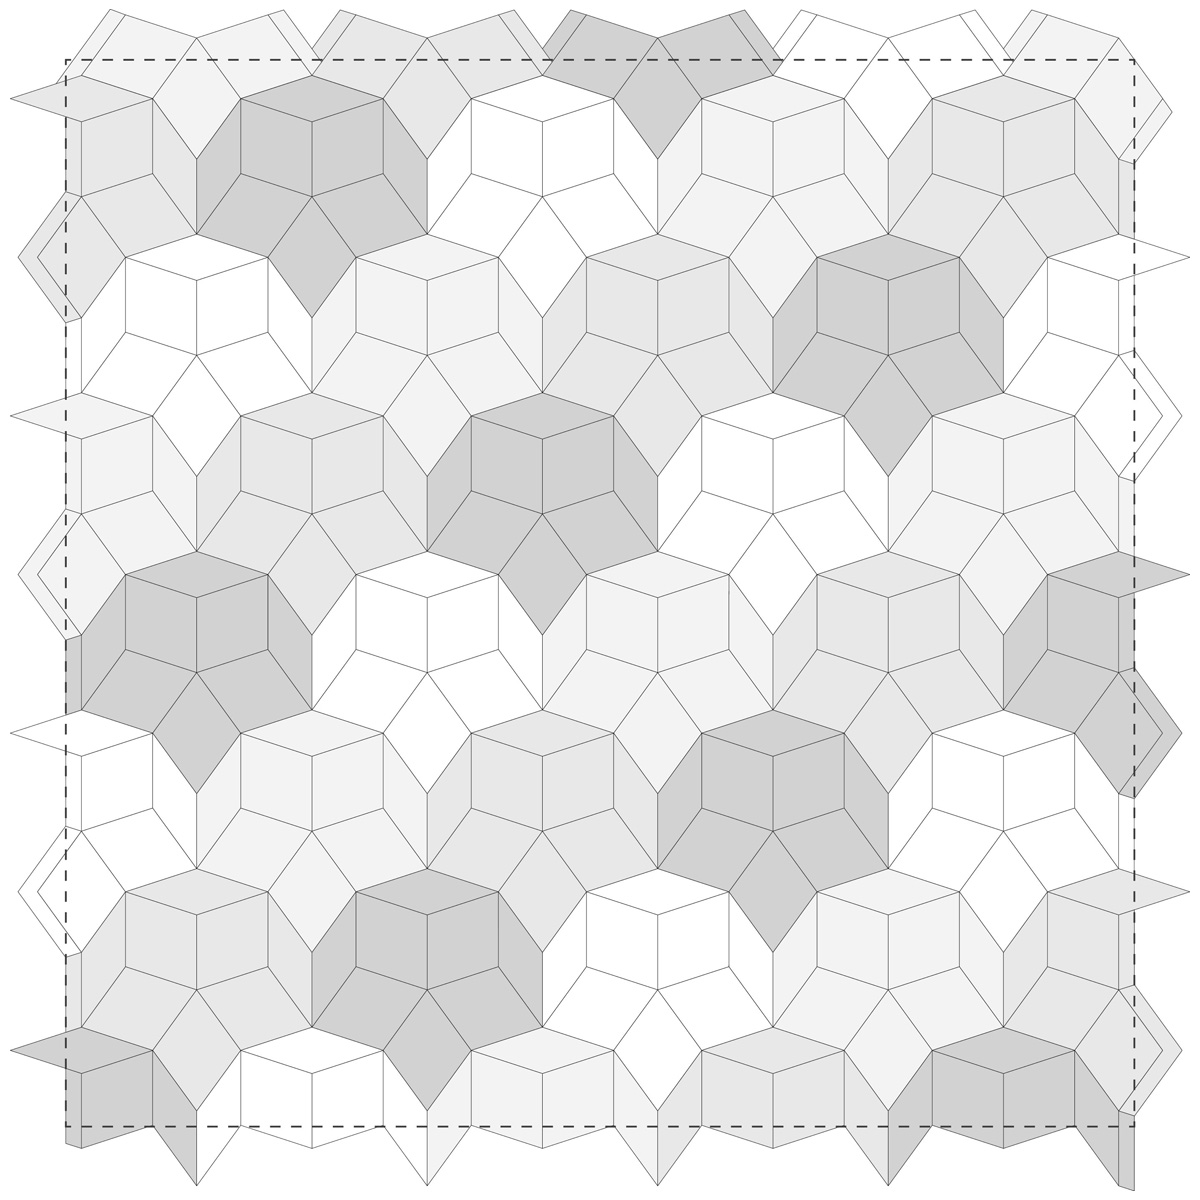
To square your panel up you will need to also make some partial clamshells as pictured below.
This picture below represents the same panel that I pieced for this project. It has 24 full clamshells and then the fillers.


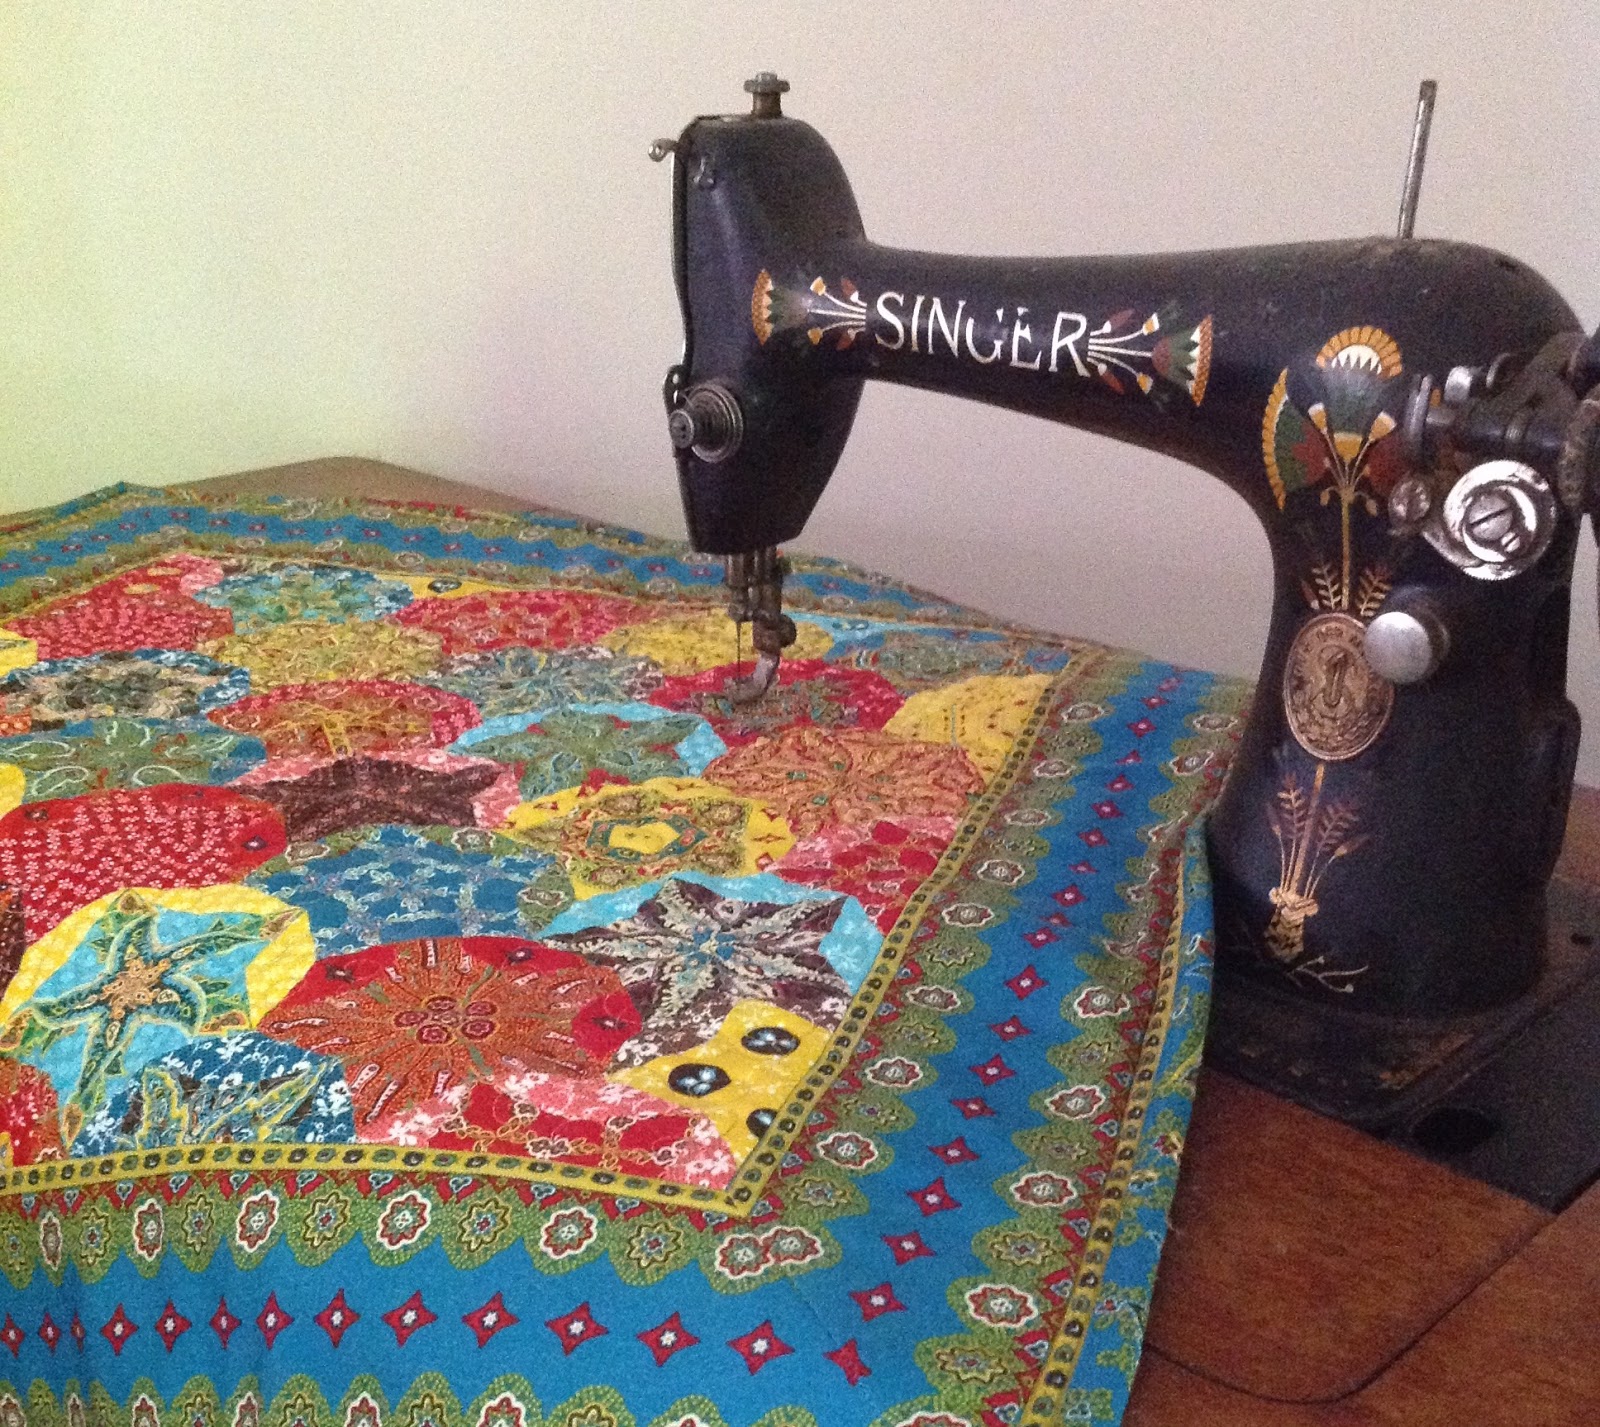
Once you have pieced your panel you can remove all your papers. Unfold the seam allowances and press gently with your iron. The dotted line below represents where we will be trimming the panel back too but BEFORE you do that take the panel to your sewing machine and about 1/8″ inside where you will be trimming, sew a straight stitch with your machine all the way around. I like to go around my panel a couple of times and I also reduce my stitch to 1.8. This will help stop your hand stitches from pulling apart. It also helps to keep your panel square and not distort.
Now take the panel to your cutting mat and trim. You need to be trimming 1/4″ out from your points at the top of your Clamshells and at the sides.
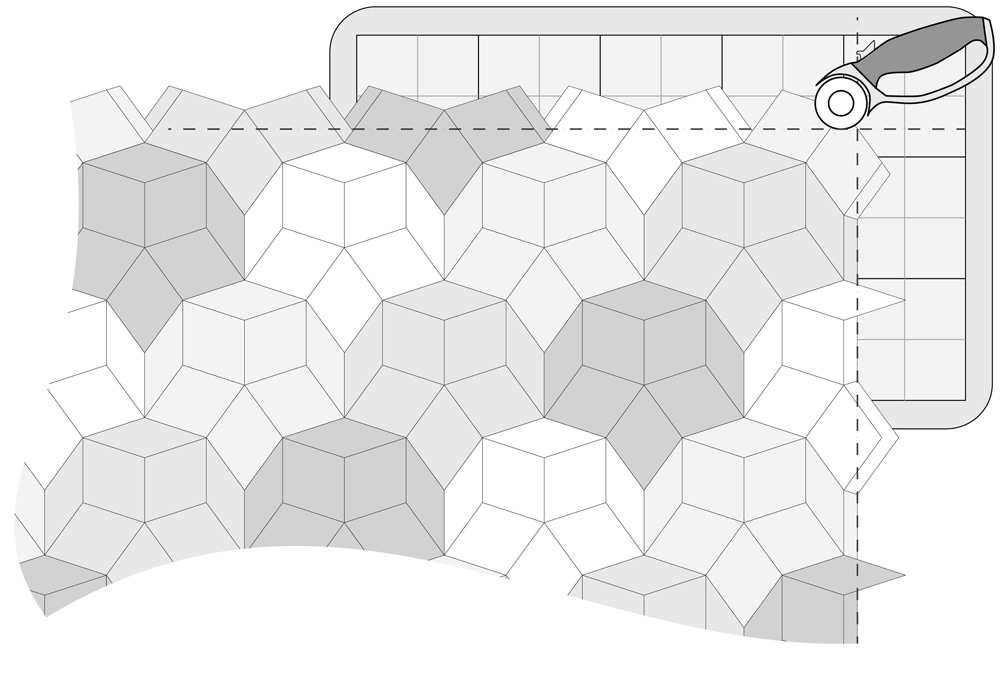
If you have used the same 5 and 10 point stars as myself your panel will be 18″ square.
At this point you can decide to add a border or just quilt as desired and bind.
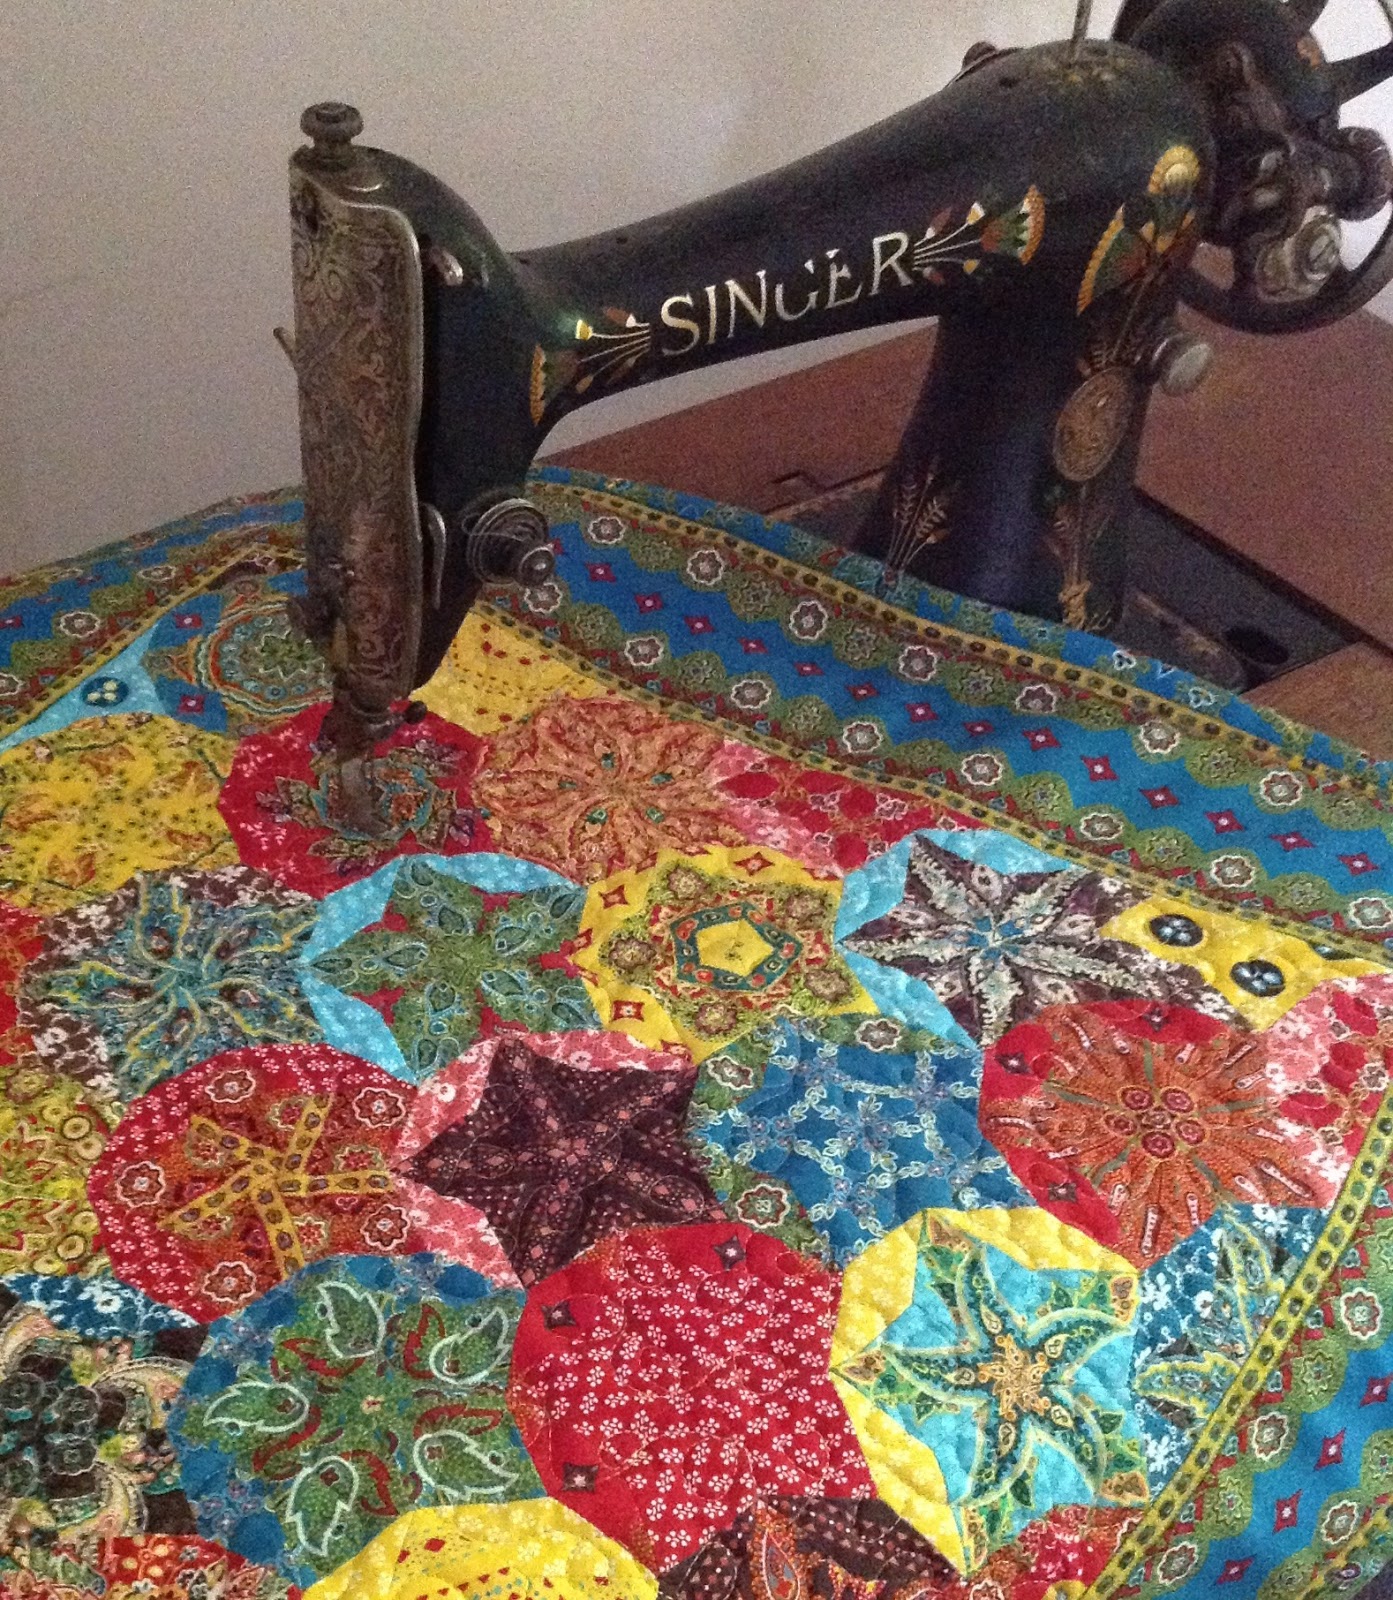
For mine I decided to add a Miter Border using one of the prints from Torrington Pace.
There is a great Tutorial by Kimberly at the Fat Quarter Shop on how to do your Miter Borders HERE.
Now layer and quilt as desired 🙂


If you would like to see what else I have been up to you can find me on Instagram, just search @lilabellelane.
Happy stitching and always remember,
“Create what YOU love”
Sharon xx