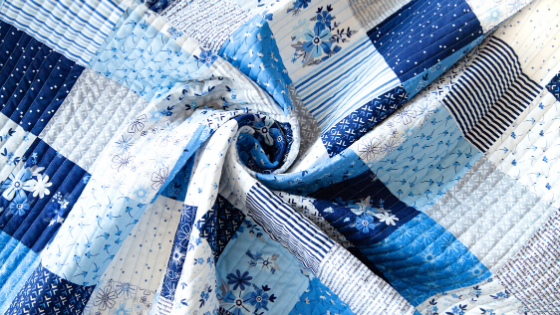
We have an adorable and super easy quilt to share with you today featuring fabric from the Blue Stitch collection designed by Christopher Thompson!
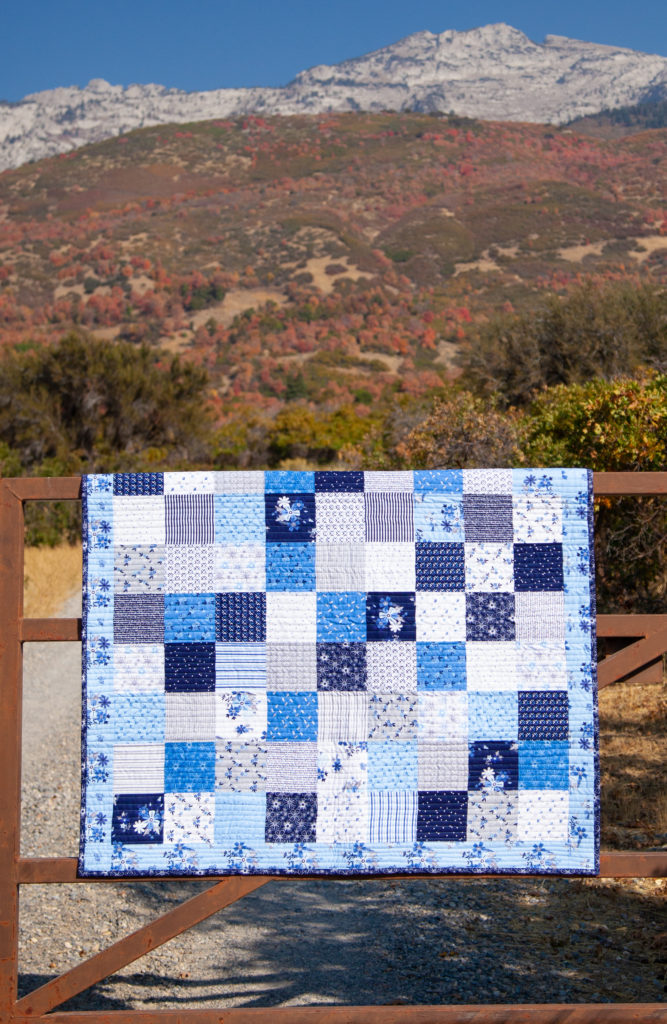
This little gem of a quilt comes together in a snap and is guaranteed to be the go-to cuddle and carry around quilt for your little ones!
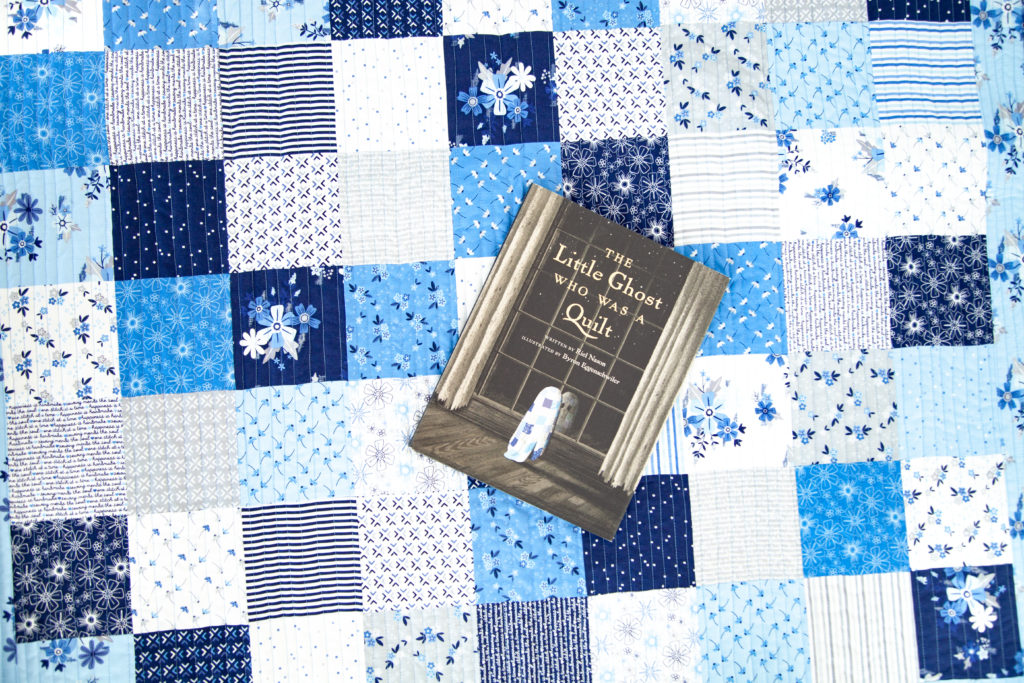
So why is this quilt a “Little Ghost” quilt, you ask? I happened upon this adorable little children’s book titled, “The Little Ghost who was a Quilt,” and when I saw the quilt on the cover, I immediately thought of Christopher Thompson’s Blue Stitch fabric line.
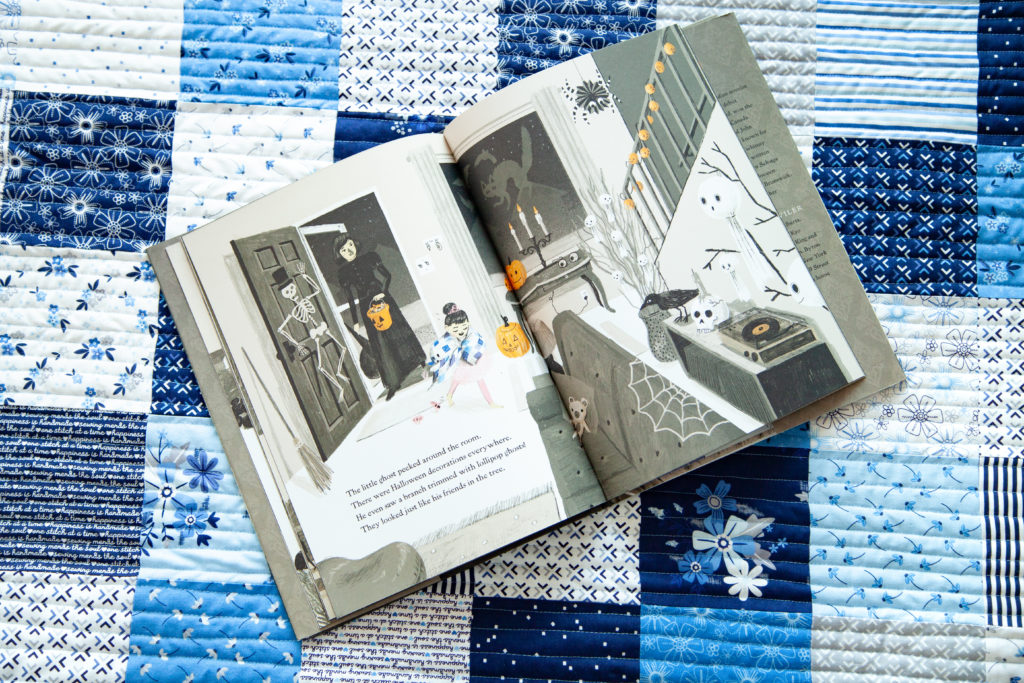
The main character of this story is a sweet little blue and white patchwork quilt, who was, you guessed it, a quilt. The rest of his family and friends were sheets, but he was a quilt. He struggled with feeling different until one day he gets picked up by a little girl while trick-or-treating. To his surprise, he gets cuddled snuggled on by the girl, and lovingly admired by her mother…and he felt special. The little quilt realized being different wasn’t a bad thing after all.
This book is seriously a keeper! It will make you laugh and even choke up a little at the tender moments. The message flows sweetly and naturally throughout the story, just like the sweet little quilt. Yes, when I read the book I knew the quilt had to come to life, so here it is!
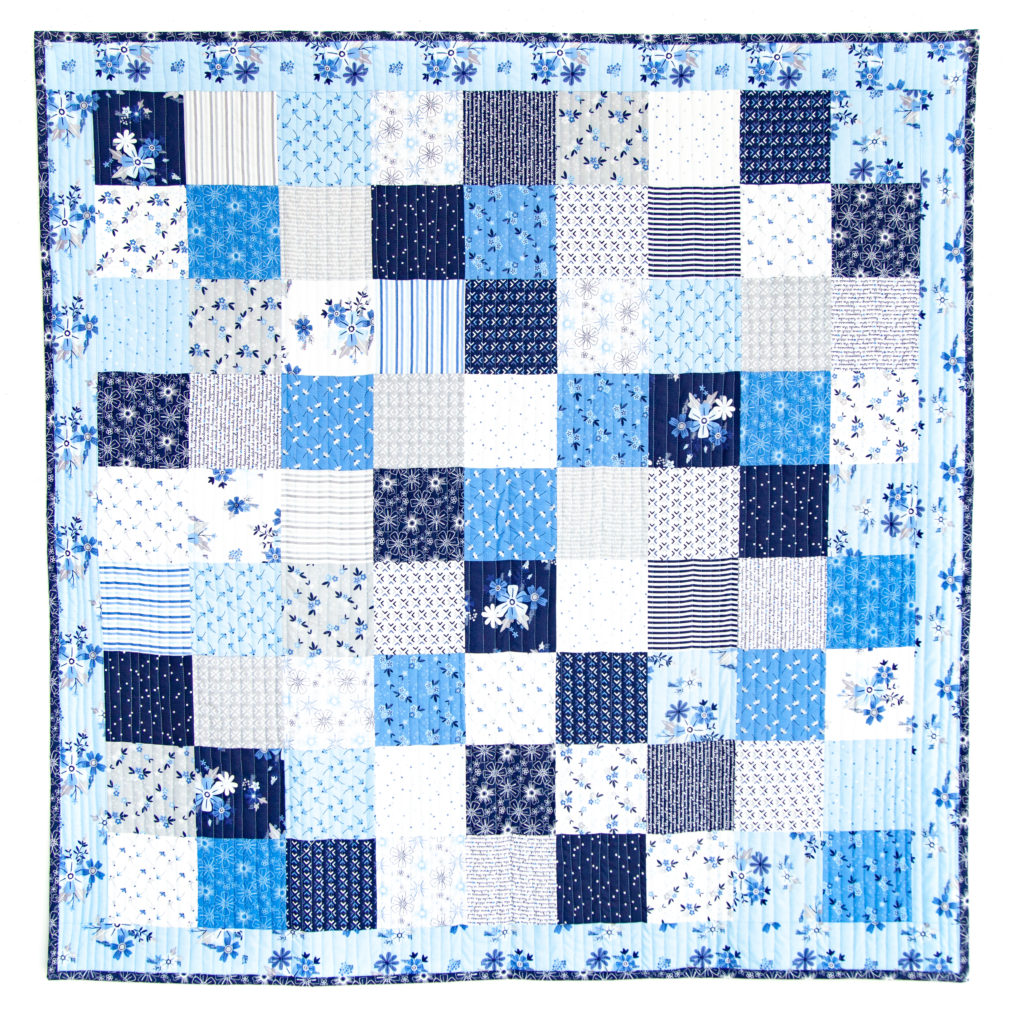
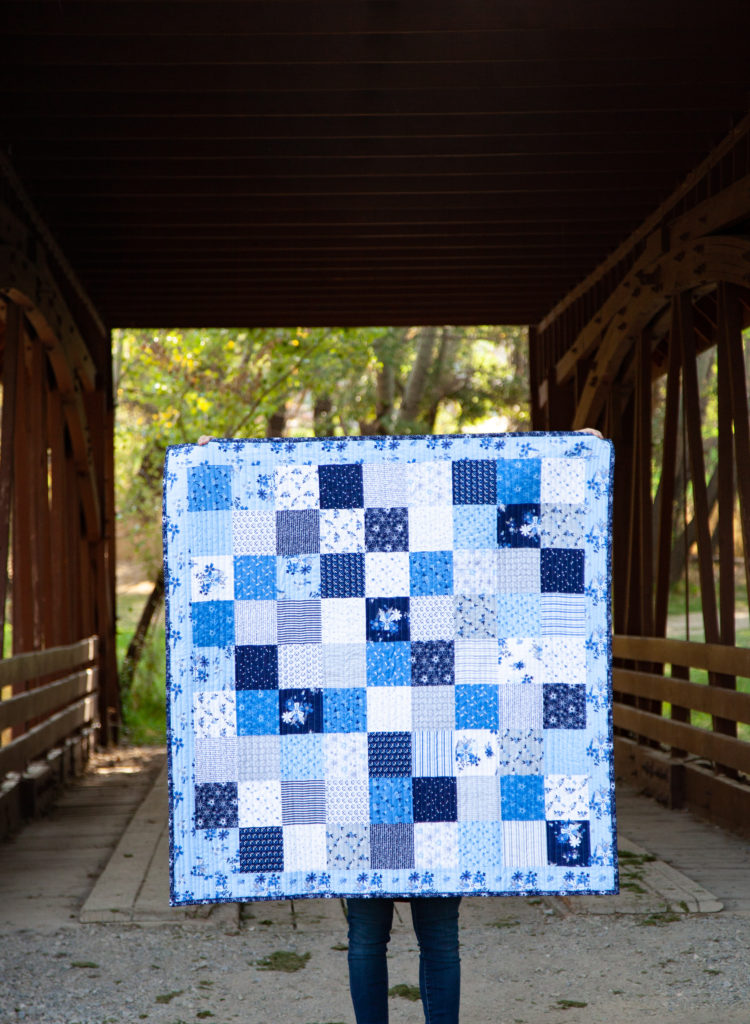
The finished quilt measures approximately 46″ square — a nice size for a toddler quilt or a large baby quilt. You can make it smaller by leaving off the border, or add more squares for a larger quilt.
To make the quilt you will need:
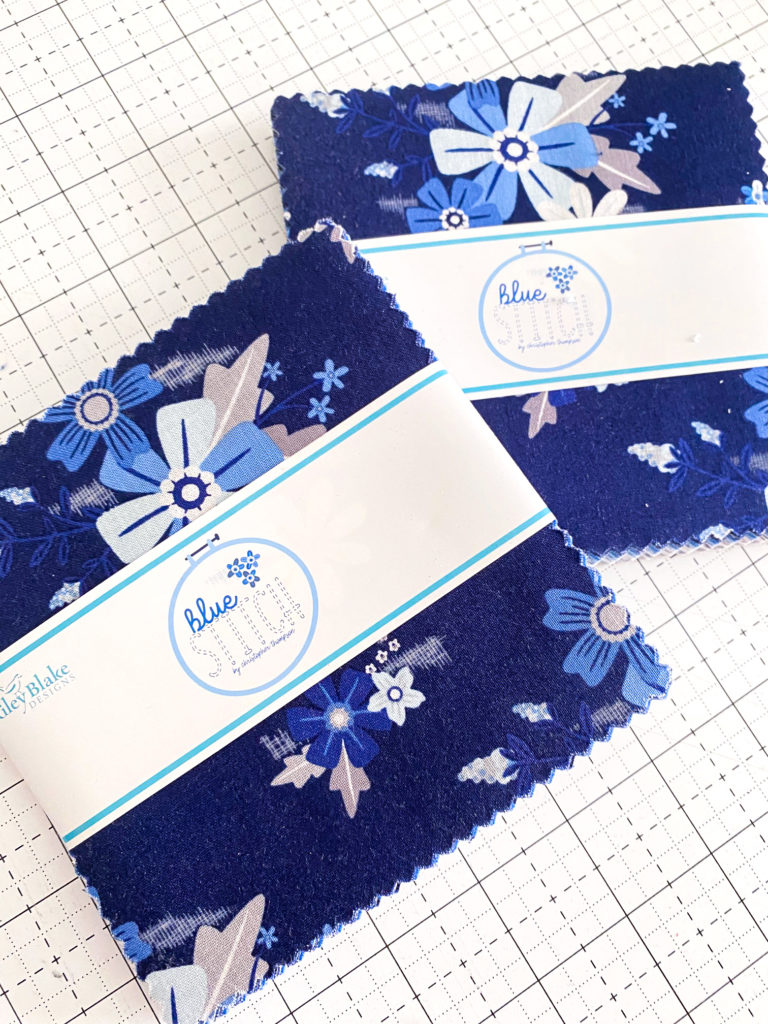
- 2 – Blue Stitch 5″ stackers.
- 5 strips 3″ x WOF Blue Stitch Main Sky for the border
- Fabric for quilt back
- Batting
- 5 strips 2 1/2″ x WOF for binding
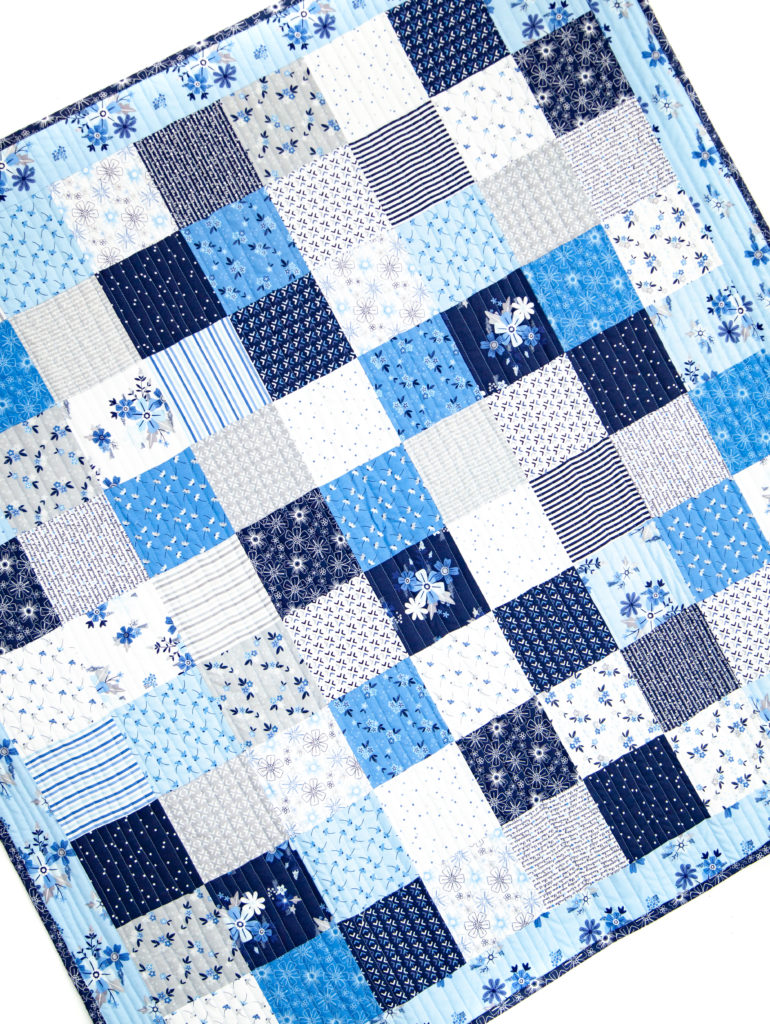
Lay out your 5″ squares in any order you like. I tried to keep them random, but I also tried to avoid having two of the same print or color side-by-side. This is a scrappy look, so anything goes as long as it isn’t too neatly arranged.
Lay the squares out so you have 9 across and 9 down. You will have 3 squares left over. Sew the squares into rows, pressing seams for each row in opposite directions so the seams nest when you sew the rows together.
After you have created nine rows, sew the rows together to create the quilt center. This quilt now measures about 40″ square. If you want a baby quilt, this is a good place to stop. I wanted my quilt to be a little bit larger — more of a toddler size, so I opted to add a 3″ border.
Add the border to the sides first, then to the top and bottom. Press seam toward the border strip.
And that’s it! You have a cute, scrappy quilt top! All that is left is to make your quilt sandwich (quilt back + batting + quilt top), baste, and quilt.
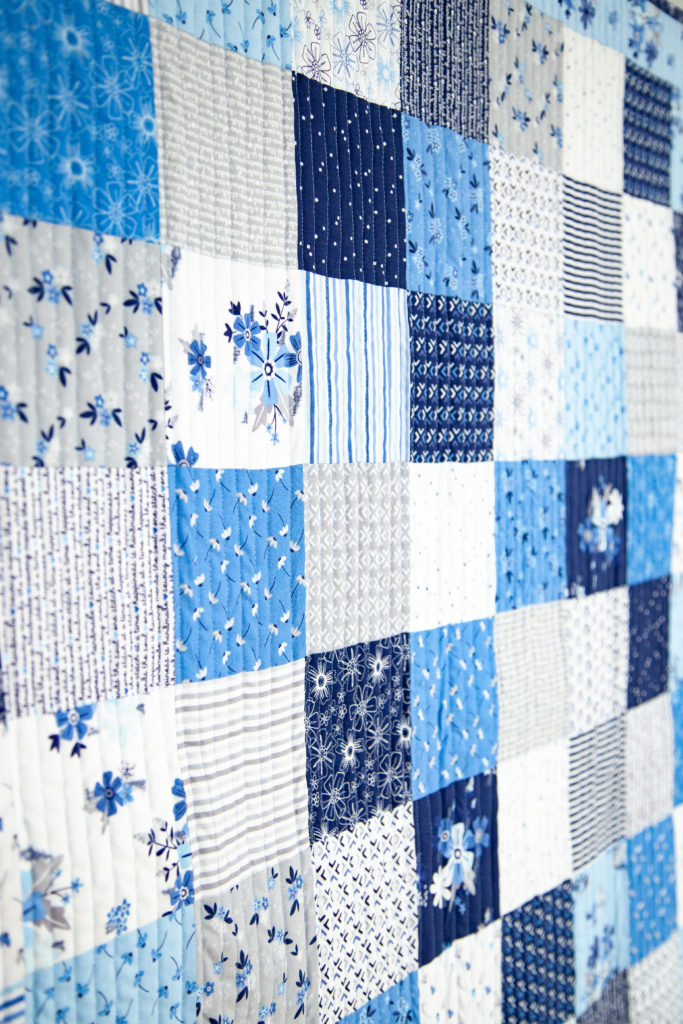
I used my home machine to quilt this with simple, straight lines. Straight line quilting looks simple, but a common problem people experience is having the fabric pull so your quilt ends up leaning wonky-like to one side. To combat this, I highly recommend using a walking foot on your sewing machine. I also suggest you SLOW down and take your time. I was careful to do both of these, and as you can see below, I still had a bit of pulling and puckering here and there.
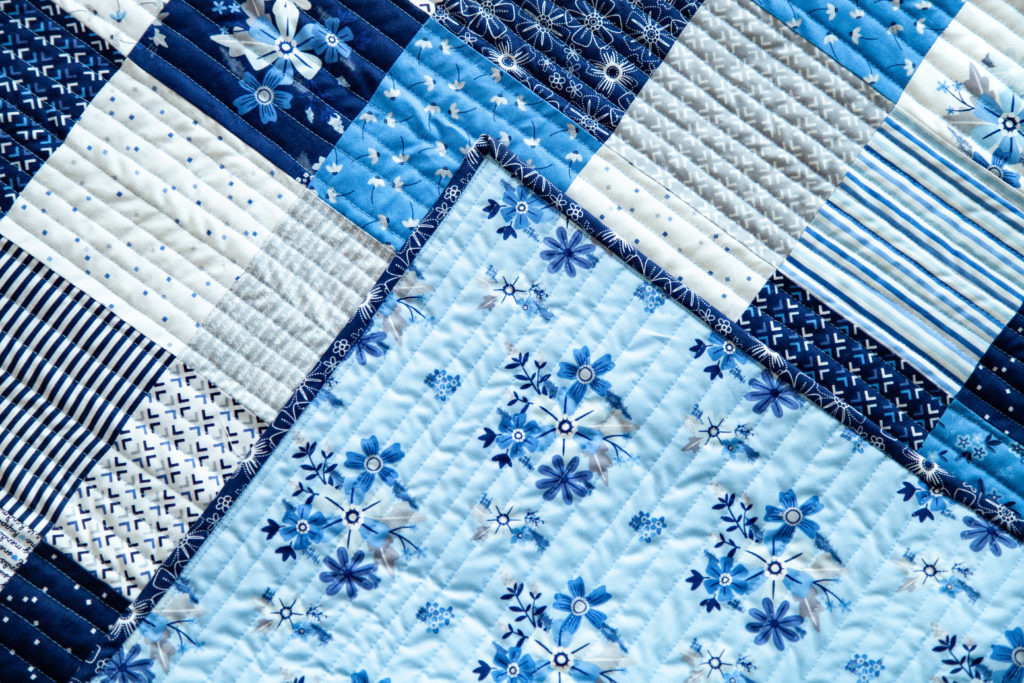
For the quilt back I used the same Blue Stitch Sky fabric I used in the border. I love that it is non-directional, which makes piecing the quilt back easy.
I used the Navy Floral for the quilt binding, which frames the quilt nicely.
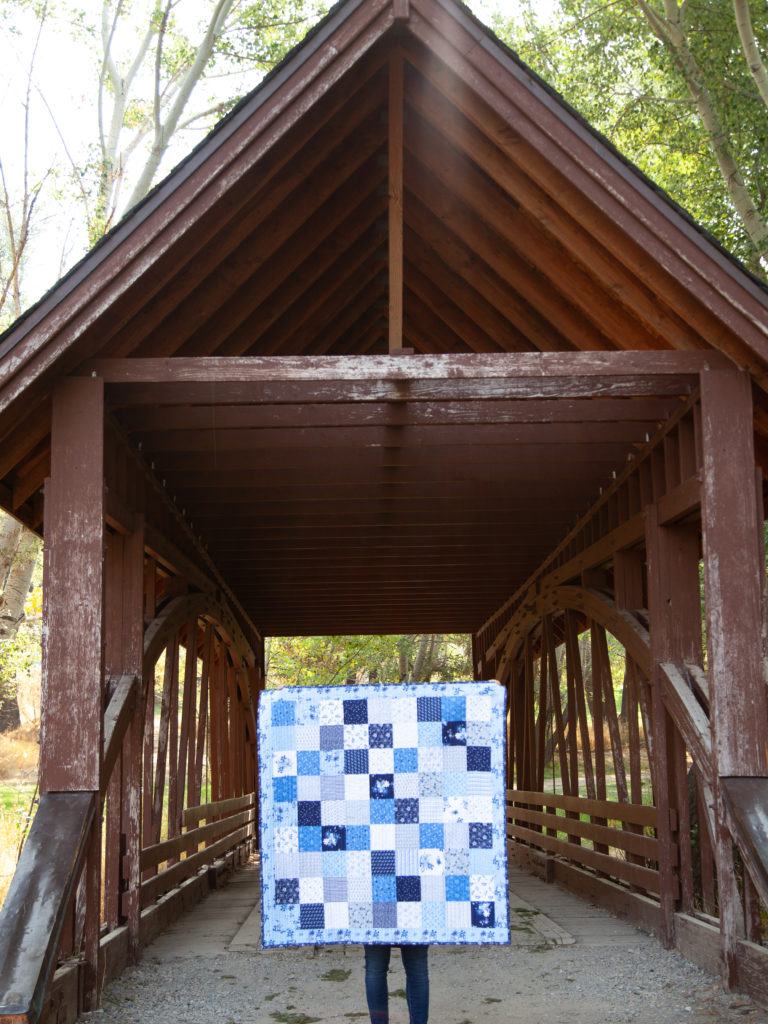
And there he is! The Little Ghost Quilt, ready for trick-or-treating, nap time, or just snuggles while reading a good book.

Blue Stitch, designed by Christopher Thompson, is coming soon to your favorite local and online quilt shops. Pre-order yours to get your hands on these fabulous fabrics, and share your makes with us on Instagram using #bluestitchfabric, #rileyblakedesigns, #iloverileyblake, and tag us @rileyblakedesigns.