This is Holly Clarke from Holly Clarke Design back again on the blog tour today. You can find out more about me and my work on my website at https://hollyclarkedesign.com and over on Instagram at @holdmyseamripper to see what I’m currently working on.
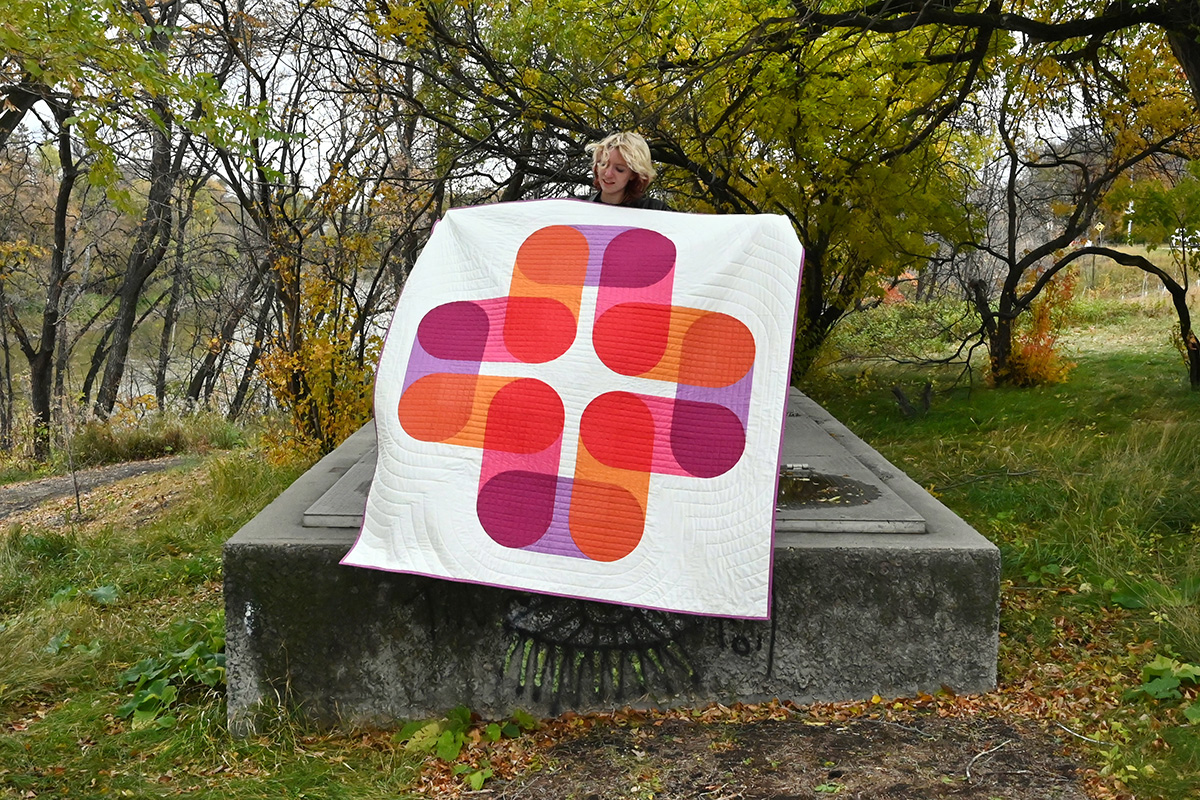
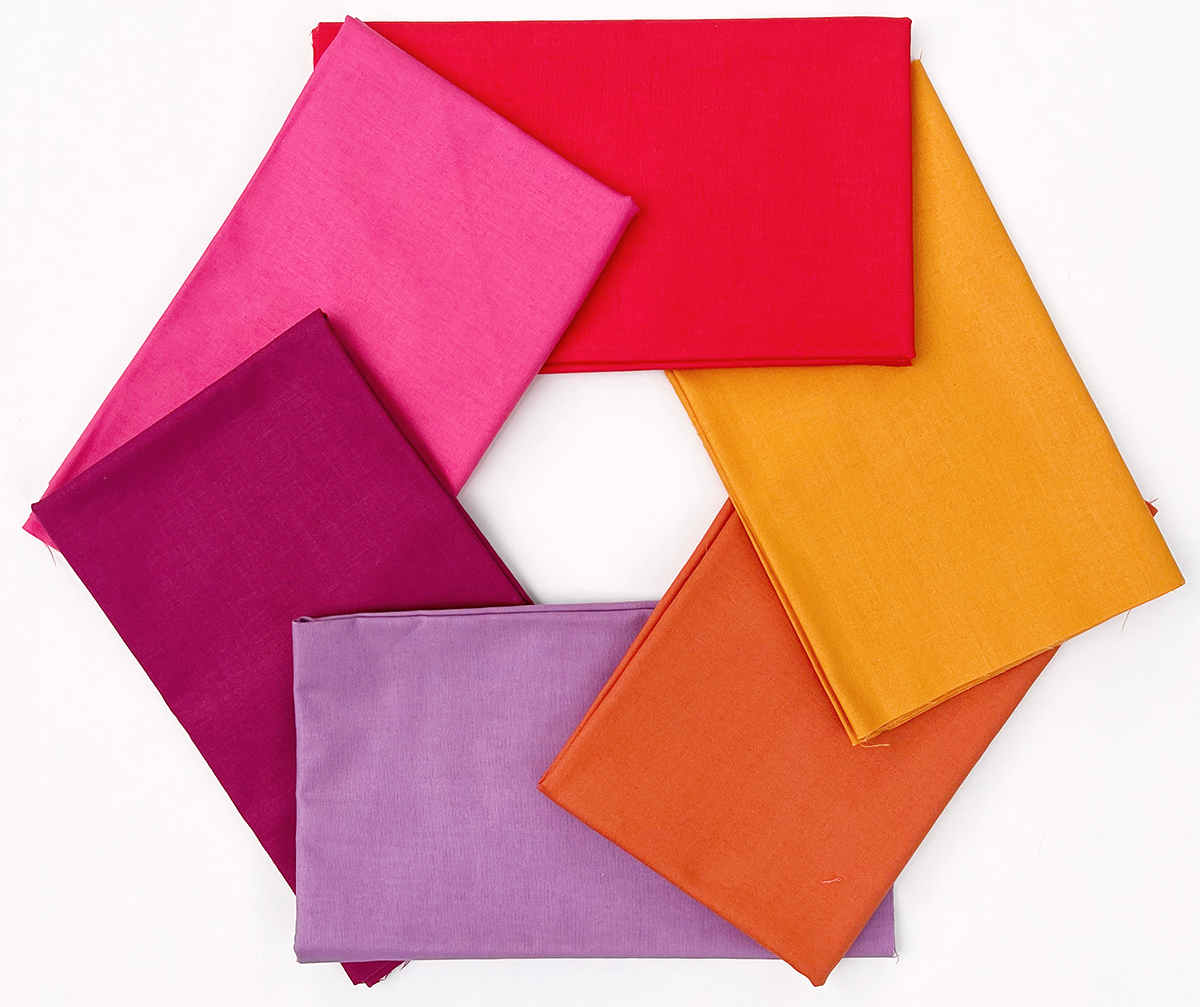
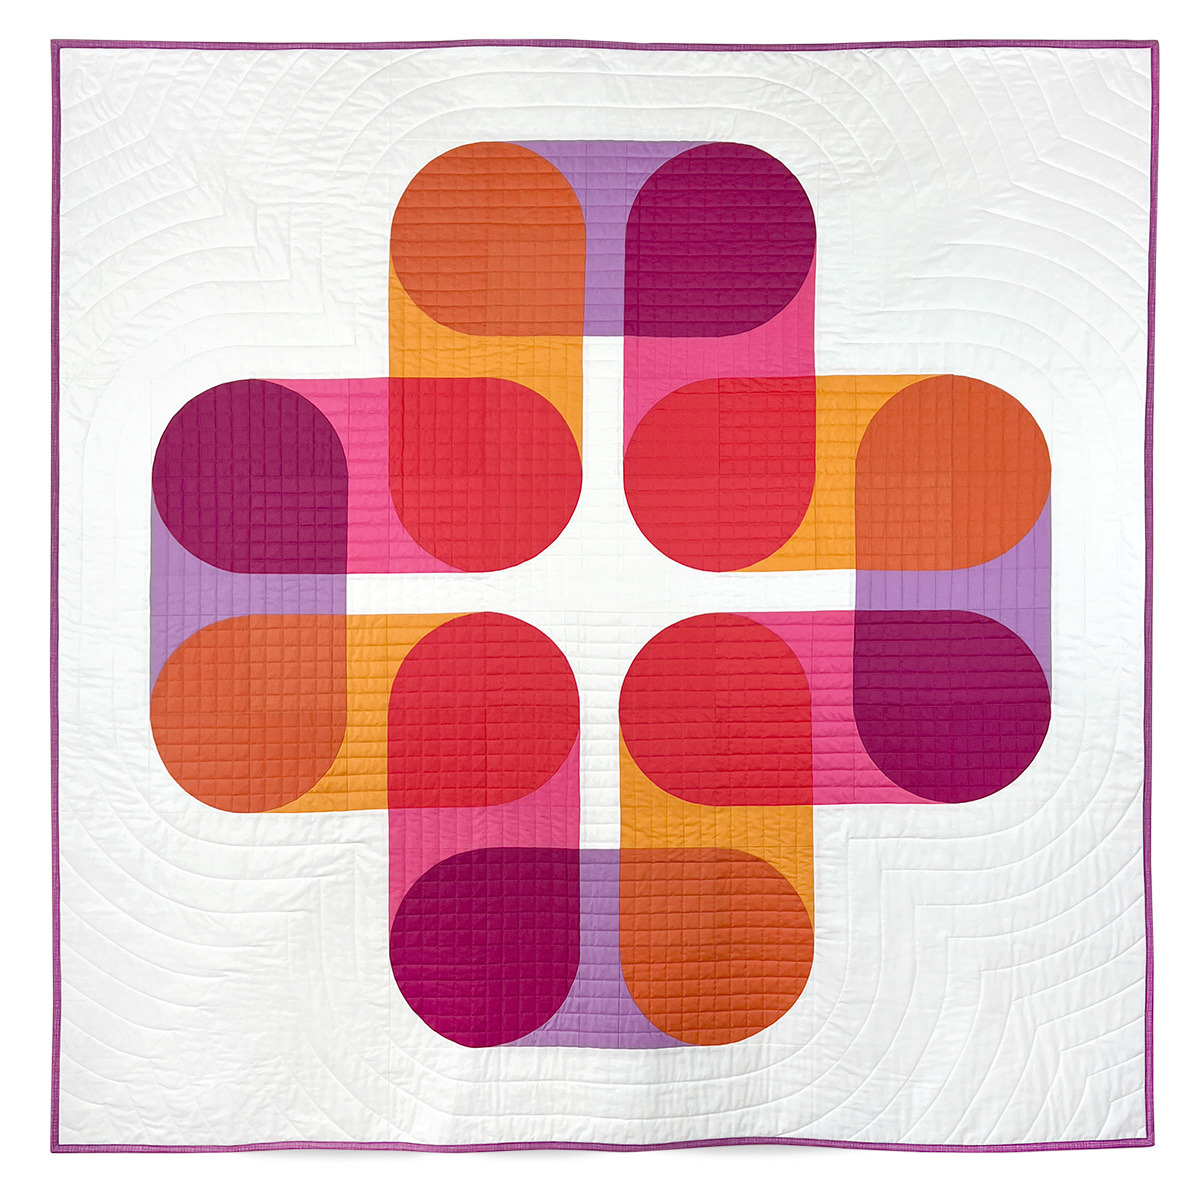
I am excited to show you my latest “Make it Modern” quilt. I wanted to create a design that used the colours of the autumn season. Warm red, orange, and plum, combined with brighter pink, gold, and violet. I chose my colours carefully so that when they are pieced together, they create an illusion of colour transparency. I used Riley Blake Confetti Cottons – Cayenne, Mac N Cheese, Autumn, Violet, Riley Fuchsia, Super Pink.
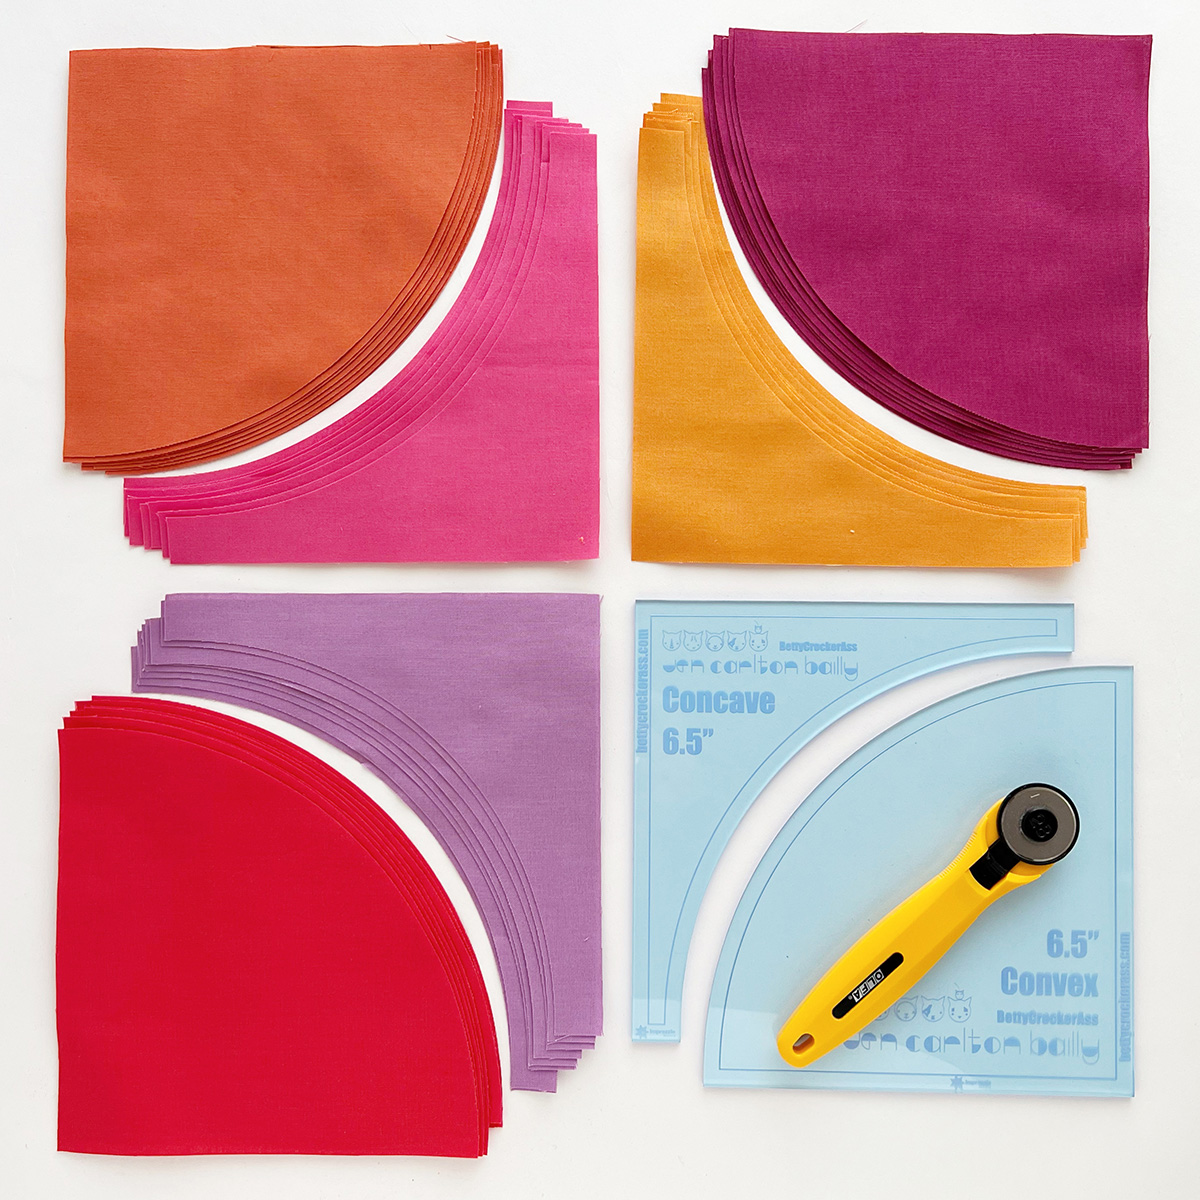
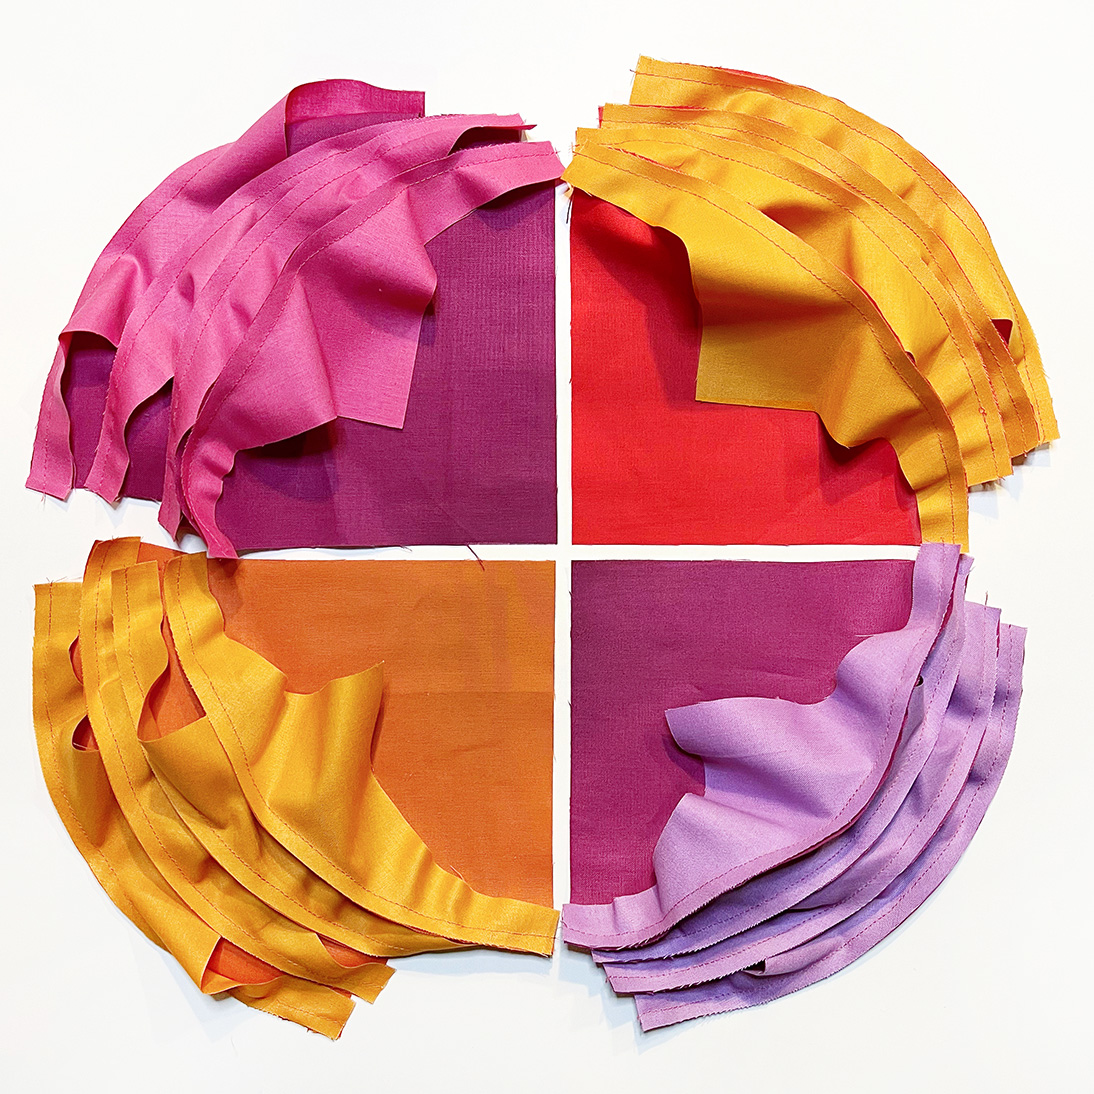
I cut out convex and concave shapes for 36 quarter circle (drunkard’s path) blocks. I used these handy acrylic templates and an 18mm rotary blade.
After sewing all the curved blocks, I trimmed them up to be perfectly square. This is essential in order to line all the pieces up precisely. I use a rotating cutting board so that I don’t have to move the block after I trim each side.

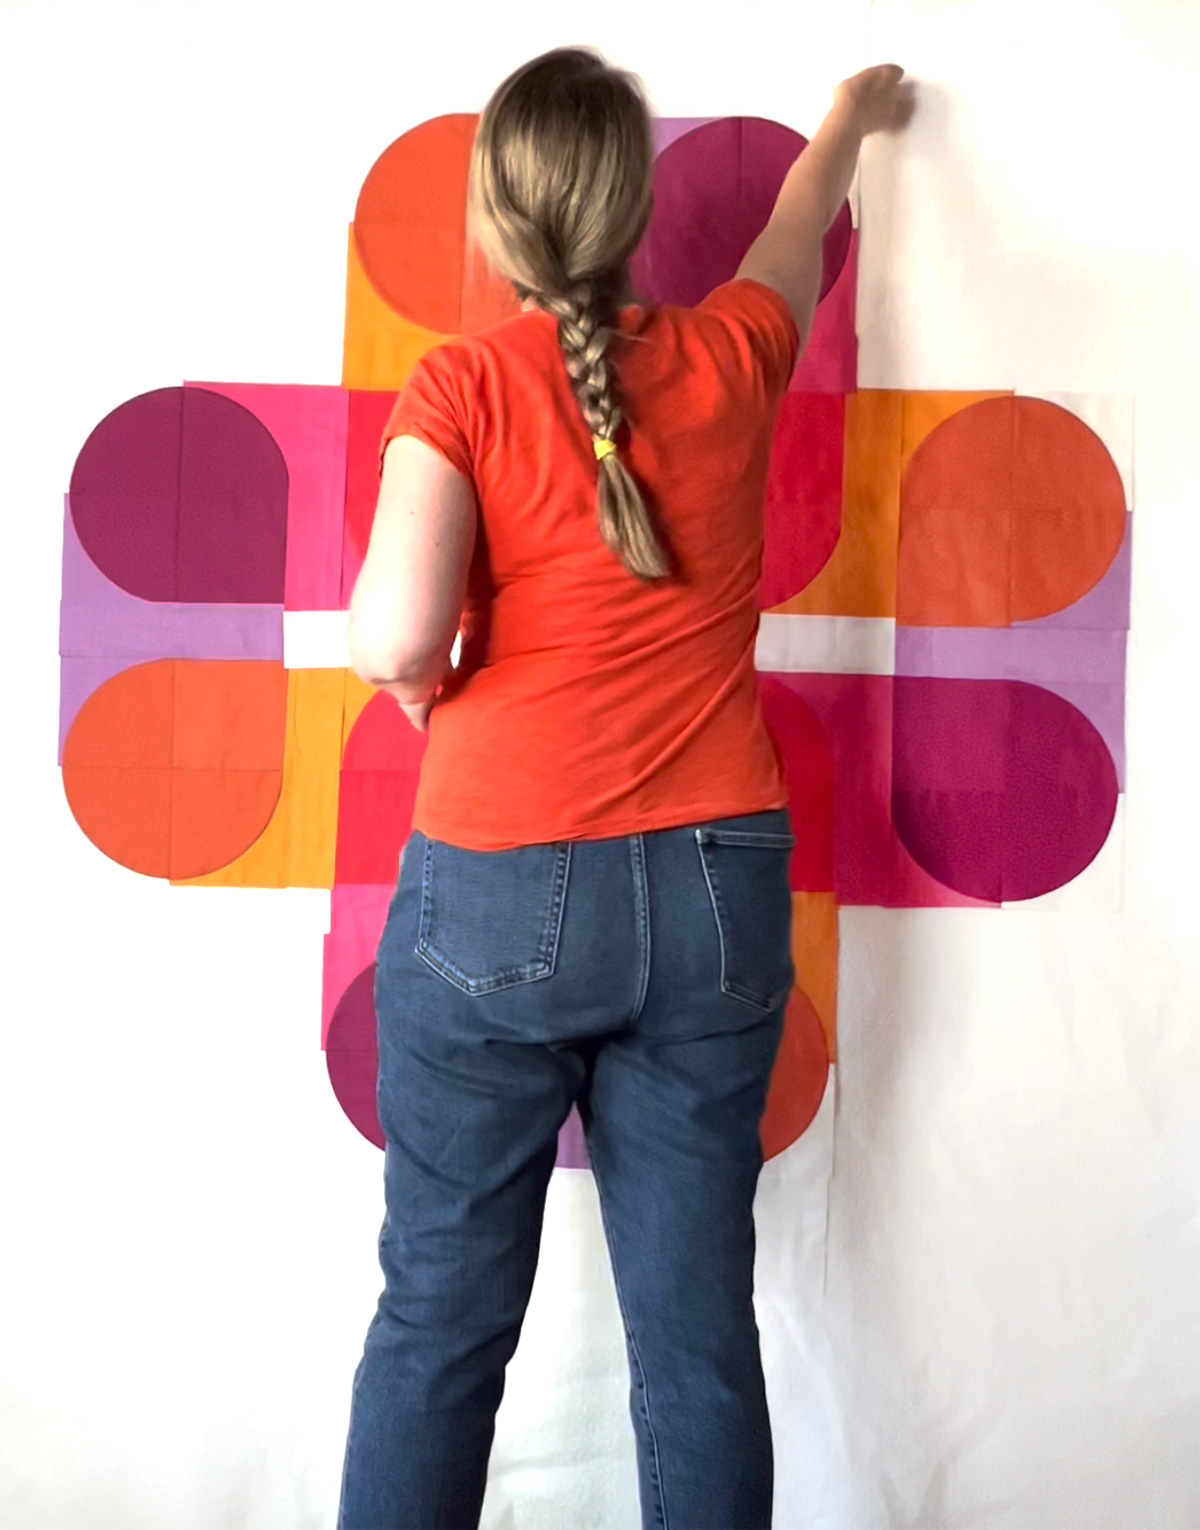
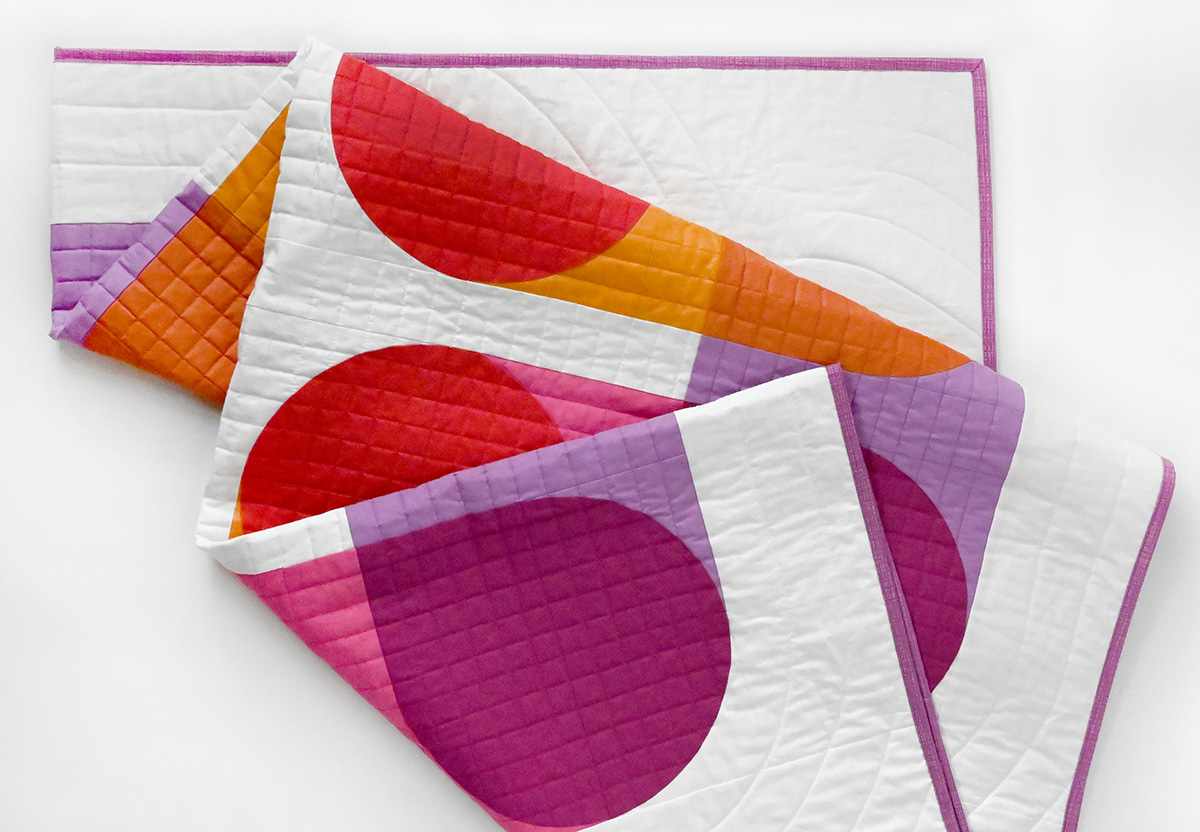
After I finished piecing the curved blocks, I laid out all my pieces on my design wall. This might be my favourite part of the process. I love seeing all my blocks come together like a puzzle and everything starting to take shape.
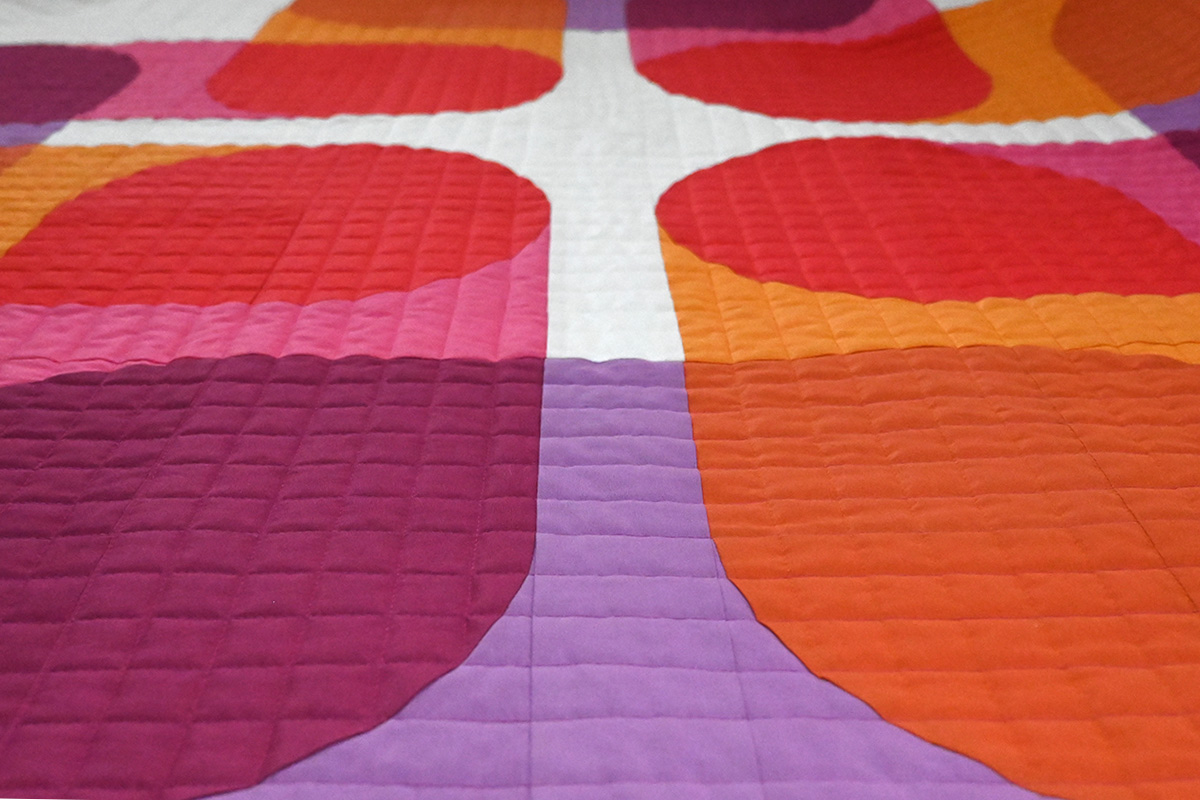
99% of the time I quilt with white thread because I’m exciting like that. However, with this quilt I decided to get a little adventurous and I chose 3 different threads (gold, pink, and purple).
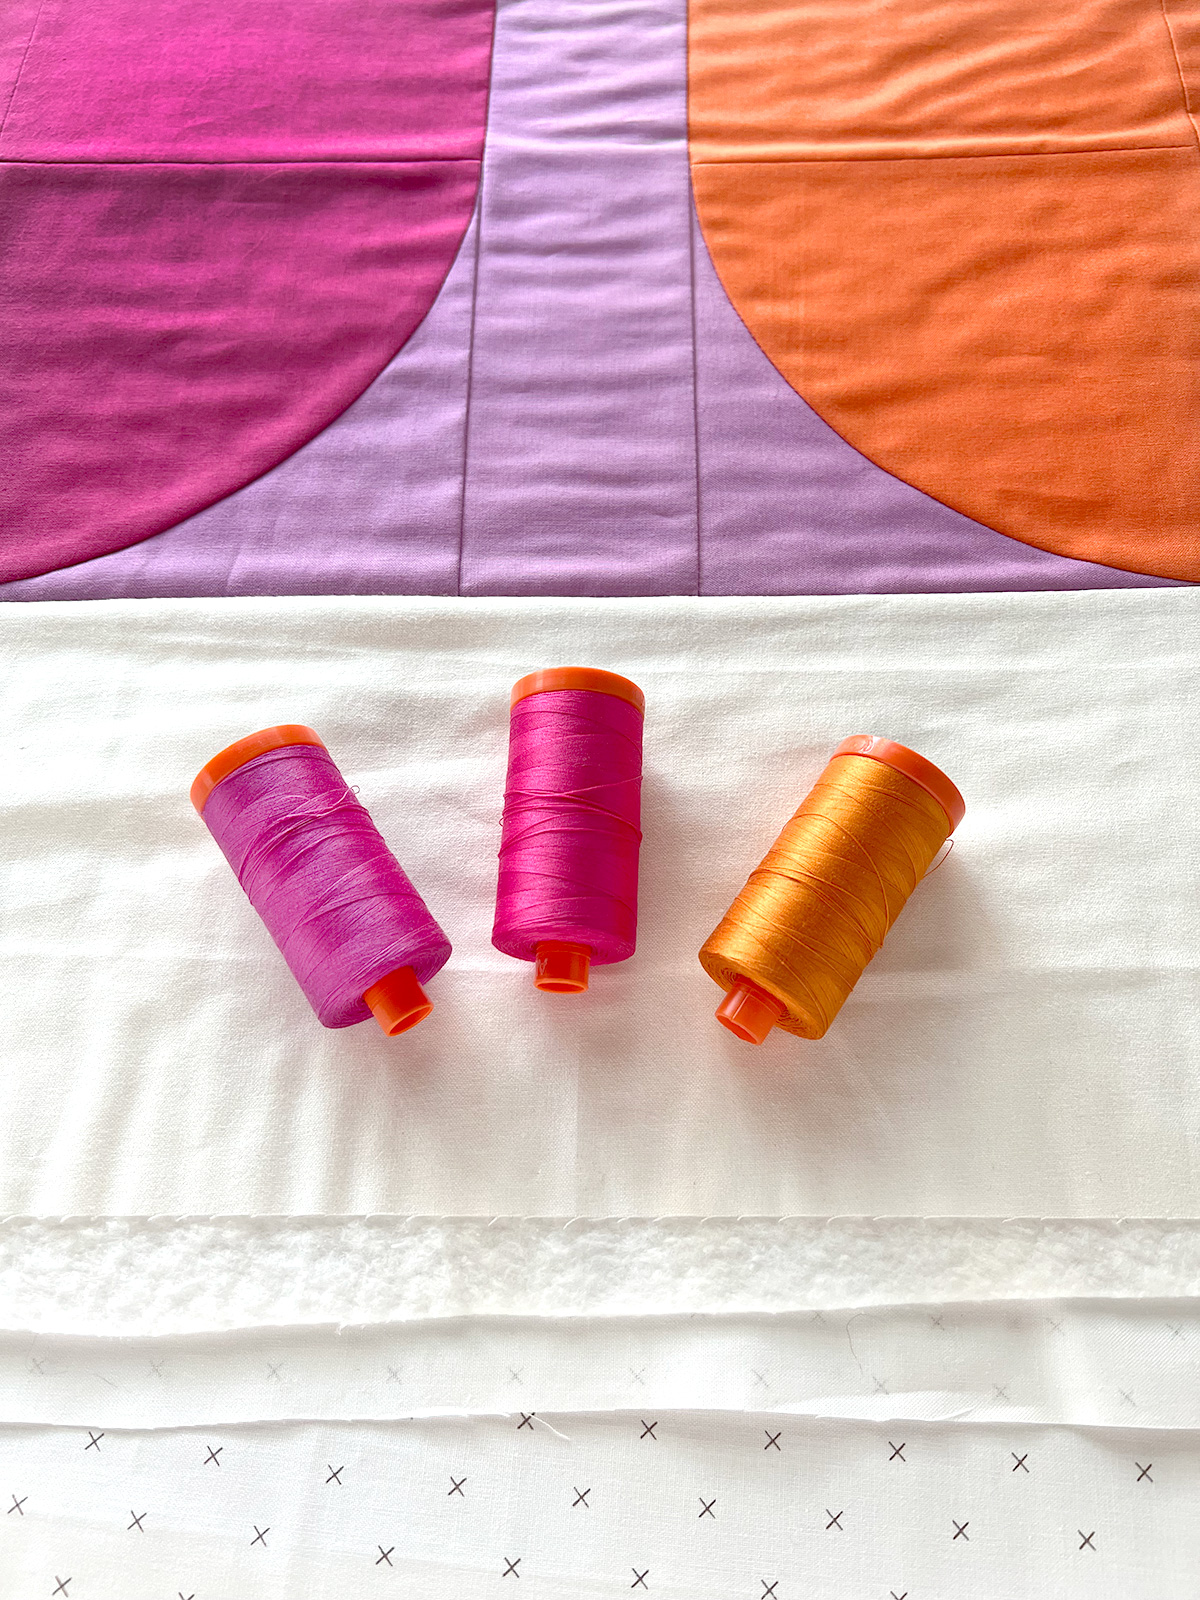
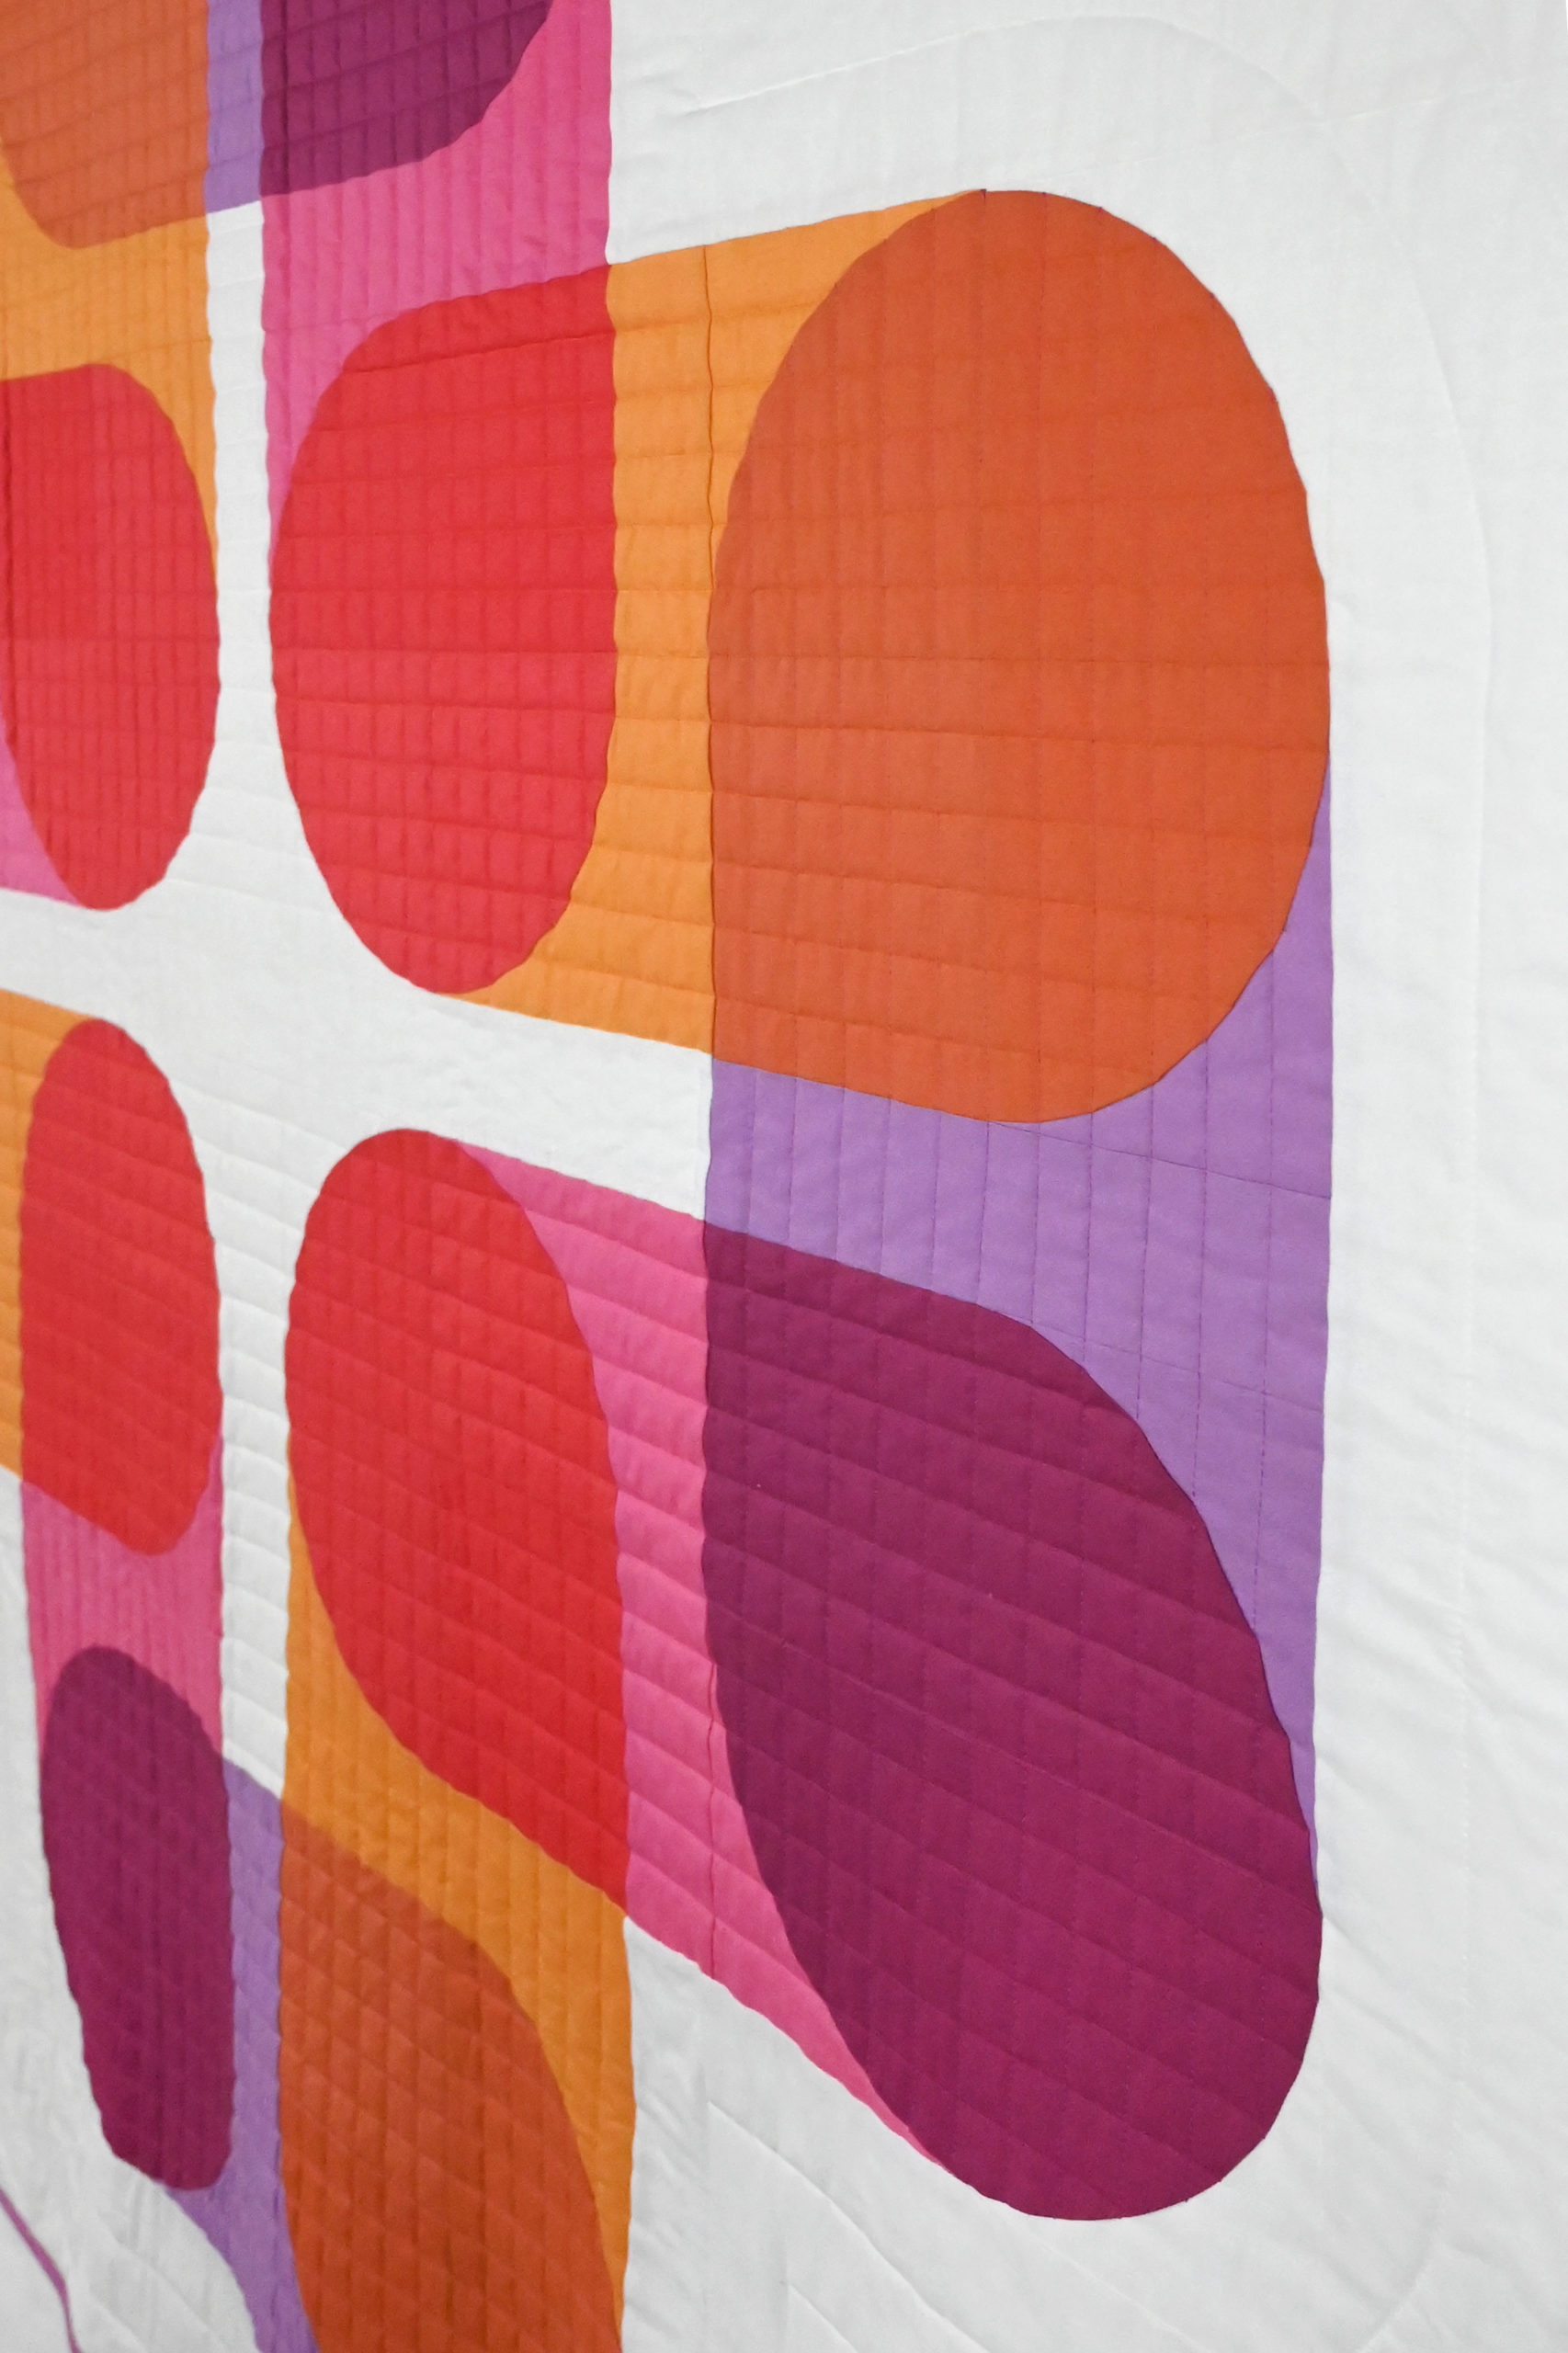
I chose to quilt 1” straight lines across each “pill” shape, matching the thread colour to the connecting colored fabric. This created a 1” grid of alternating thread colours which is a fun effect.

Horizontal thread is gold, vertical thread is pink. 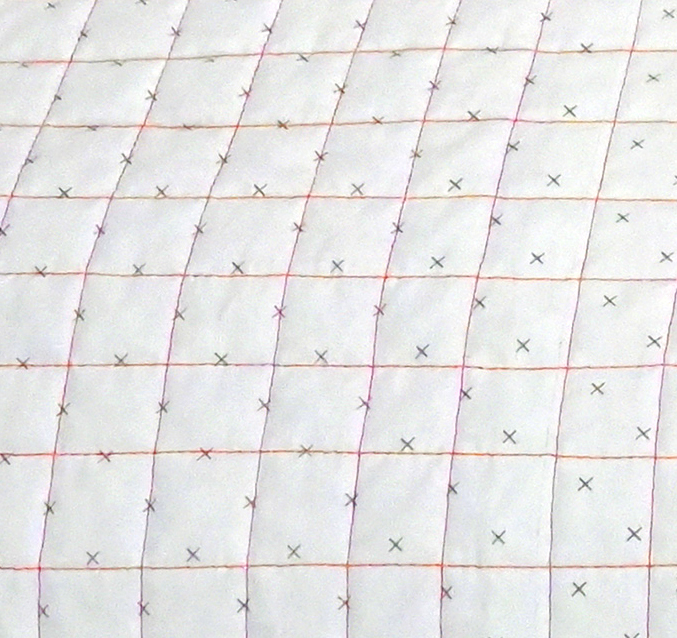
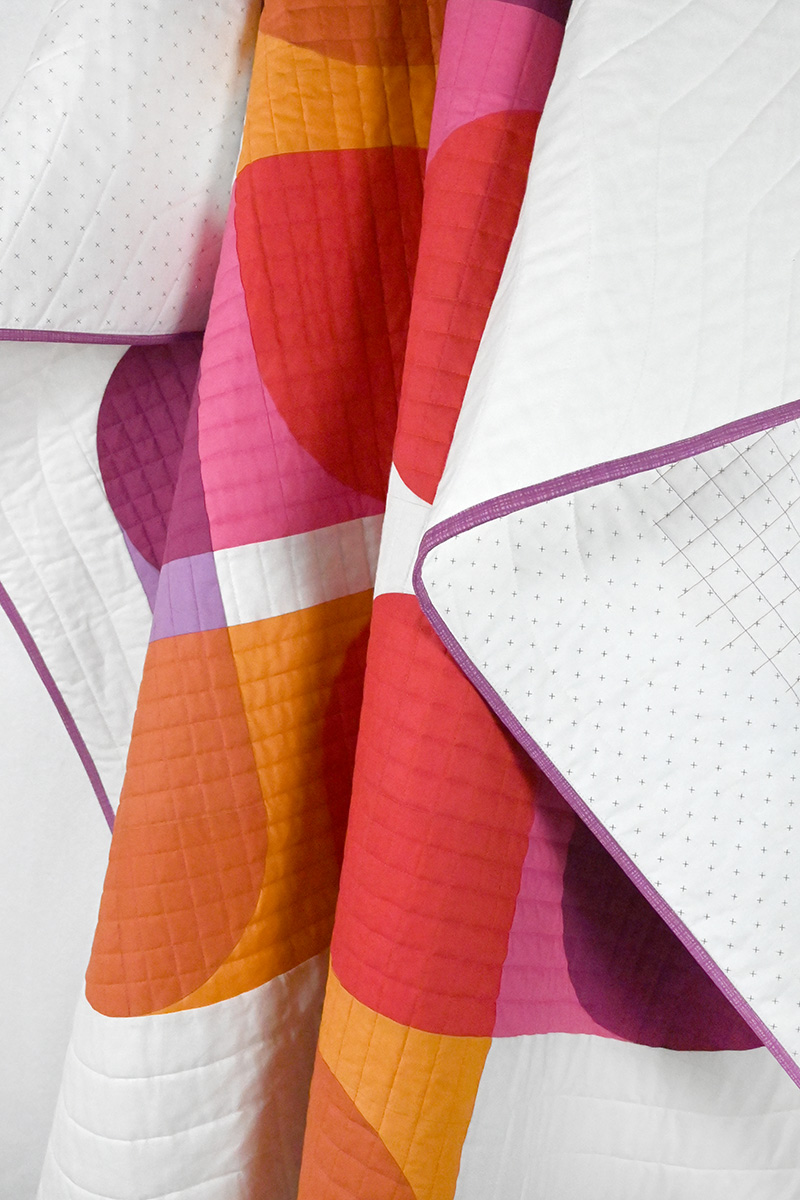
Close-up view of the back.
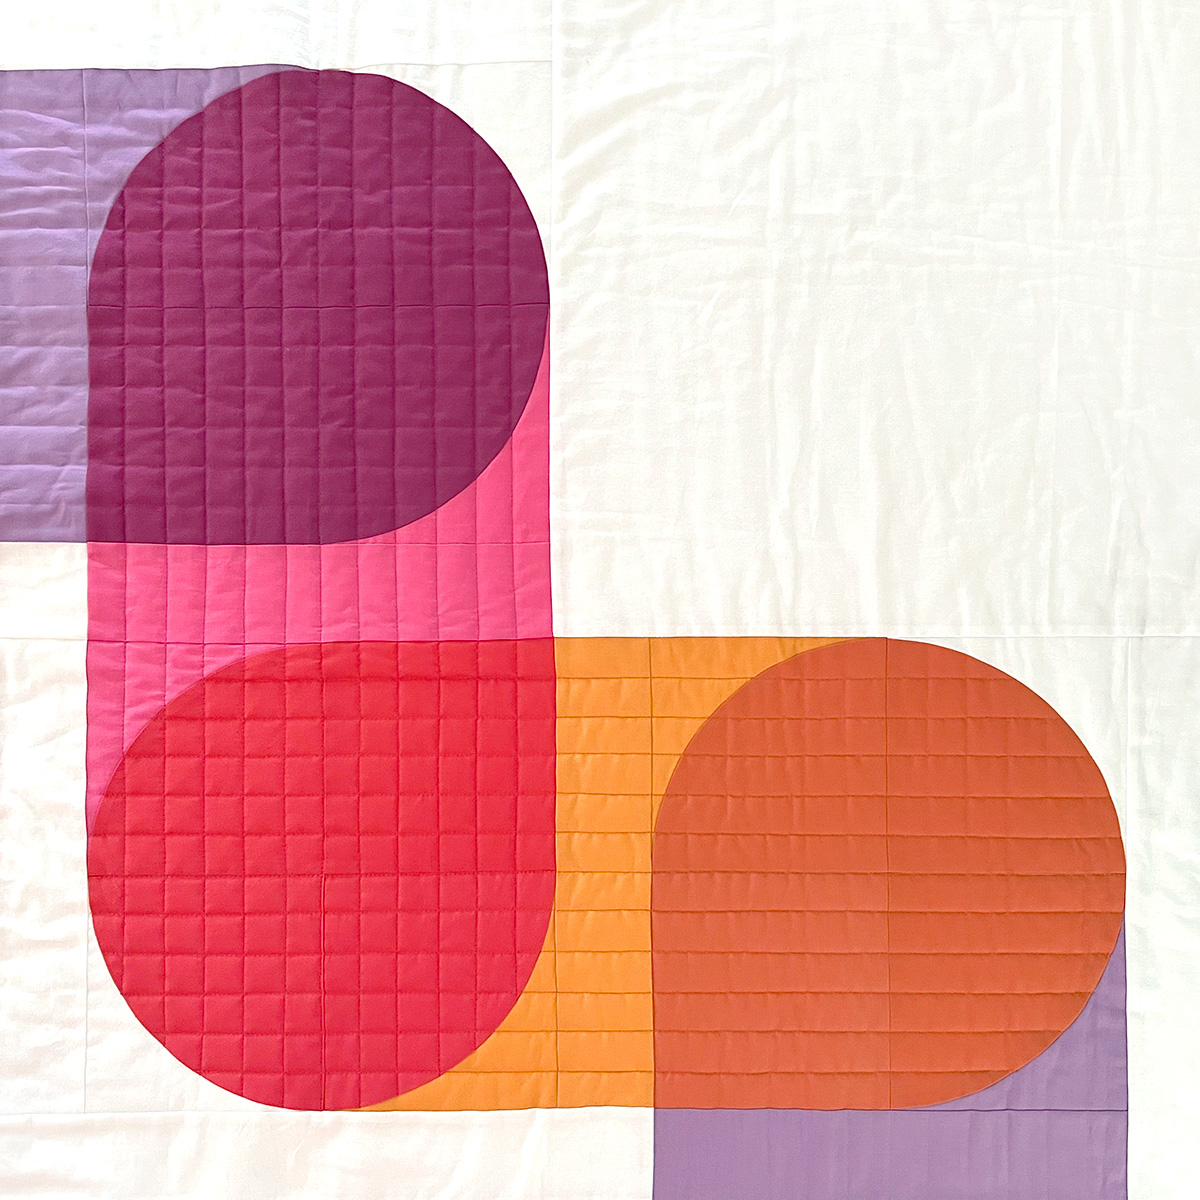
I chose to do some looser white “echo quilting” around the main figure to contrast the tight grid quilting in the coloured areas.
For my binding, I used Texture in Orchid and for the backing, I used Bee Cross Stitch on Cloud Pebble.
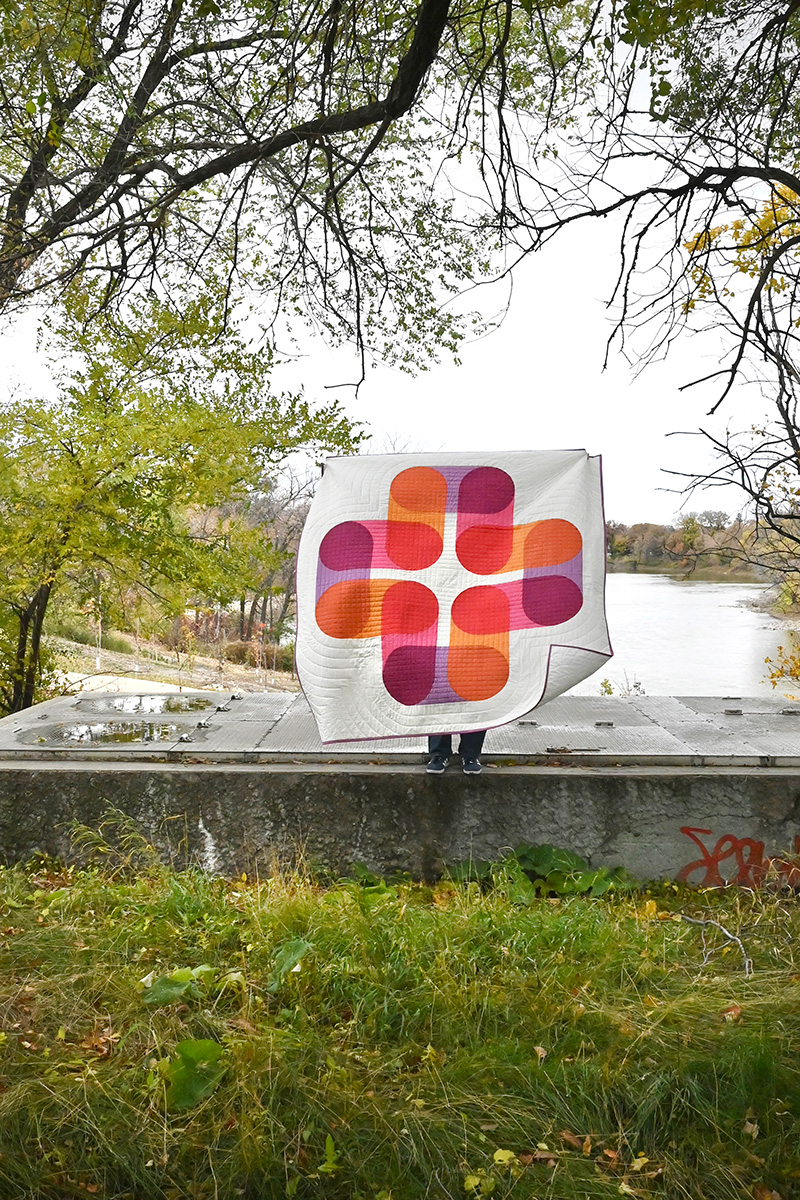
I hope you enjoyed reading about my process of making my Go Figure quilt. If you want to read about more of my work, please visit my website at https://hollyclarkedesign.com and on Instagram at @holdmyseamripper