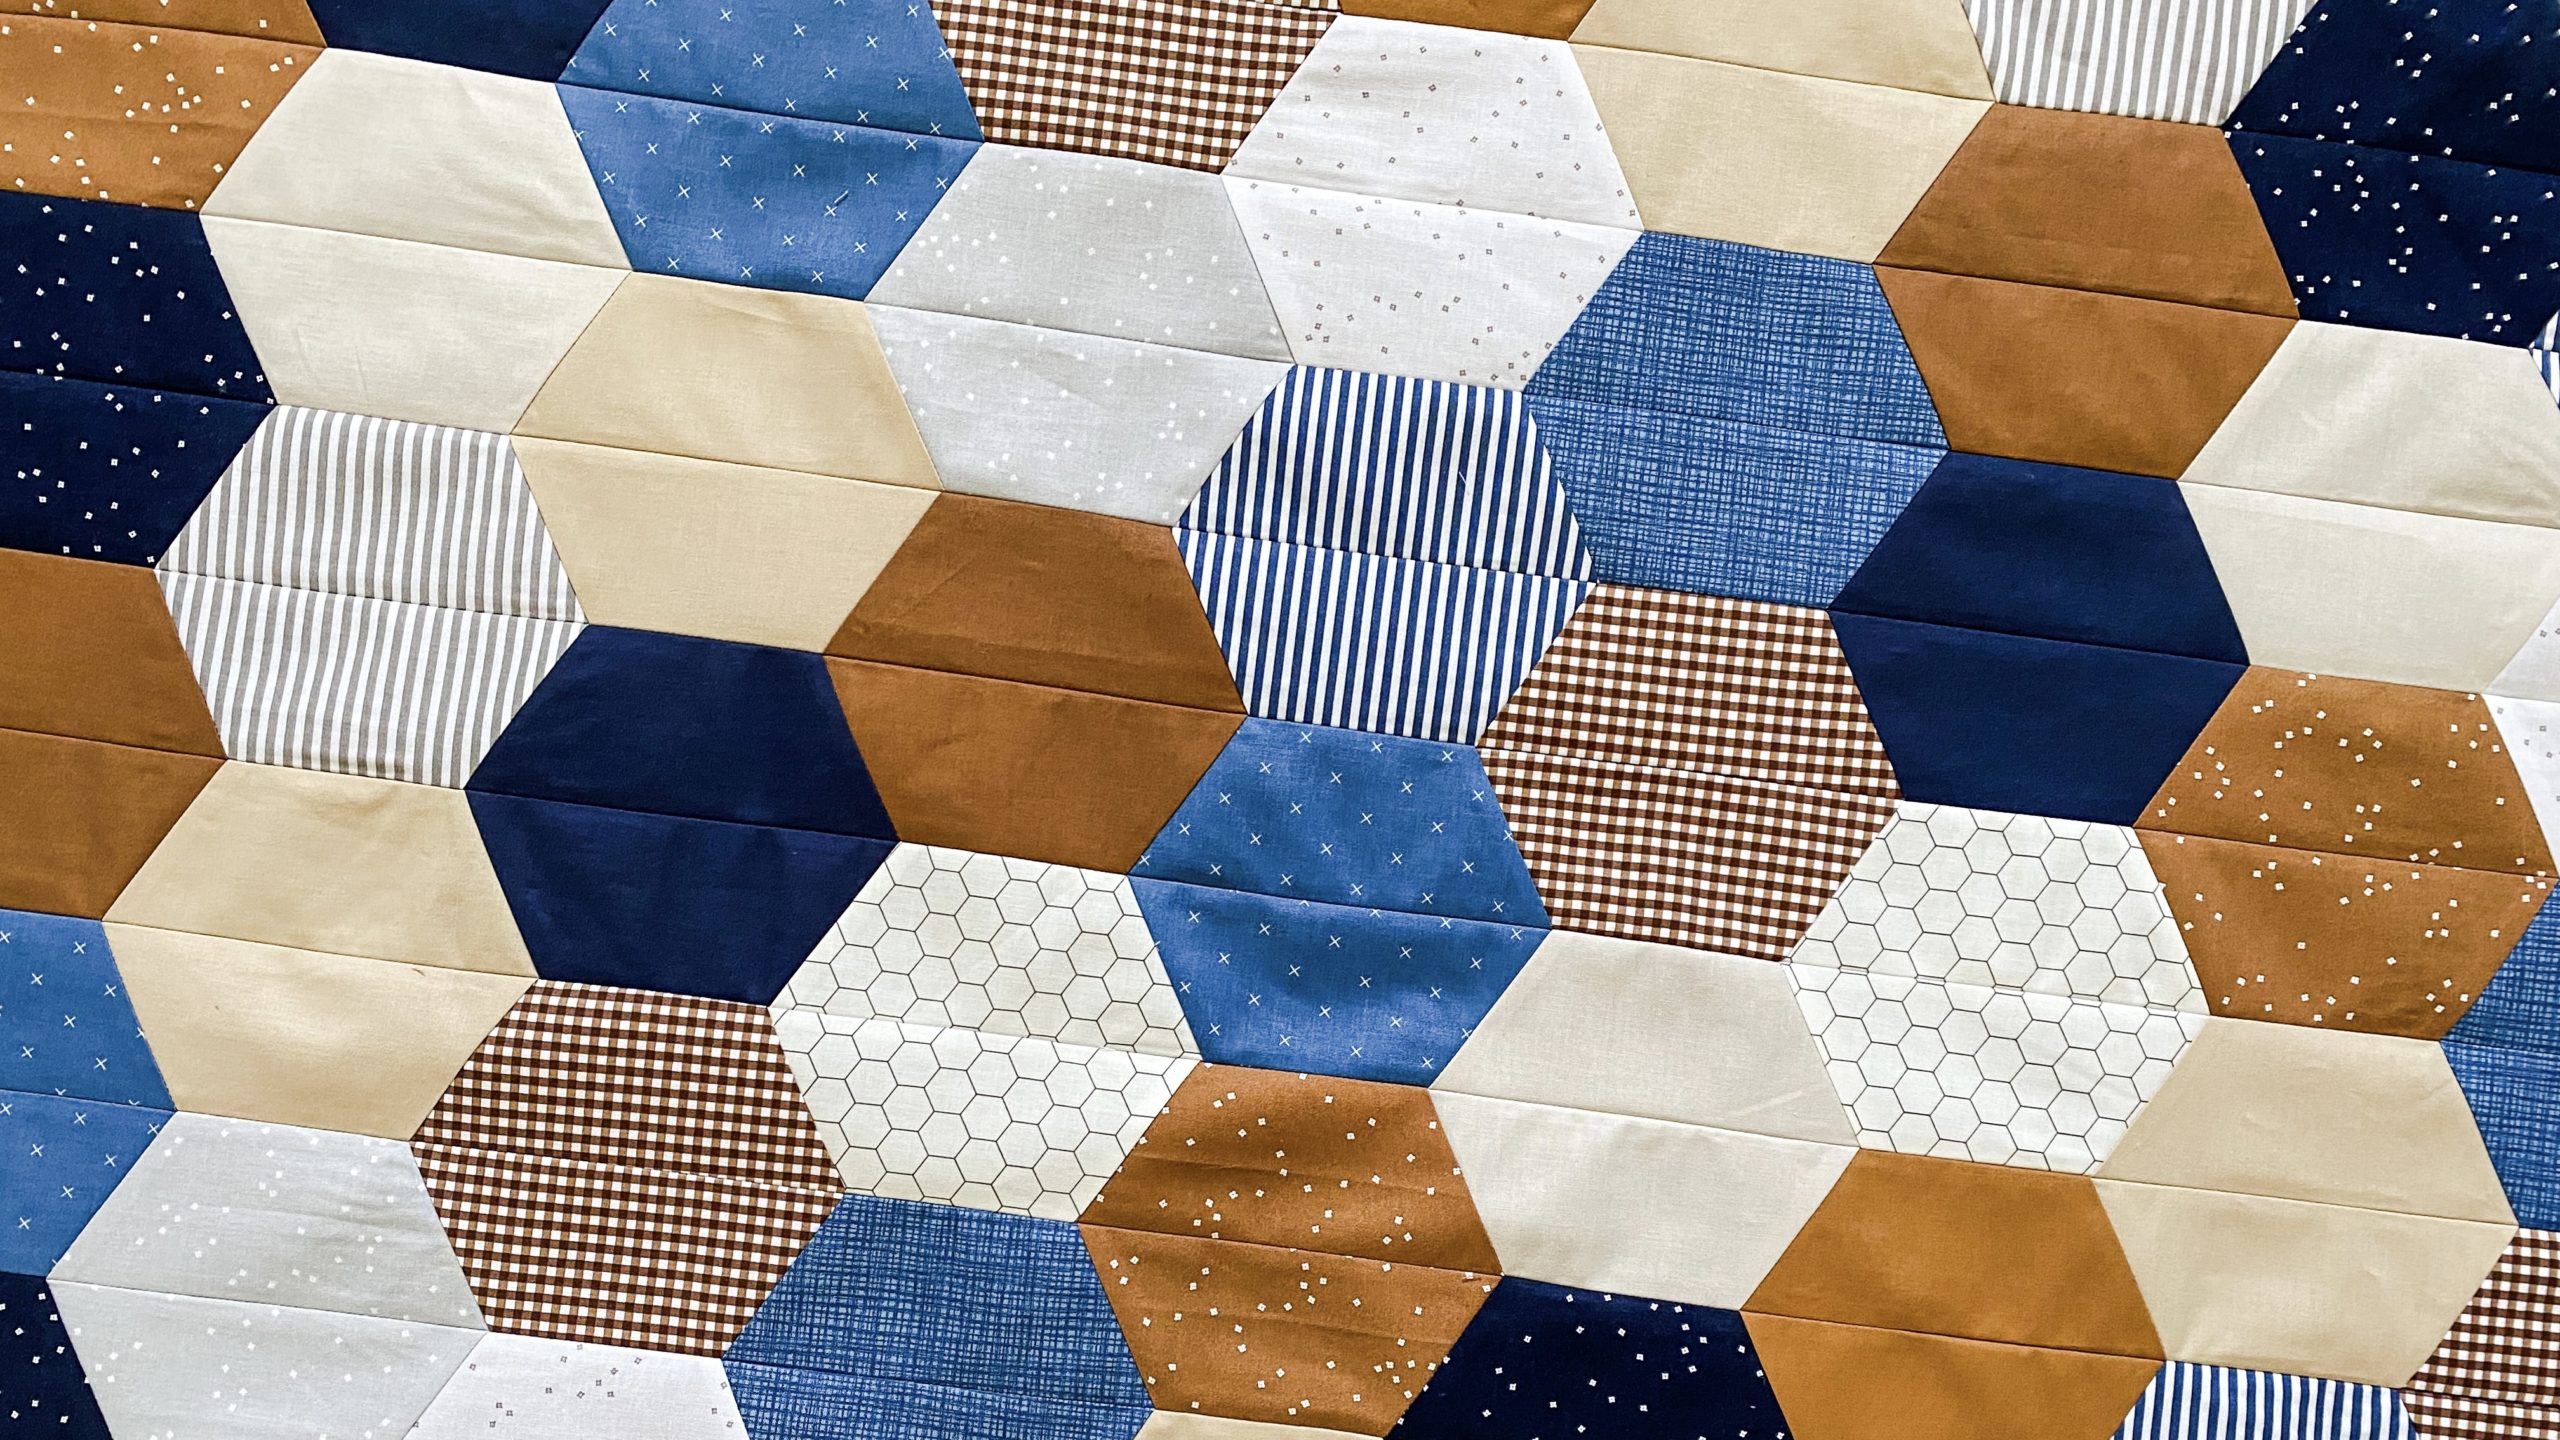
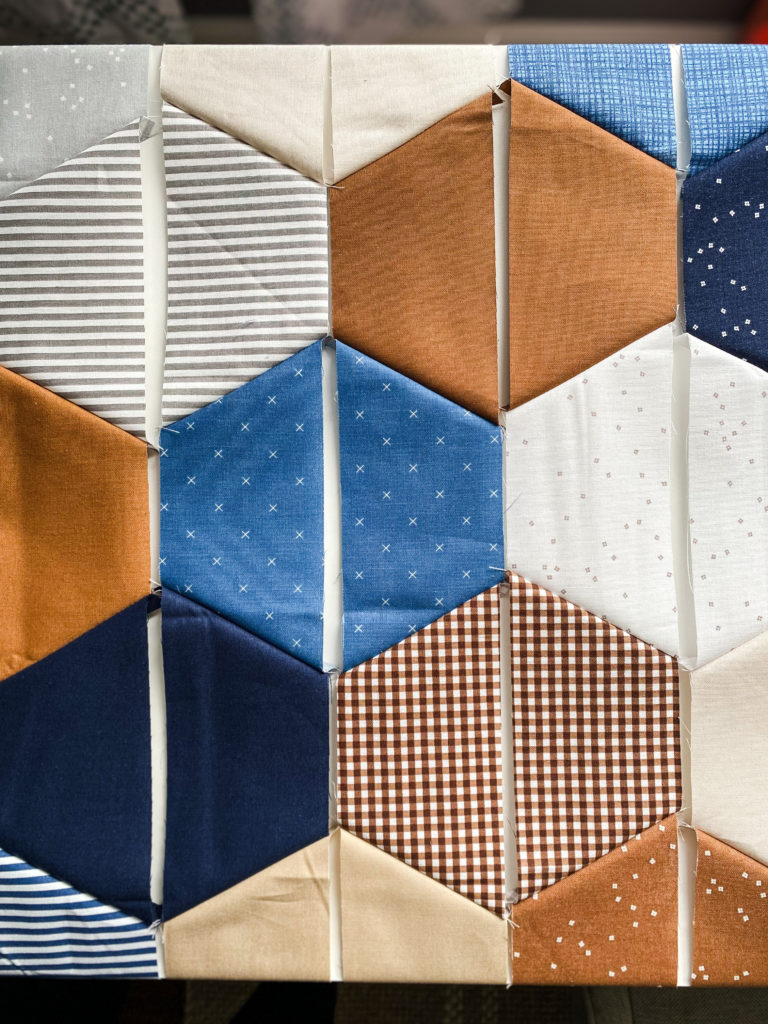
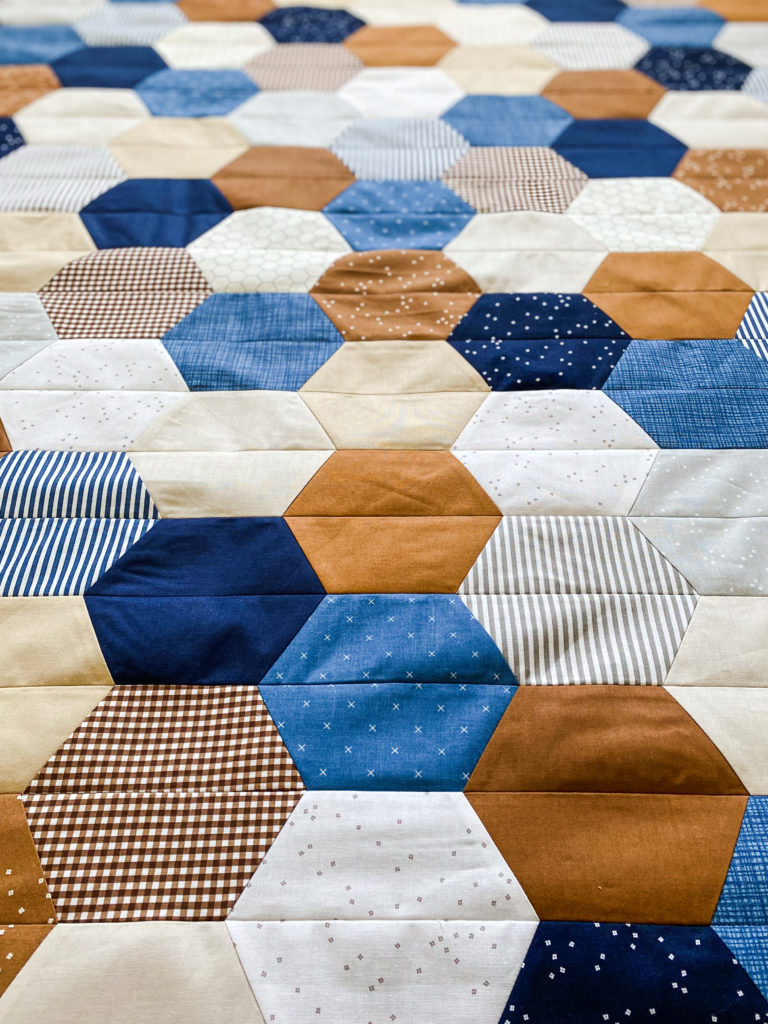
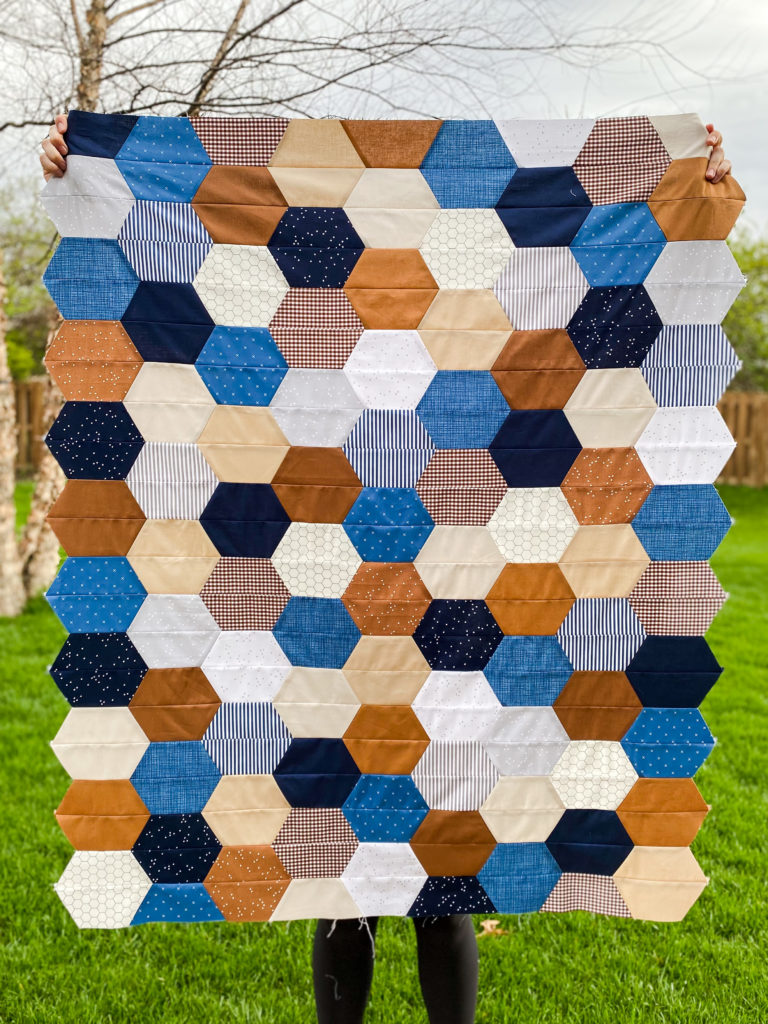
Hey friends! It’s Alyssa from Hark Quilts. I’m sharing with you a quick and easy baby quilt tutorial. We’ll take a classic quilt design–hexagons–and make it modern with extra-large hexies! Don’t let those funky angles scare you, hexie quilts are surprisingly easy to make and always look fabulous.
STEP ONE: Fabric Requirements
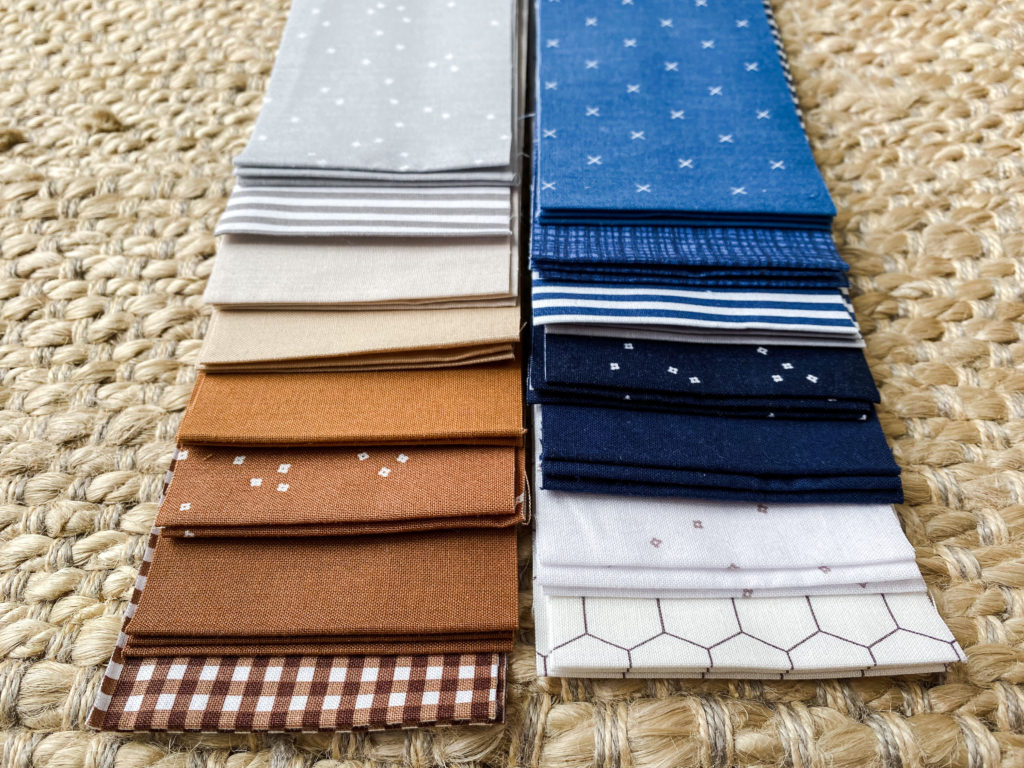
You will need 1/4 yard (a FQ works also) of 12 to 15 different fabrics. I used 15 and had some leftover pieces. I personally think that the more fabrics are used, the easier it is to achieve a random look, which is what I like. I made a hexie quilt a while back with just five prints and it took me quite some time to arrange everything without looking too forced or repeated.
Final dimensions for this baby quilt are about 40×50″. You’ll end up with 9 columns and 21 rows. The hexagons are formed by joining half hexies in rows, and then they form a full hexagon when rows are sewn together.
A list of the fabrics I used are at the bottom of this post.
STEP TWO: Cut Fabrics
Cut each fabric into 3″ x WOF strips (WOF= width of fabric). If you used 1/4 yard, you will have three 3×42″ strips per fabric.
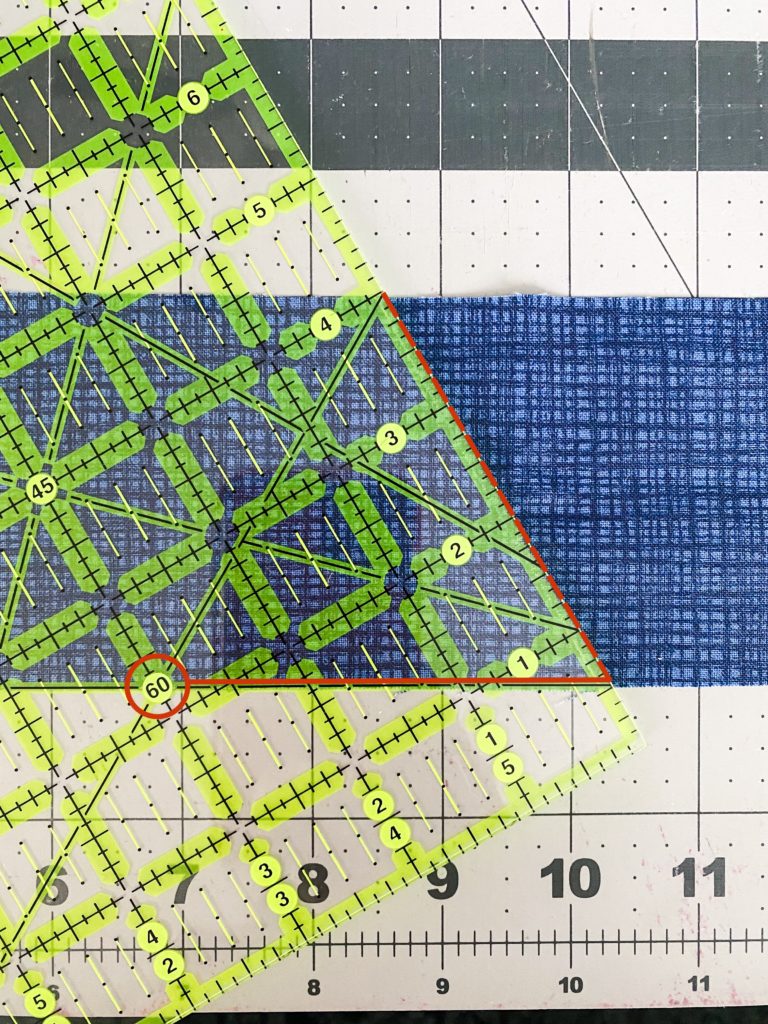
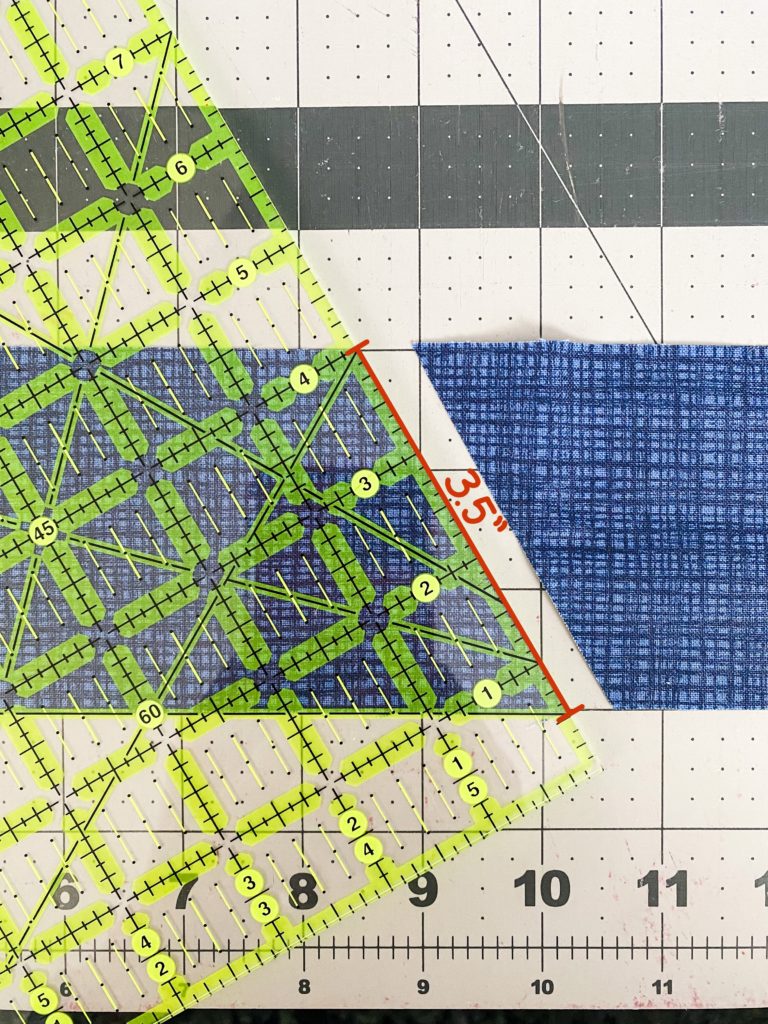
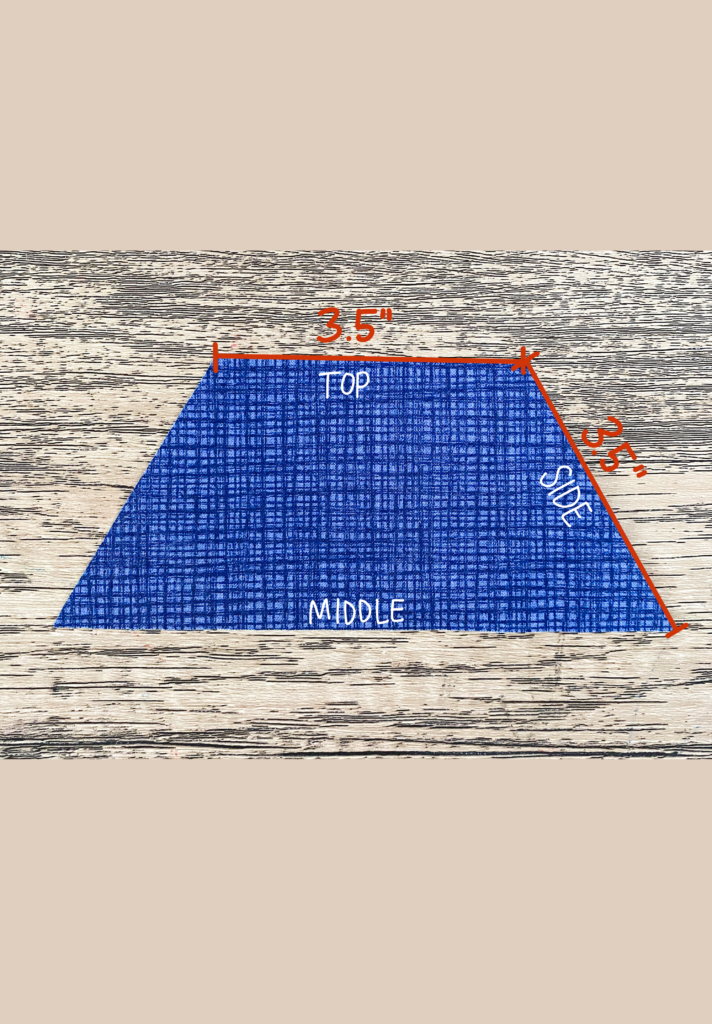
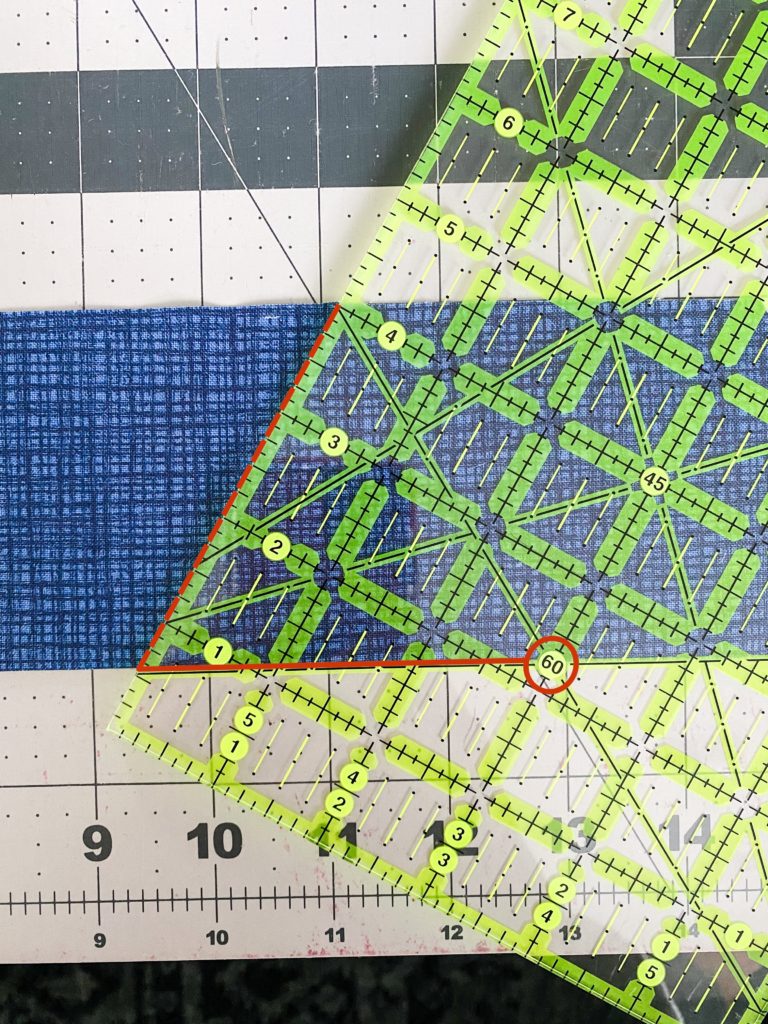
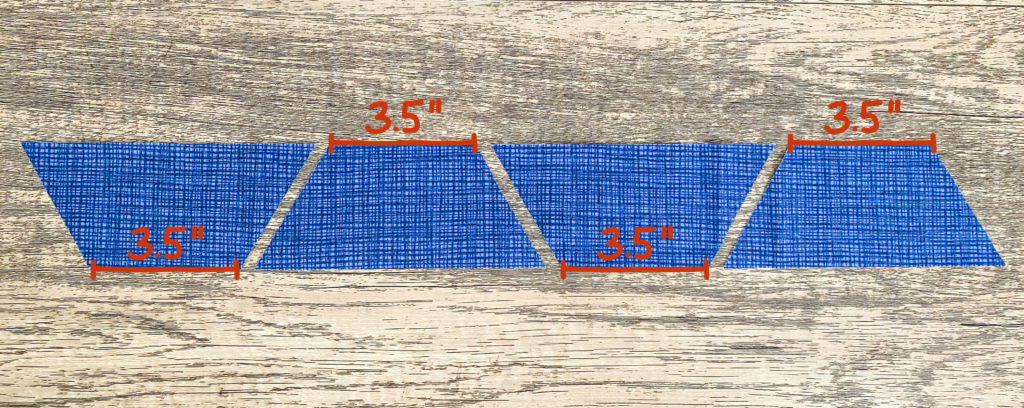
Next, use an angled quilting ruler and cut the end at 60 degrees (see first photo below). Measure the newly cut edge–it should be 3.5″ long (see second photo below). Now measure 3.5″ from the wide angle of your first cut–the “top” edge of the hexagon (see third photo below). Make another 60 degree cut, this time in the opposite direction to make the hexagon shape (see fourth photo below).
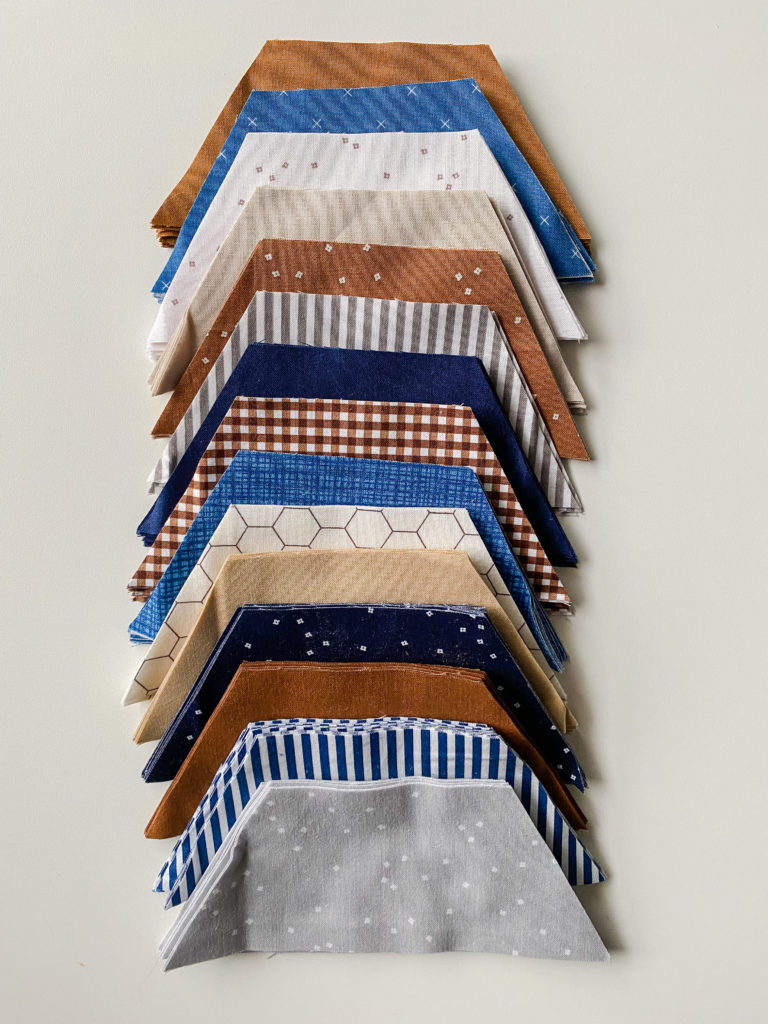
Continue cutting half hexagons out of your strip as seen below.
Congrats, this was the hardest part! You should now have a nice pile of half hexagons.
STEP THREE: Row Assembly
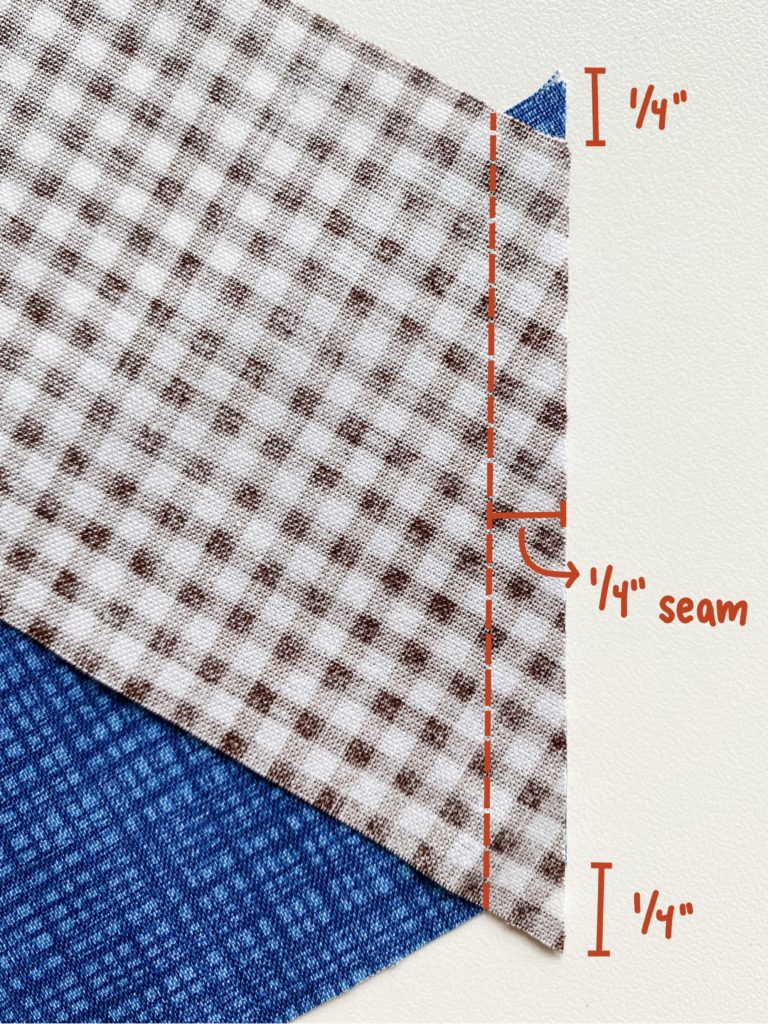
Layout your half hexies to create a pattern you like. Assemble the rows by sewing the half hexagons RST (right sides together) with a 1/4″ seam. Be sure to overlap the edges 1/4″ as seen in the photo below. This will ensure that the hexagons’ edges will line up when pressed open.
Press seams open or to the side. If pressing to the side, alternate the direction of the ironed seam. For example, iron row 1 to the left, row 2 to the right, row 3 to the left, etc. This will enable you to nest your seams when sewing the rows together in step four.
STEP FOUR: Quilt Assembly
Sew your rows RST, making sure to line up the seams so the hexagons match up.
Press your seams open or to the side.
STEP FIVE: Finish Quilt
Baste, quilt, and bind your quilt. Congratulations on your beautiful new baby quilt!
Thanks for following along! Be sure to check out my website, Pinterest, and Instagram.
Happy sewing!
Fabrics used:
- Confetti Cottons Light Gray – C120-LIGHTGRAY
- Confetti Cottons Beach – C120-BEACH
- Confetti Cottons Teddy Bear – C120-TEDDYBEAR
- Confetti Cottons Cinnamon – C120-CINNAMON
- Confetti Cottons Riley Navy – C120-RILEYNAVY
- Stripes 1/8″ Gray – C495-GRAY
- Stripes 1/8″ Denim – C495-DENIM
- Bee Cross Stitch Denim – C745-DENIM
- Blossom On White Gray – C730-GRAY
- Blossom Silver – C715-SILVER
- Blossom Navy – C715-NAVY
- Blossom Cider – C714-CIDER
- Texture Denim – C610-DENIM
- Bee Ginghams Melanie Cinnamon – C12561-CINNAMON
- Bee Backgrounds Honeycomb Gray – C6387-GRAY

