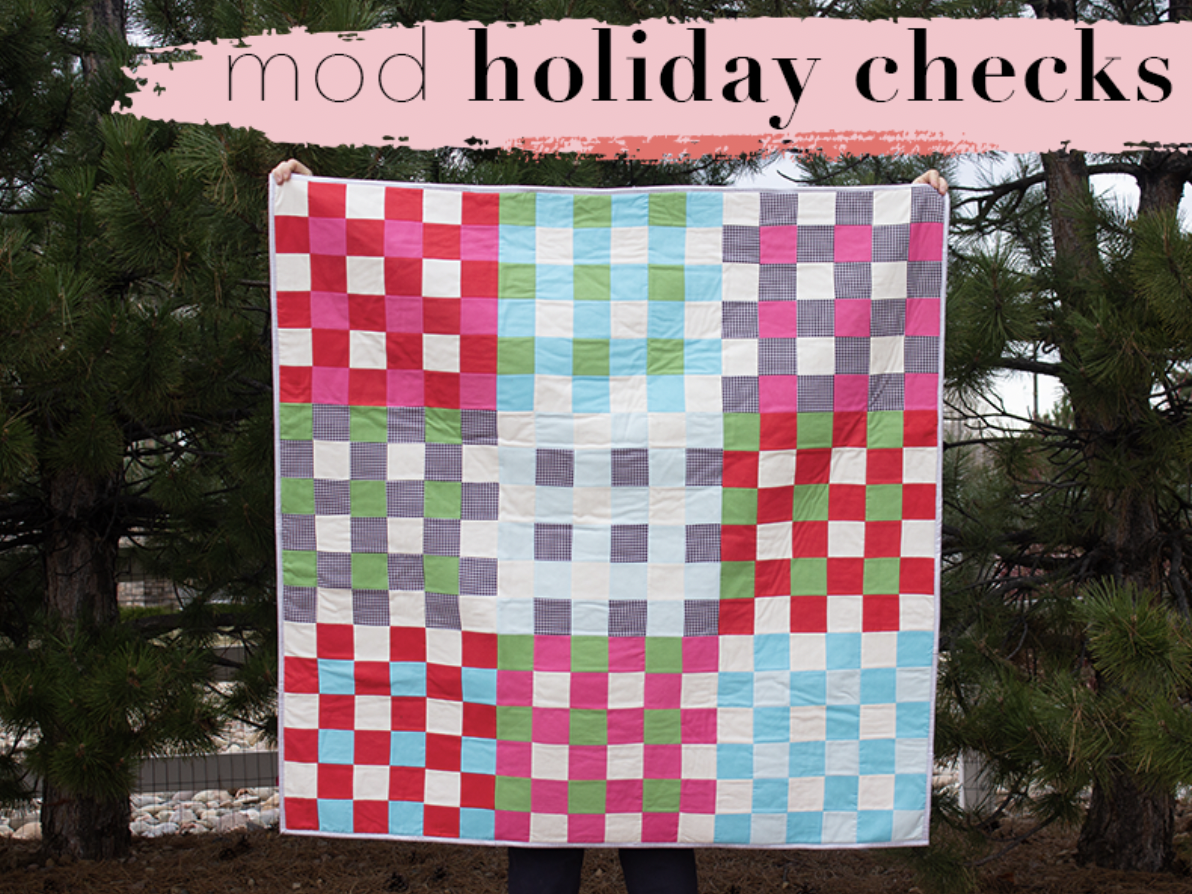
Hello everyone! I am sew excited to share a new quilt tutorial with you today! Meet, Mod Holiday Checks. This quilt is a patchwork-style quilt that is fun to make and great for all skill levels.
It all started with…
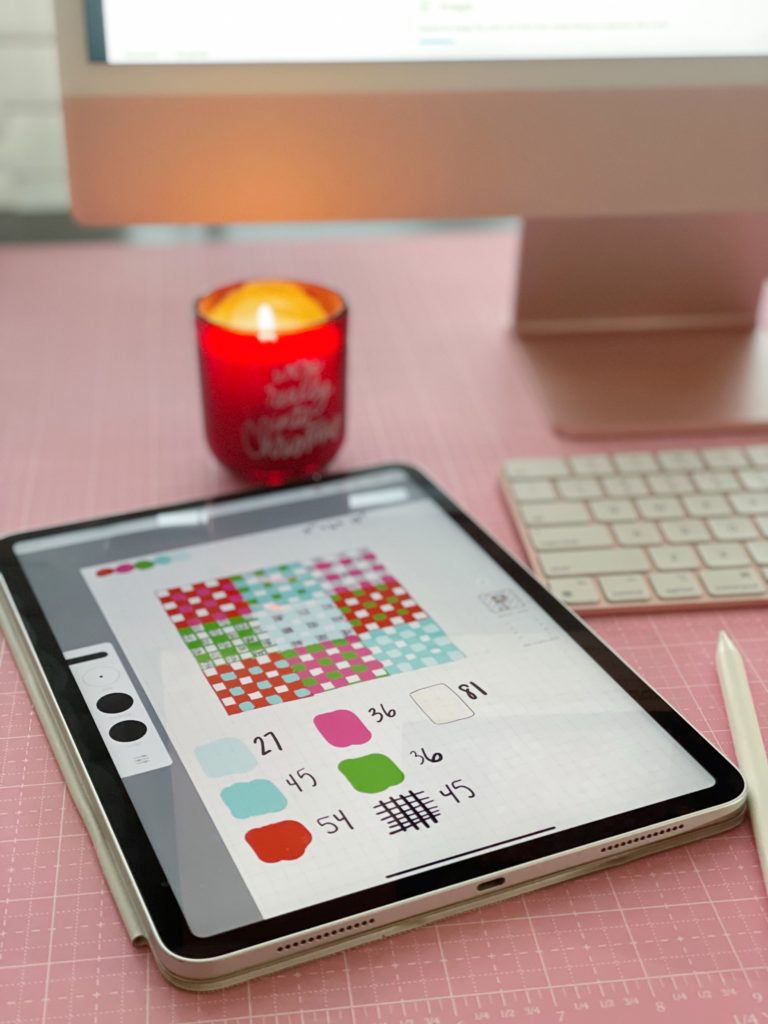
my iPad and an NBA game. At the end of a busy day I like to destress my mind with doodling. It usually starts with making color groupings and then sketching out, you guessed it, quilt designs! On this particular December day I had Christmas on the mind and wanted to watch The Holiday on Hulu. While waiting for whatever NBA game my husband was watching to finish up, I started making a gingham block design using my all time favorite color combination: pink & red. From there, I added some other festive colors to my sketch, made my design, and walked over to my fabric cabinet to dig through my stash of RBD Basics and bring it to life!
Needless to say, I did not watch The Holiday that night. Instead I cut out 324 squares of fabric and it was way more fun 😉
Ready to Sew? Let’s GO!
Step 1.
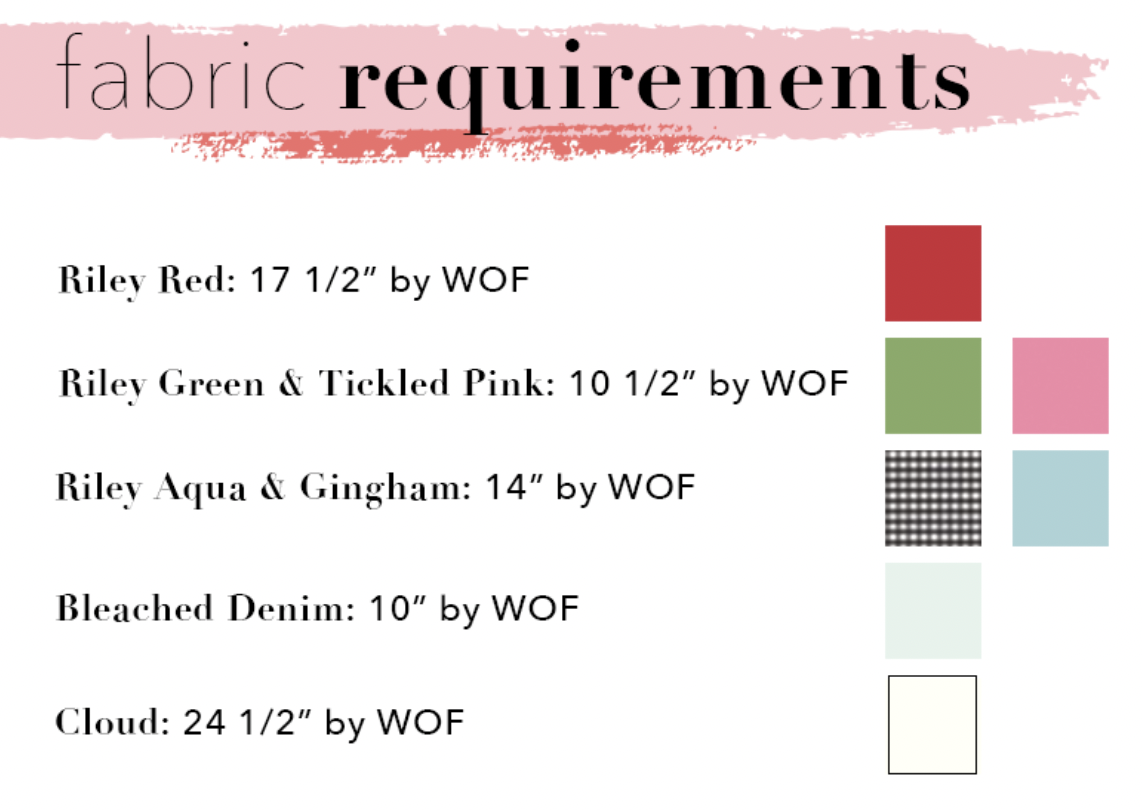
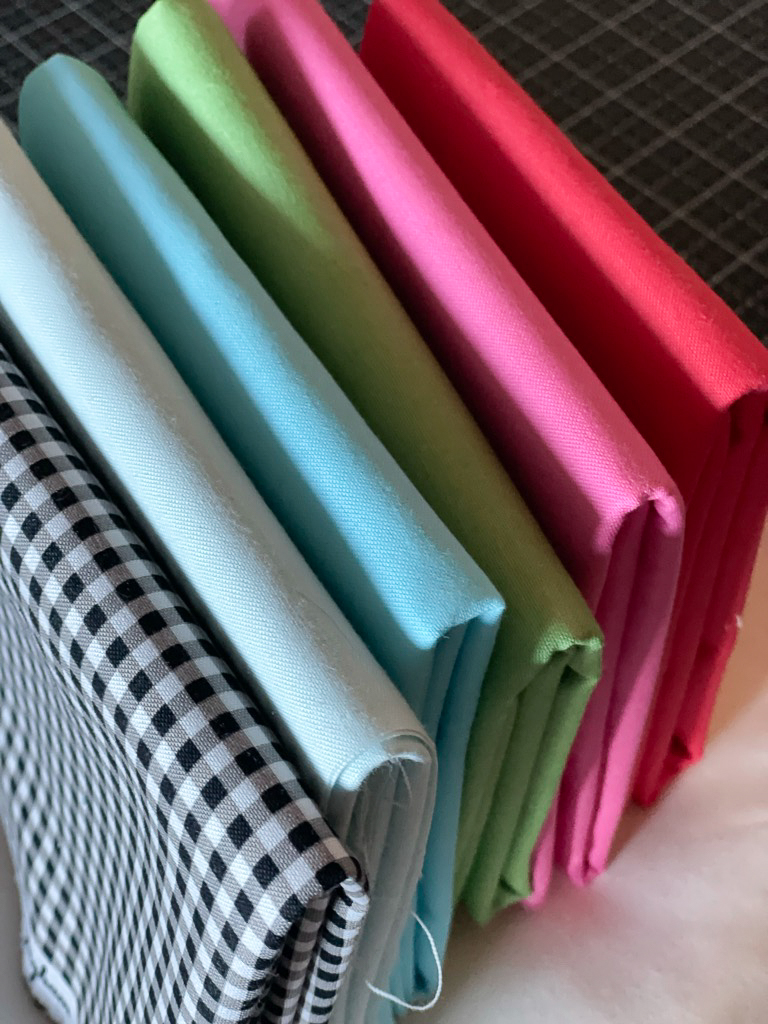
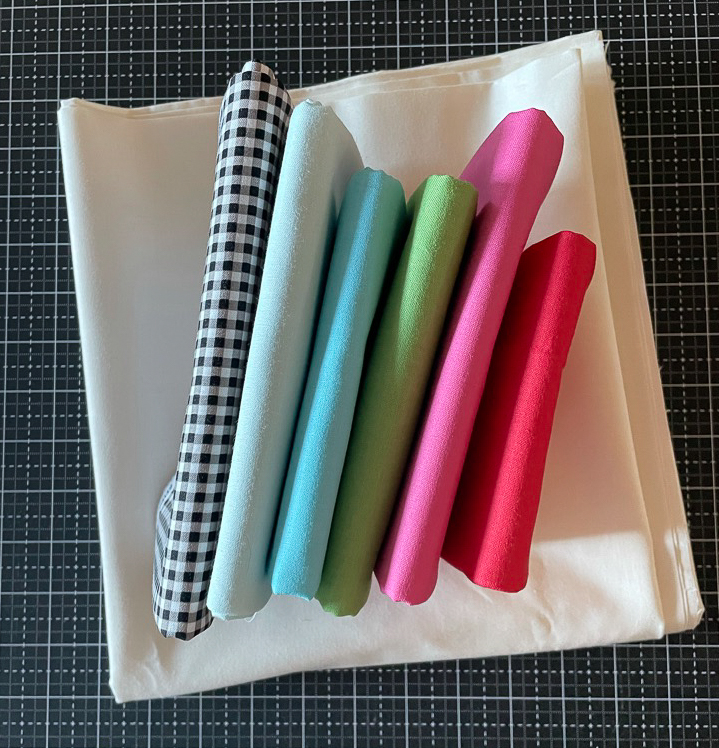
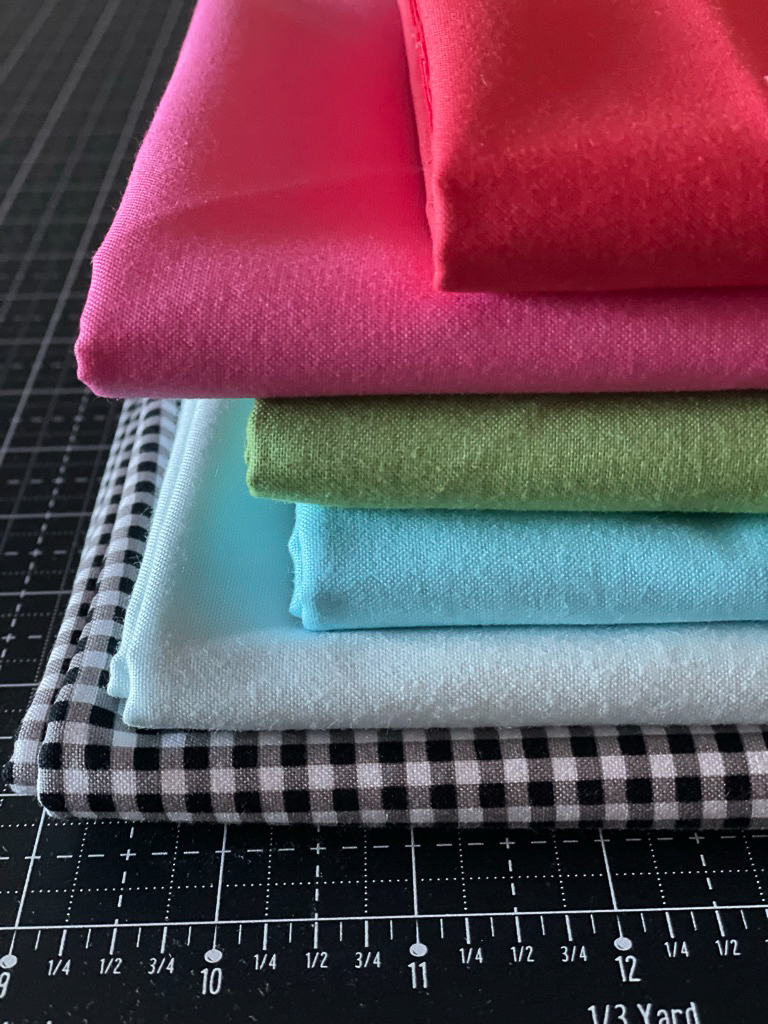
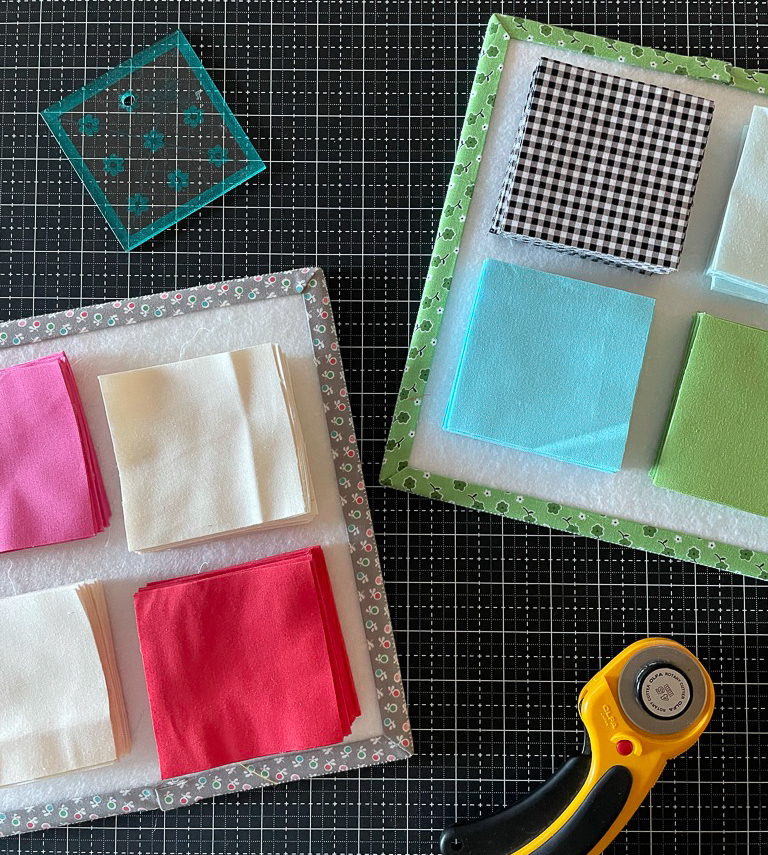
Choose your fabrics! I chose:
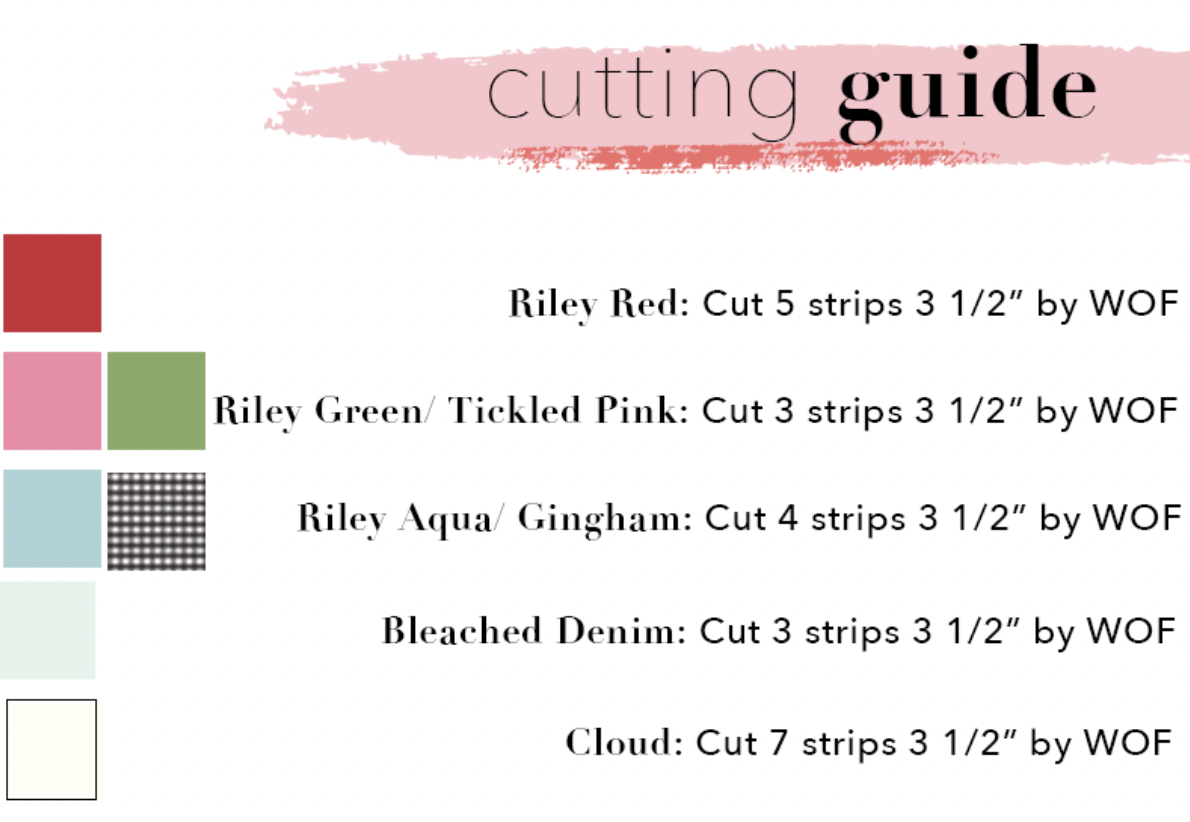
Confetti Cottons in Riley Red, Tickled Pink, Riley Aqua, Riley Green, Bleached Denim, & Cloud and 1/8″ Black Gingham for my quilt. See the chart below for estimated fabric requirements.
Step 2.
Cut your fabric into strips and then cut out your squares. Each square should measure 3 1/2″. I used the 3 1/2″ Cute Cuts™ Trim It™ ruler by Lori Holt for my squares. Theses rulers are a must-have for me! See cutting guide below.

Step 3.
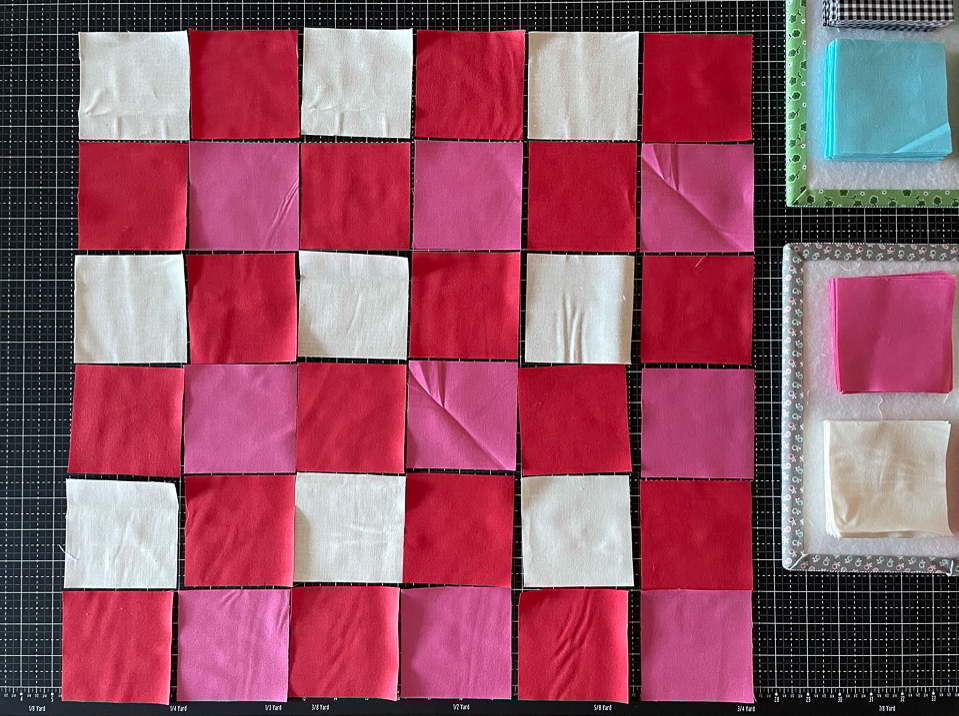
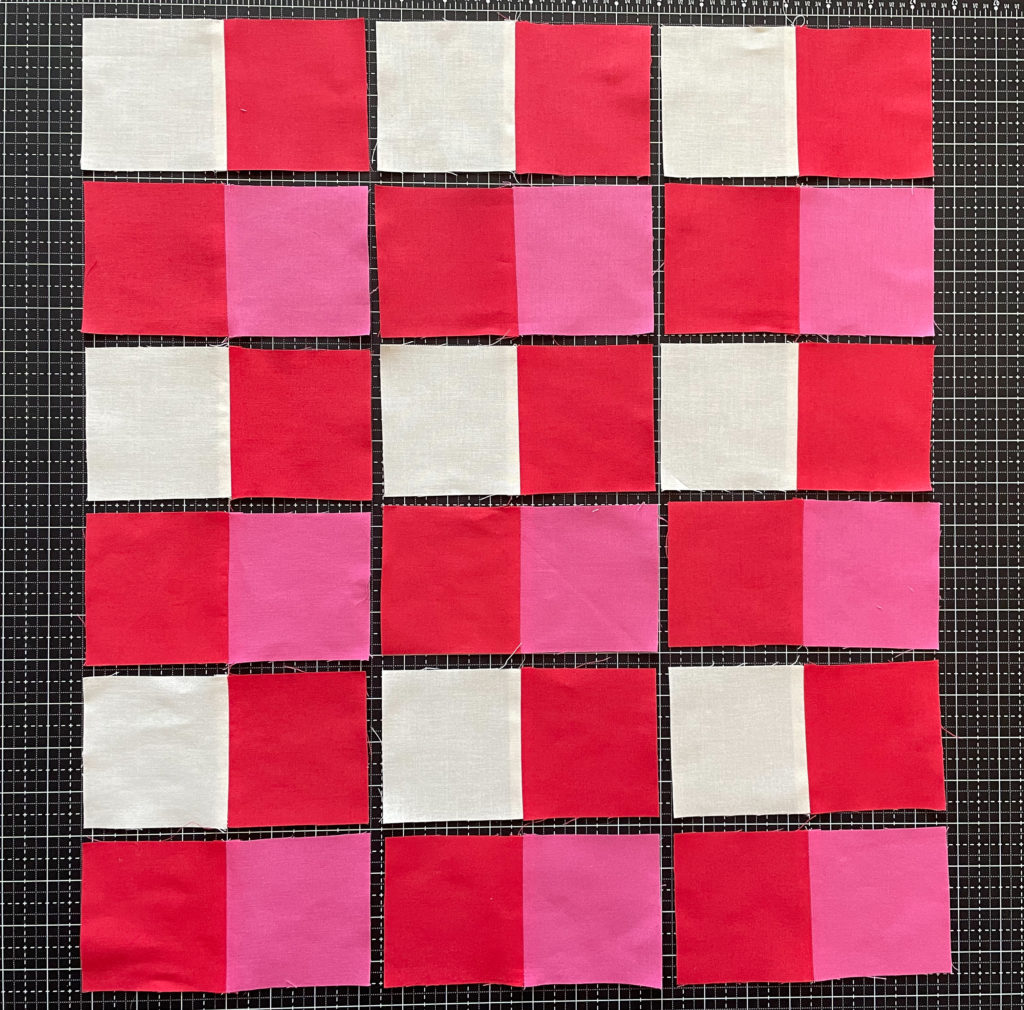
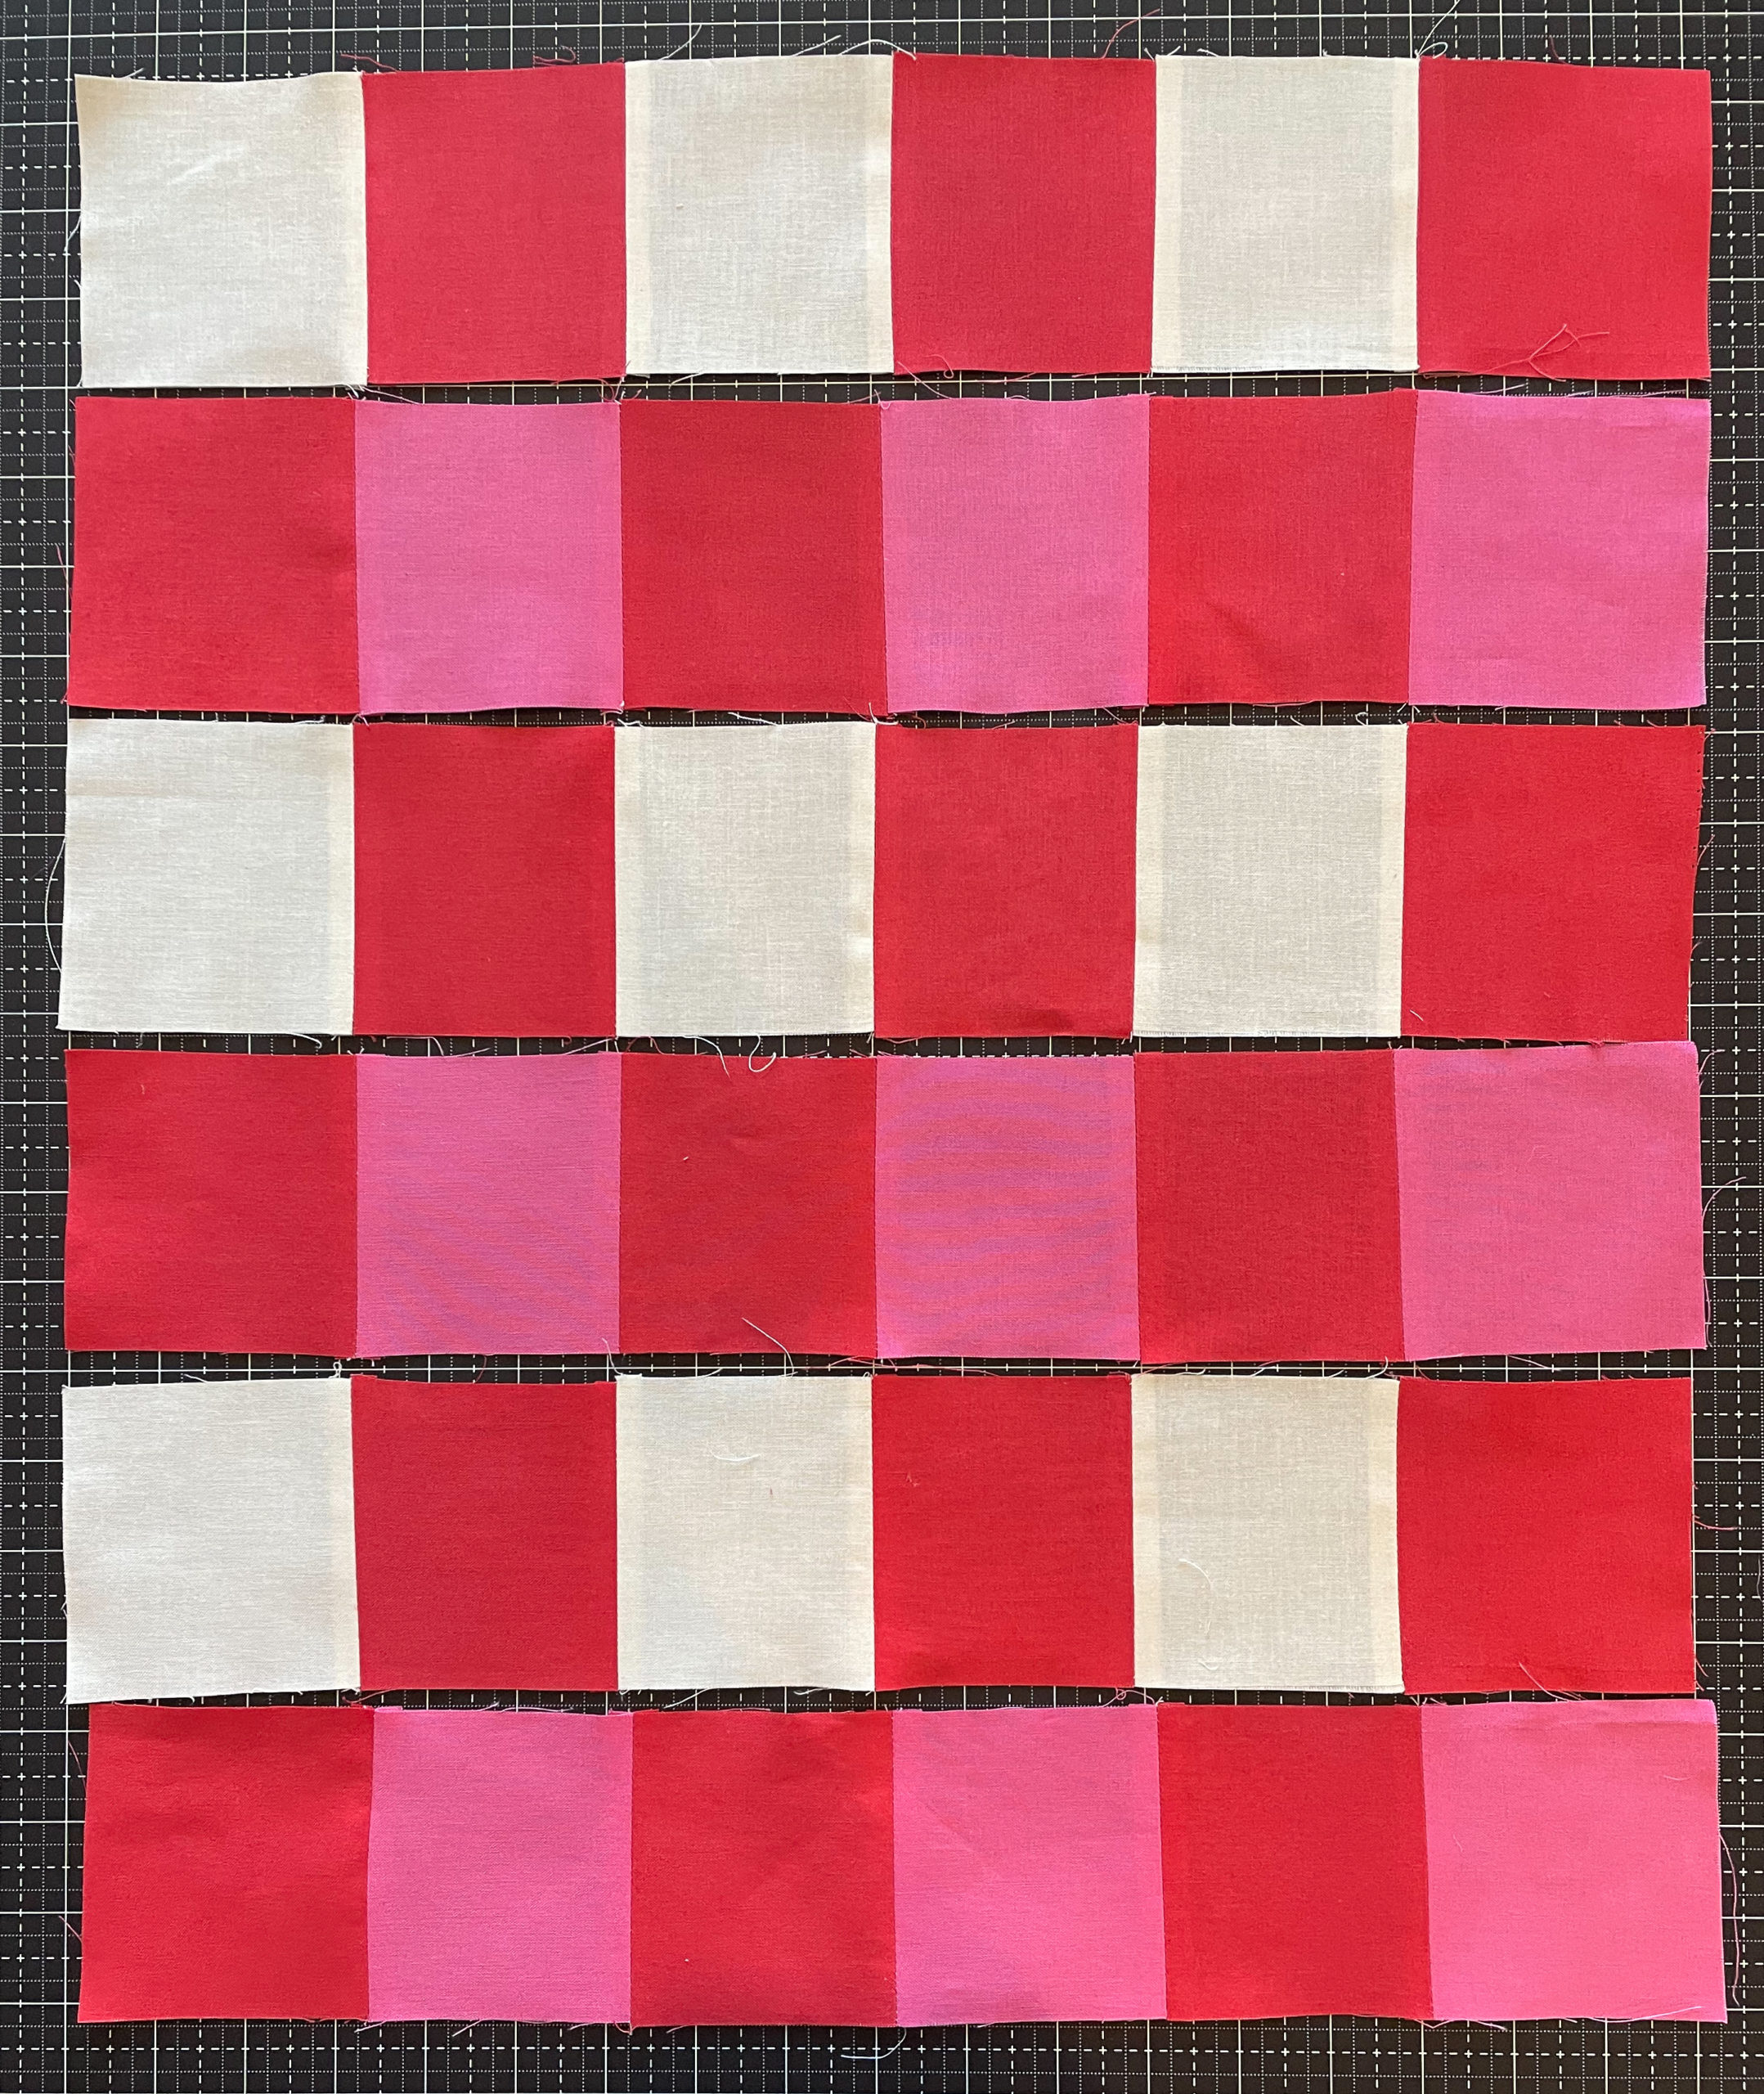
Start with one block layout (I’m starting at the top, left of the quilt) and lay out your squares. Match your squares right sides together in rows.
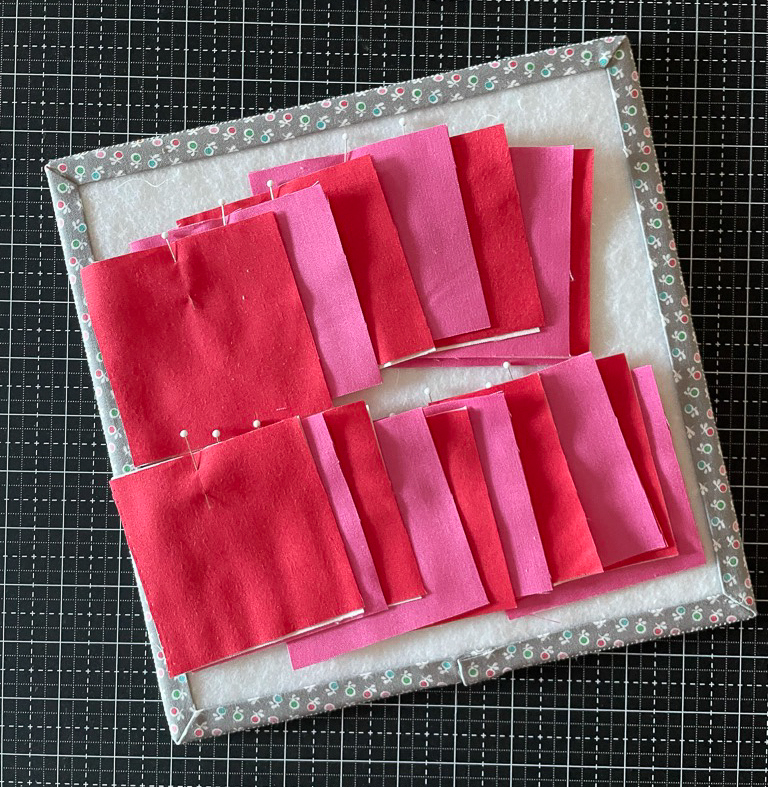
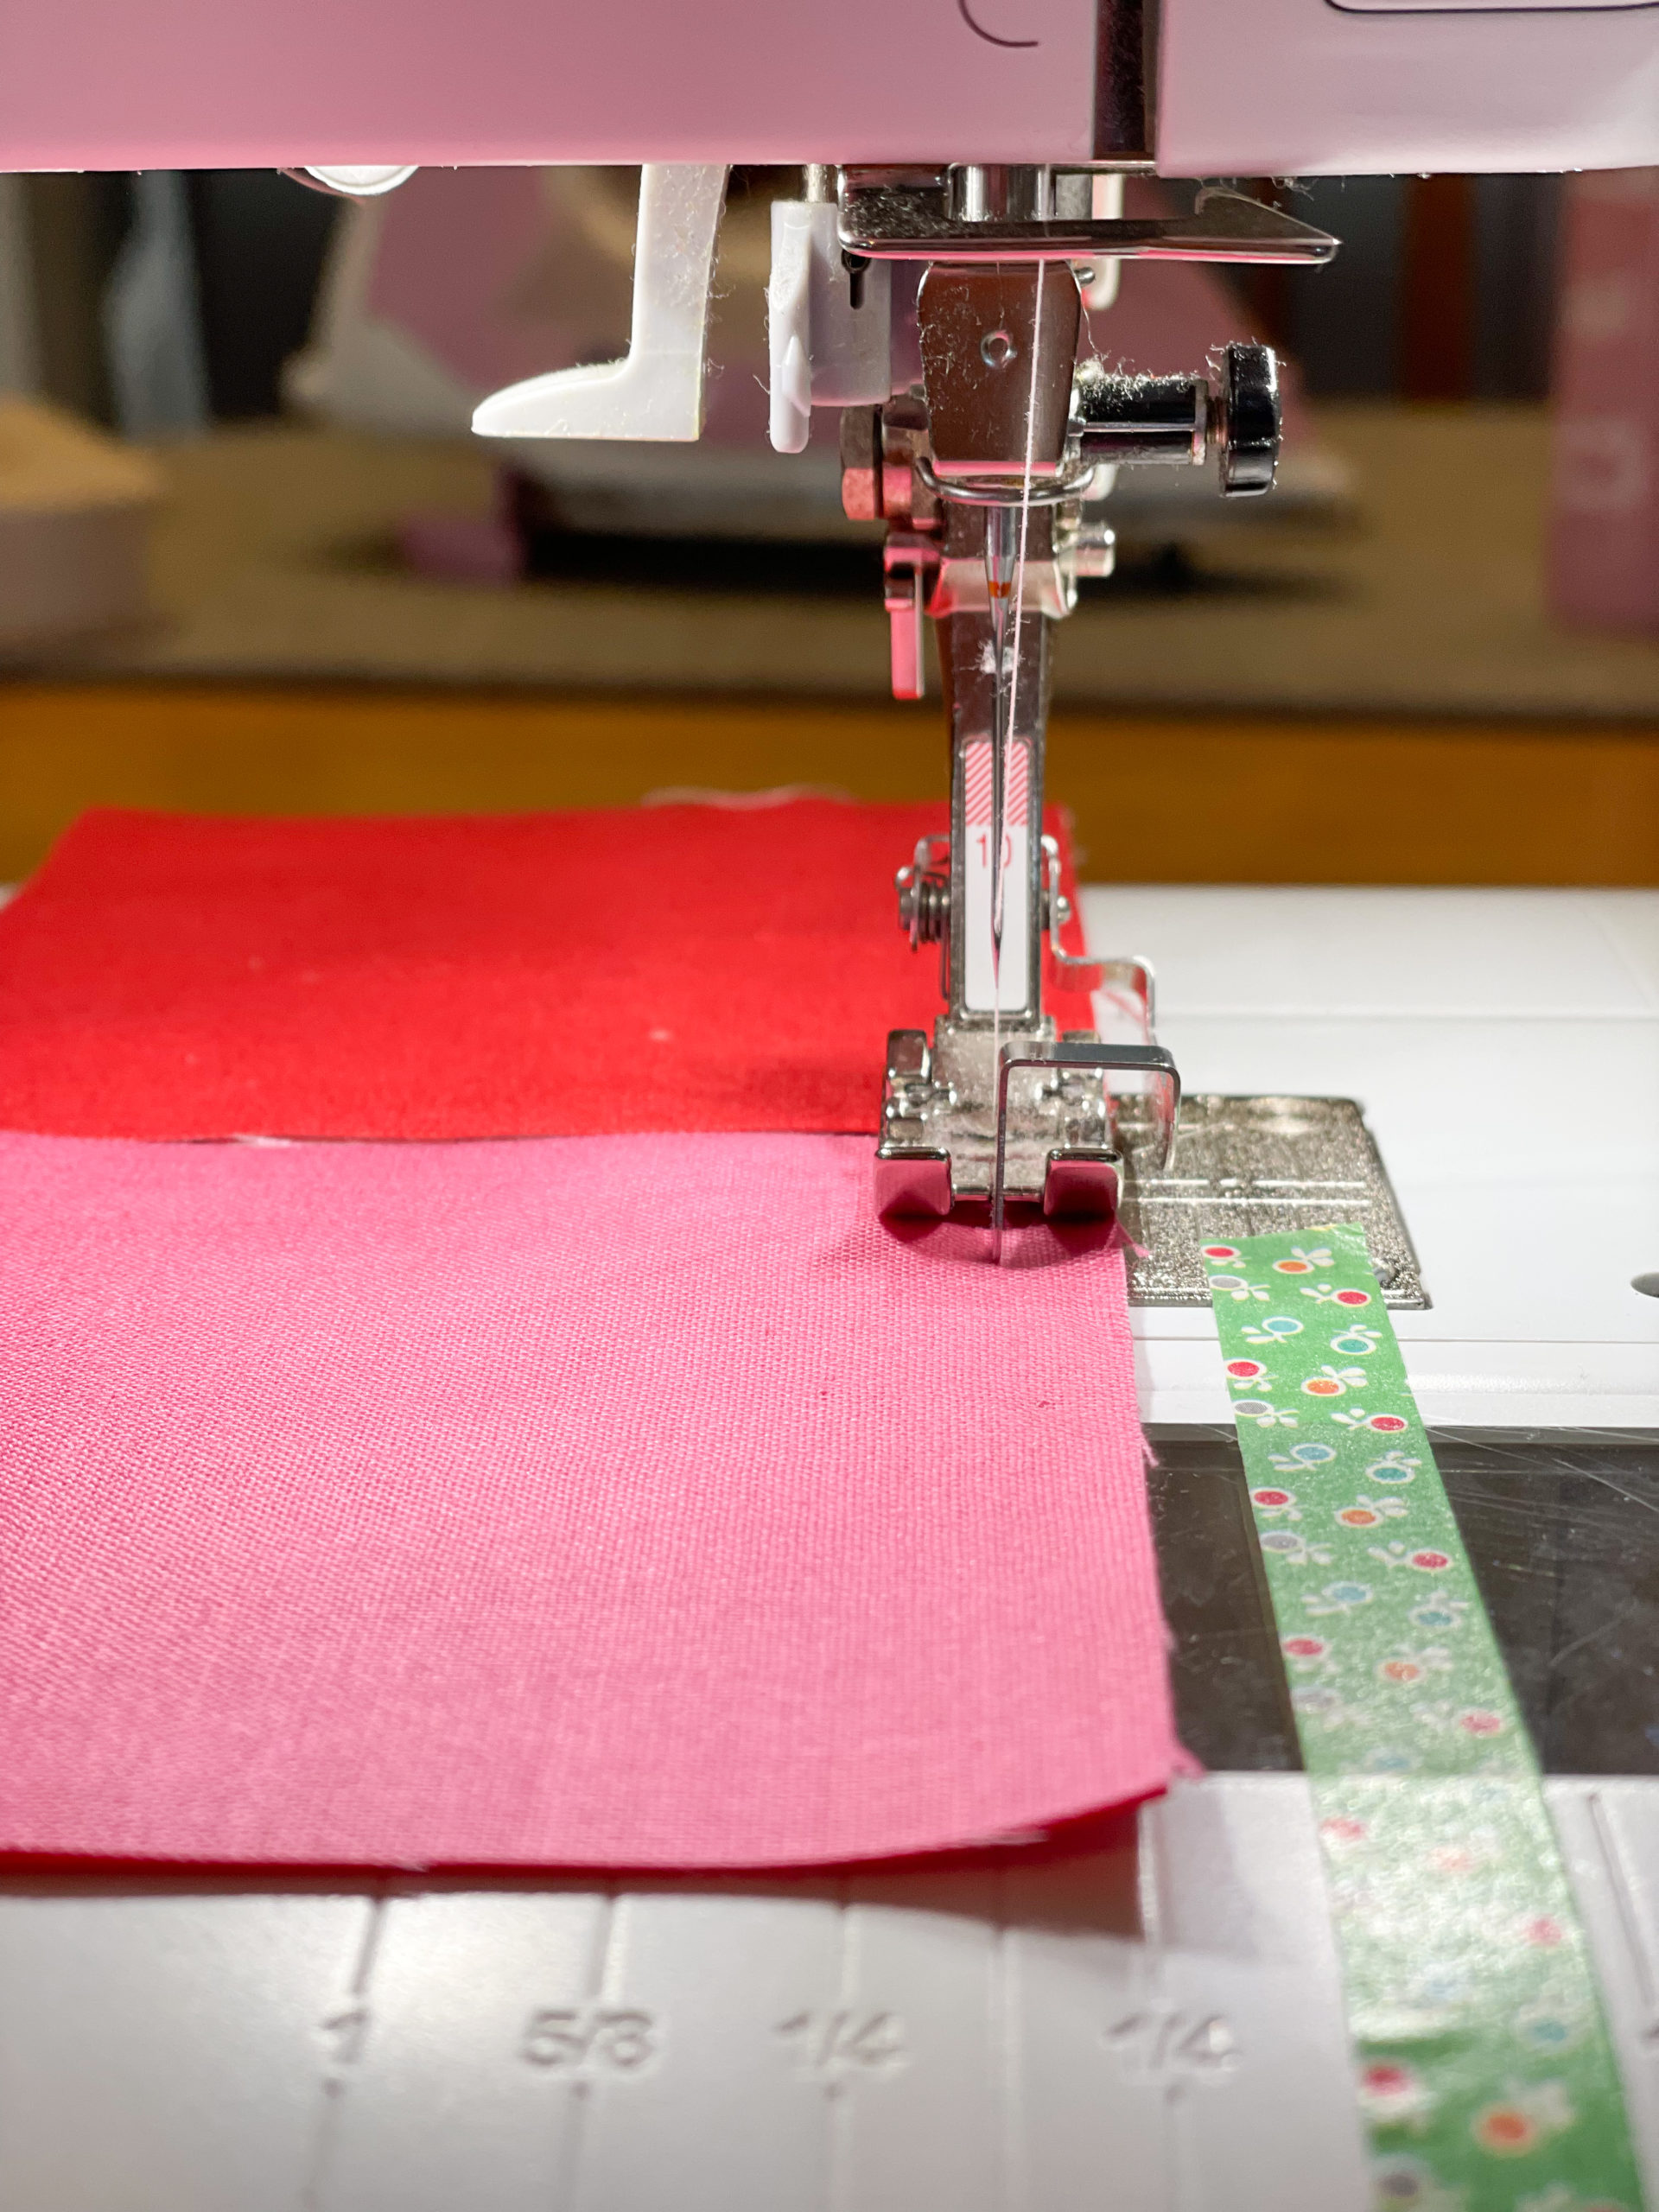
Step 4.
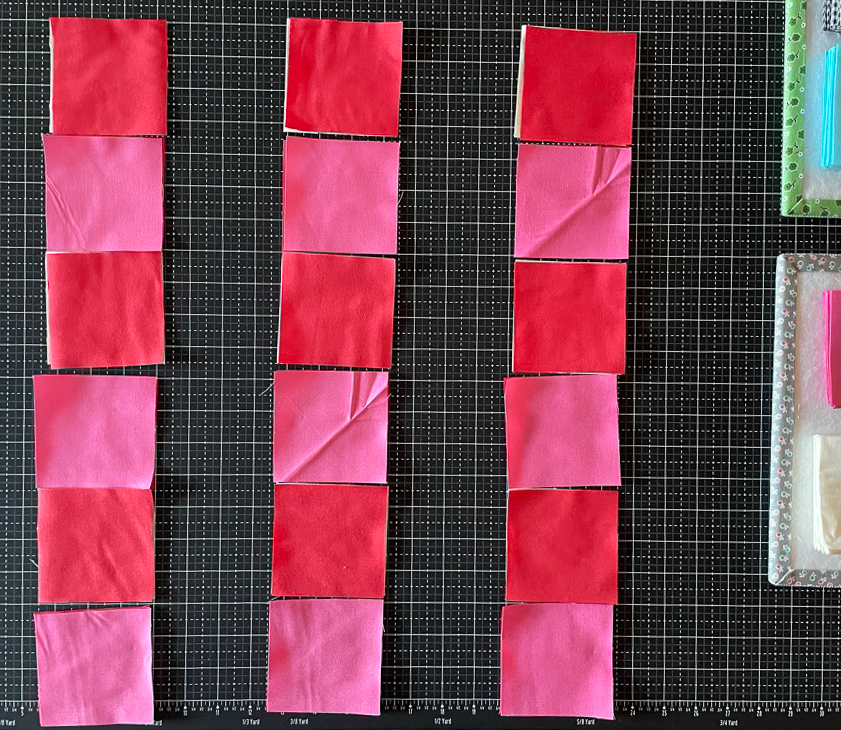
Pin your squares, load up a design board, and take to your machine to chain piece the squares together.
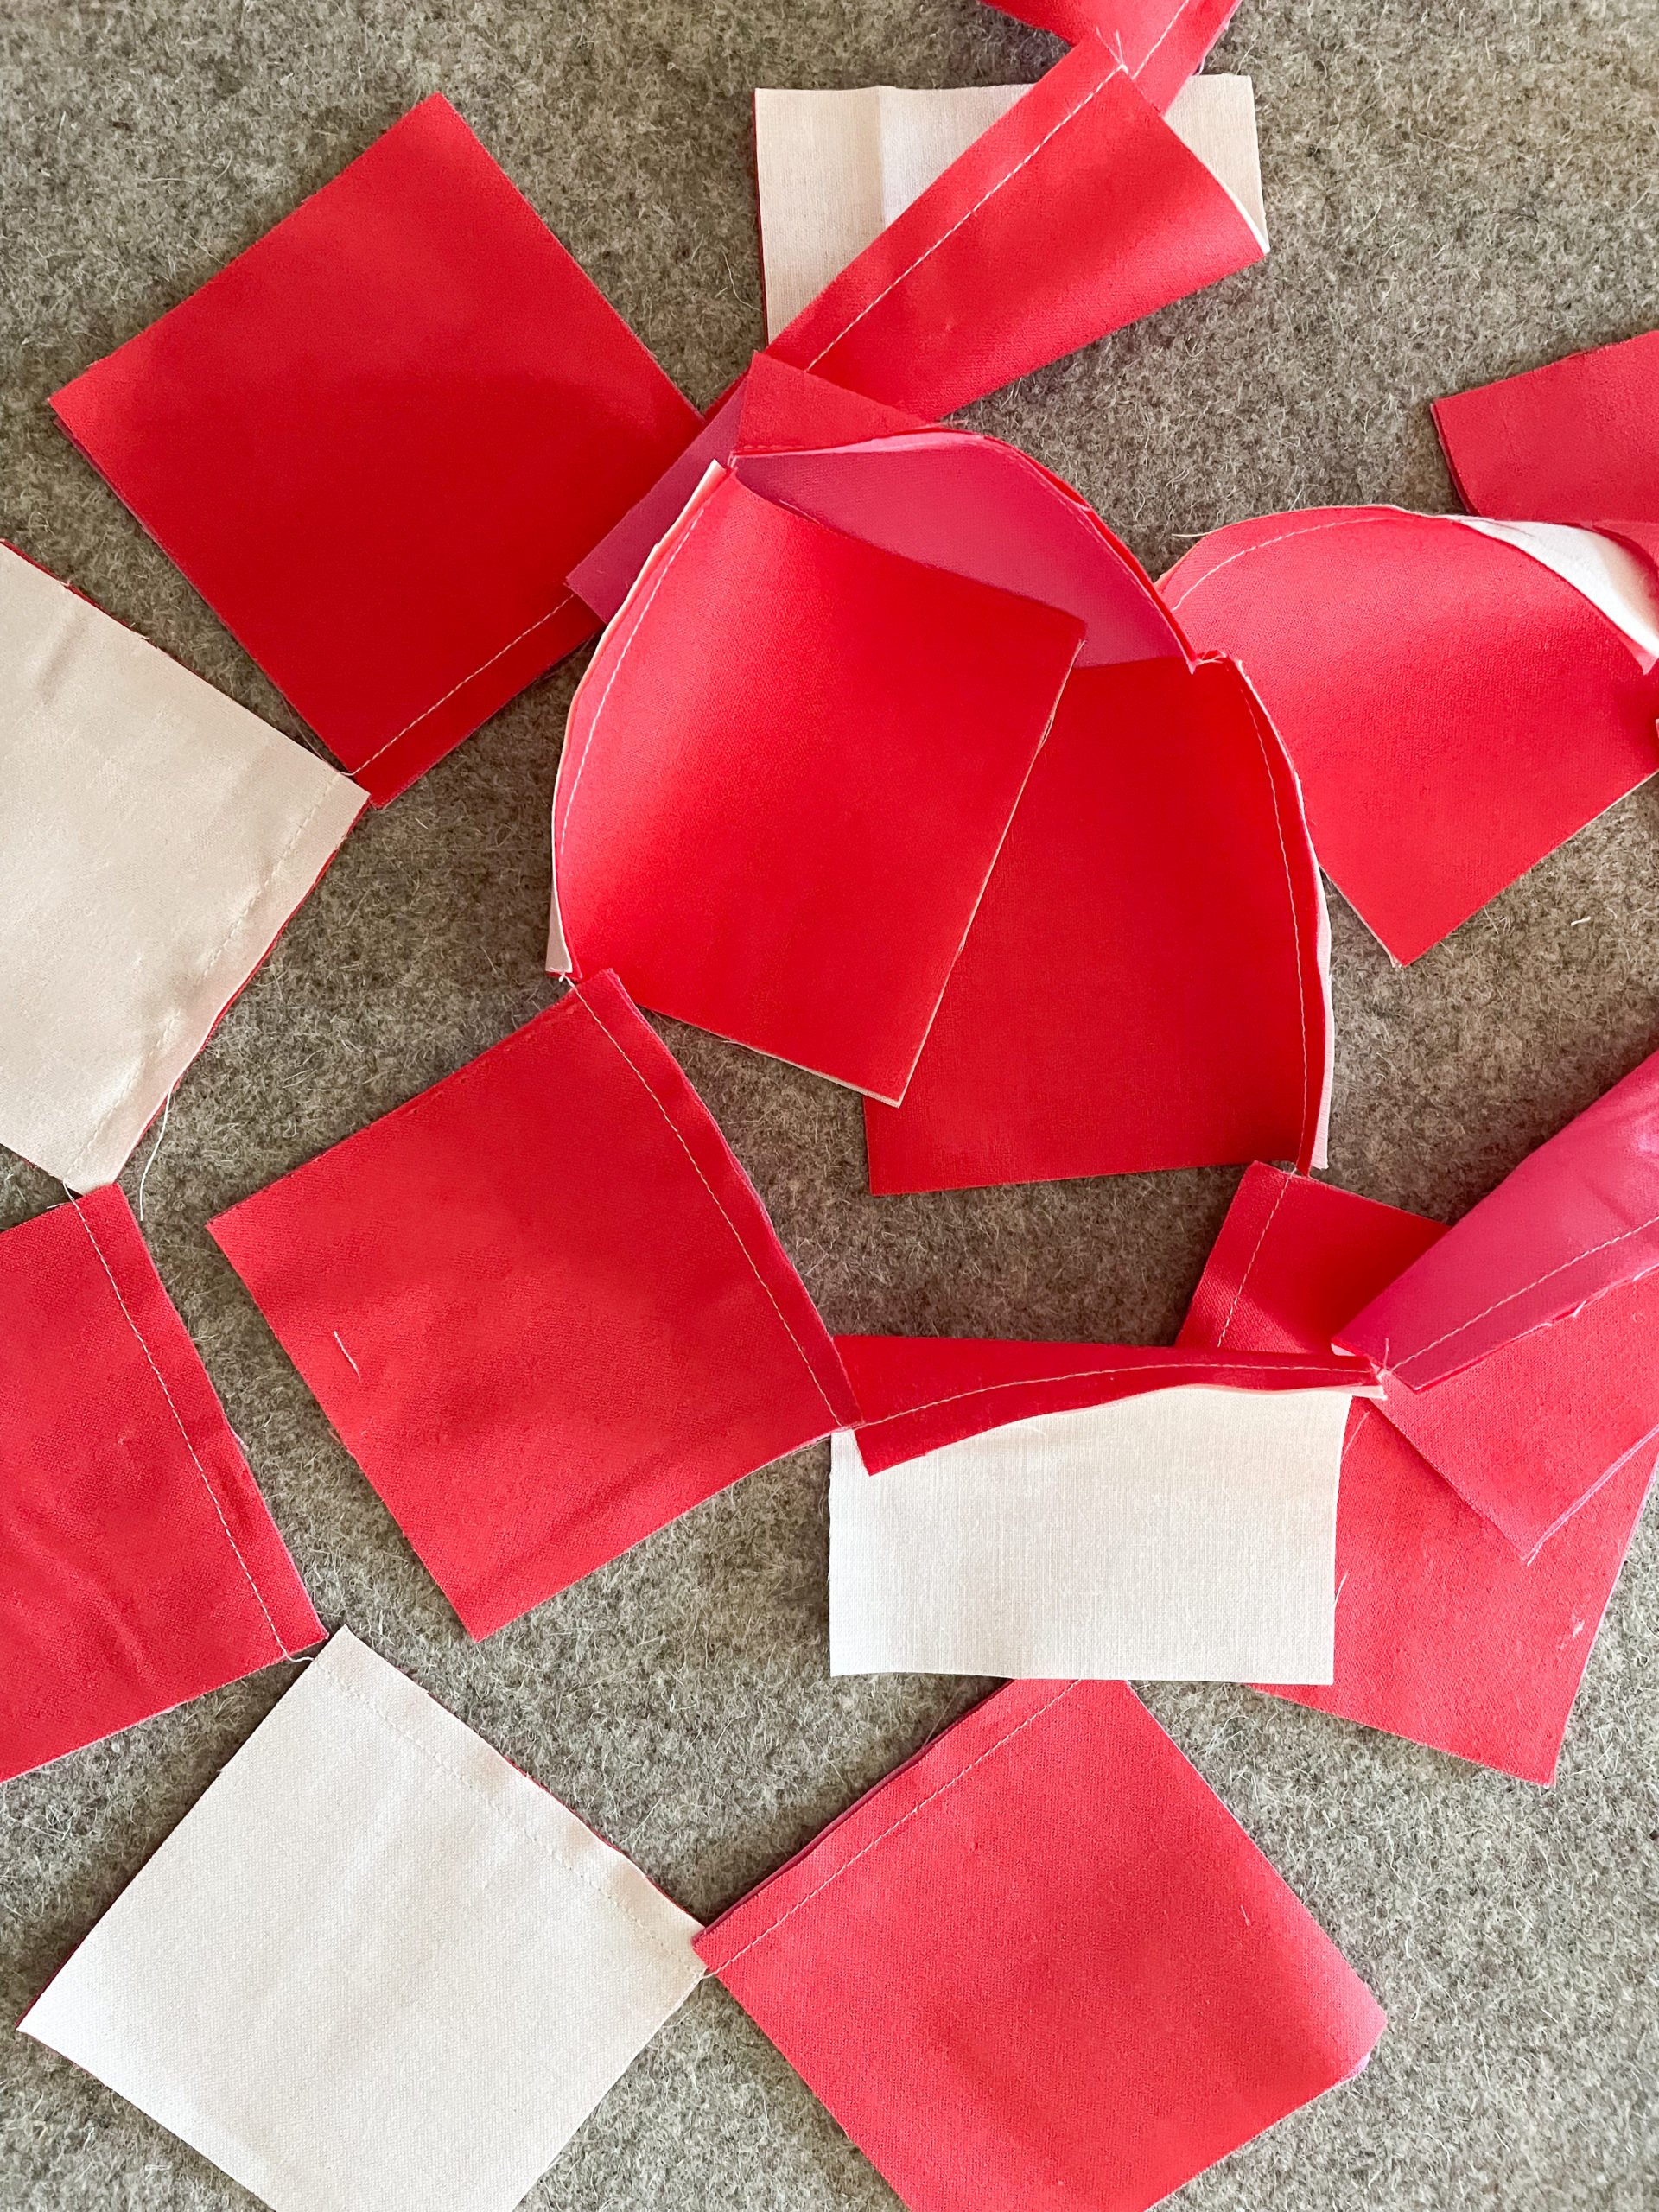
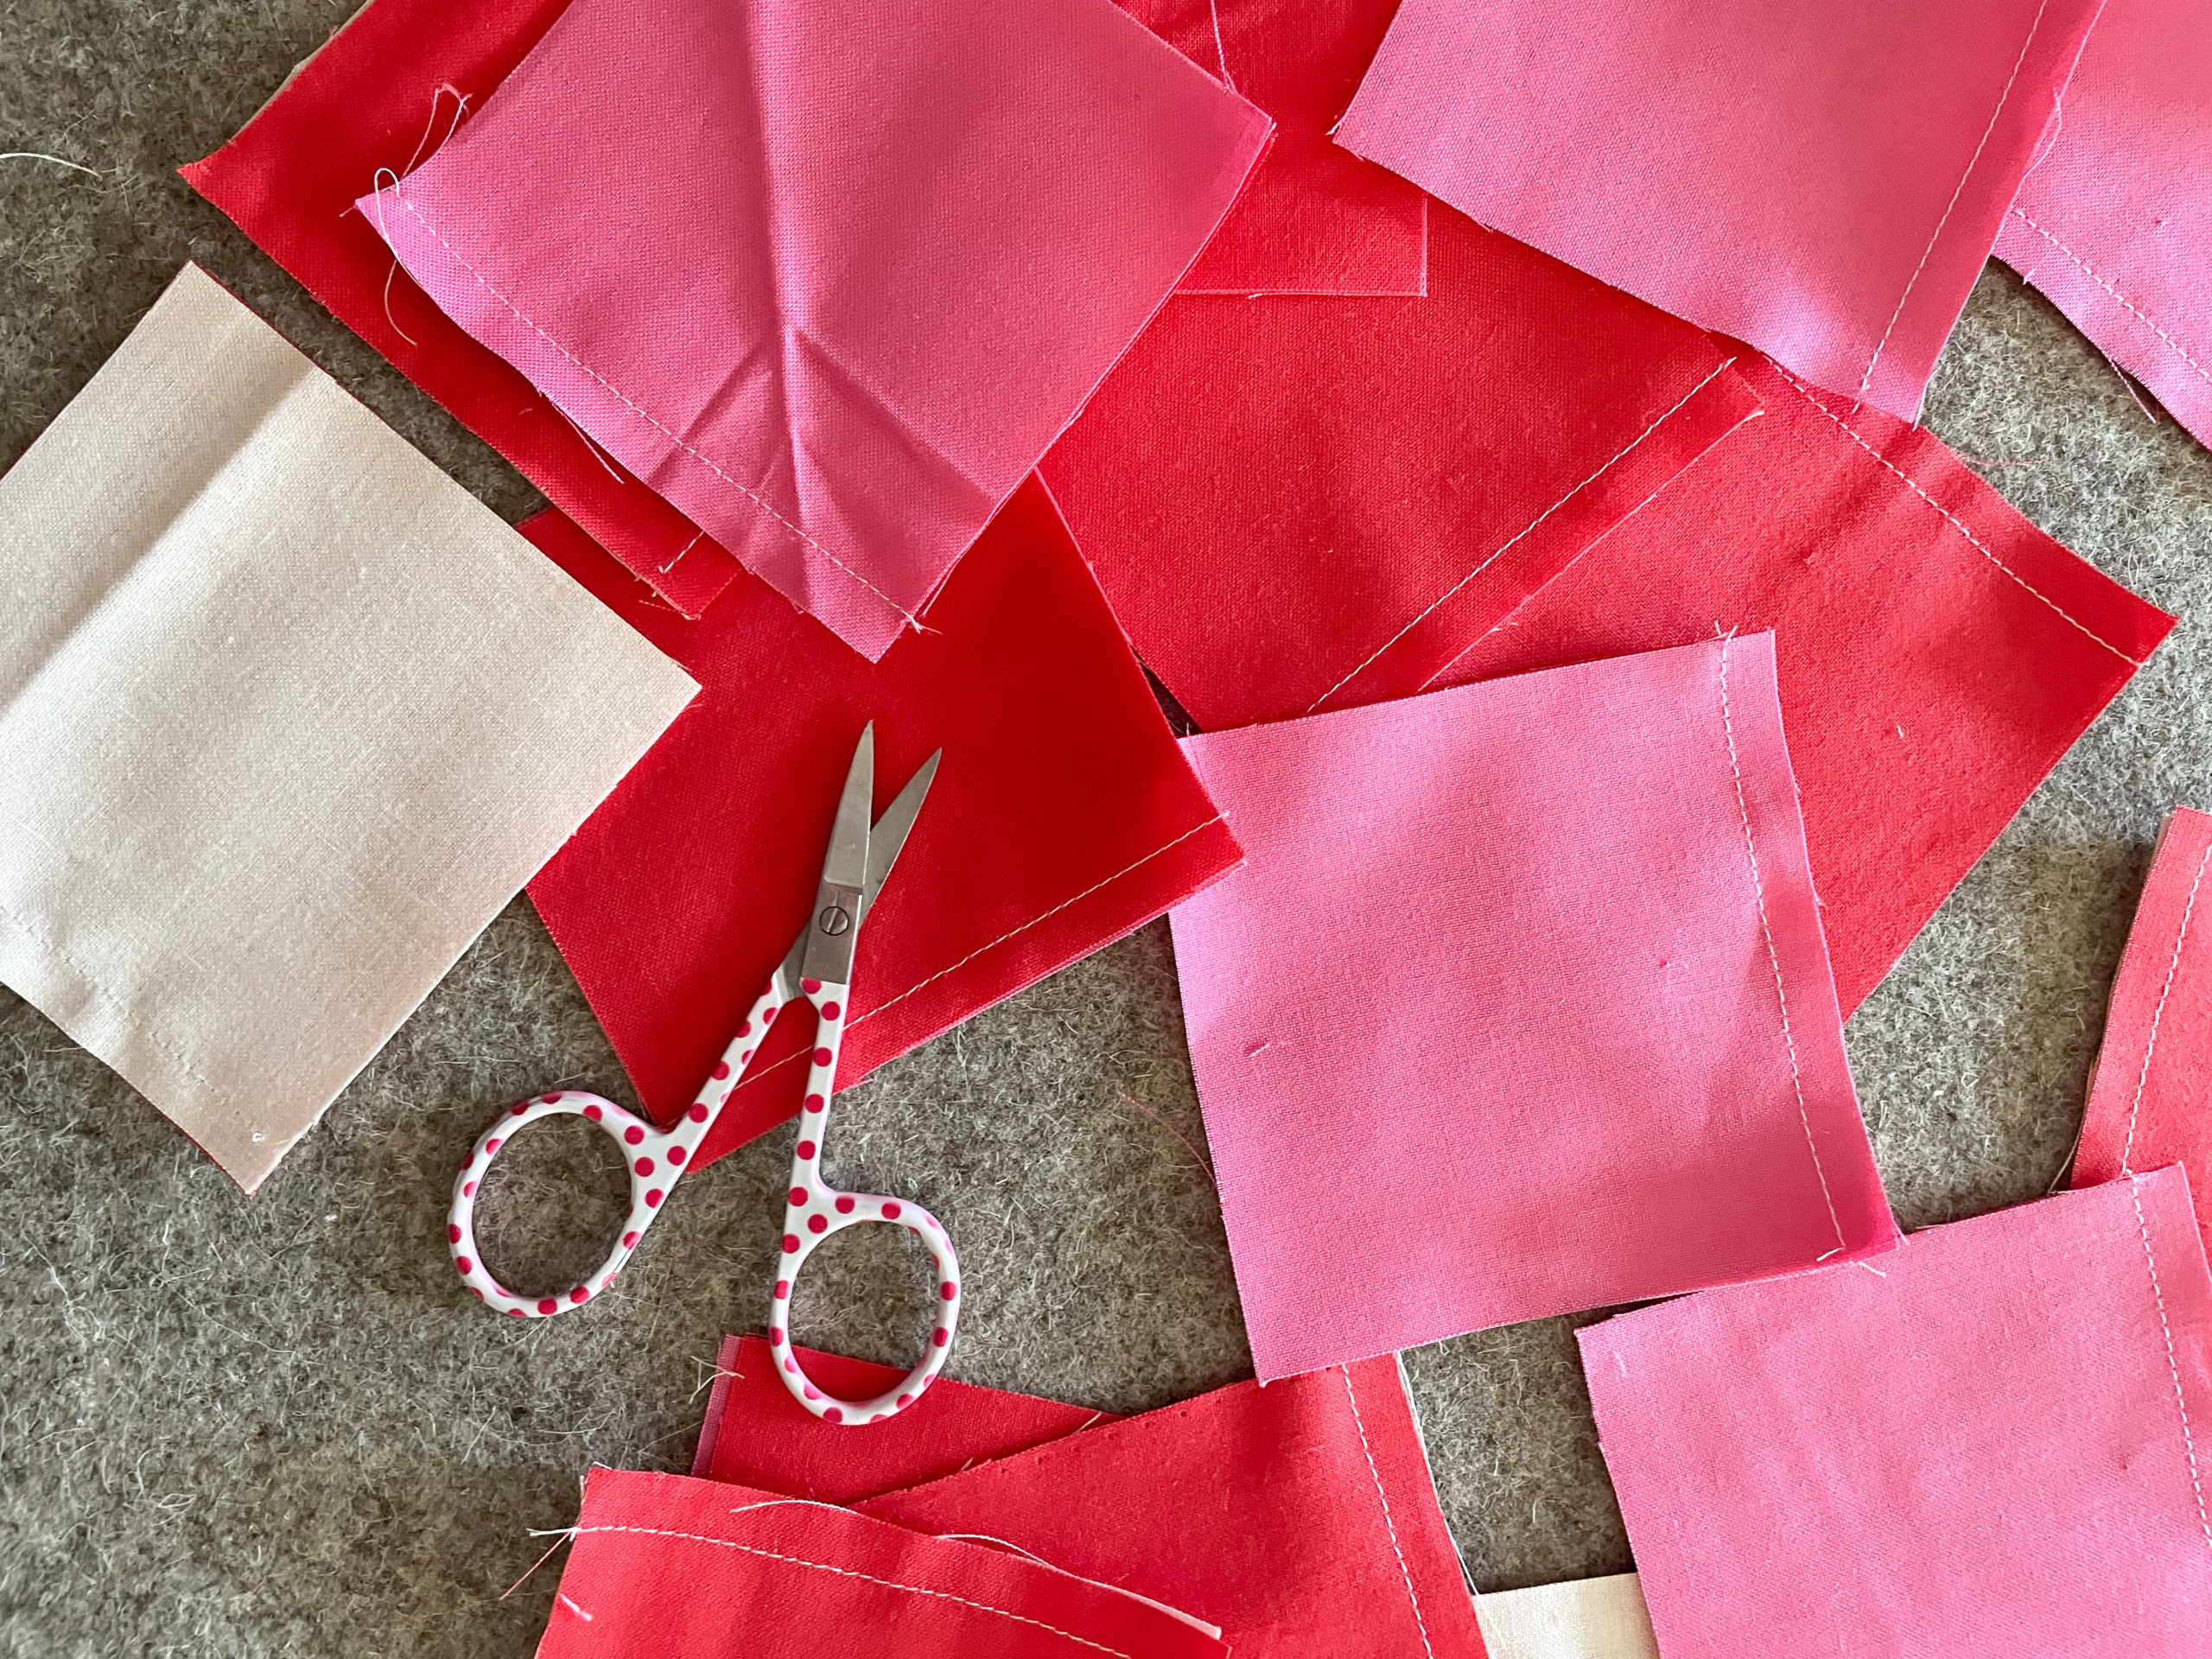
Step 5.
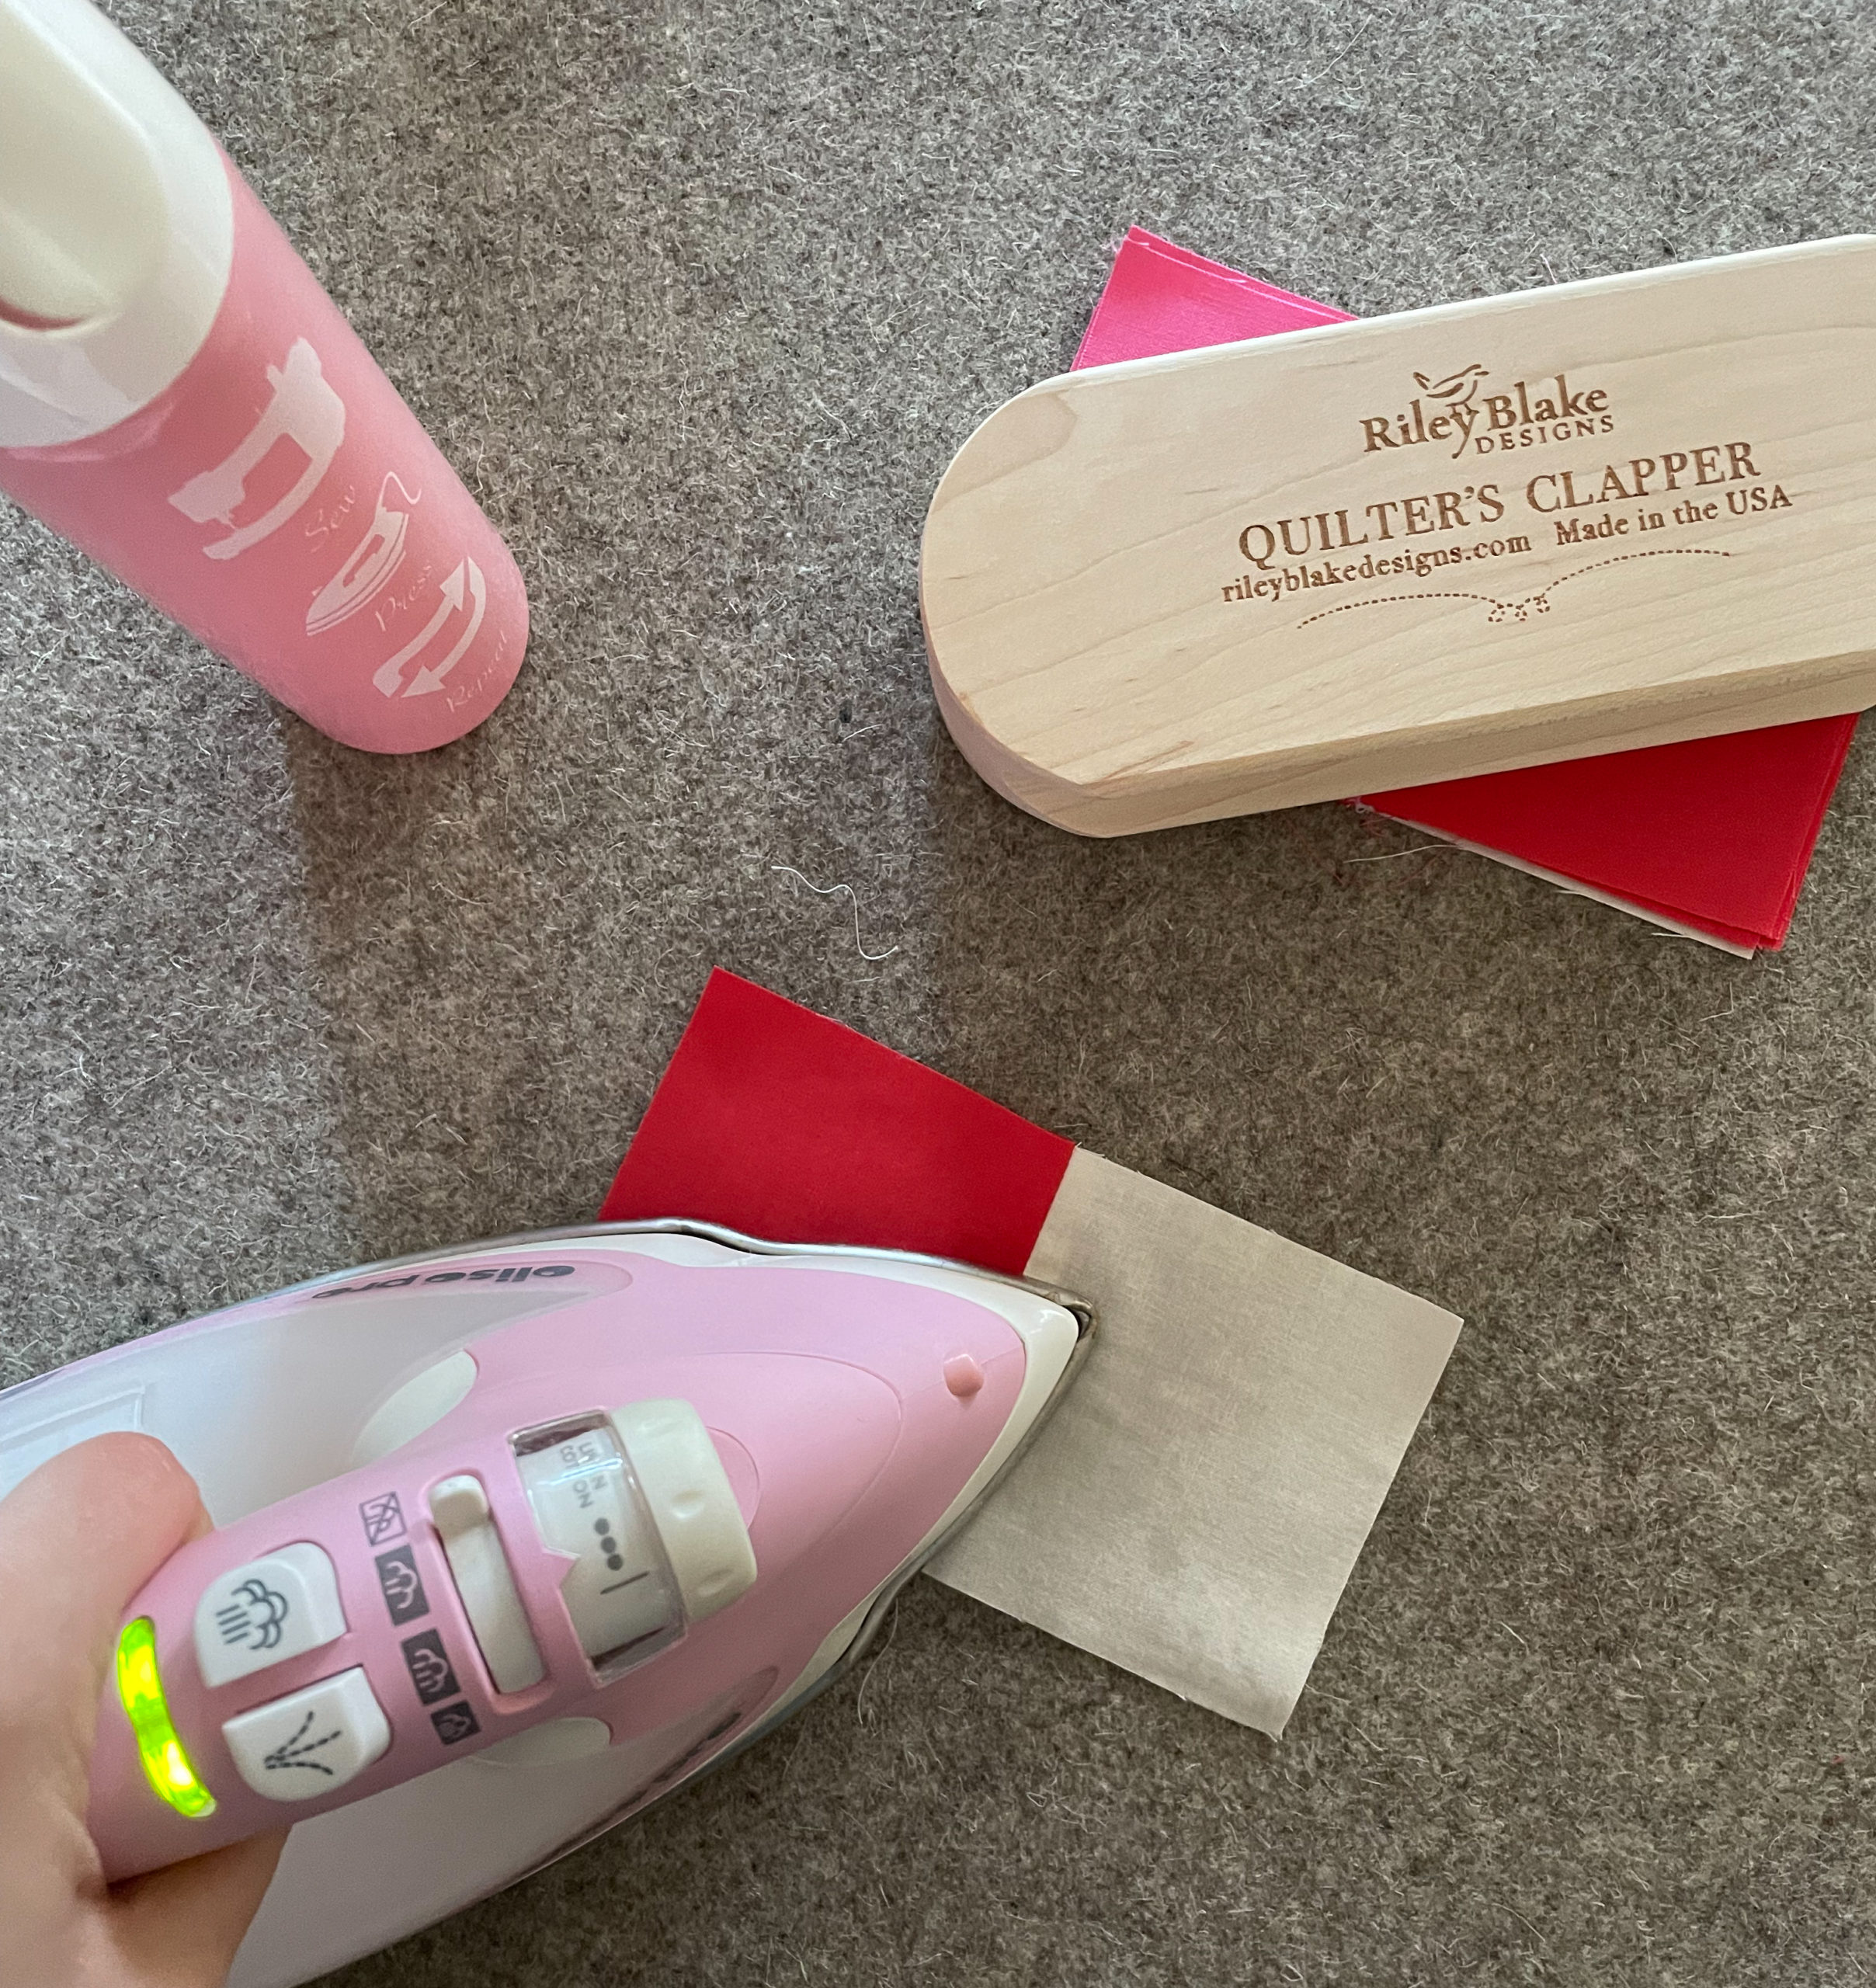
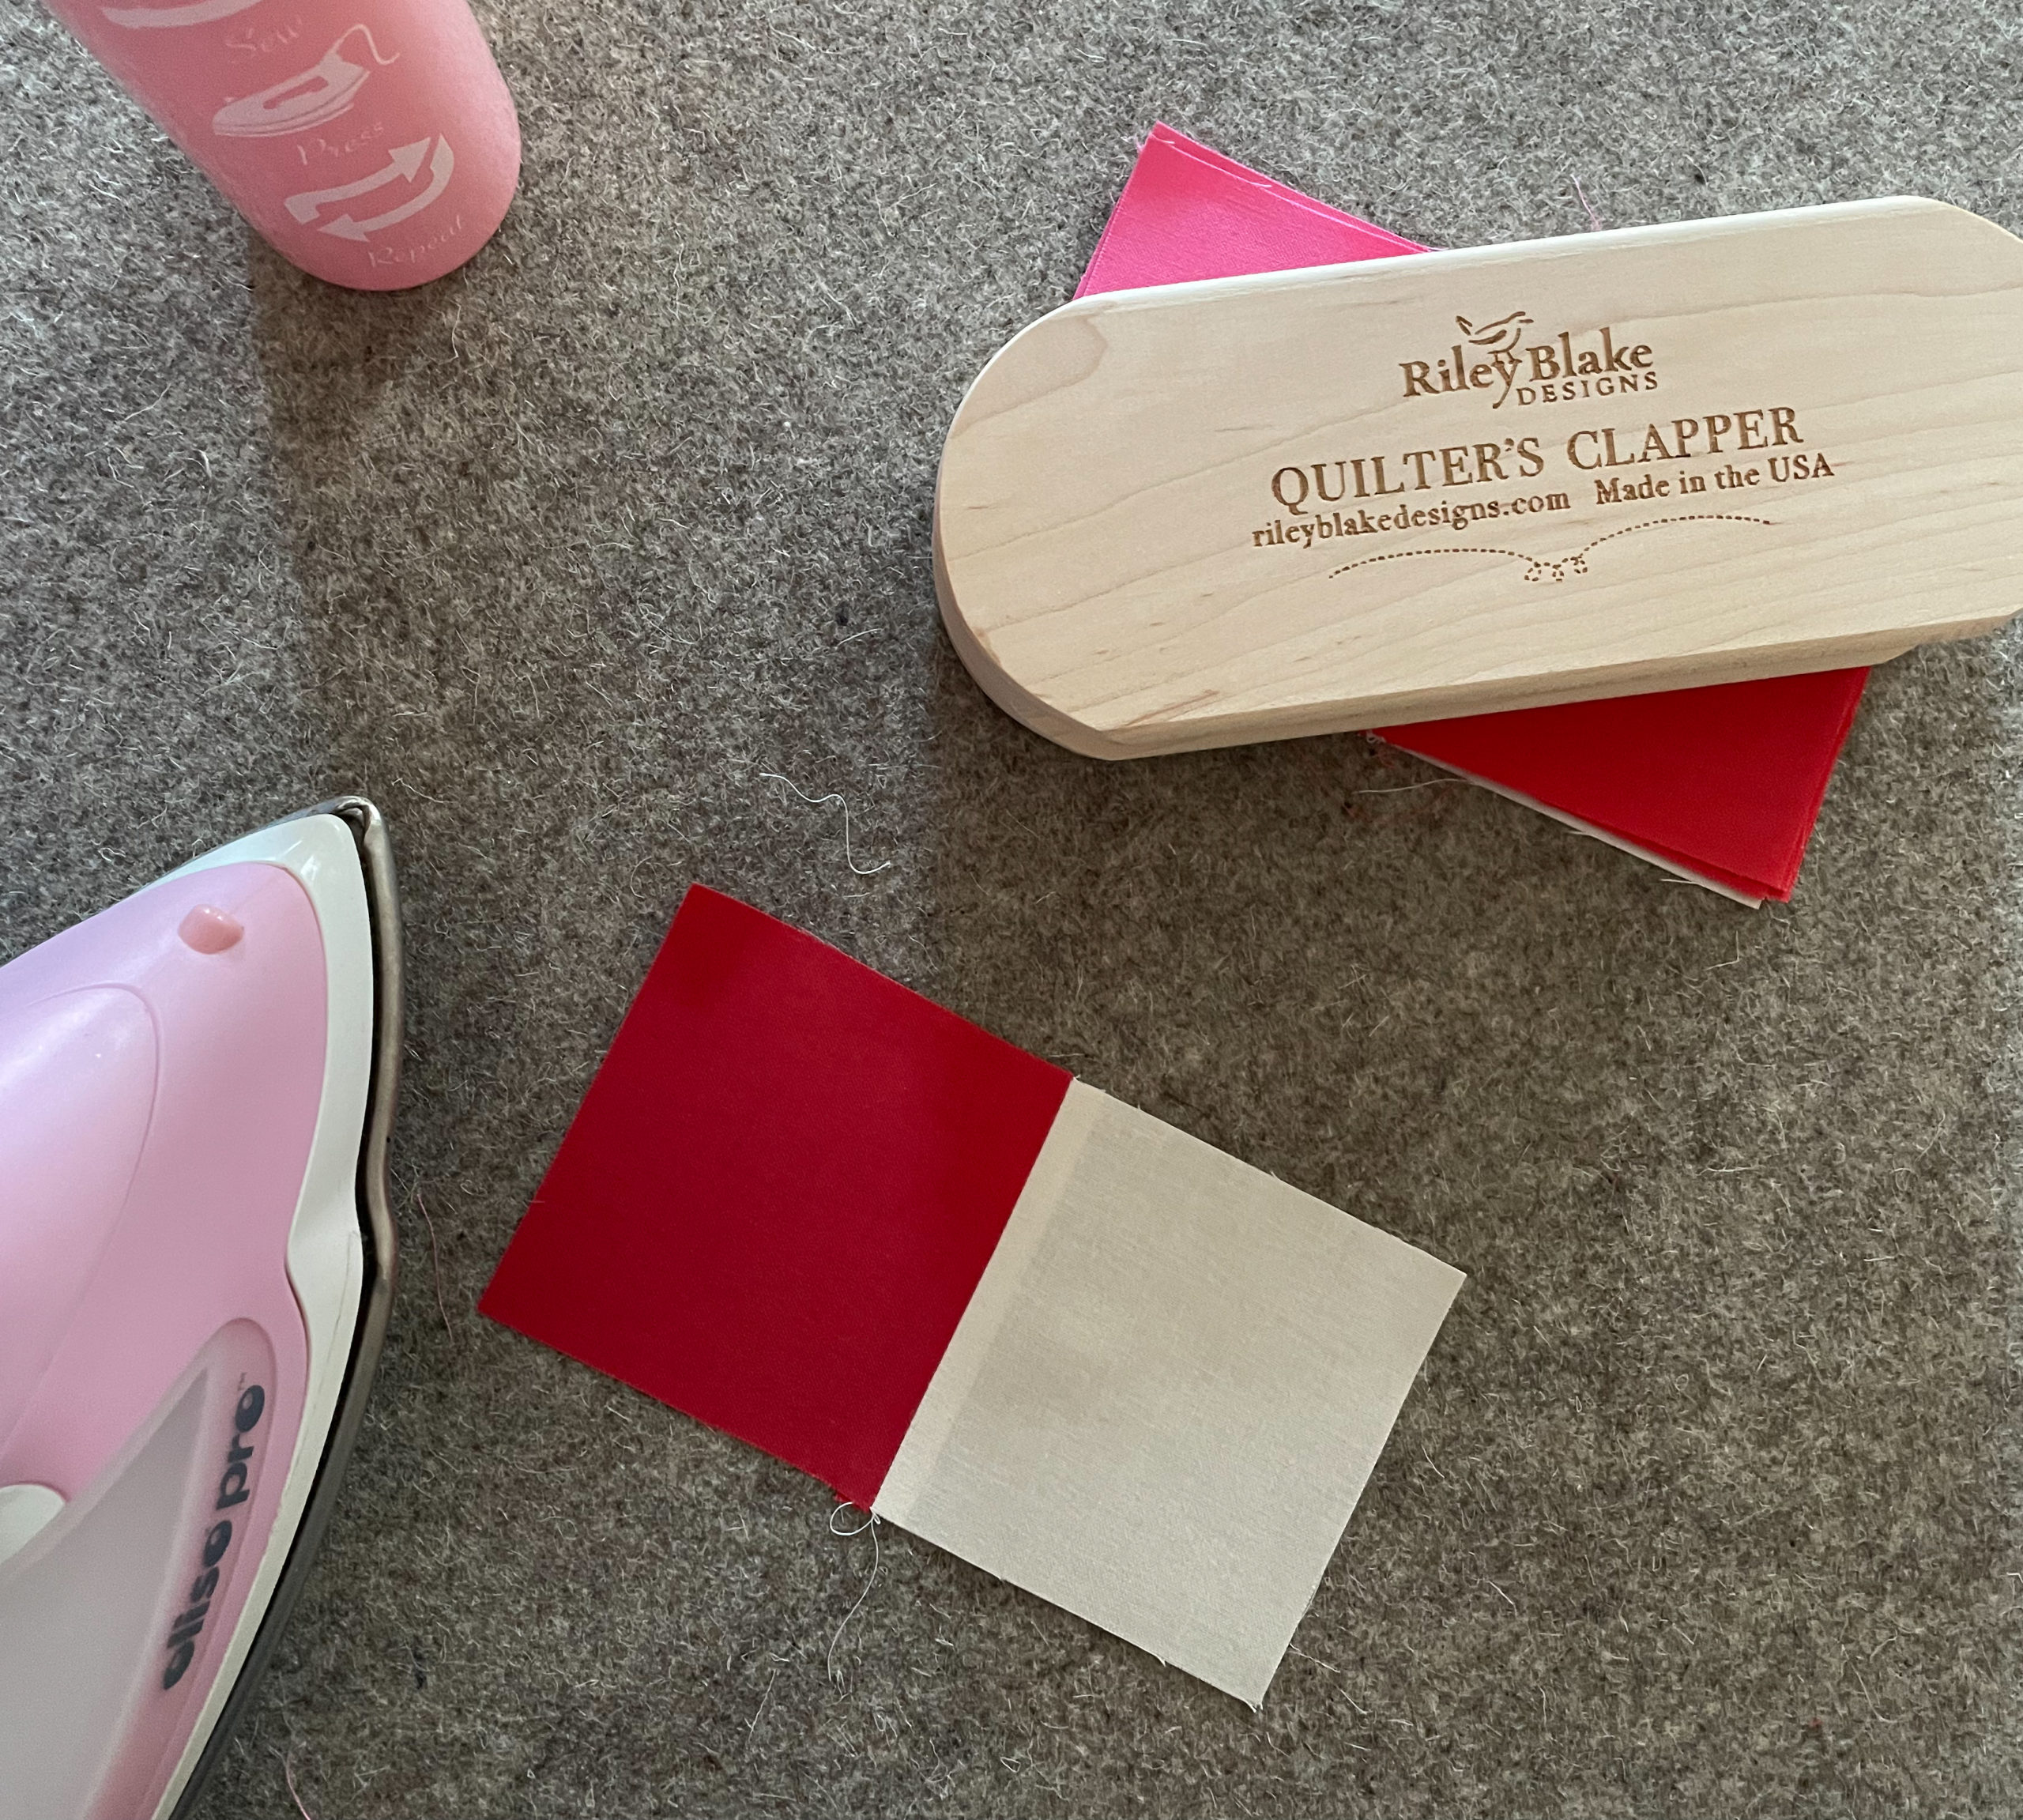
Cut apart your chain piecing and press your blocks open. I like to use the Riley Blake Designs Fabric Mister spray bottle, Oliso Iron, and a Quilter’s Clapper for perfectly pressed seams. I never understood what a clapper would really help with until I tried it – it’s amazing!
Step 6.
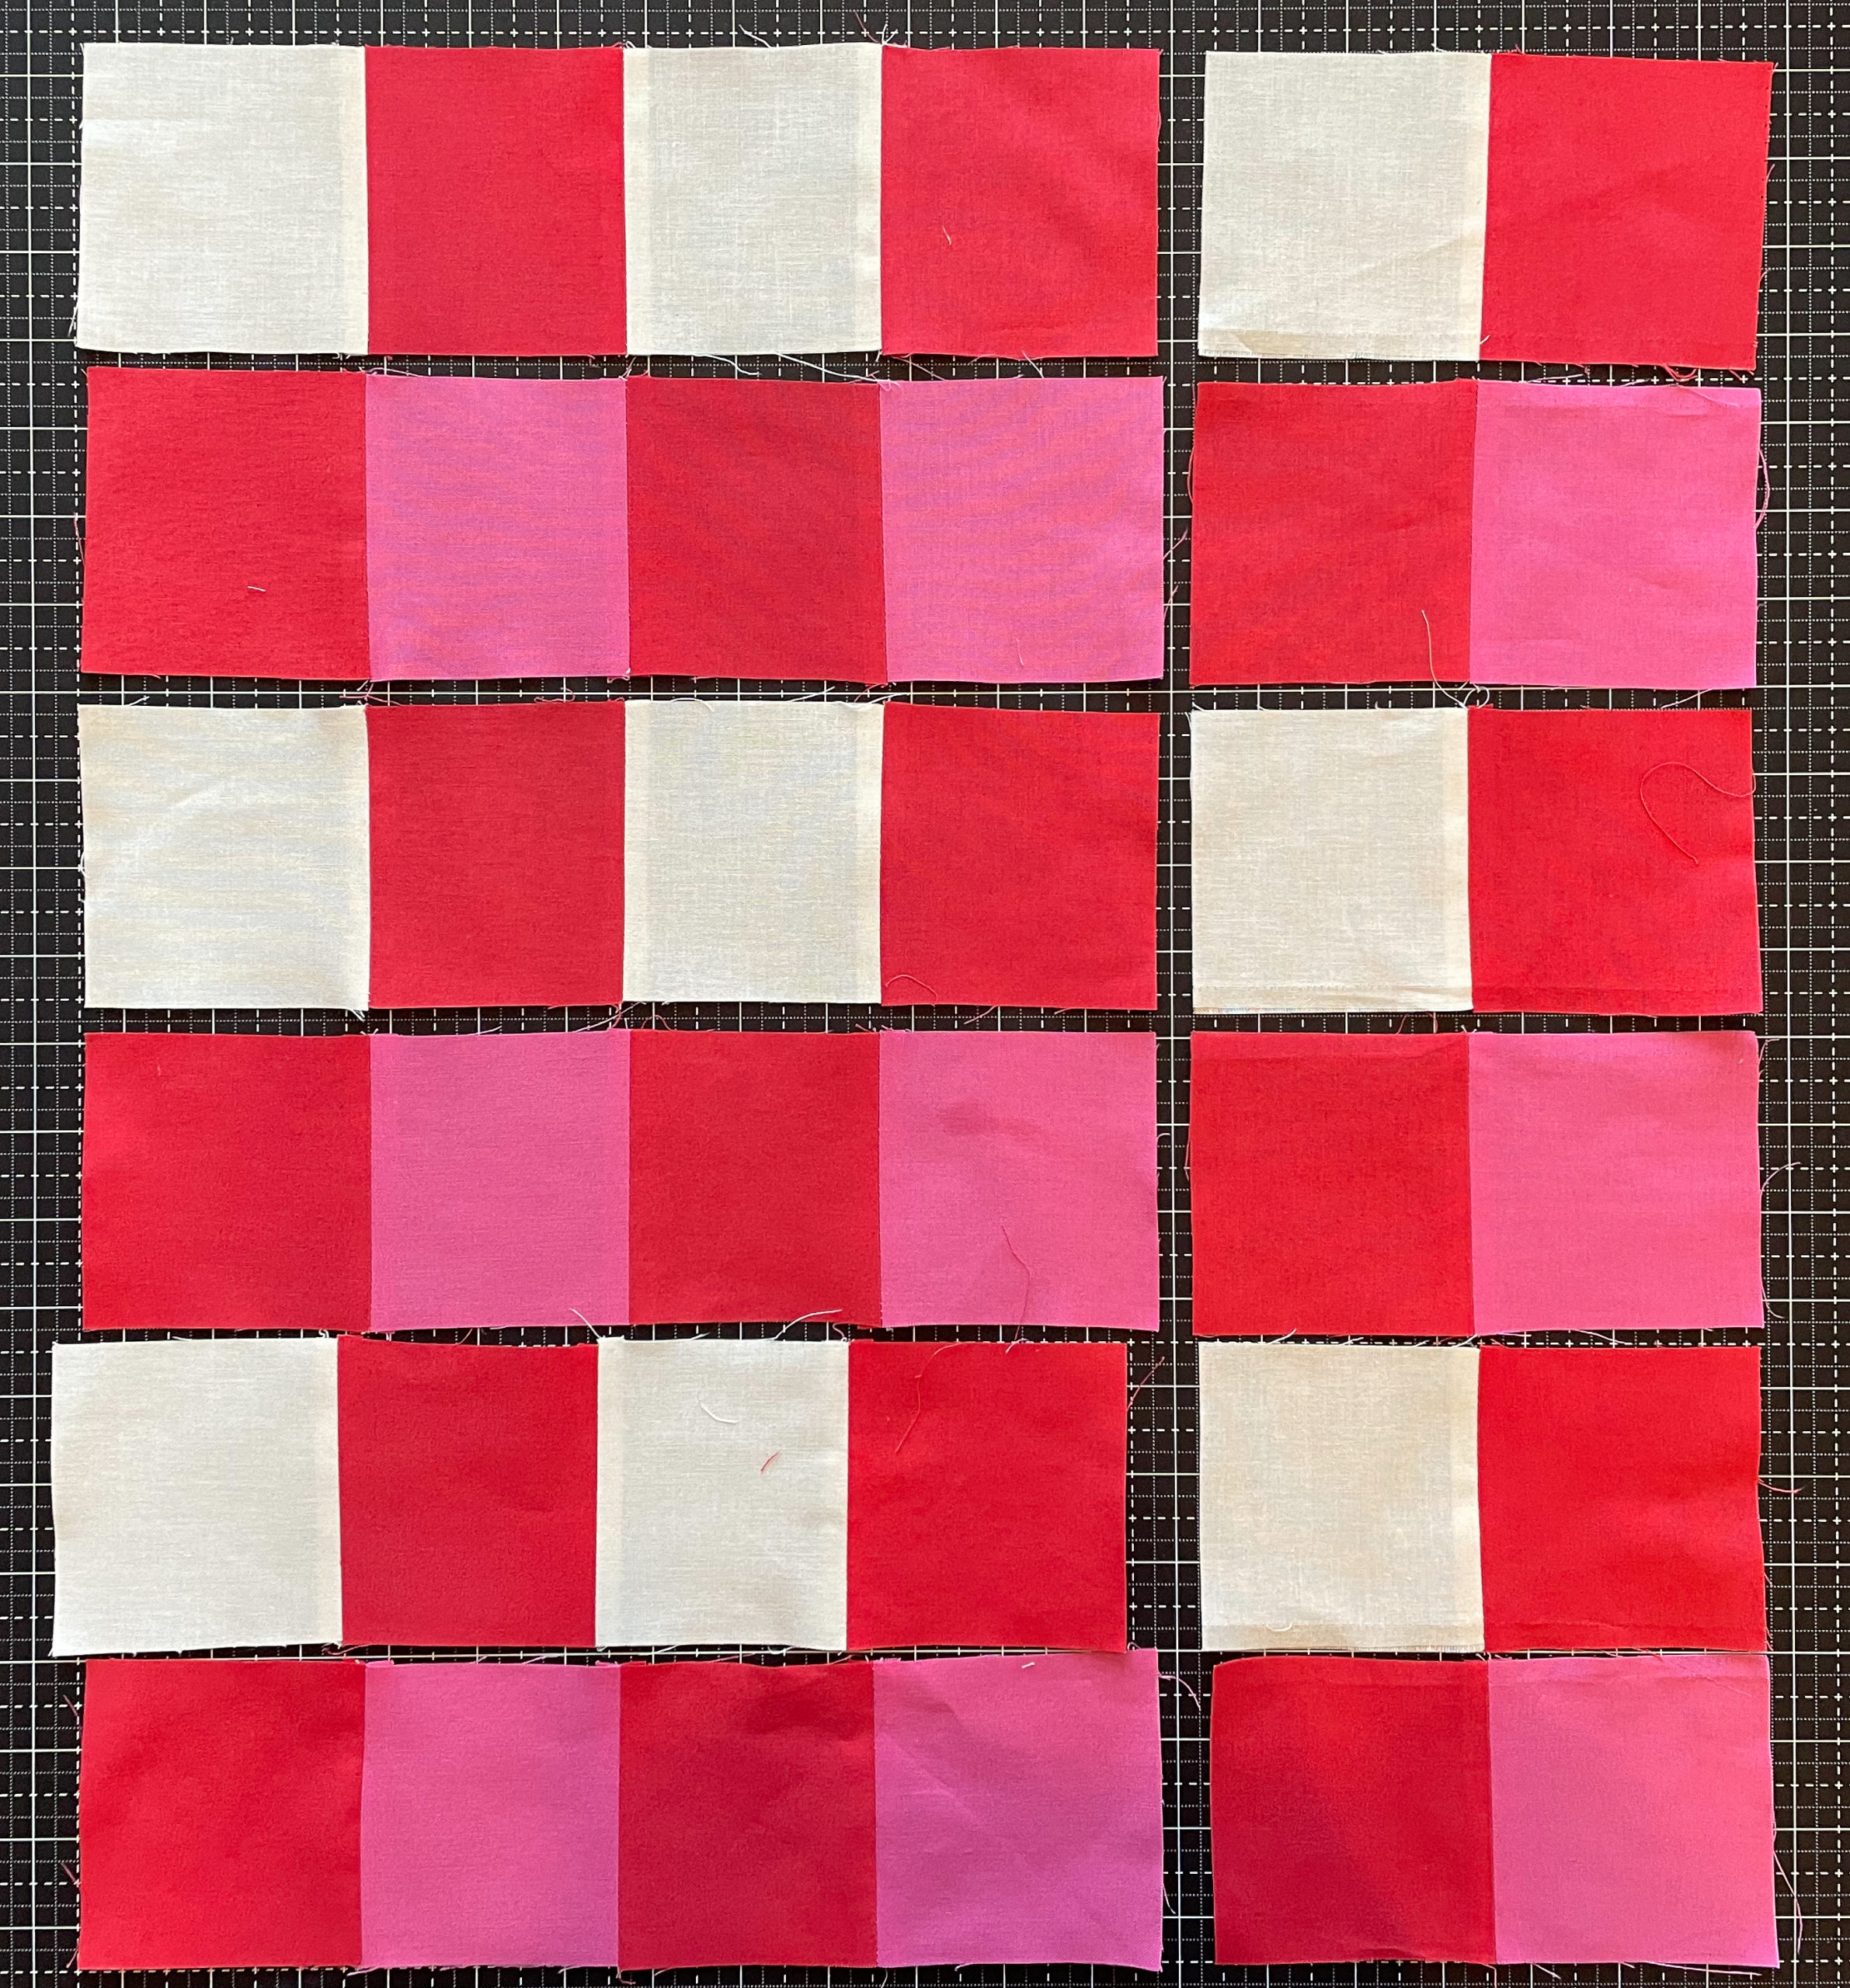
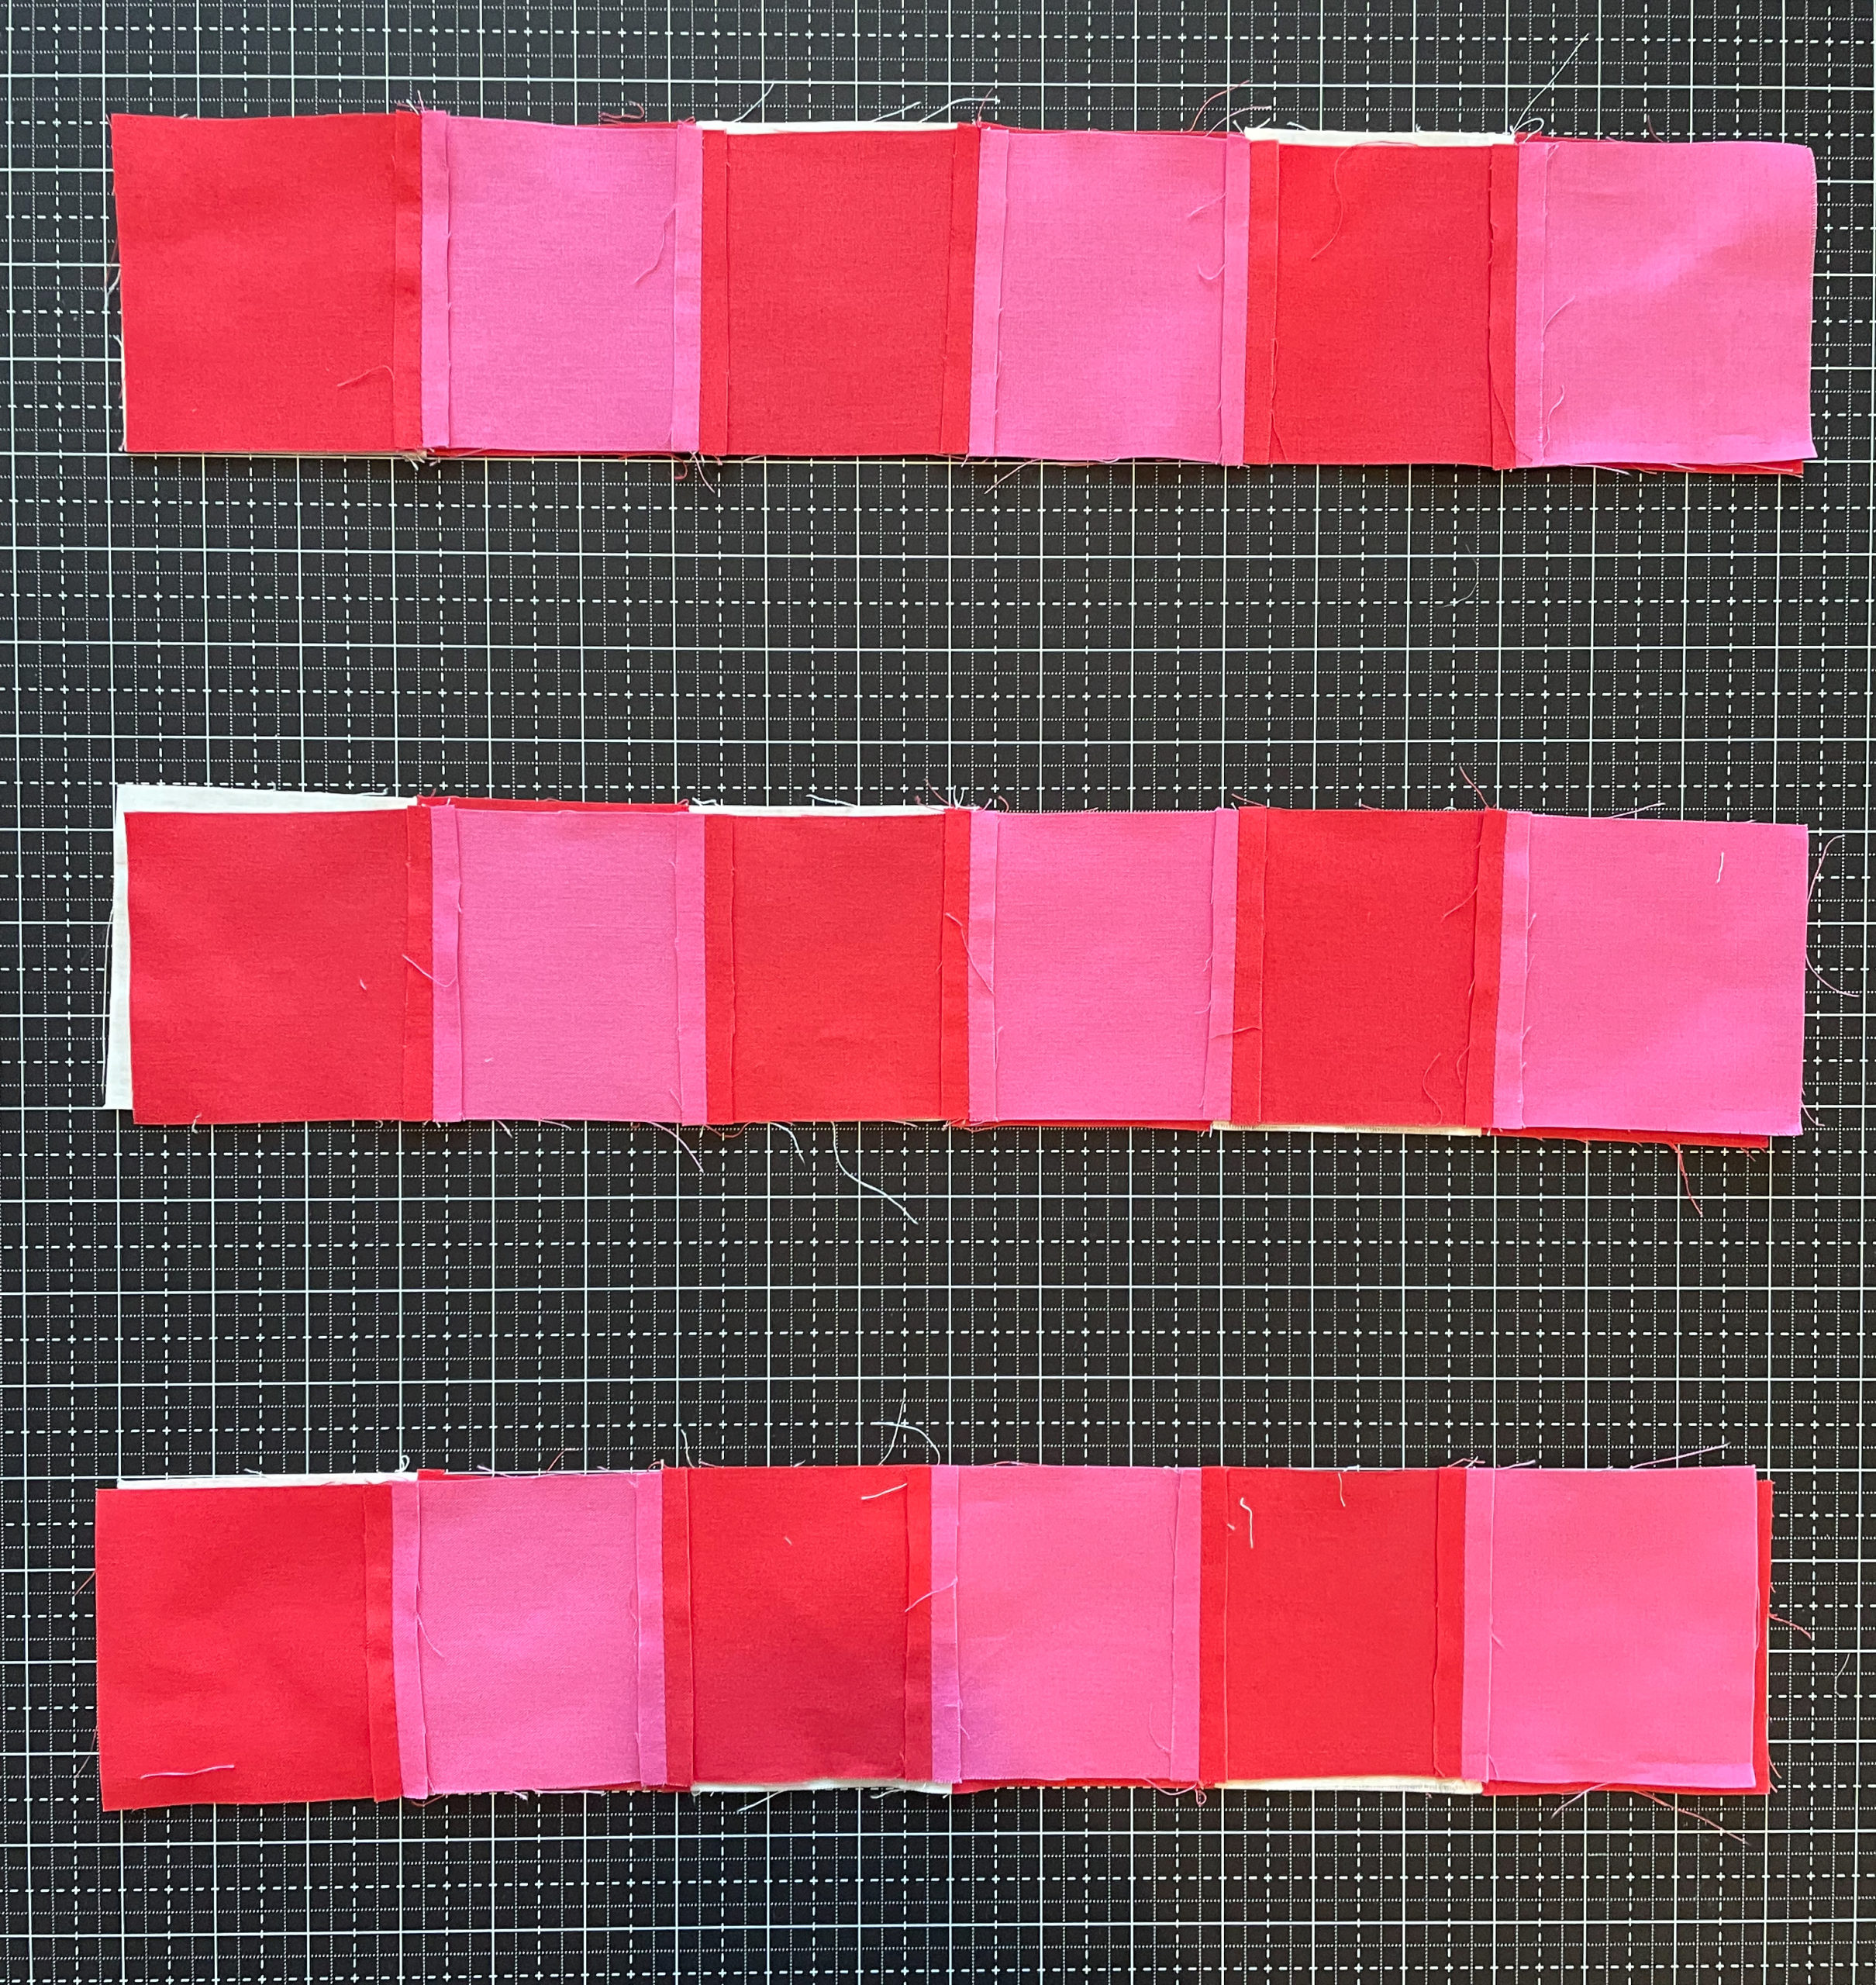
Bring your blocks back to a flat surface (or design wall or board) and lay them out to match the complete block design. Repeat steps 3-6 until your rows are all sewn together to form your final block.


Step 7.
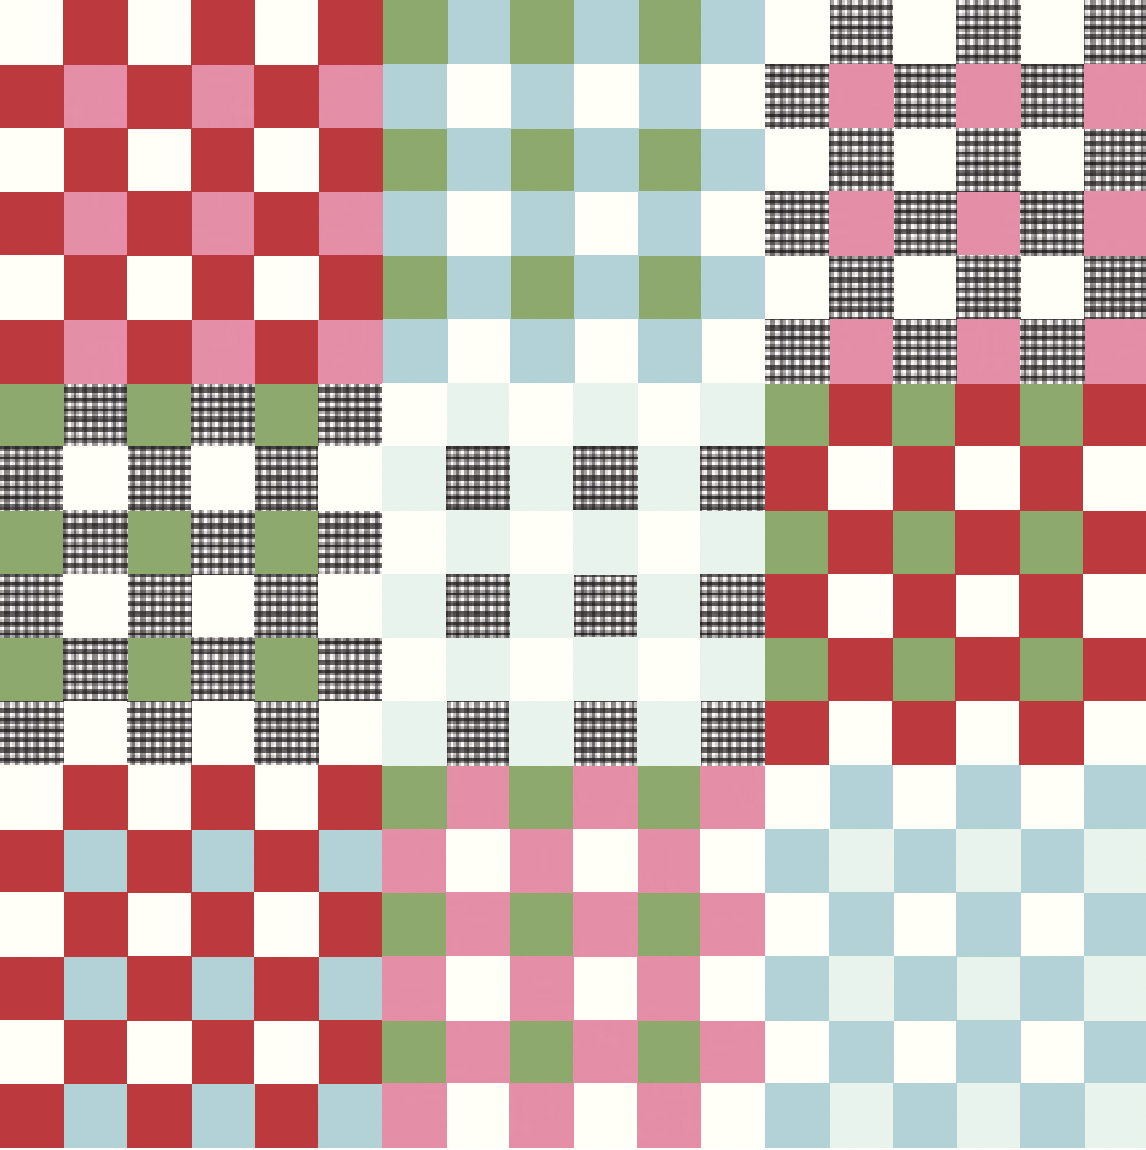
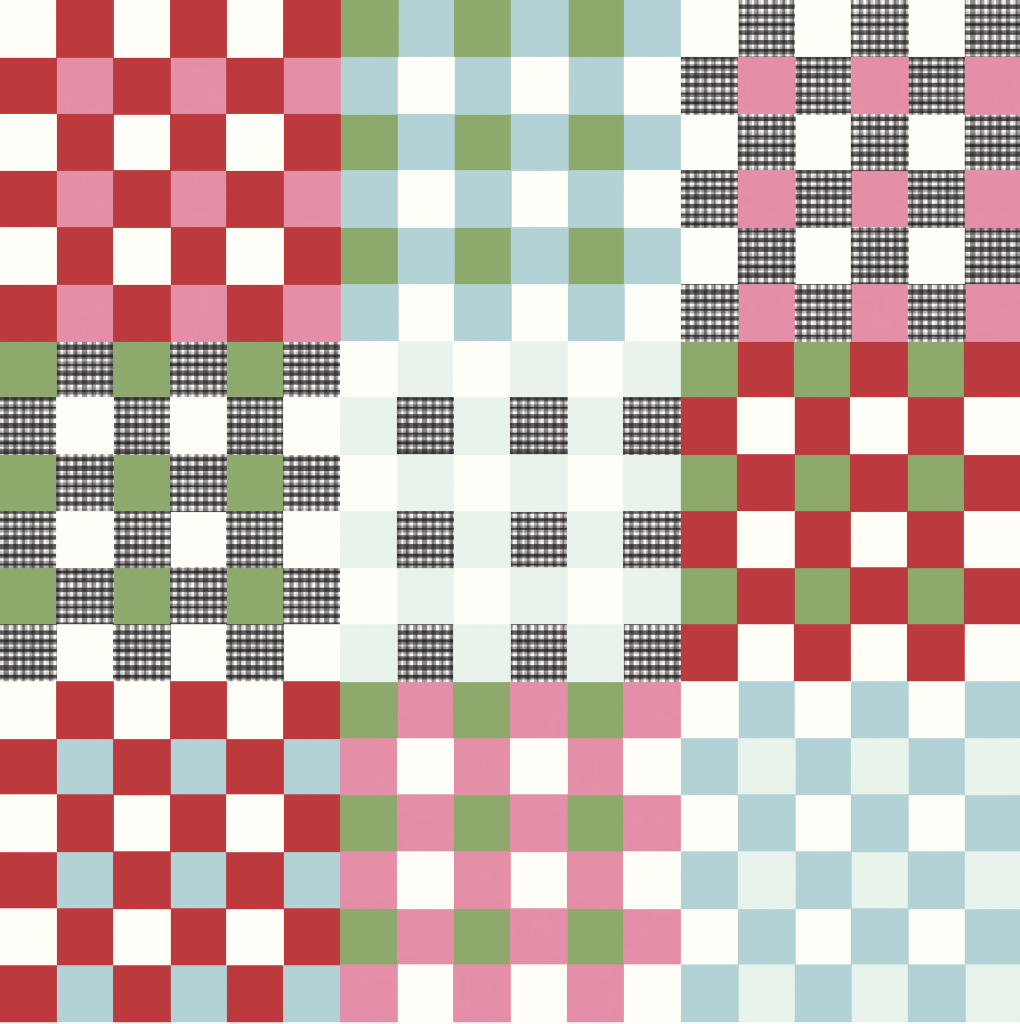
Square up your block and repeat all the above steps for each of the 9 block designs, following the digital quilt image (below) for color placement.
Step 8.
Lay out your quilt top according to the digital quilt or have fun and come up with your own block placement! Once you have a final layout, join your blocks together in rows to complete your quilt top.
Step 9.
Choose your backing and make your quilt sandwich. I like to use spray baste for this step.
Step 10.
Quilt it! I did my quilting on my machine with a simple, stitch-in-the-ditch grid pattern. You could do whatever quilting you’d like or have it sent to a long arm quilter for a custom look.
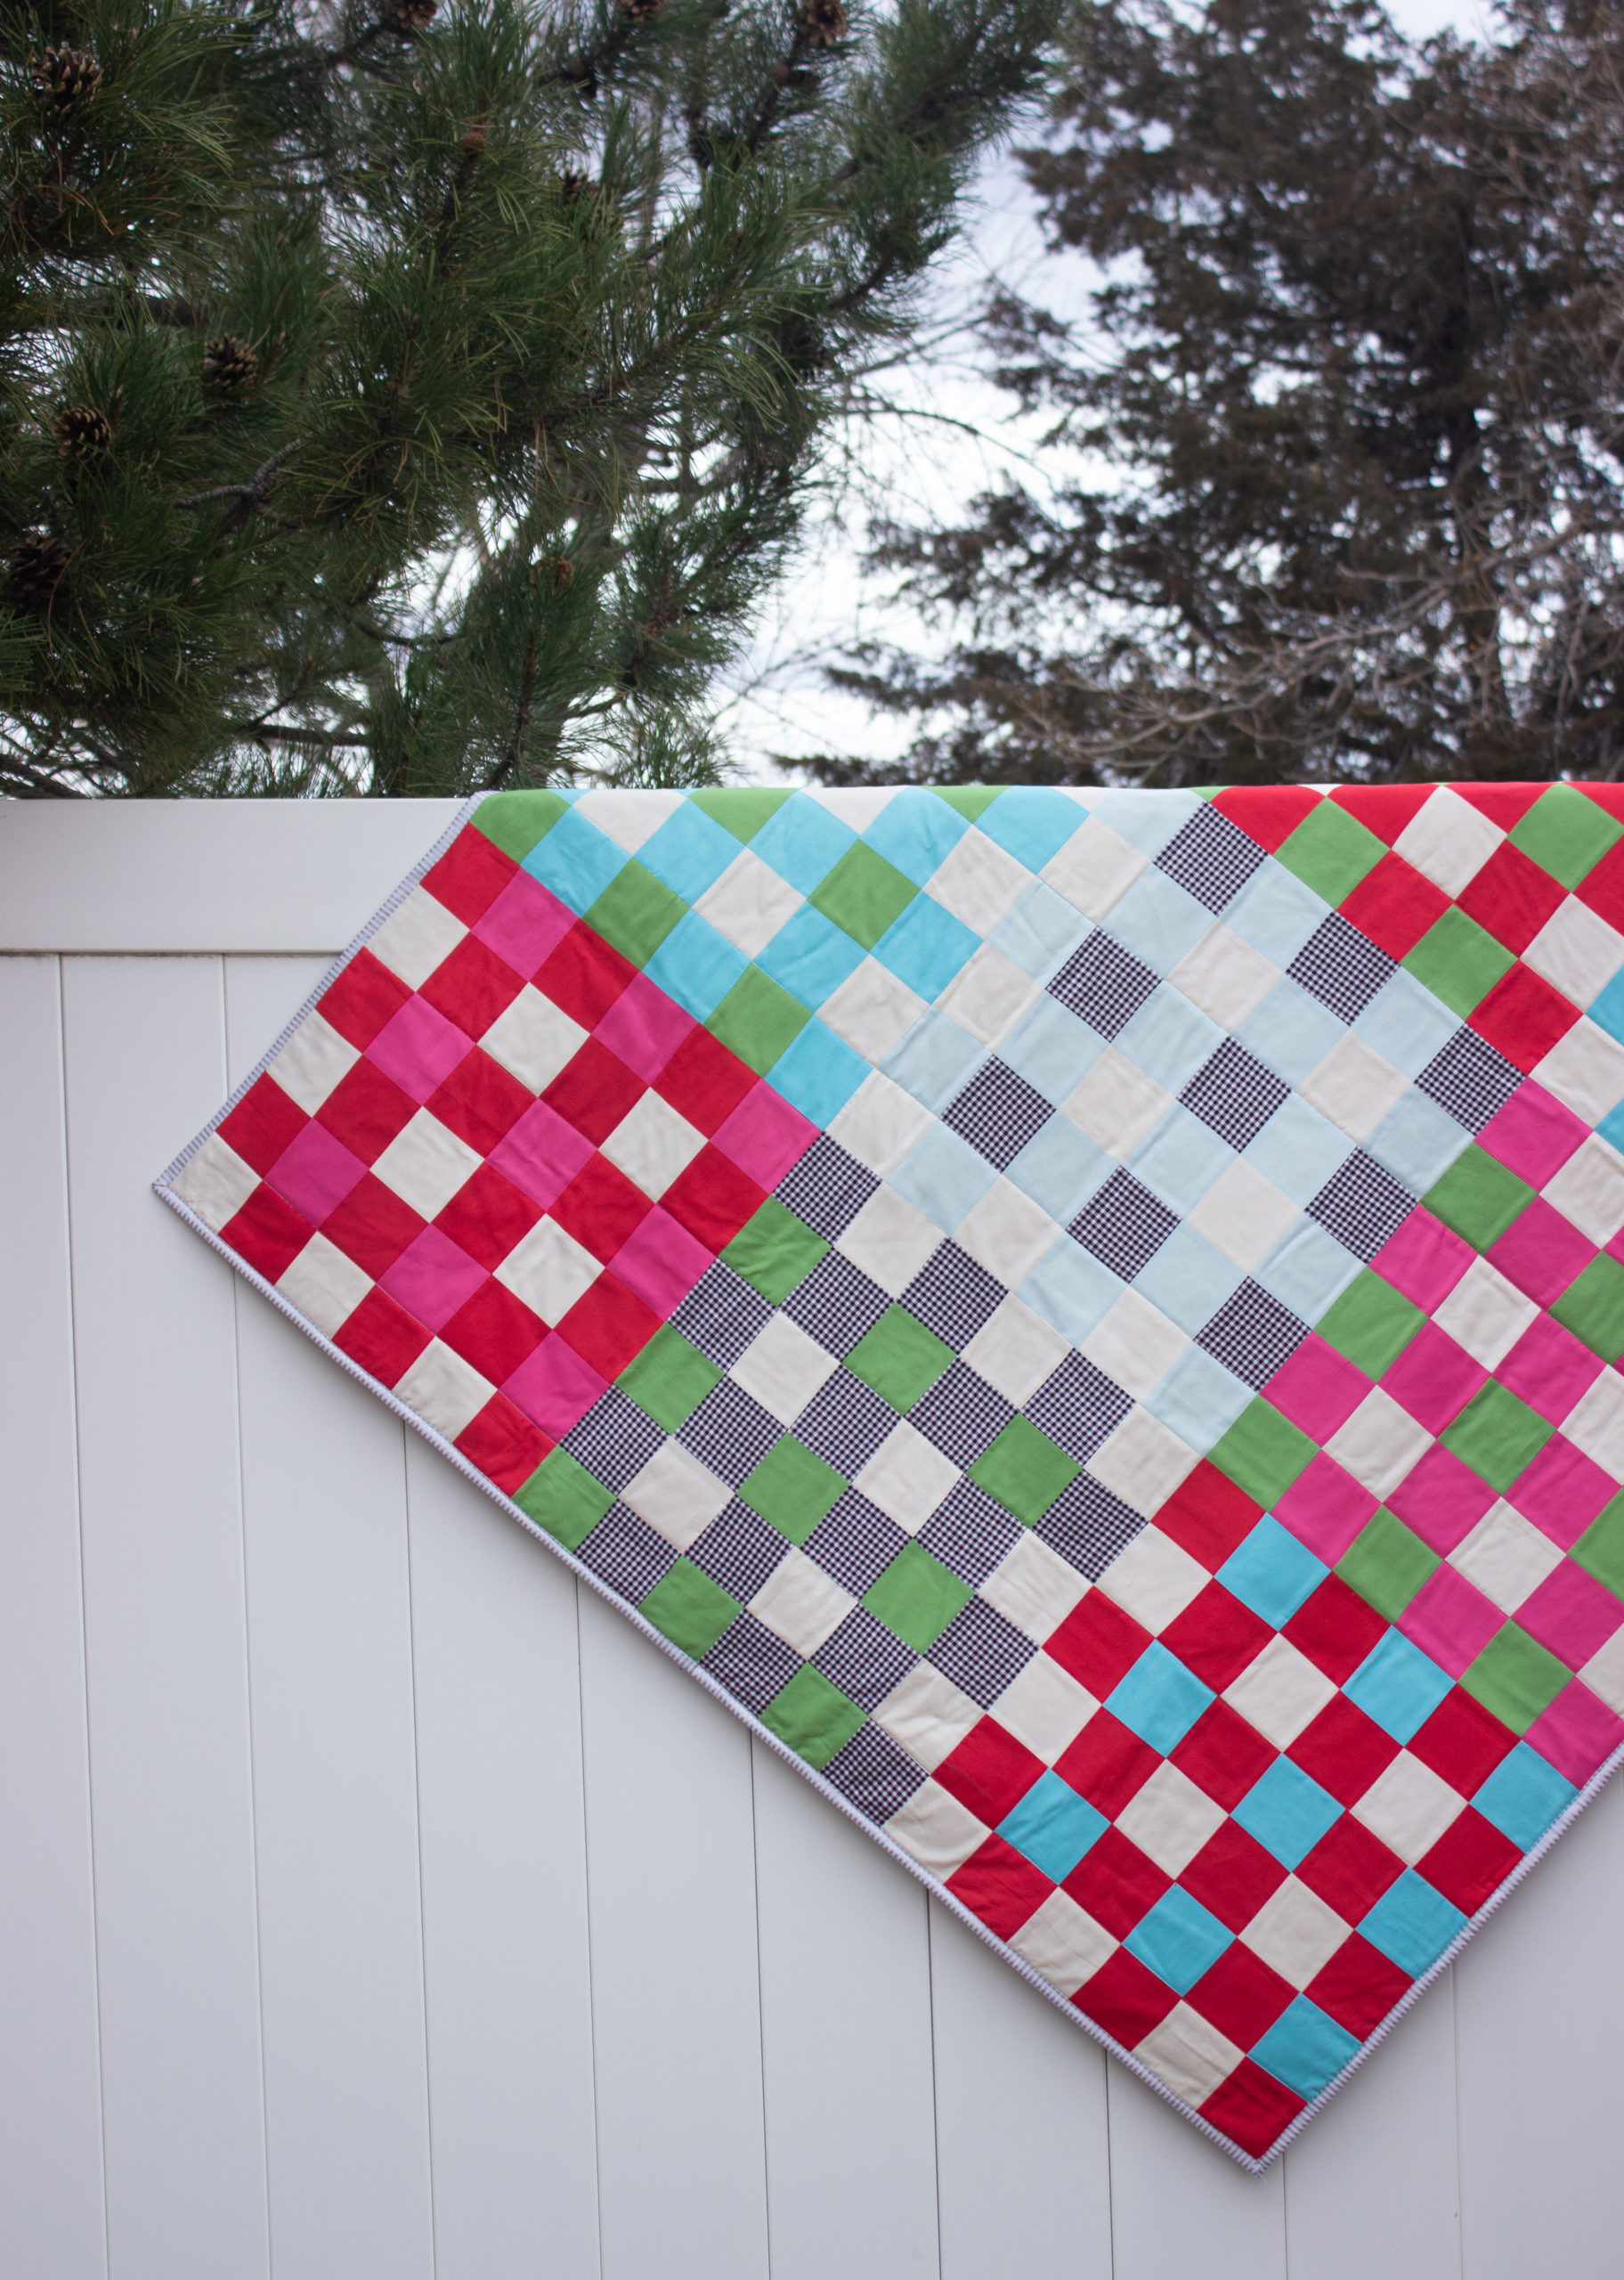
Step 11.
Bind your quilt. I used 1/4″ Silver Sparkle Stripe for my binding and I love how it looks! You can learn how to make and attach quilt binding below.


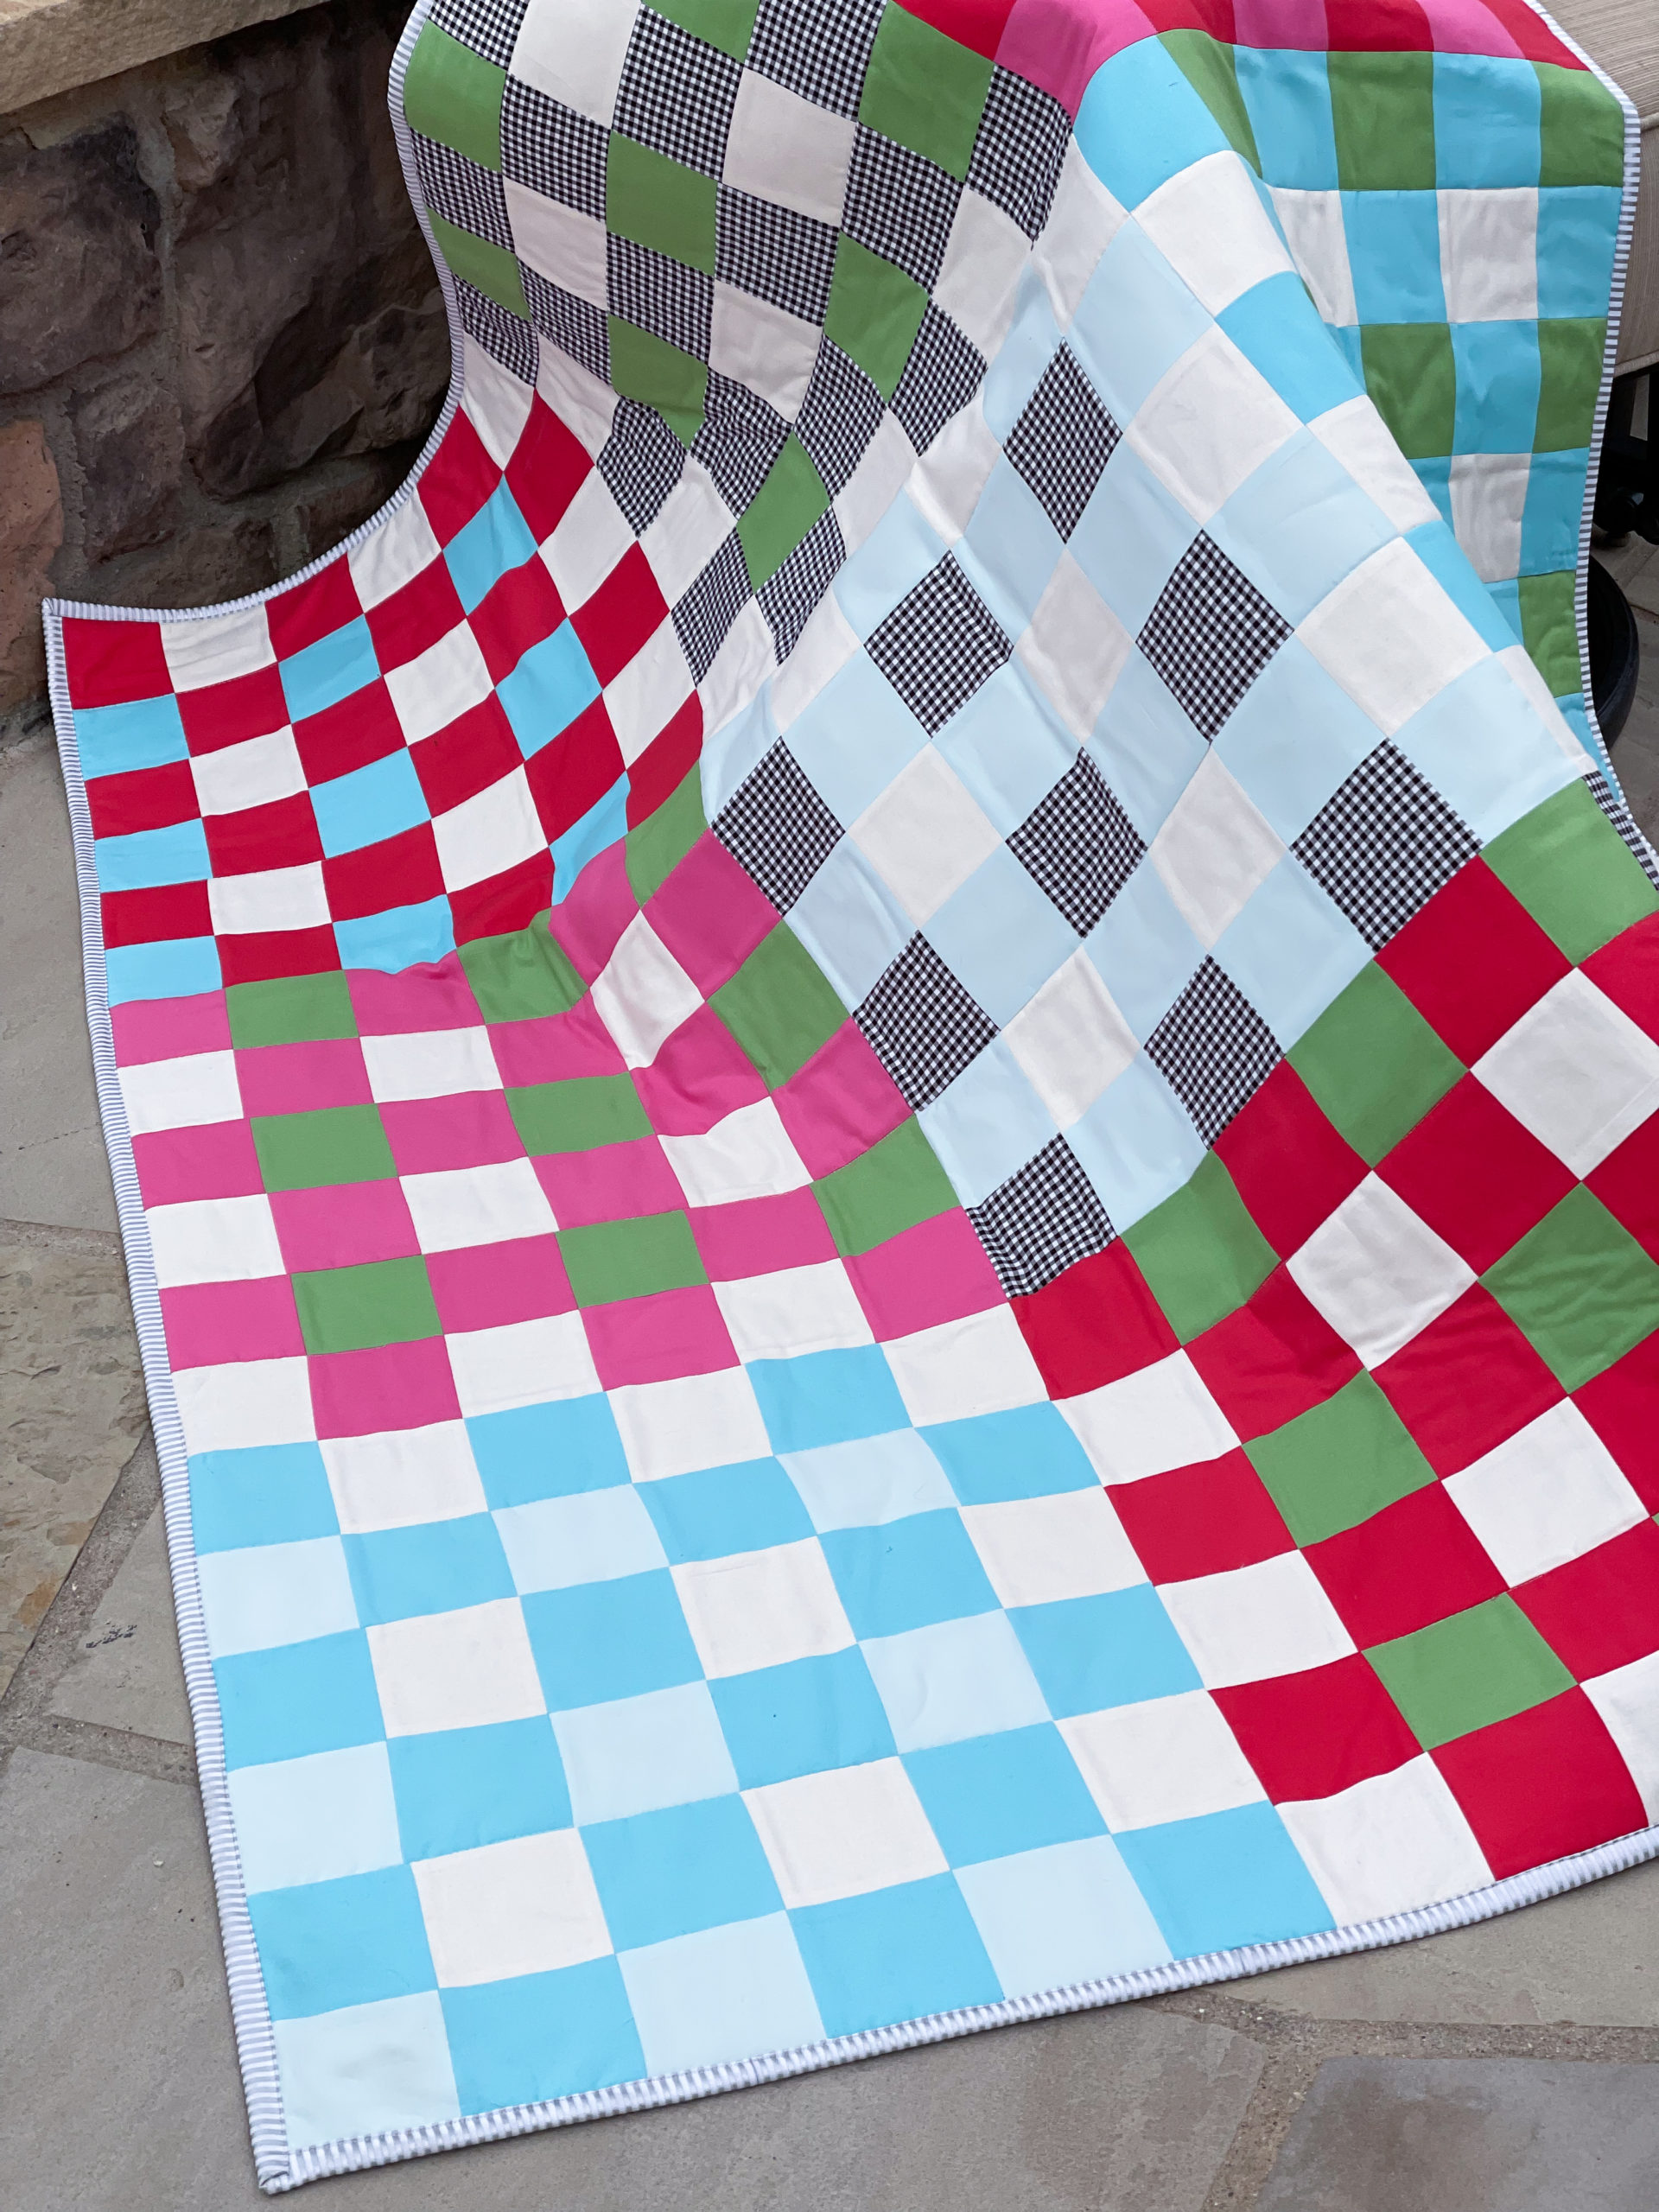
I hope you love making this modern holiday quilt! Be sure to tag us in your creations so we can see your Mod Holiday Checks quilts with @rileyblakedesigns, #modholidaychecksquilt, #rileyblakedesigns, & #iloverileyblake.
Happy Sewing!