Sometimes simple is better, and for the modern quilter, simple is almost always better. Clean lines, bold color, and abstract design are all hallmarks of a modern quilt.
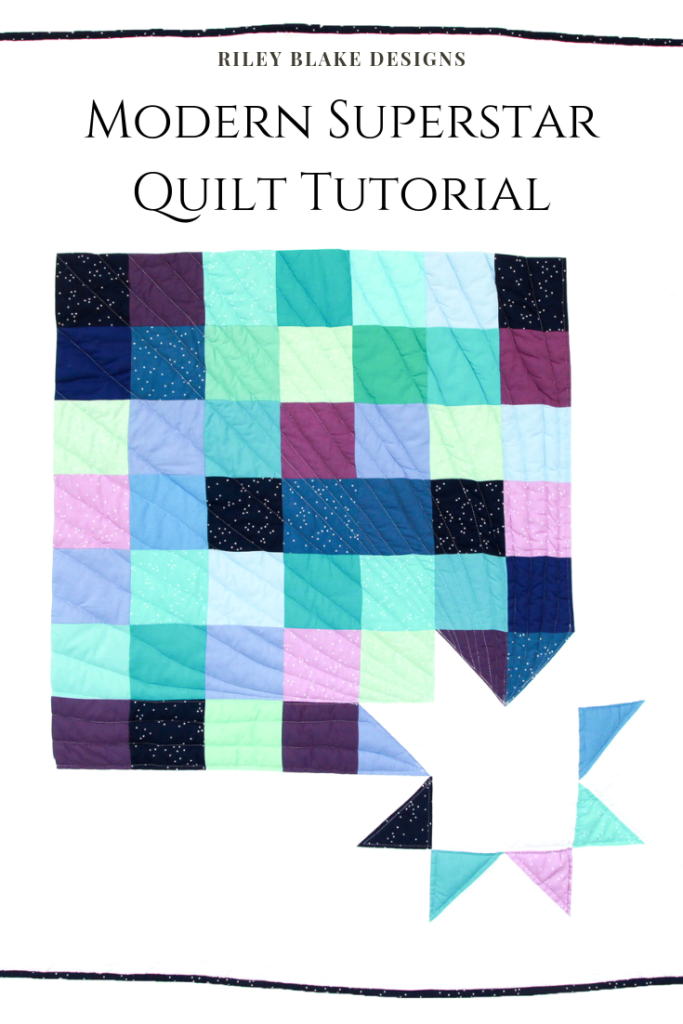
With this criteria in mind, I sketched out this Modern Star Quilt.
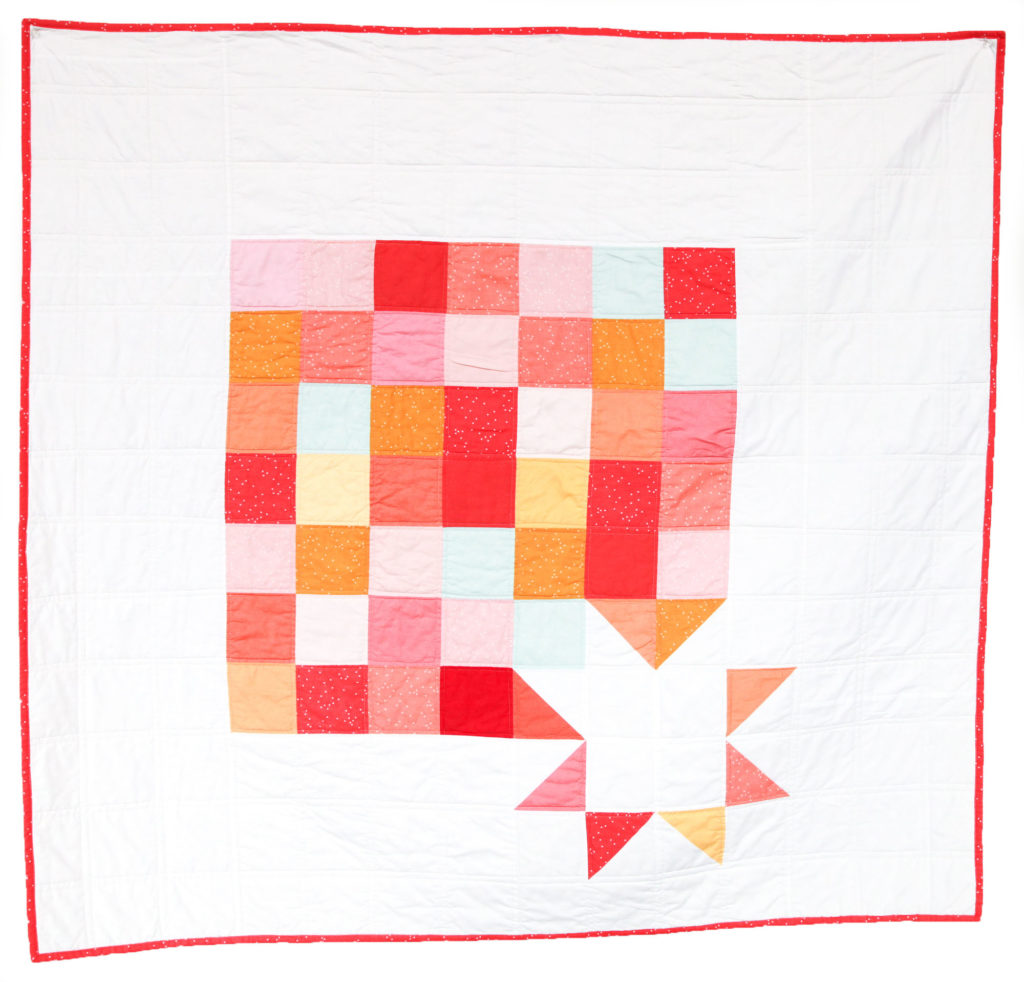
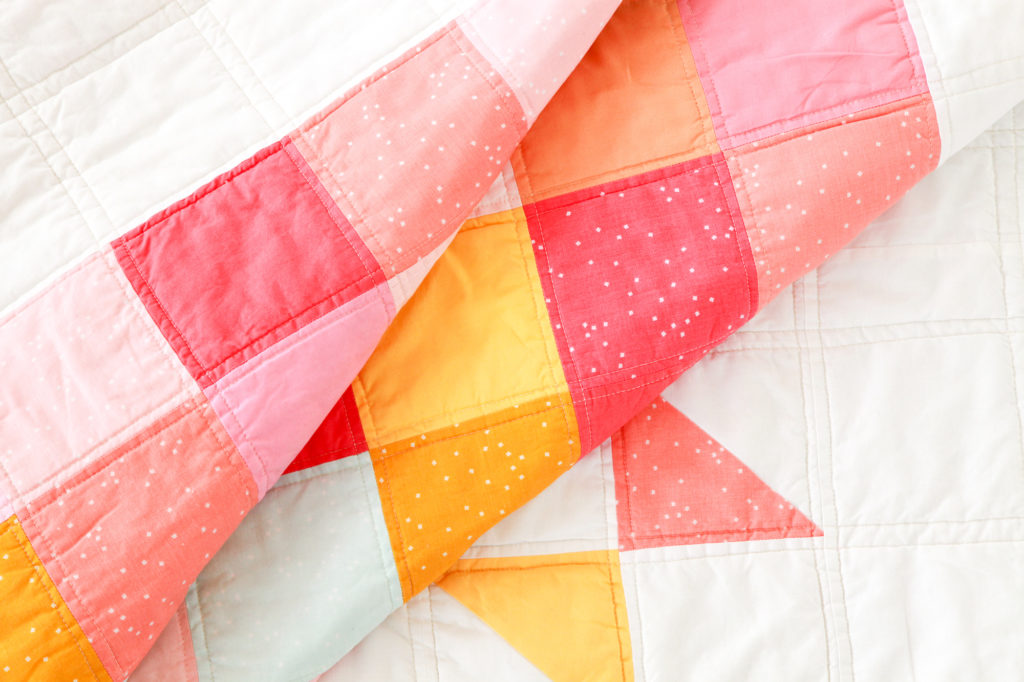
The patchwork squares are a nod to traditional quilt design, but the star bursting out of the corner and the large white border framing the bright patchwork center give this quilt a decidedly modern twist.
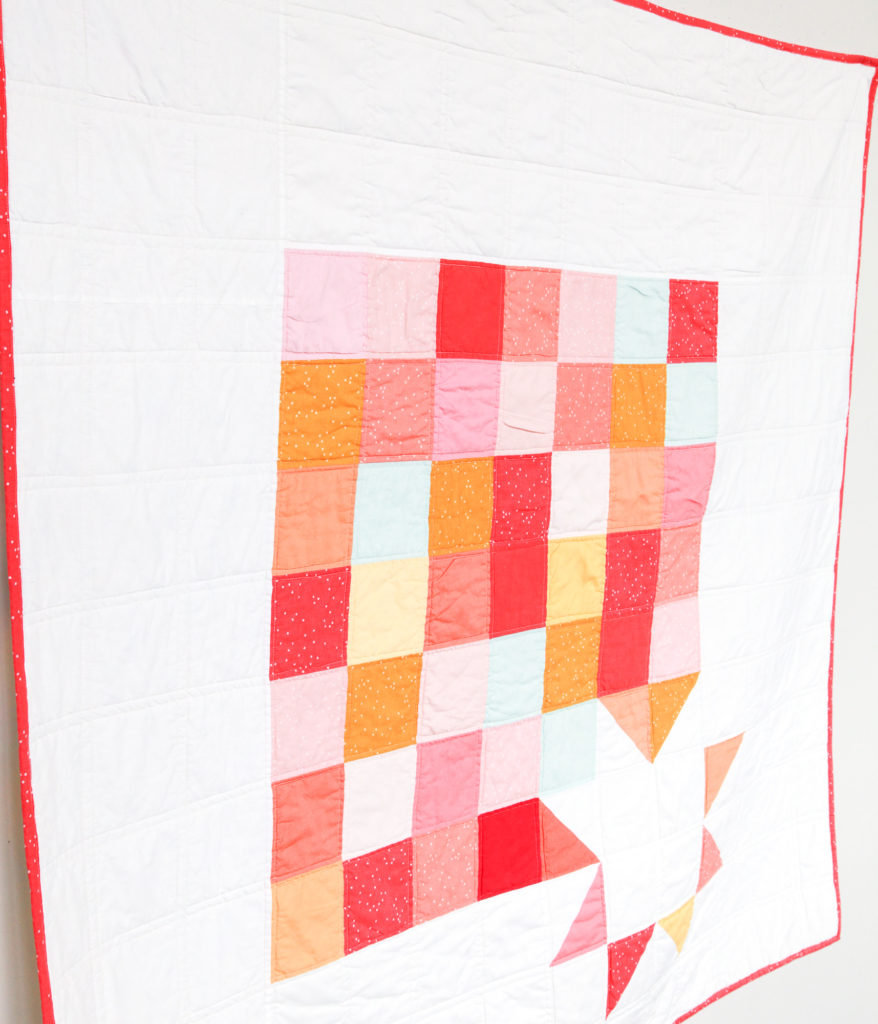
The colors remind me of a coastal sunrise with yellow, apricot, coral and even a splash of bleached denim.
Aren’t those colors dreamy?
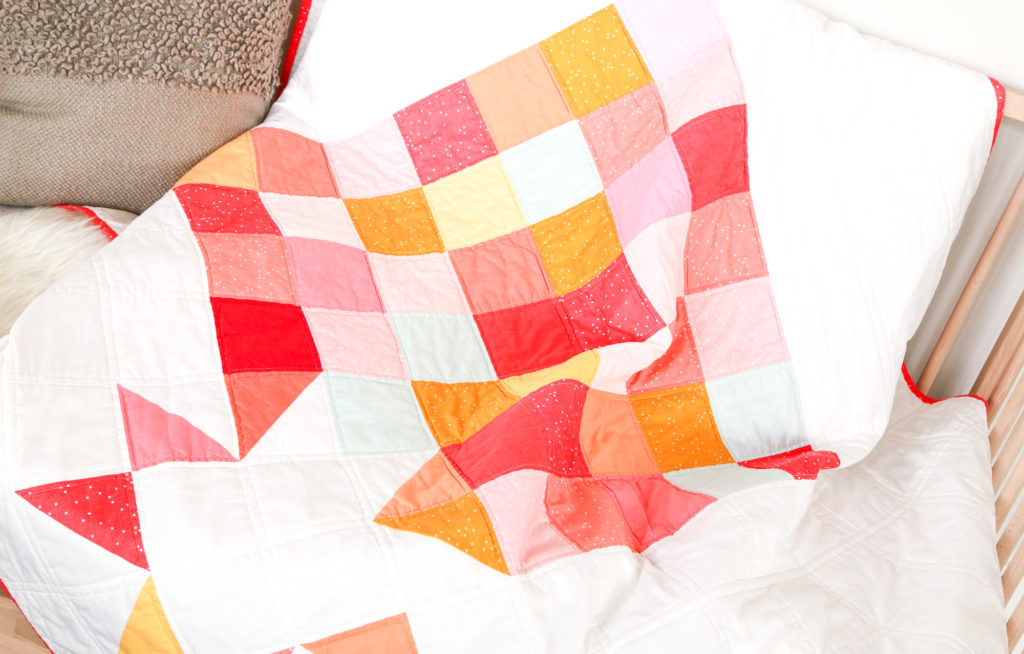
The overall layout is deceptively simple, making this an easy quilt for beginner to intermediate quilters. The quilt is throw sized (approximately 62″ x 62″), however, I will show you in the instructions where you can stop if you want to make a baby quilt.
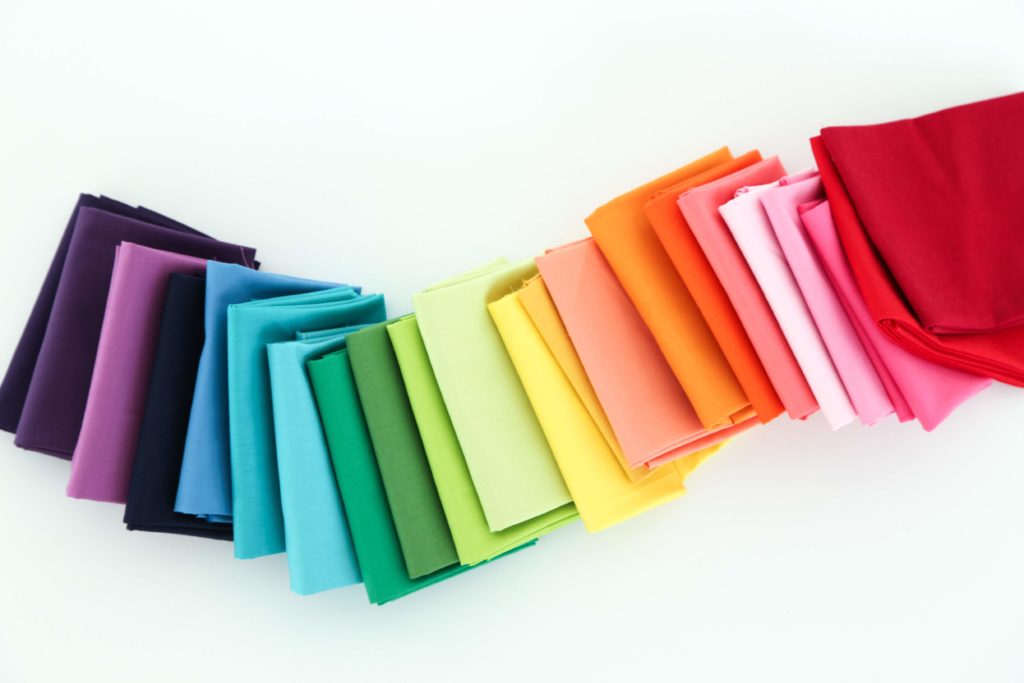
The quilt features Riley Blake Confetti Cottons paired with Blossom fabrics.
The Blossom basics, designed by Christopher Thompson feature adorable little blossom dots and coordinate beautifully with the Confetti Cotton solids.
To make this 62″ x 62″ throw sized quilt, you will need:
- 44 – 5″ Squares various Confetti Cottons and Blossom basics
- 5 – 5″ Squares Riley White Confetti Cotton
- 8 – 6″ Squares various Confetti Cottons and Blossom basics
- 8 – 6″ Squares Riley White Confetti Cotton
- 3 – 5″ x WOF strips Riley White Confetti Cotton
- 2 – 12″ x WOF strips Riley White Confetti Cotton
- 3 – 10″ x WOF strips Riley White Confetti Cotton

Row 1: Sew seven squares together, mixing up the colors so that no two identical colors are side-by-side. Press Seams.
Note:If you are using both Confetti Cottons and Blossom basics, mix these up as well. It is fine to have solids or Blossom fabrics next to each other. The main goal is to have a nice color variation, regardless of whether the color is a Blossom or a solid.
Repeat until you have five rows of colored squares. Sew these rows together. Press.
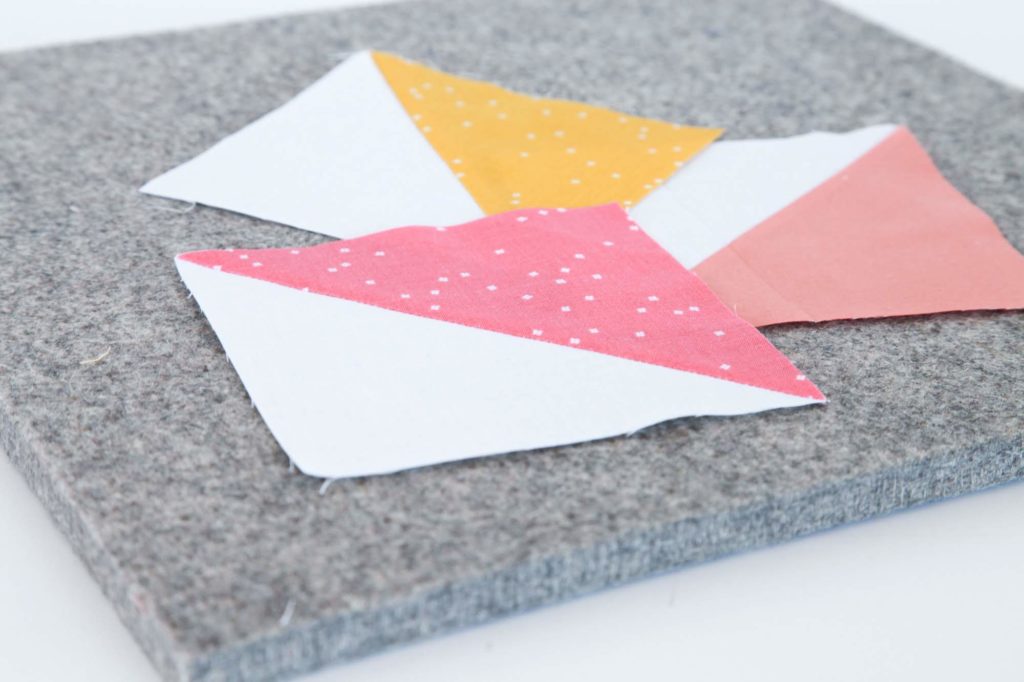
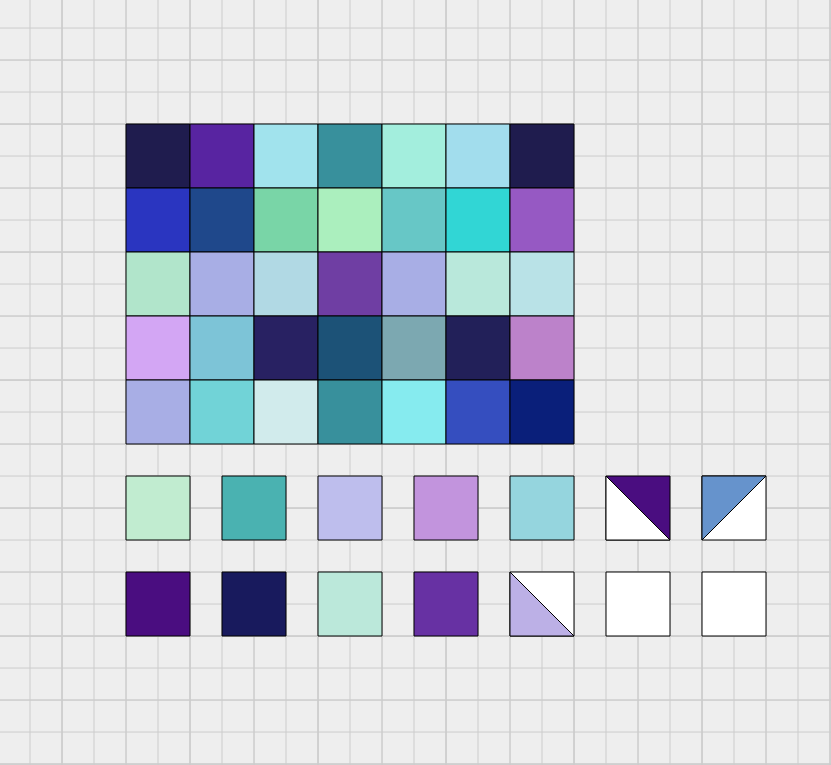
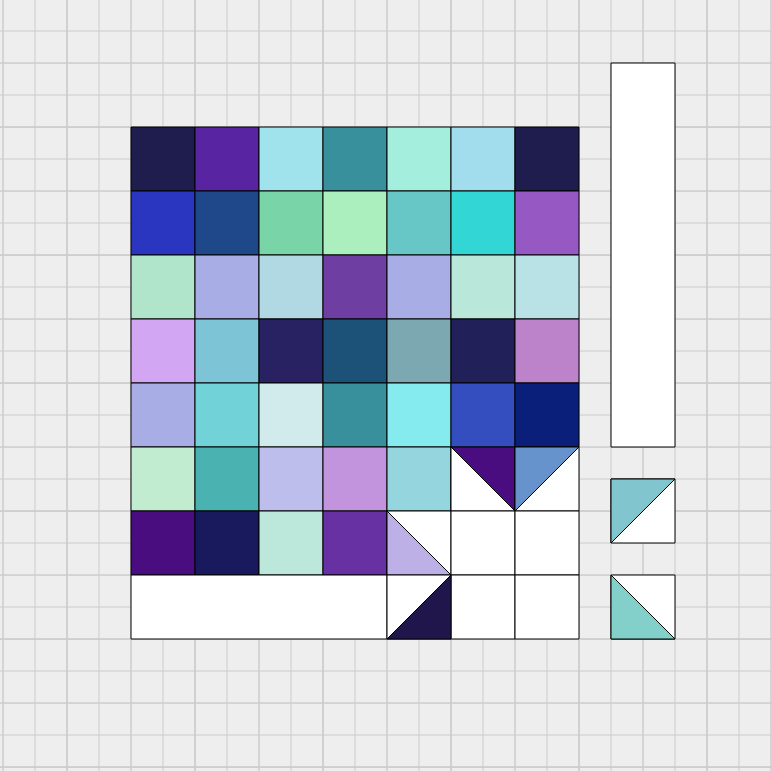
Next we’ll tackle the bottom two rows of the color block. Before starting on the rows, we need to make our half square triangles. Take your 8 Confetti Cotton and Blossom basics in various colors and your 8 Riley White Confetti Cottons and pair them together to make your Half Square Triangles. If you need a good Half Square Triangle Tutorial, take a look at this one from BLOSSOM HEART QUILTS. Trim the Half Square Triangles down to 5″ squares.
*I used 6″ squares rather than 5 7/8″ because I like to make this a little larger than most people recommend in order to have plenty of room for accurate trimming.
Getting nice, crisp seams is key to any quilt, and we are in LOVE with this Project Wool Pressing Mat! The wool felt absorbs heat so that both sides of the fabric are pressed at once. In order to avoid water spots and splotches, I use dry heat when pressing quilt blocks, so I really appreciate this feature!
We played with this mat all week and we can’t say enough good things about it, and we want you to have a chance to try it out, too! We are giving our pressing mat away – details can be found at the end of this post, so keep reading!
Now that we have our Half Square Triangles, we can begin to assemble the rest of the quilt.
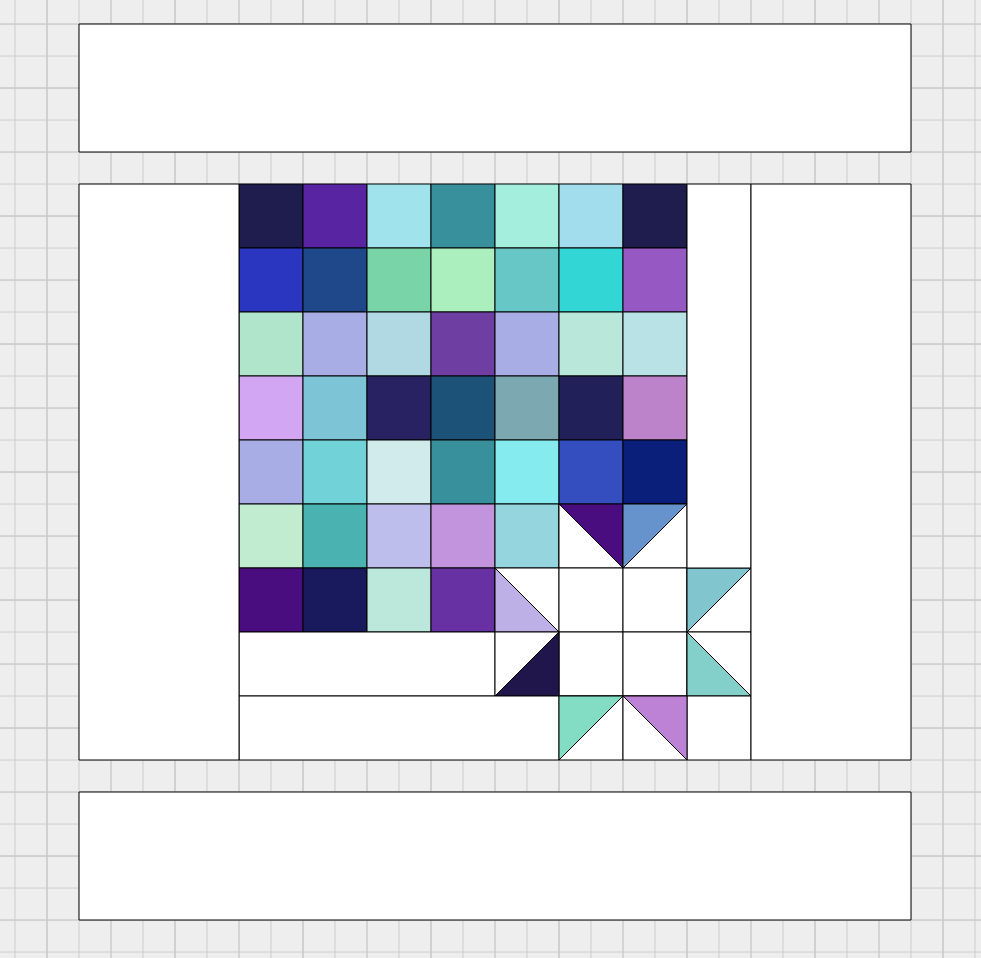
Sew the next two rows together following the image above. The first row will have five colored squares + two half square triangles. Use the above image to determine which way the half square triangles should be facing.
The second row has four colored squares + one half square triangle + two white 5″ squares.
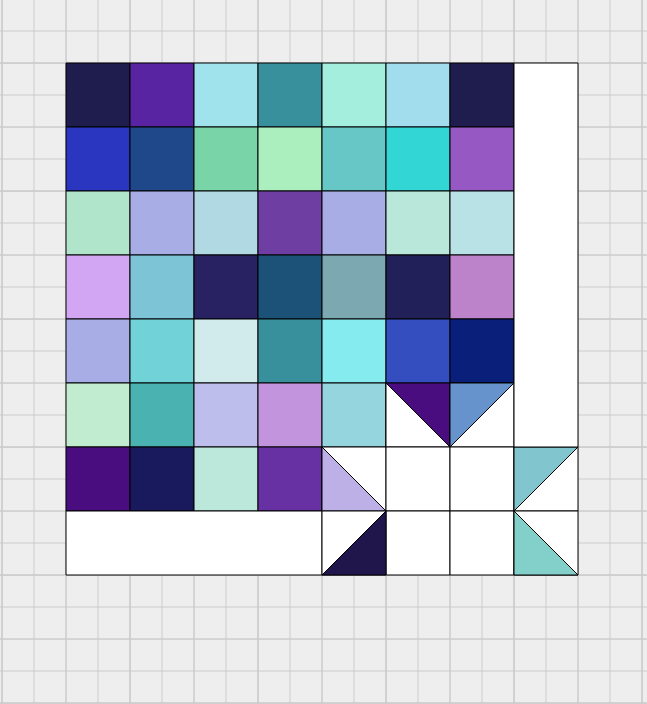
Sew the squares into rows, then sew the rows together and attach to the main section as shown below. Press.
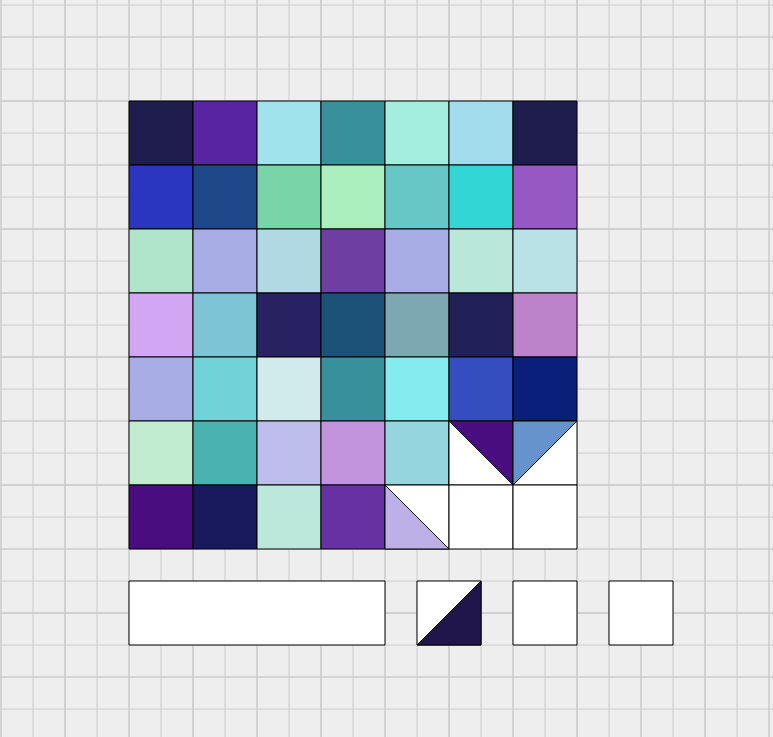
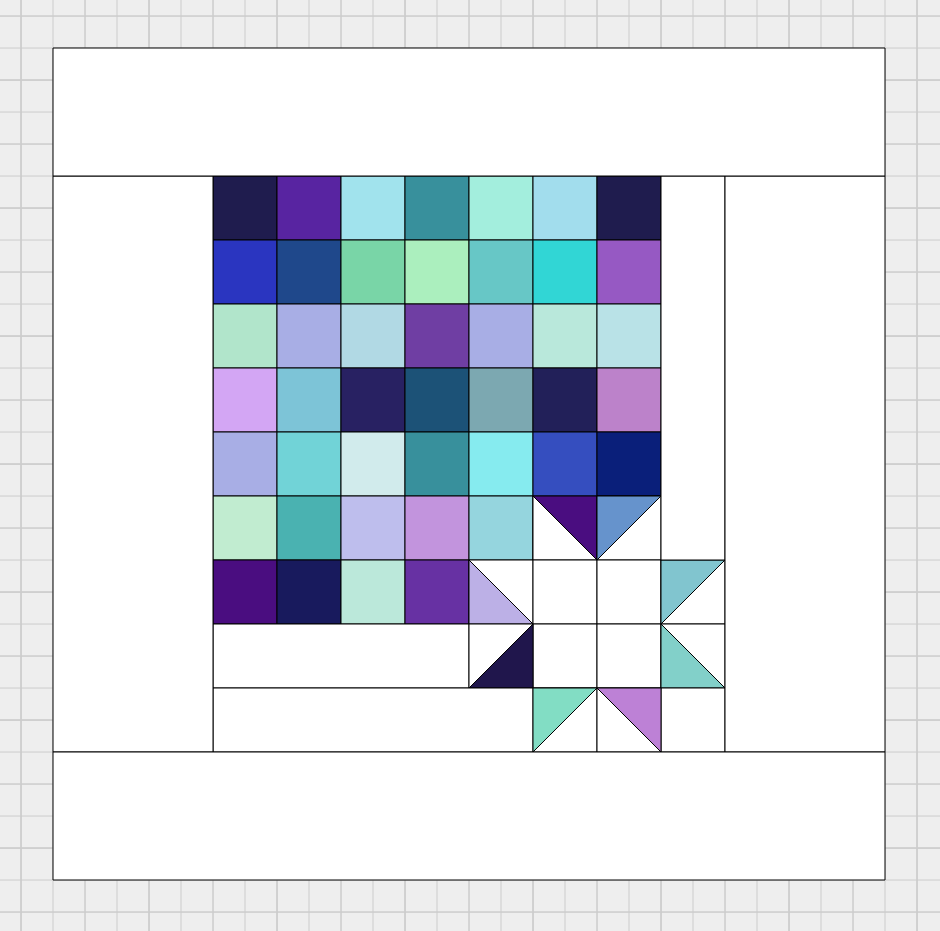
For the next row, sew a 5″ x 19 1/2″ strip of Riley White + one half square triangle + two 5″ squares in Riley White. Press. Sew row to main block, matching seams. Trim so that strip is flush with main block.
Next, we’re going to add another row to the side of the main block.
*Again, refer to image above for half square triangle placement. a 5″ x 28″ strip Riley White + two half square triangles. Line up the seams. Sew entire row to the side of the main block as shown below. Press. Trim so that strip is flush with main block.
The center block is coming together now!
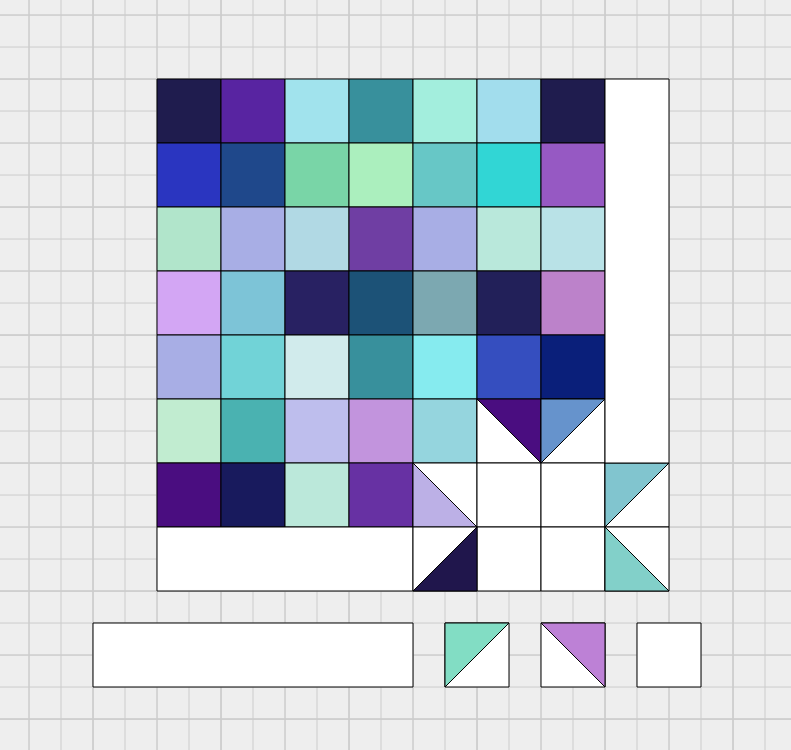
It’s time to sew the final row for the center block. Sew a 5″ x 23 1/2″ strip Riley White + 2 half square triangles + one 5″ square Riley White. Line up the seams. Press. Sew row to main block. Press. Trim so that strip is flush with main block.
With the center block completed, you could stop here for a fun, one-of-a-kind baby quilt. It would measure approximately 38″ x 42″.
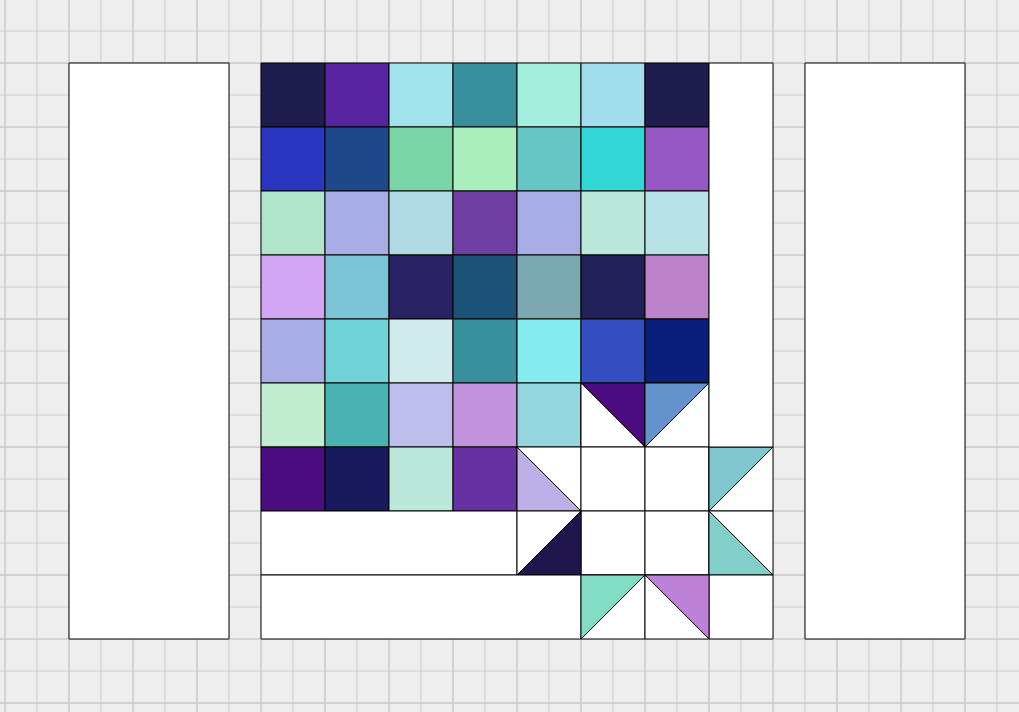
To make the throw size quilt, which is what I made, it’s time to add the borders! Sew a 12″ x WOF strip of Riley White to each side. Press. Trim so that the top and bottom of the borders are flush with the top and bottom of the main block.
Finally, sew a 10″ x 62″ strip of Riley White to the top and bottom. Press. Trim so that sides are flush with the sides of the main quilt.
And that’s it! To finish it off, you’ll need to make your quilt sandwich (quilt back + quilt batting + quilt top), baste, and quilt as desired.
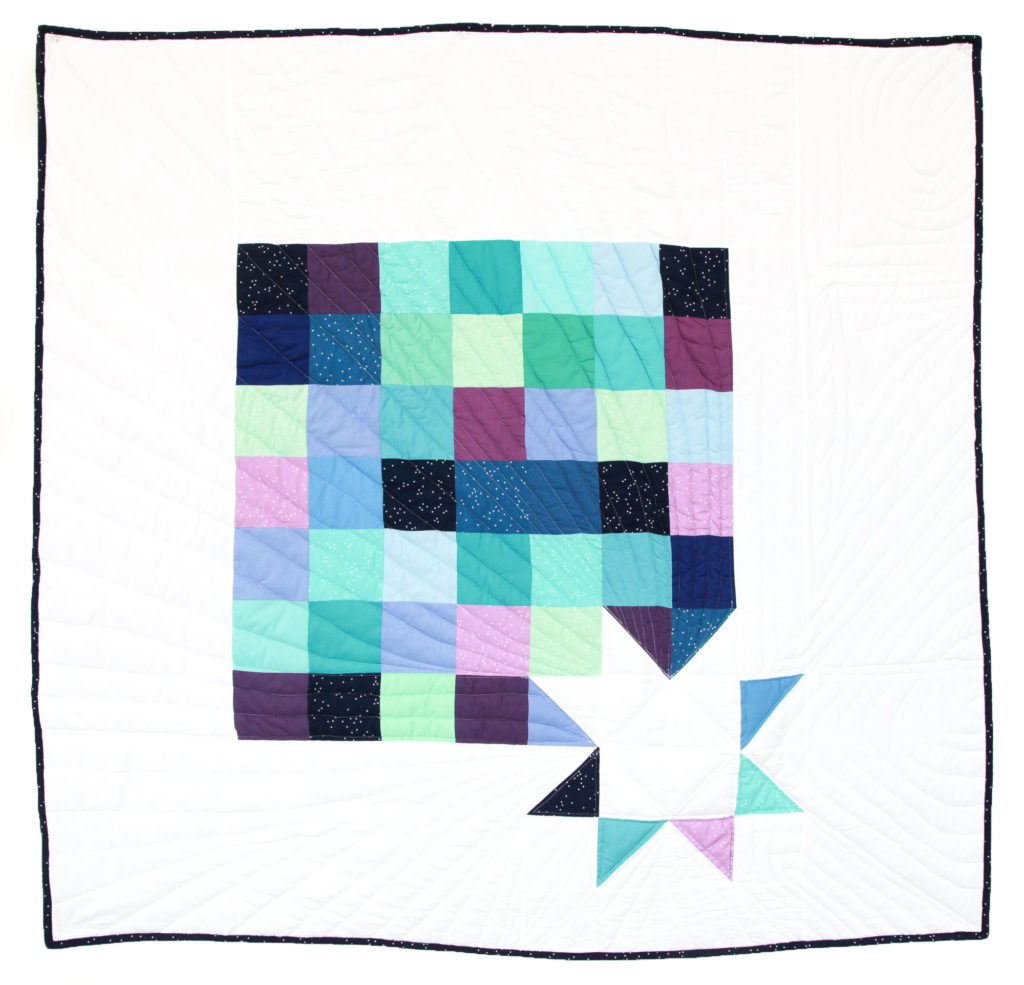
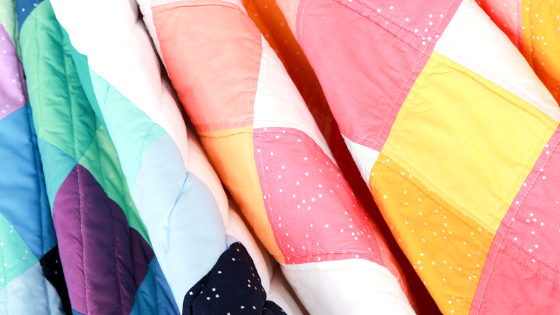
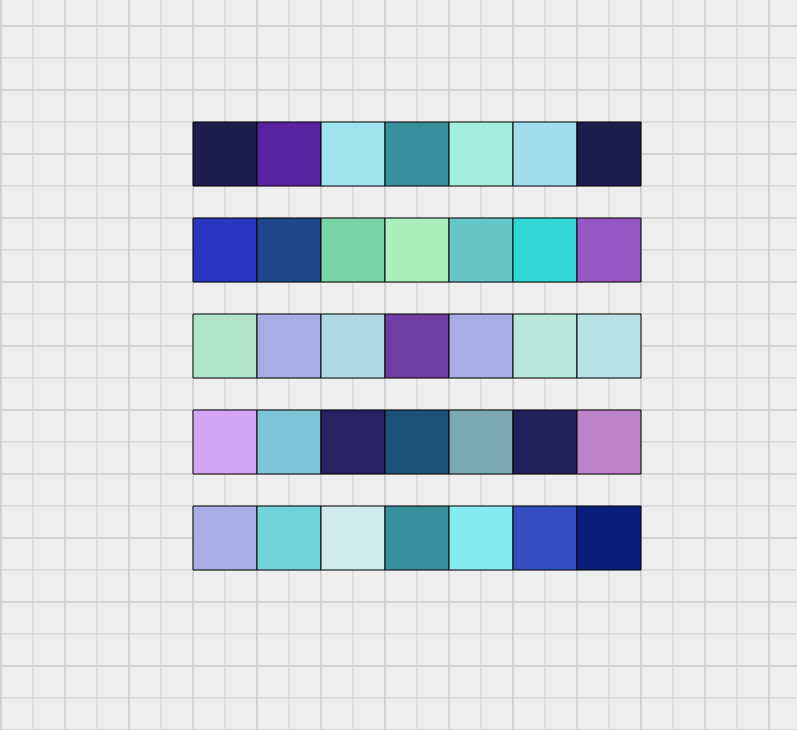
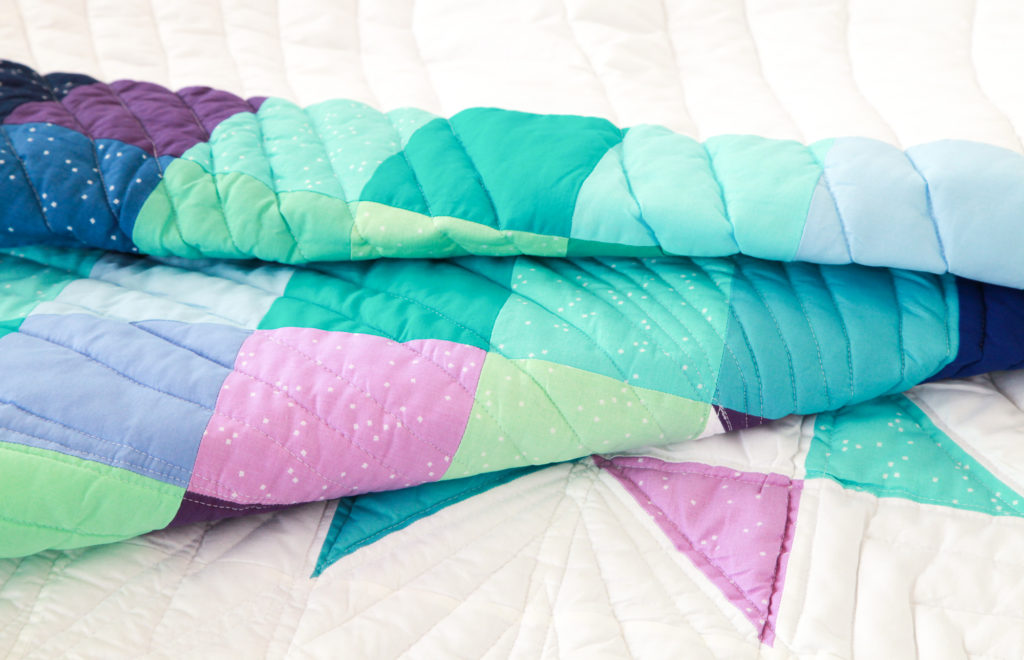
This blue version has a dreamy nighttime vibe. The navy Blossom squares look like stars in the sky, don’t you think?
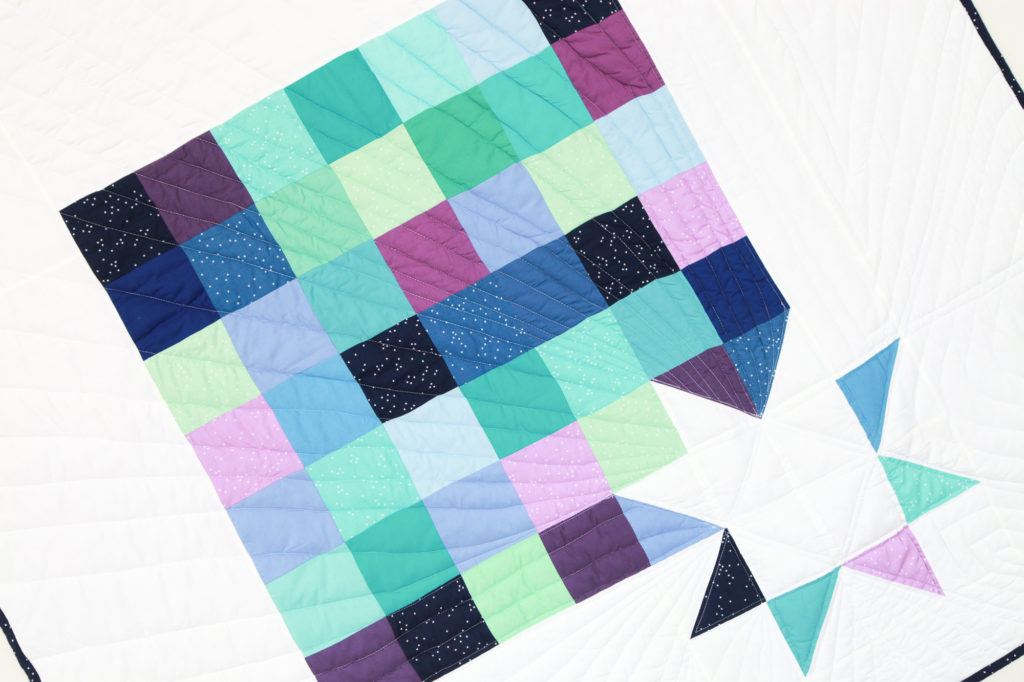
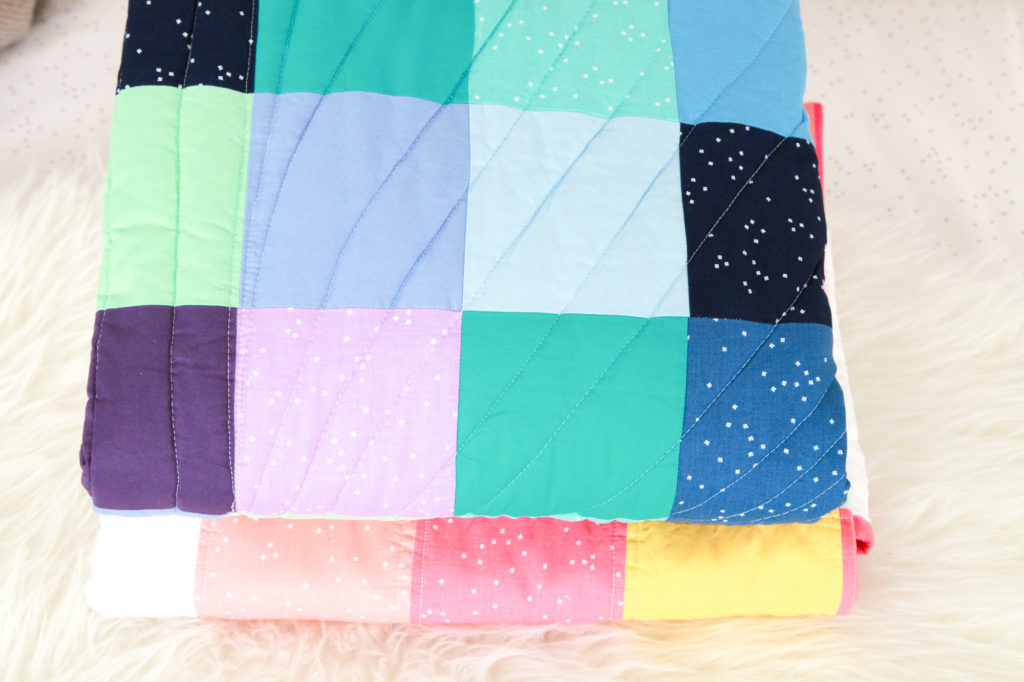
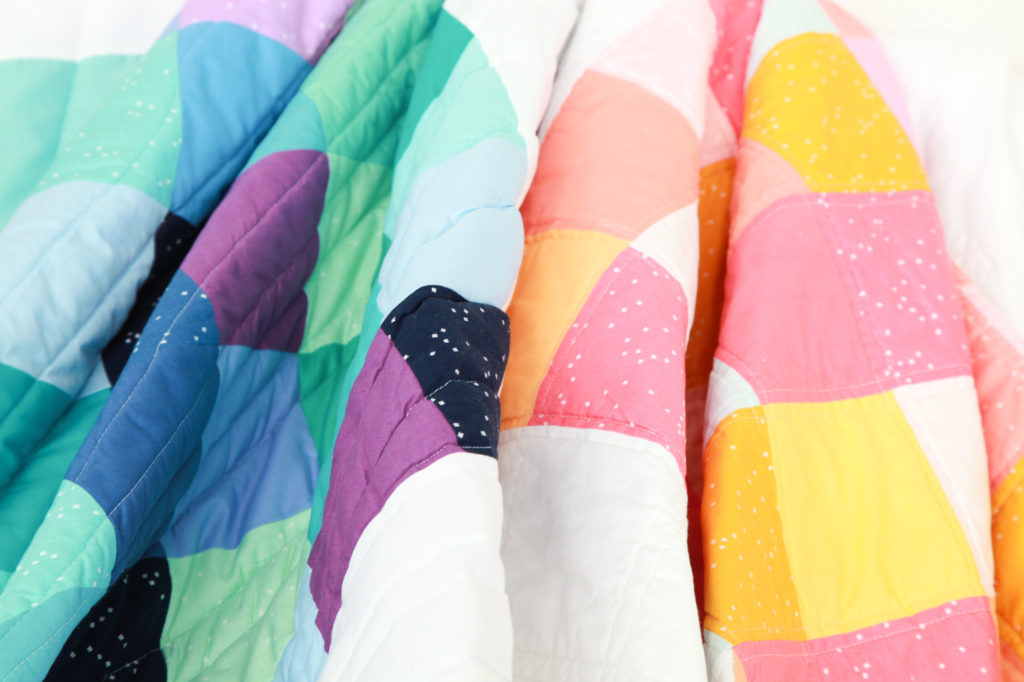
I mixed in shades of purple, mint and teal with the blues. Your color palette is completely up to you. I think I am going to make this next in bright rainbow colors. Really, anything goes!
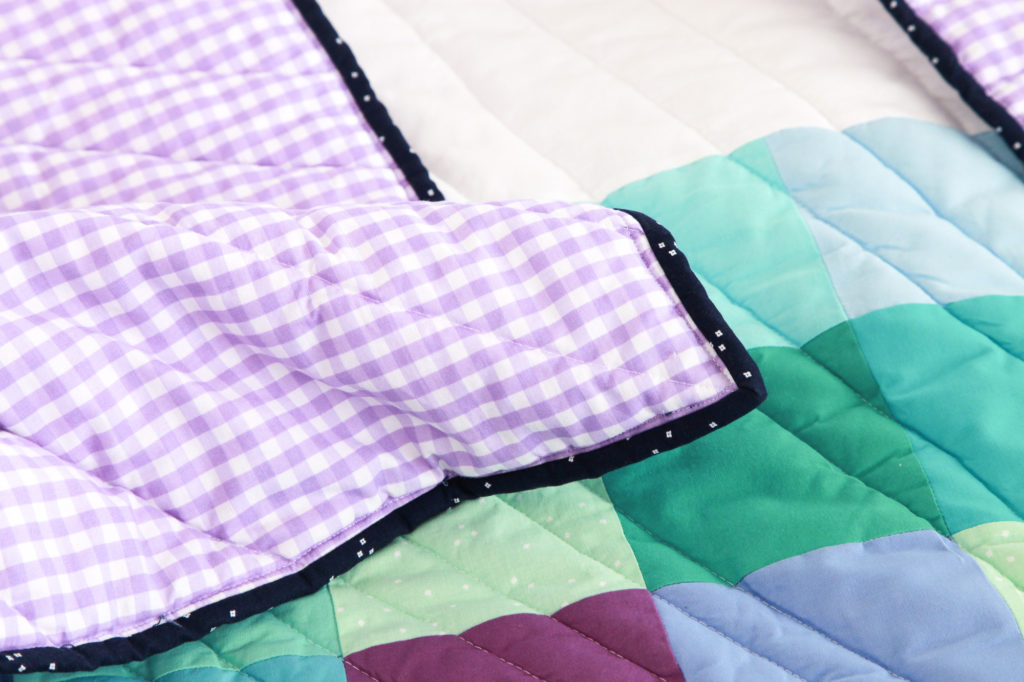
For the quilt back, I used Riley Blake 1/4″ Gingham in Lavender. I used the Navy Blossom for the binding to really frame the quilt top.
I used a polyester quilt batting for the blue quilt, and I have to say, for this type of project, the thin cotton batting used in the Coral quilt worked out much better. The polyester is fluffier and very cuddle-worthy, but it was much more difficult to achieve nice clean quilting lines with it.
Nevertheless, both quilts are gorgeous and will no doubt get tons of love! This won’t be the last we see of the Modern Superstar Quilt – we’ve got plans for more and can’t wait to share them with you!
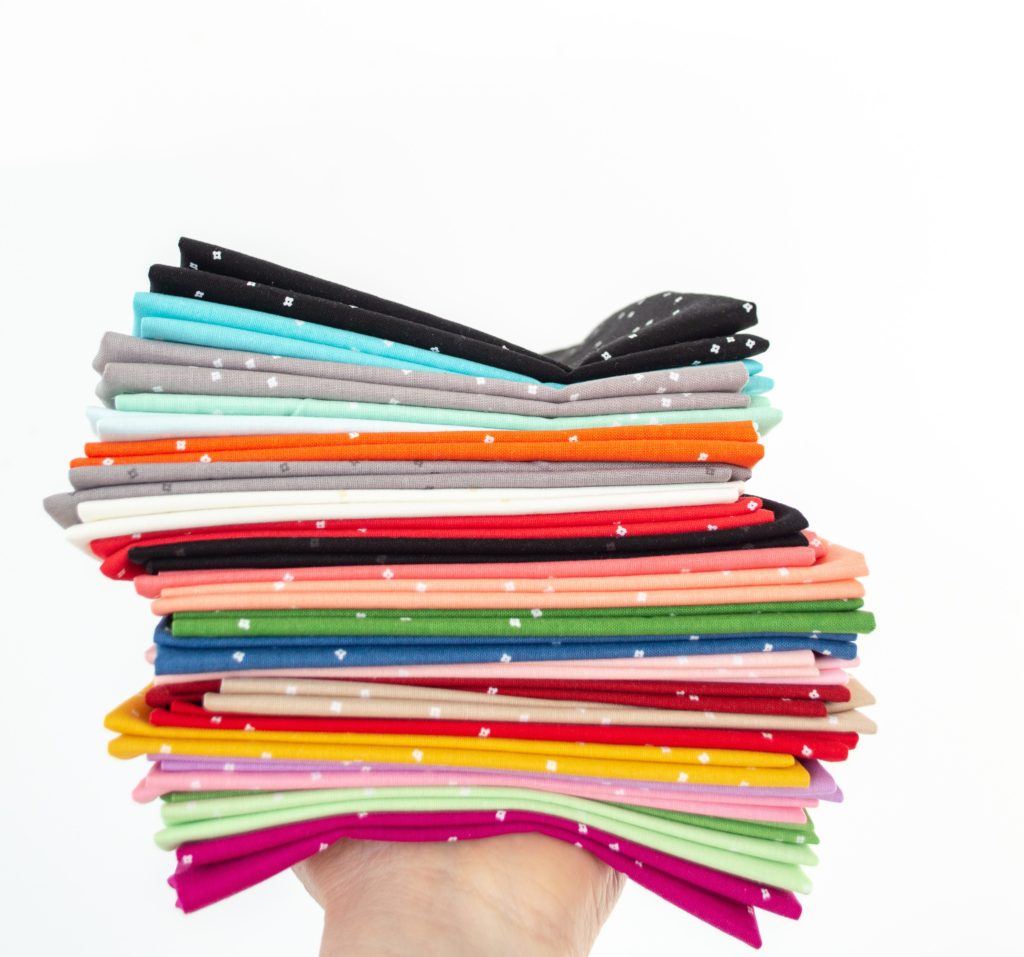
I mentioned earlier in this post that we are giving away our Project Wool Felt Pressing Mat. The lucky winner will also win this yummy Fat Quarter bundle of Riley Blake Shades Basics!

Enter HERE for a chance to win the Pressing Mat and Shades fabric bundle!
The giveaway closes 6/19/19 and there are options for BONUS entries!!