When it comes to beginner friendly quilts, we always recommend starting with a panel quilt! Why? Because the panels help make a beautiful and impressive quilt while letting you focus on more simple elements of quilting like adding boarders and practicing binding.
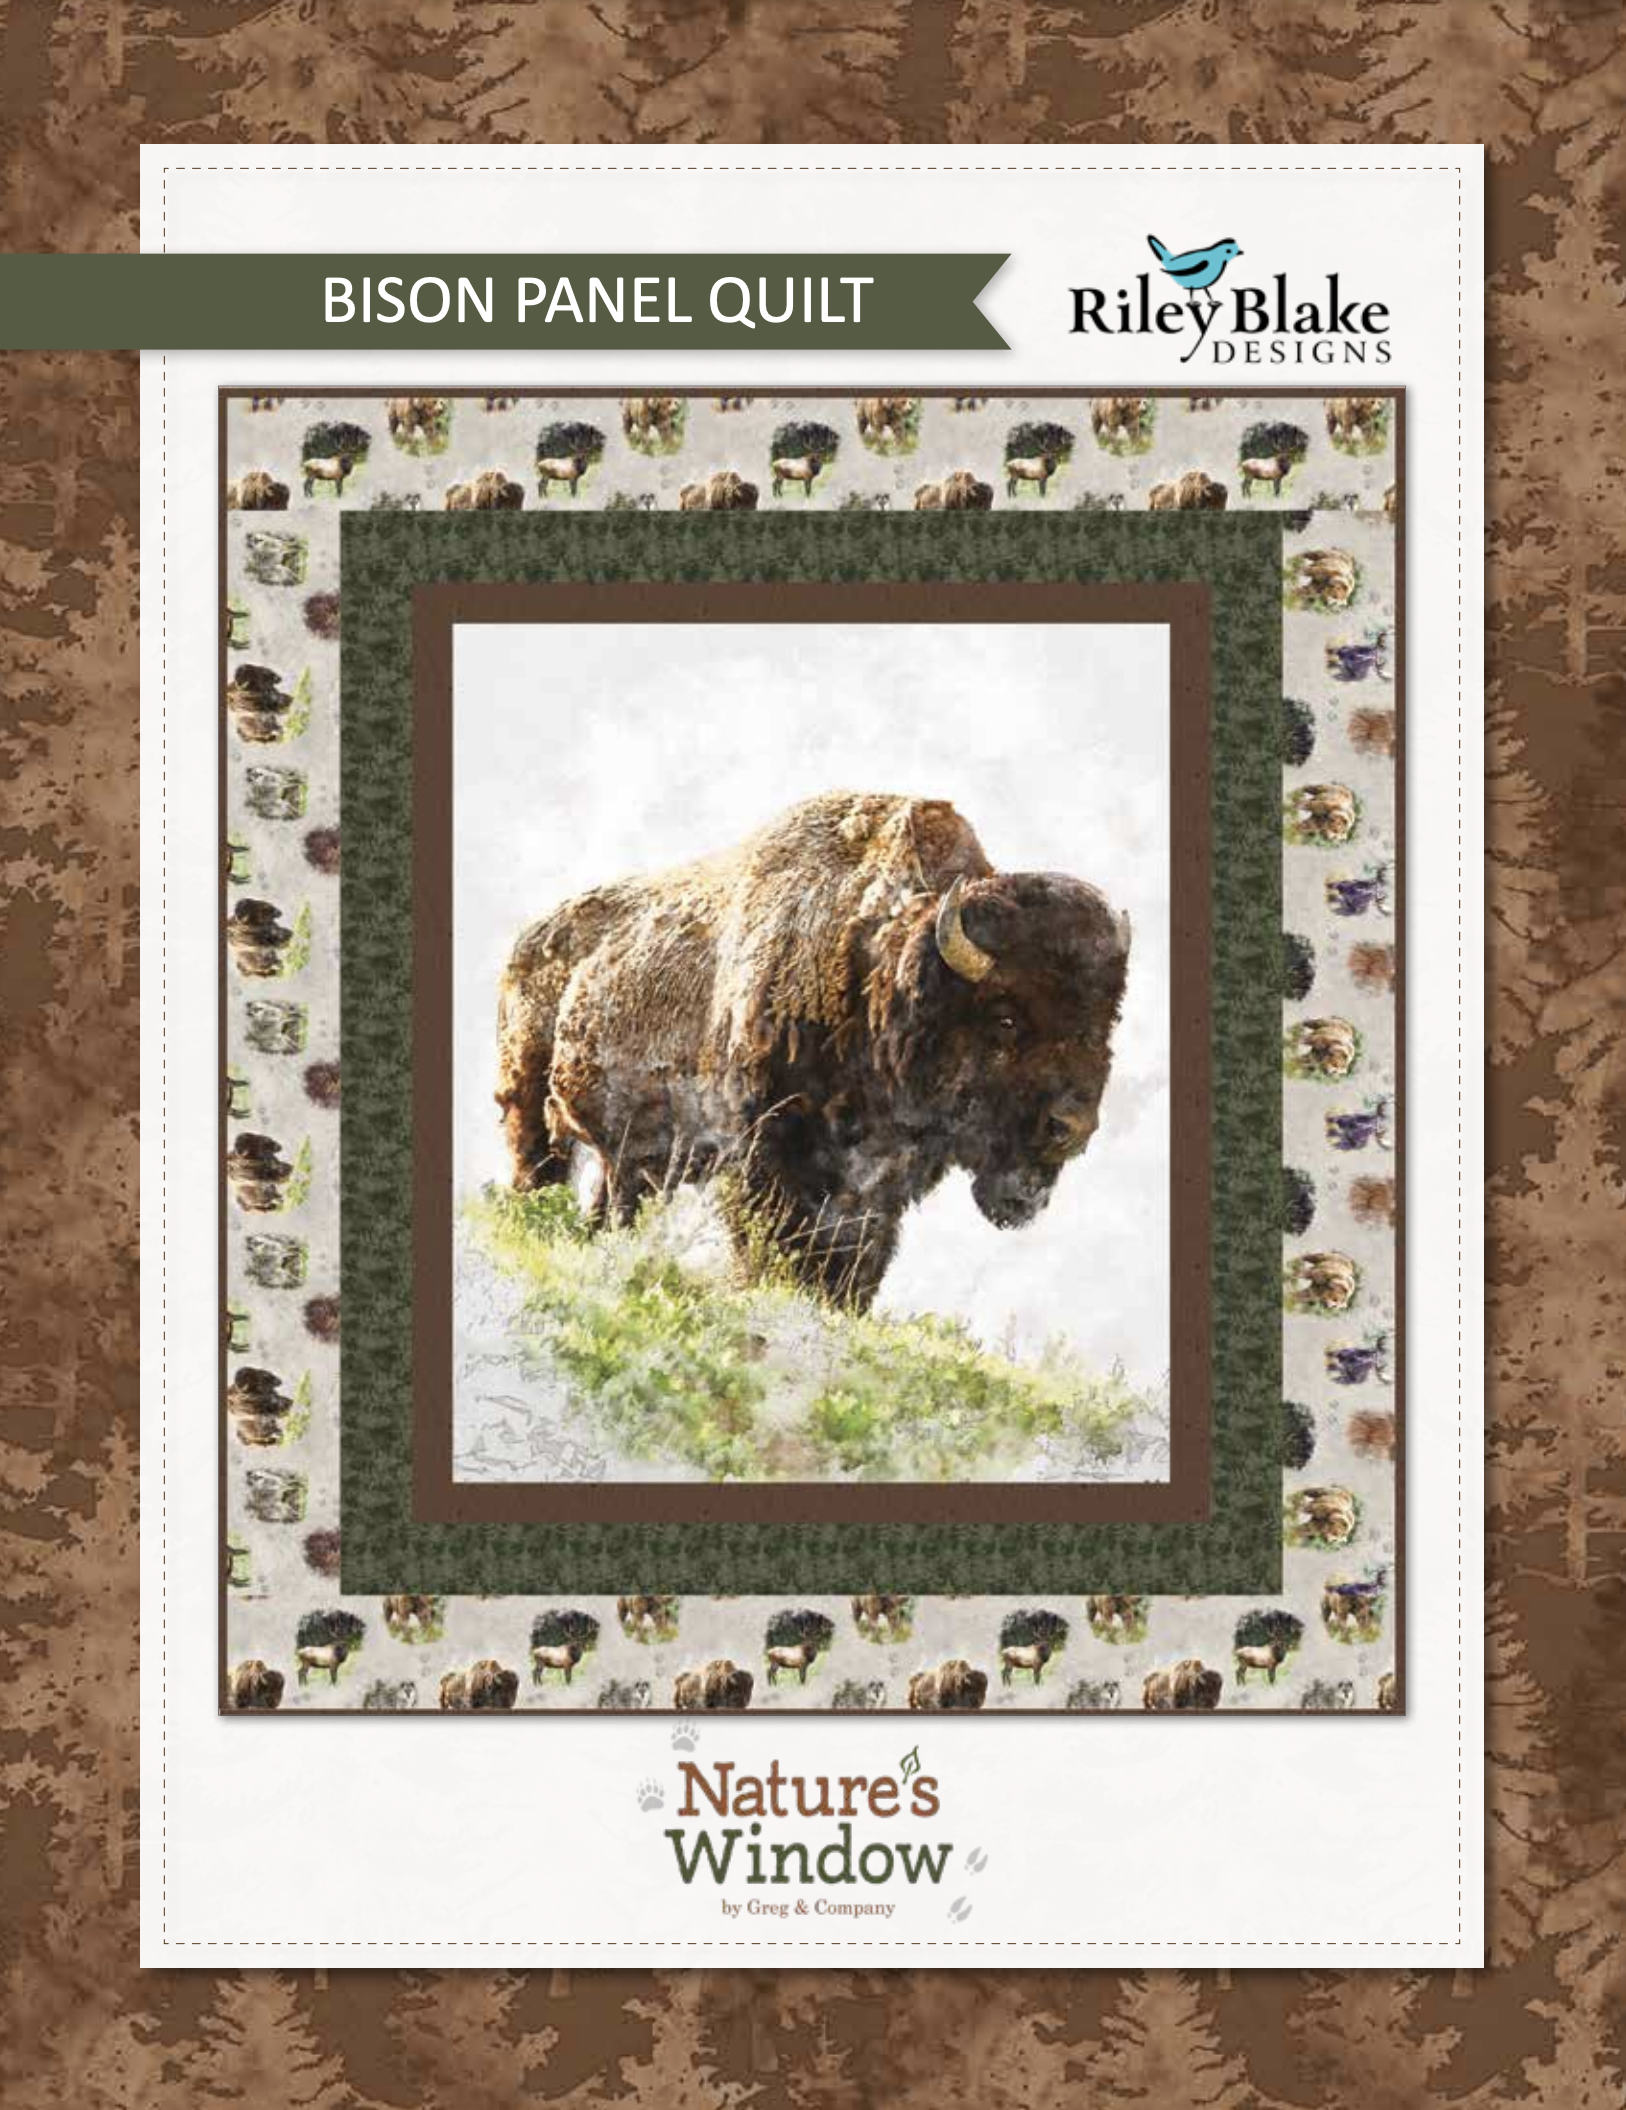
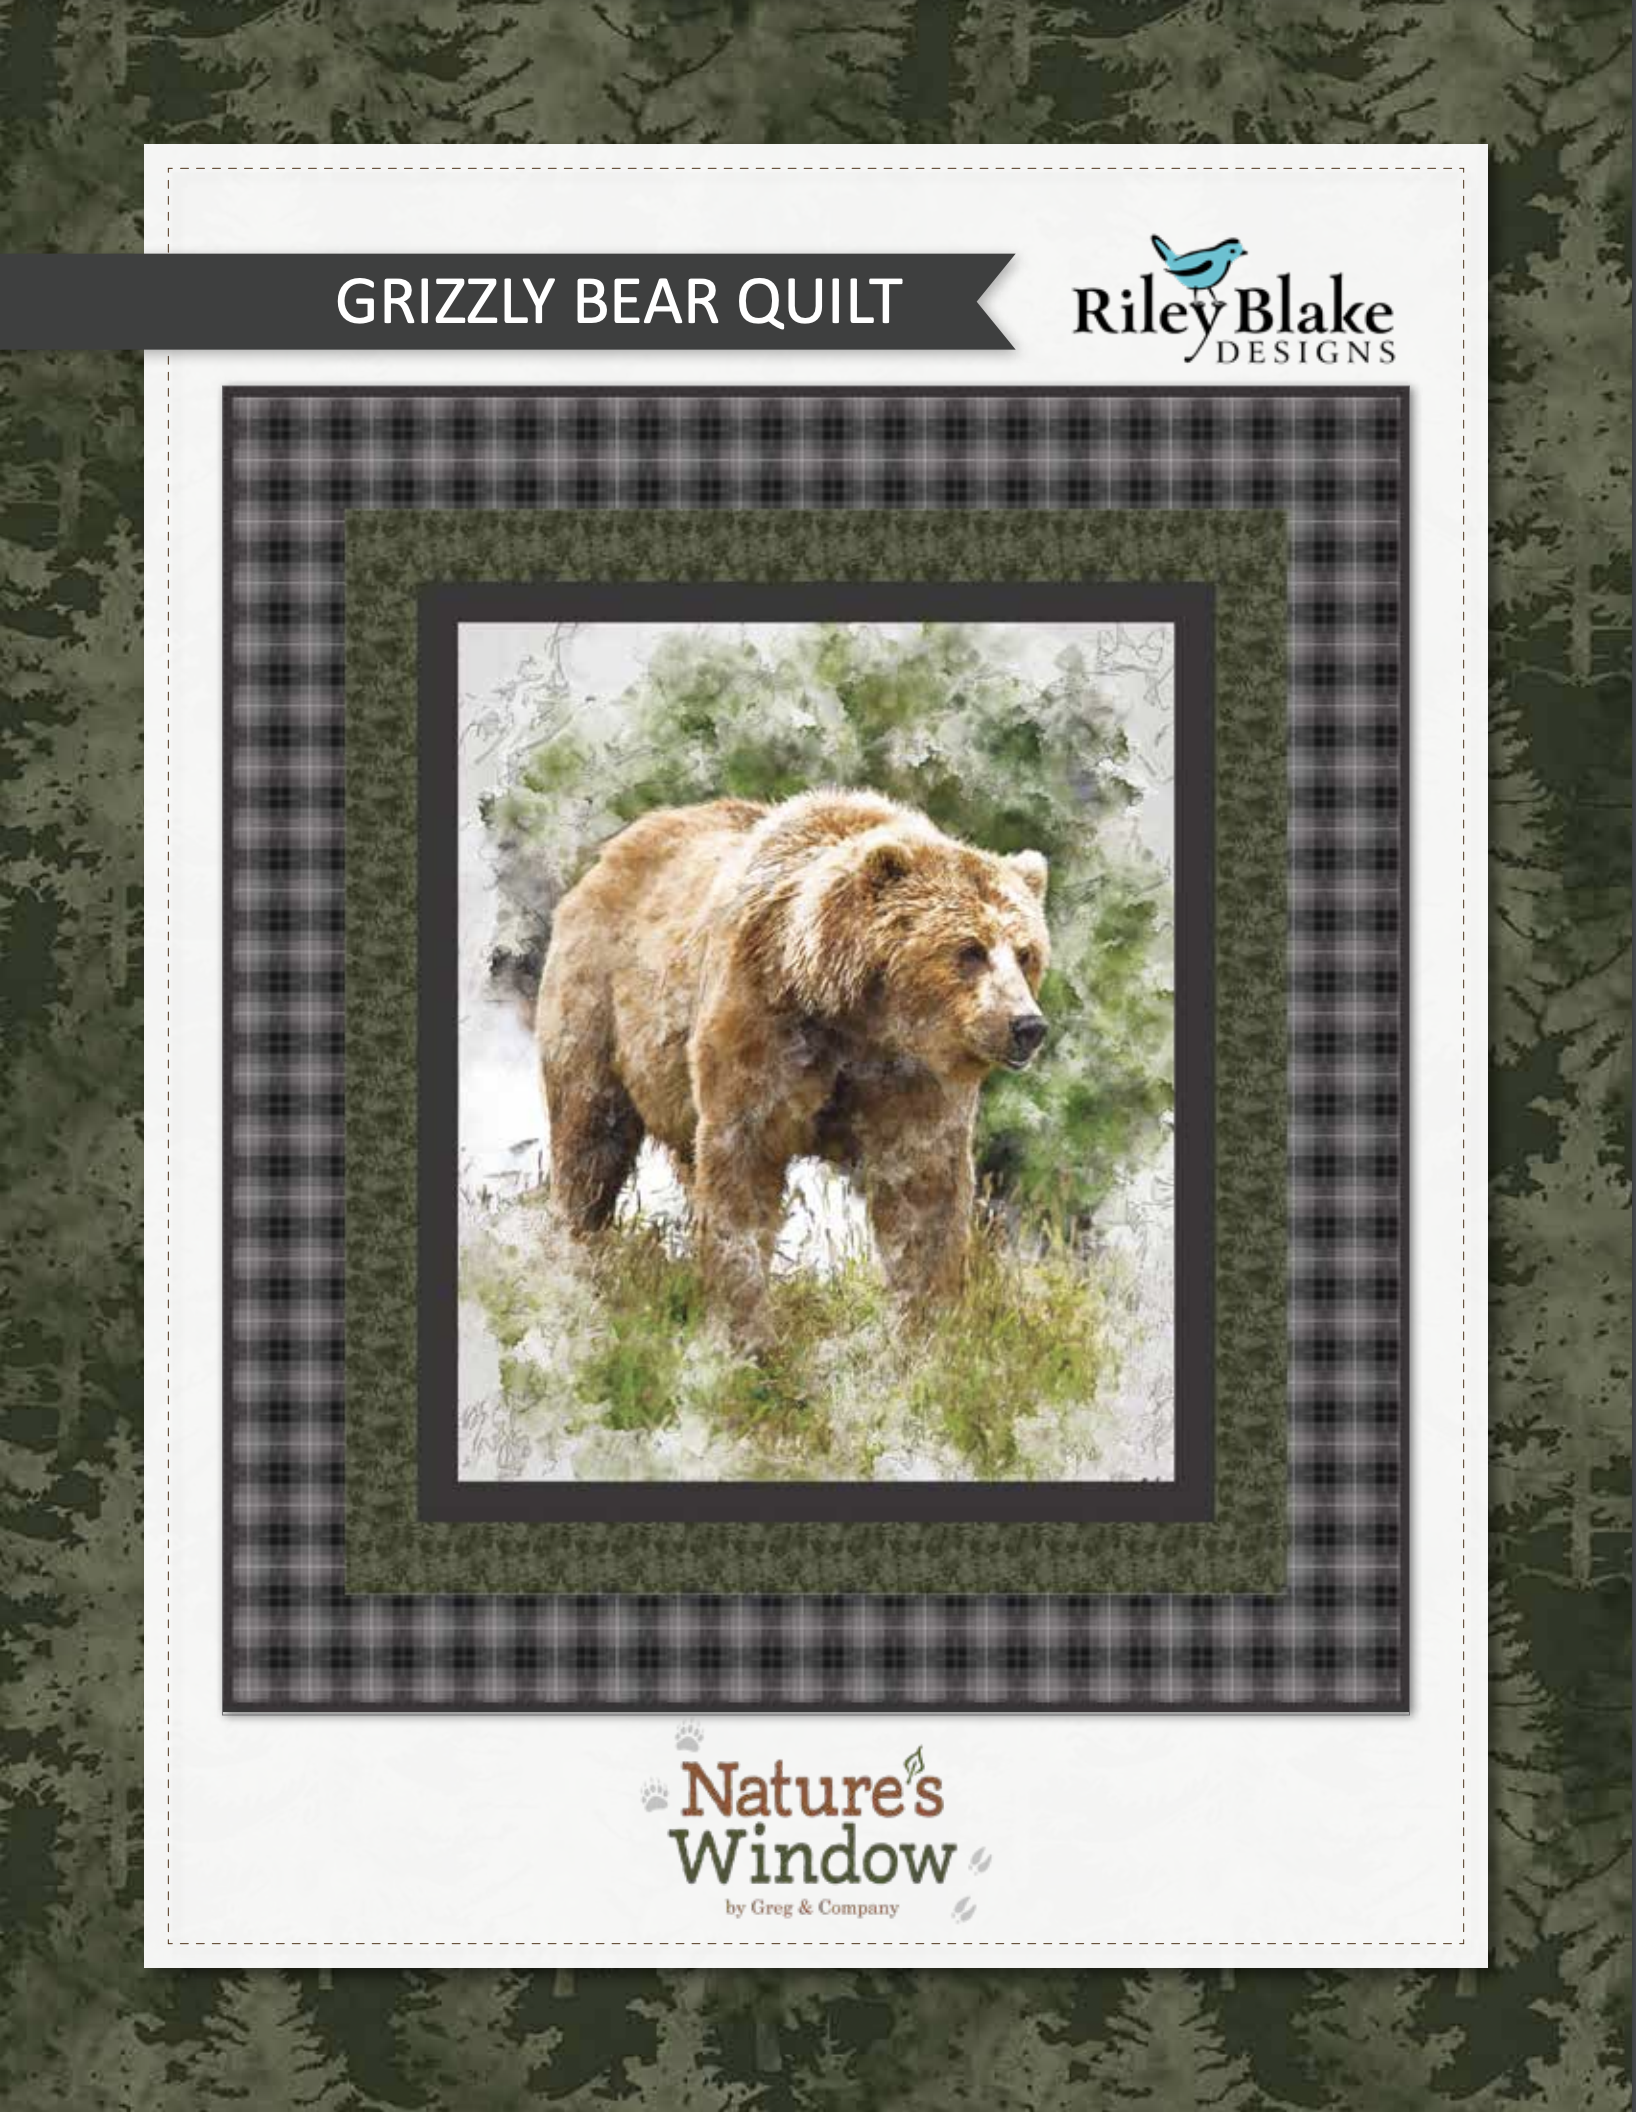
At Riley Blake Designs we love to include beautiful panels with many of our collections. Today we are sharing a quilt tutorial for a project made with one of the stunning panels from the Nature’s Window collection designed by Greg & Company.
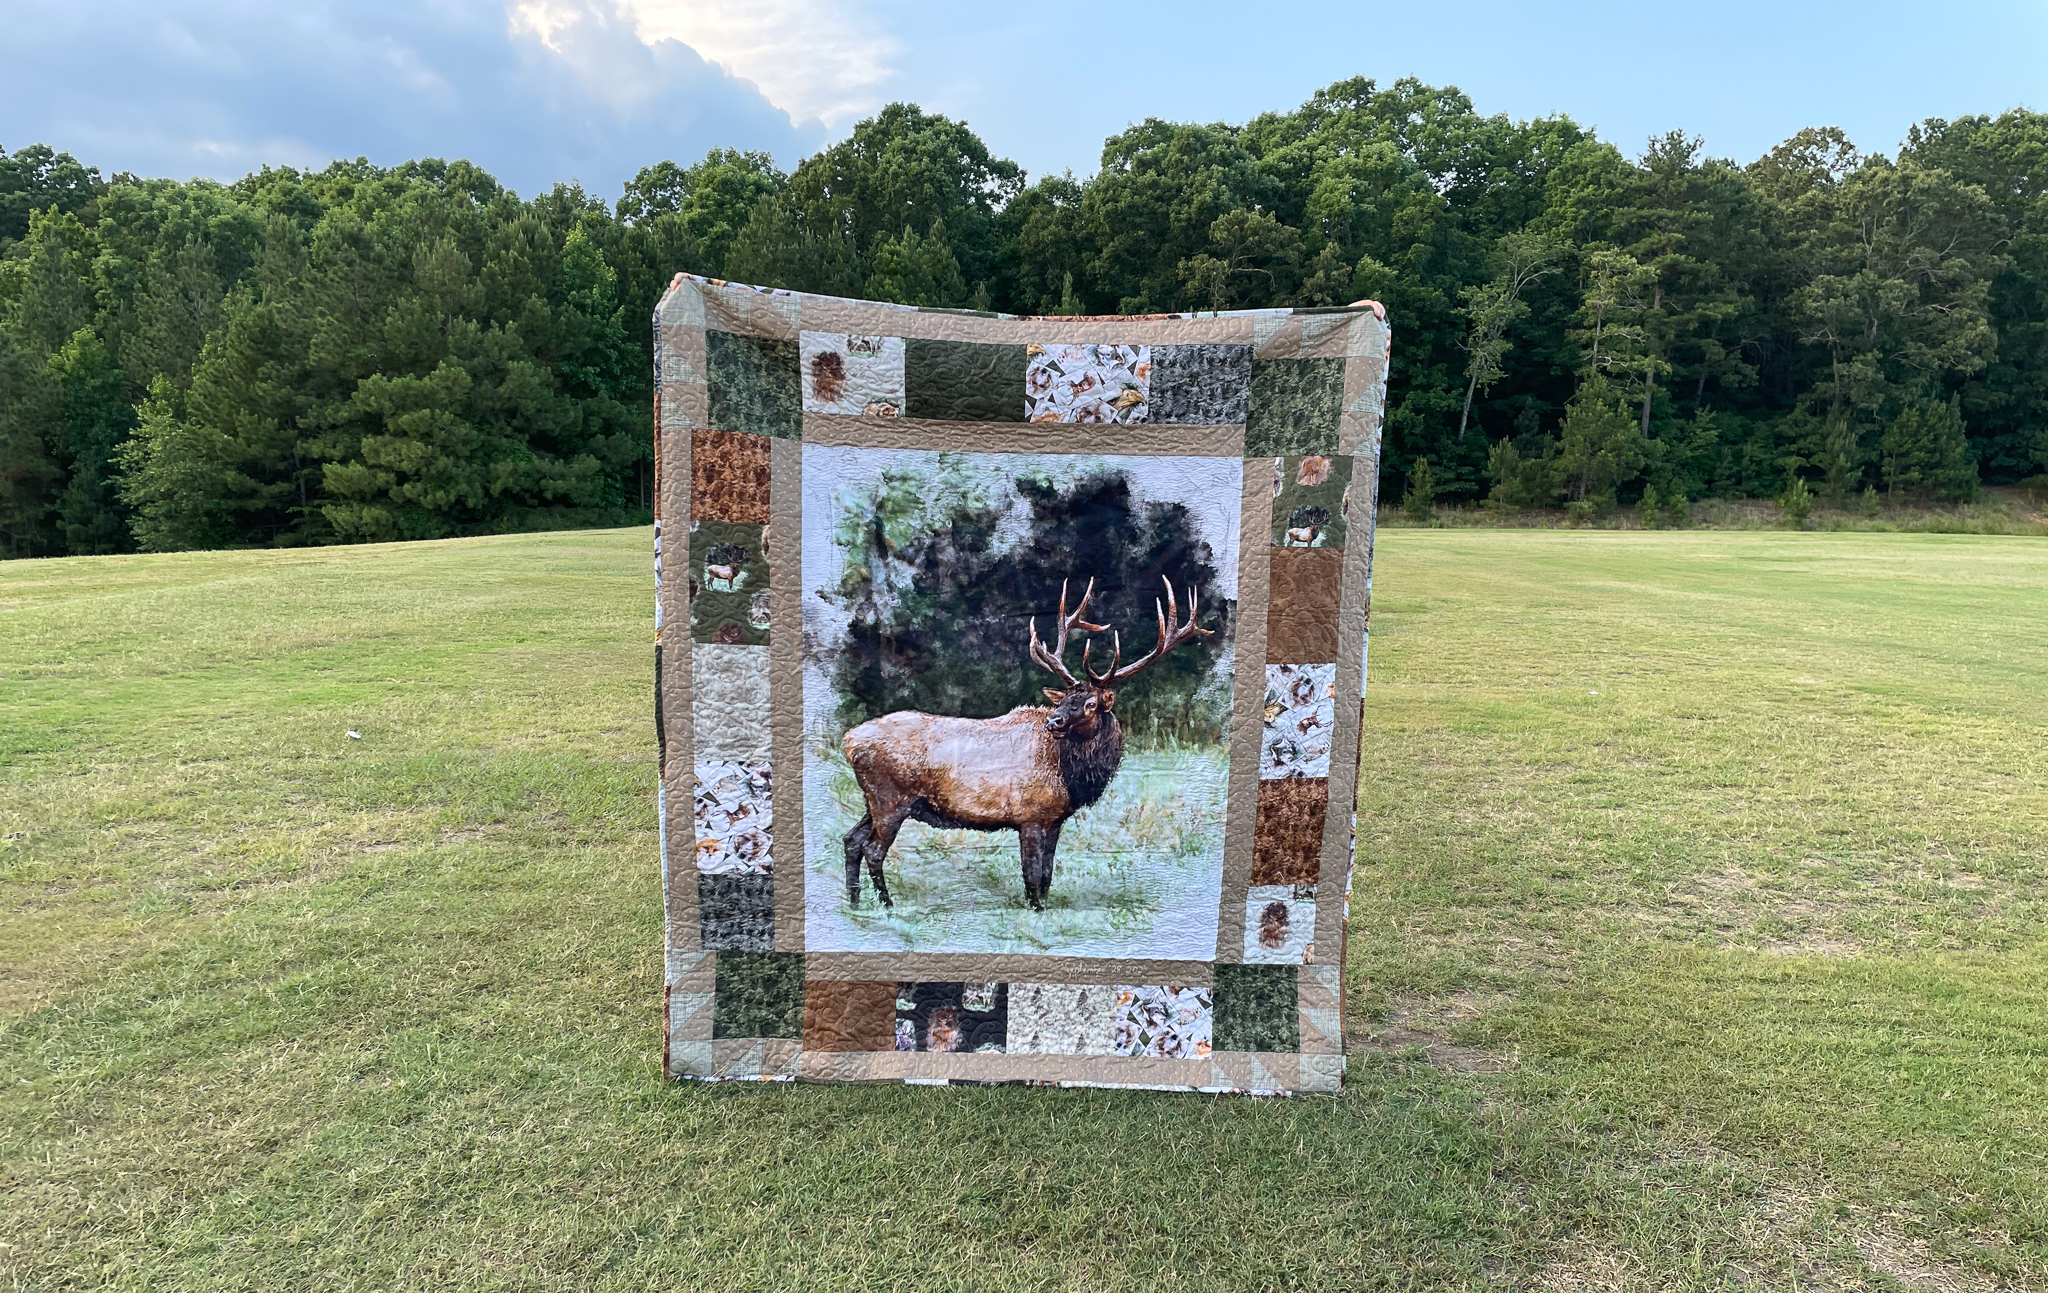
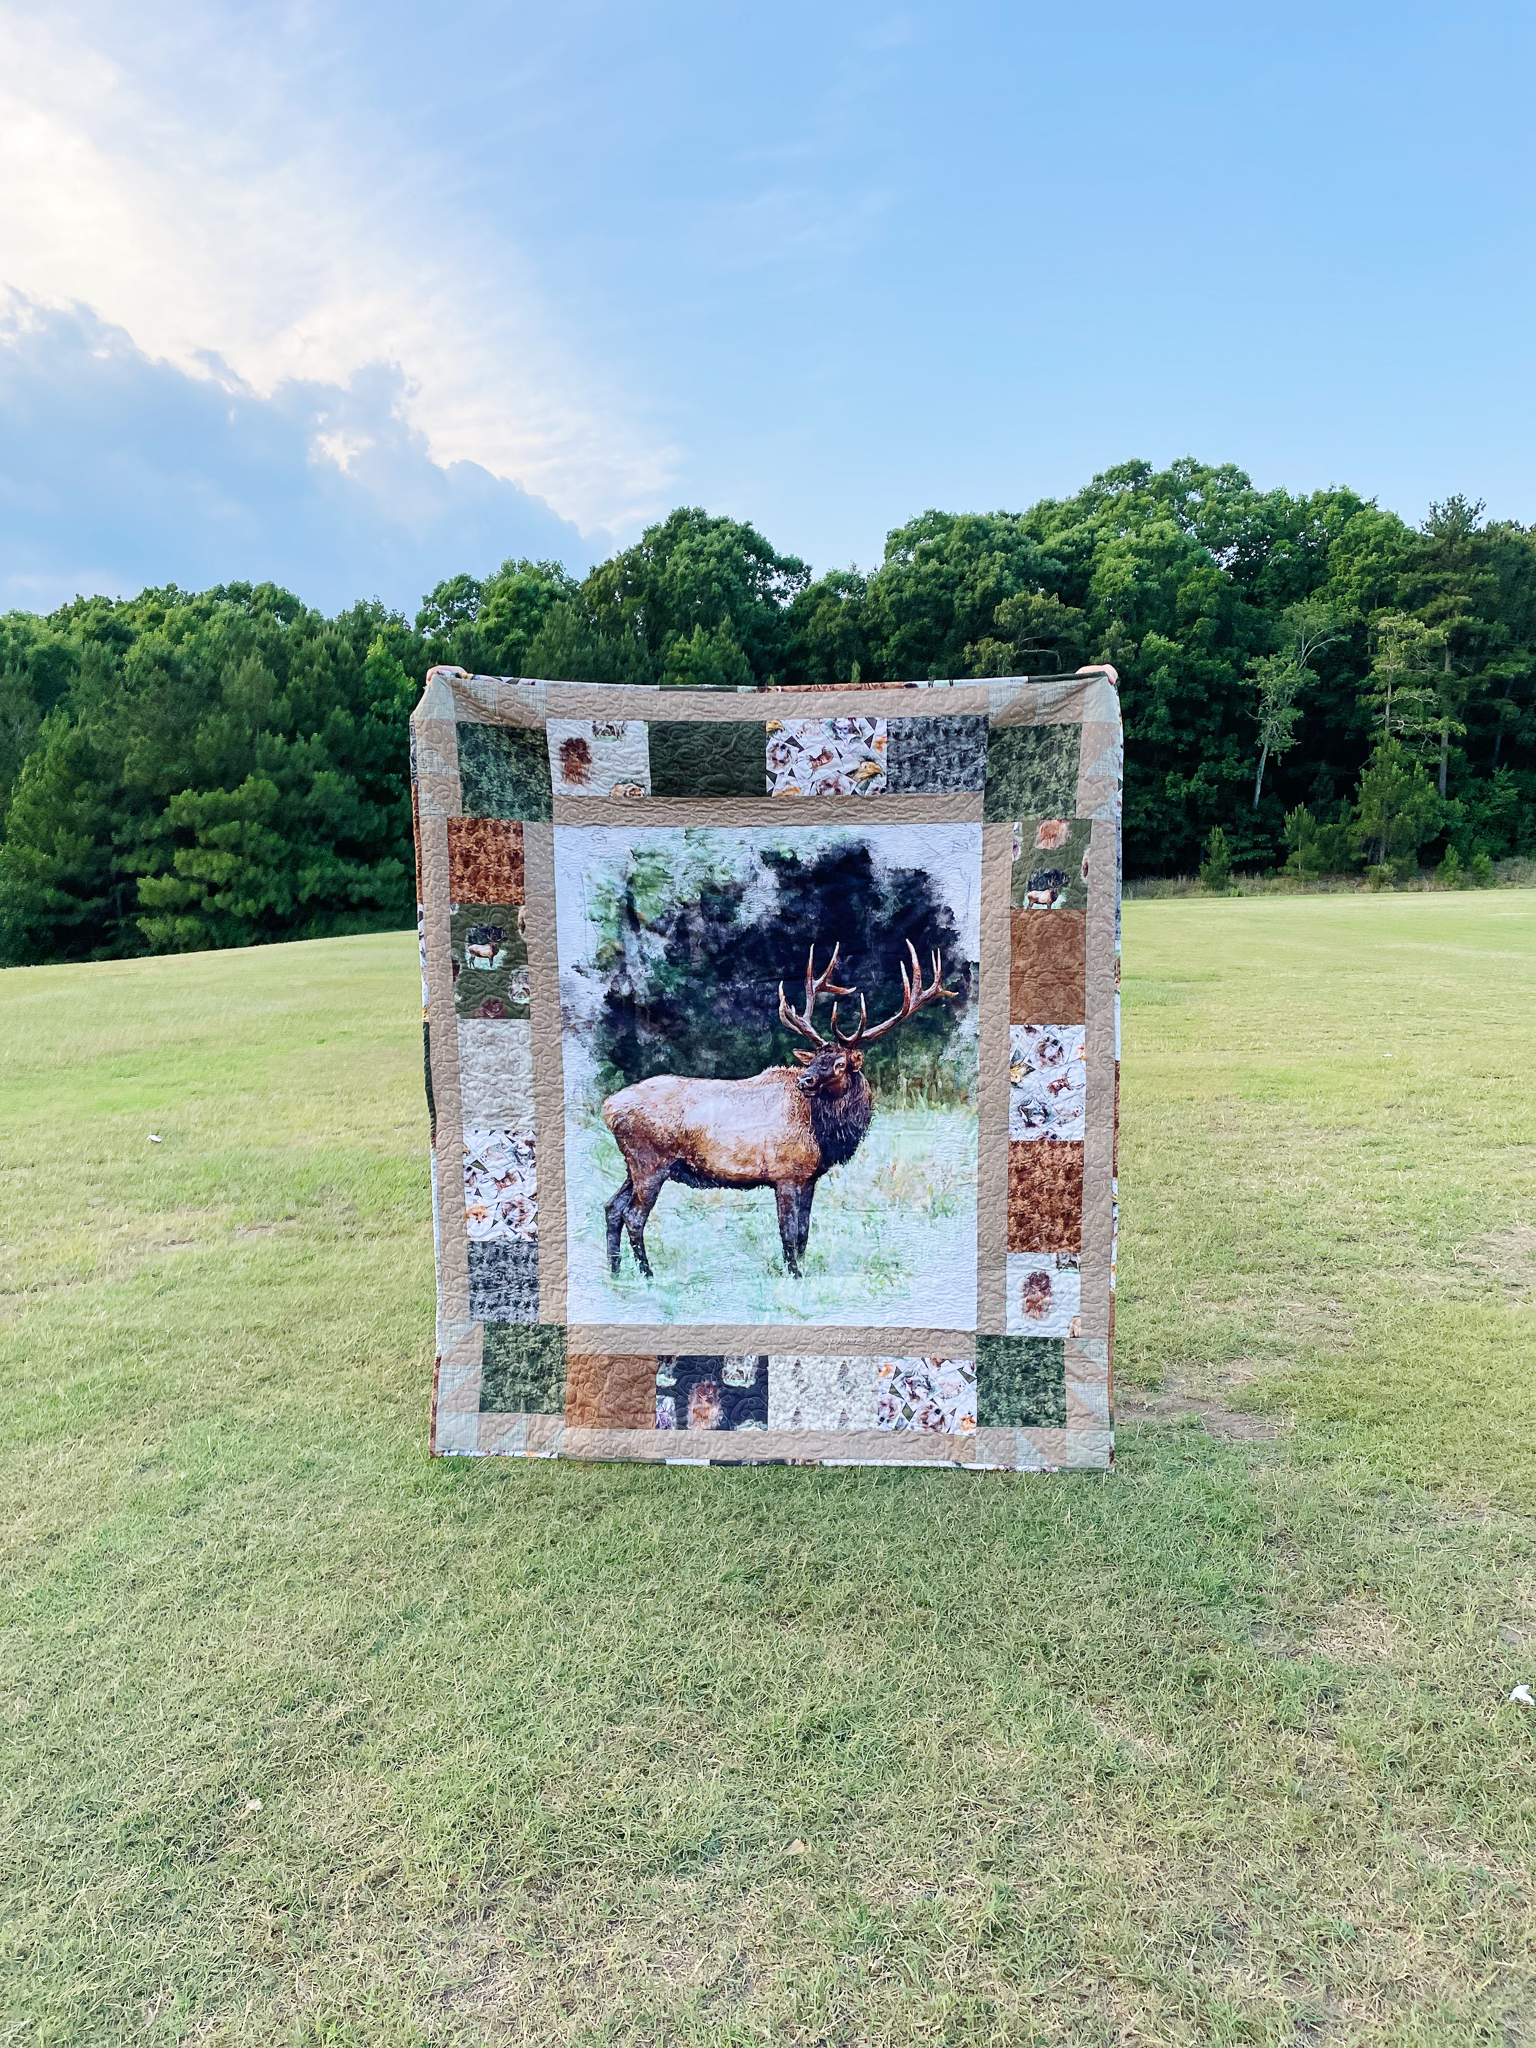
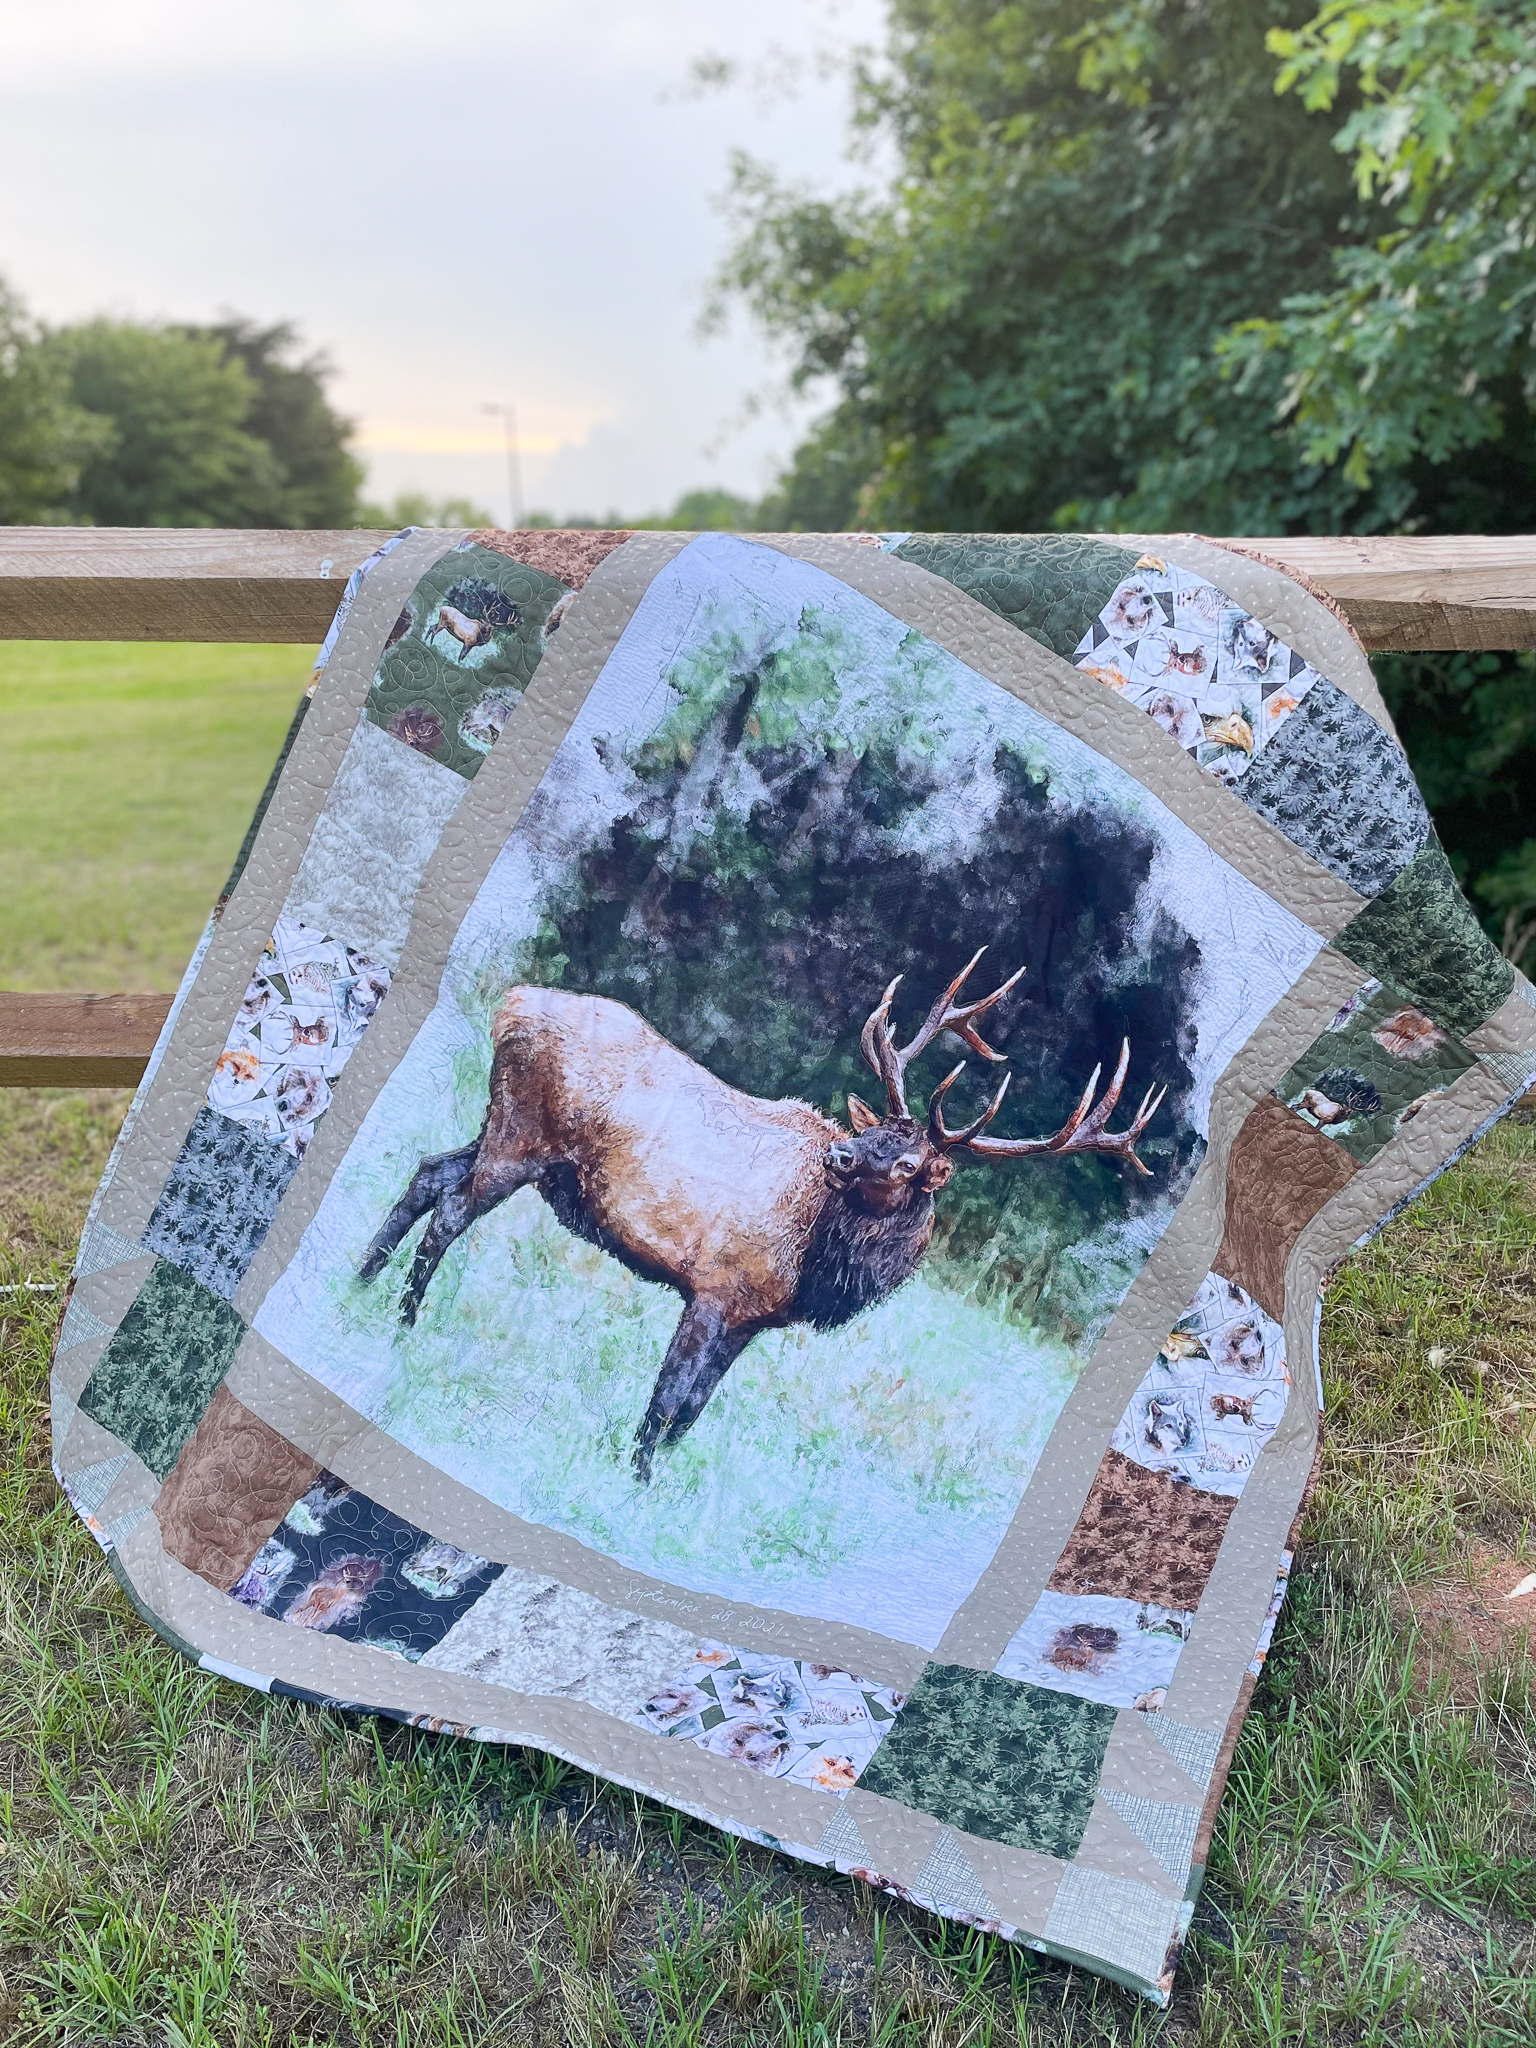
The panels in this collection are truly a work of art. When I was considering what kind of boarder I wanted to do for this quilt I knew that I wanted to feature more of the lovely collection prints but still make sure the panel was the star of the show!
Another thing to consider when making a panel quilt is the end size. The flexibility you have with creating the boarders ensures that you can customize the end result to be as large or small as you want! I knew this quilt would make a great gift for my father so I calculated a boarder size that would give me a perfectly sized final quilt.
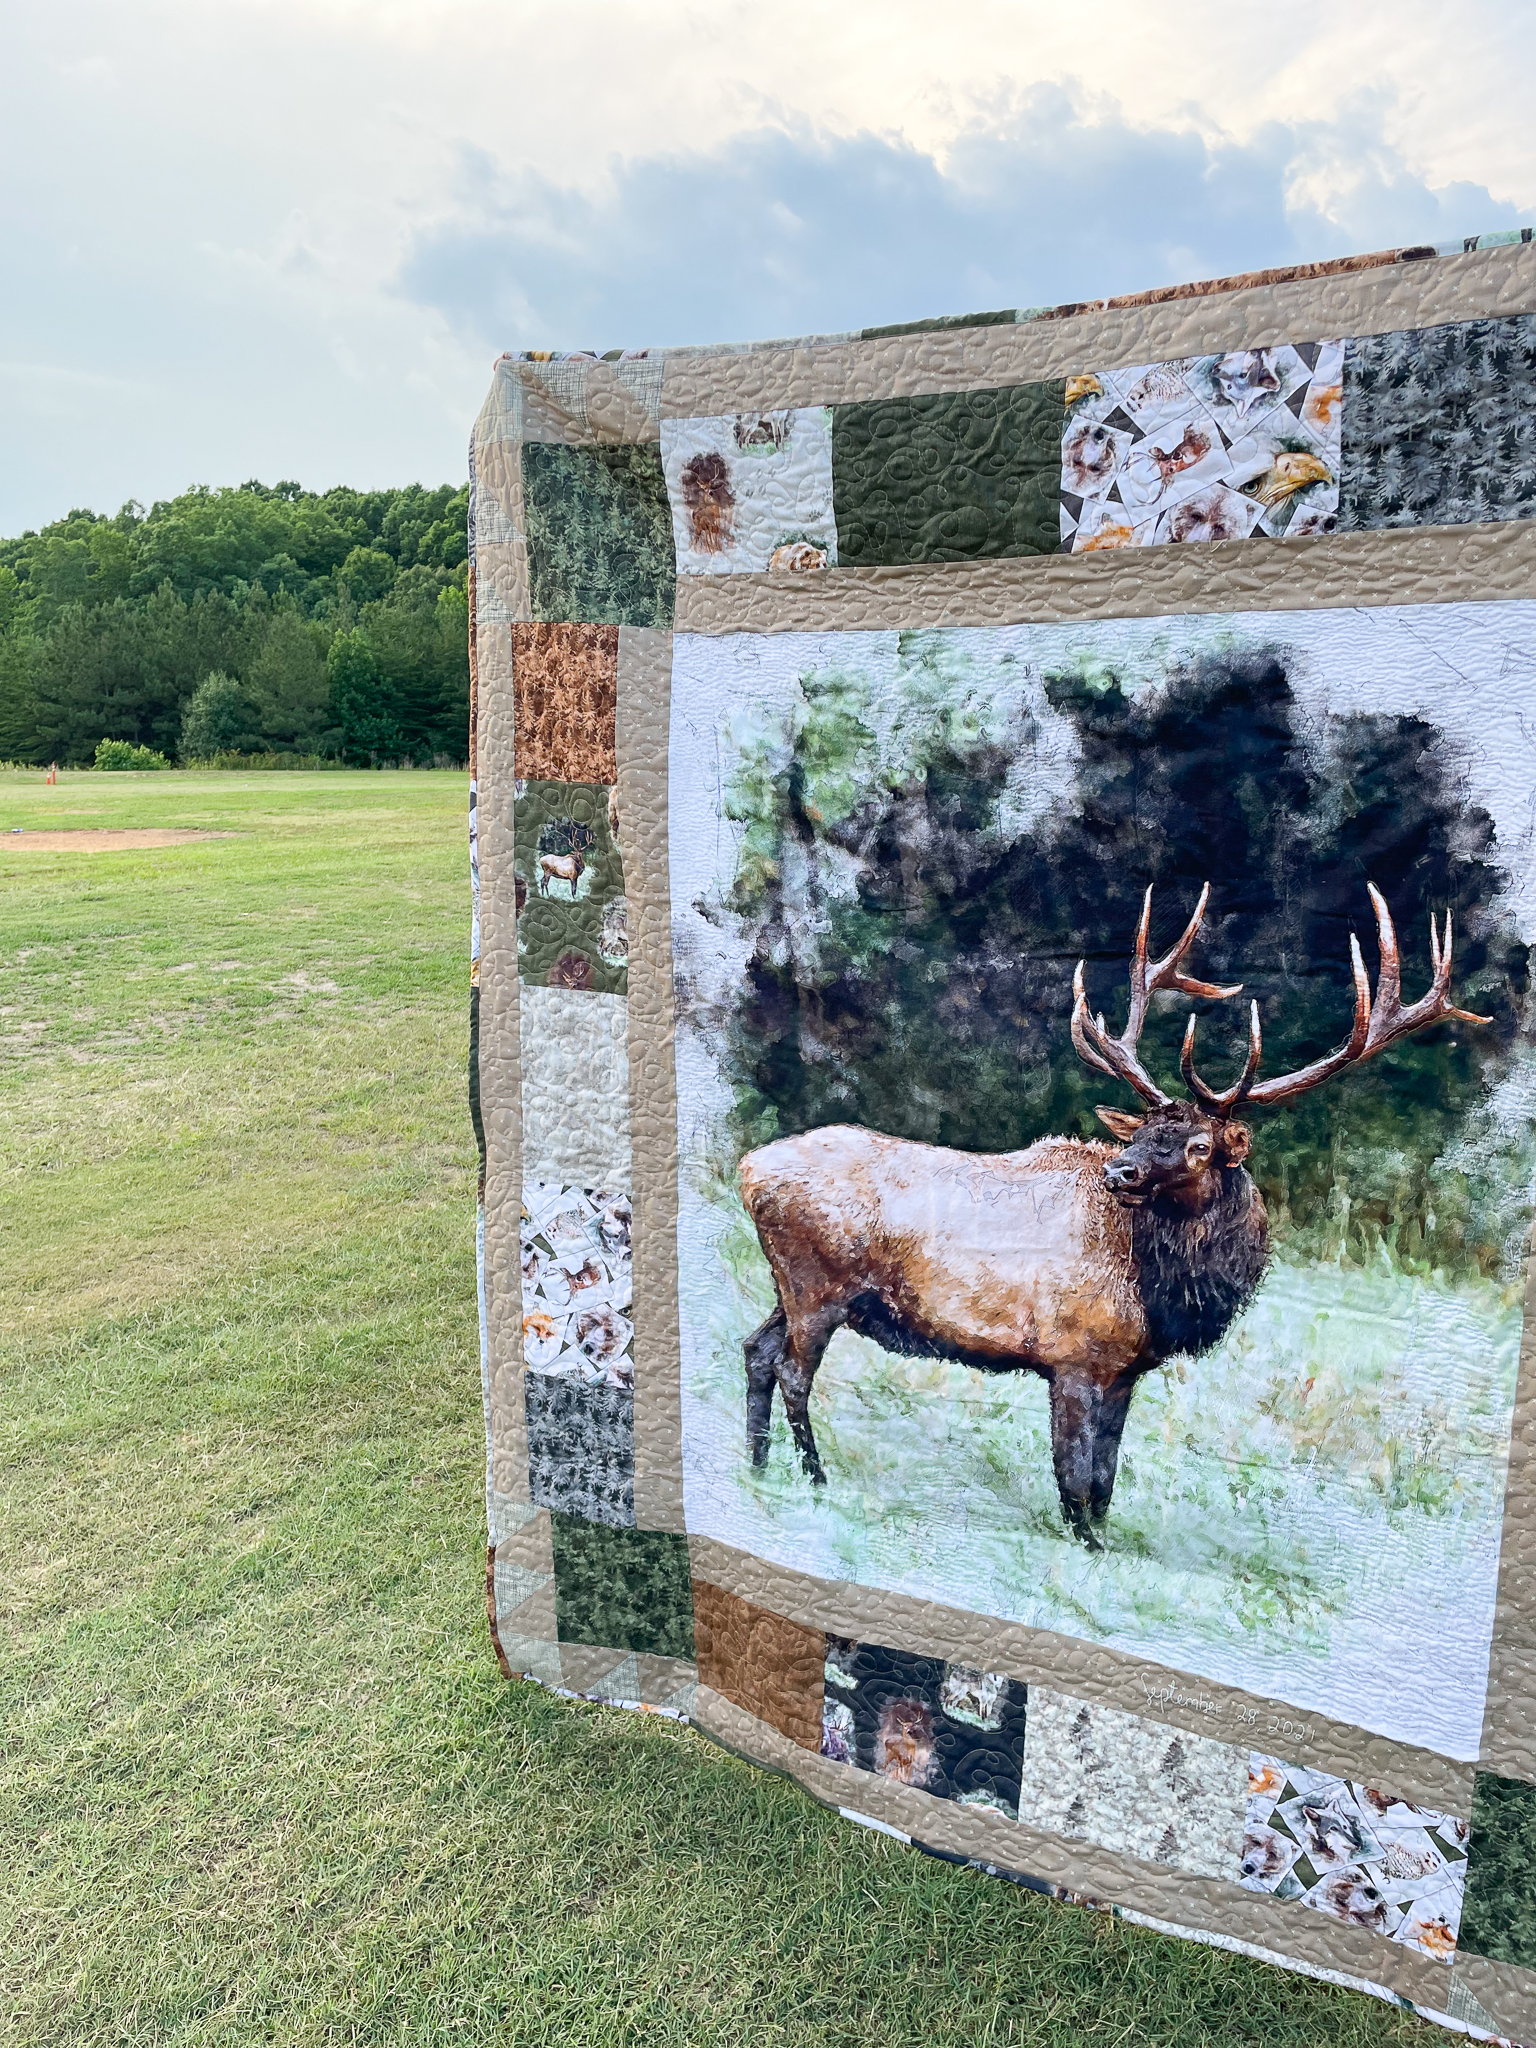
Ok, let’s talk quilt top construction! Now, before I share how I made this quilt I do want to add that it is certainly not perfect. Quilt math can be hard to do when self-drafting a pattern and I found that my corner blocks were not quite the right size so when I put everything together, the corners of my Bear Paw blocks did not end in sharp corners and got cut off at the edges. However, it doesn’t have to be perfect to still be special! Sometimes the small flaws are things that will make your quilts uniquely yours. The important thing is that you love the end result.
Creating the Boarder
I knew I wanted something fun in the corners. I decided to continue with the outdoorsy theme of the quilt and make four Bear Paw blocks for the corner units. I used the Free Building Blocks tutorial from the 2021 series and doubled the measurements to make the blocks a bit larger.
Next, I wanted to use a 10″ Stacker of the collection that I had on hand. I sewed the 10″ squares together to make a column for each edge of the quilt. When I laid it next to the panel it looked a little busy so I knew I needed to break up the design. I dug into my stash and found the perfect fabric to match! I used Bee Cross Stitch in Pebble on either side of the patterned strips to break up the design.
- After sewing the 10″ Stacker fabrics together into strips, cut them down to 6 1/2″ wide.
- Cut two long strips of Bee Cross Stitch (or another coordinate) to 2 1/2″ wide and long enough to match your stacker sections.
- Sew the units together to sandwich the printed strips between the basics.
- Make a boarder section for each side of your quilt. The length is customizable to your quilt and I recommend laying out the design as you go and always giving yourself extra room. It’s much easier to cut down your boarders than it is to extend them.
After I had the general design all laid out on the design wall I began the piece the quilt together in rows. I love the final design in spite of those cut off corners!
Some Details
I opted to use some soft Dreamy Minky I had in my stash for the backing. The color was a perfect neutral. Since I had extra strips of fabric from trimming down my 10″ Stacker columns, I used those for a scrappy binding! I’ll admit that scrappy bindings are my favorite.
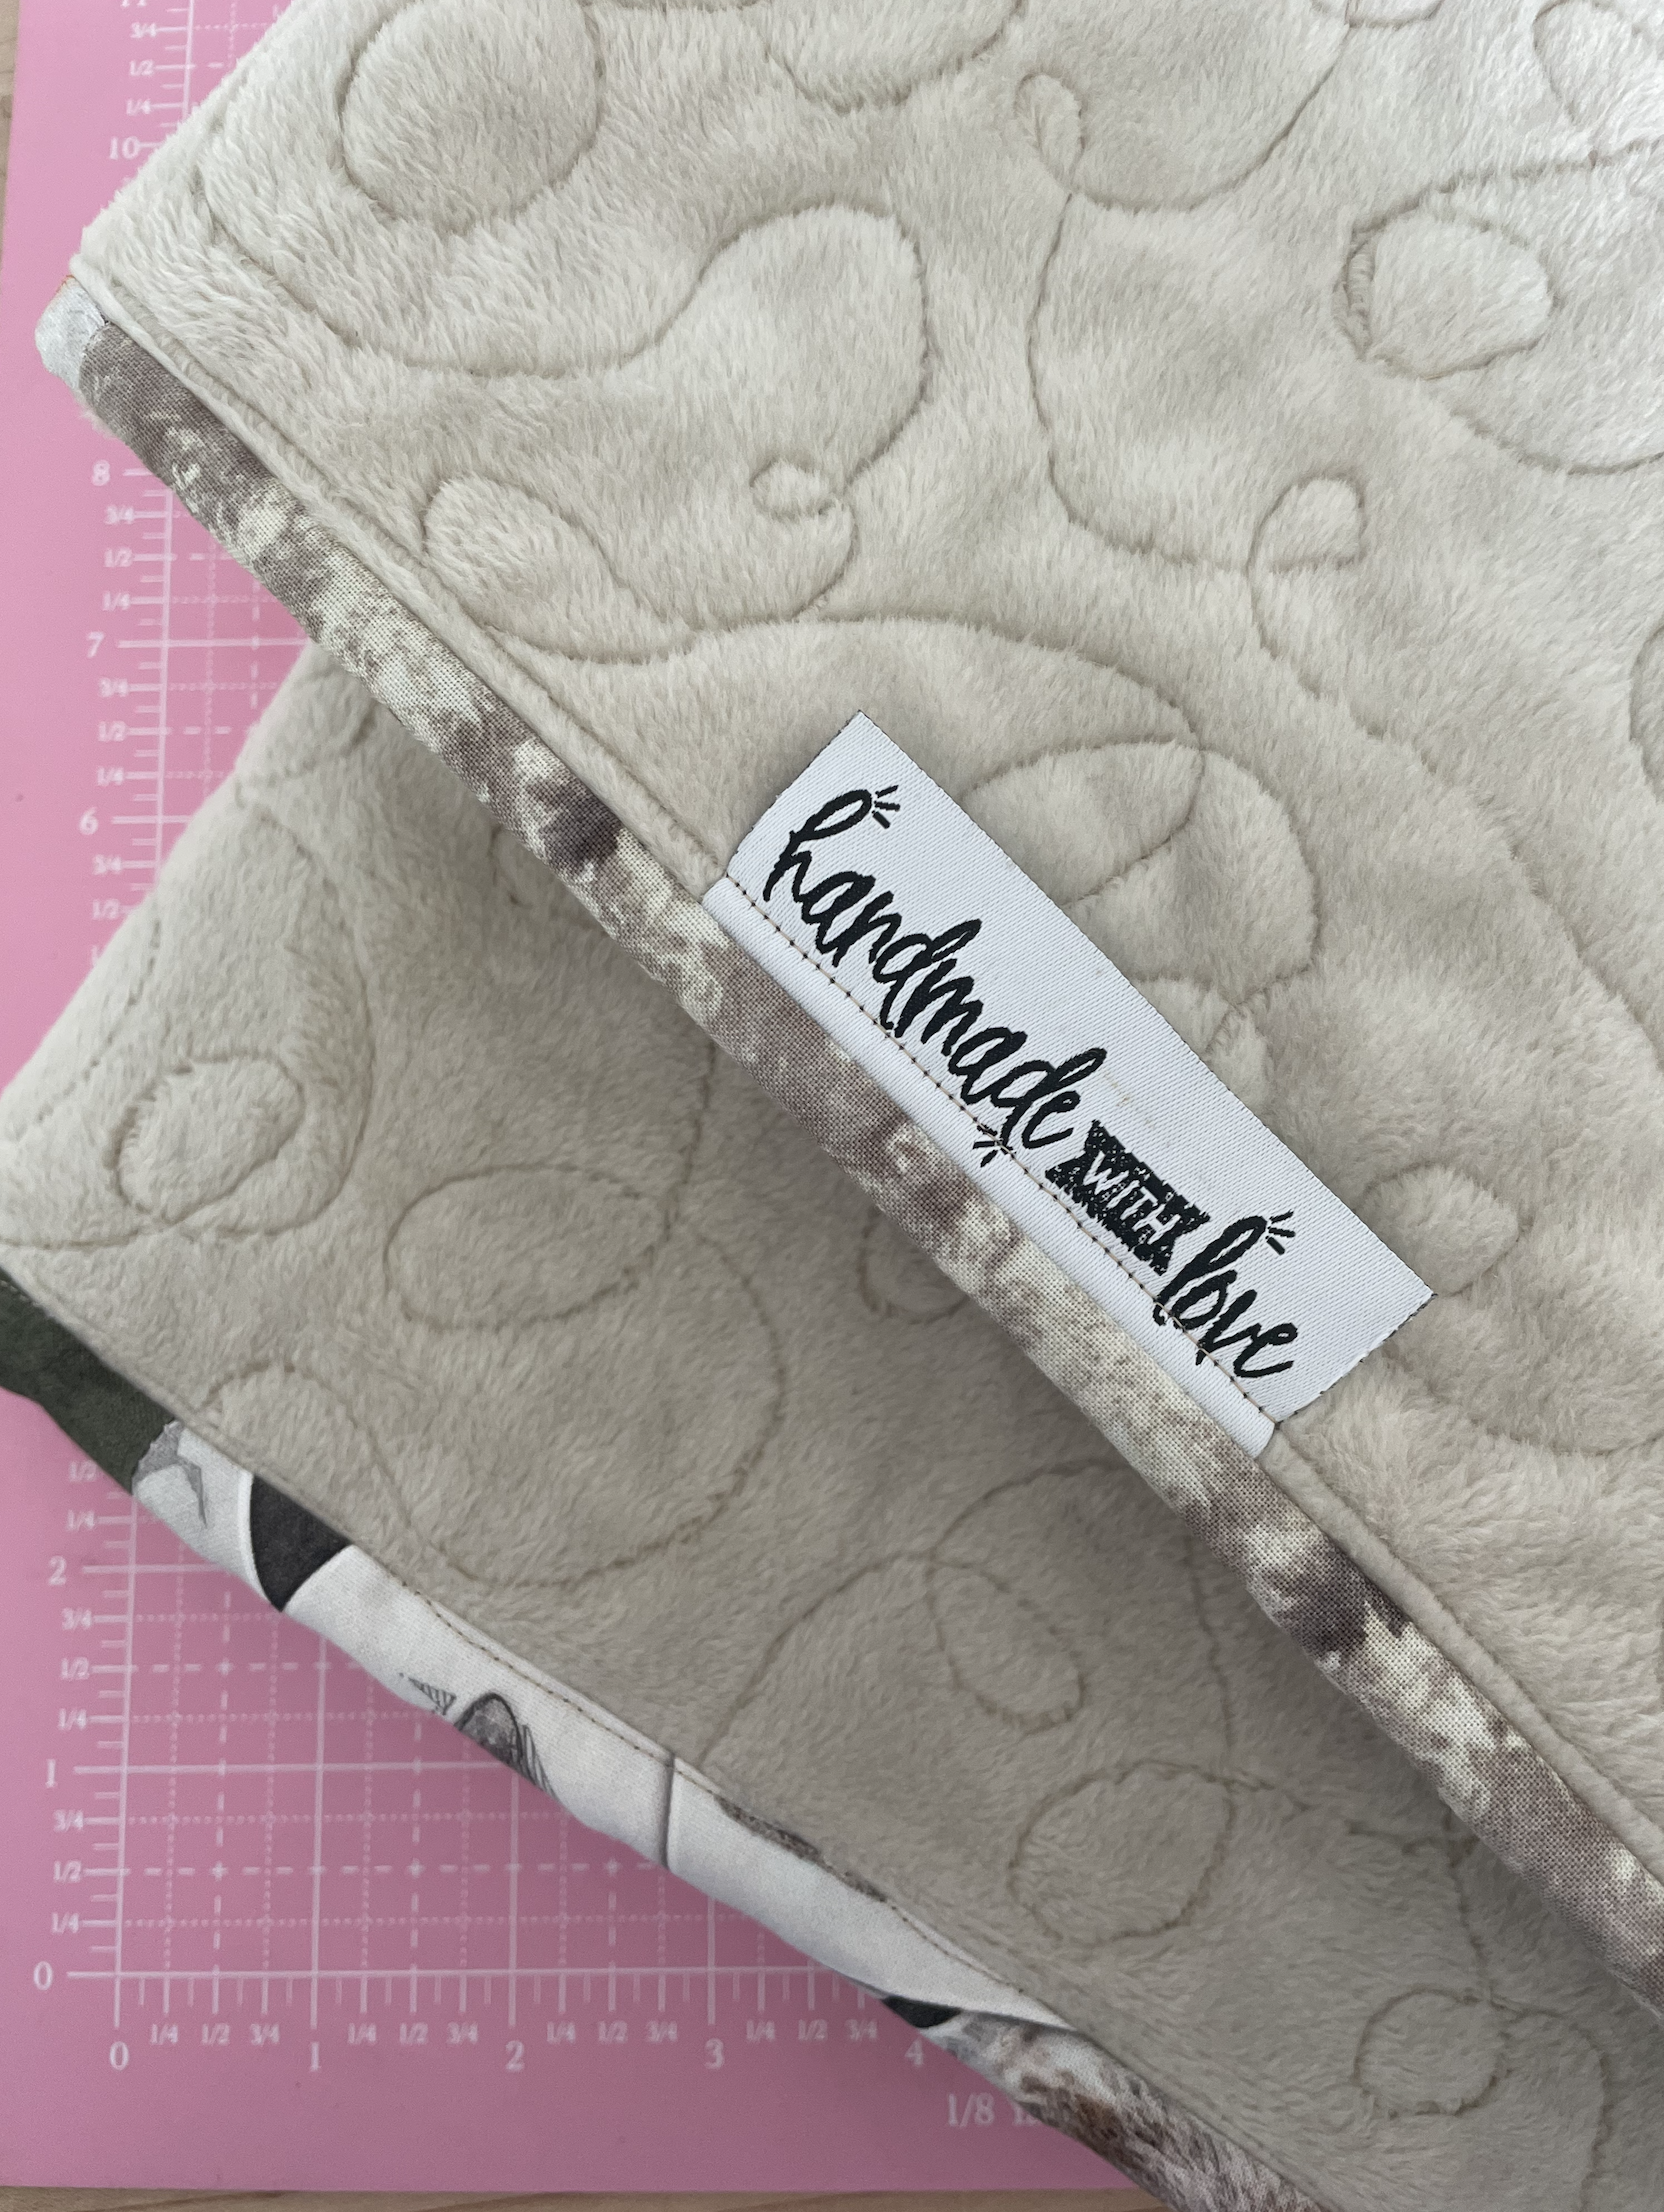
Lastly, since this quilt was being made as a gift I added a special project tag (this one is designed by The Tattooed Quilter) and did a little embroidery with a special date on the quilt top. If you want to add embroidered elements make sure to do that before the basting and quilting step!

I hope this post inspires you to try your hand at creating your own custom boarder for a panel quilt! You can shop the Nature’s Window collection now at your favorite local or online quilt shops and don’t forget to check out the RBD Free Pattern library for free patterns to make with this collection. Happy Sewing!